How to make an origami house - a step by step description of making a handicraft
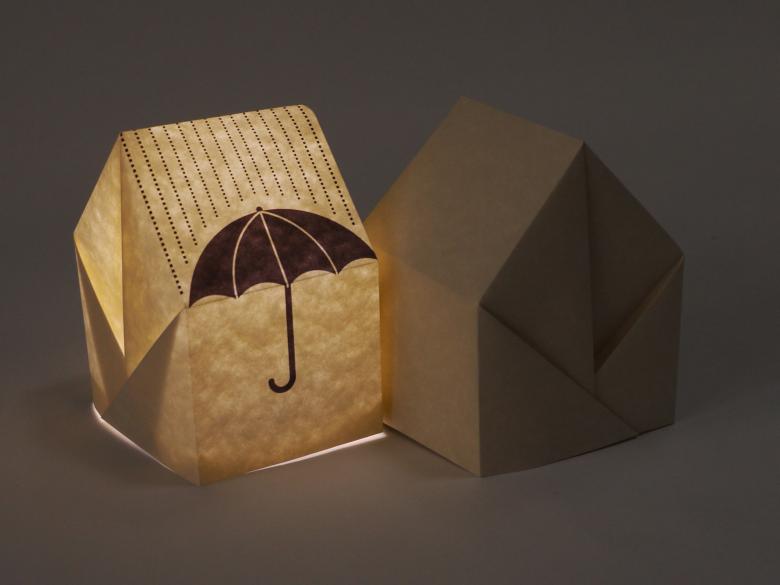
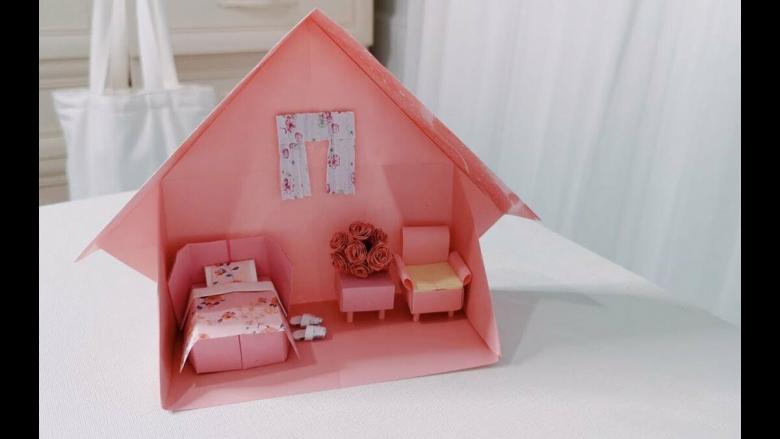
The house represents a family home, comfort and a sense of warmth, a constructed model in the style of origami will decorate any nightstand in the room and contribute only to positive emotions.There are simple master classes and more complicated, the figures can be both three-dimensional and in the form of postcards. The Japanese paper folding technique does not require a large number of accessories, and the process will take a minimum of free time.
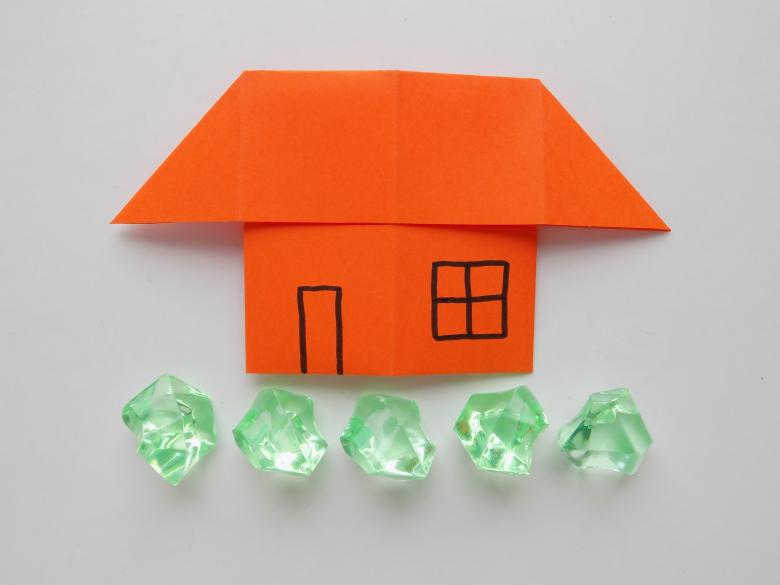
A beautiful handicraft in 5 minutes
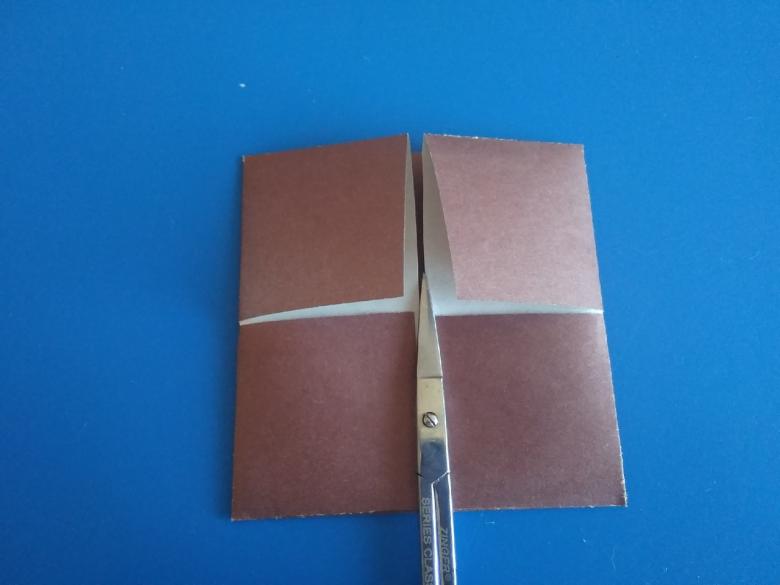
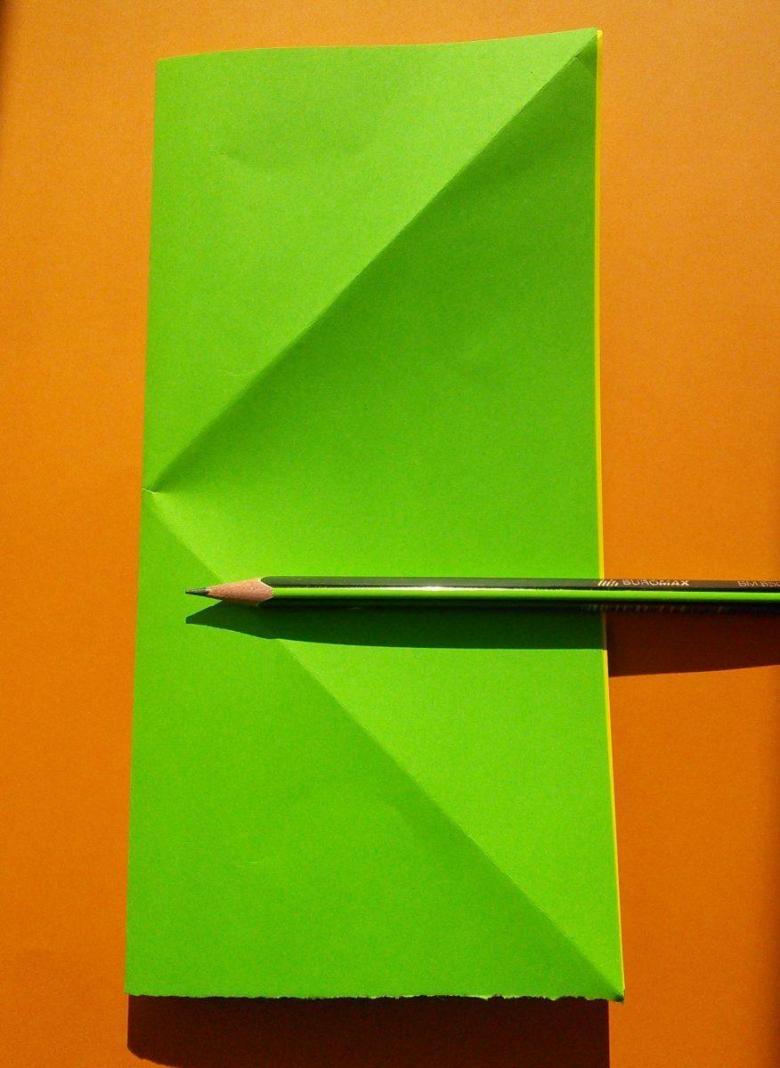
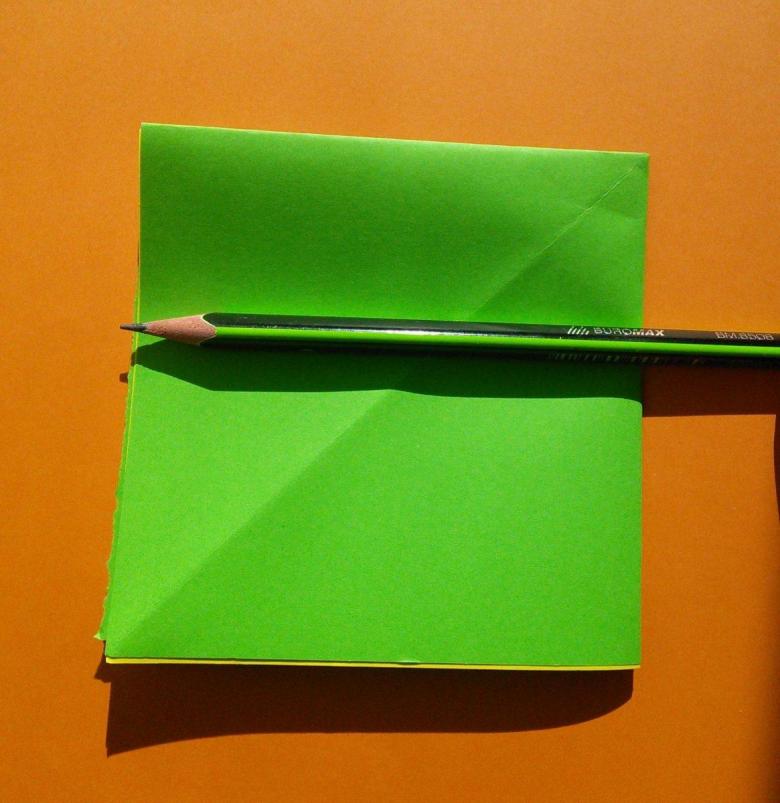
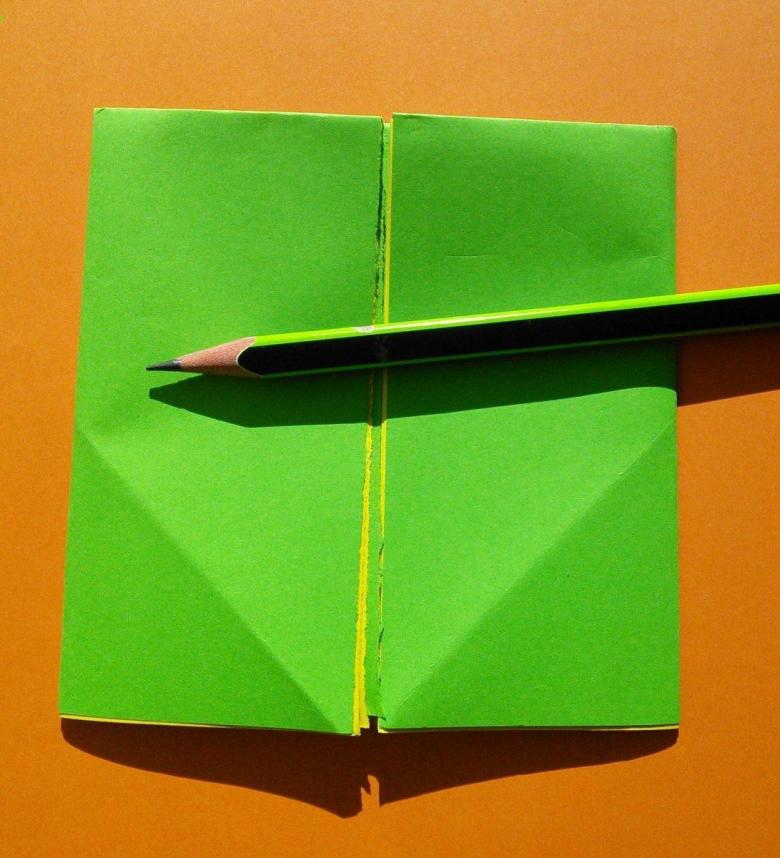
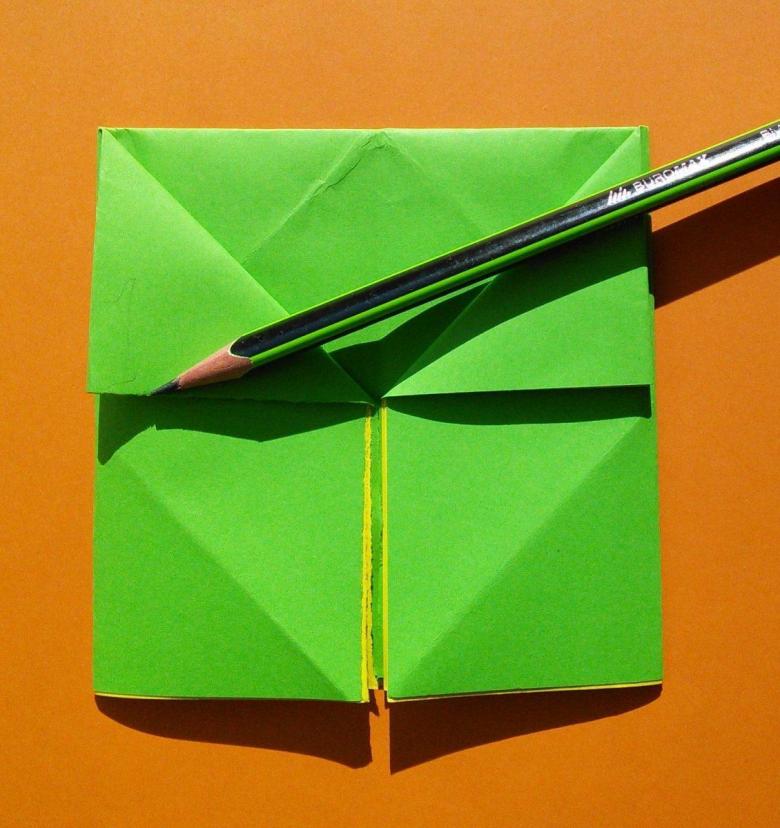
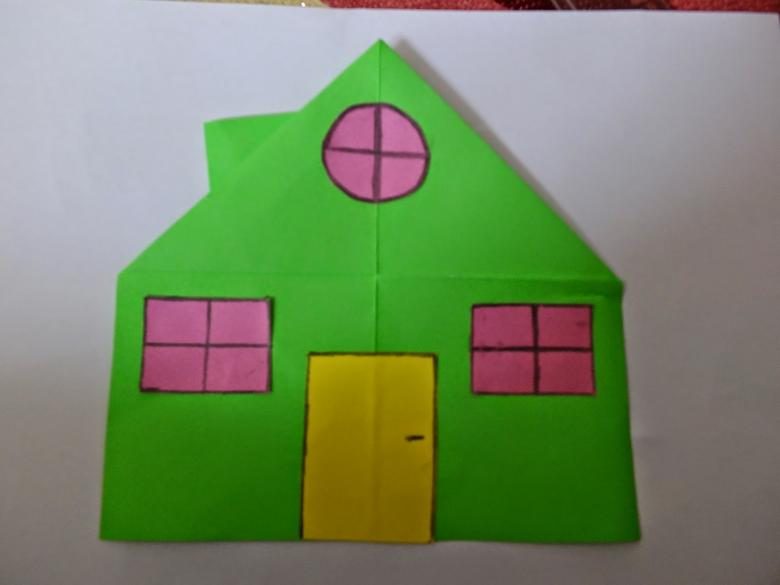
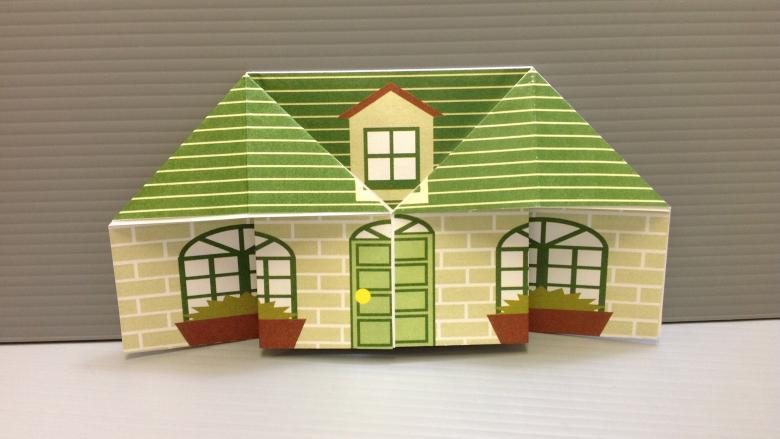
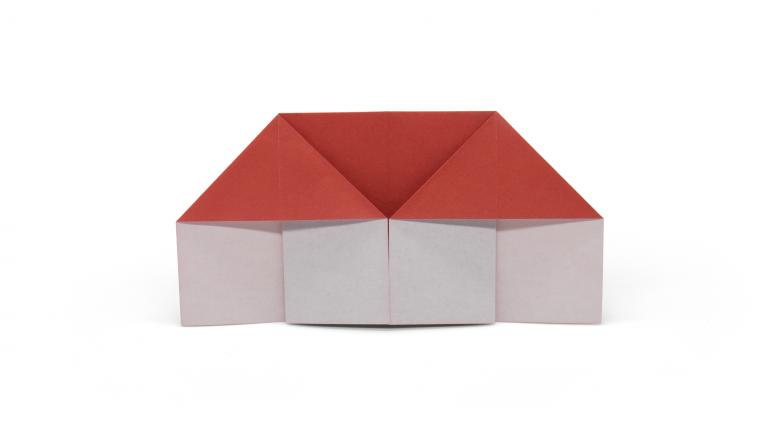
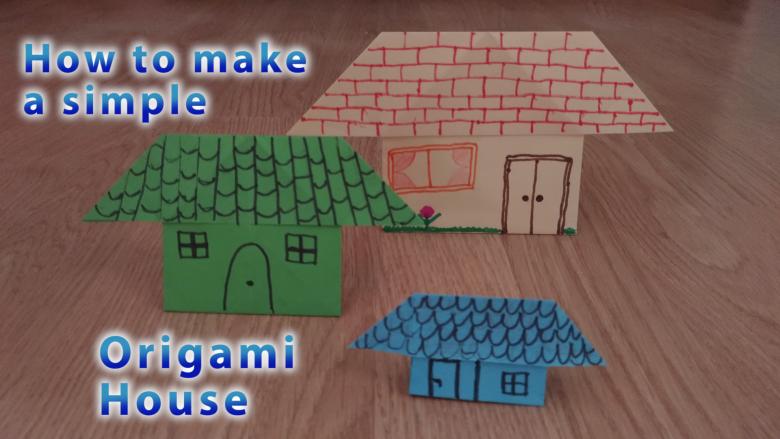
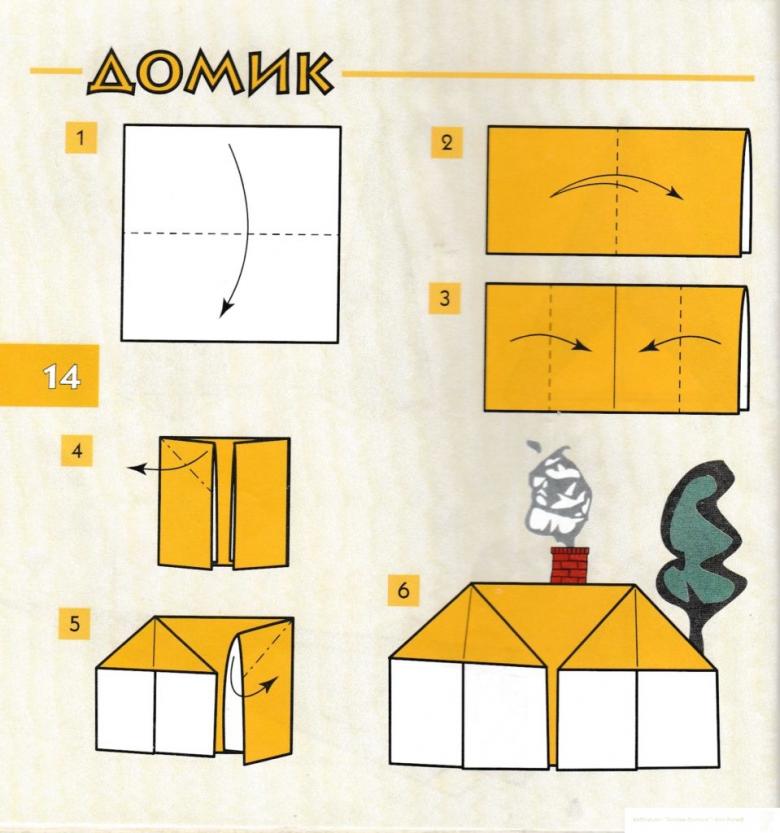
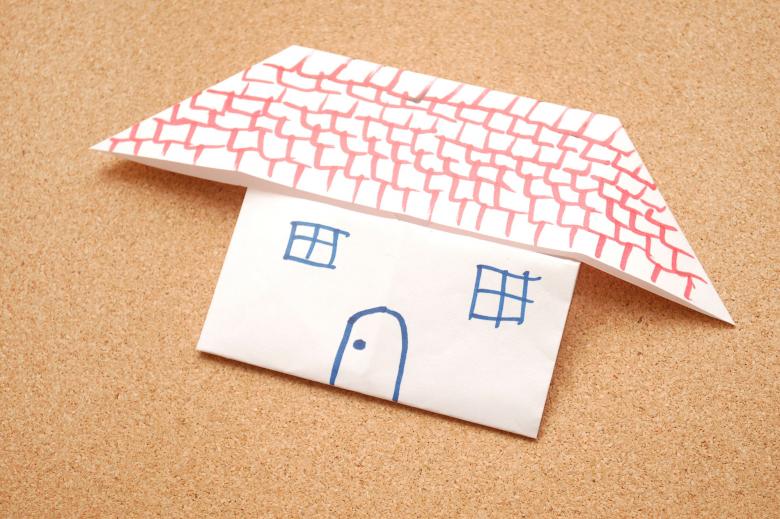
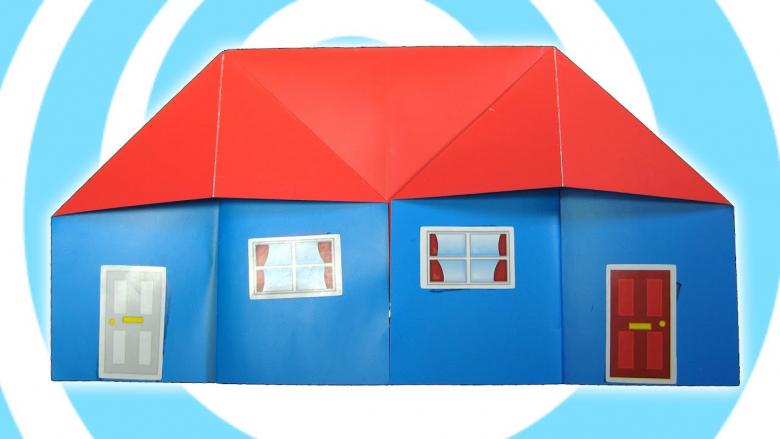
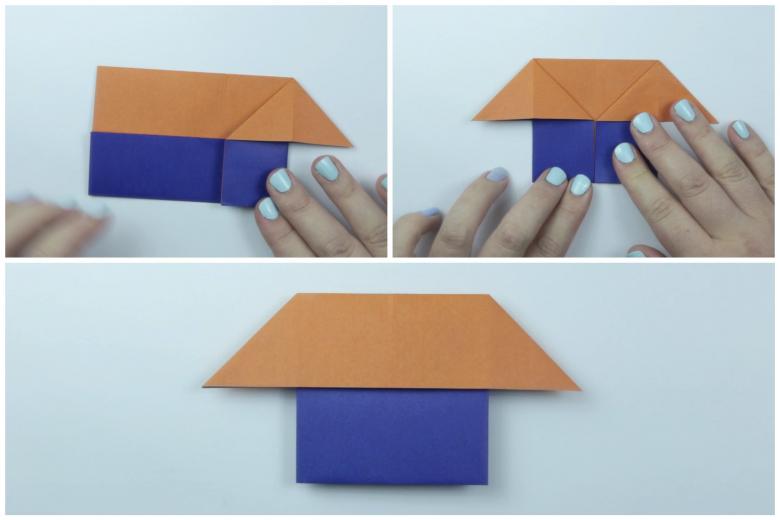
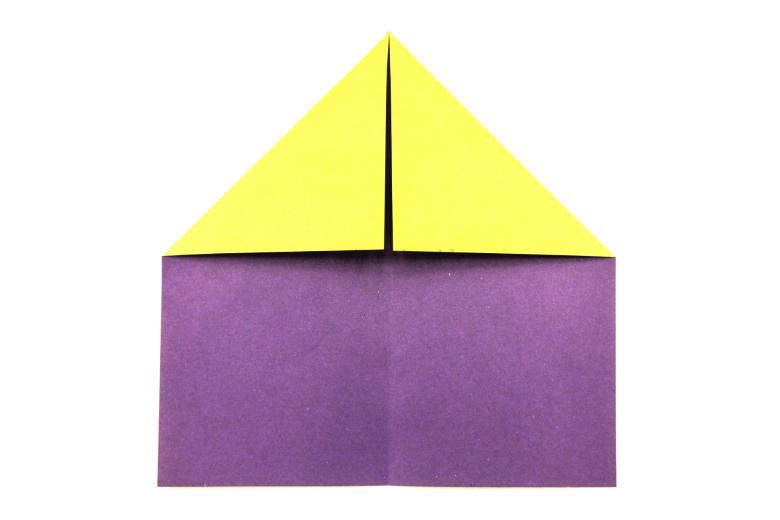
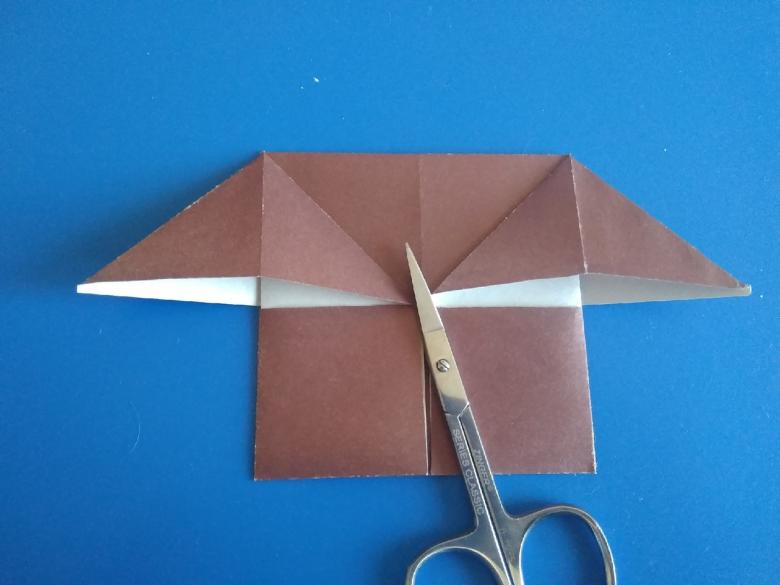
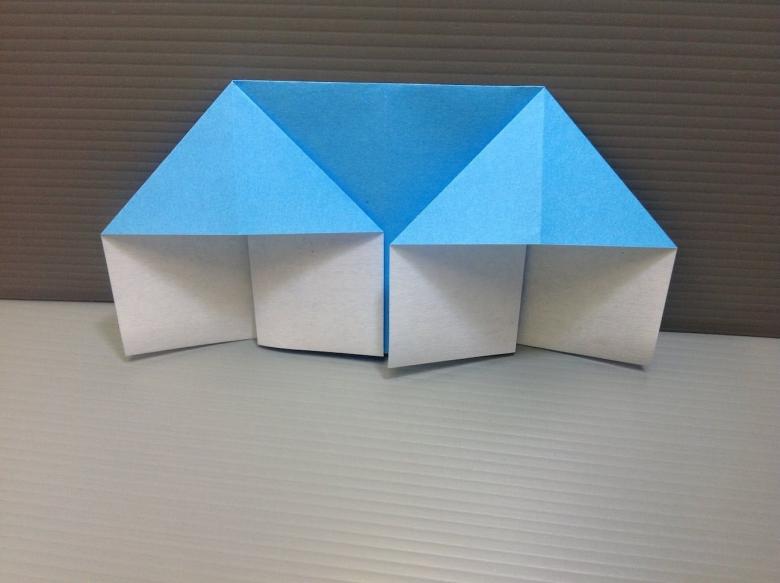
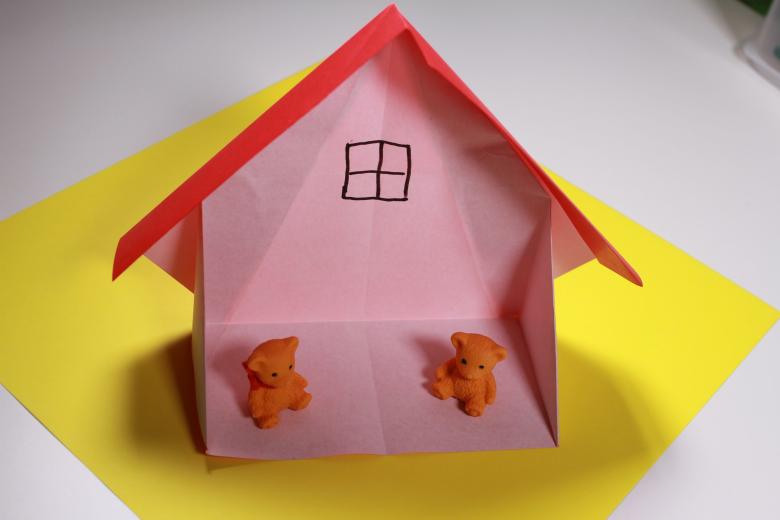
Beginners will appreciate this model and cope with the work quite easily, a simple origami house of paper for children can do even the youngest member of the family, if parents will prompt him the algorithm of action. Need to take a square piece of paper and fold it in half, then do the procedure again.
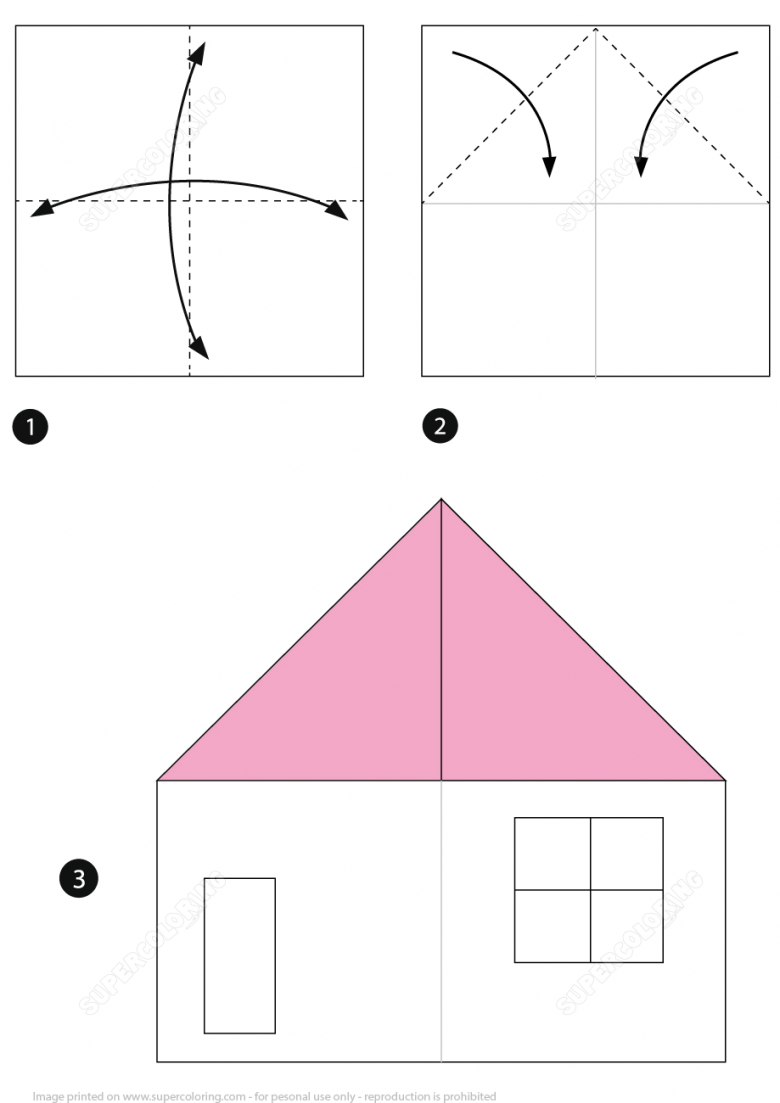
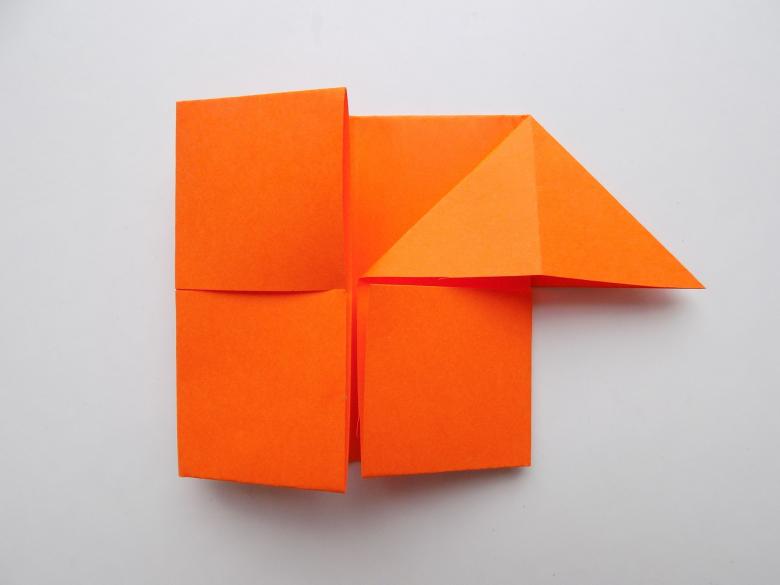
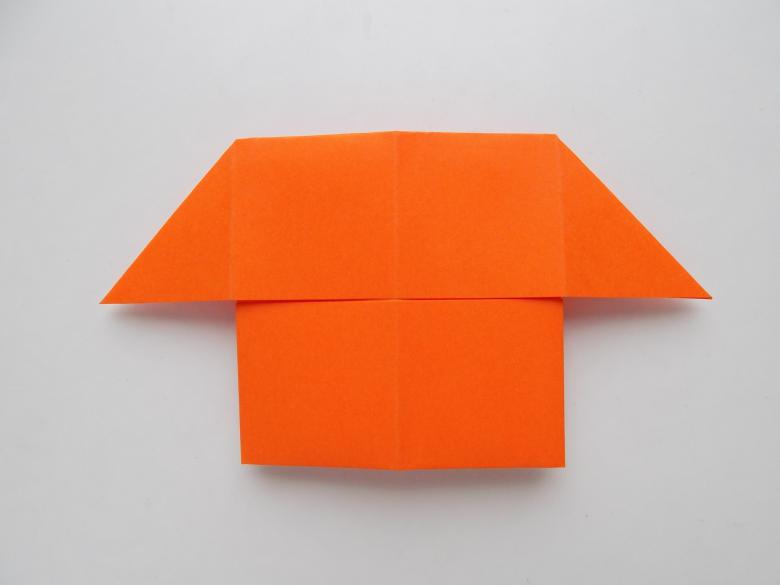
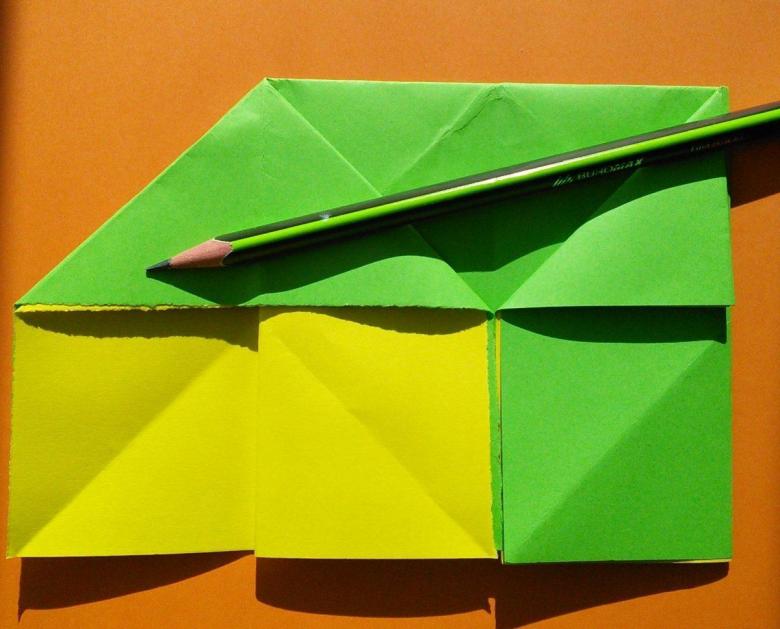
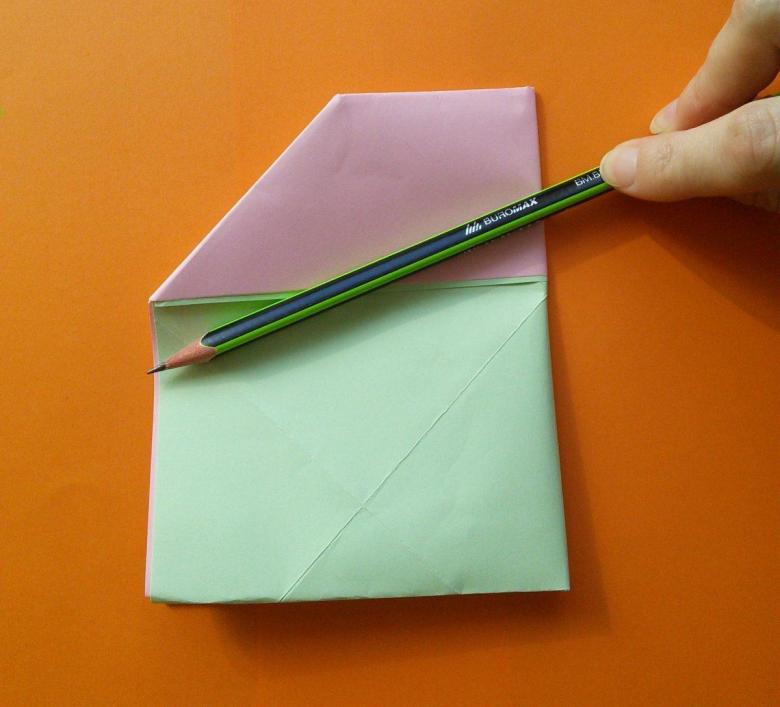
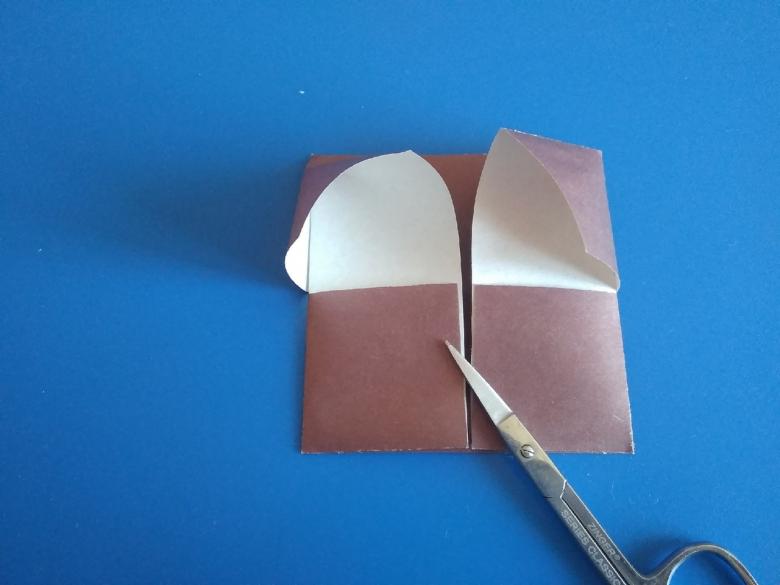
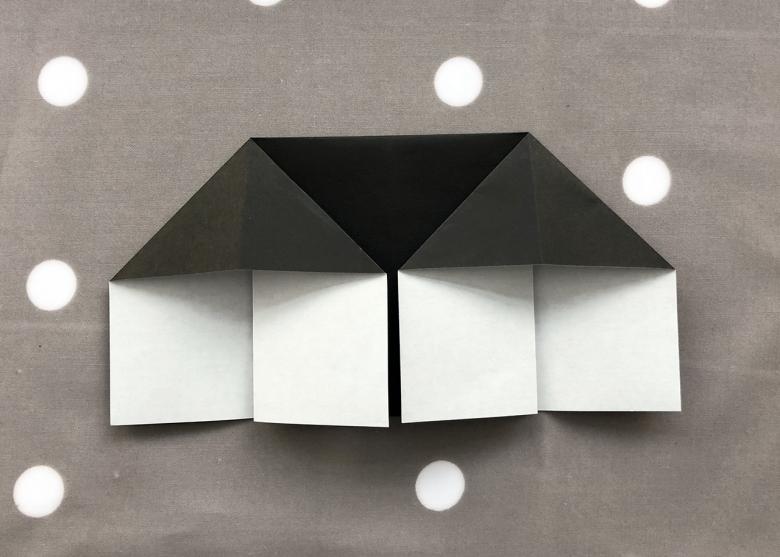
After making two folds in the direction of the middle of the workpiece, and the edges are bent back. Corner to bend carefully to get the pocket, which should be spread with your fingertips. On the other hand to do the same manipulation, with special attention to the roof, it must be symmetrical.
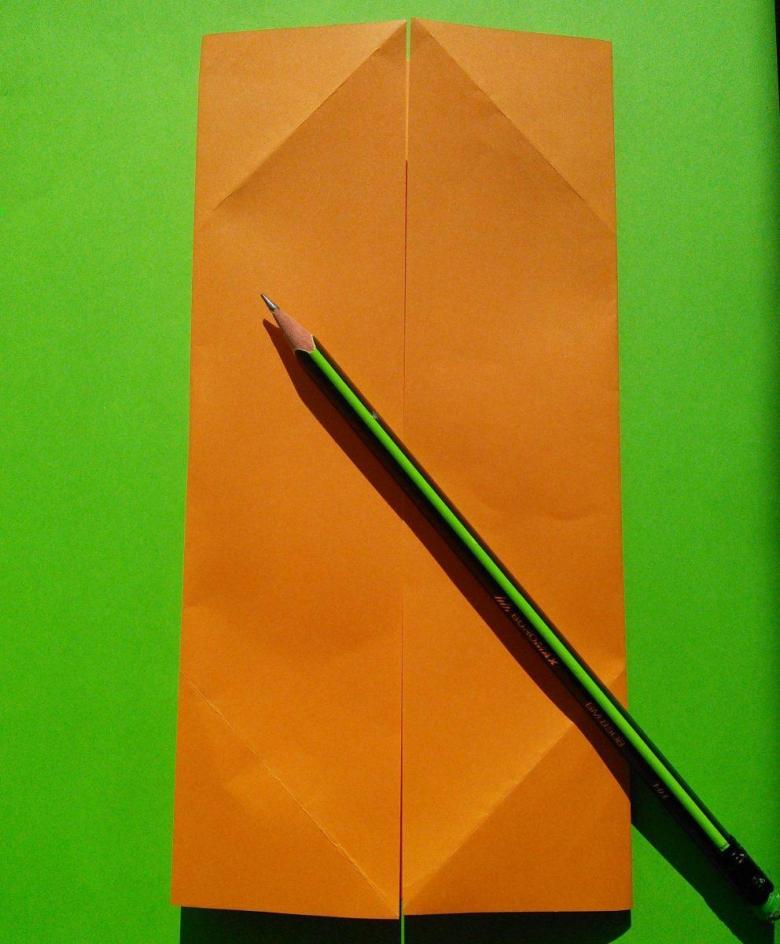
At the end of the work kids will not be able to contain their emotions, and a smile will shine on their face, and all the work will not take more than 5 minutes.
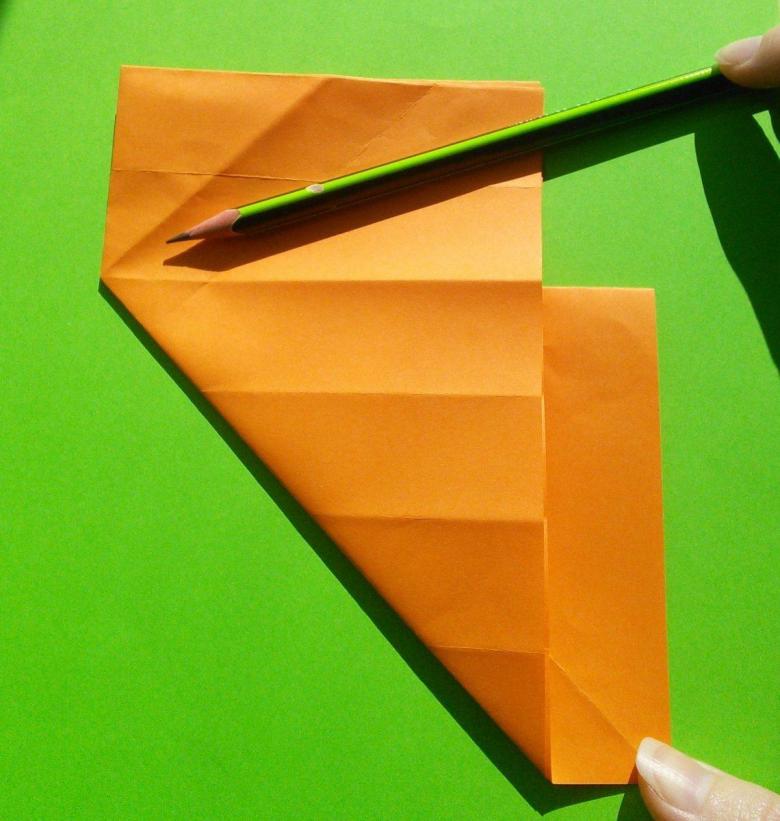
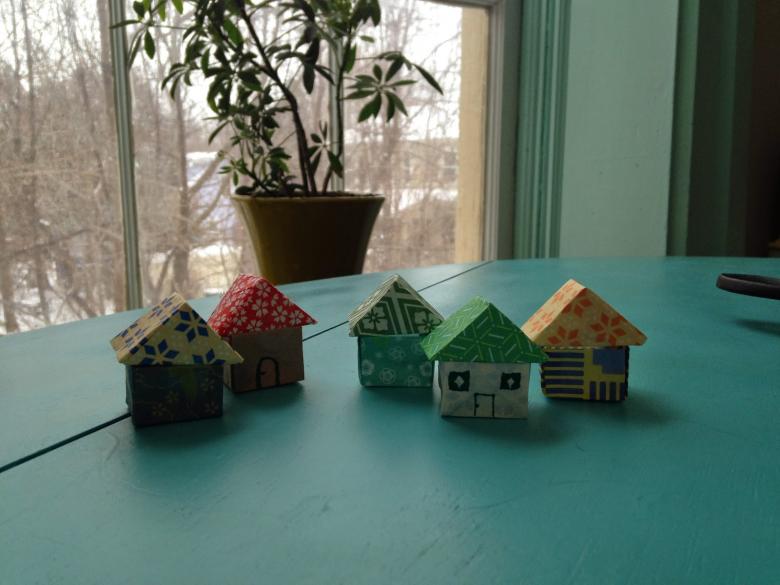
To consolidate the abilities, you can advise your child to make several different-sized crafts on their own, using sheets of other shades.
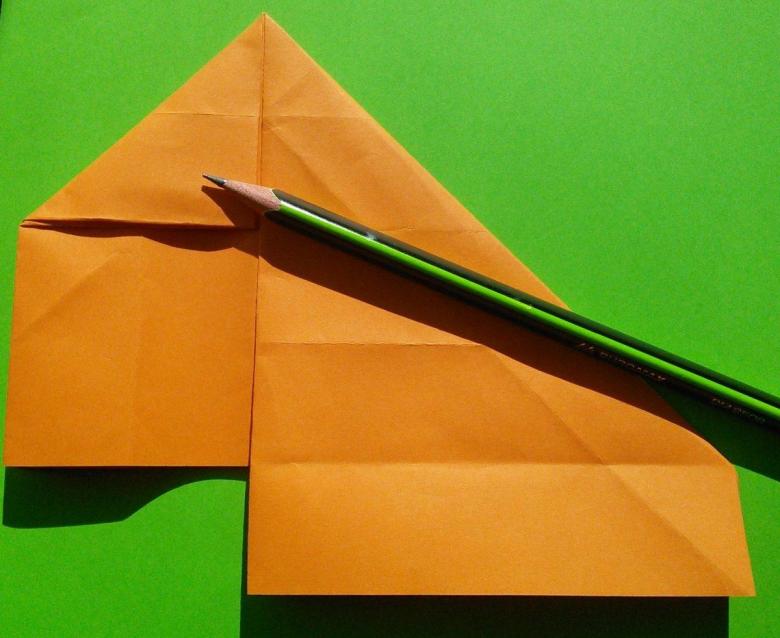
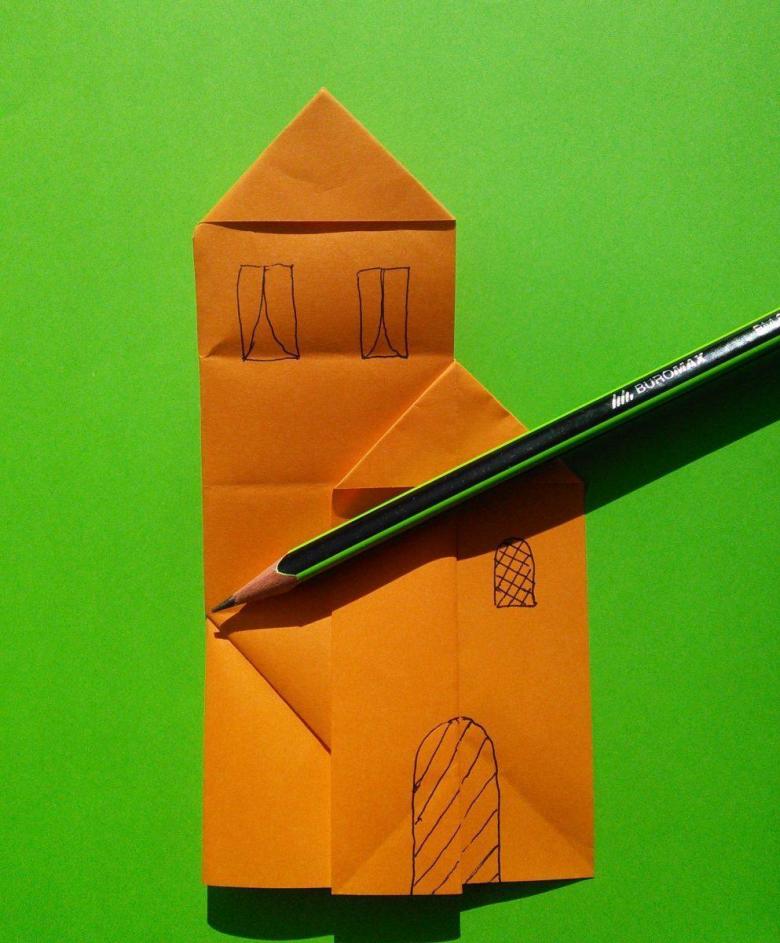
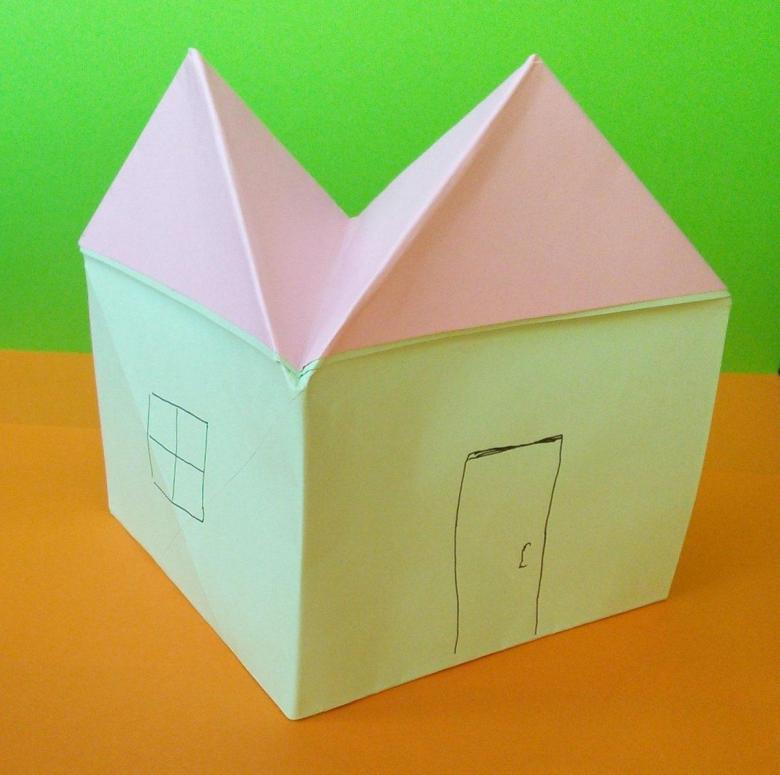
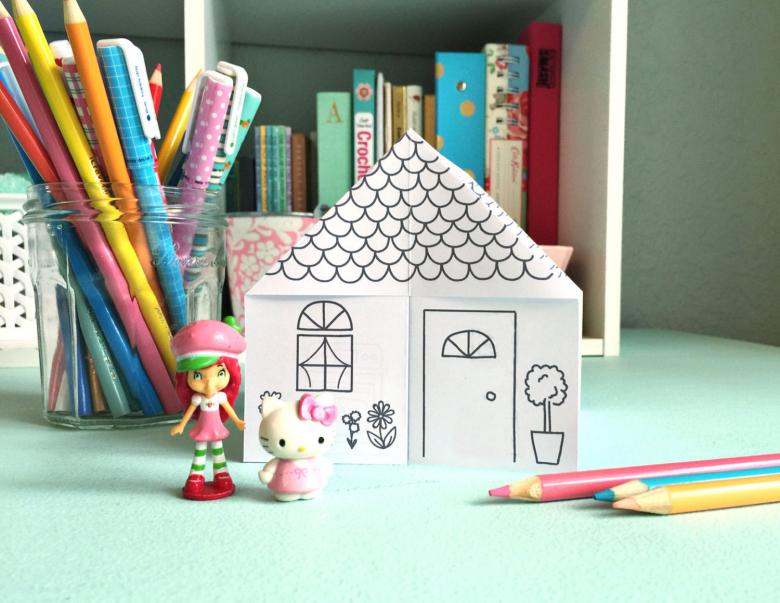
Finished models should be dissolved, draw windows and doors so that the product of their own making was as similar to this house.
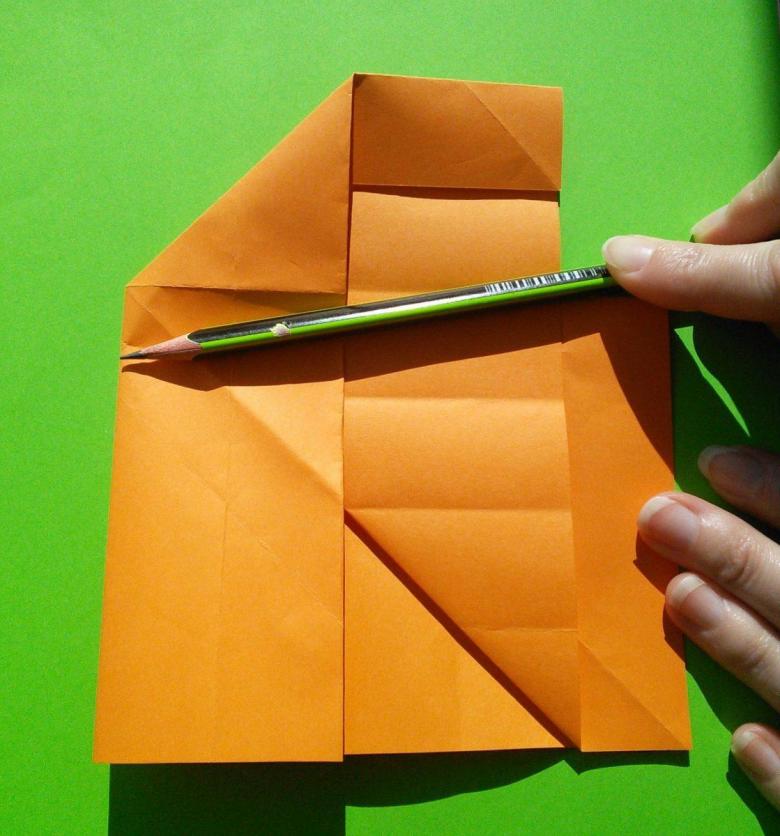
Three-dimensional composition
A more complex version of the execution, if you follow the instructions, will not seem something impossible. Two sheets of paper will be needed, the dimensions are chosen individually, but it is better not to take too large. It is necessary to prepare inventory:
- A ruler.
- A pencil.
- A knife.
- Tape.
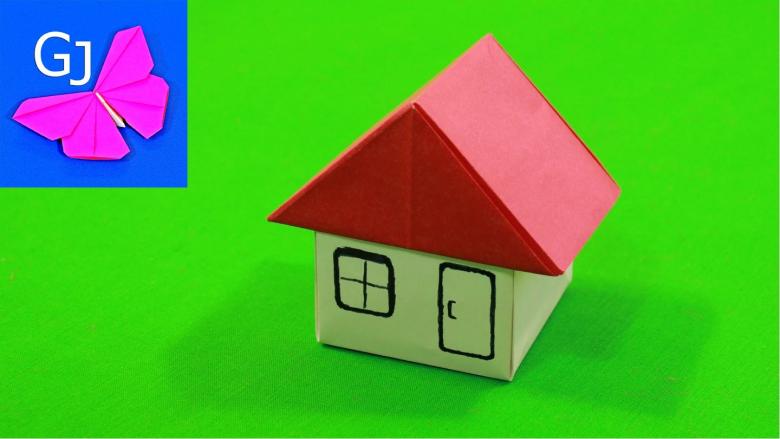
For the roof it is better to take a blank of one color, and for the walls another, then the handicraft will not look monochromatic and will find a natural look. A square must be marked according to the diagram and bend the walls of the future home, then secure the cut with scotch tape. The upper part will remain empty, but it will be covered by a roof and this space will not be visible.
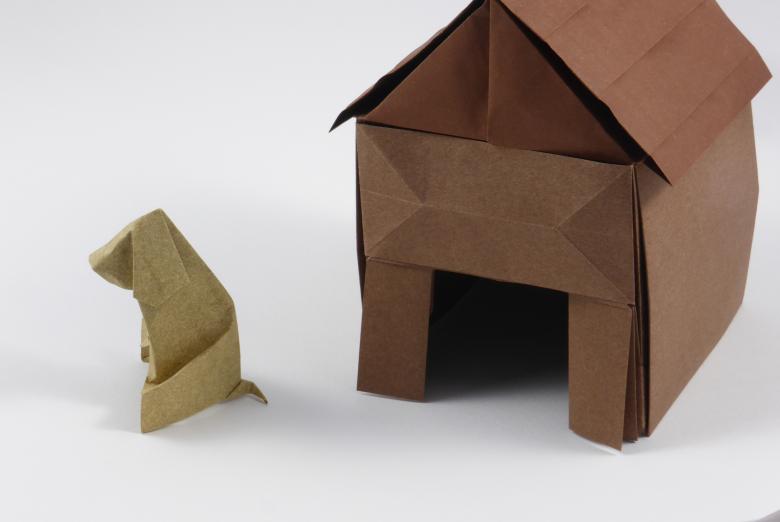
The overlap can be made one-slope or gable if desired, both versions look as spectacular as possible. Such origami paper for beginners in the form of a house will help to understand the basic principle of folding the elements and more complex compositions are given easy.Do not forget about the tightness of the binding of parts together, the roof should not blow away the flow of wind from the window or the opening of the front door.
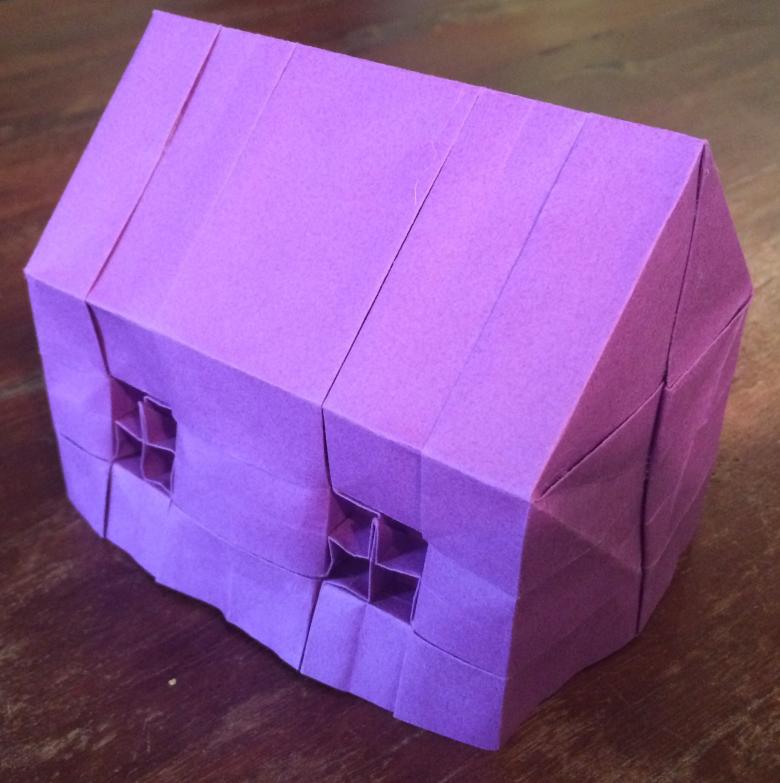
An important point will be the design of decorative elements, for this you can use paints or felt-tip pens. Having drawn with a simple pencil the windows and doors, they will just need to be filled with shades, parents can take care of highlighting the frame, and the children will bring the matter to an end.
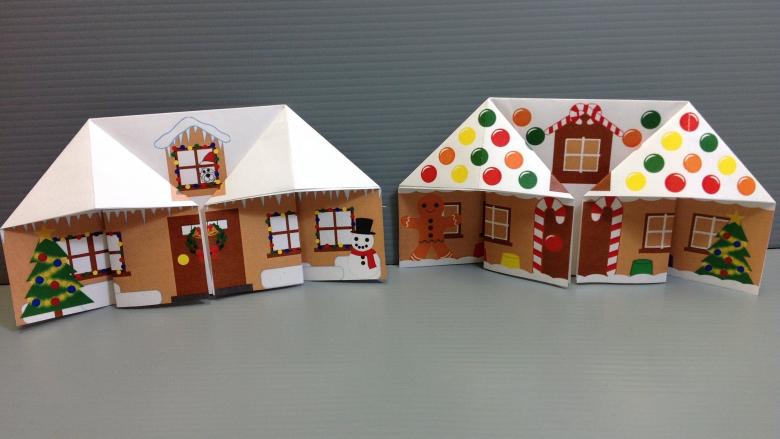
Very spectacular looks a chimney, for its manufacture, you can take existing elements or make them from paper, guided by the instructions for the construction of the walls of the volume house.
A bright and unique 3D model
This version of the craft will require more time and effort than the others, but the construction will turn out very beautiful. For the work you will need a sheet on which to draw all the blanks of the future building, it will be a sketch. But it is possible to use small size paper, then the blanks will be cut out separately, it is more convenient to work in the first variant.
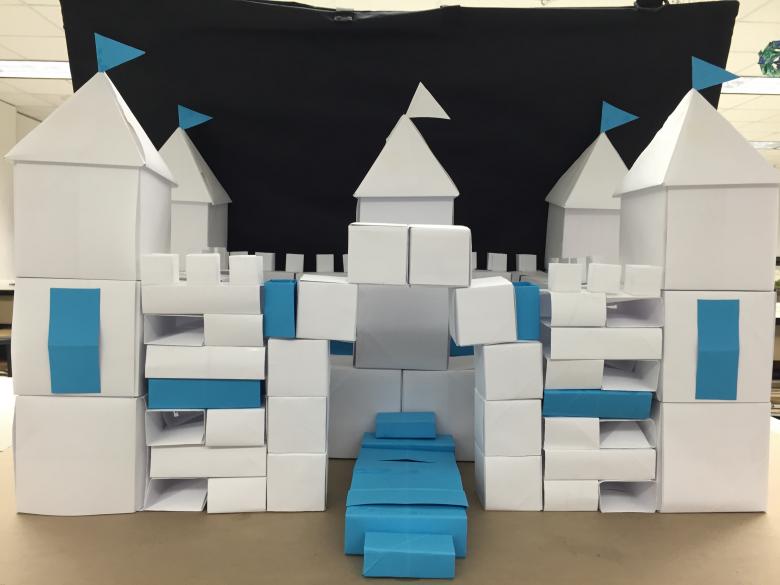
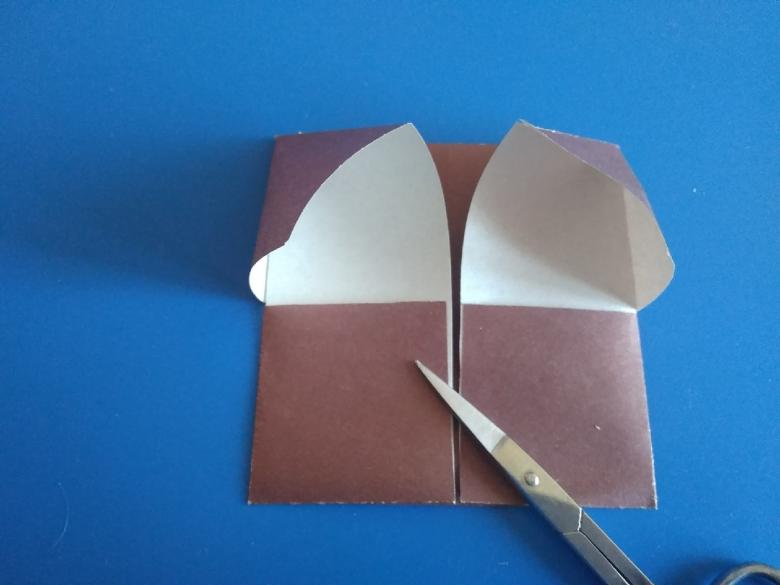
The resulting drawing should be divided by cutting out all the details of the structure with scissors, the elements with a dotted line is intended for the bends or glue this should not be forgotten. Constructing origami out of paper house on the scheme, it is necessary to adhere to the instructions clearly, otherwise some of the workpieces can be damaged and they will have to create from "0".
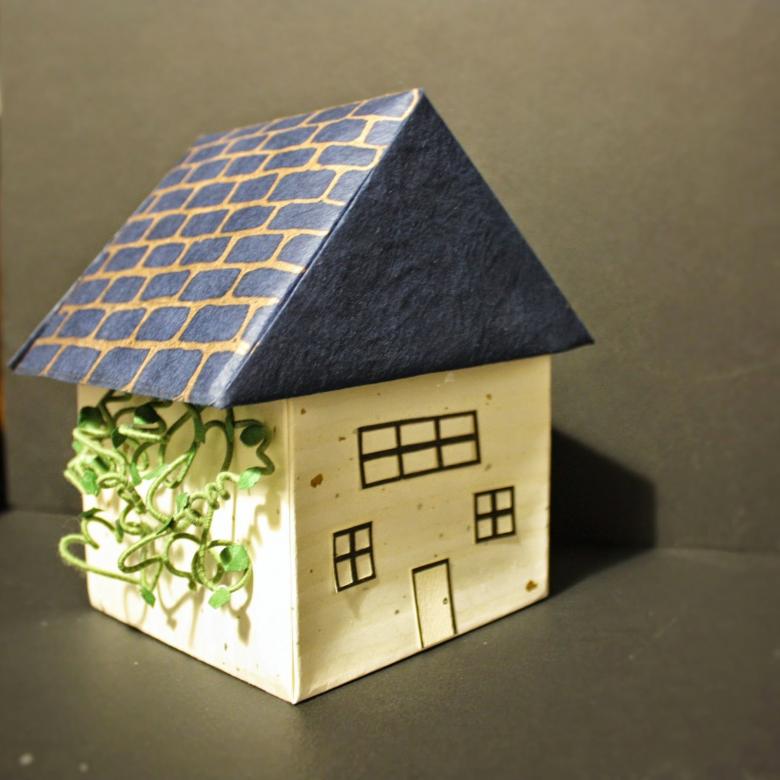
With regard to the floor, they are equipped with a structure if desired, initially in the instructions for such a supplement is not provided. You can do without it, if you put the construction on a flat surface, the child will not notice the difference. The following actions will focus on such moments:
- Assembly.
- Gluing the blanks.
- Decorating.
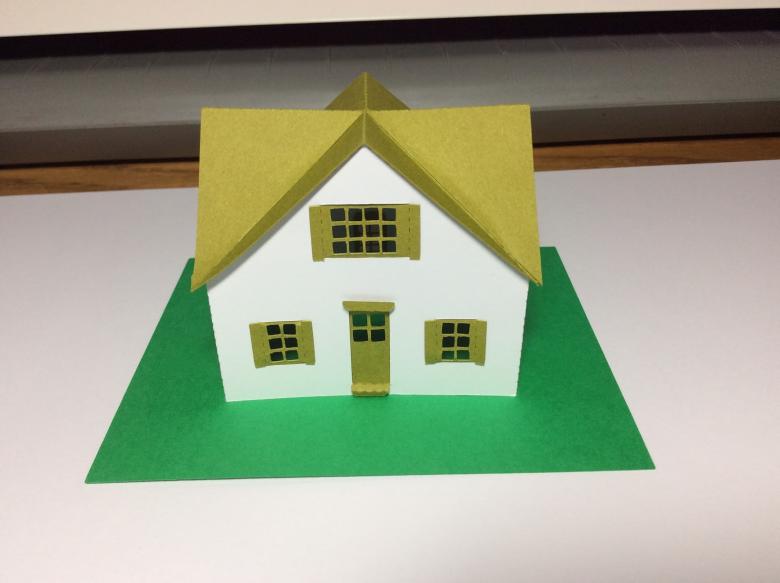
Windows and doors are cut out before connecting all the elements, such prudent actions do not disturb the finished design and make the process as comfortable as possible. If you approach creatively to the formation of the entrance, the doors can open, it is only necessary not to cut one of the sides, this point is adjusted as desired.
If the sketch was drawn correctly, there should be no difficulties with the assembly, all the edges should be tightly secured with glue. For this will do PVA or any pencil, most importantly, that it was of high quality. And the most festive event, which will entertain and occupy a child is the decoration and decorating the house.
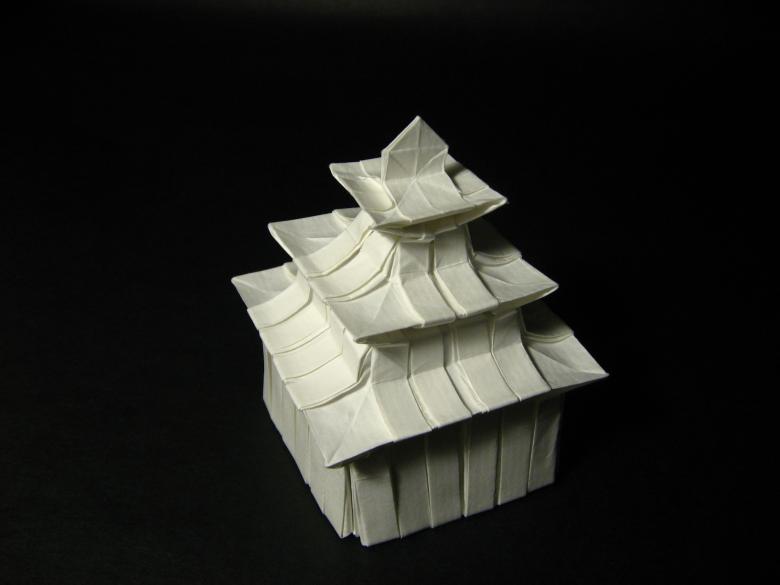
The walls of the construction should be painted with paints, and all the small parts and elements with felt-tip pens. It won't be superfluous to add sequins or beads of different sizes, the handicraft will look even prettier and it will be more fun to play with.
Interesting additions
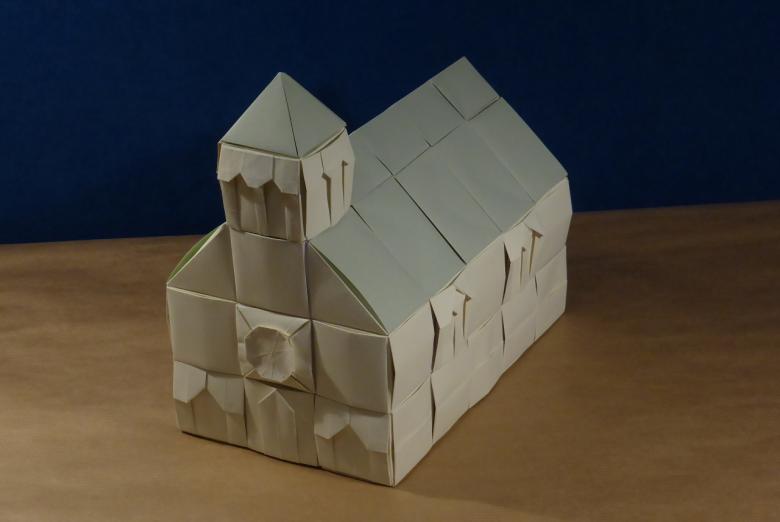
You can equip the door with a pawl, for this you will need to cut out a rectangle from cardboard and plant it on the glue in the right place. Double-sided masking tape will also be suitable for the work, with it this process will be much faster.On the roof will look great tiles, it can be made of paper, you need to cut small squares of brown or green and glue them on top of the overlap overlapping each other.
Round houses for gnomes
Connoisseurs of original crafts from fairy tales will approve the idea, such products look very cute, and for the work will require very little:
- Cardboard.
- Glue.
- Scissors.
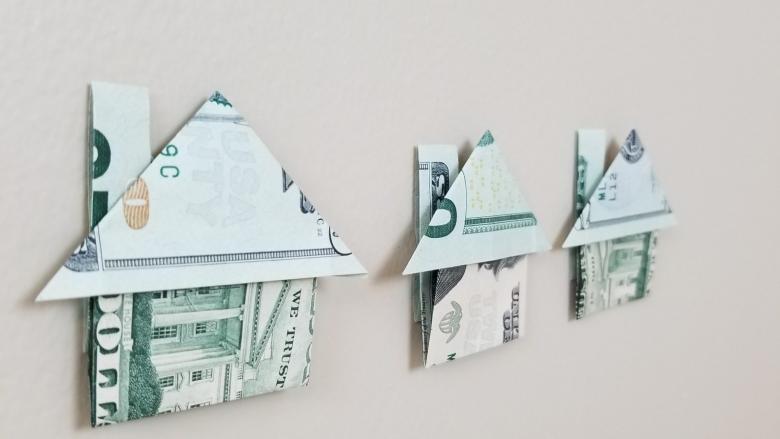
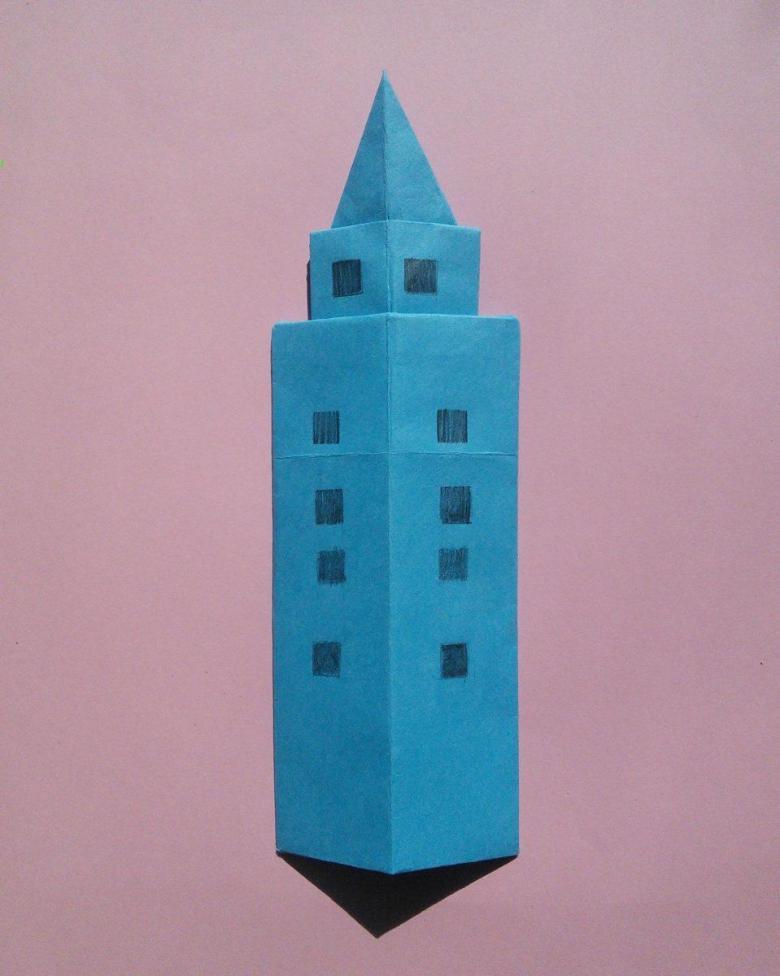
First you need to draw a large rectangle and cut it out, it will be the basis, on which later the outlines of the windows and doors are applied. The method of twisting carefully formed rounded walls, and then must be fixed with glue, otherwise the structure will unravel.Do not forget that the gnomes roof is customary to make a cone, and to give the magic will help various decorative elements. The role of snow can play absorbent cotton, it is very easy to fix, taking very little glue.
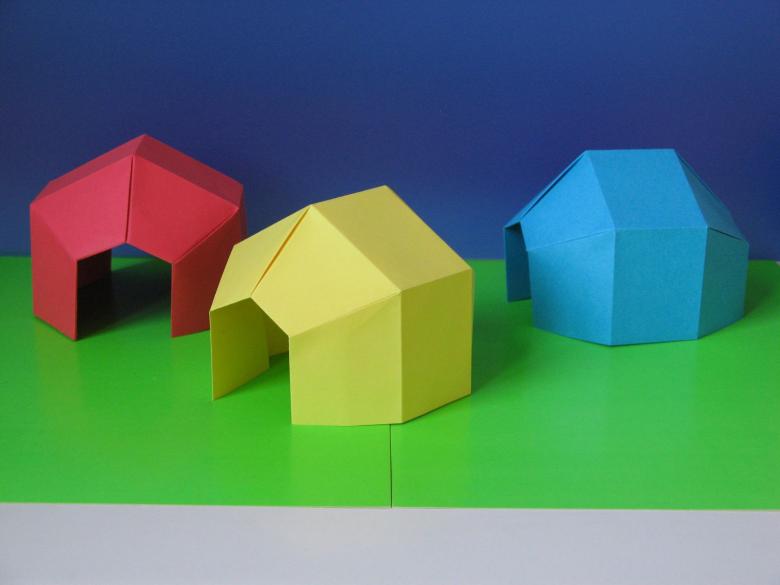
Hands-on execution is popular for a long time, because the handicrafts are exclusive, and the process brings a lot of positive emotions. During the work can be a good distraction from everyday life and problems. Joint work contributes to friendly communication and will bring all family members even closer, will get a good laugh and have fun.

