Handmade Pet Pet - photo of beautiful sculptures and step-by-step master classes with simple available materials
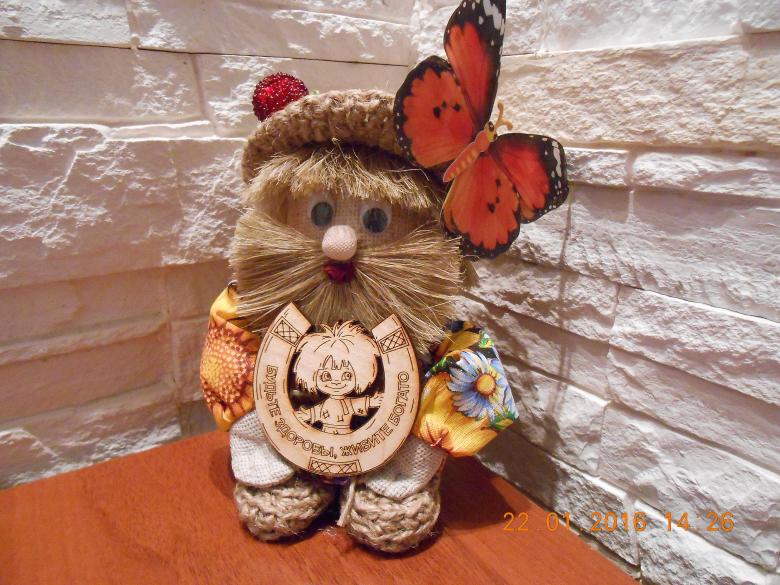
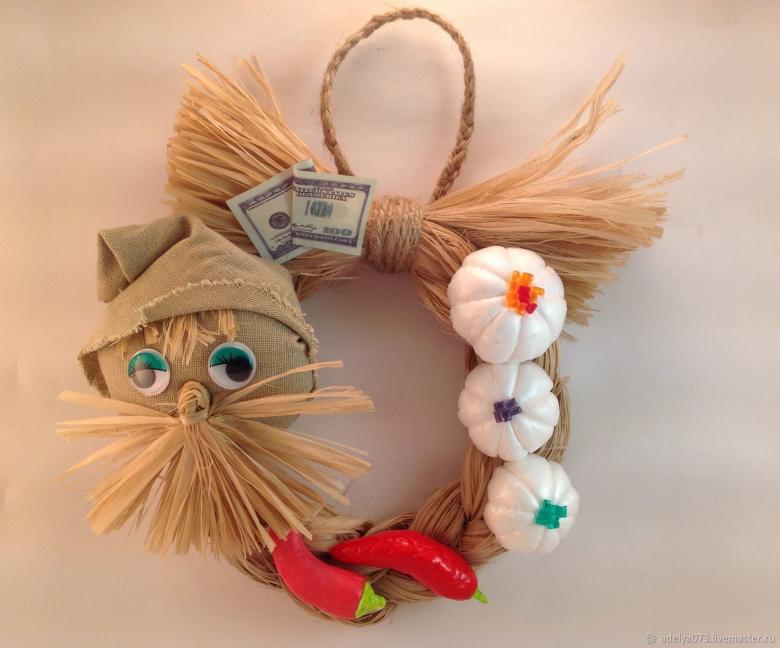
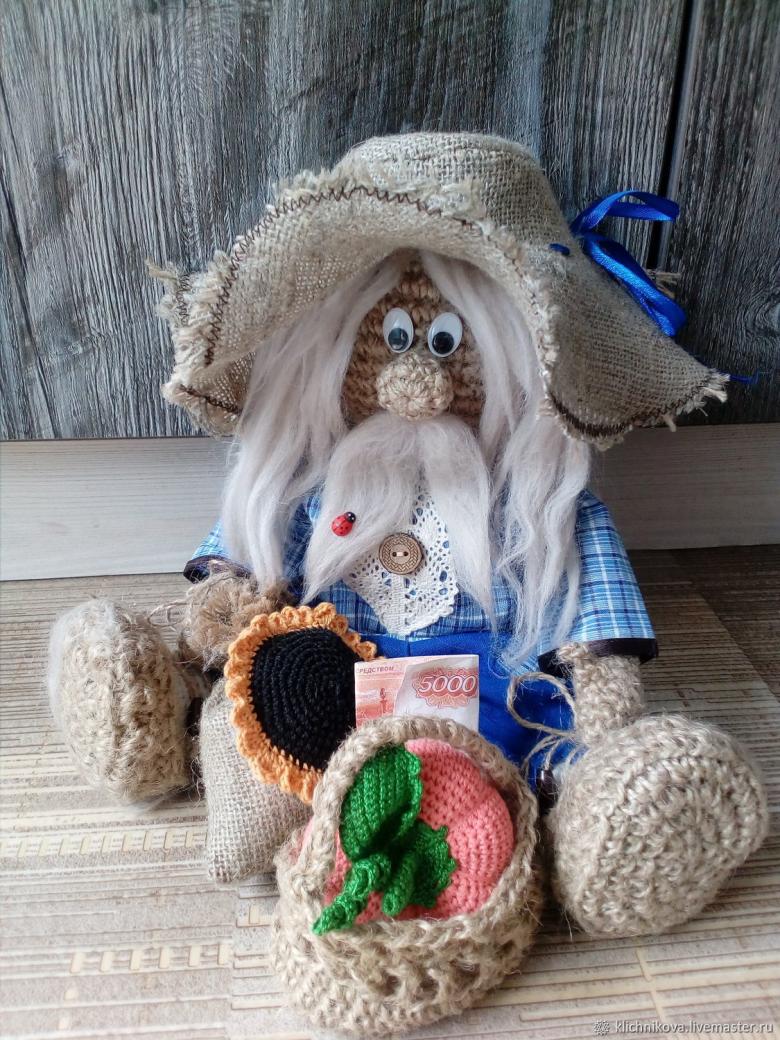
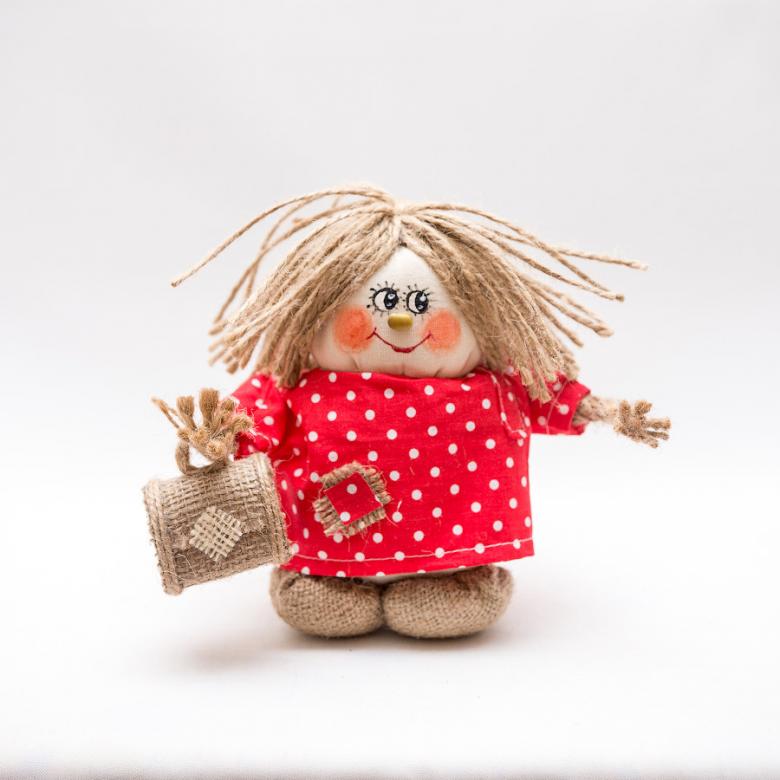
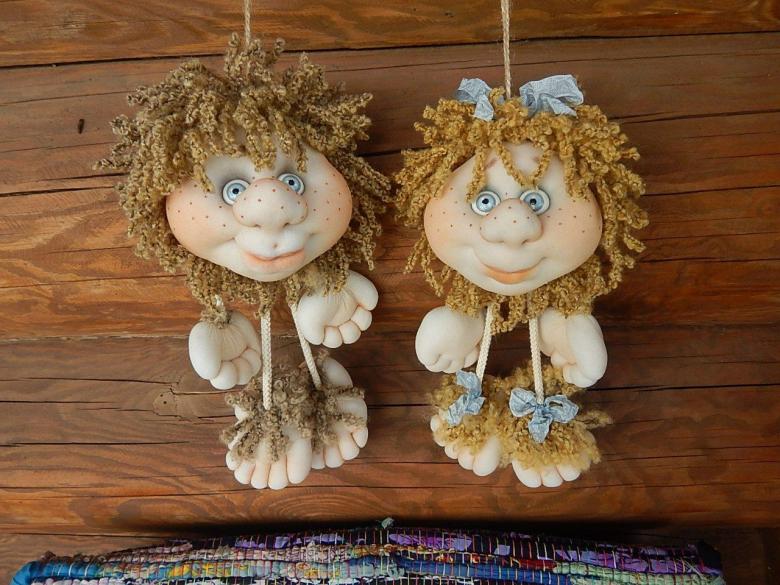
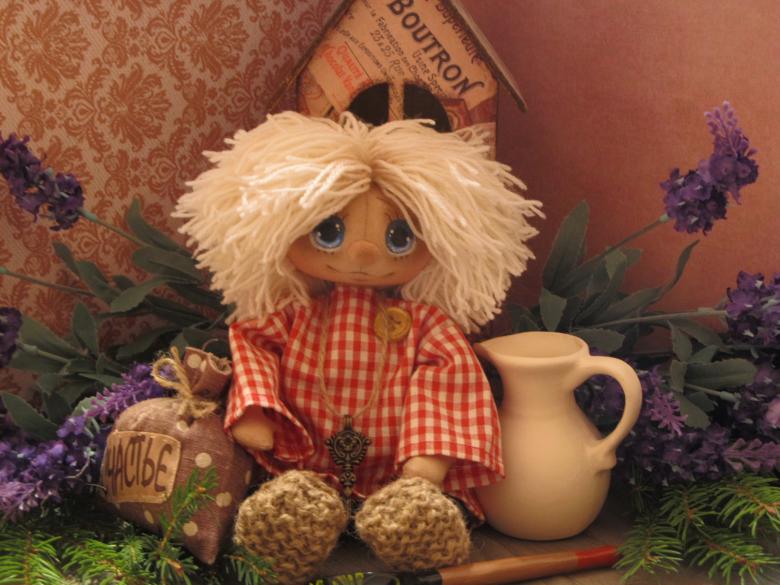
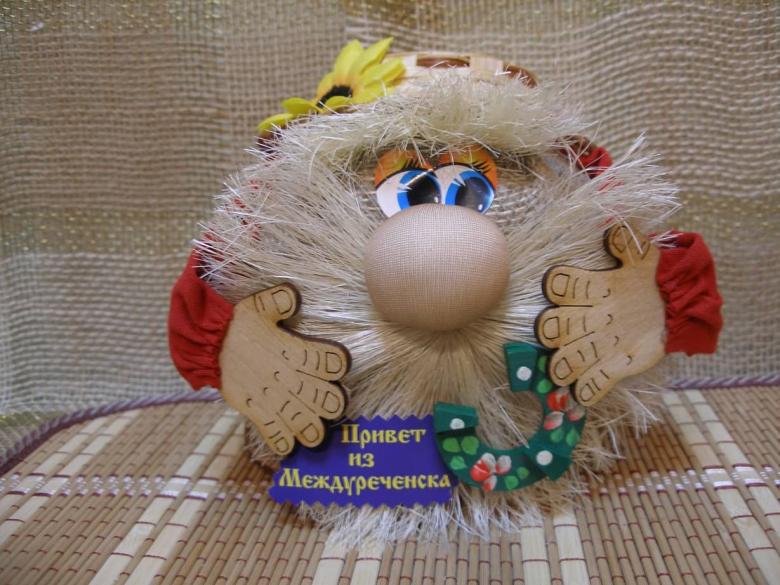
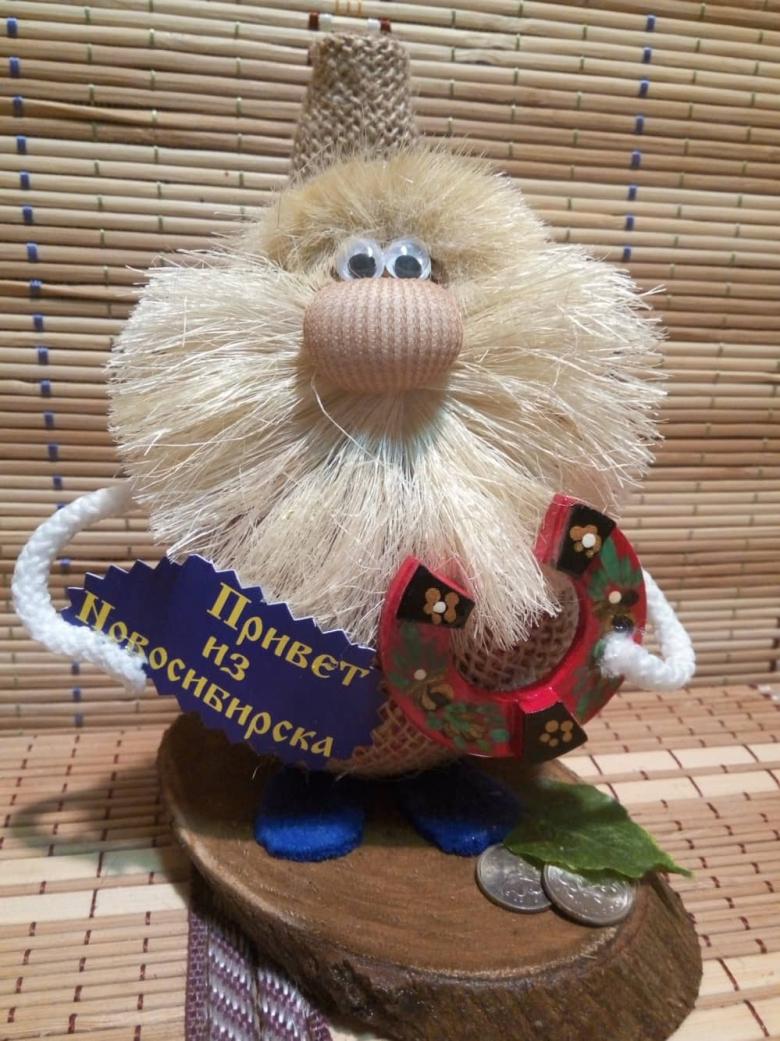
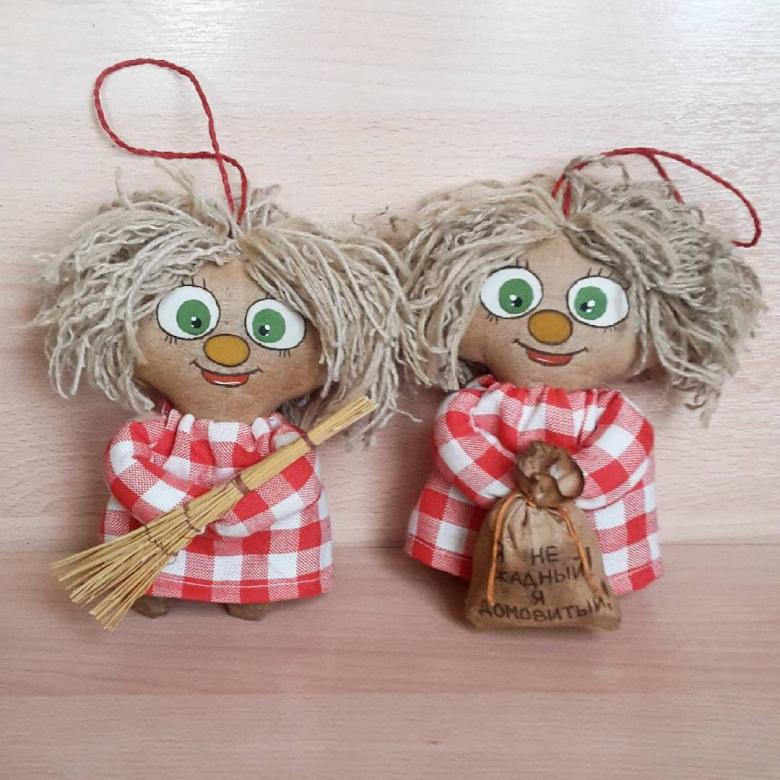
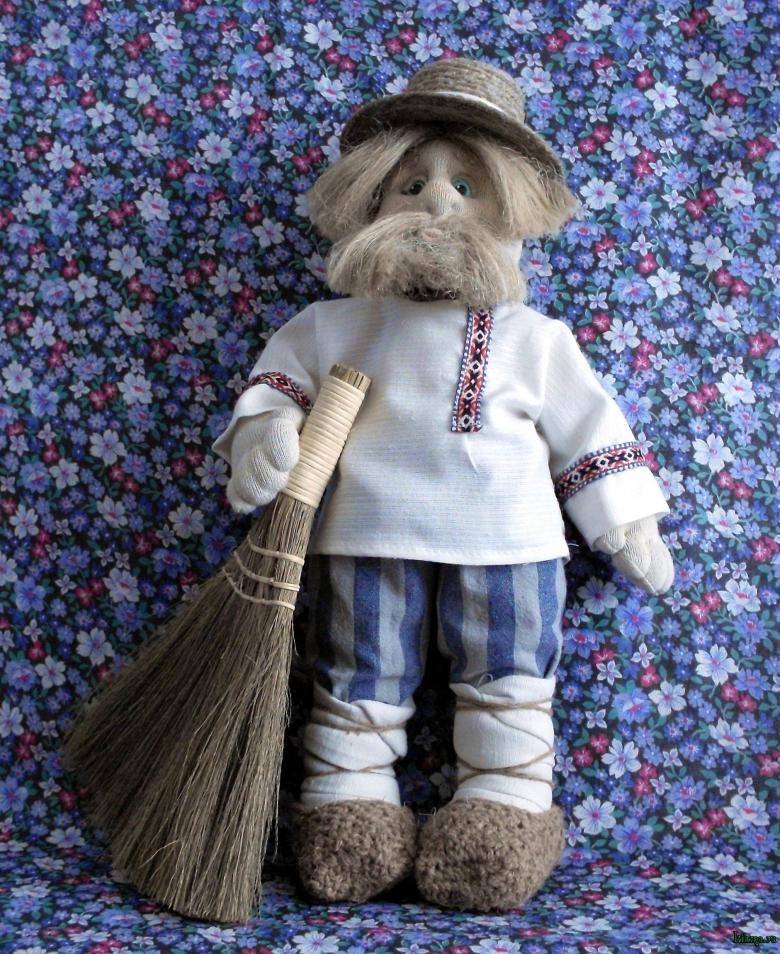
The tradition to keep a figurine of the houseboy in your home has its roots deep in the ages. In ancient Russia, such a doll was practically in every house. It was believed that it protects the house from evil and malefactors.
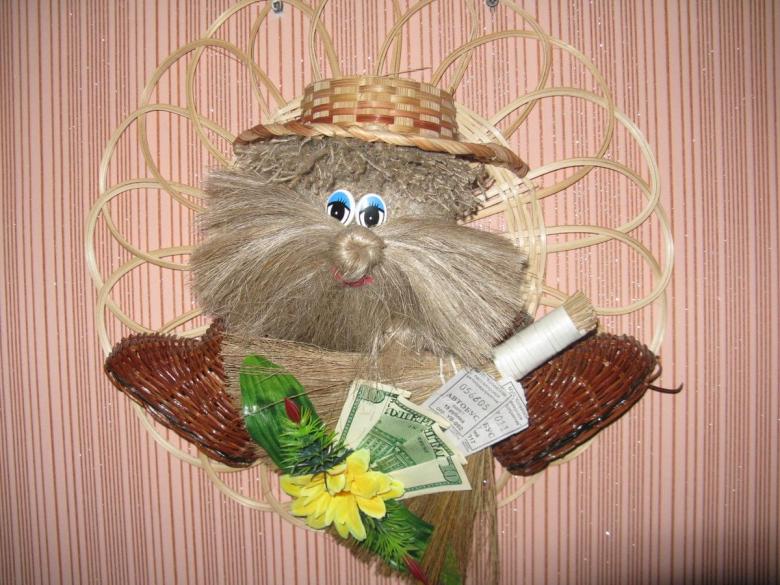
In addition, beautiful and tasteful home-made handicraft doll will be a good decorative element in the hallway or kitchen. Even children can cope with the creation of such figures, so in the early grades they are included in the lesson plan on technology.
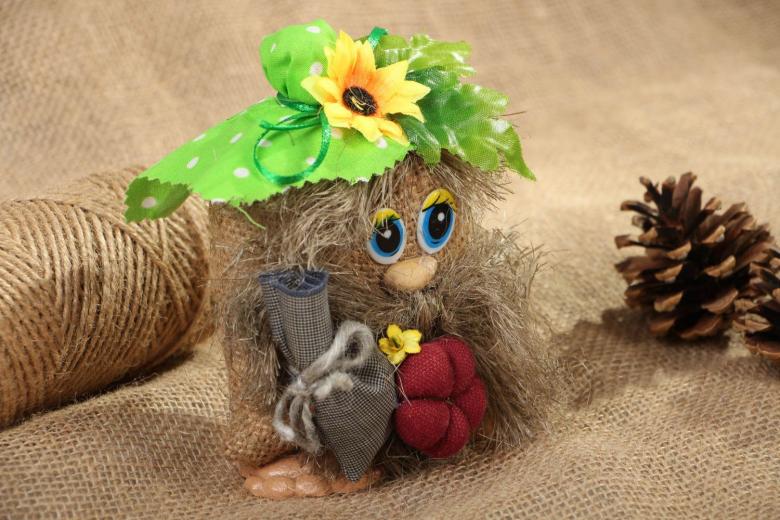
How and what to make a little house figurine?
There are many styles and ways to make figurines. A fairy-tale lodger can be placed in any style of interior. Today we will share the main ways and methods of making house dolls.
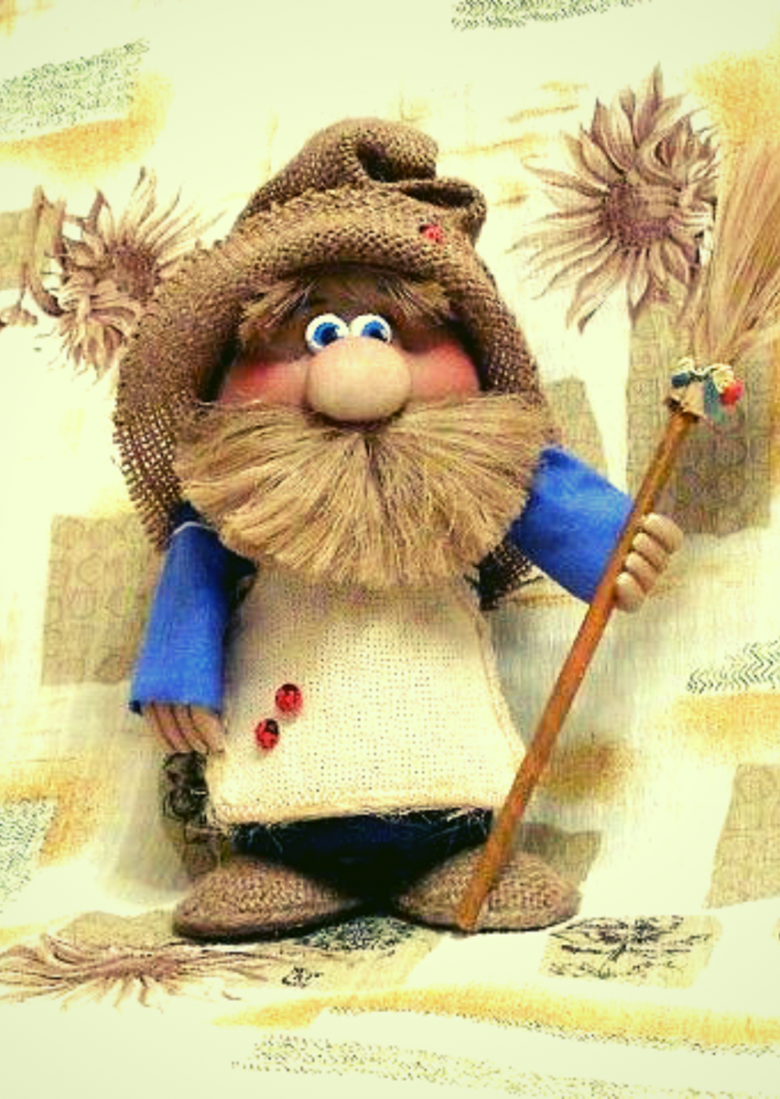
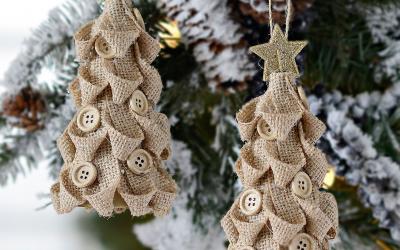
Decorative dolls are made from different material. The course goes thread, colored cardboard, burlap, tin cans, natural and other materials at hand. Try to make them with their own hands on our tips, and you can see that this is a very exciting activity.
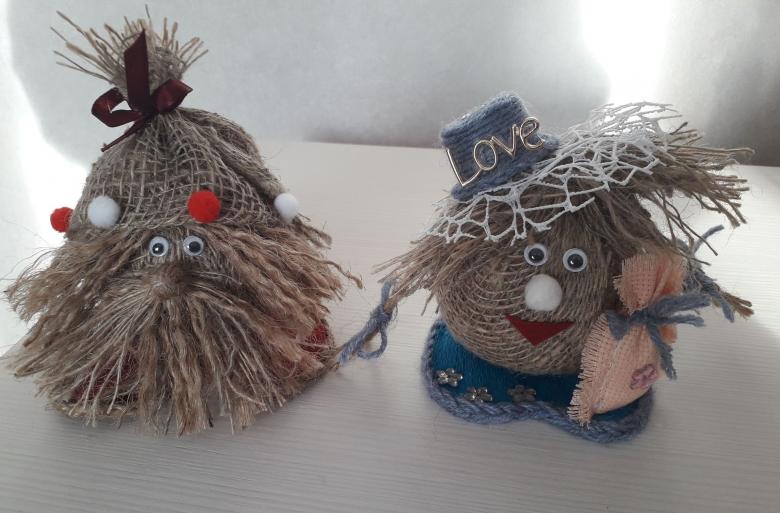
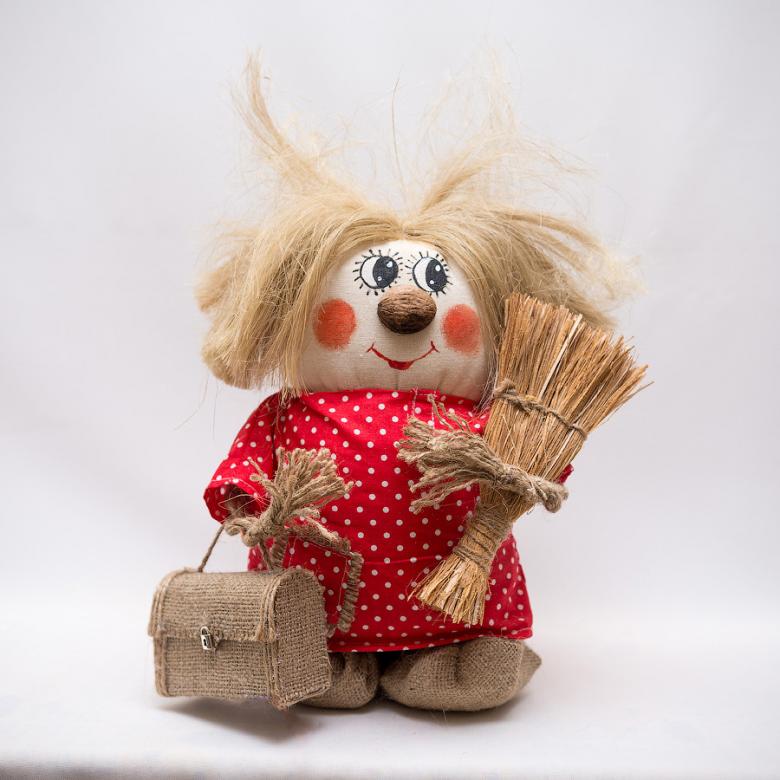
Creation of a pet inhabitant from threads
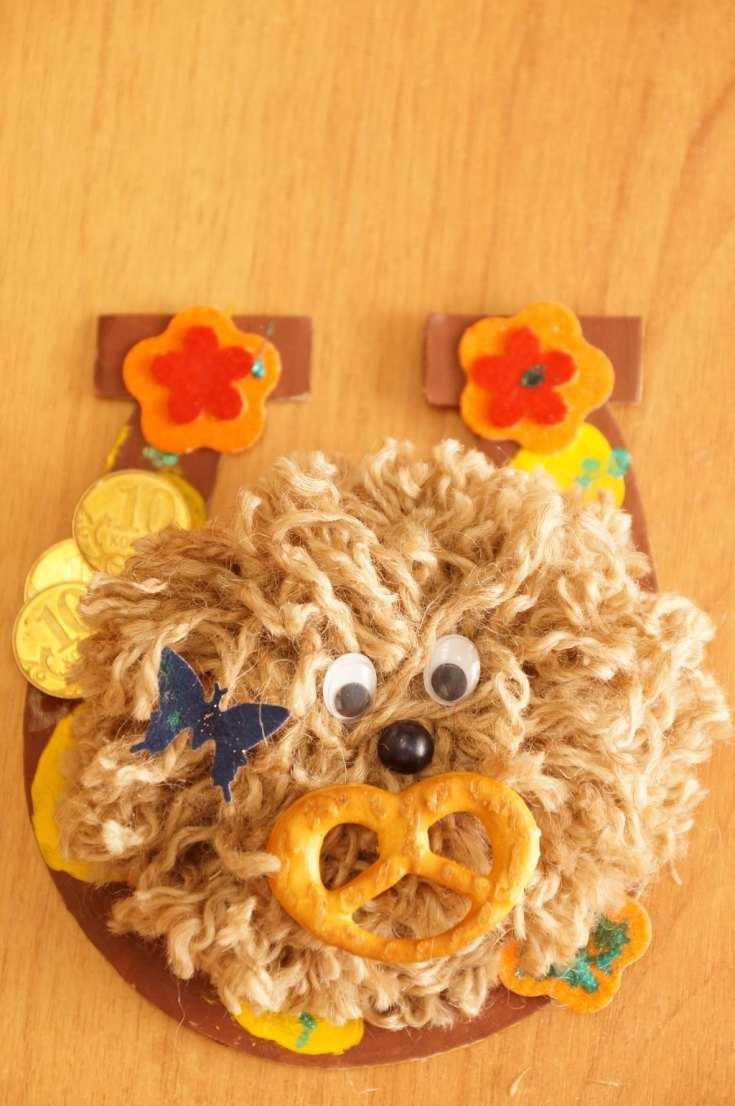
We offer a step-by-step guide for making a homemaker craft from threads for the technology lesson in the 2nd grade. Children of school age will be happy to spend their time creating a fun fairy tale character. They will cope with their work without much difficulty. At home you will be interested in working together with your child.
The minimum of materials will be needed:
- templates prepared in advance;
- a set of colored cardboard and paper;
- white cardboard;
- any yarn;
- glue;
- scissors.
Difficulties may arise with the creation of a pompon of yarn. Here you will have to try hard. If your child is involved in the process and he has no experience, your help is needed.
First step
Take colored paper, draw on it several templates for eyes, ears, tongue, hands and feet. If colored paper is not available, use cardboard. Make the tongue slightly rounded to make the doll seem cheerful.
Second step
Now we will create the pompom. On the cardboard, draw two circular disks with a radius of 5 cm. Inside them are circles with a radius of 2 cm. Cut out so that you get a pair of "loafs". Put them together, wrap a thick layer of yarn around them.
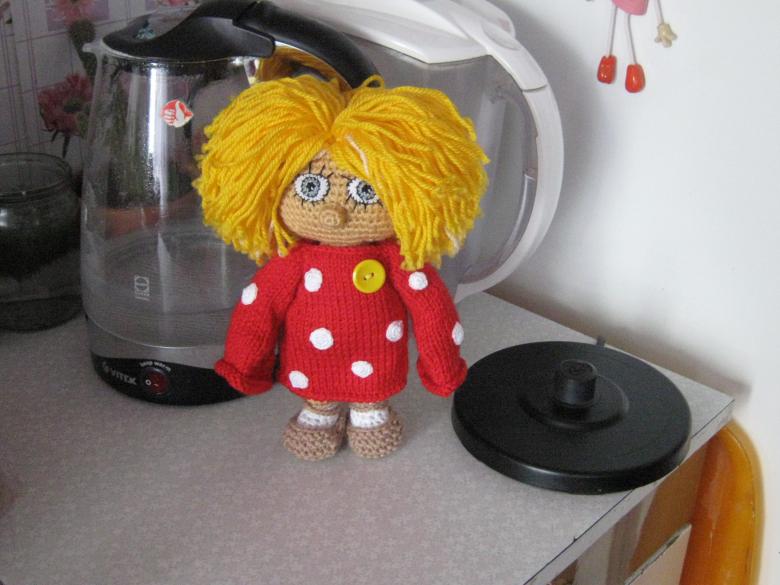
Carefully cut the yarn between the rings on the outer perimeter. Make sure that the rings do not move, so that the yarn does not disintegrate.Tie the middle with the yarn and tie with two knots. Now get rid of the cardboard, fluff up the pompom without cutting off the tying knots.
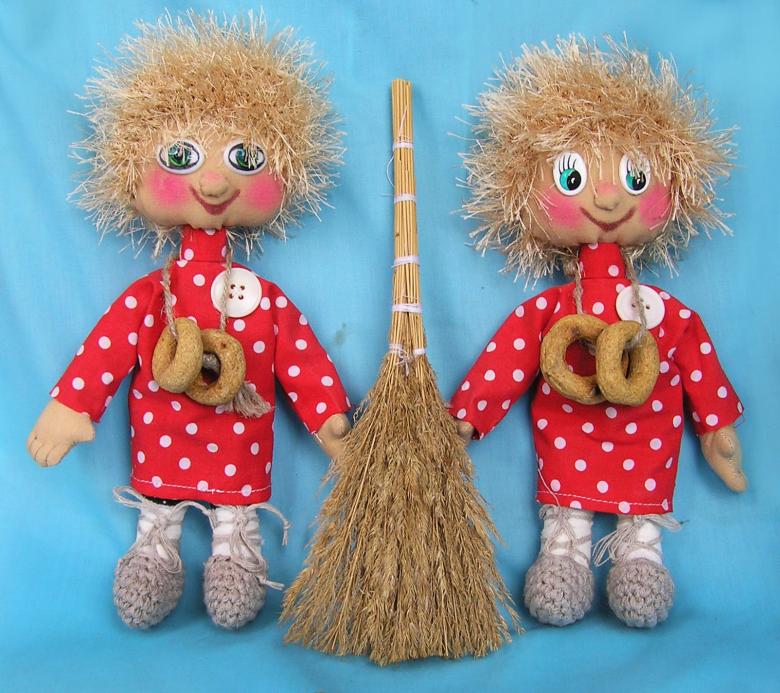
The third step
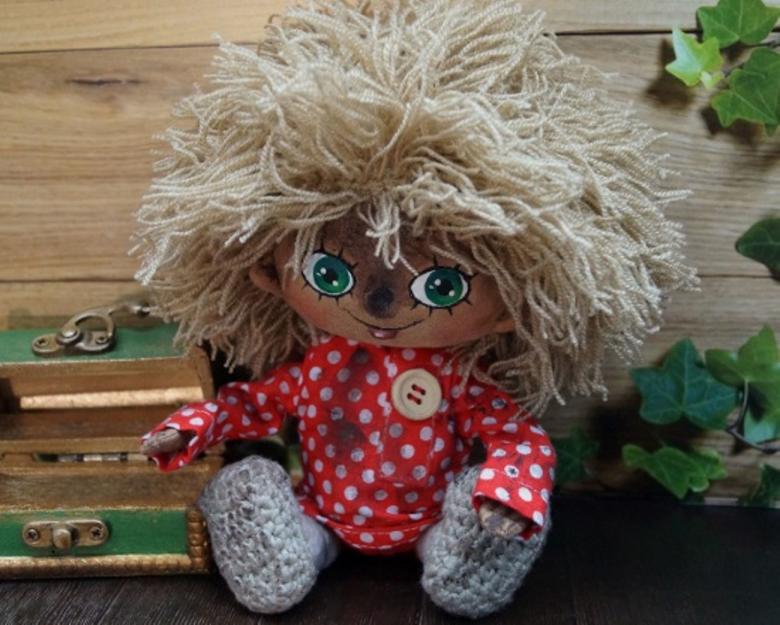
The resulting pompon will serve as the body of the houseboy. Glue the prepared parts to it with PVC glue. We got a boy dovzhenka. For a girl, simply glue a pretty bow or flower on top.
A housekeeper made of burlap and filler
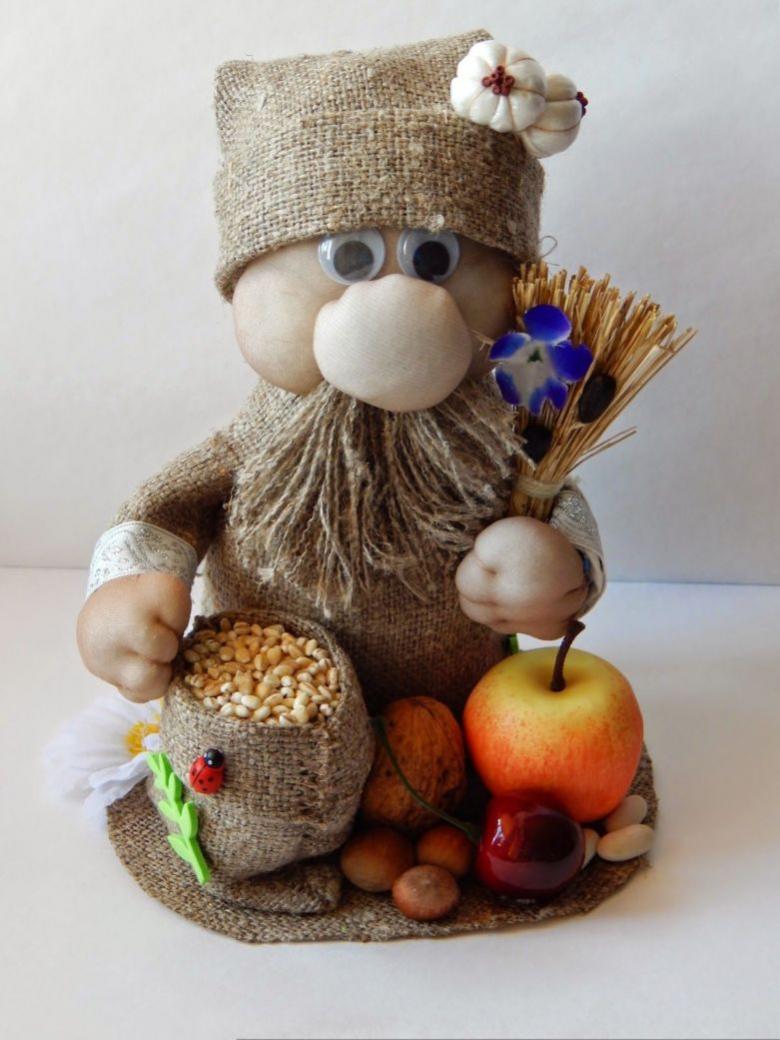
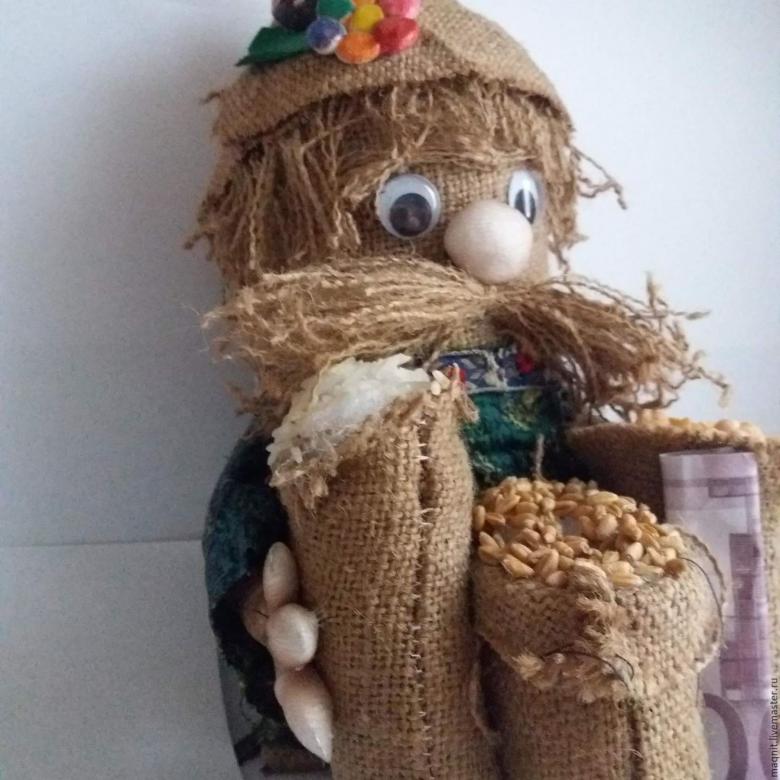
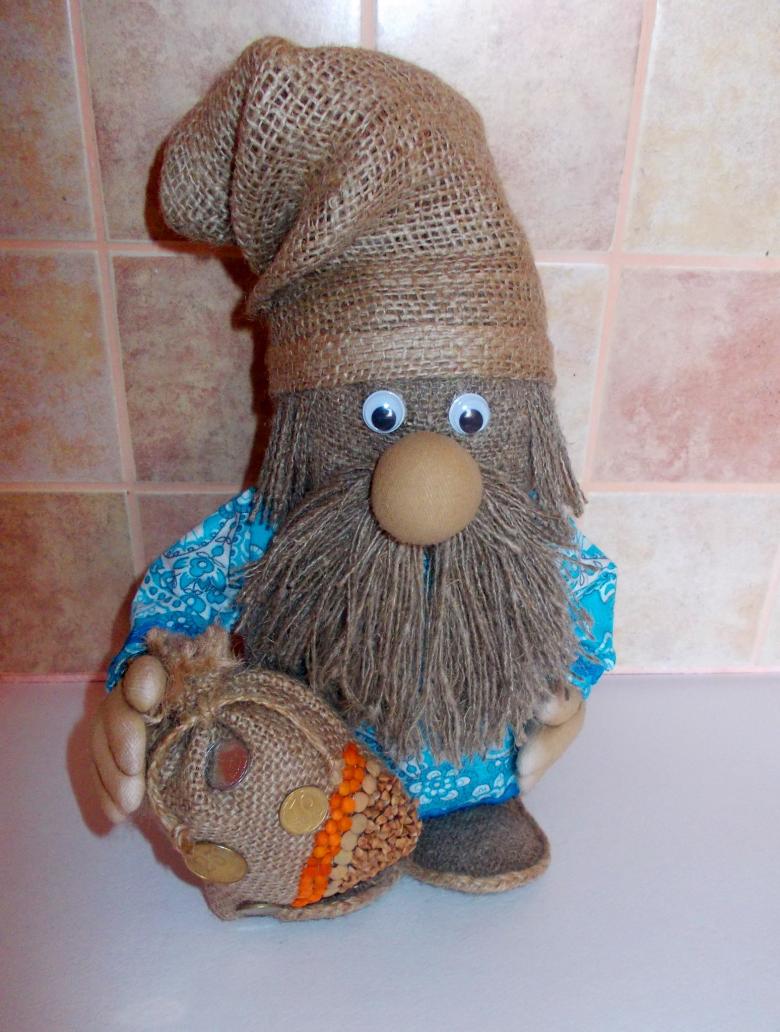
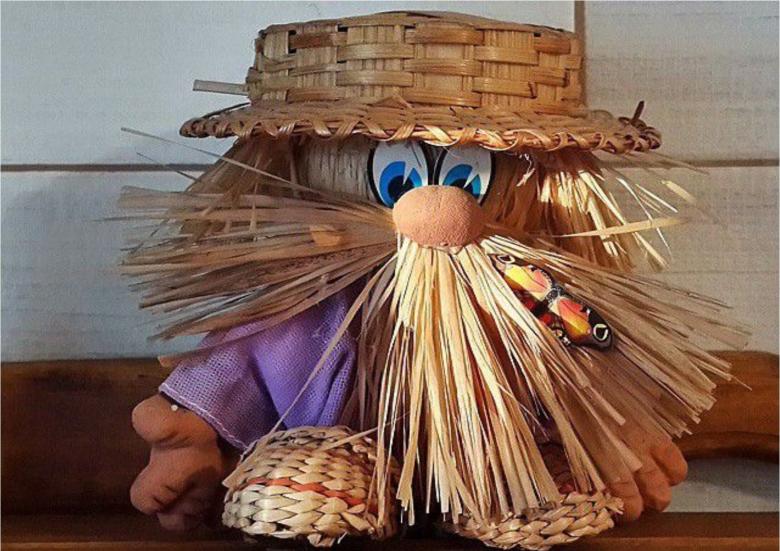
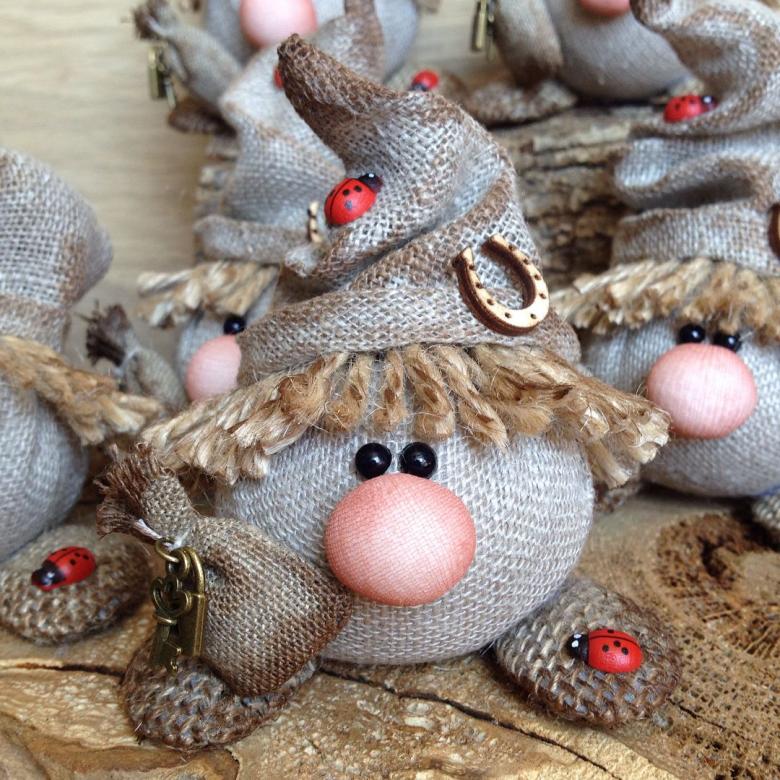
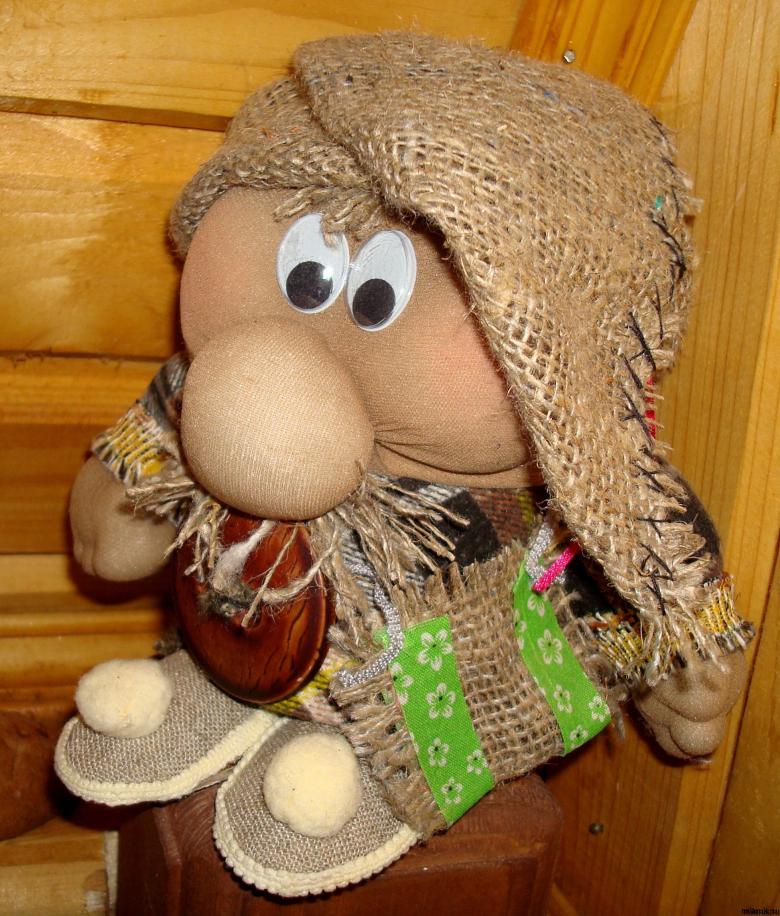
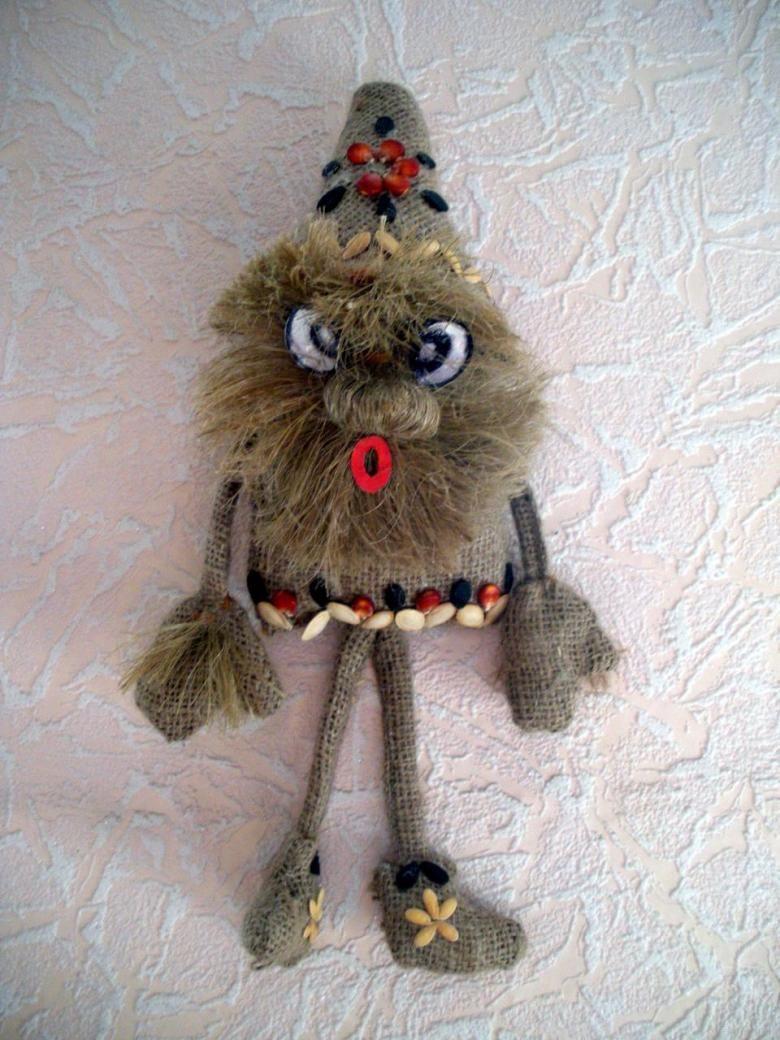
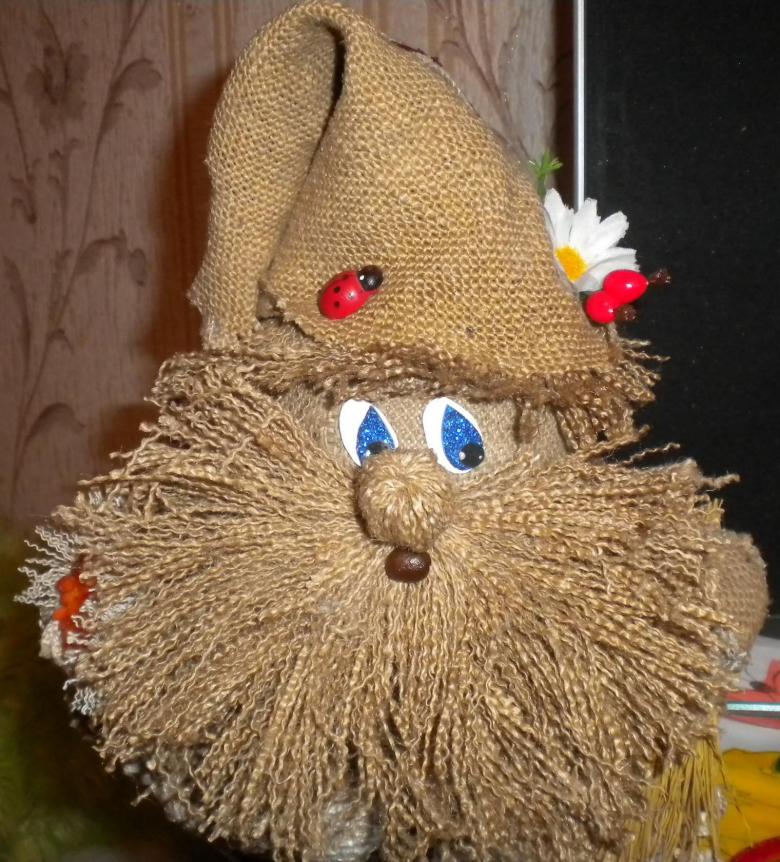
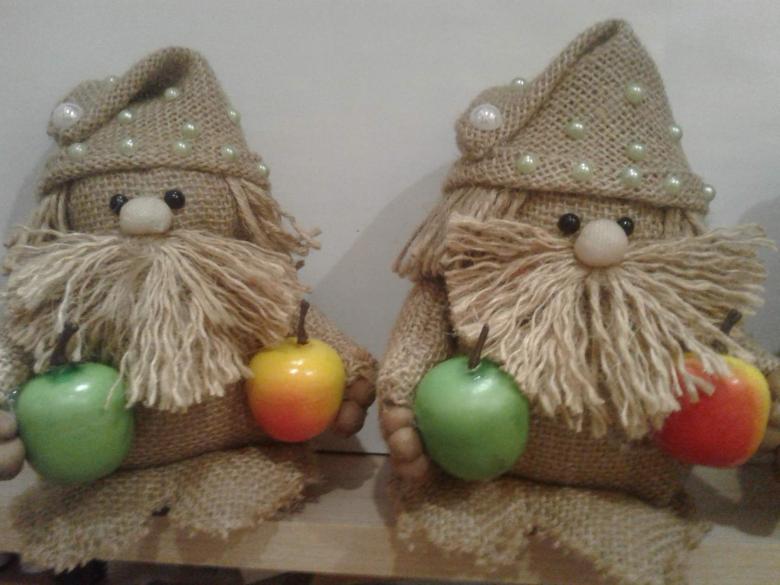
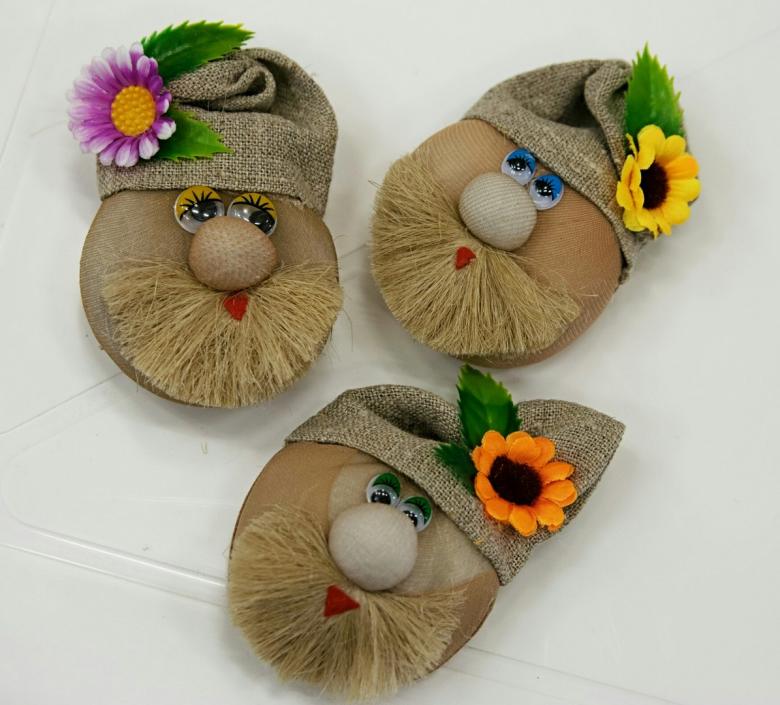
Toys made diligently and with love, always attract attention and look beautiful. Very common are handmade crafts. For example, a cowgirl out of burlap. Consider two variants of his making.
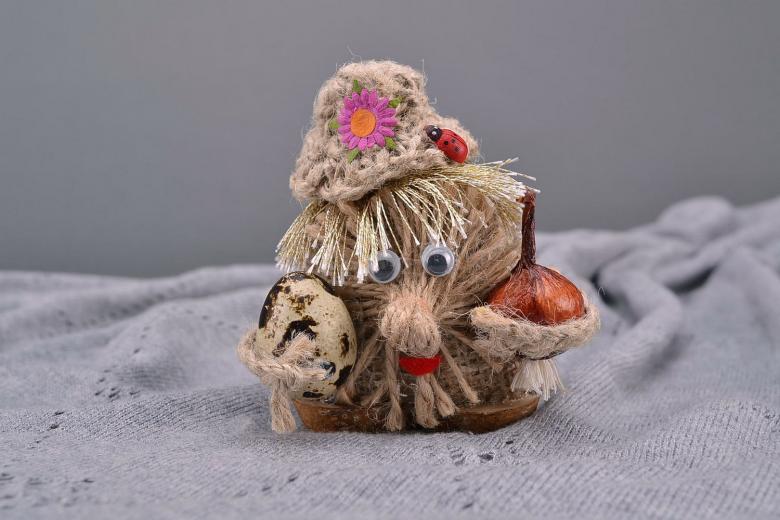
The first option - with a filler.
Prepare the following materials:
- burlap;
- scissors, thread and needles;
- any strong rope;
- stuffing;
- plastic eyes;
- Decorative elements (cones, artificial leaves, flowers, etc.);
- corrugated cardboard;
- plastic lid;
- heat gun.
Techniques
- Cut a rectangular shape from the burlap, about 25 cm by 30 cm. Fold it in two. From one of its parts pull 15 - 20 threads.
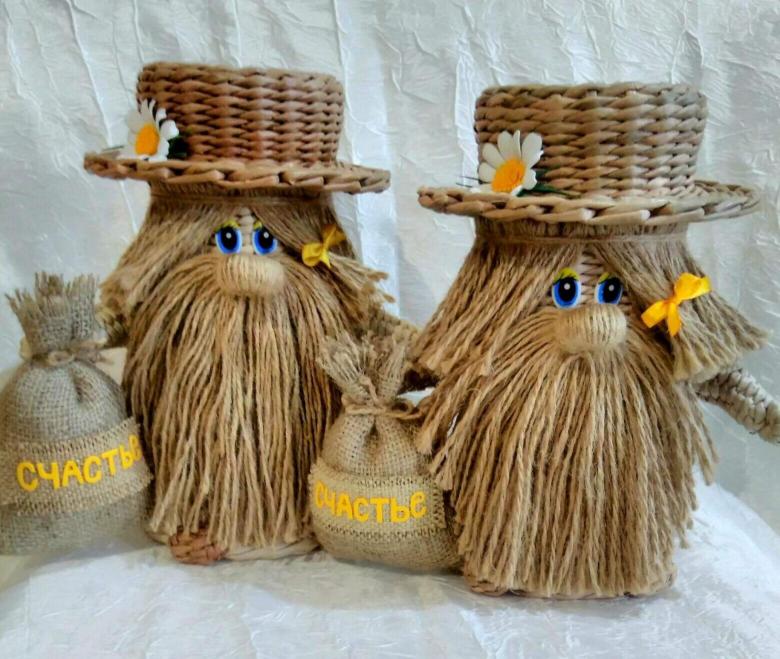
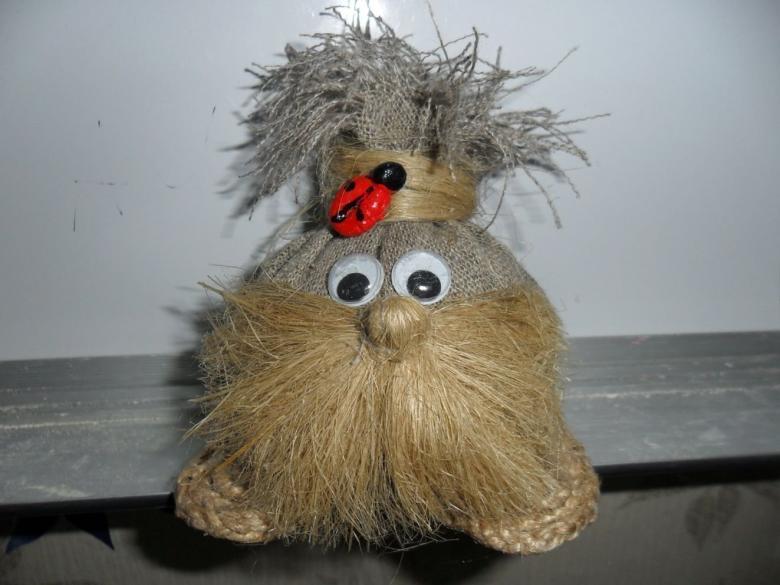
- Put all threads together carefully and make a beard and nose. First knit them in the middle. Then, to form a spout, tie them together with strong rope (such as jute).
- Fluff out the beard.
- Next, take a piece of burlap, stitch it on the sides. The bottom corners should remain rounded.
- Turn out the resulting sackcloth by the front side. Just below the top edge of the fringe stitch with normal stitches.
- Now stuff the toy with any filler, sew it and tighten it on top.
- Draw four shapes of feet on cardboard, cut them out and trace around the edges with a red felt-tip pen. From the burlap for each leg, cut out shapes slightly larger than their size.
- Glue the fabric to the cardboard pieces with a hot-air gun.
- Glue each piece to each other on the inside. Put jute around their perimeter. Decorate the legs with jute bows and glue them to the body.
- On top of the body with a heat gun glue plastic eyes, and between them - the beard of threads.
- Cap is also formed from jute. For its awning, use a transparent plastic cap.
- Make a braid of jute and twist it in a circle. Then glue to the center of the cap. Continue to glue the lid until you reach the end of the lid.
- At the end of the lid, the pigtail is glued so that the margins of the hat begin to form. Neatly tuck the end of the rope with hot melt glue.
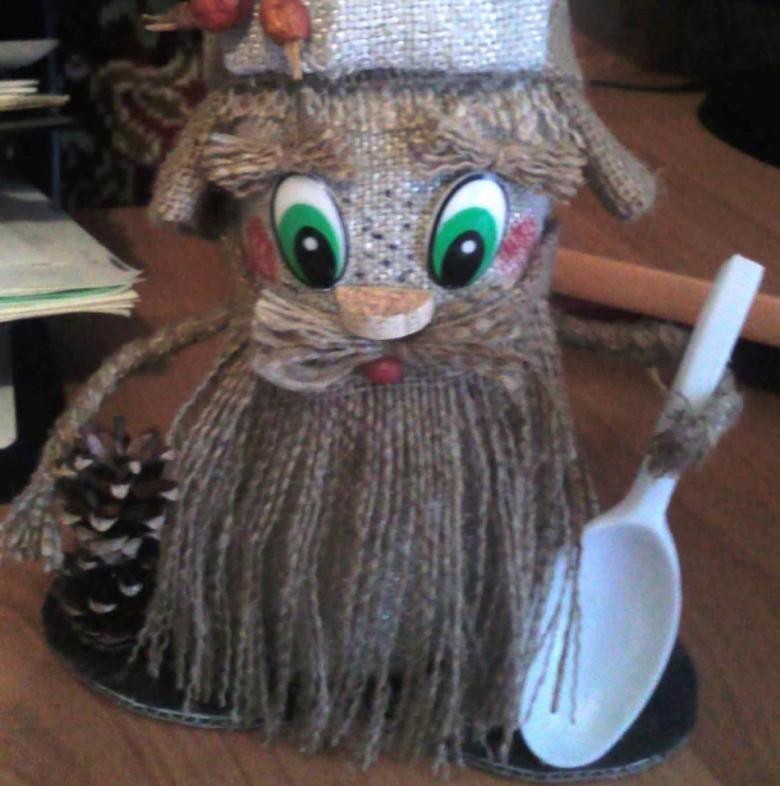
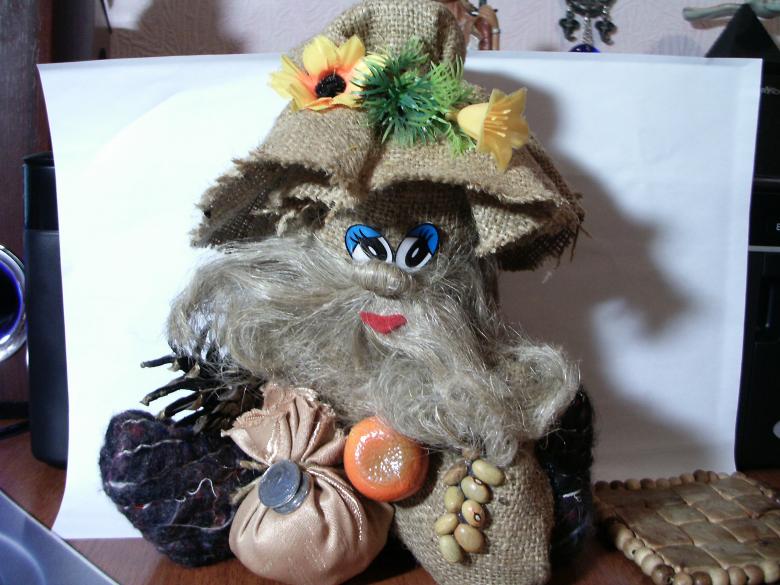
- Sew the hat to the torso, and on its sides - some pine cones and green leaves.
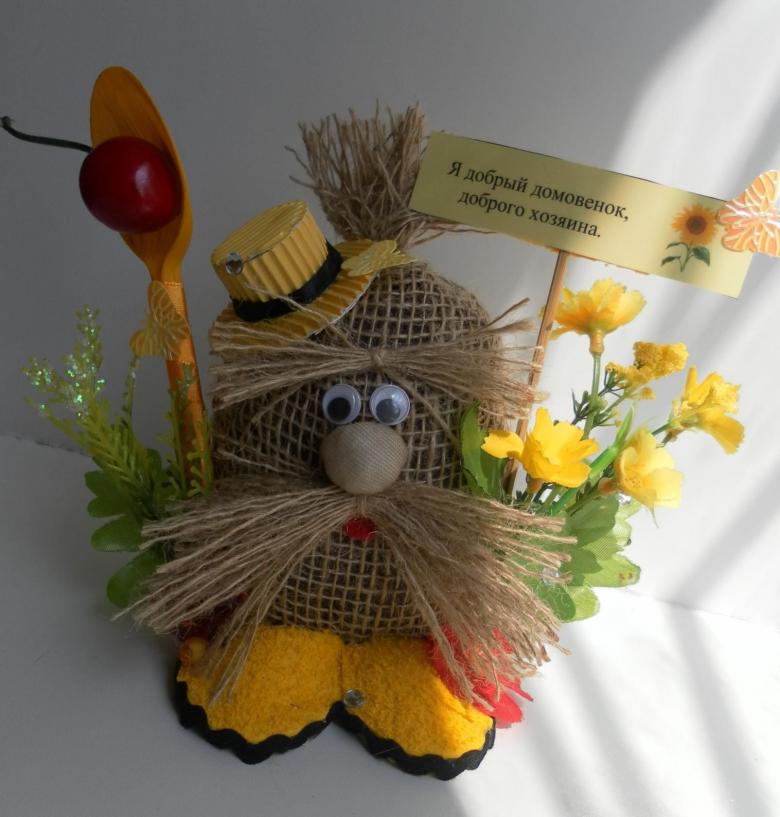
Household made of burlap and tin cans
This method uses a large coffee tin as the inside base. Of other materials, take:
- burlap;
- a heat gun;
- a button;
- Plastic eyes;
- scissors, thread and needles;
- Decorative elements (broomstick, ladybugs, artificial leaves, etc.);
- Plastic lid.
Technique of execution
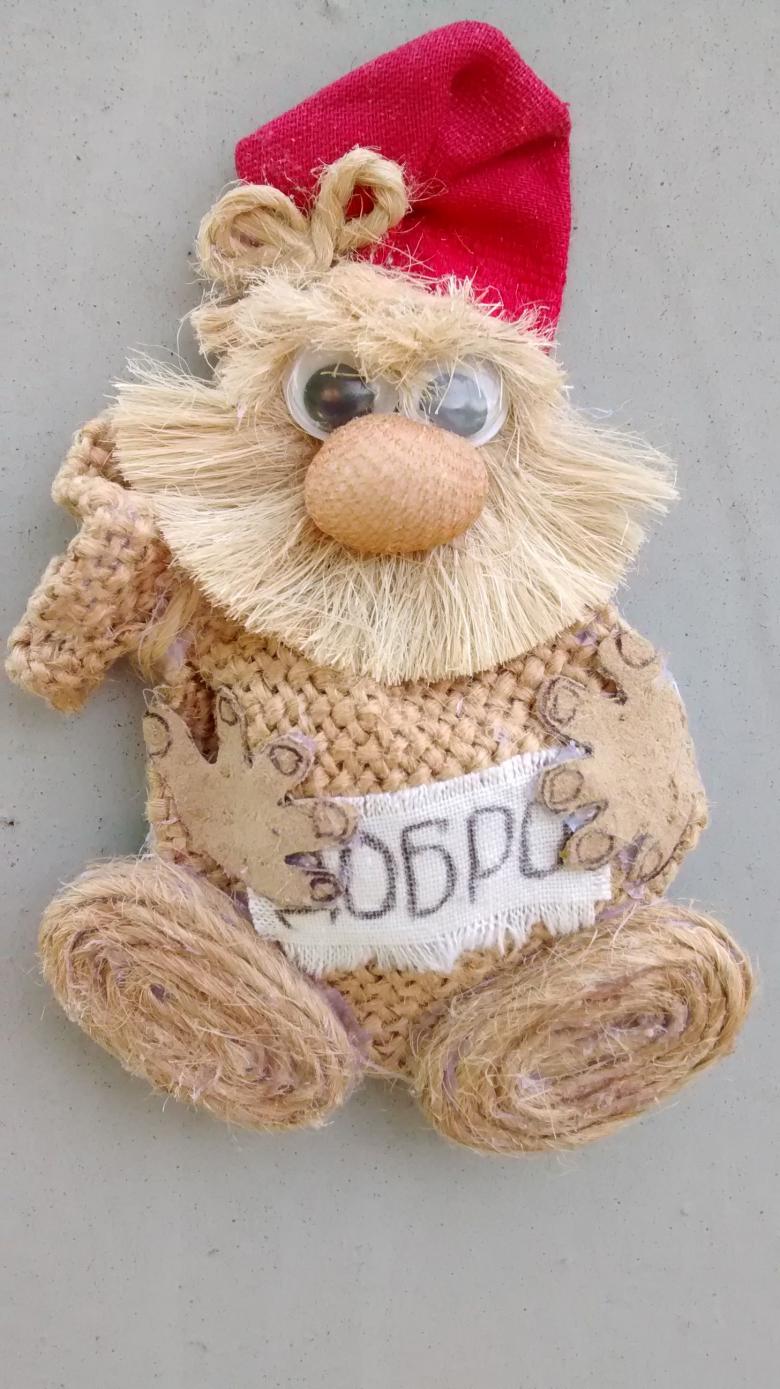
- According to the previous technique, make a mustache and spout, and form a hat. While putting them aside.
- Place the coffee can on a piece of burlap. The material should be enough to completely wrap the base. Any excess is cut off.
- Wrap the can completely, making a sturdy knot on top.
- Additionally, glue this connection so that the knot will not come undone.
- Take a hot air gun, with its help glue on the body of plastic eyes.
- Tie a button-nose with jute material and also glue just below the eyes.
- Add a mustache.
- Cut out colored cardboard feet and glue them under the bottom.
- Prepared in advance glue or sew a hat on top.
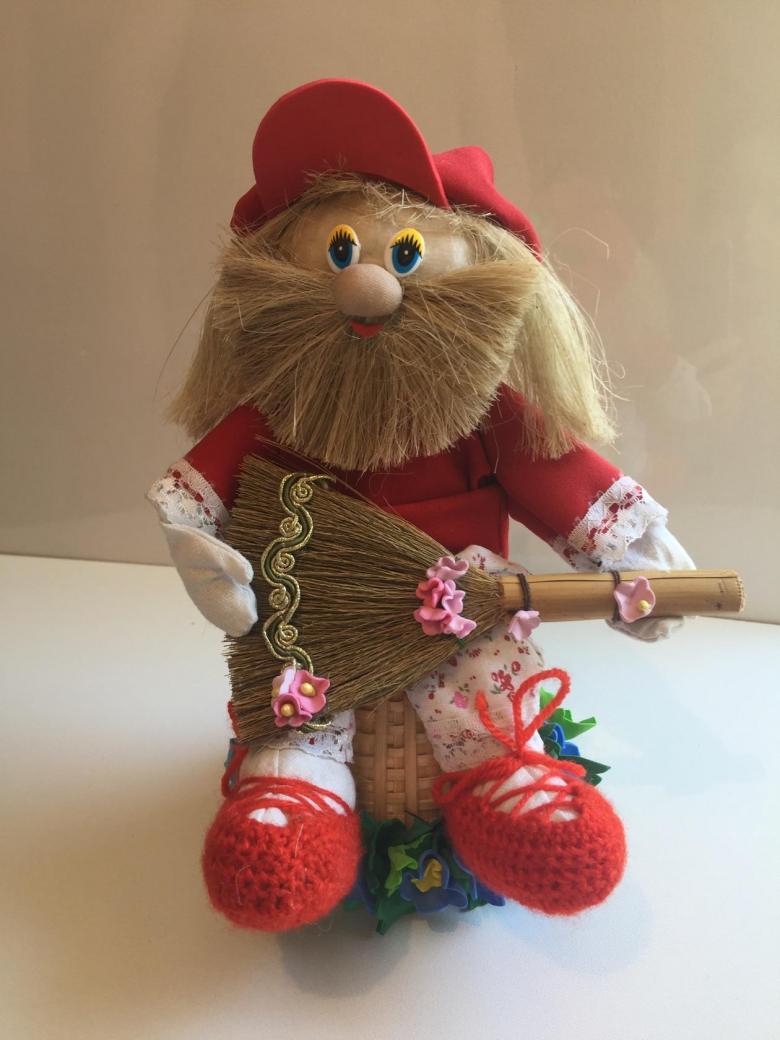
- As in the previous version, you can use different decorative elements. Glue a small straw broom on the side of the dovzhenku and sack.
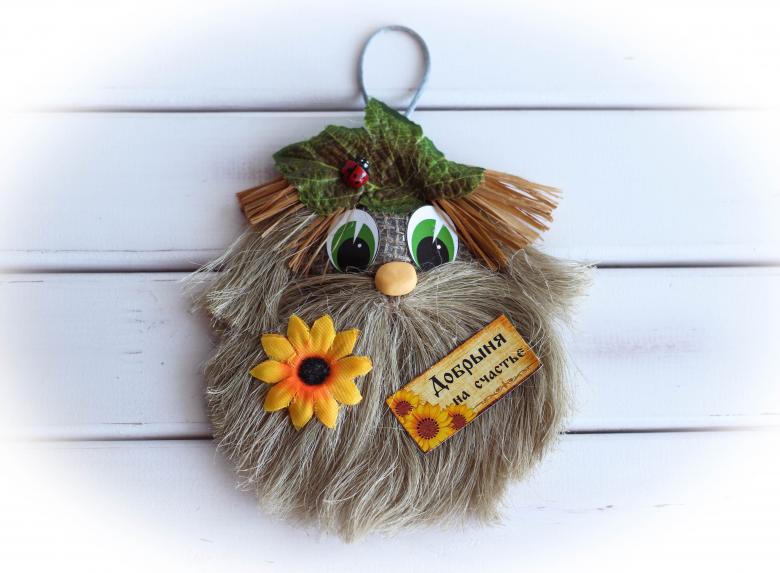
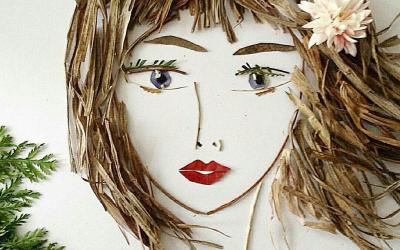
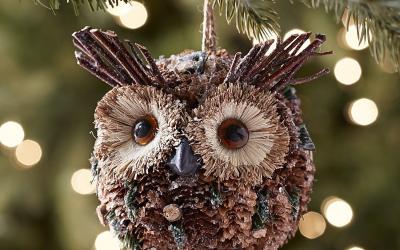
A beautiful handicraft made of natural materials
There are many original ideas for creating dolls, amulets. For example, from natural materials with your own hands you can create a cheerful houseboy Kuzya. Prepare everything you need:
- A box from under the cookies for the base;
- colored fabric for the background;
- birch bark;
- trutovik mushroom;
- a small sunflower;
- dried leaves of aspen and lily of the valley;
- topinambur flower;
- sequins in the shape of leaves;
- colored gouache and paintbrushes;
- glue;
- needle and thread;
- scissors and stapler.
Technique
- Staple the colored fabric to the bottom of the box. Stitch it along its length so that it will not sag when the box is placed on its side.
- Take birch bark and cut out the handles and legs from it. Additionally from white birch bark make sandals.
- Make a hole in the left handle and insert a topinambur in it.
- Make a hole in the left hand of the birch bark with the topinambour.
- Cut out facial elements from paper: mouth, nose and eyes. Attach them inside the sunflower.
- Sew arms and legs to the fabric base. Then attach the body of the trout. Sew the head on top.
- Our fairy tale character should be dressed in a shirt. To do that, paint the body with red gouache. Make the pant legs blue, and the oxen yellow. You may decorate the shirt with large white polka dots.
- Glue the edges of the hut with colored paper logs.
- On the front side, use dried leaves and decorative sequins for decoration.
- Glue the back side with paper of any color to hide the seams.
Now you can create your own amulet, which will take care of the safety of your home and the health of your household. Such dolls will not only be an original decorative element, but also a good toy for your children. We wish you creative success!
