Salted dough crafts with your own hands: preparing the material according to the recipe and using dough for crafts
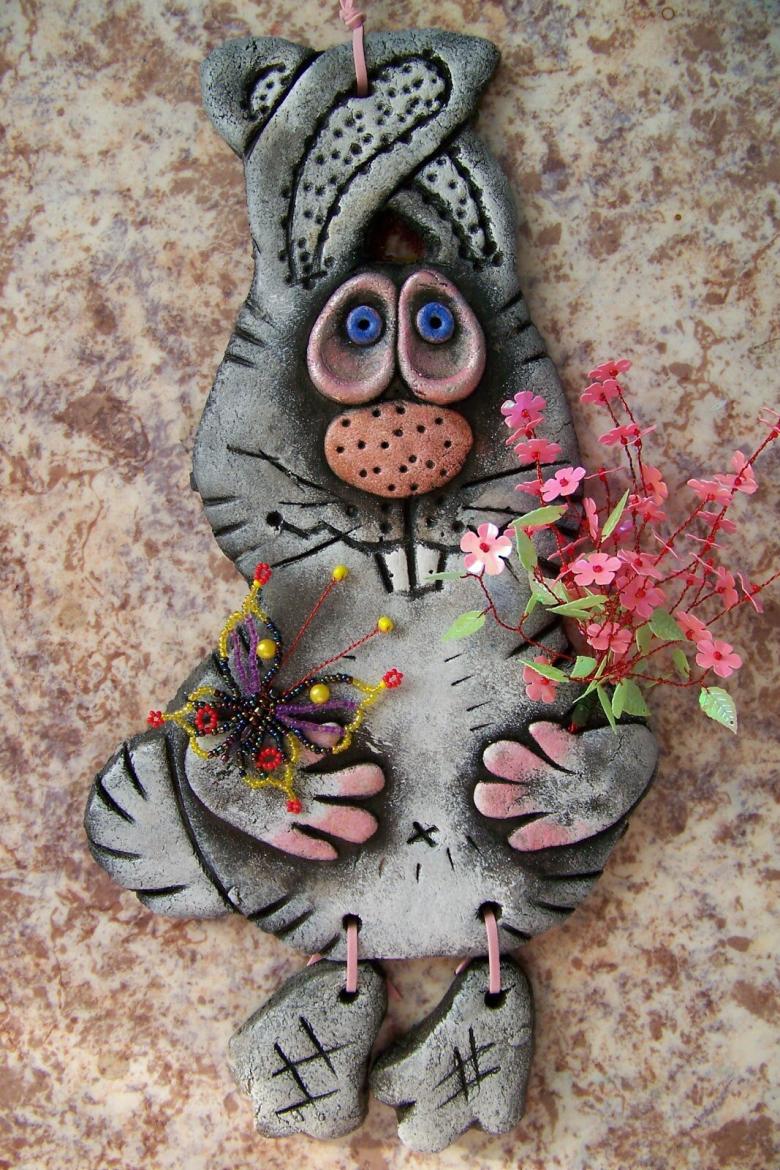
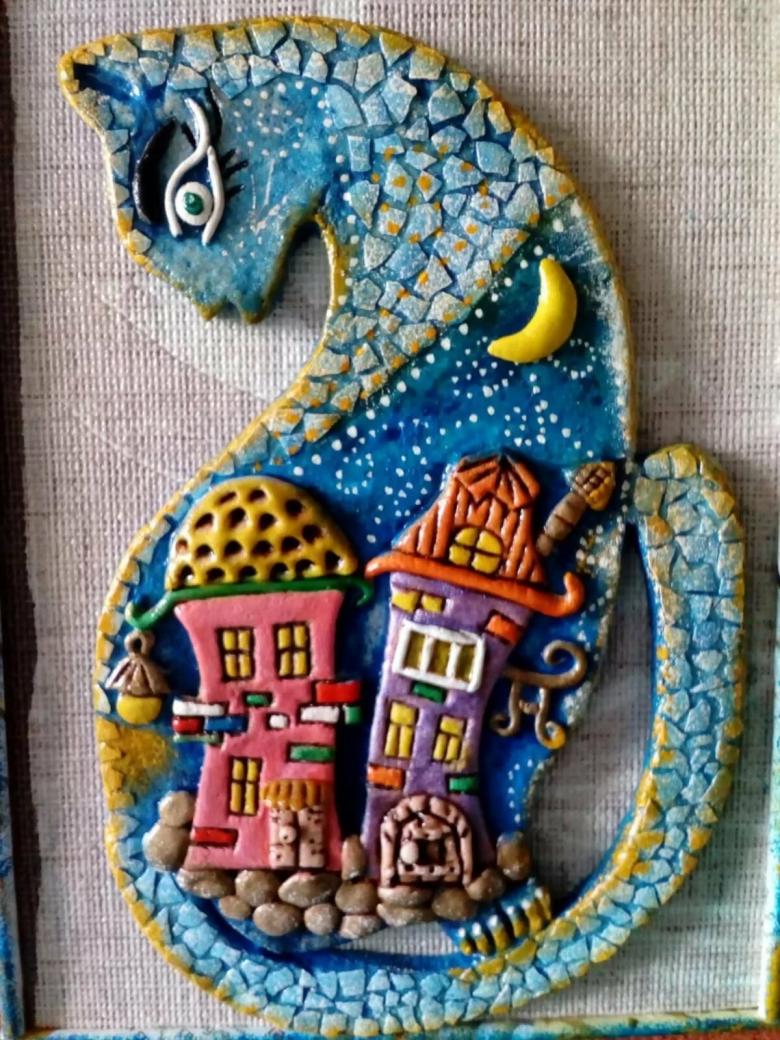
To date, there are quite a few improvised materials from which you can make crafts for children, for school exhibitions, for the interior.
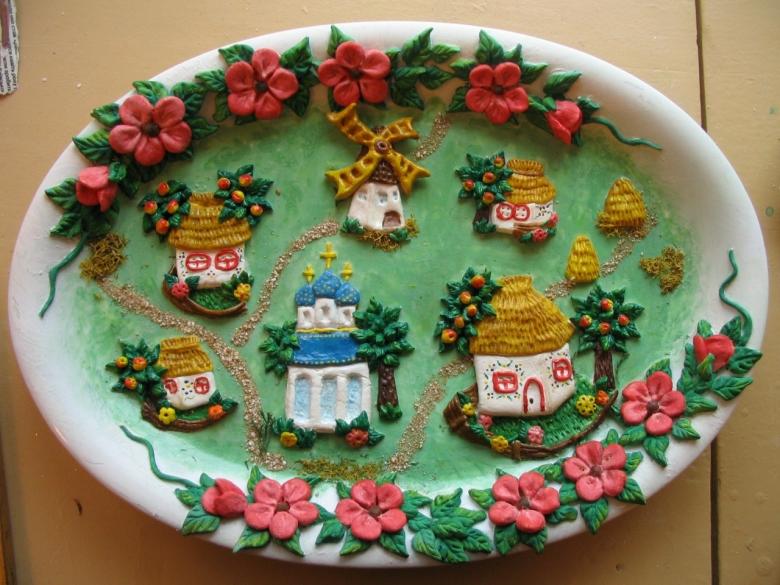
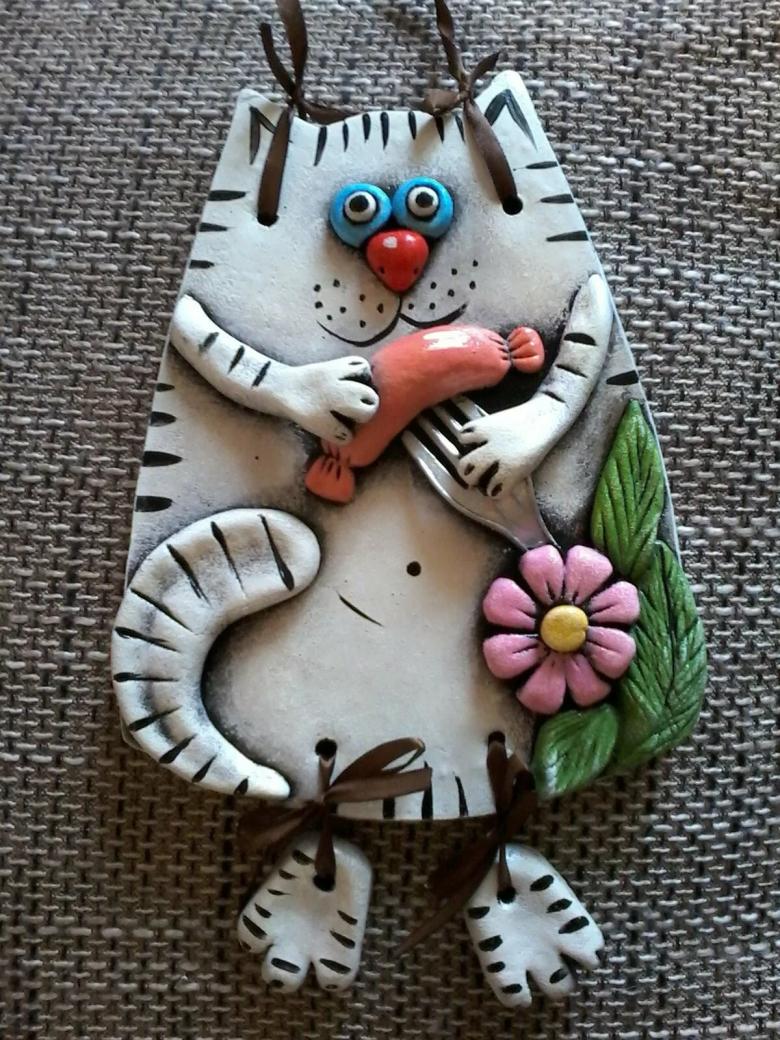
One of the most famous basics for independent work is salt dough, which is easy to make at home. In addition, working with dough has a lot of advantages over other materials: ease of handling, safety, an excellent basis for subsequent decoration.
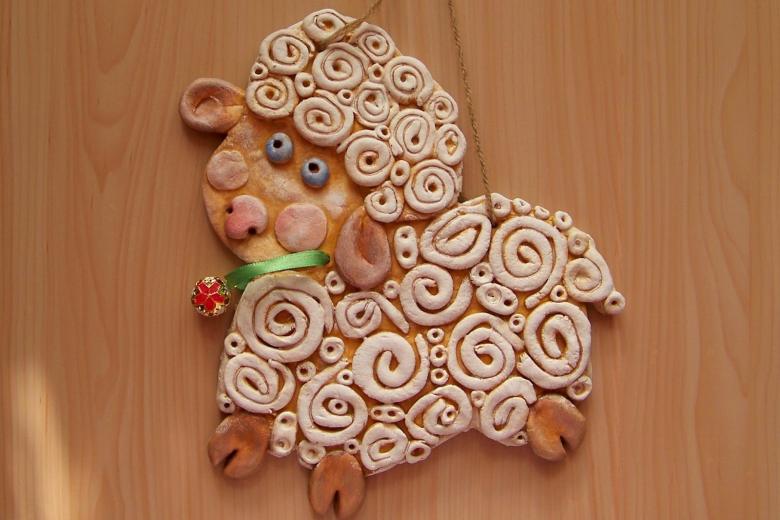
How to make dough properly
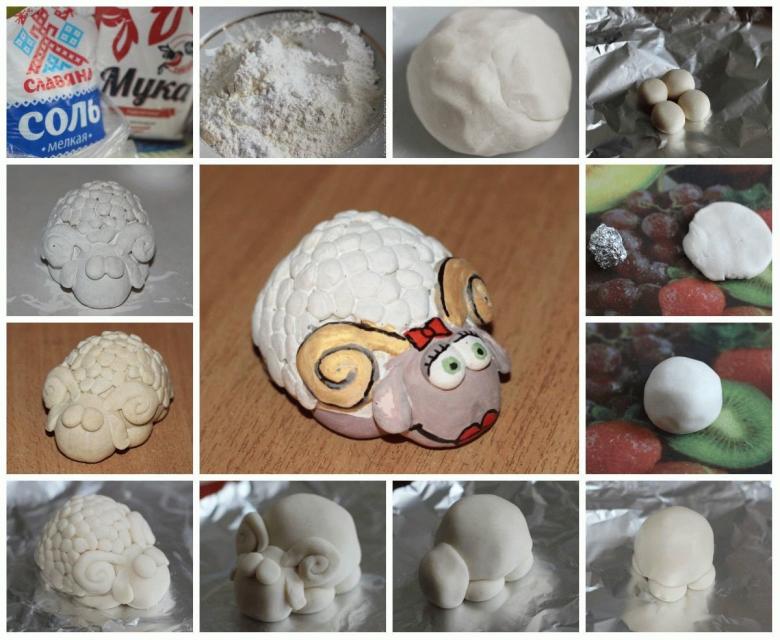
The first and basic step in creative activity is the optimal preparation of the working mass. Observance of the technology of kneading dough, observance of the proper proportions allows you to make durable figures, souvenirs and a variety of crafts. To work we need to prepare the following set:
- A container for kneading dough.
- Flour.
- Water (just under a glass of 200 ml).
- table salt.
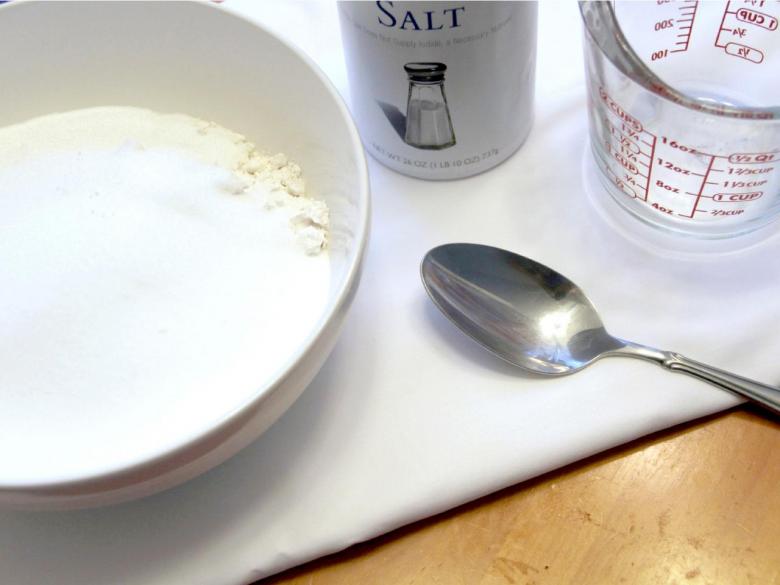
This kit allows you to knead a quality working mass for making crafts. Mix the ingredients in a container, stir thoroughly and immediately proceed directly to work.
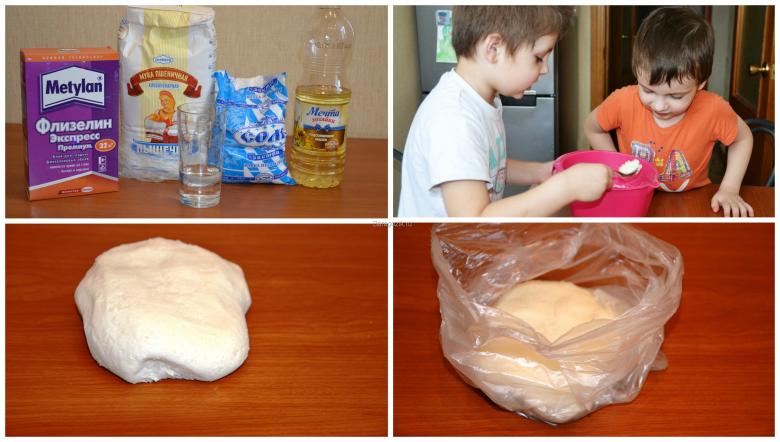
Materials for making crafts
Kneading dough is only the first stage of independent creative work. Also to create original handicrafts, various decorating materials are needed, which need to be prepared in advance:
- Paints (you can take acrylic) and transparent varnish.
- Glue.
- A sharp knife (stationery knife) to cut out the shapes.
- Thread, metal wire (if you plan to create Christmas toys).
- For homemade dolls you will need different accessories (eyes, yarn, clothing details).
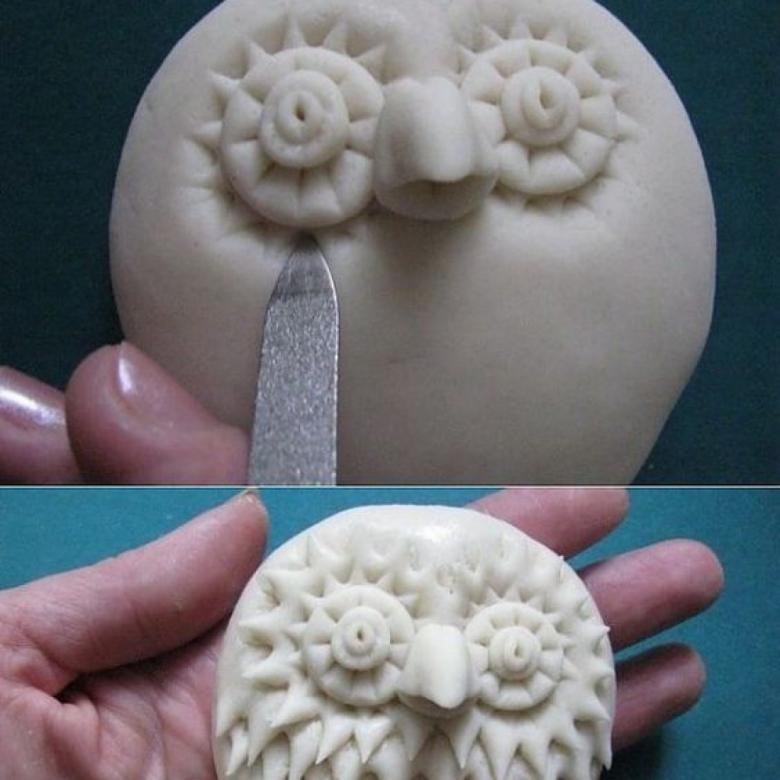
You can also prepare in advance instructions for making salt dough crafts with your own hands. Such training schemes and video tutorials will help inexperienced masters to properly conduct creative activities.
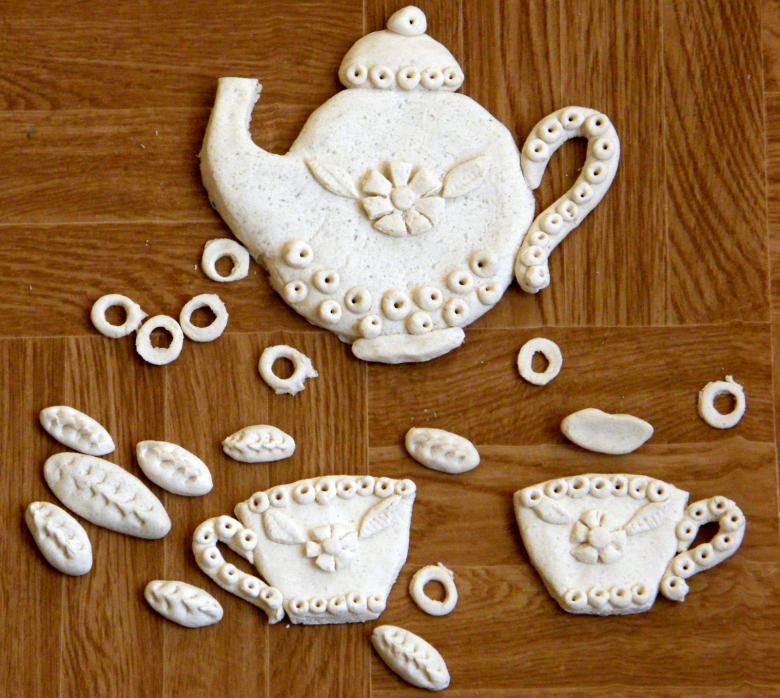
Master classes on how to make handicrafts
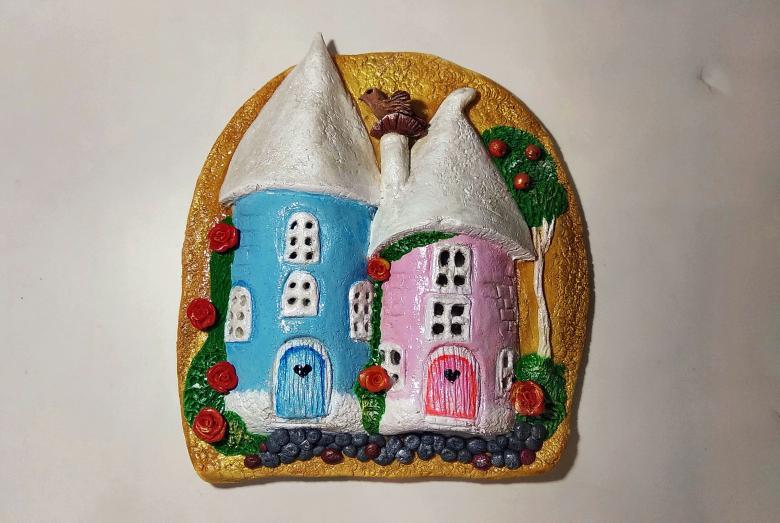
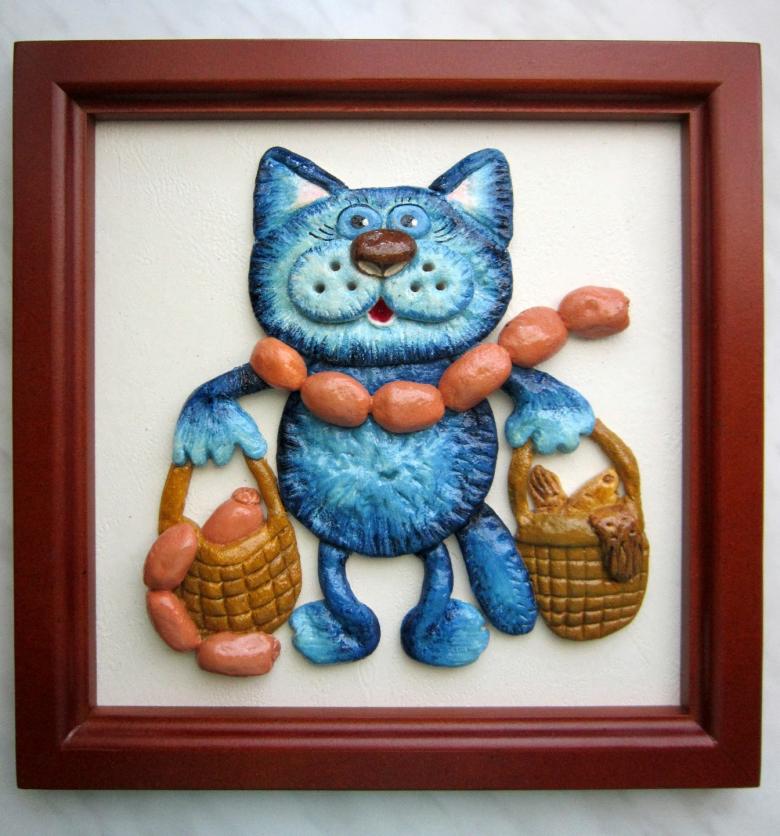
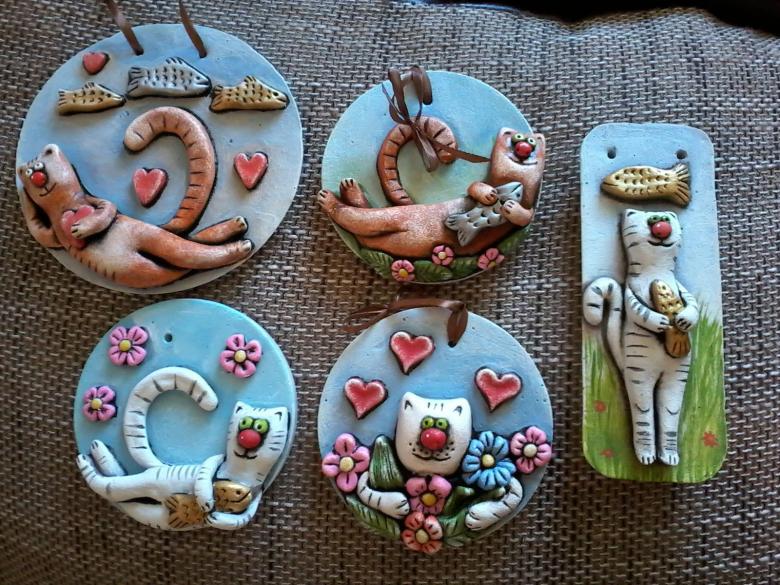
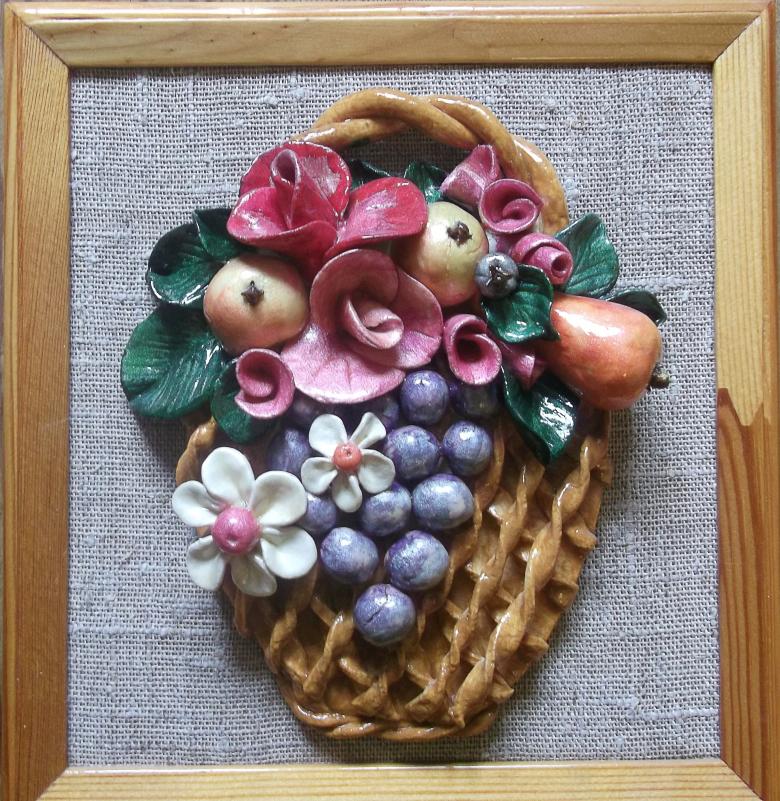
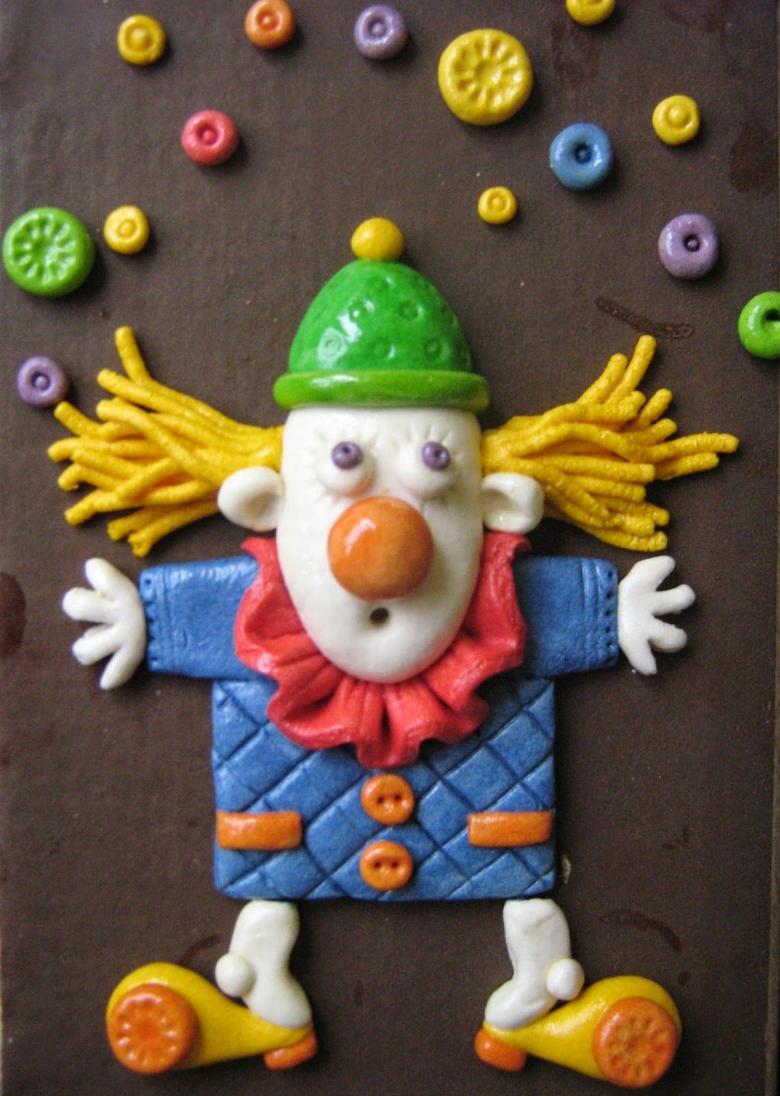
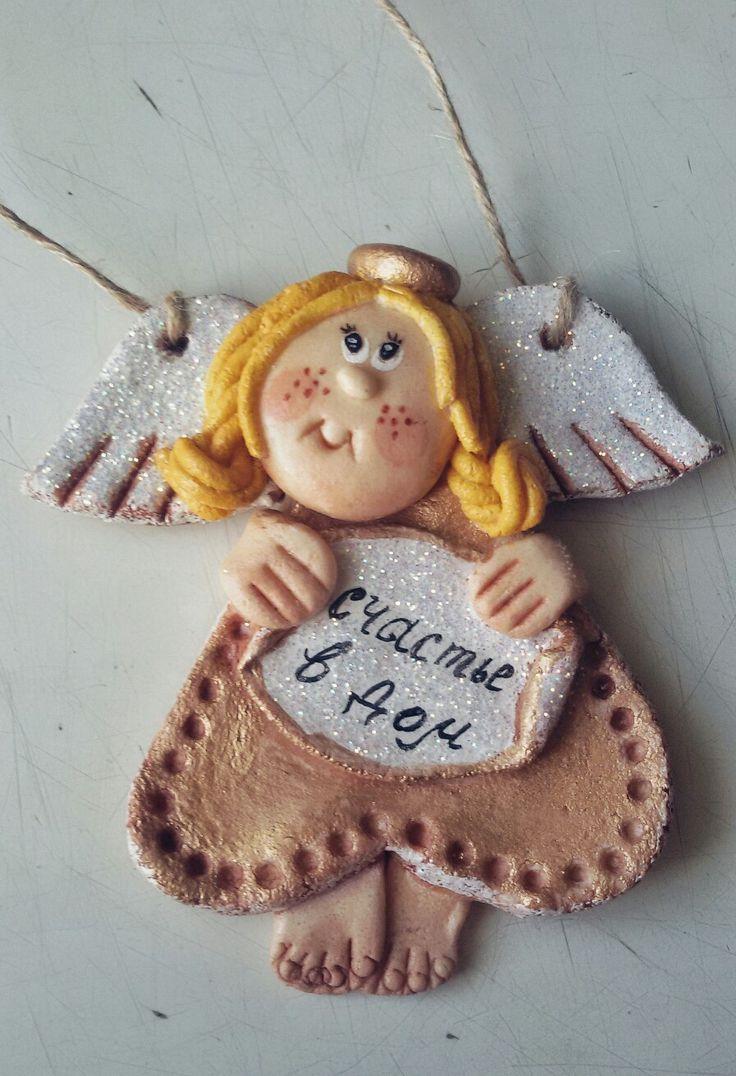
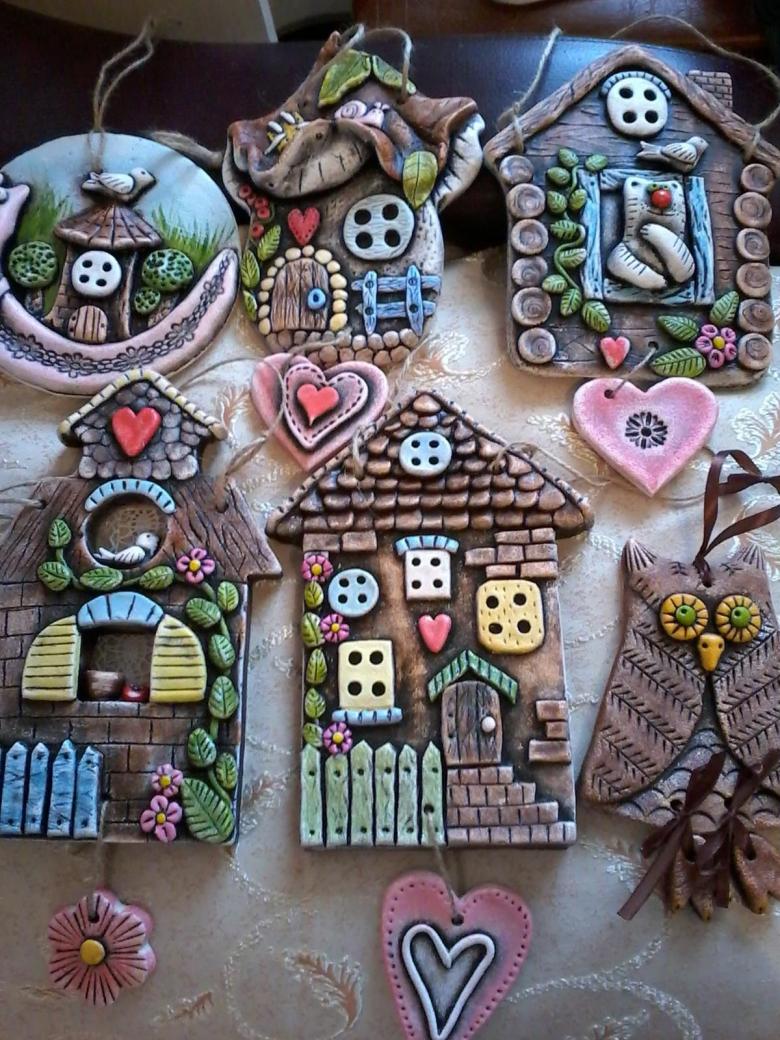
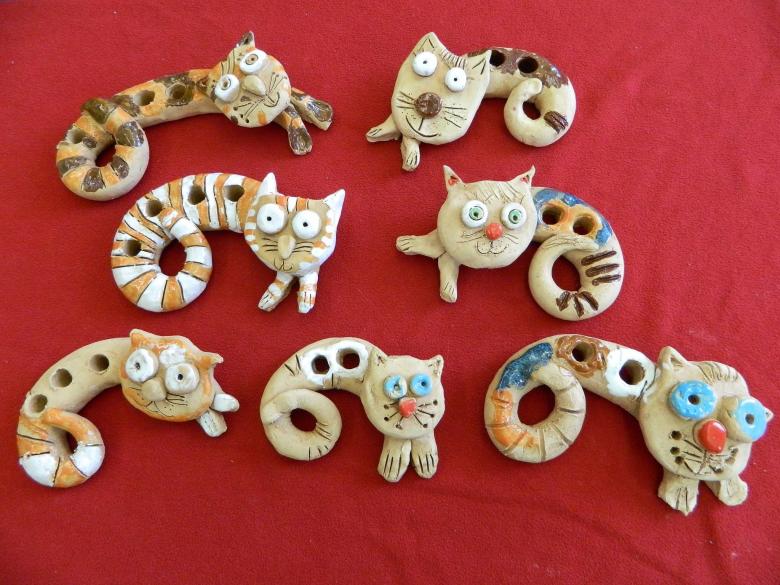
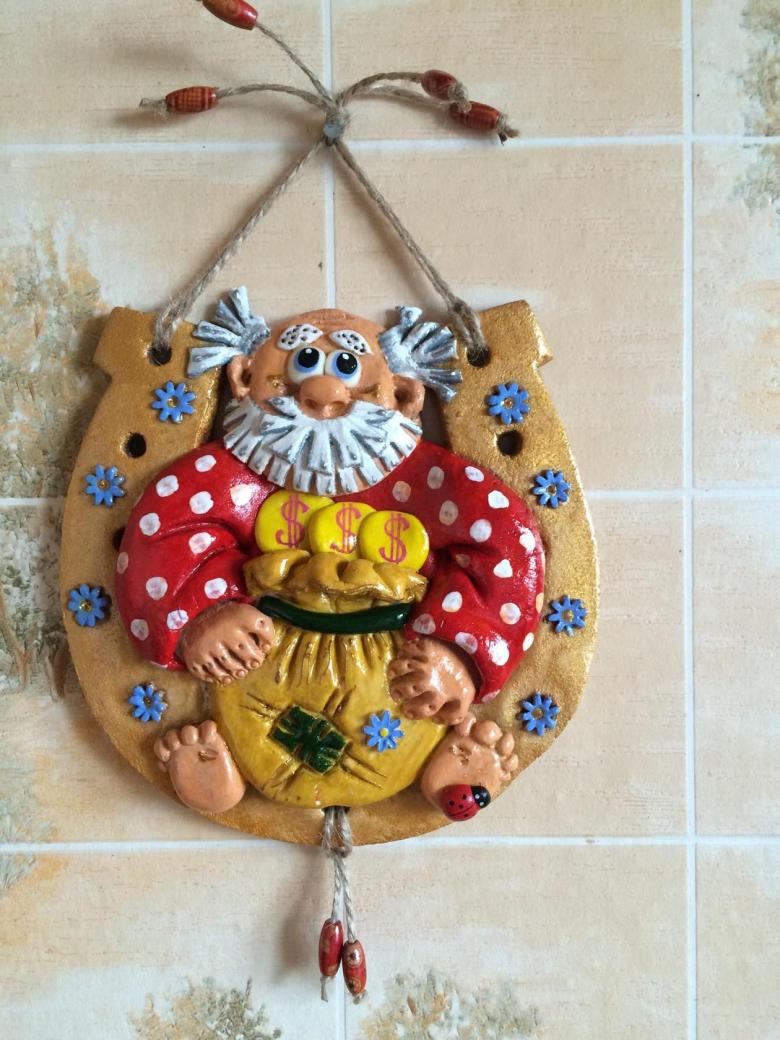
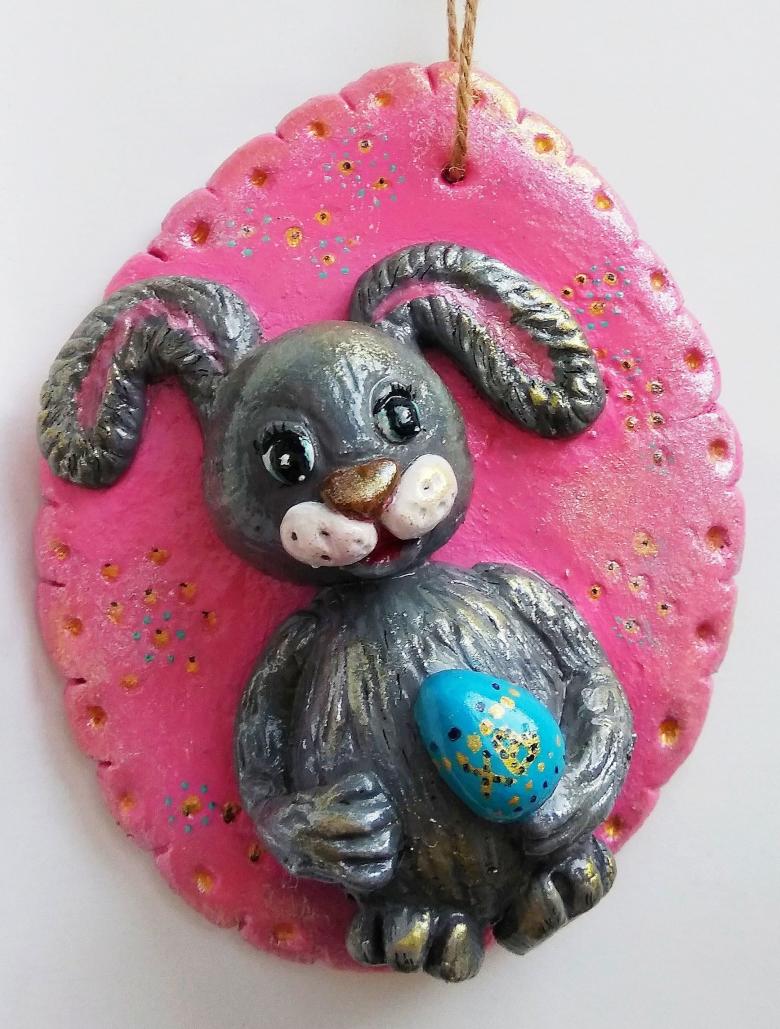
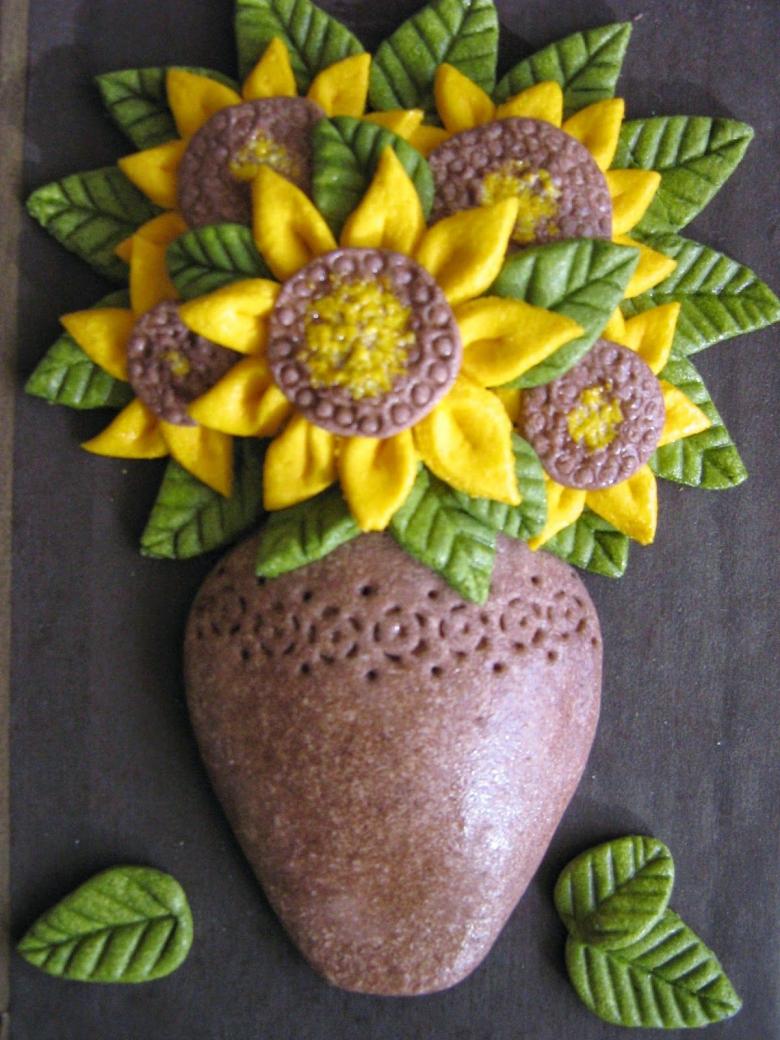
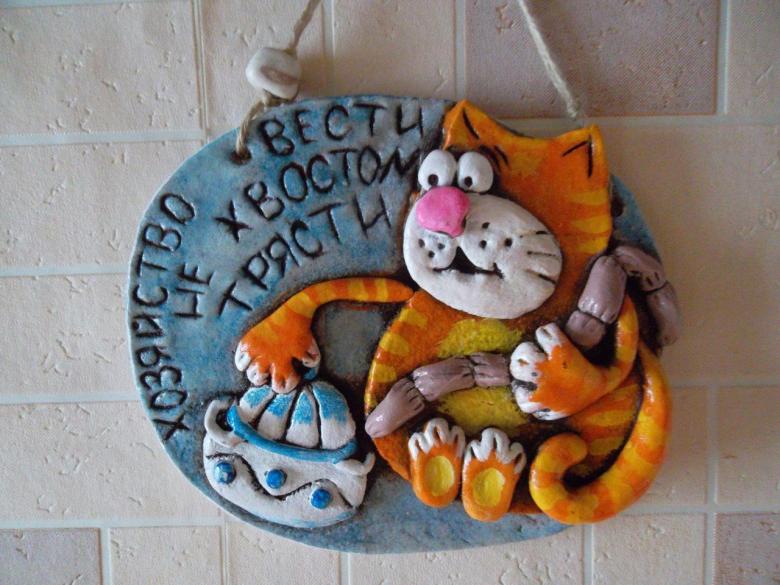
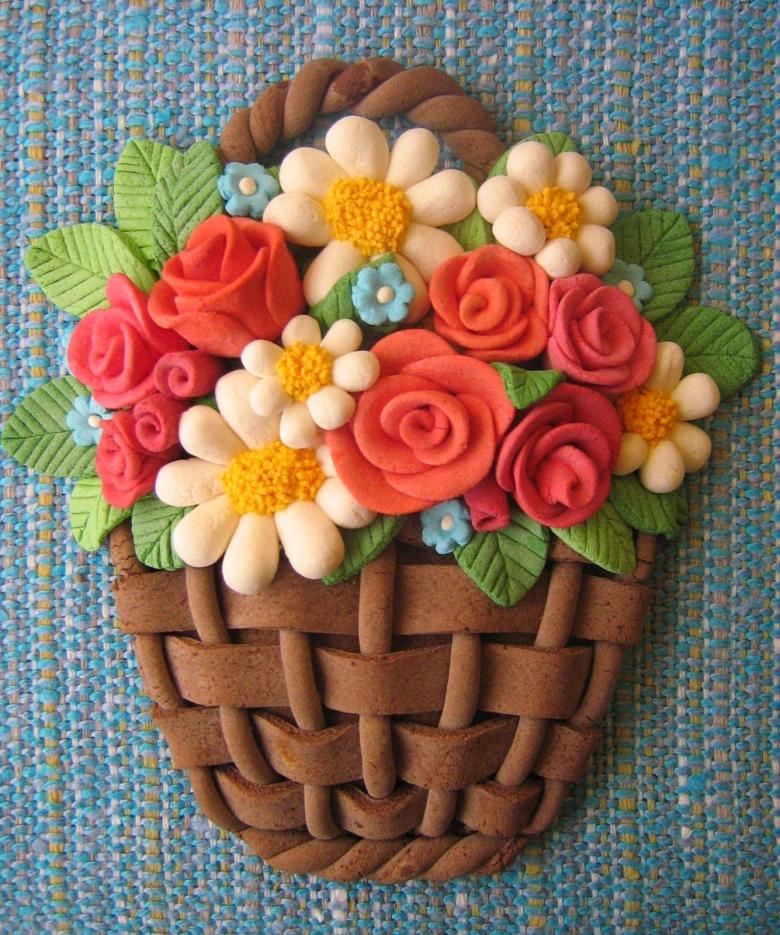
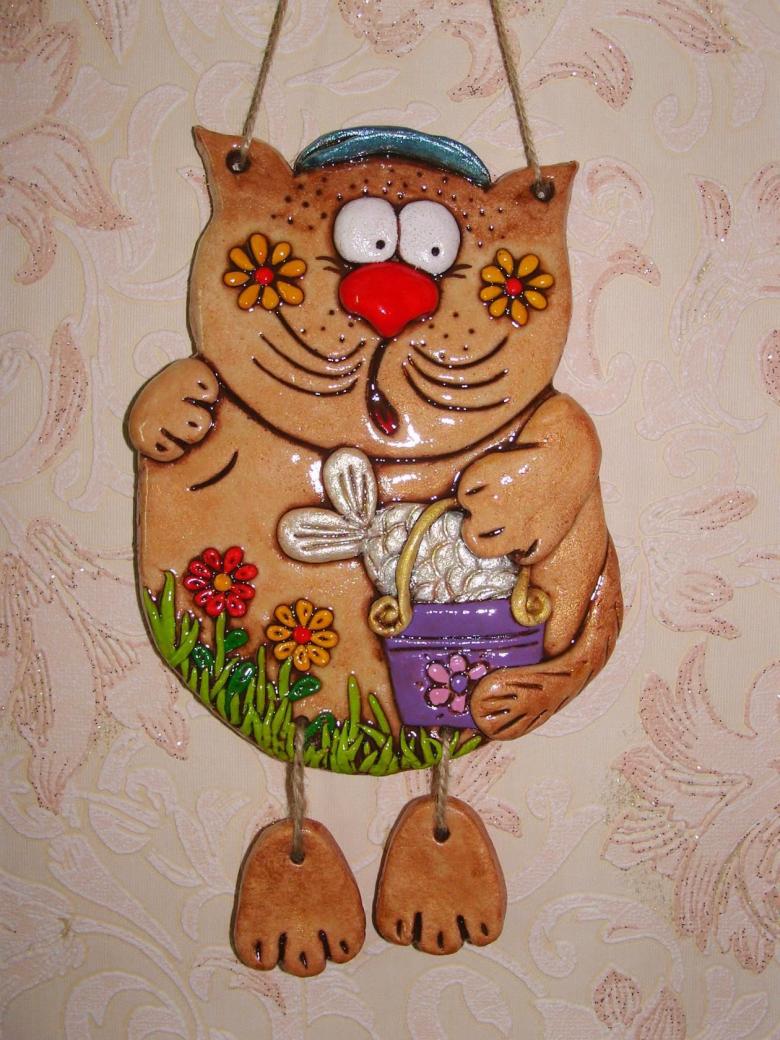
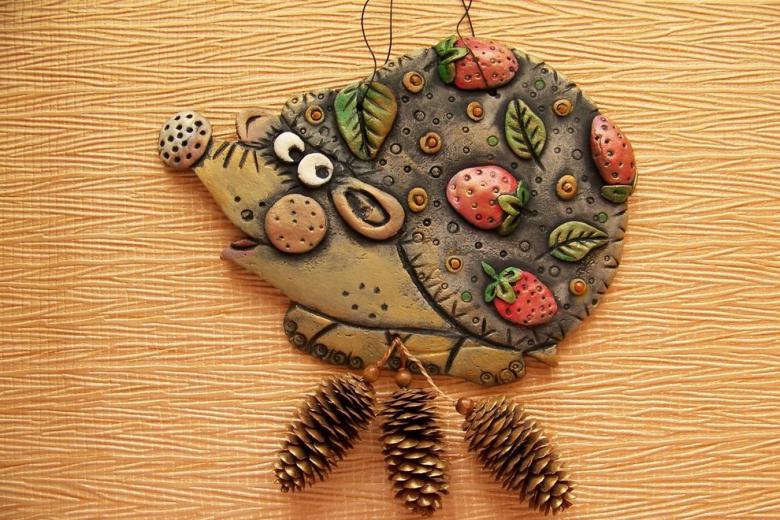
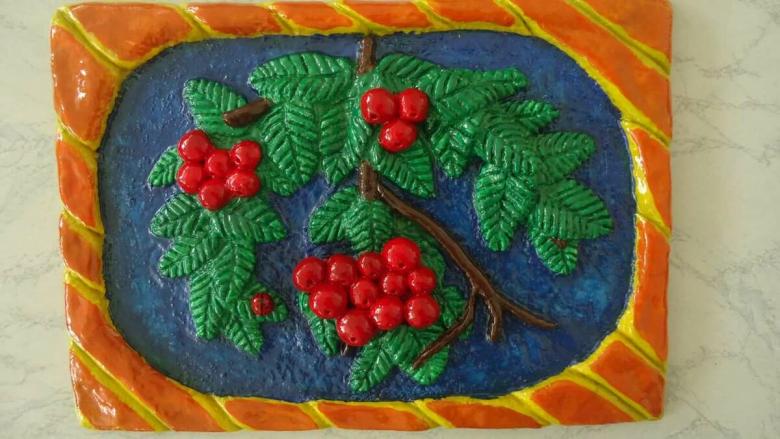
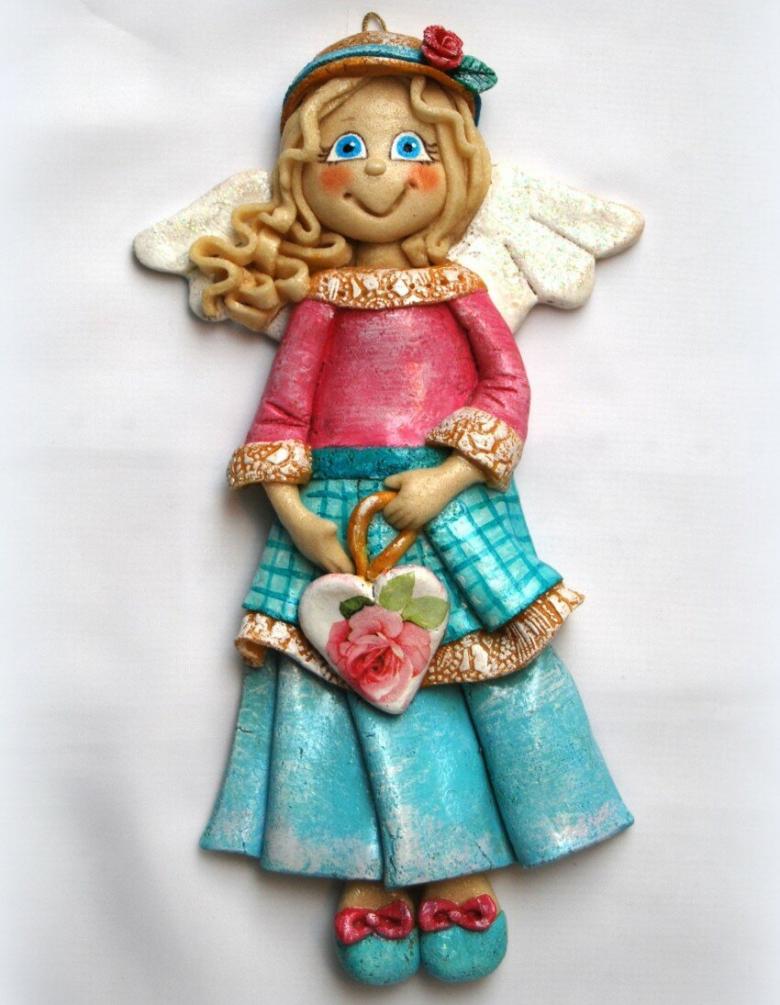
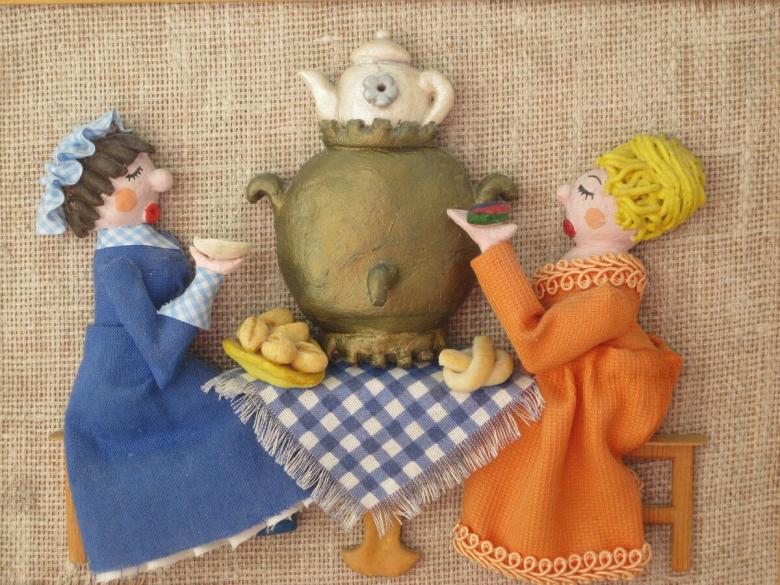
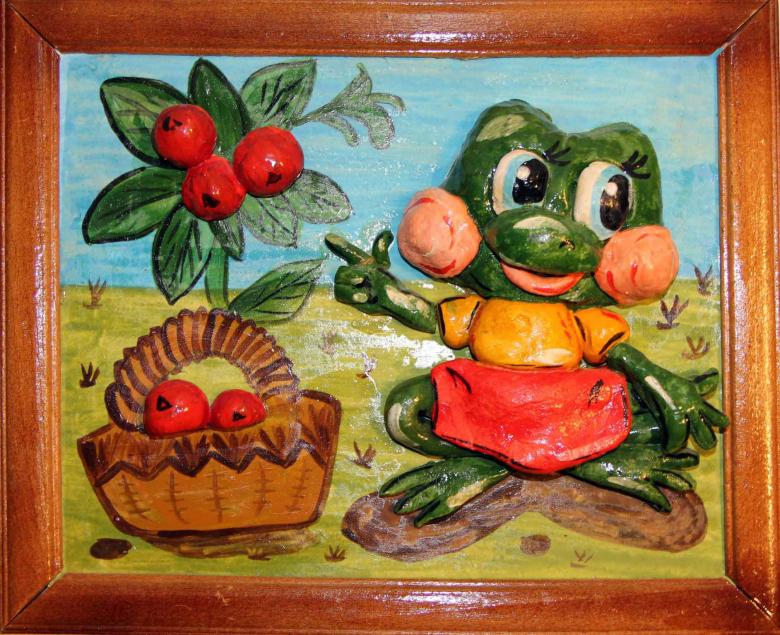
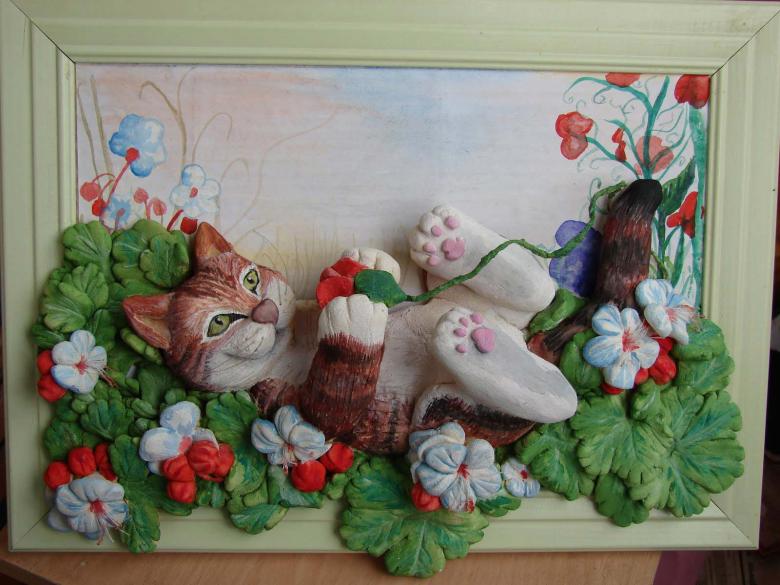
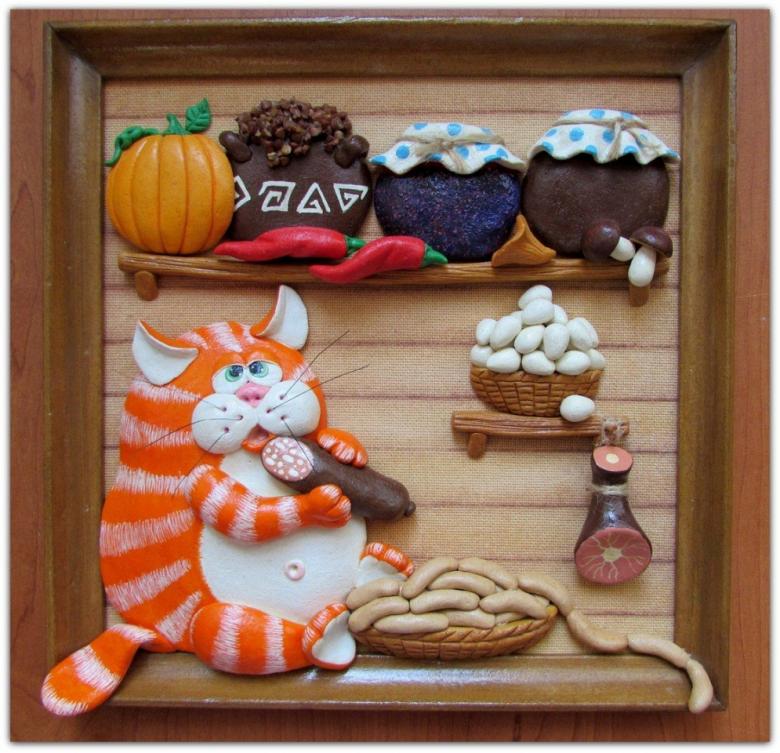
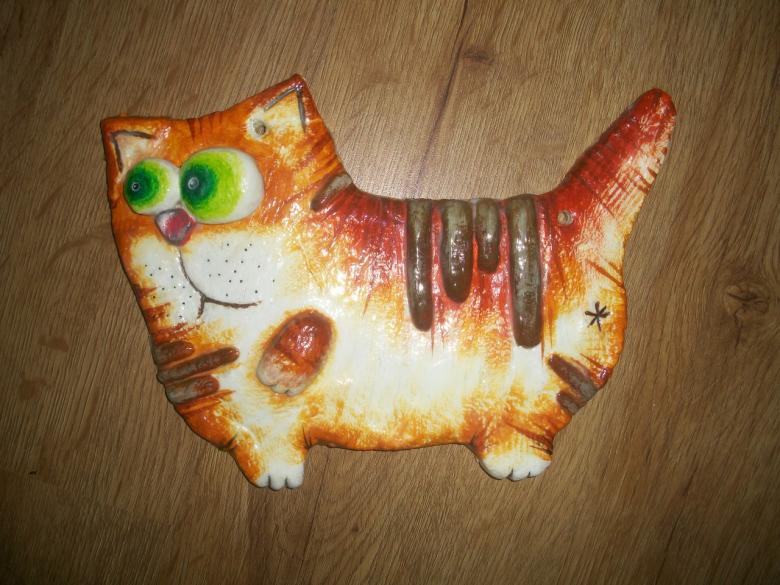
The areas of application of dough crafts are quite extensive: souvenirs, school and kindergarten exhibitions, decoration of the interior of an apartment. From the working mass of the excellent turn out toys, homemade dolls, photo frames. The most interesting ideas for independent work are the following:
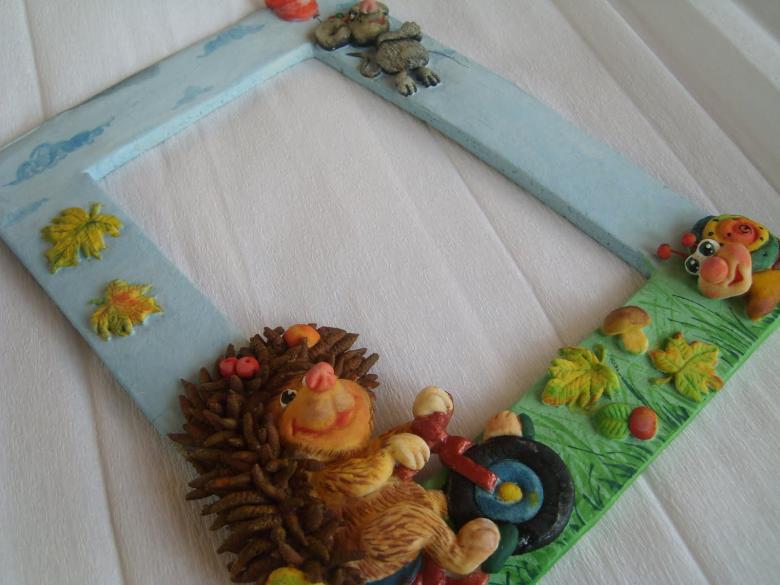
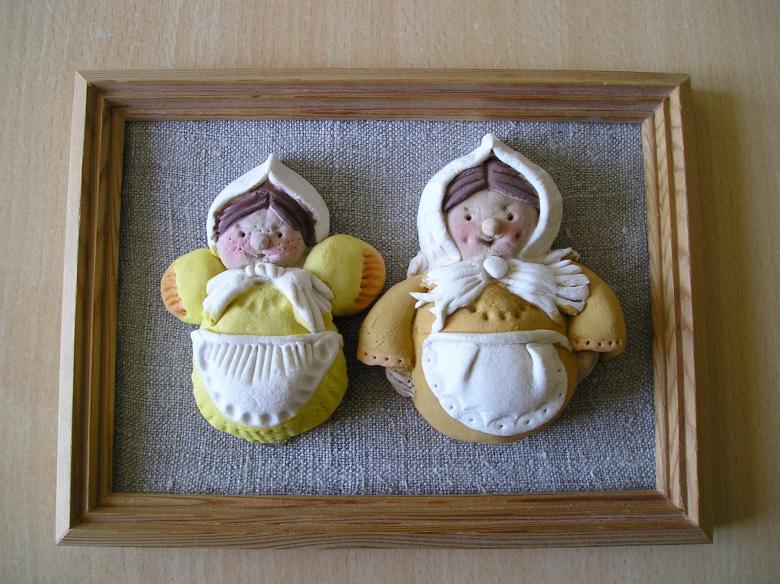
- Frame for a family photo.
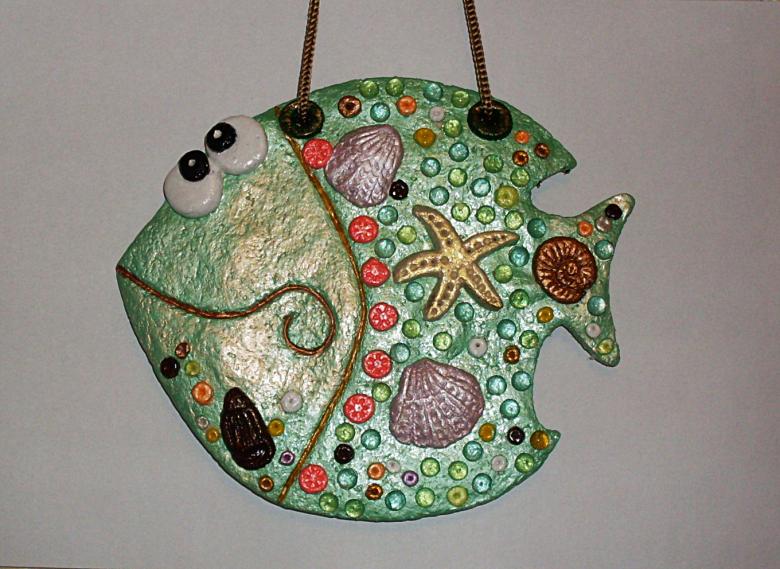
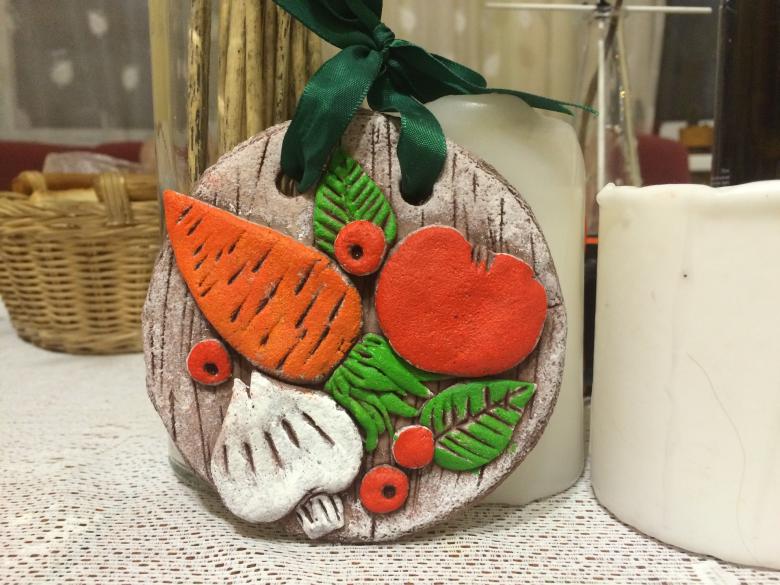
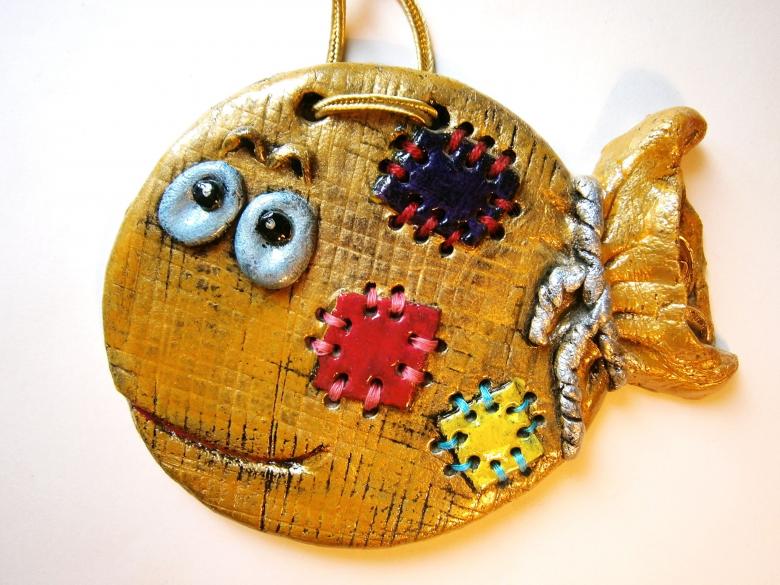
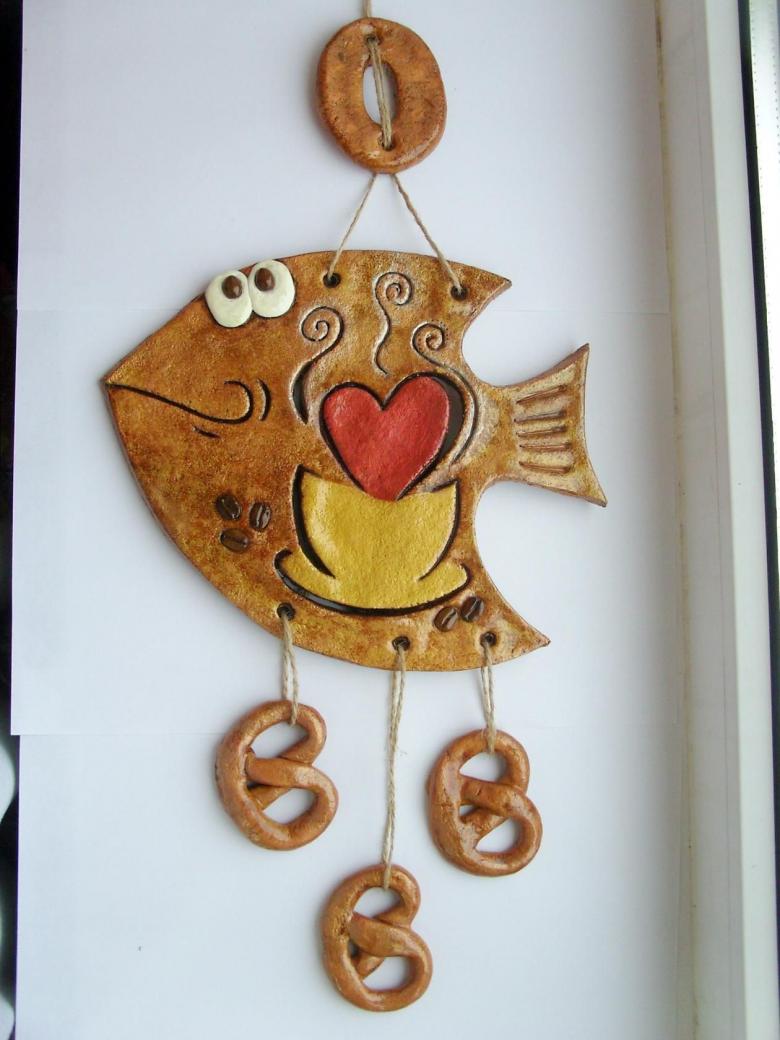
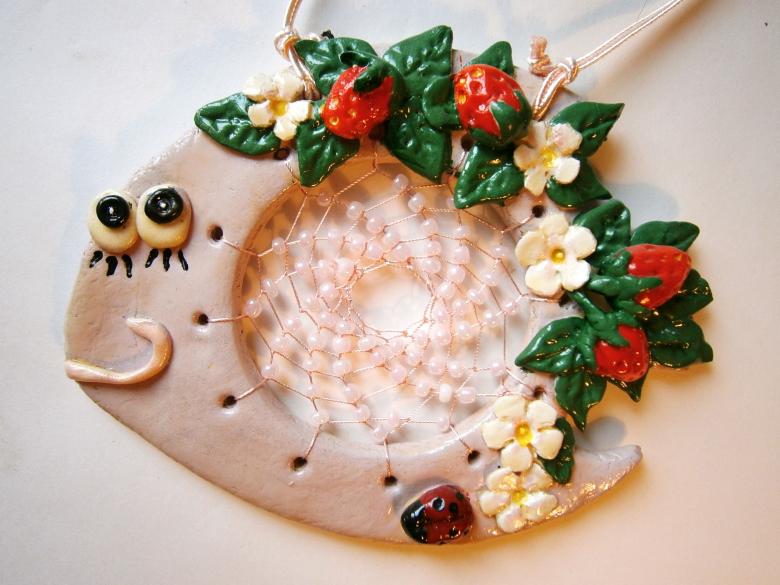
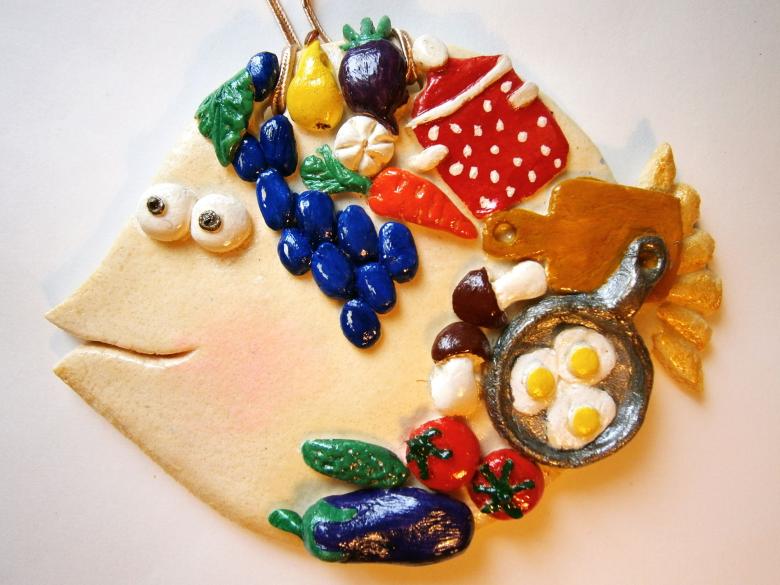
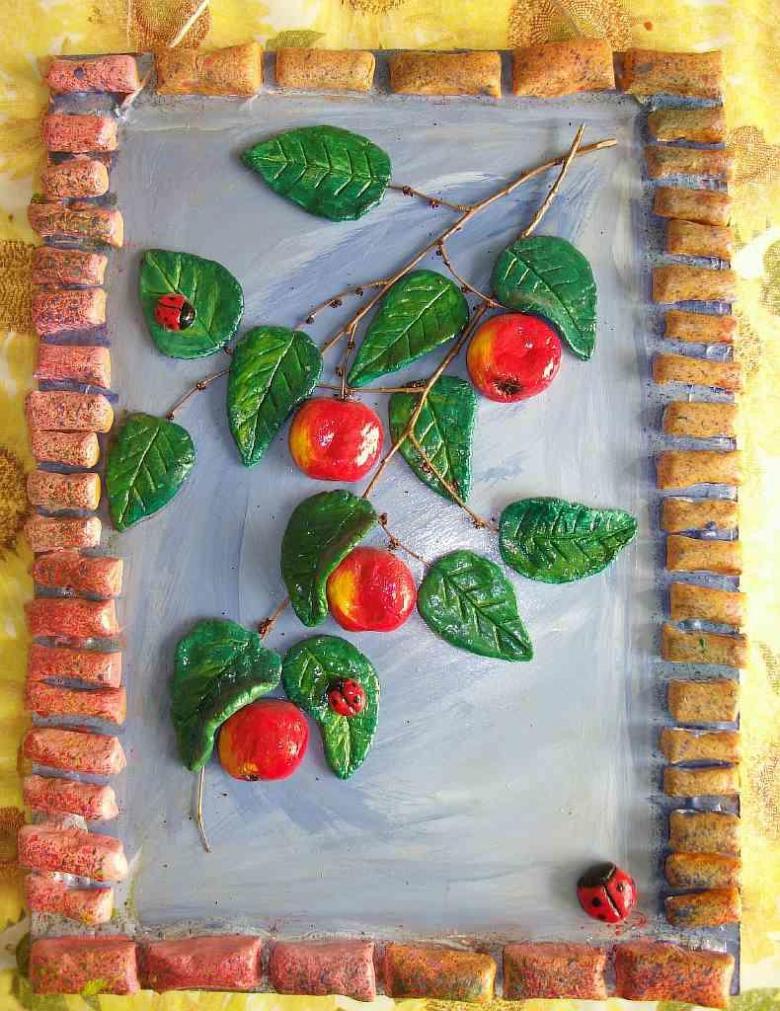
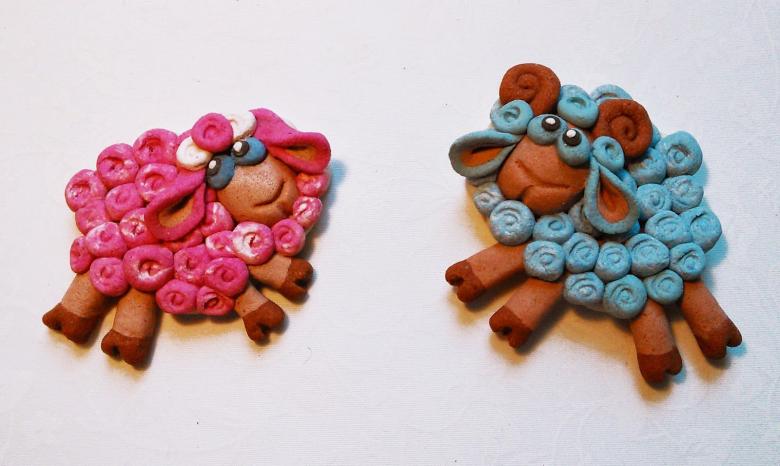
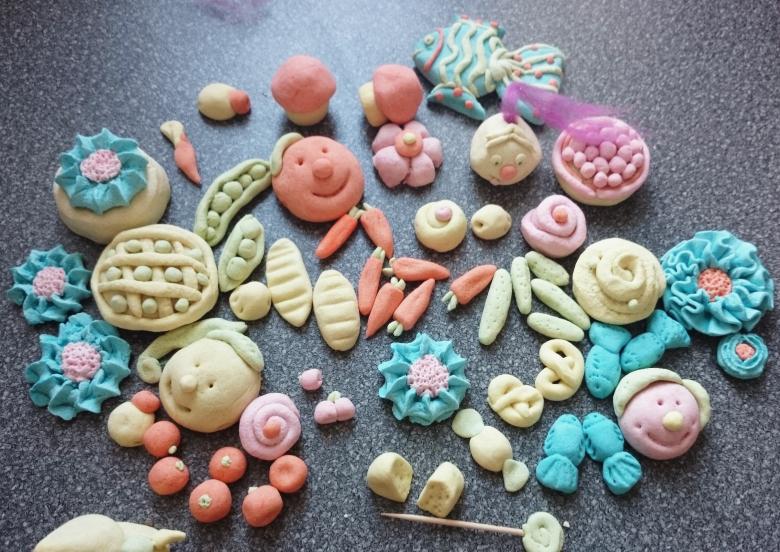
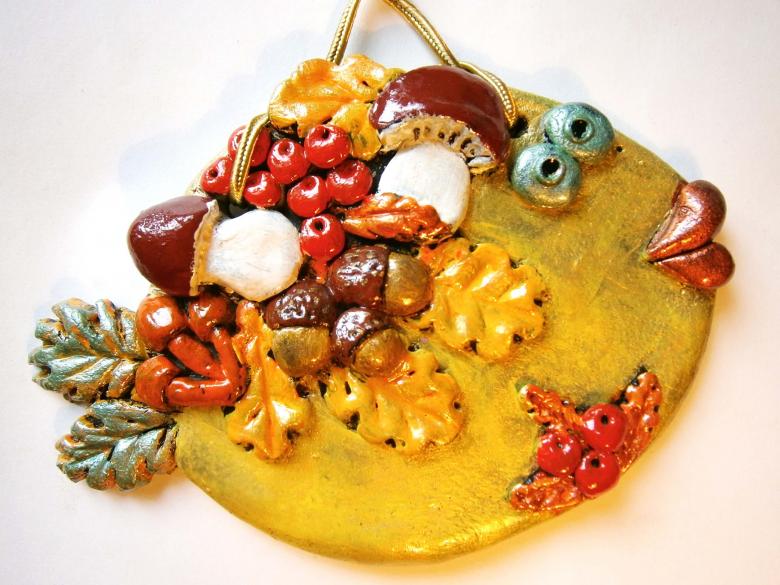
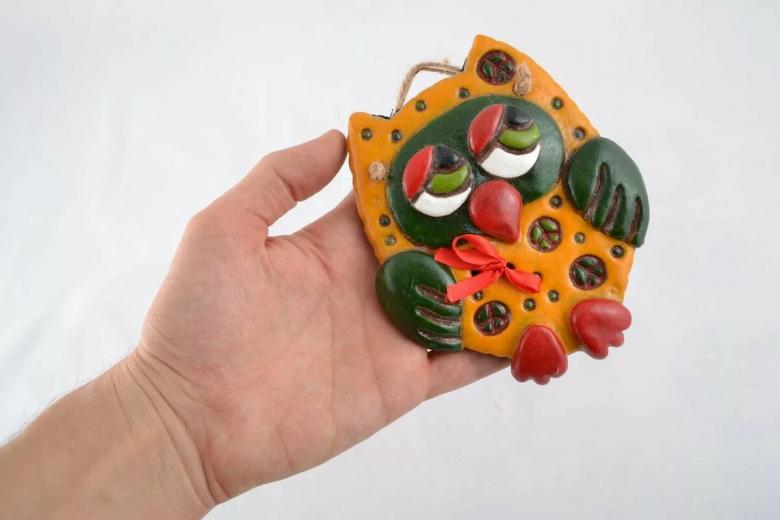
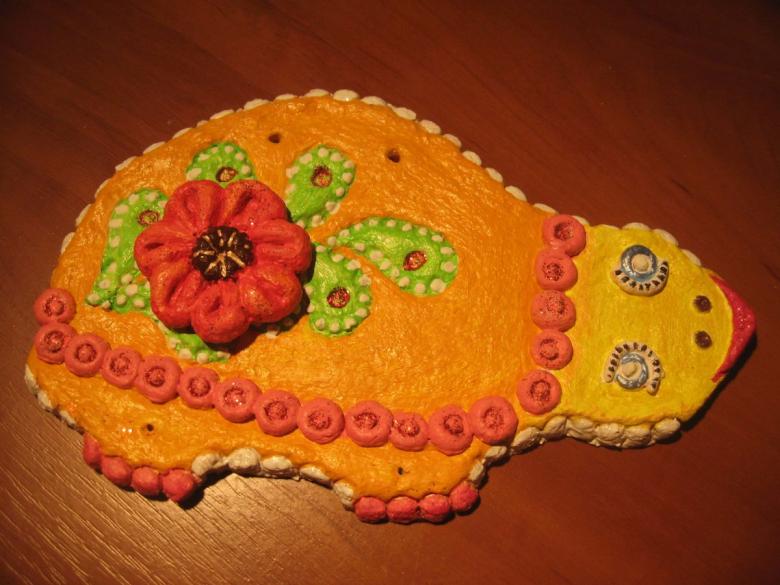
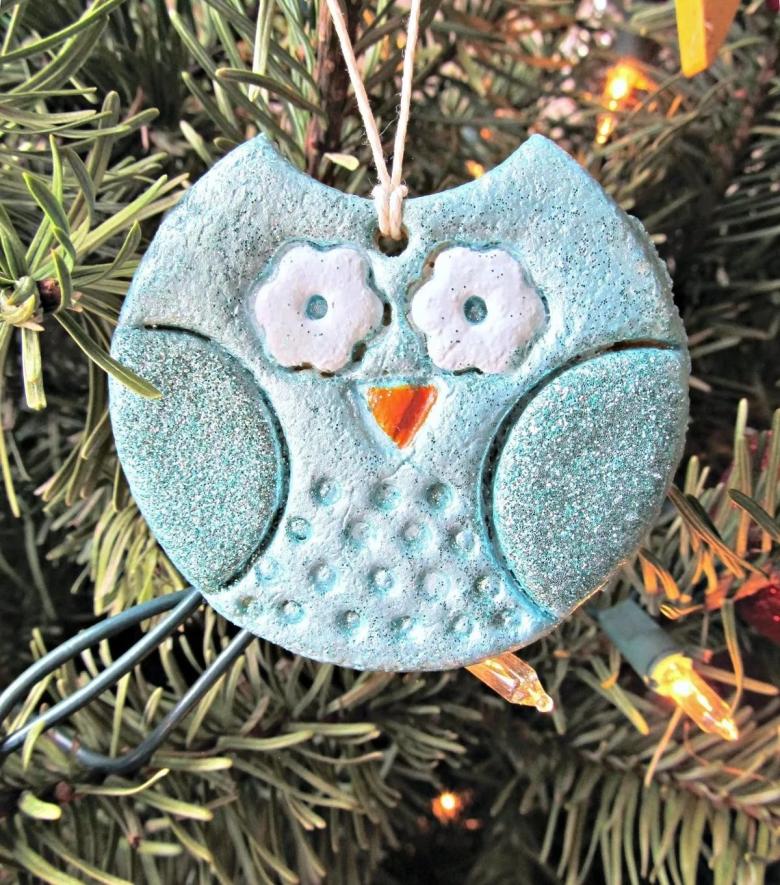
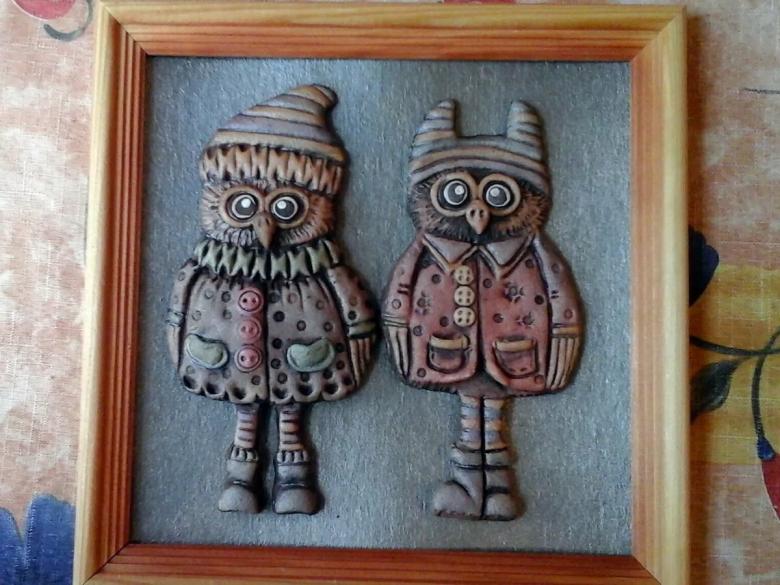
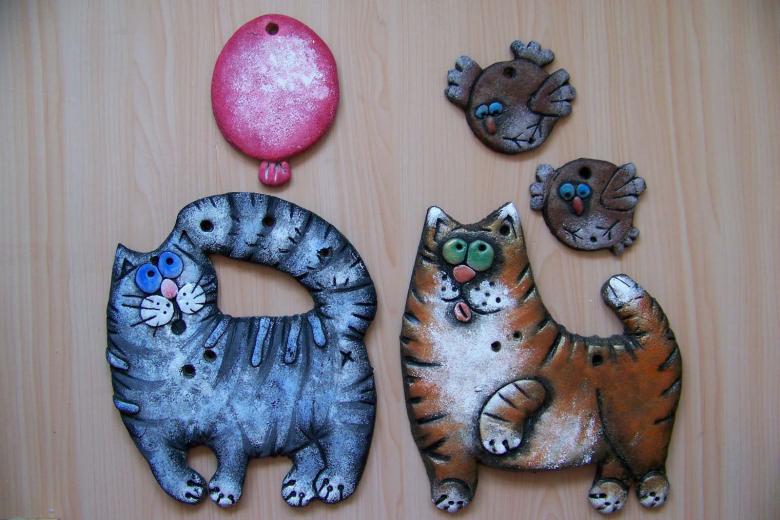
- Salt dough crafts for children (owls, aquarium fish, fruit sets).
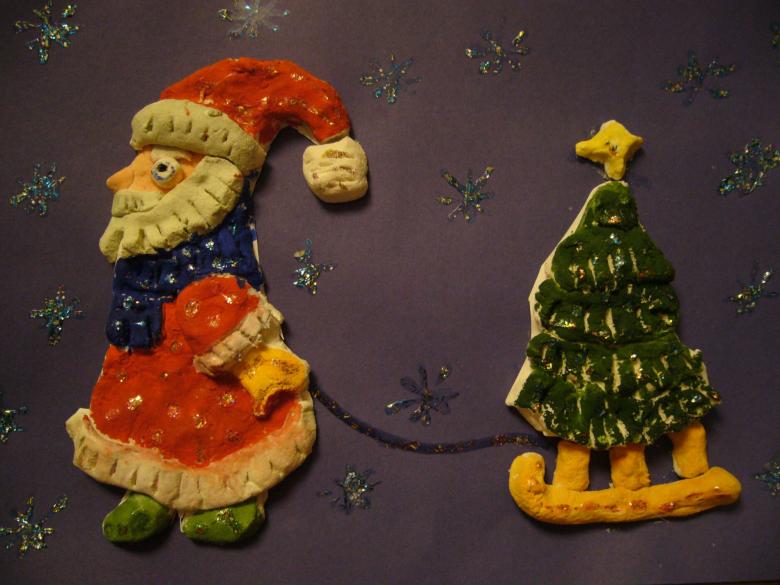
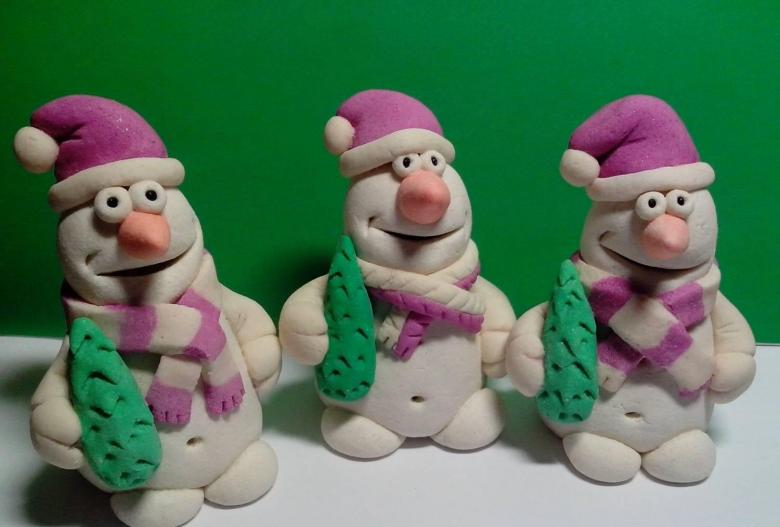
- Holiday decorations (such as a gift for mom on March 8th, a birthday bouquet, or a rocket for Astronaut Day).
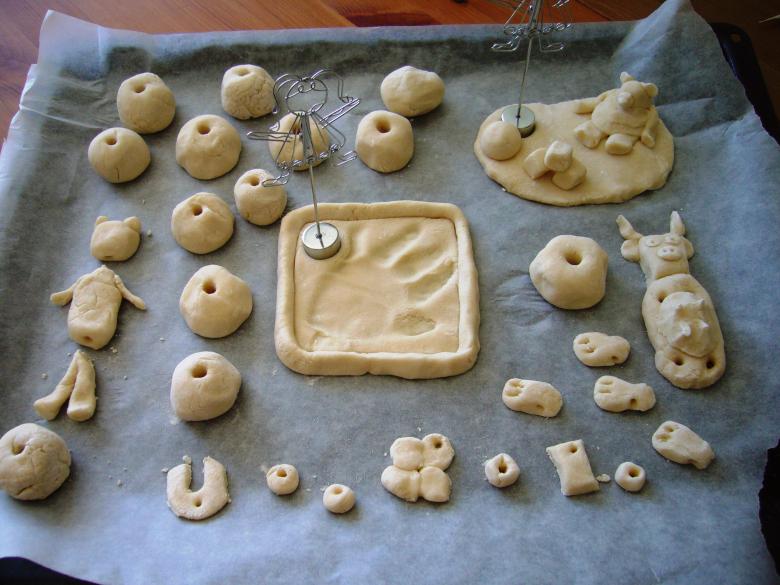
Each example of making a craft is important for a child, because molding is a great way to develop fine motor skills of the fingers. In addition, the creation of a variety of shapes allows a baby and older child to actively develop their creative talents, imagination, and abstract thinking.
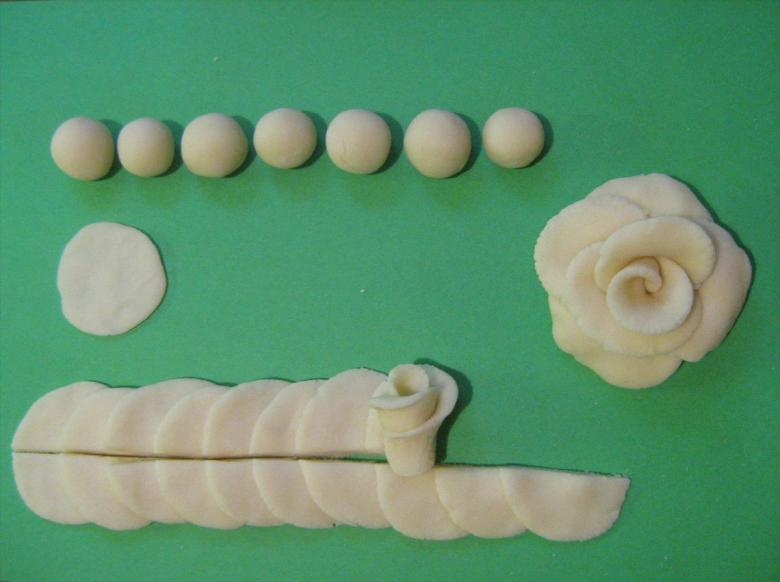
Making a frame for a photo
A beautiful frame made of salt dough can decorate any shelf, shelf, mantel or boudoir. As a decor, you can use any theme you like: the sea theme, the starry sky, the rainbow spectrum. You will need the following kit for the job:
- Ingredients for kneading dough or prepared dough.
- Cutting board.
- Cloth (to protect the board from the dough).
- Acrylic paint, transparent varnish.
- Glue.
- Decor elements (seashells, beads, a toy starfish, which can also be made of dough).
- A sharp knife.

In case the work is carried out by young children, the cutting out of the frame should be done exclusively by an adult. Instructions on how to make a beautiful frame for a family photo with your own hands:
- In a container, thoroughly stir the working mass.
- Wrap a cutting board with food film.
- On the surface of the board, lay out the dough.
- Using a rolling pin, roll out the dough into a layer about 2-2.5 cm thick.
- Use a sharp knife to cut out a frame.
- Send the product to dry.
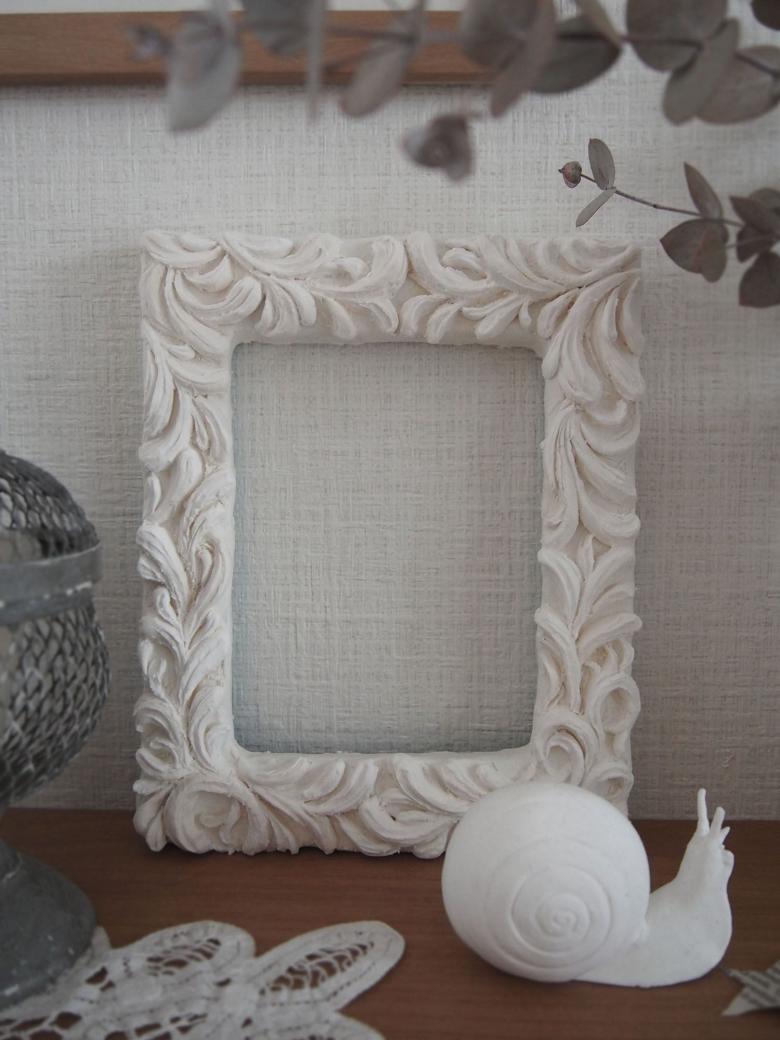
After the dough hardens, you can proceed to decorating the surface: the side contours are decorated with seashells, beads, starfish. For fixing, glue is used, and transparent varnish will give the handicraft a pleasant glossy sheen.

Children's handicrafts
Children of all ages love to do creative work, even outside the walls of kindergarten and school. Active work on making funny figures, beautiful toys, gift souvenirs and decorations is a fascinating, useful activity. Instructions for the work in progress:
- On a cutting board, wrapped in food film, roll out a layer of working mass.
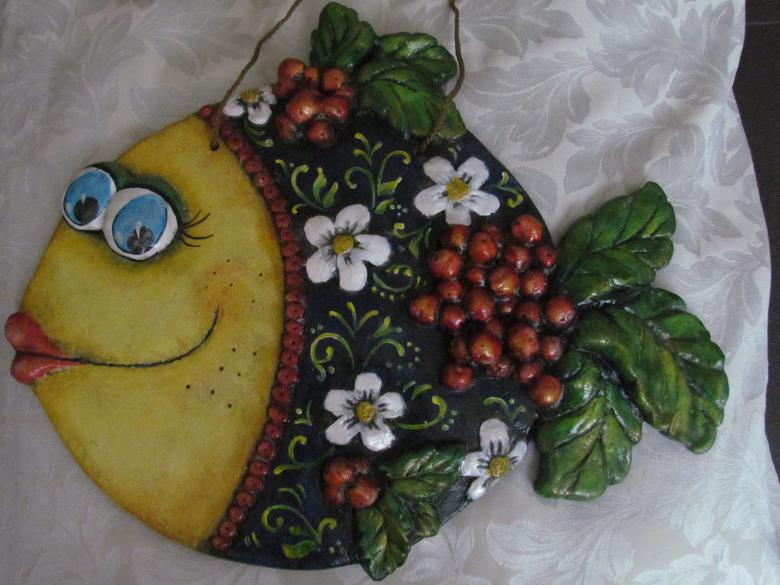
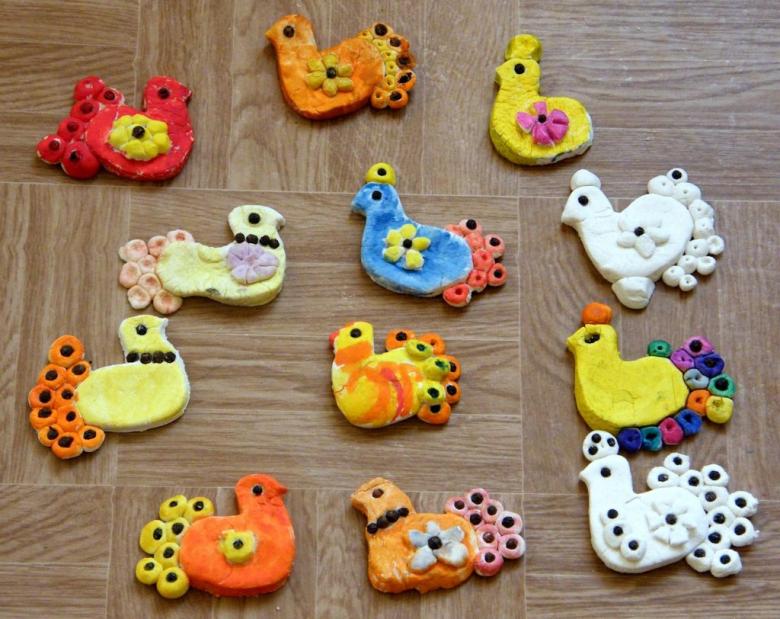
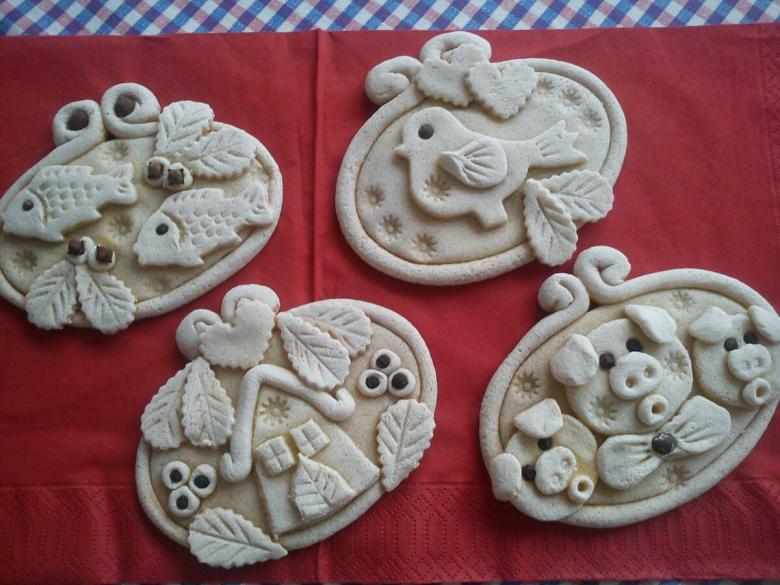
- Using ready-made shapes (plastic or metal), cut out figures. These can be owls, fish for applique and other kinds of animals. The characteristic relief on the sides (wings, scales) is made with a toothpick or needle.
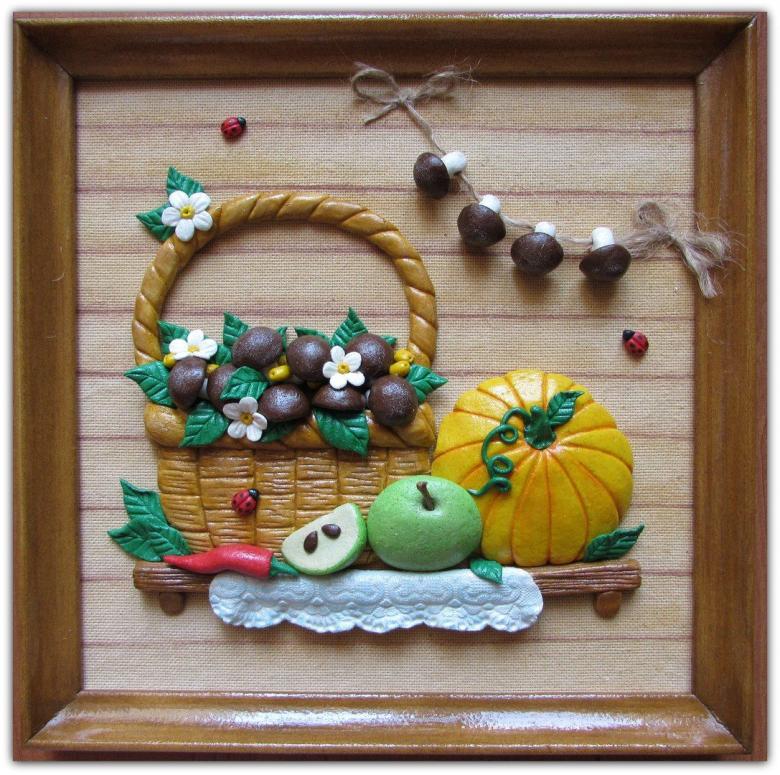
- Sets of fruit are molded by hand, giving them additional volume.
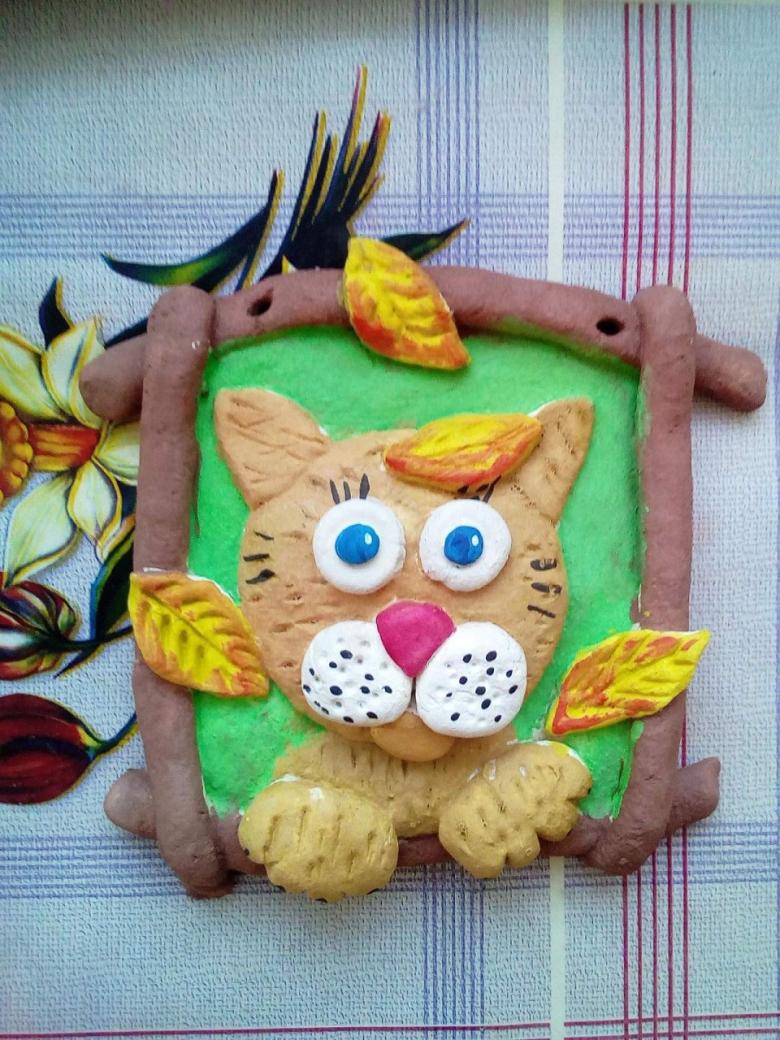
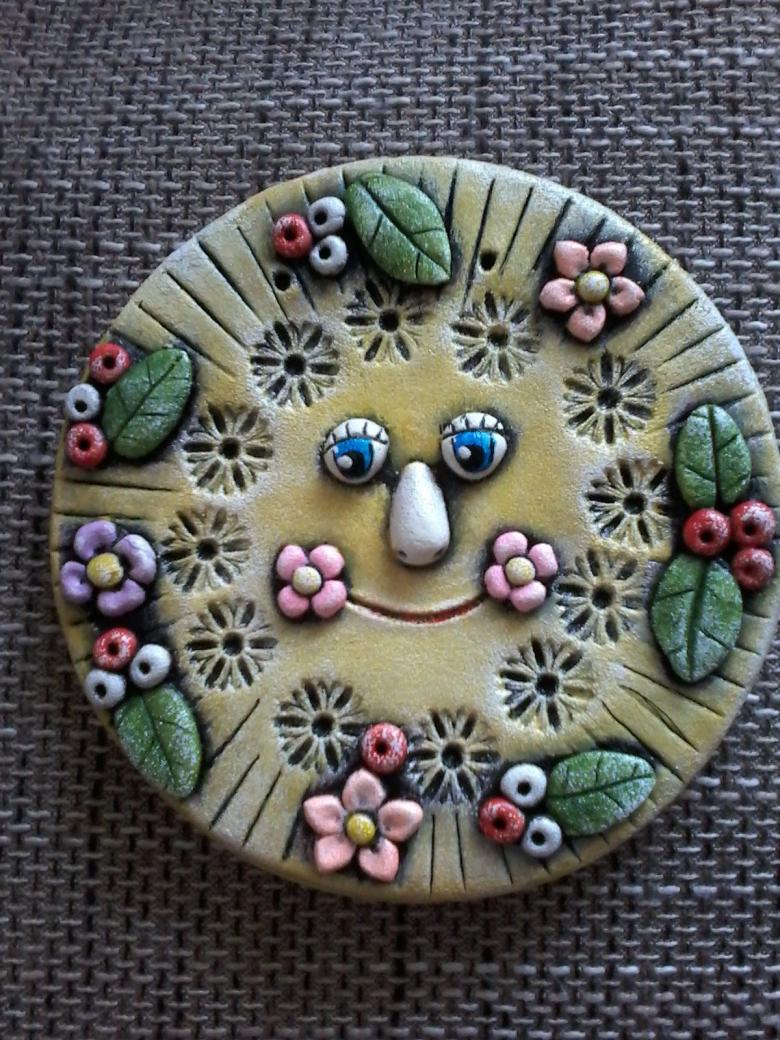
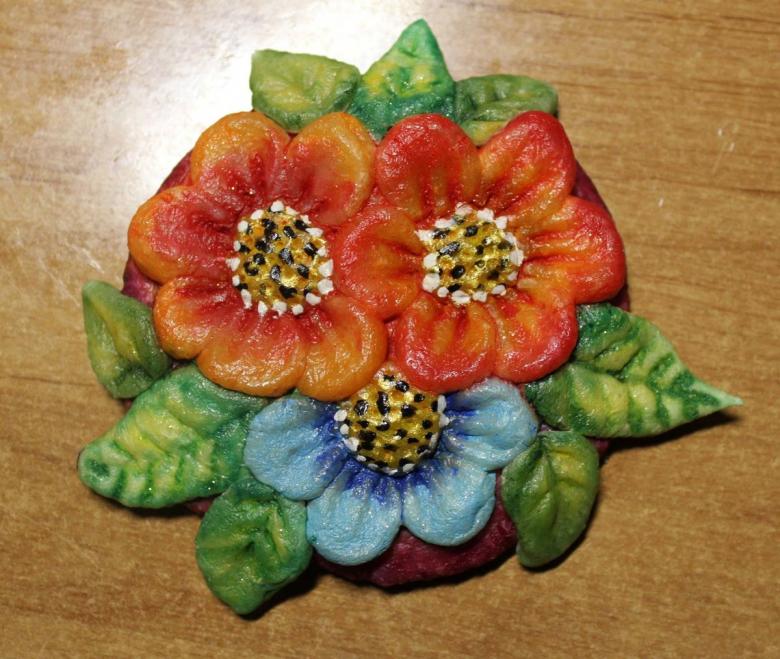
After the dough hardens, decorate the products: apply paint and acrylic varnish. Make an accessory colored in another way, adding a pigmented dye directly when kneading salt dough.
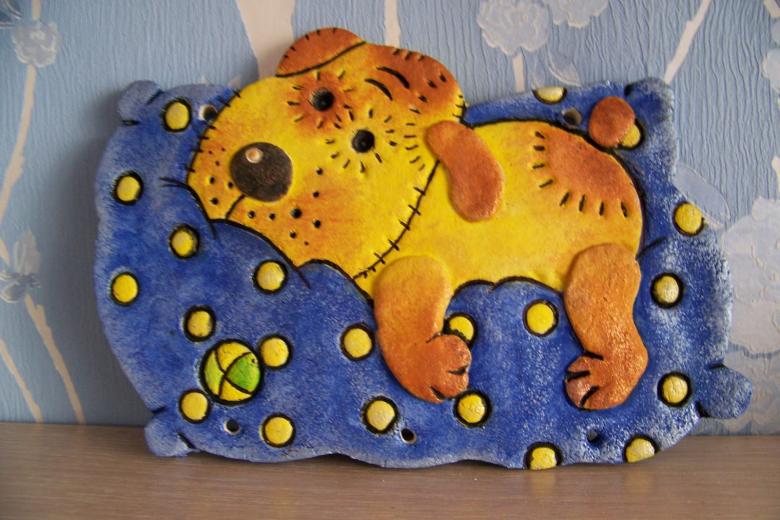
Handmade holiday gifts
Another interesting idea is molding holiday crafts. Such creative activities will be very useful and fun for children of all ages. For example, you can make salt dough crafts for Cosmonautics Day: an outline of the lunar surface with a rocket. To create the composition, the child has the opportunity to use a toy model of the rocket or make it out of dough. Instructions for work:
- On a pre-prepared base (plastic sheet), lay part of the dough.
- Give a rounded shape.
- Using any round piece, draw the outline of craters on the outline of the "moon".
- You can put a flag of your country on top.
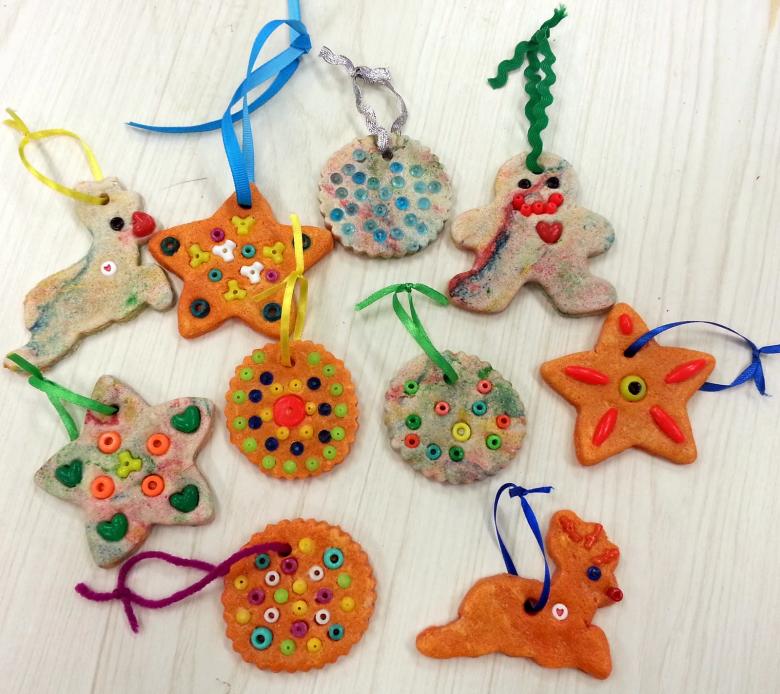
Layout of a toy rocket will fully complement the image of the selected composition. Such a handicraft will be a real decoration of any school exhibition of children's creativity.
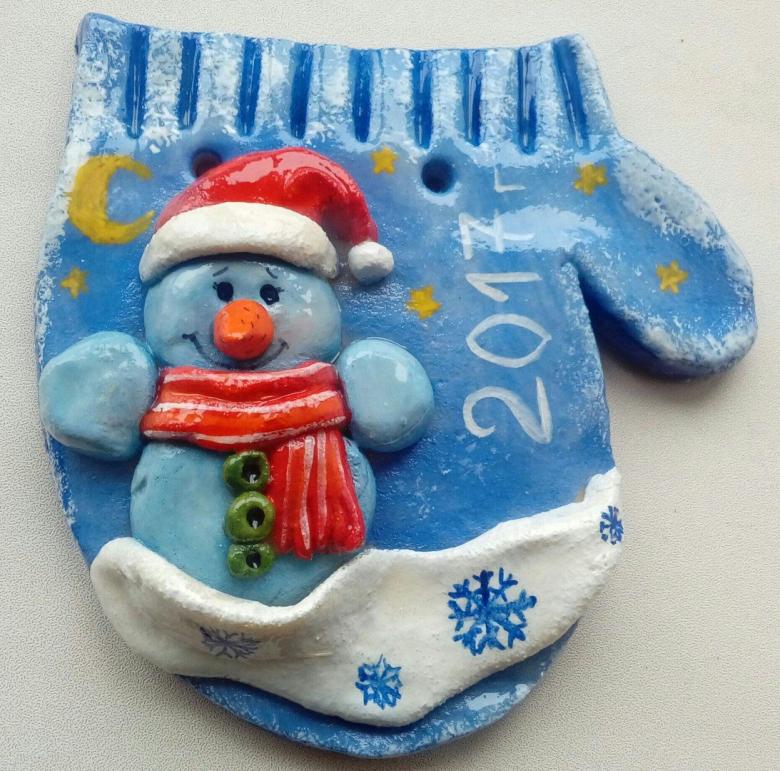
How to properly dry handicrafts made of dough
The rules for decorating finished products are quite simple. And here with the norms of optimal drying of manufactured accessories should be carefully acquainted:
- Small crafts are dried without an auxiliary increase in temperature.
- Large crafts are dried in the oven at minimum temperature for 4-5 hours.
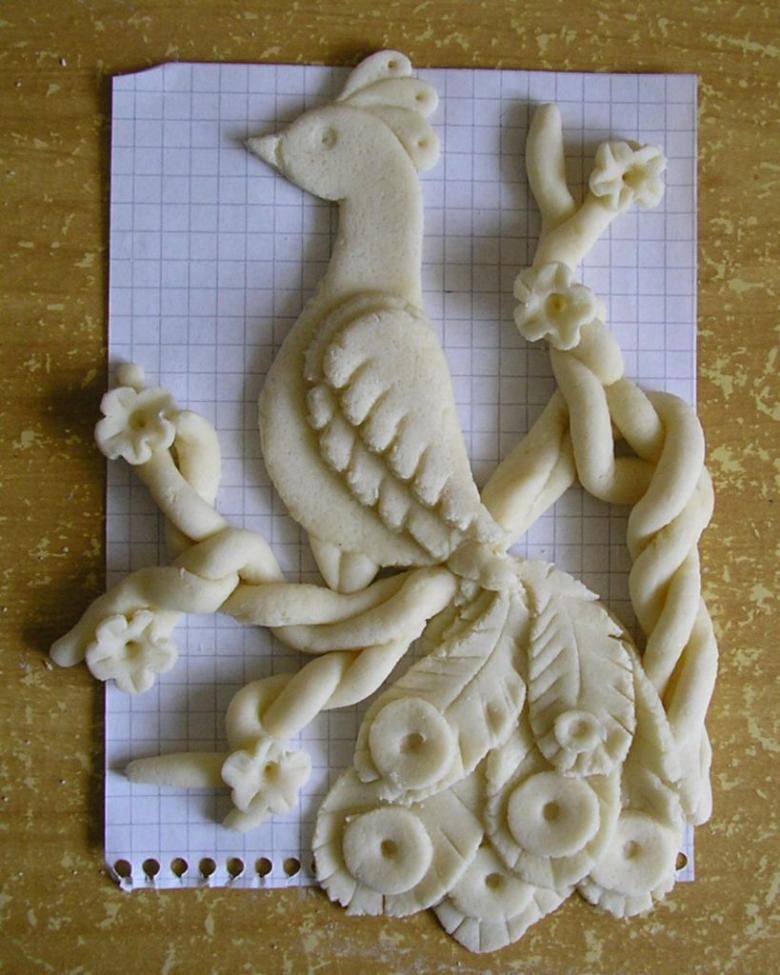
To avoid the appearance of cracks on the surface of the toy, do not dry in direct sunlight. Compliance with the norms of making and drying homemade souvenirs can significantly extend the life of the products.

