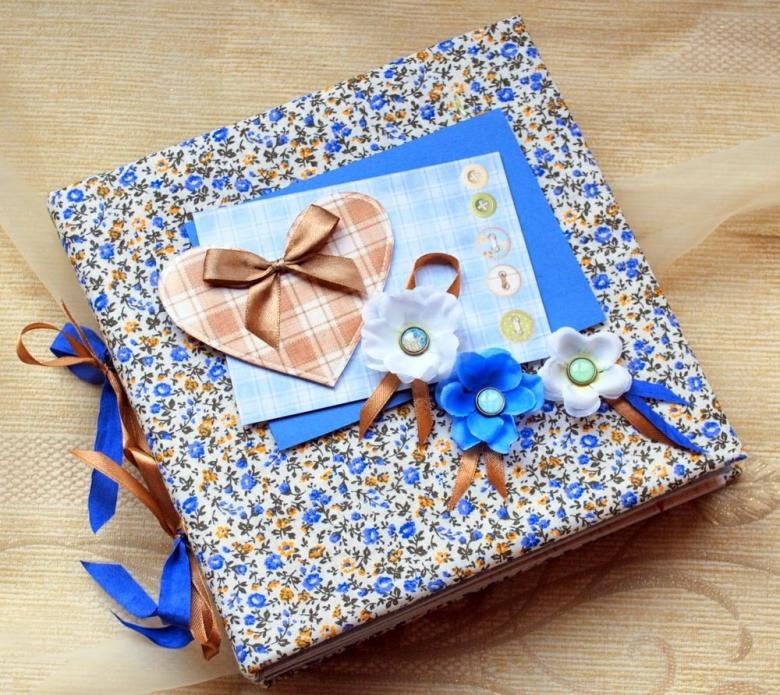
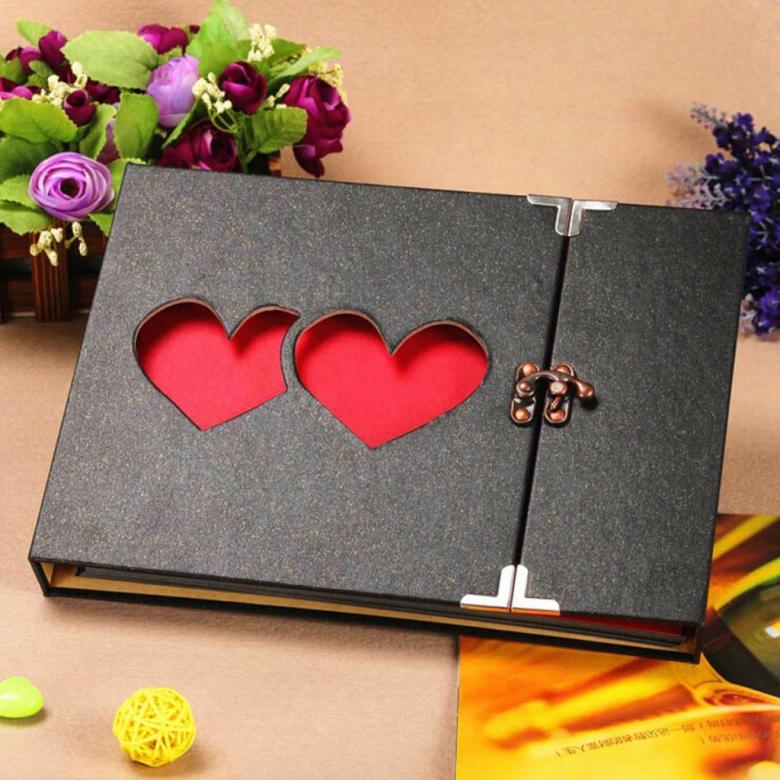
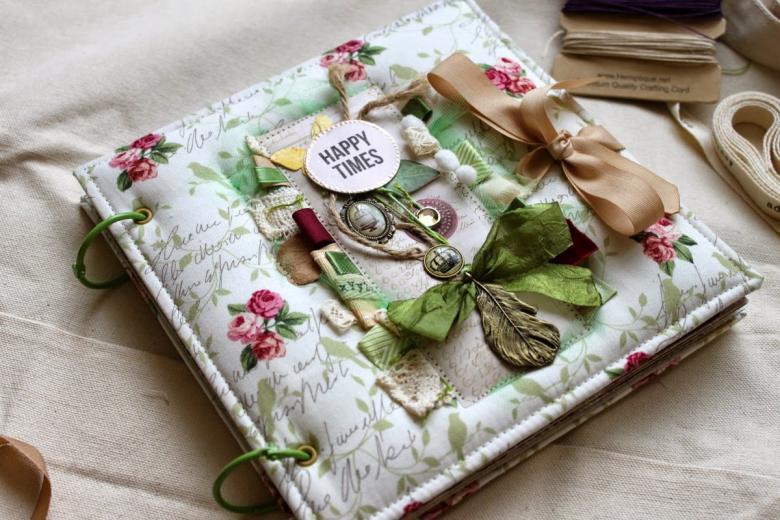
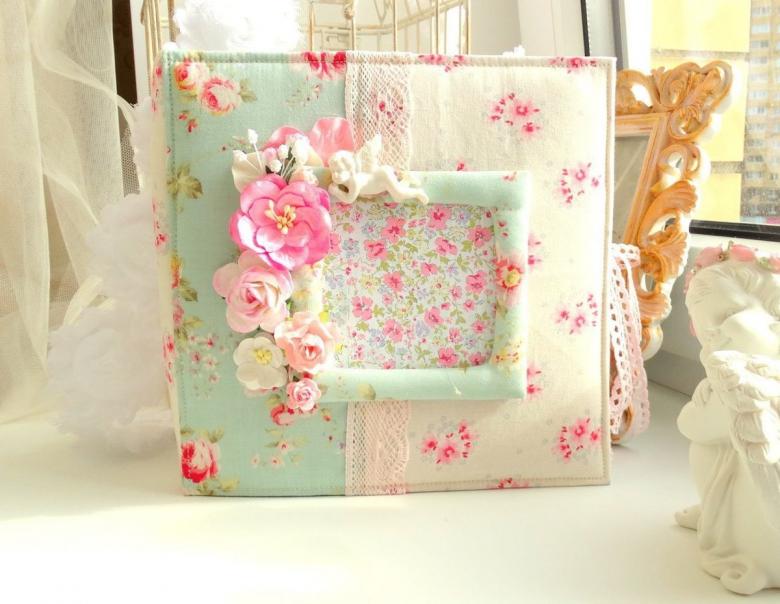
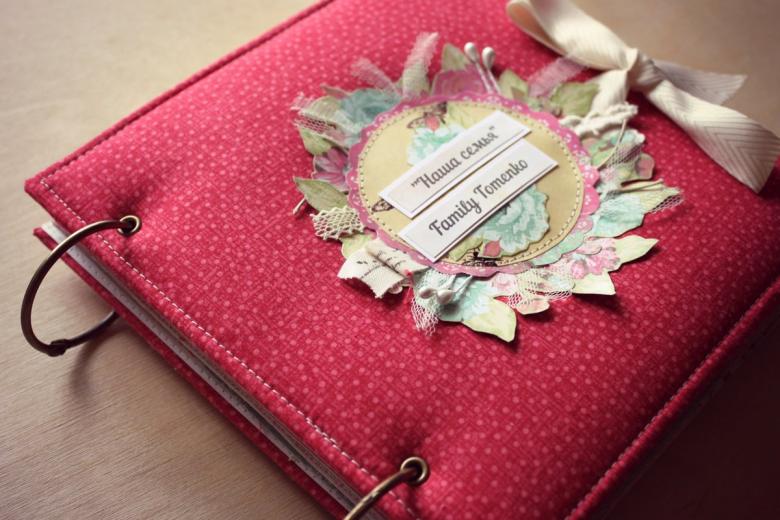
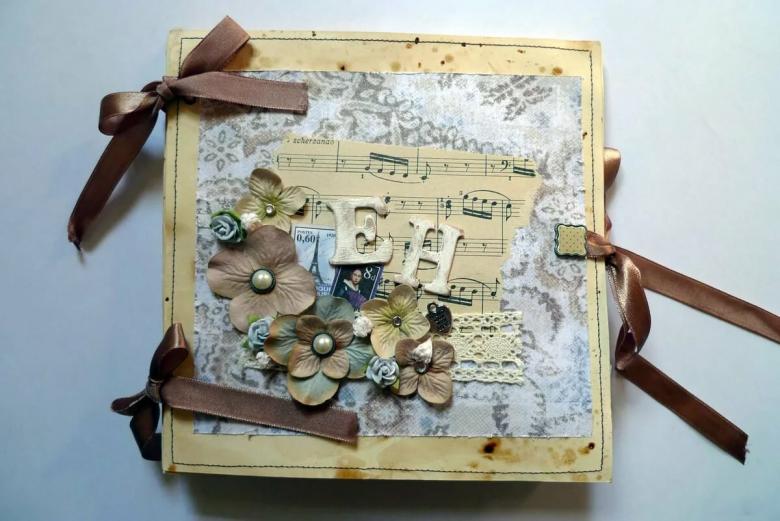
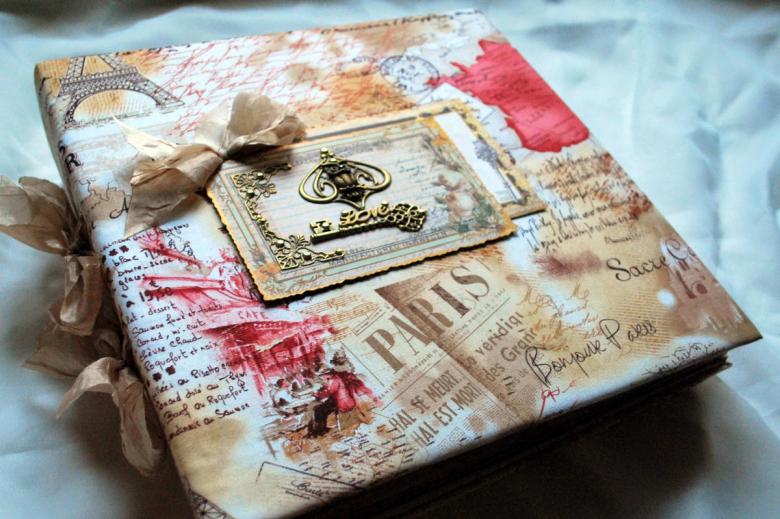
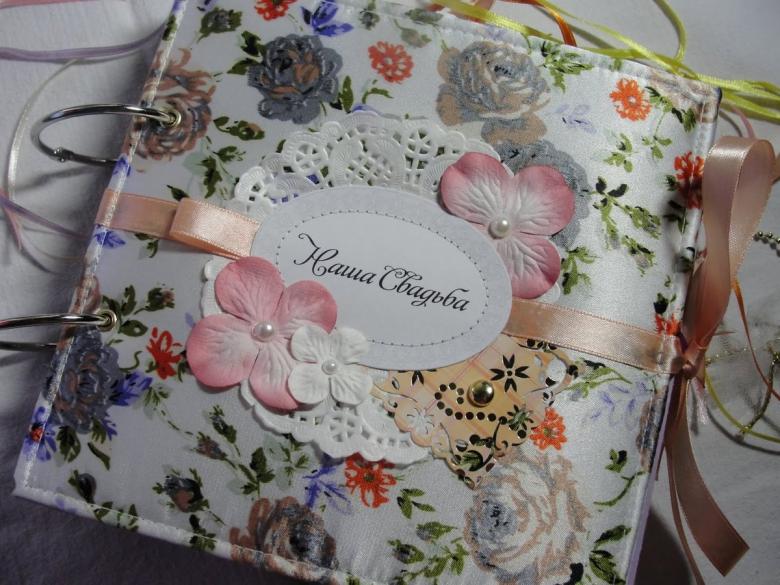
Your own photo album - simple step by step master-classes for beginners, decorating tips, photo ideas
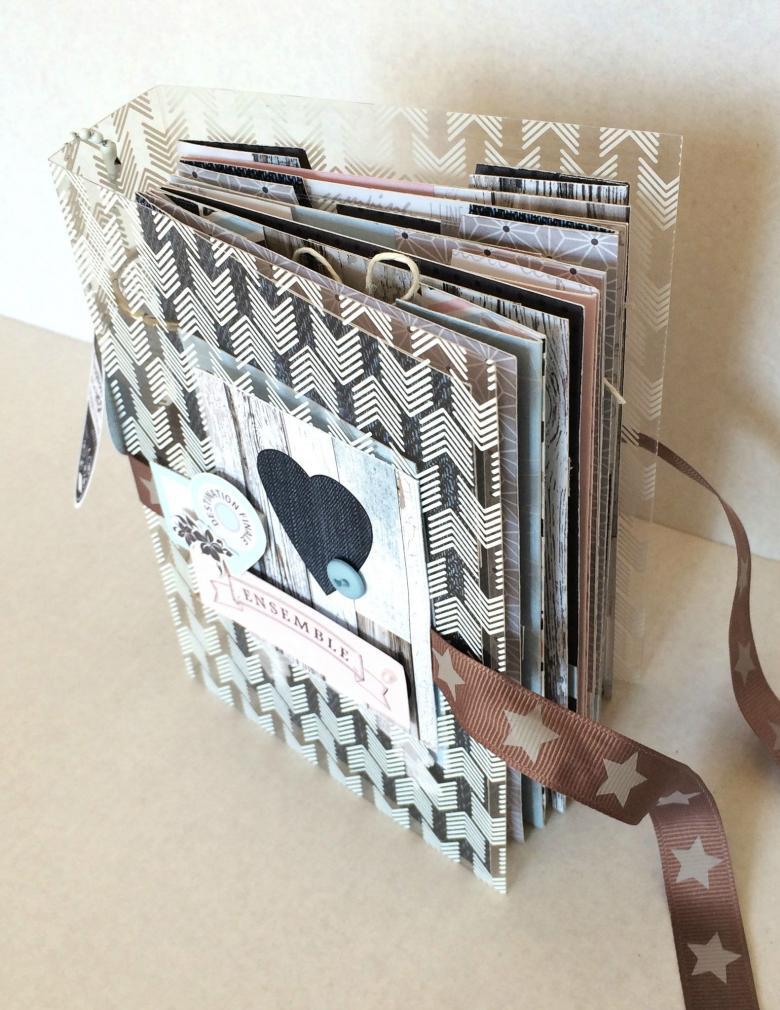
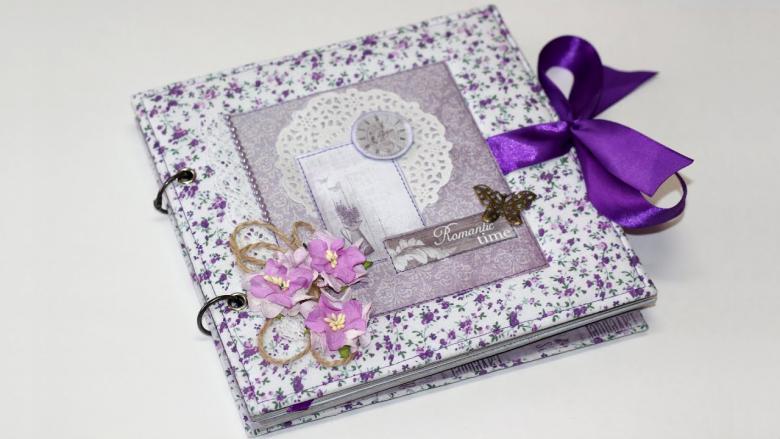
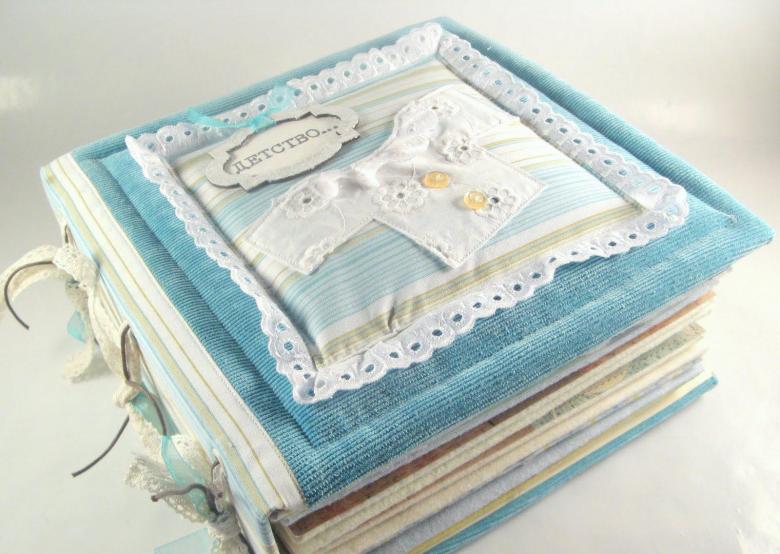
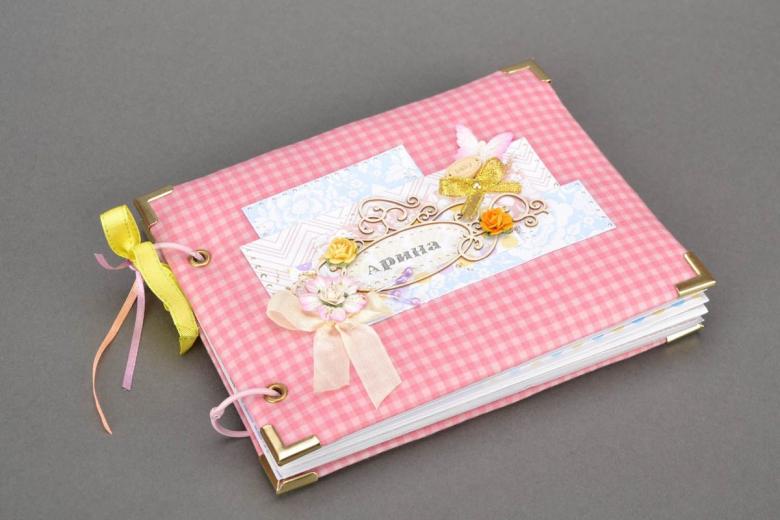
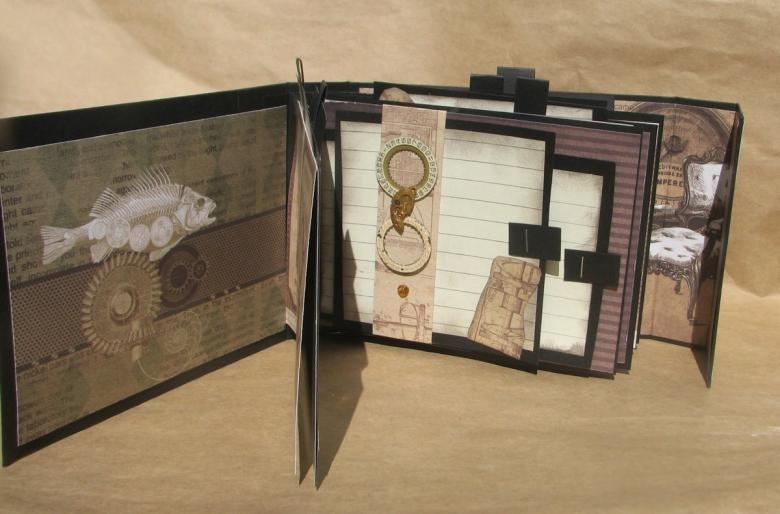
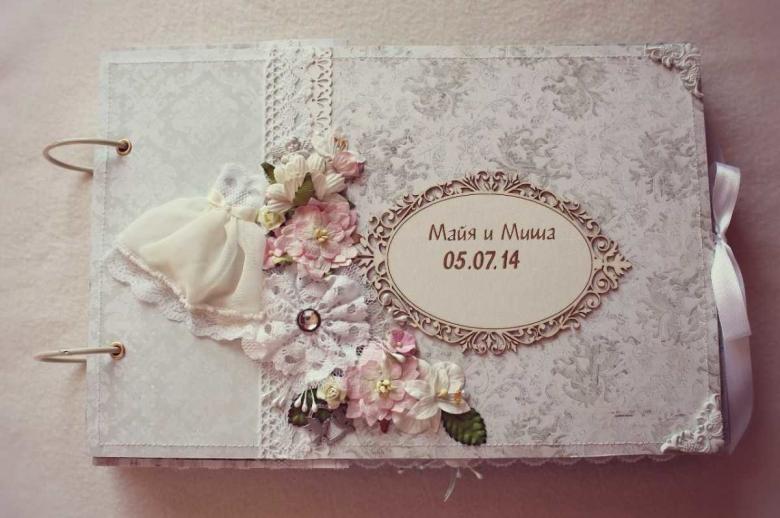
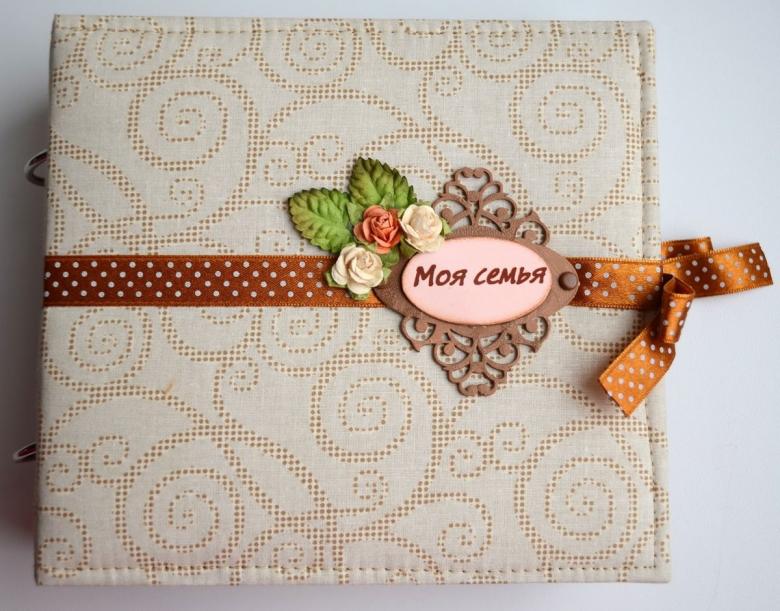
Despite the popularity of electronic photos, traditional paper photos are not forgotten these days. They are carefully selected and stored in purchased or homemade albums. This article will tell you how to make a photo album with your own hands.
What materials are required
To make your own album to store photos, you need to stock up:
- A special cardstock cardboard;
- background paper;
- binding cardboard;
- glue;
- creasing;
- flap of loose fabric;
- textiles for the cover;
- decorative elements (ribbons, beads, rhinestones, buttons, etc.).
Sequence of steps for making a scrapbook
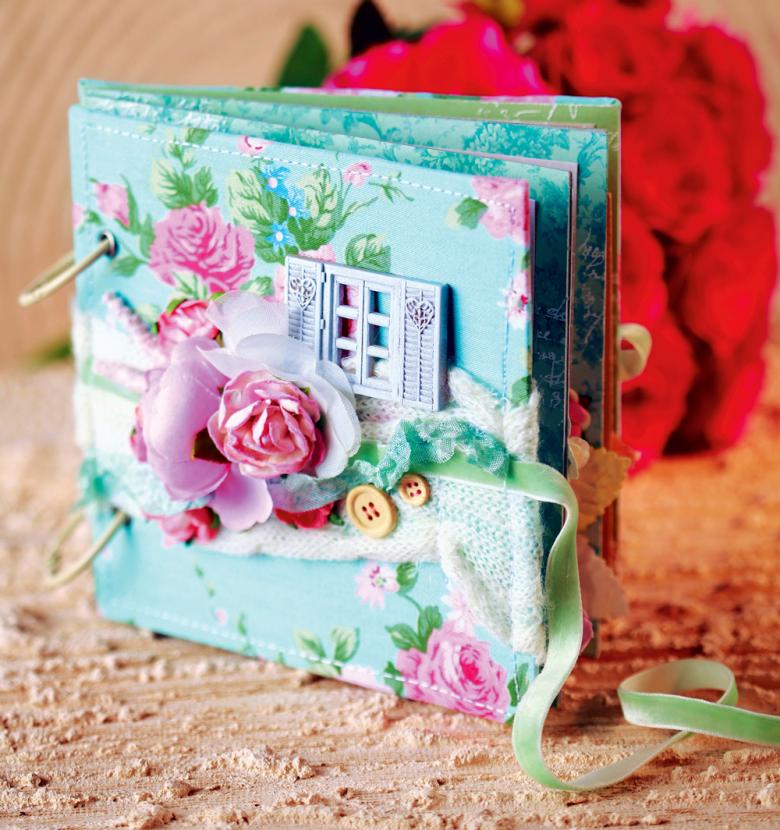
Below you will find the order of steps for making a scrapbook of the size 10*10 cm.
To make a scrapbook of album pages you need:
- Cut cardstock into squares with sides of 10 cm.
- Cut strips 10 cm long, 2.5 cm wide in an amount smaller than the number of square blanks (for 1 pc).
- Using a creasing device, draw two lines in the center of each cardboard strip, keeping a distance of 0.02 cm between them.
- Cut off corners of equal size from the fold lines on each strip. Fold the resulting elements and carefully iron the folds.
- Connect the strip to the square with glue. On the reverse side connect another square. You should have two scrapbooks.
- Do the same to connect all the pieces made. The base of the photo album is ready.
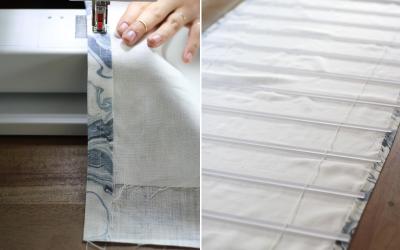
- Strengthen the resulting block by gluing a strip cut from a loose fabric. Its size should be slightly larger than the dimensions of the product. The width of the cut material must go at least 15 mm to the base of the album.
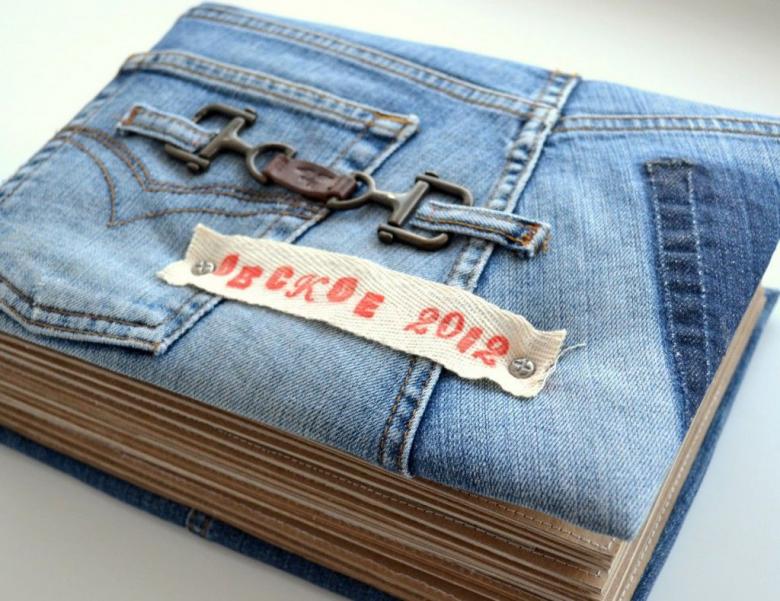
To make a spine, you need an ordinary cardboard sheet. The algorithm of action is as follows:
- Cut a rectangle with a length equal to the height of the block of album pages, and a width exceeding the thickness of the base of the product by 3 cm.
- In the center of the resulting part to hold a few lines creased, adhering to the step of 1 - 2 mm. Such an operation will help to avoid creases in the spine and give it a smooth curve. On the wrong side it is also worthwhile to draw a couple of lines.
- Transfer the cardboard blanks on the textile, intended for the cover, and cut, not forgetting to add a reserve for bending.
- Secure the fabric with fleeces or adhesive tape. This will add to the aesthetics of the finished product.
- Glue the textile blank to the spine of the cardboard, folding the edges of the fabric inside.
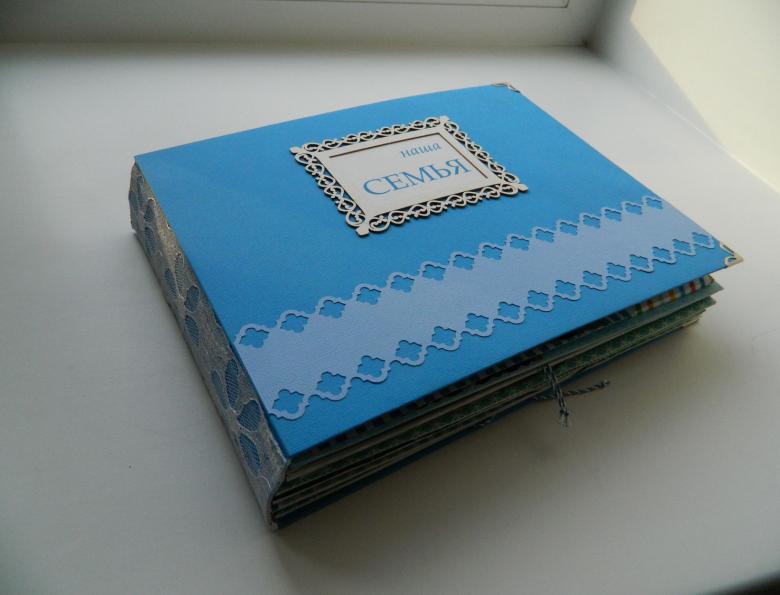
It is recommended to make the cover from cardboard. The process of creating it is simple:
- Cut two rectangles, equal in height to the spine, and slightly exceeding the width of the photo album block.
- Attach them to the material chosen for the cover, trace them, adding 2 cm to each side for the fold, and carefully cut them out.
- Glue the front part of the cover to the cardboard part. You can additionally insert synthetic material to make it three-dimensional.
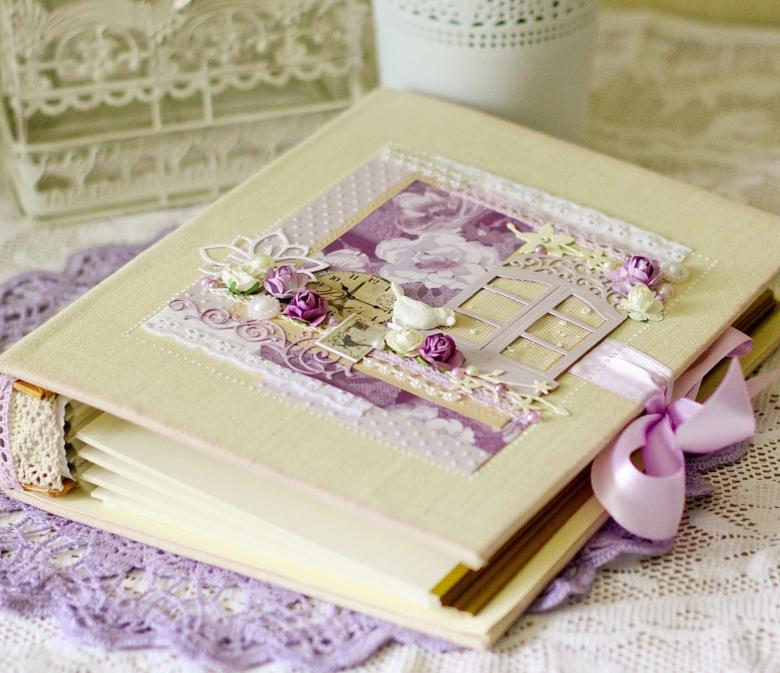
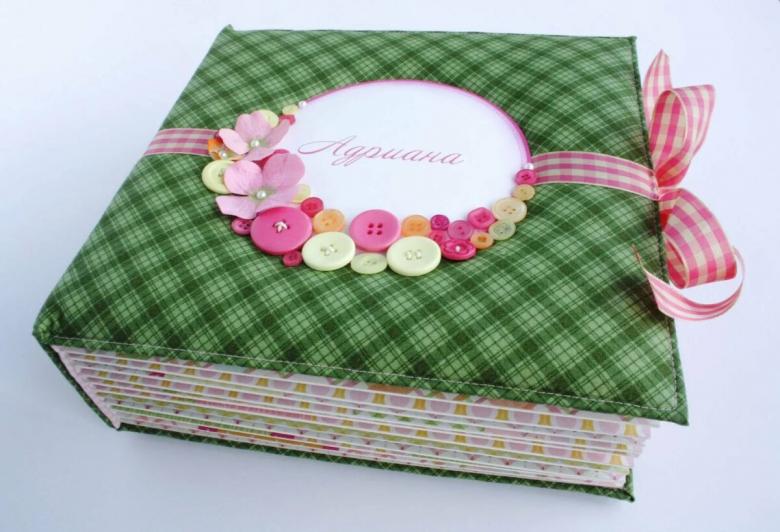
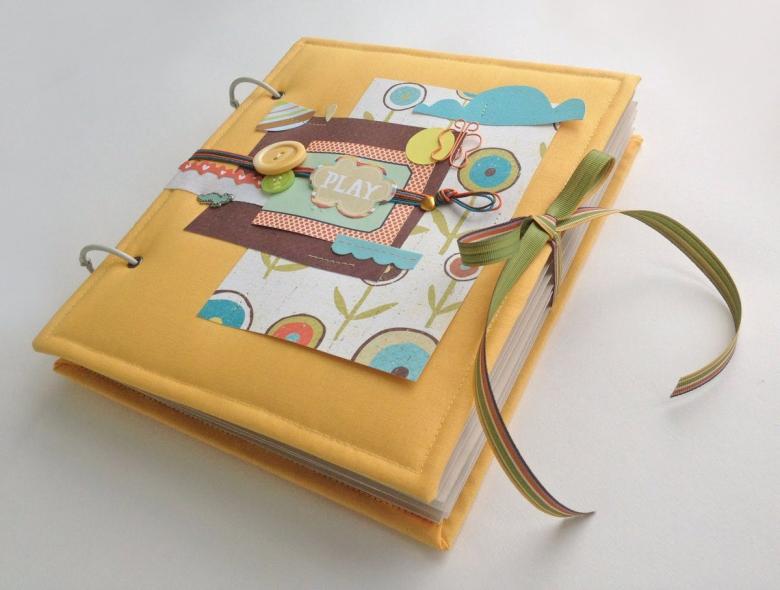
- Glue the inner side pieces (without stretching the textile). Decorate the cover with ribbons.
- Form the corners.
- Insert the spine. Cover ready.
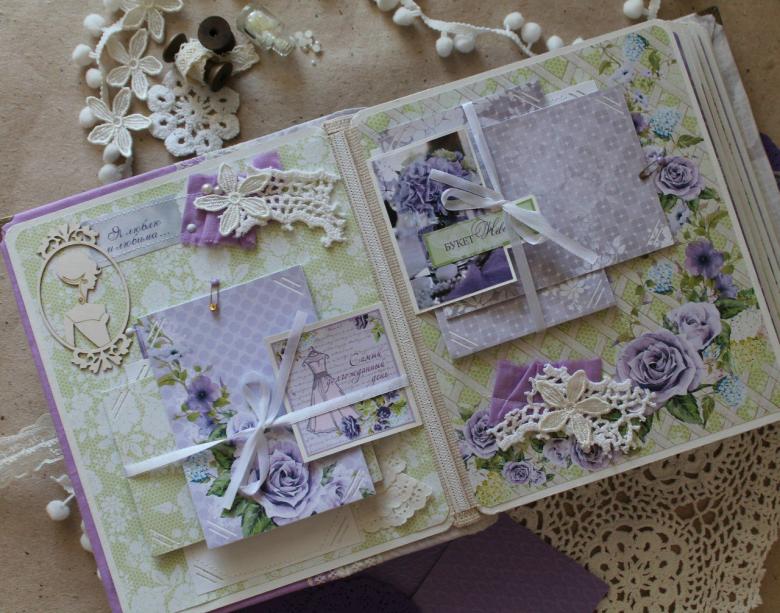
It remains to assemble the album. To do this, you need to put a little glue on the outer sheet of the block and insert it into the cover. This manipulation should be done with the product closed. If everything was done without mistakes, after gluing both parts of the cover, it will be easy to flip through the pages of the album.
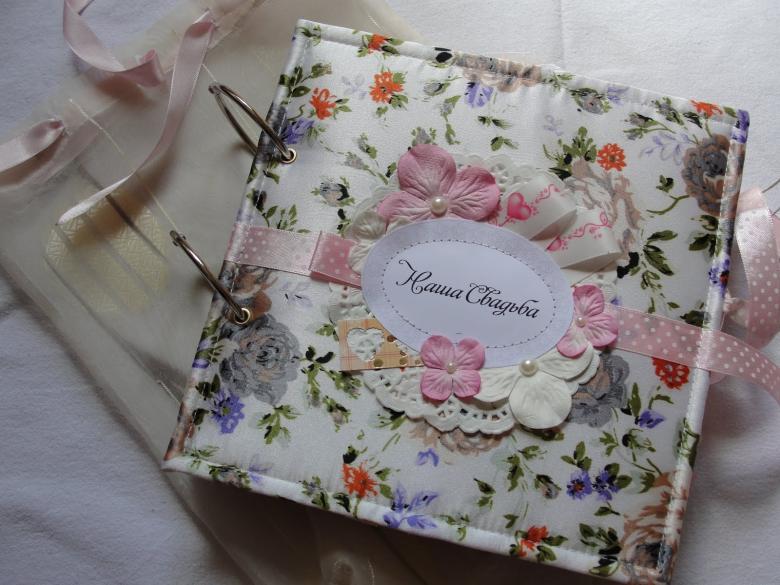
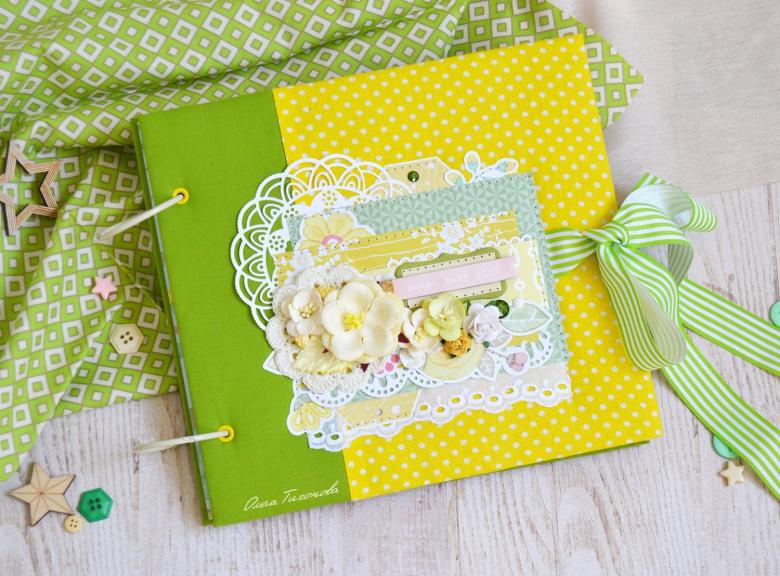
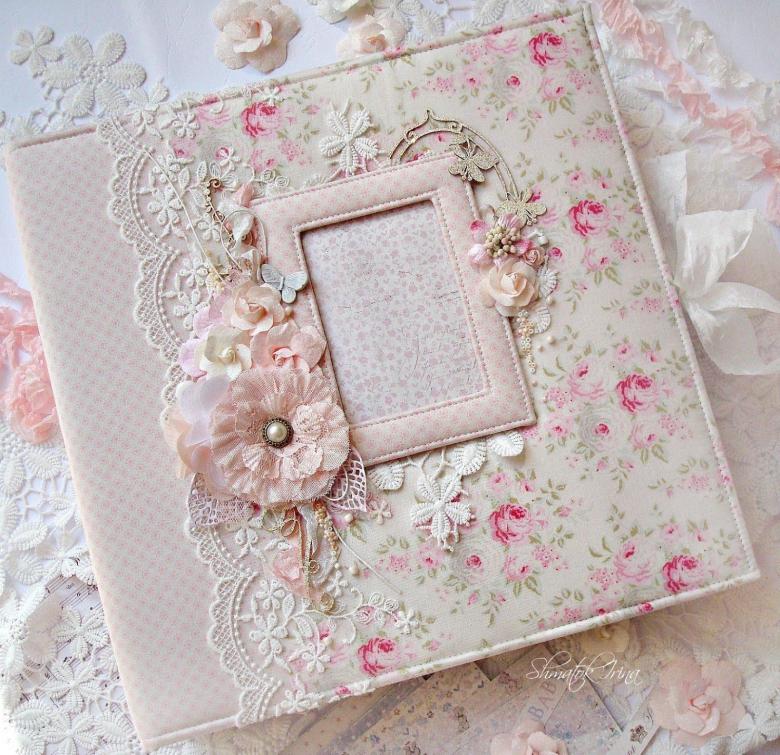
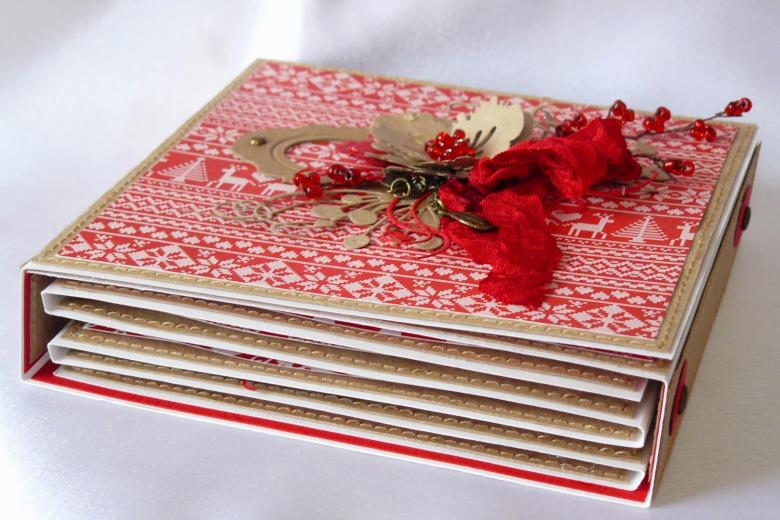
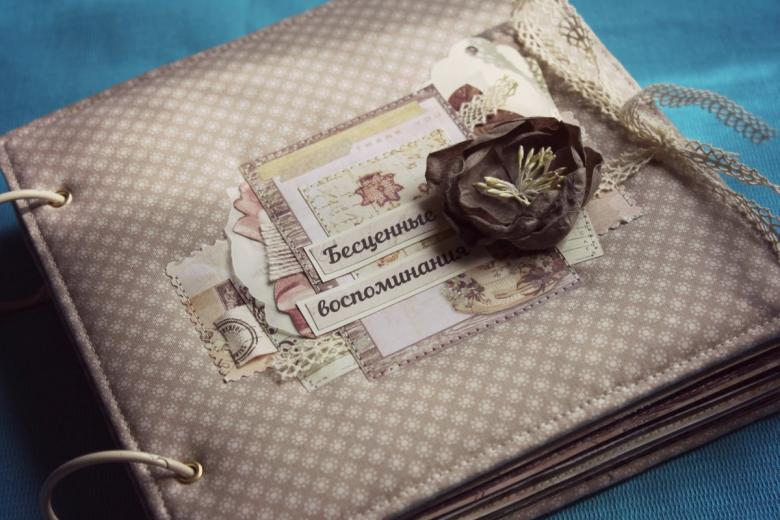
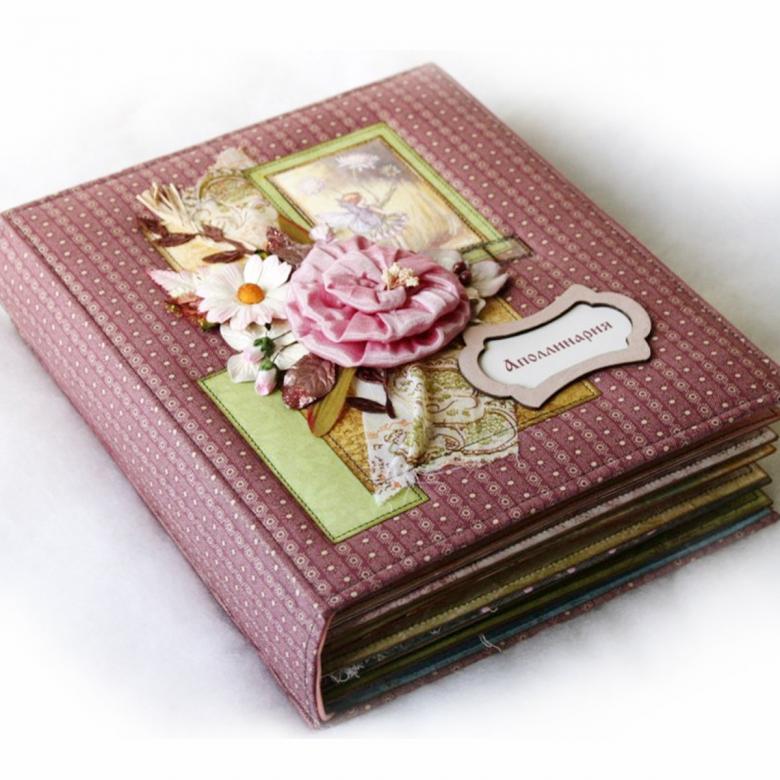
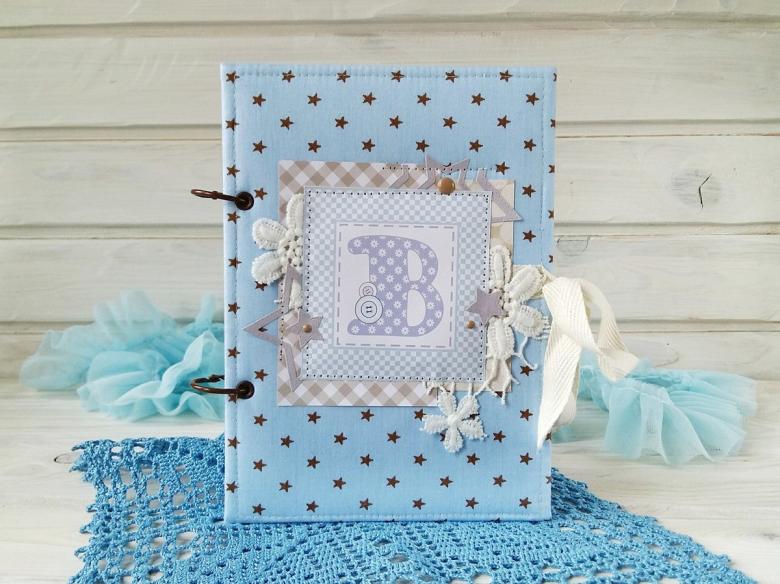
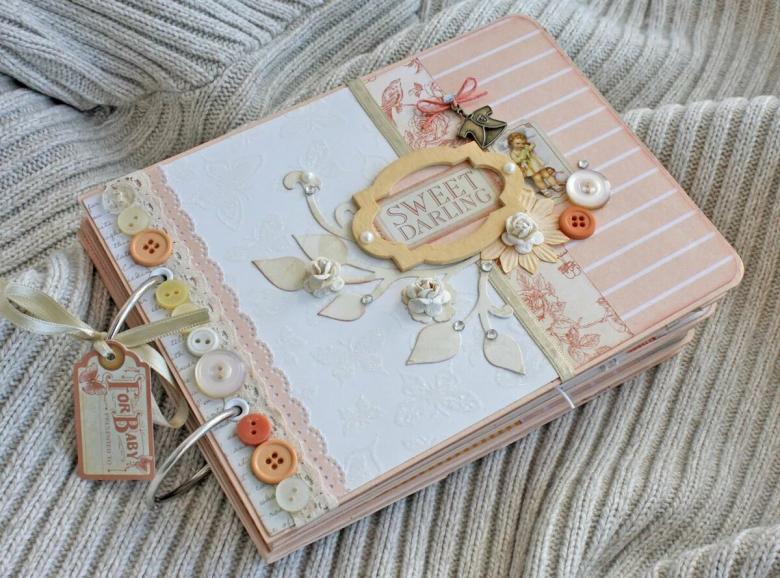
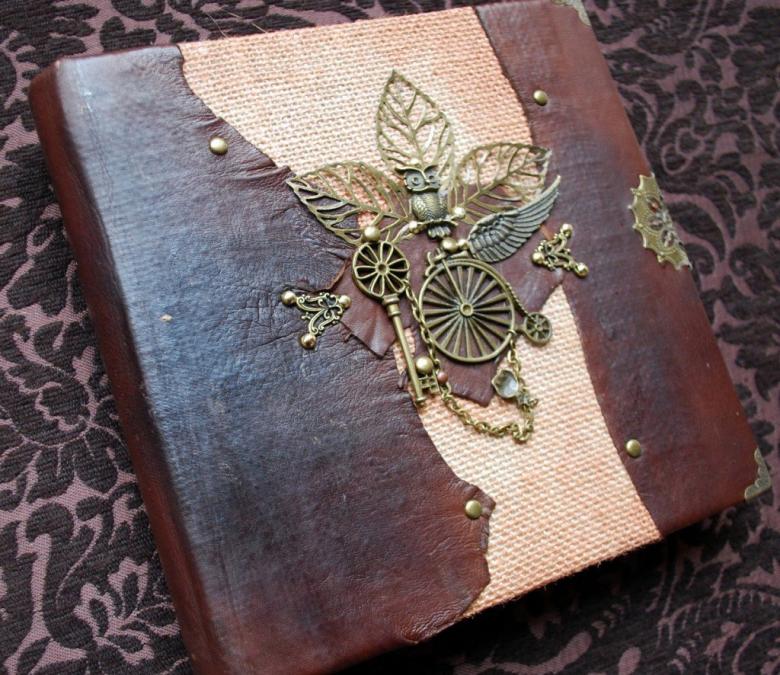
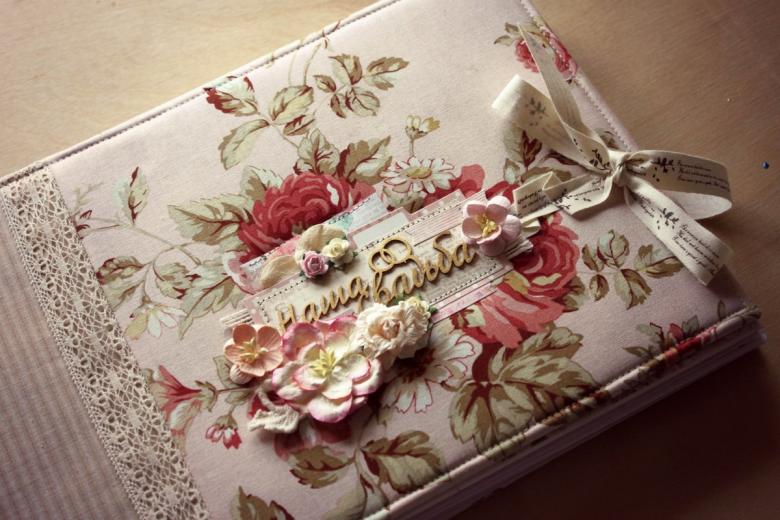
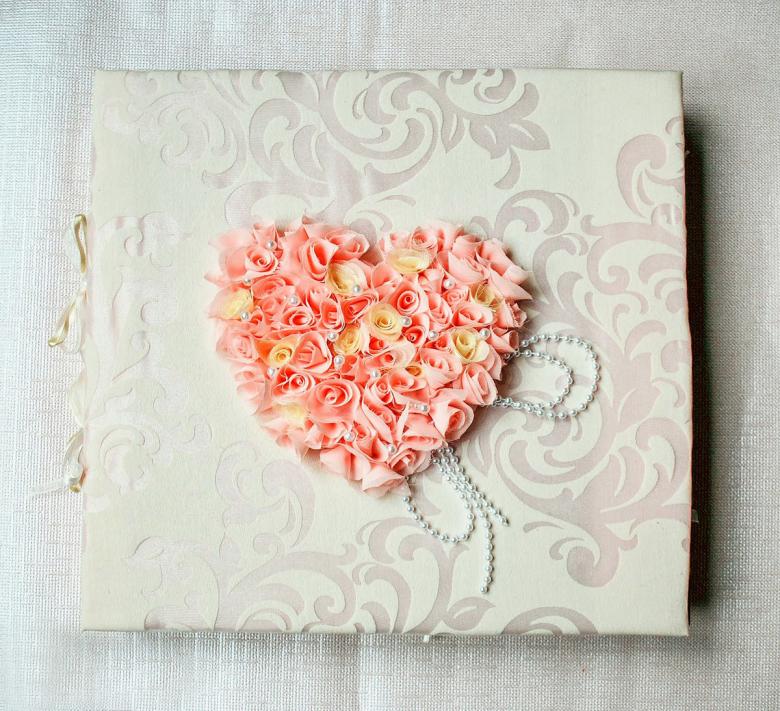
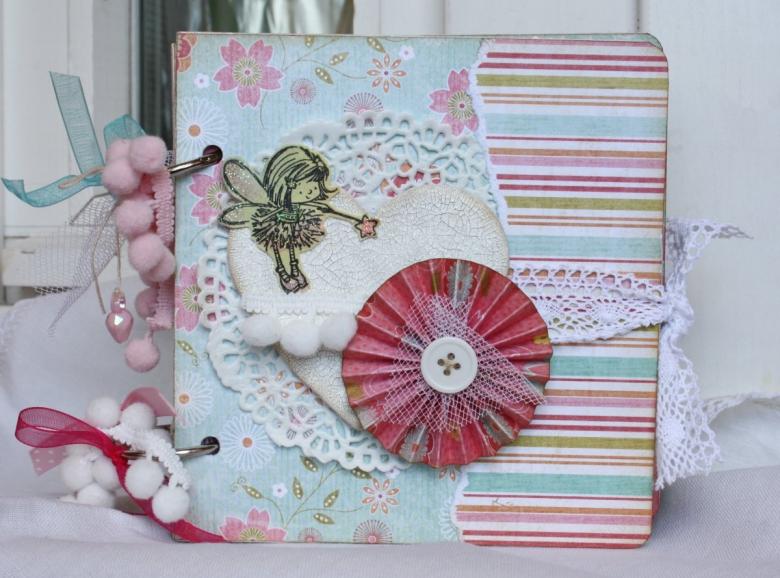
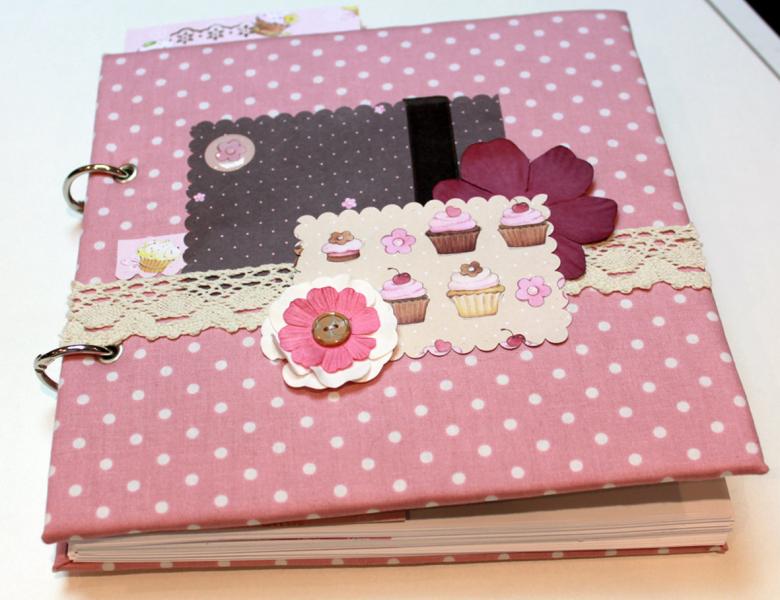
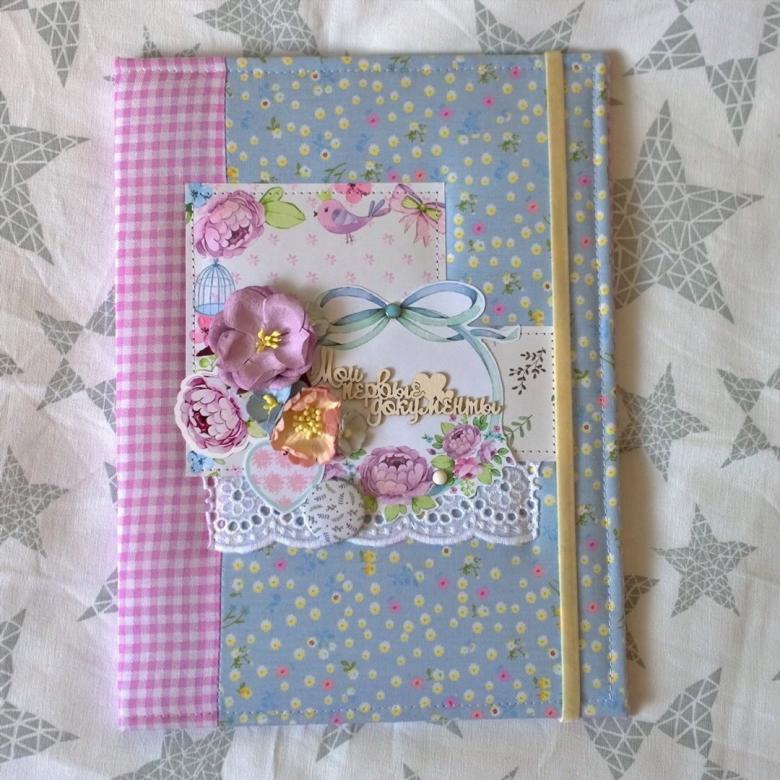
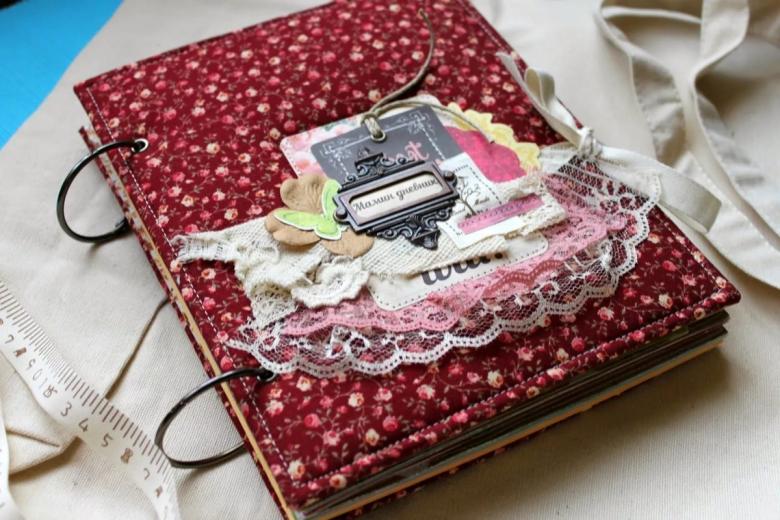
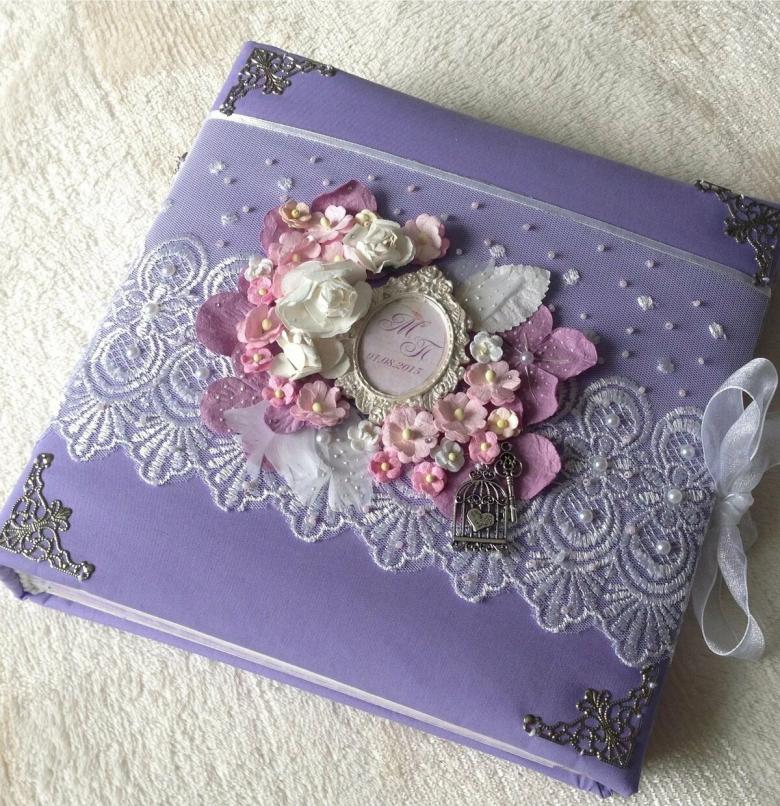
The last step is to decorate the cover. You can, using paints, draw a beautiful landscape, or you can make a collage.
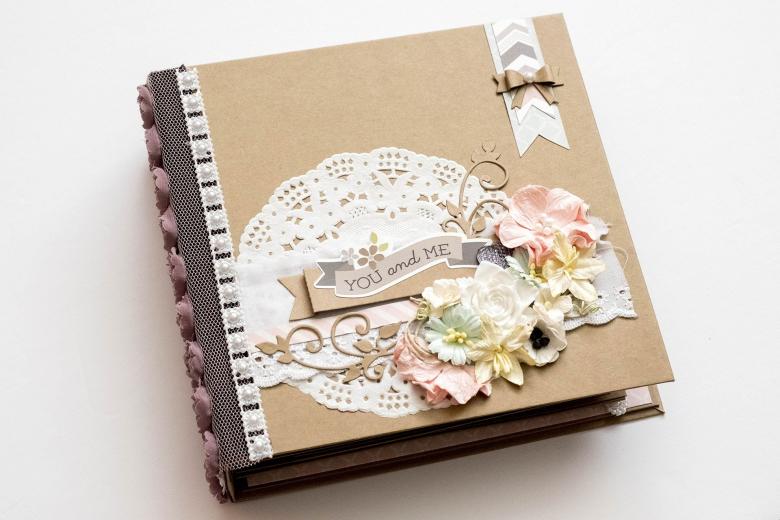
Scrapbooking Technique
Scrapbooking is a popular way of creating and decorating handmade albums, which was invented back in the 16th century. In those days, our ancestors began to record recommendations, important events, recipes, etc. in special notebooks.
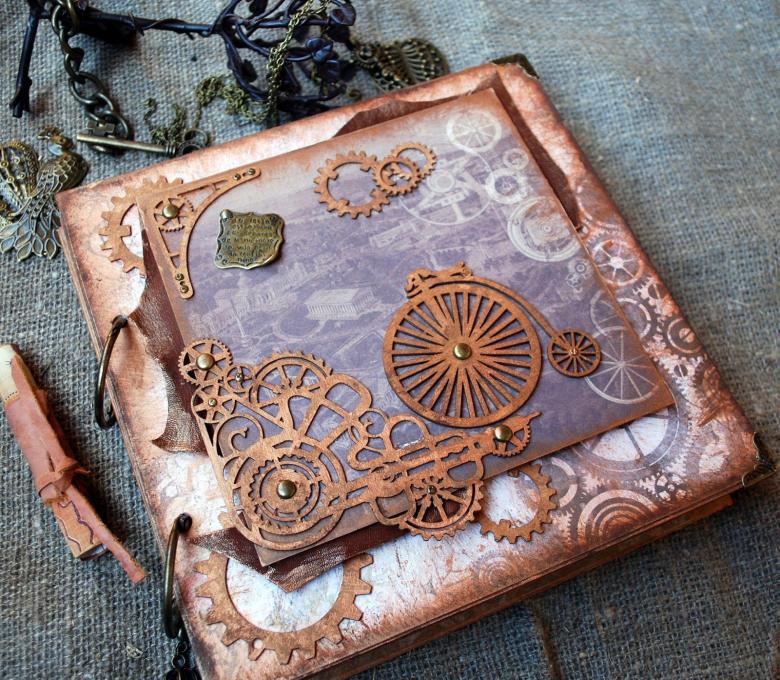
In the second half of the 17th century, books with extra blank sheets for writing notes and inserting drawings appeared. It is believed that the art of scrapbooking originated then.
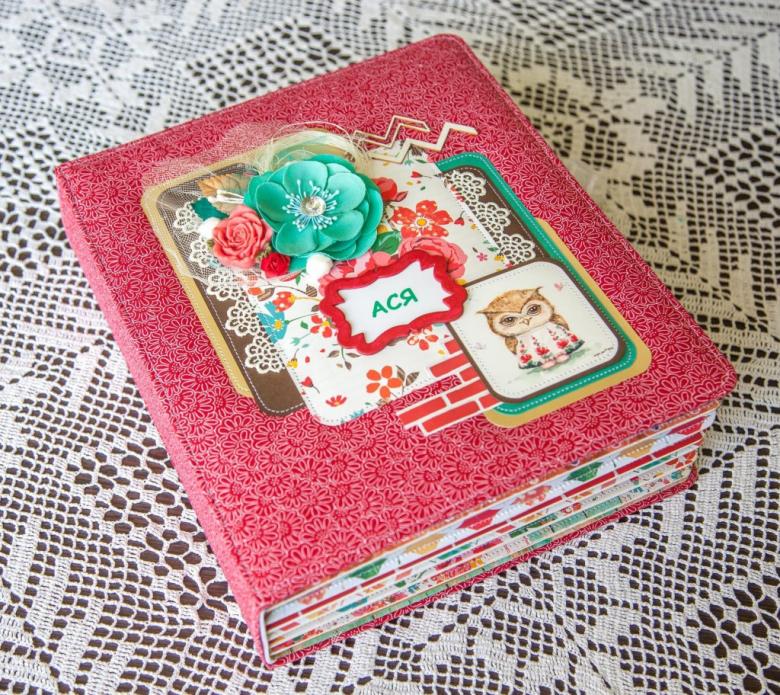
In the 19th century, when photography became widespread, there was a significant leap - special pockets were made for pictures, and sheets were decorated with different colors and illustrations. Women's albums with drawings, photos and a variety of inscriptions were very popular.
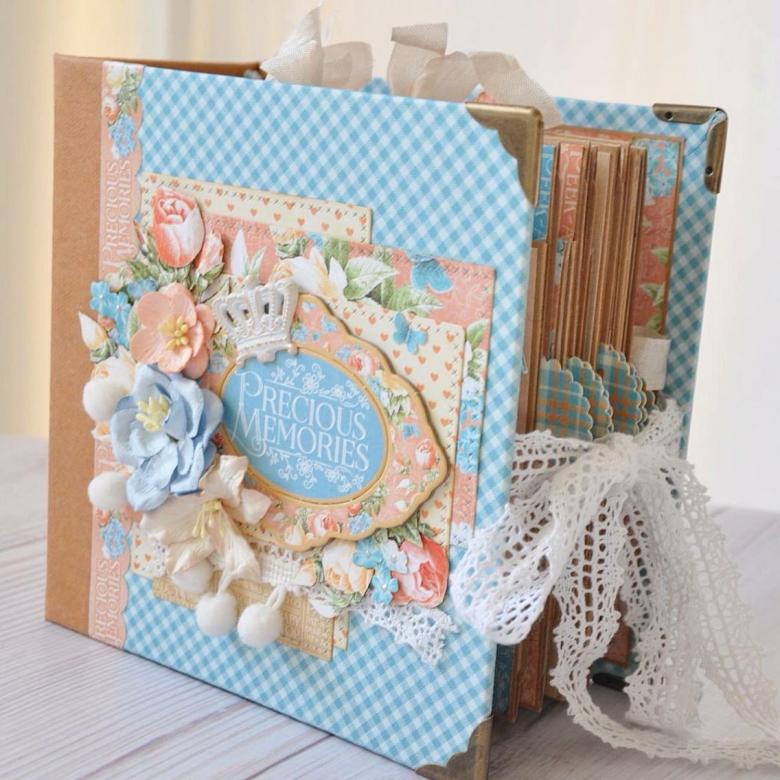
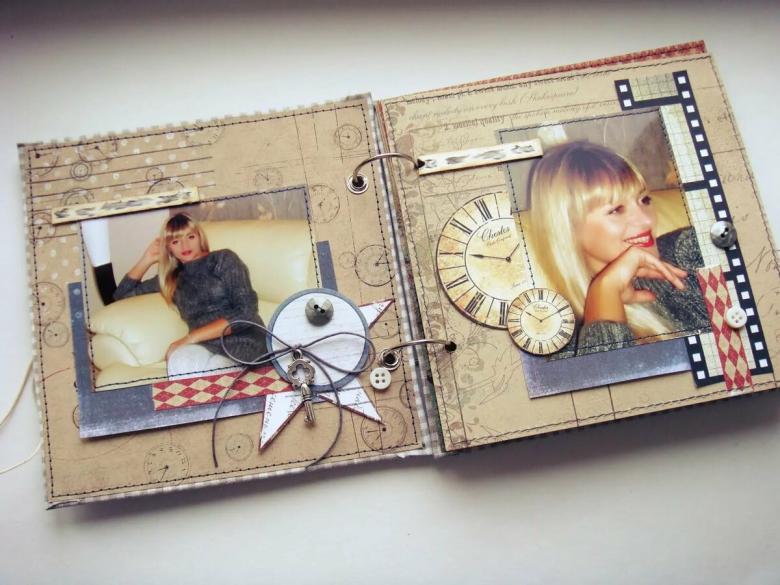
Today there are a lot of options for using the scrapbooking technique to create a photo album with your own hands.
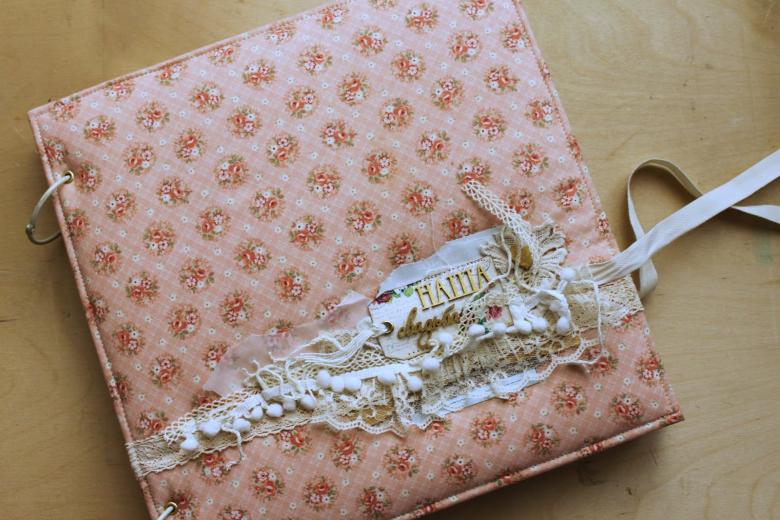
Ready-made sketches
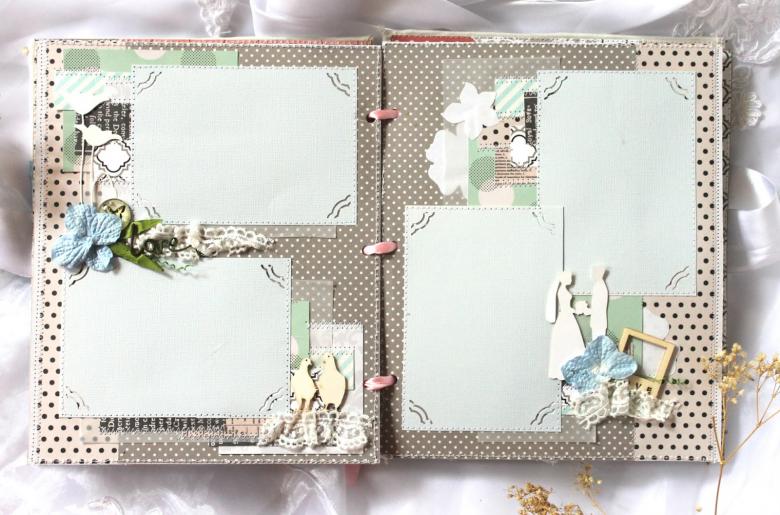
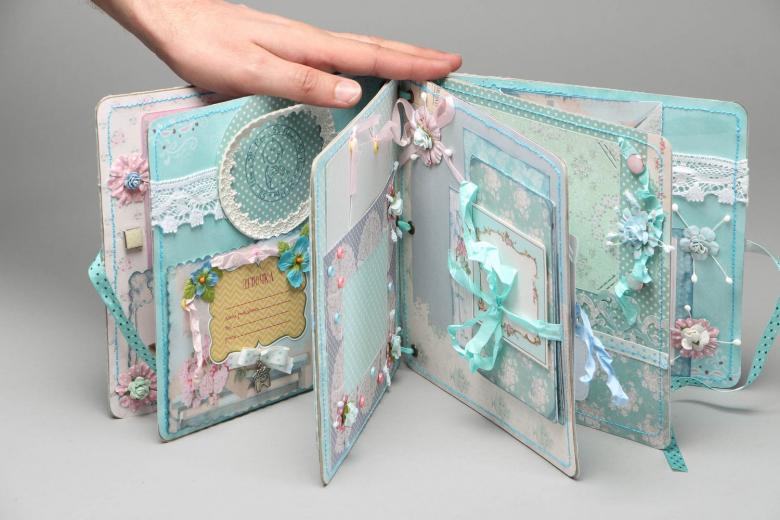
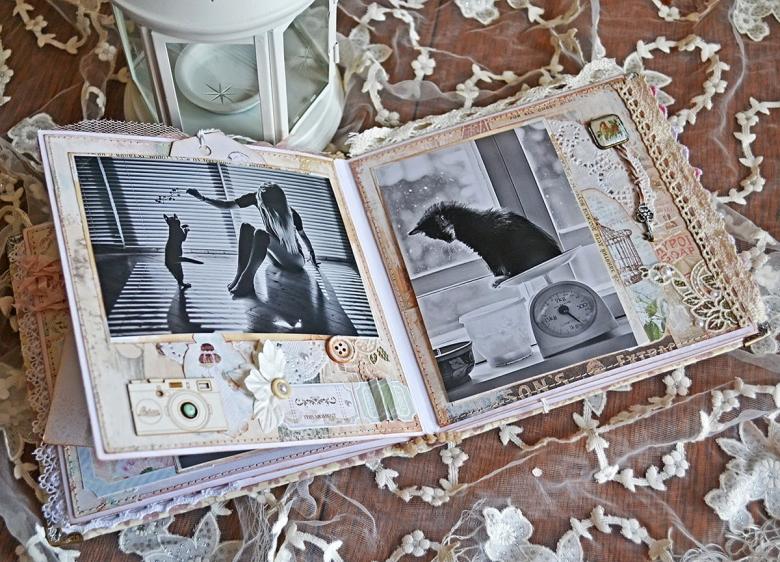
A sketch is a prepared page template of the future photo album that allows you to speed up its production. This is a good solution for beginners who are trying to make a unique album for photos with their own hands. Determining the colors and photos step by step, you can develop an original design for album pages.
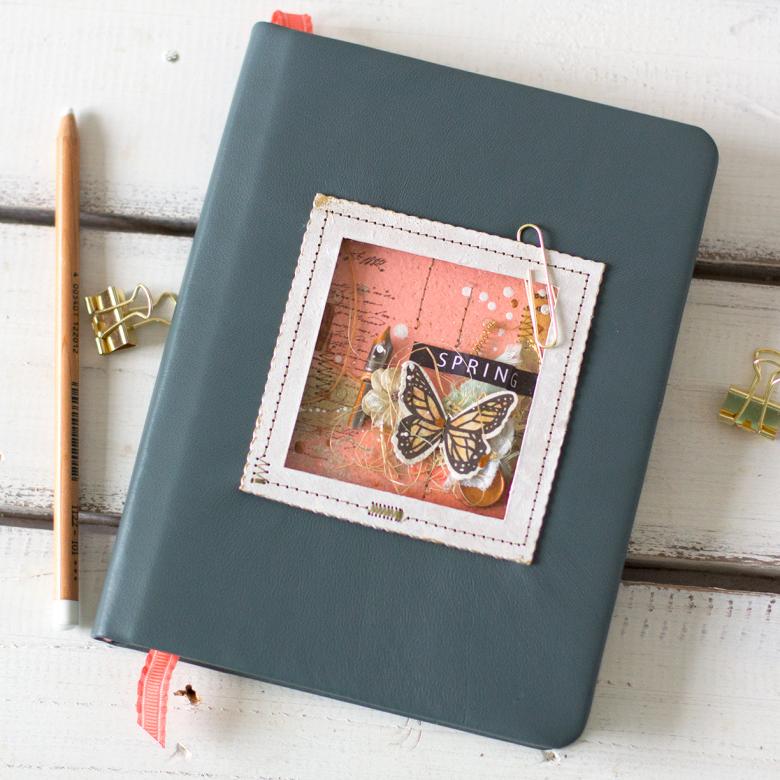
Having gained experience, it is acceptable to refuse to use sketches and begin to be guided by your own imagination. But at the beginning such sketches are necessary, because they help to present the appearance of the future product, and you can also avoid damage to expensive materials in making any changes.
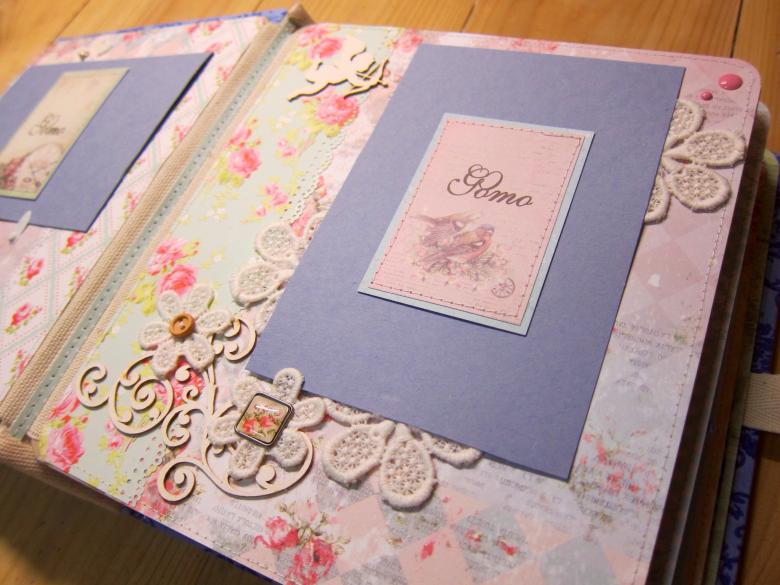
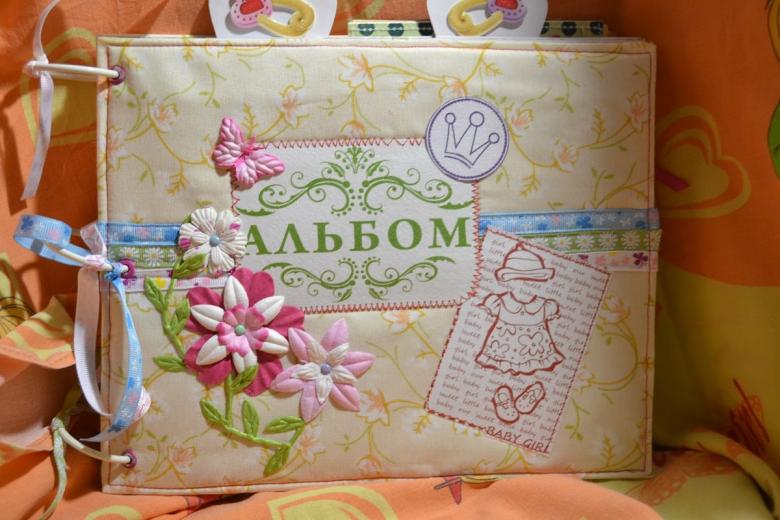
Ideas for decorating author's photo albums
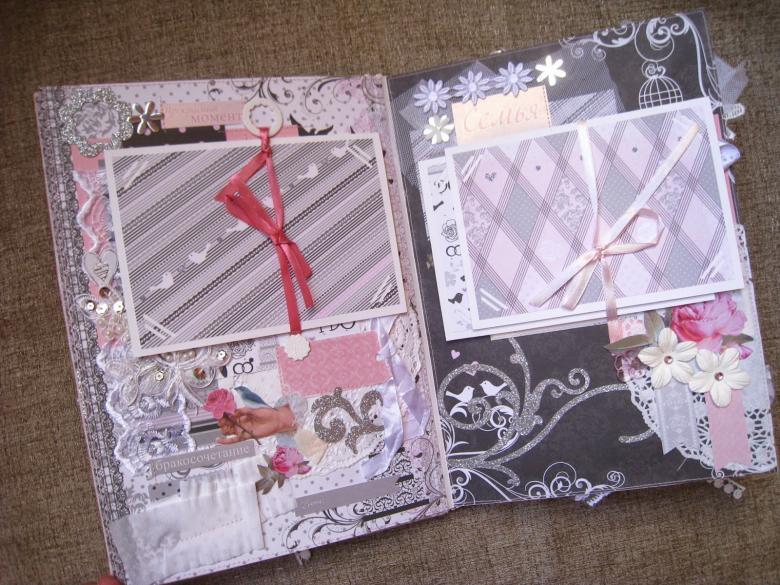
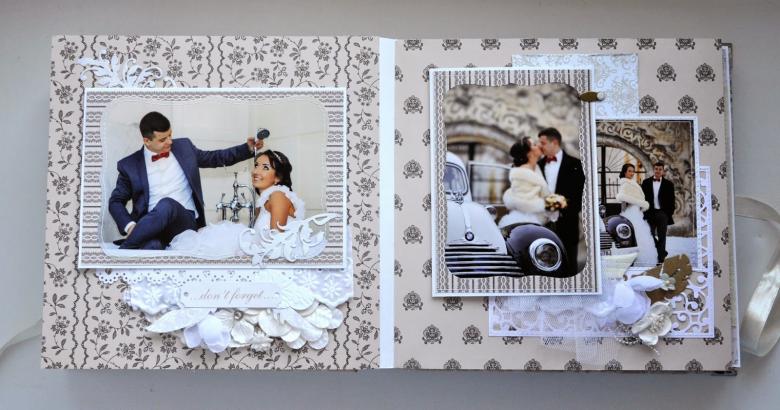
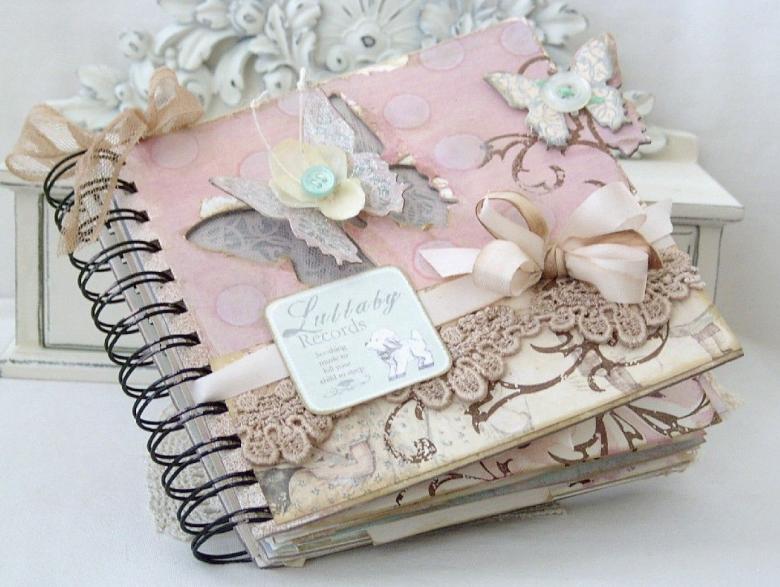
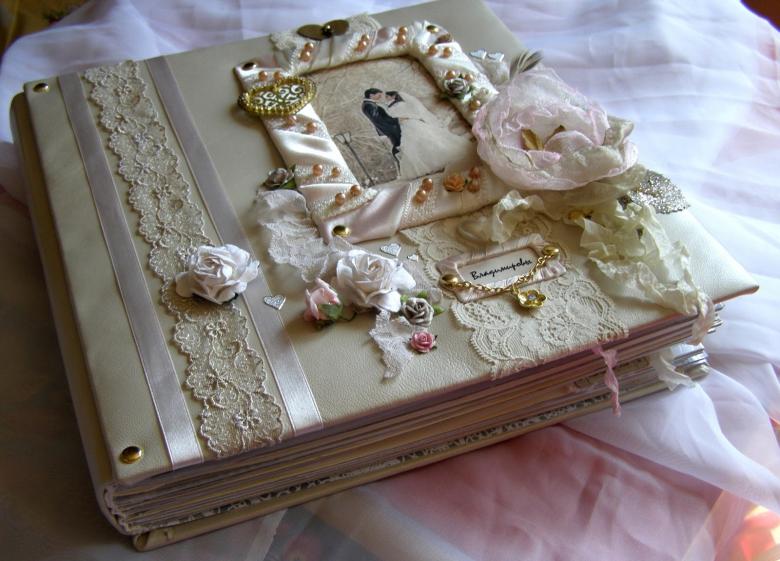
In creating an exclusive album, if you have all the necessary equipment, there is nothing difficult. The only important thing is to choose the right subject. The most popular plot ideas for decorating a photo album with your own hands are:
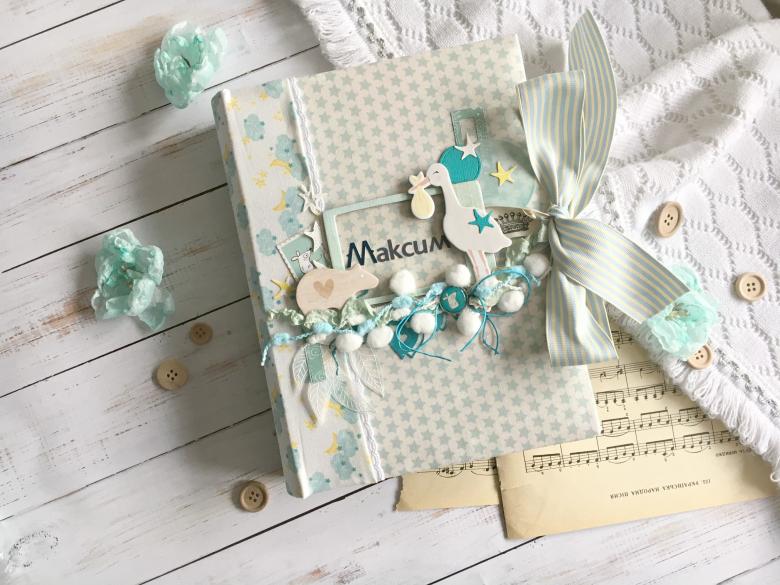
- birth of a child;
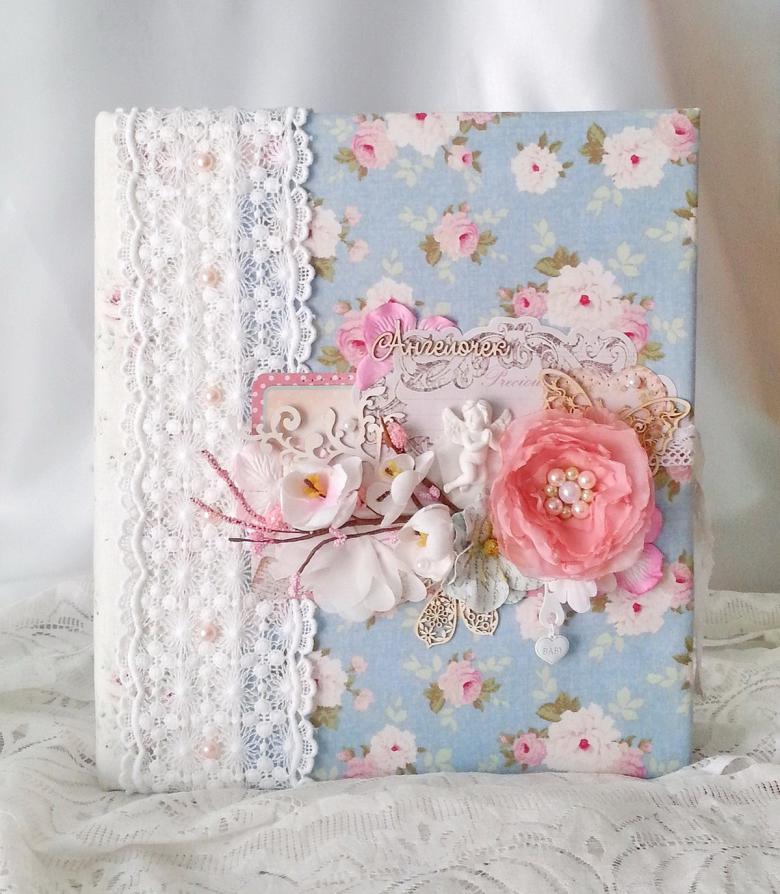
- The first year after the baby;
- graduation from kindergarten/school;
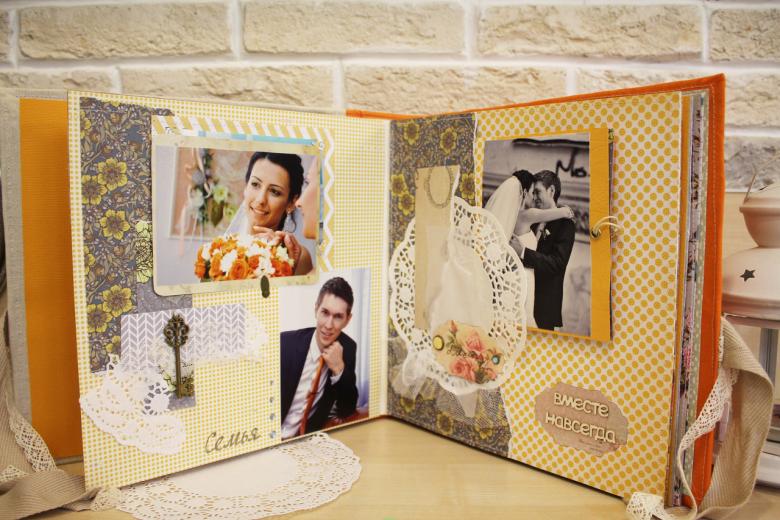
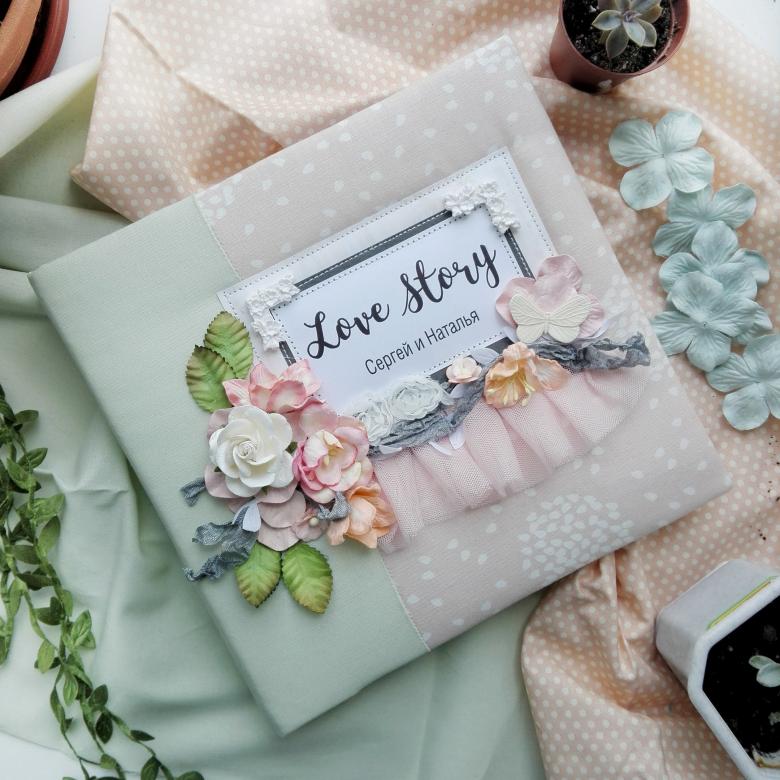
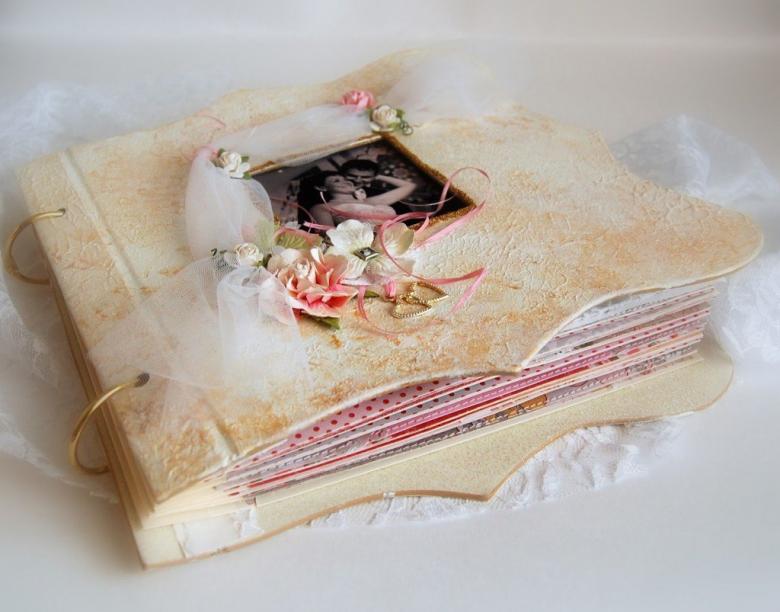
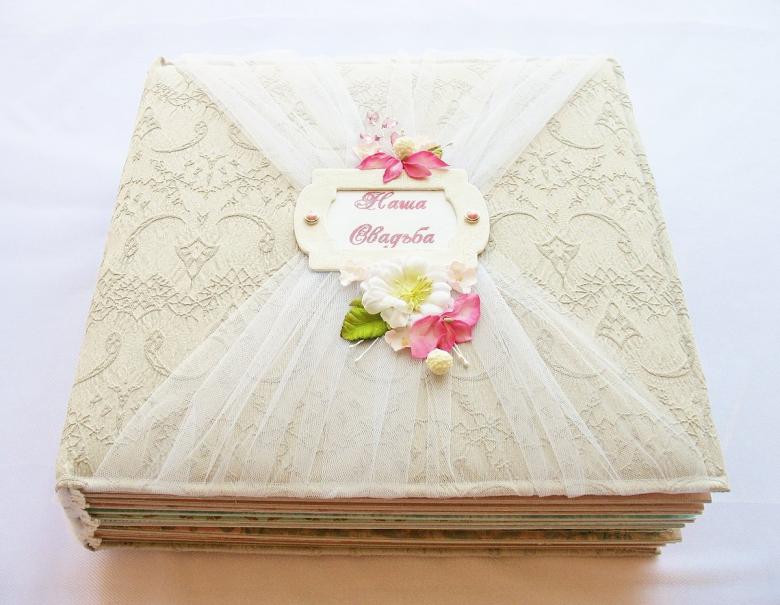
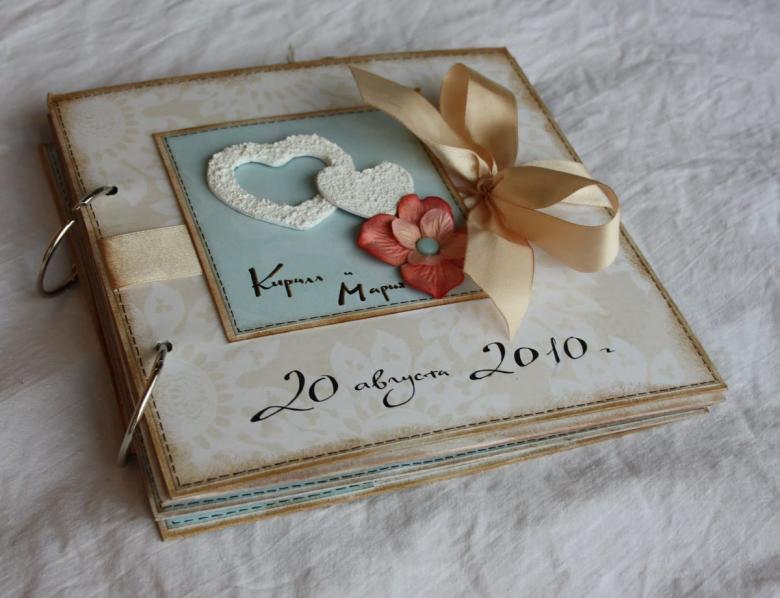
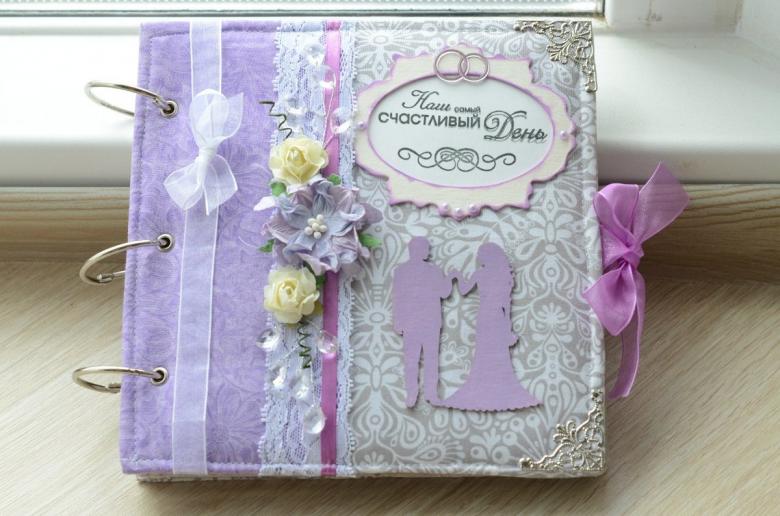
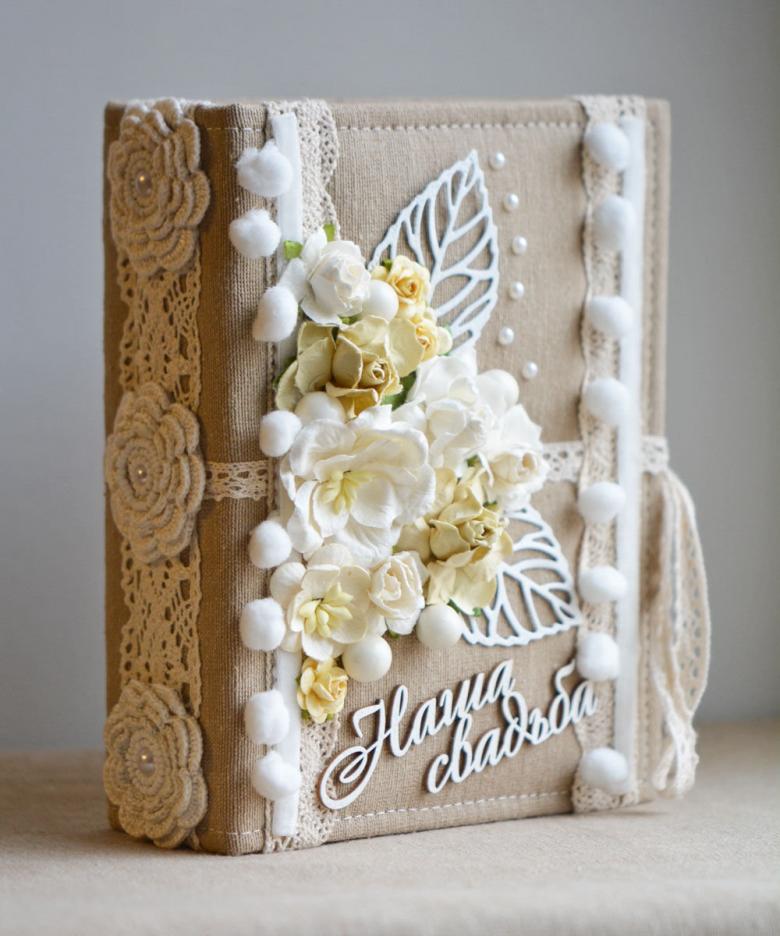
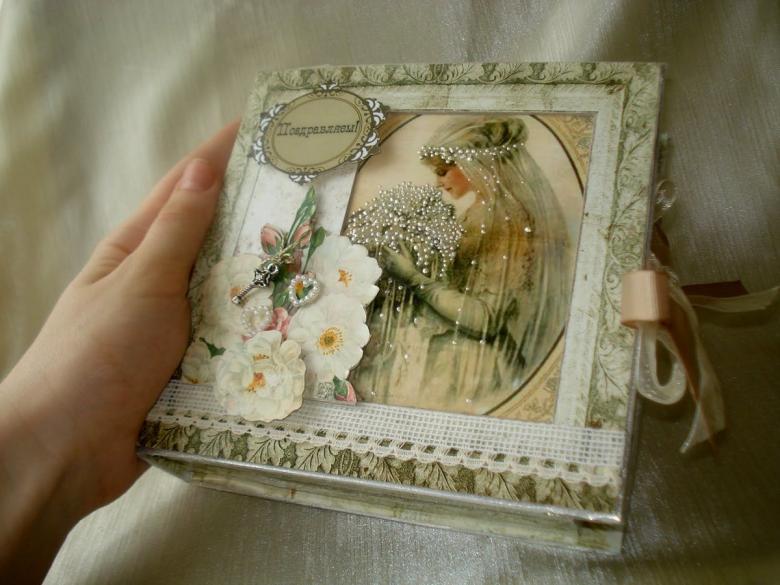
- wedding party;
- birthday party;
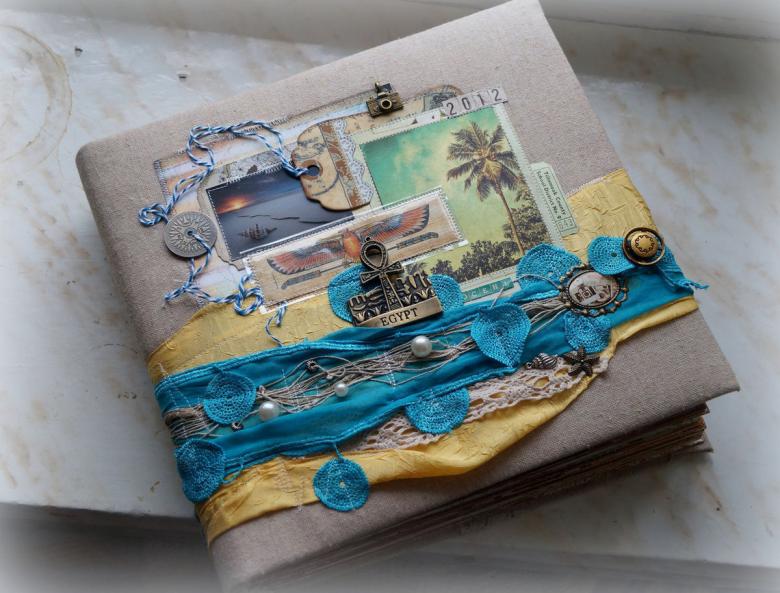
- a tourist trip.
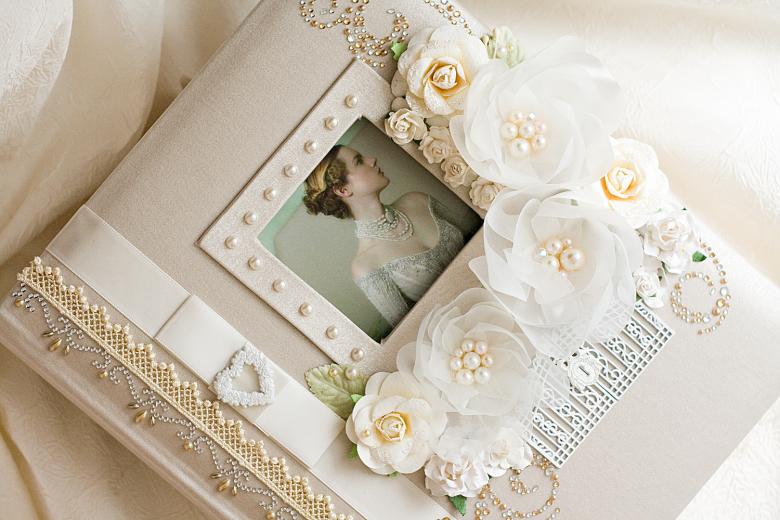
In other words, any bright moment of your life that you want to remember can become the subject of a handmade album.
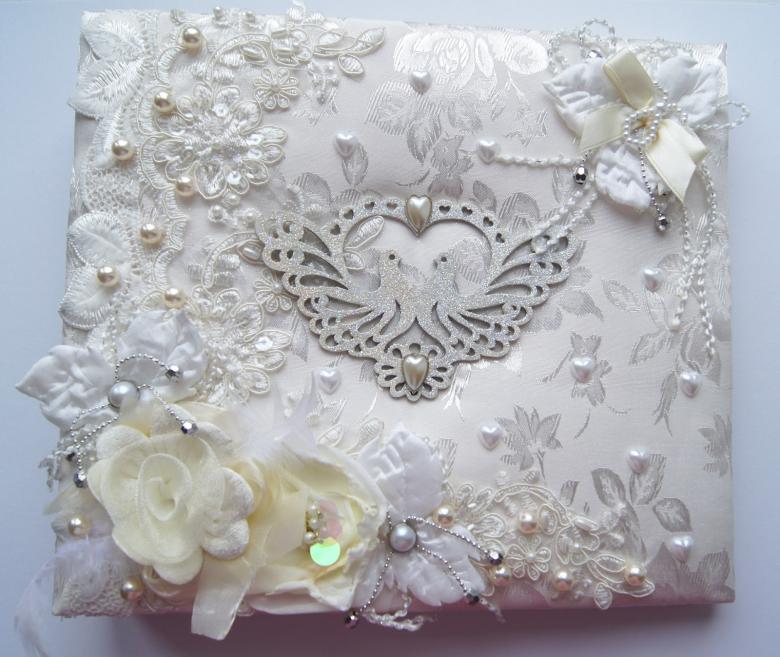
The need to make a gift for a loved one, co-worker or friend can encourage you to master this kind of handicraft. Handmade photo album will certainly be appreciated by the hero of the day.
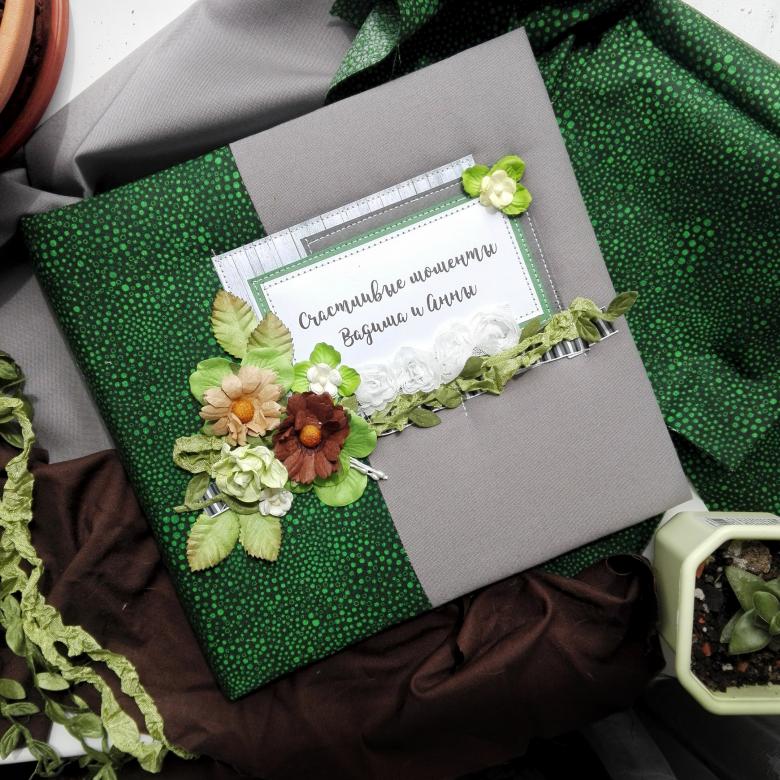
What includes the design of pages and cover
Before you start making an album, you should do some creative work: think over an idea for the future product and develop sketches. The draft should reflect everything that you are going to put into the photo album, and with the smallest nuances. This way you will be able to visually assess the result of your work. The number of pages is determined by the number of pictures.
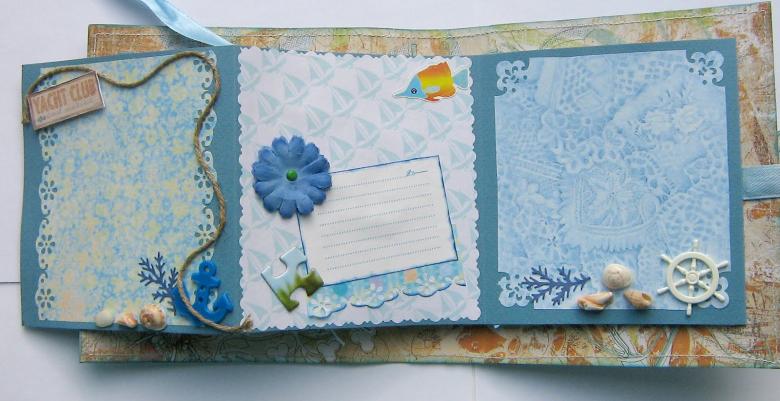
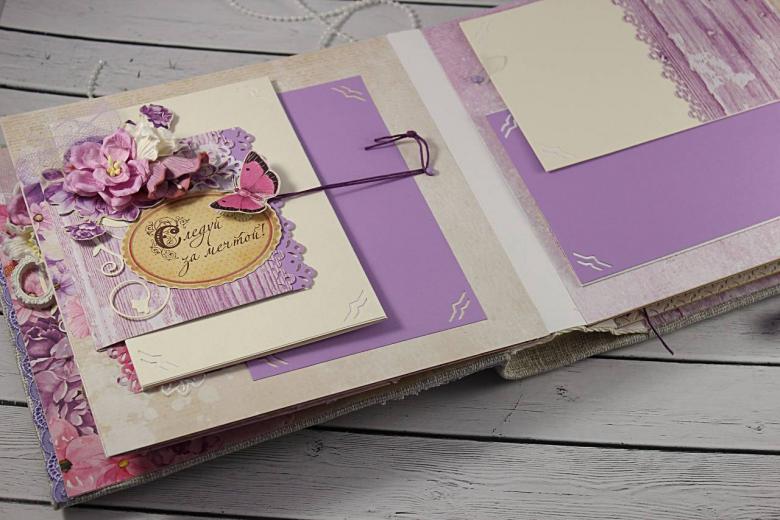
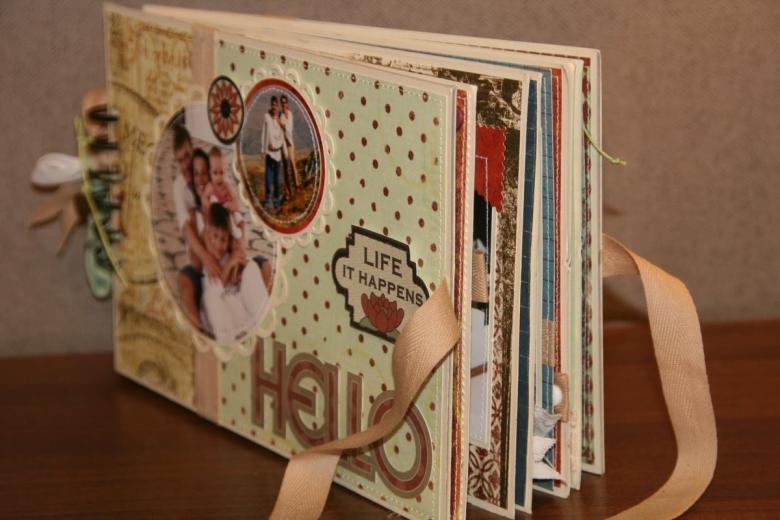
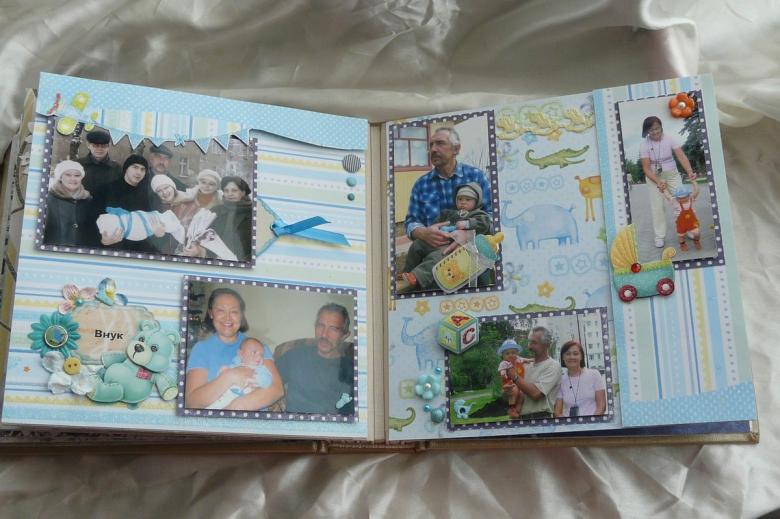
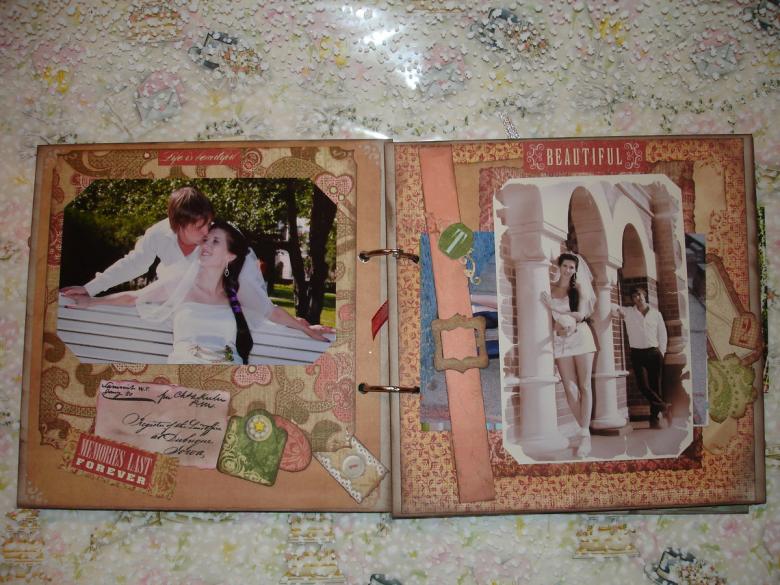
The album sheet should include photos, their titles and a short description. Artistic design is also a mandatory element.
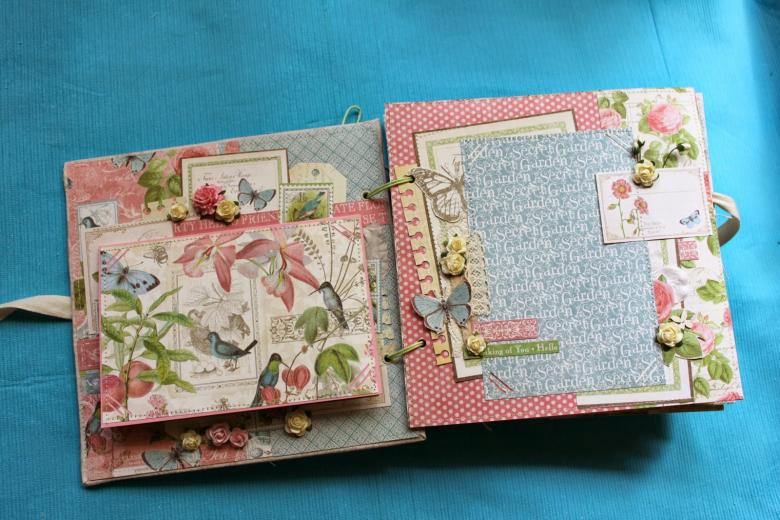
Making an original photo album is an extremely exciting business. The main thing is to thoroughly think out every detail - then everything will work out for sure.

