How to draw mountains - the easiest subject for children and beautiful images of mountains for beginners
At all times, nature inspires creativity. Using the beauty of the environment, artists draw themes for their future works. The most impressive are the mountain tops depicted on the canvas, which beckon with their magnificence! You can master the techniques of drawing without any special skills.
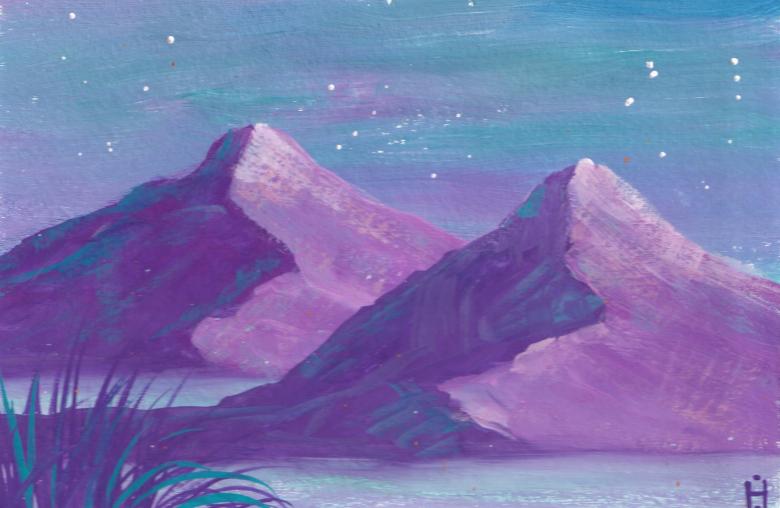
A simple plot for children
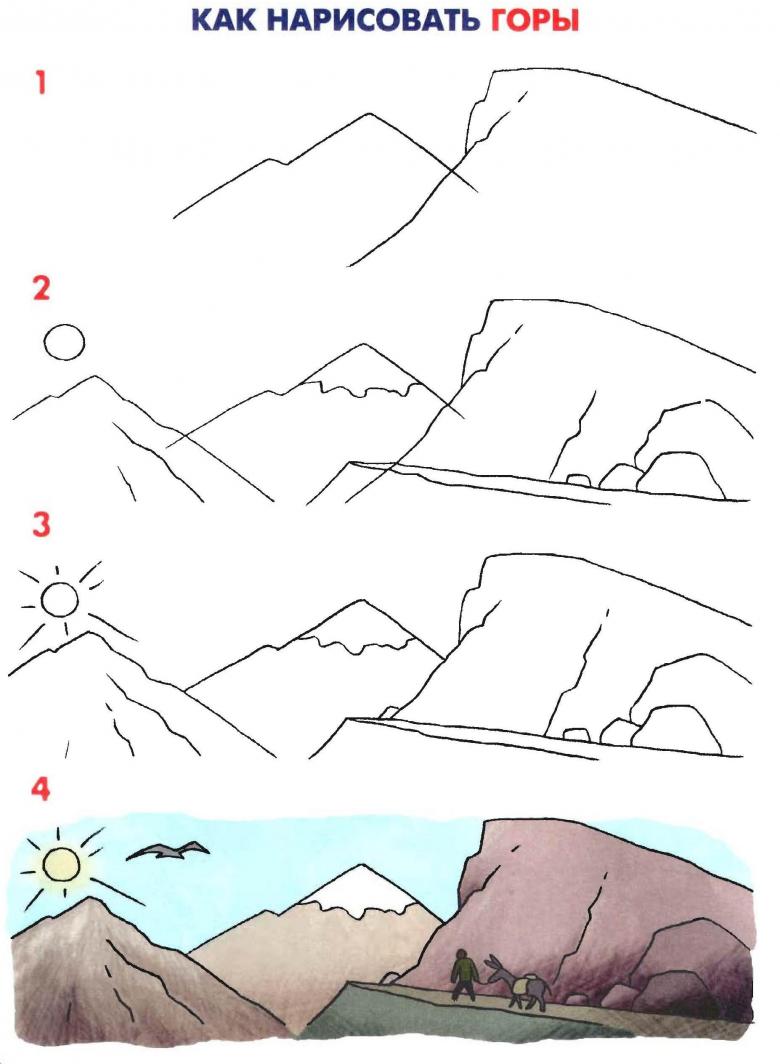
First of all, you should consider the option of how to draw mountains step by step, having at hand hand handy tools. The materials needed are a sheet of white paper or a sketchbook and pencils. Preschoolers and elementary school students will be able to cope with this task.
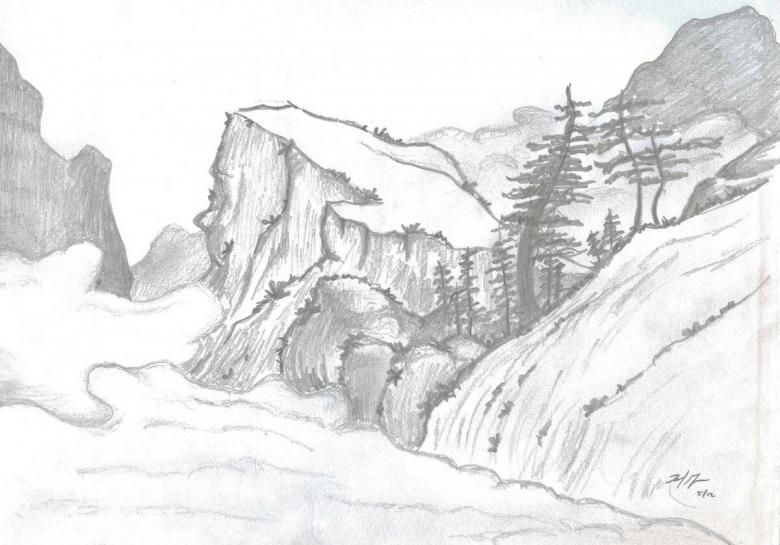
How to work
- Draw a horizontal line dividing the space in half.
- Wavy draw a hill.
- A little further away depict another 2 such with rounded tops.
- In the foreground draw low contours of the mountains with growing on them individual trees and shrubs.
- A path leads along the perimeter.
- Snow is visible on the highest peaks.
- Clouds are added to the sky.
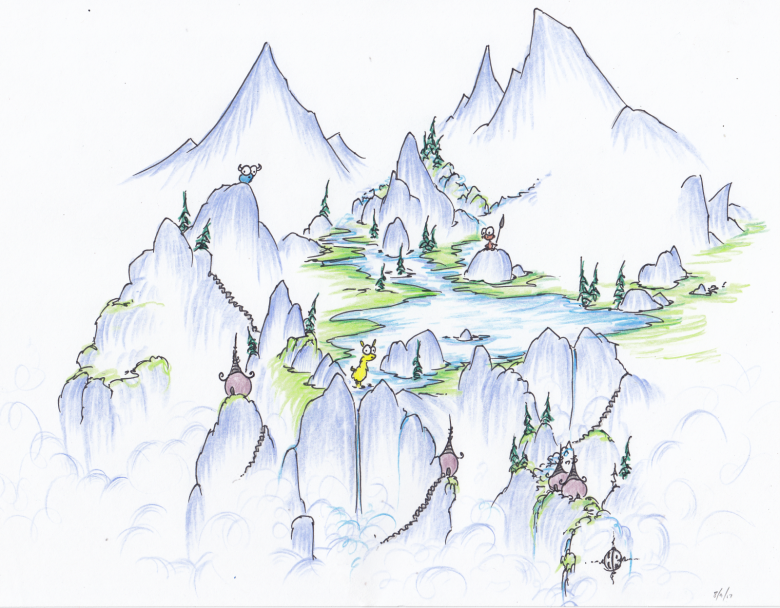
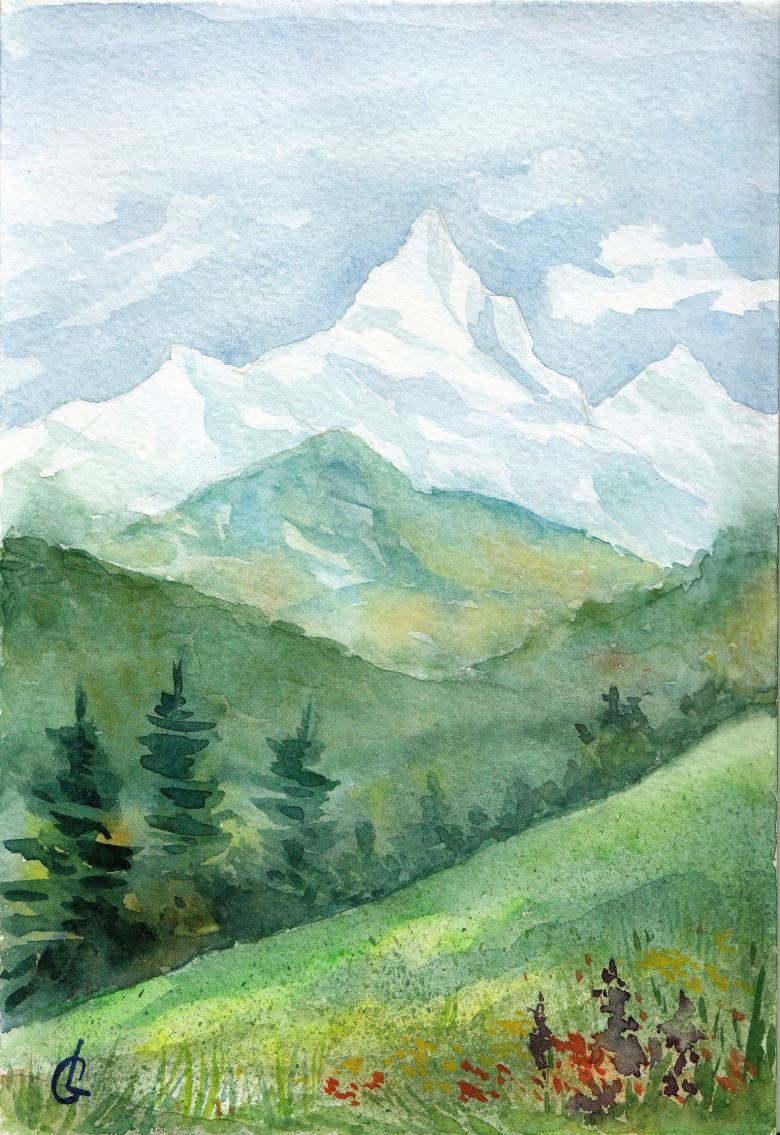
You can do a color drawing, for which the central part depicts a peak-trident, and zigzag lines ledges of smaller sizes. For completeness, the sun, clouds and small spruces are added. If desired, you can add a lake among the growing grass.
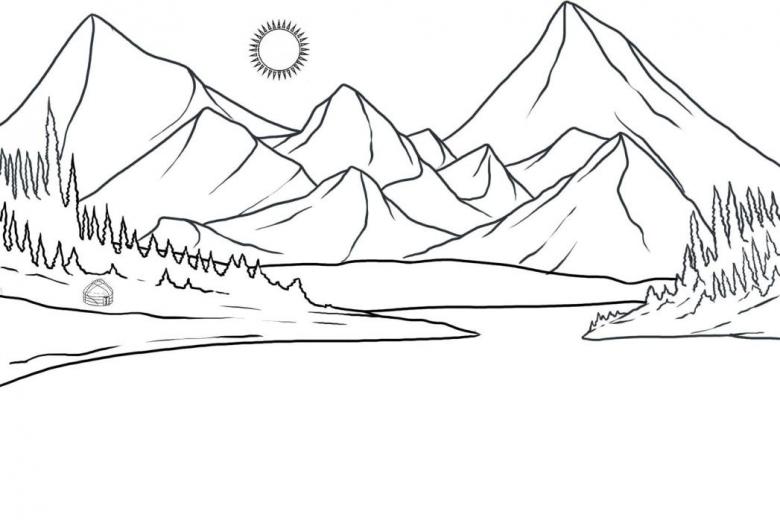
Rocky massif
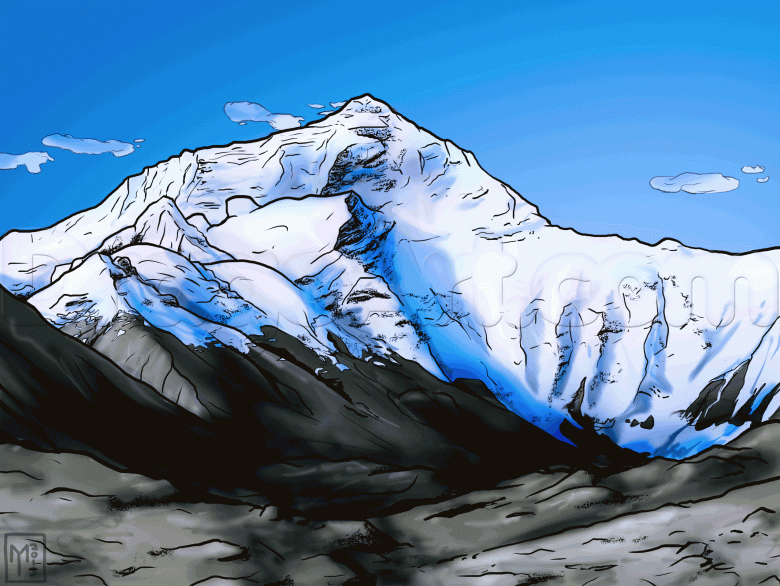
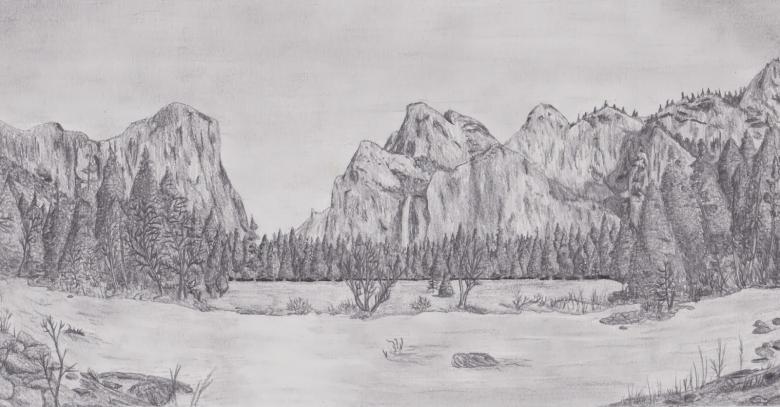
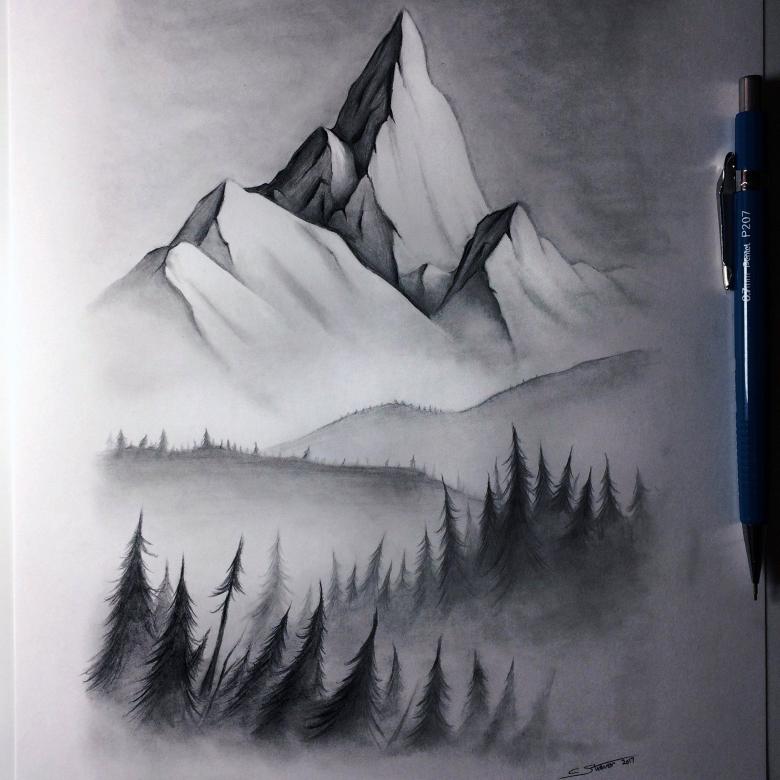
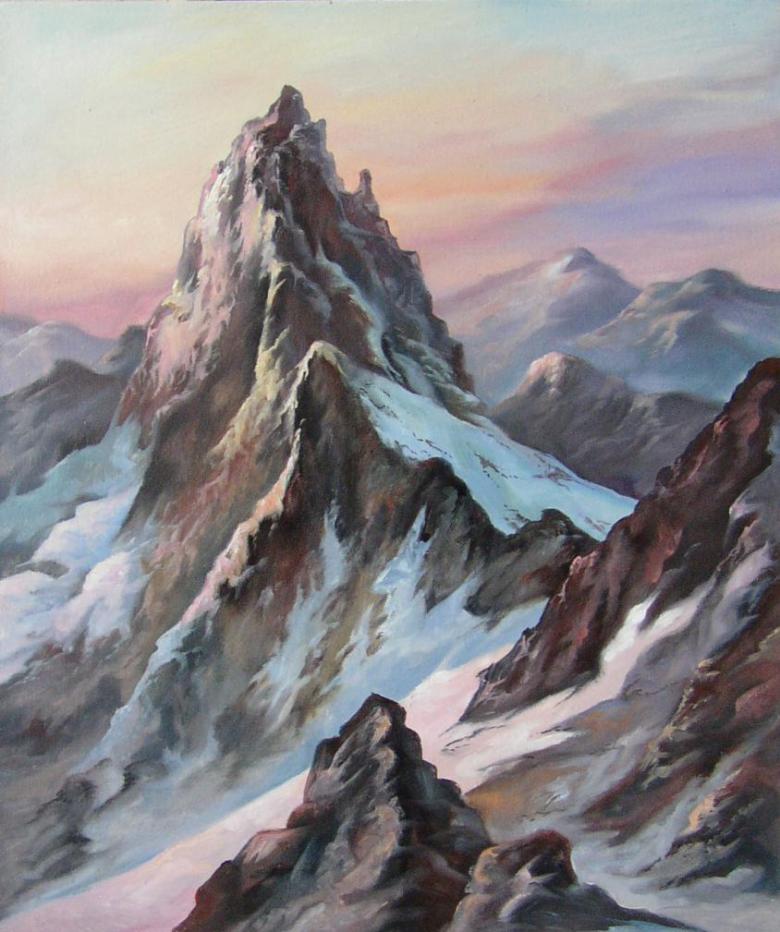
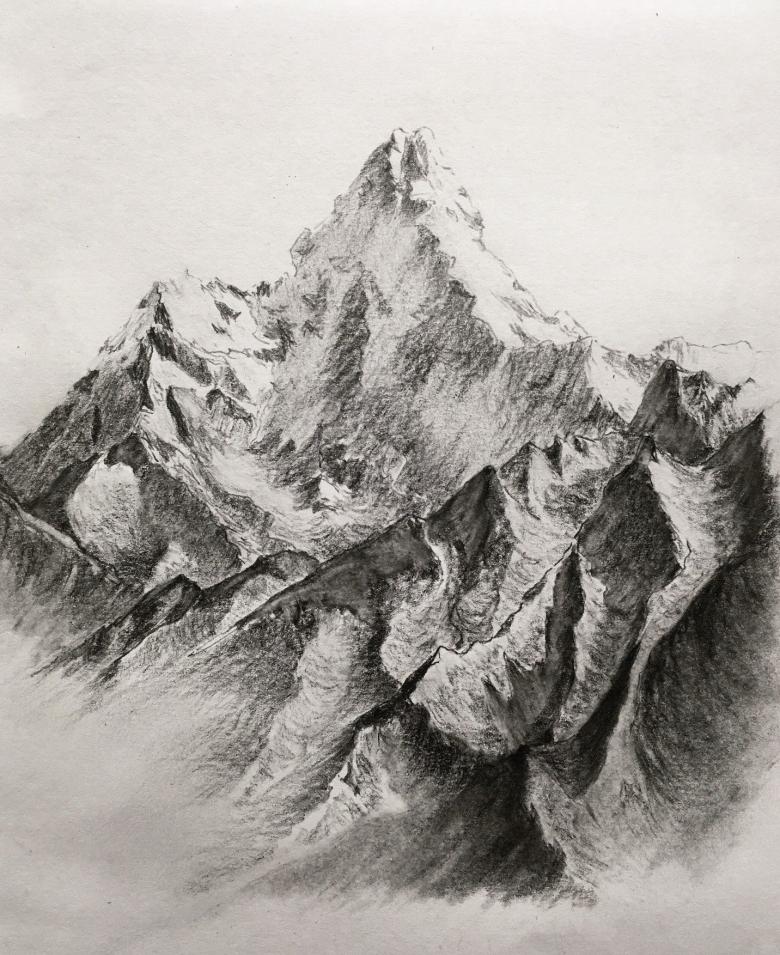
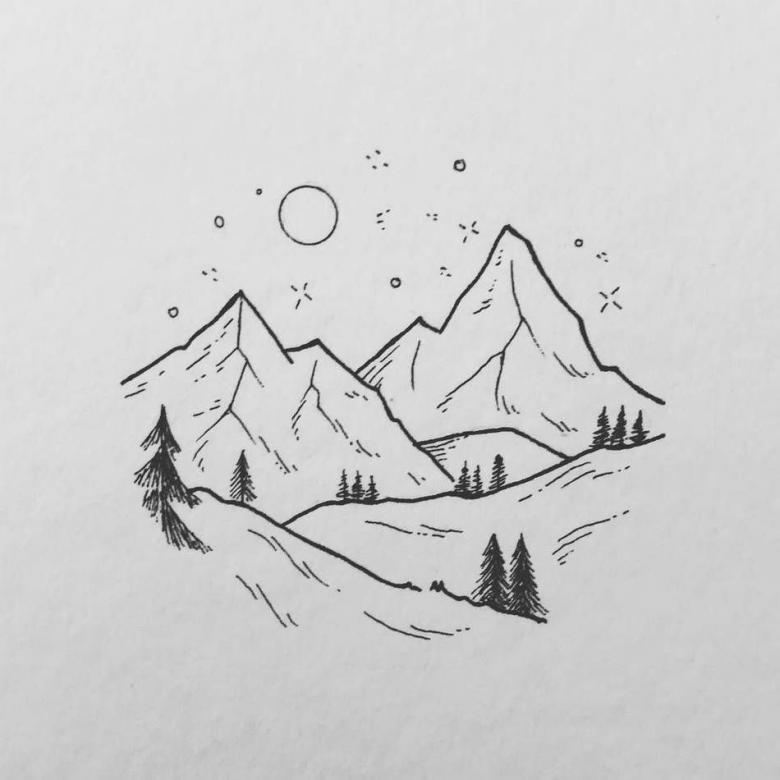
Another option, how to draw mountains with a pencil, implies the presence of an elevation completely covered with vegetation or absolutely rocky. Both versions look equally fascinating!
Step-by-step instructions
- Sharp angular strips in the middle draw a peak, representing a reference point for all future work.
- A pencil is used to draw other mountain peaks in the distance, which are also pointed.
- They make the image three-dimensional, shading some places on paper.
- At the foot of the trees are growing, visible from above, only their upper crowns.
Now you can admire the finished composition!
An image with a river
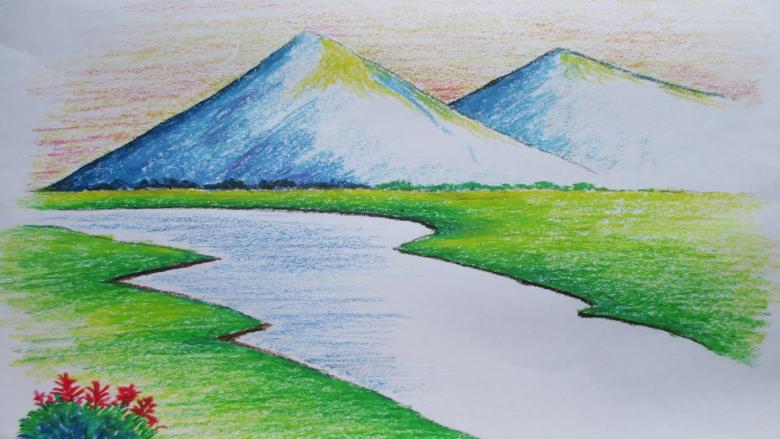
Different bodies of water are often found in mountainous areas. Above, rivers abound with rapids and waterfalls, usually have a rapid flow. Below, on the plain, they are calm and full of water. You can try to draw a smooth, not fast flowing river. Stock up on colored pencils, paper, and eraser.
Children will do this perfectly, without any difficulty:
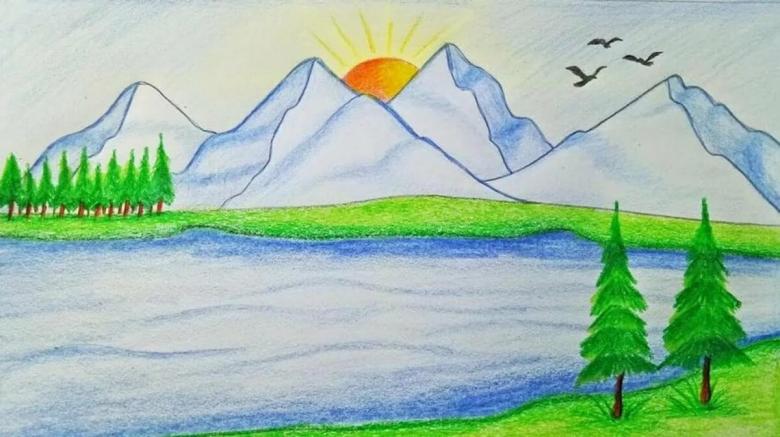
- Draw a skyline on which they place the main ridges and river banks.
- The hills have gray and bluish hues.
- Dorisovyvayut sunrise, illuminating all the light.
- On the coast will not be superfluous green spruces. For the coastal stripes are chosen different shades of green.
- At the end draw a blue river surface, nearby spruces and birds.
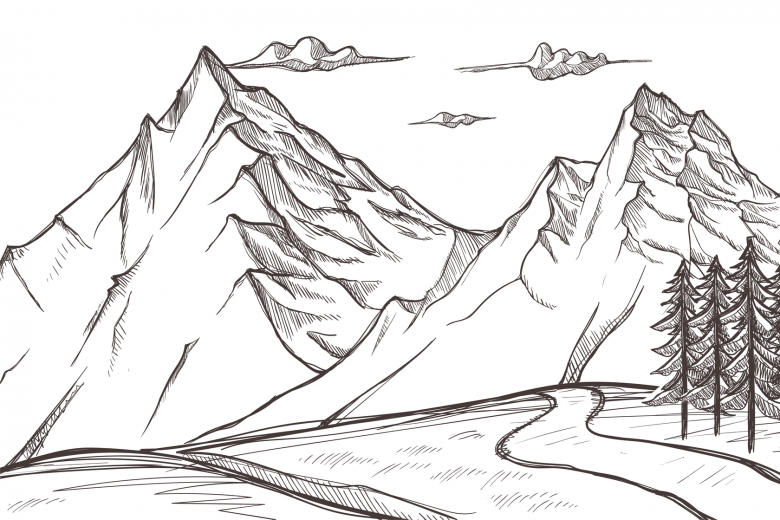
Such illustration evokes a sense of peacefulness, brings the idyll. For young artists it will not seem difficult. It is important to consider the point that the work begins with the horizontal marking of the sheet.
Areas inaccessible to sunlight are shaded. Also in the silhouette of the array accentuate the descents and ascents. No need to clutter the picture with unnecessary details, emphasizing only the greatness of the giants.
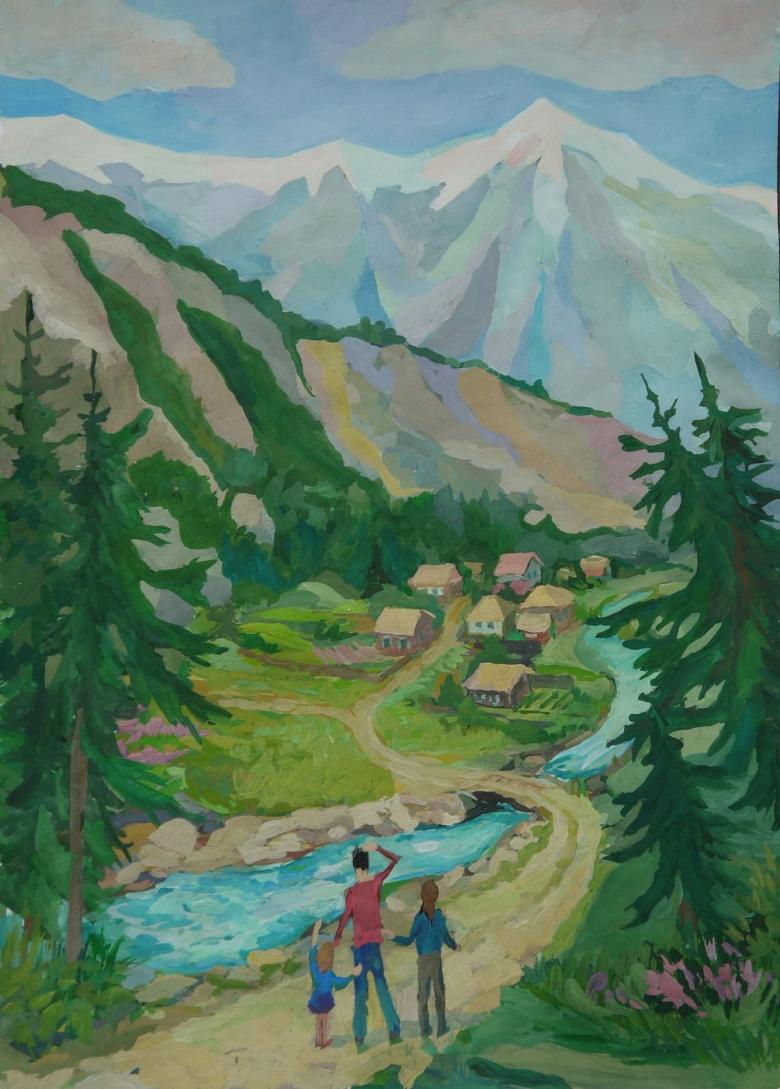
Landscape with paints
Having studied the technique of drawing in pencil, you can set yourself a more difficult task. The main thing is not to be afraid to experiment. To understand how to draw mountains in gouache, you can read the master classes.
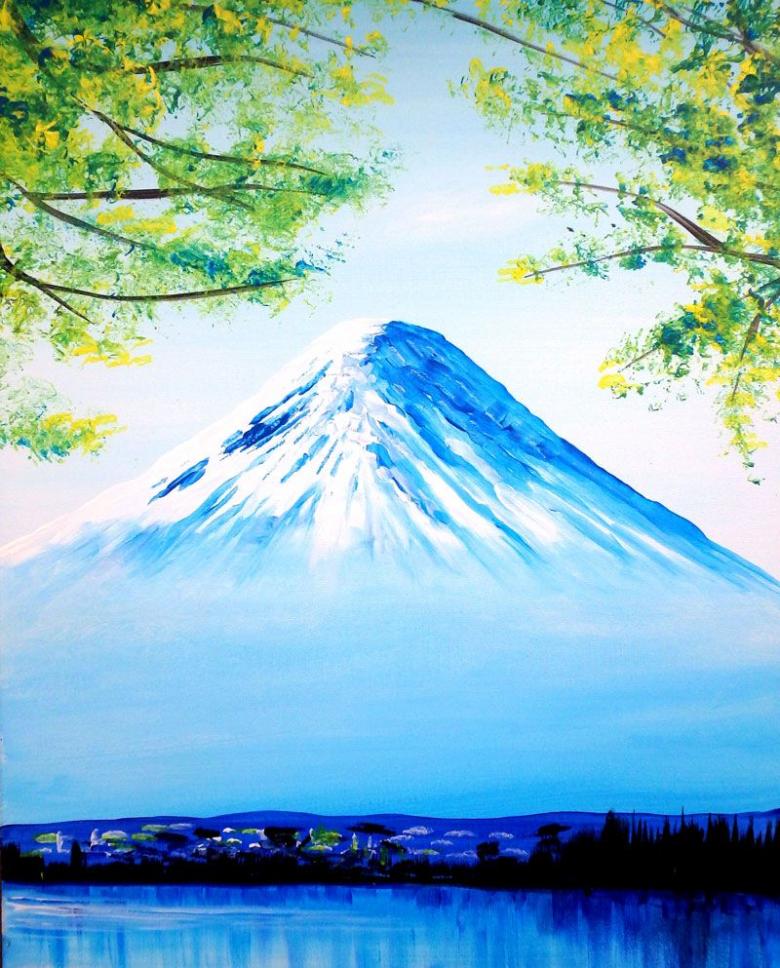
Preparatory stage
Prepare the necessary materials:
- Gouache.
- Album or a separate sheet of paper.
- A container of water.
- Heavy cardboard.
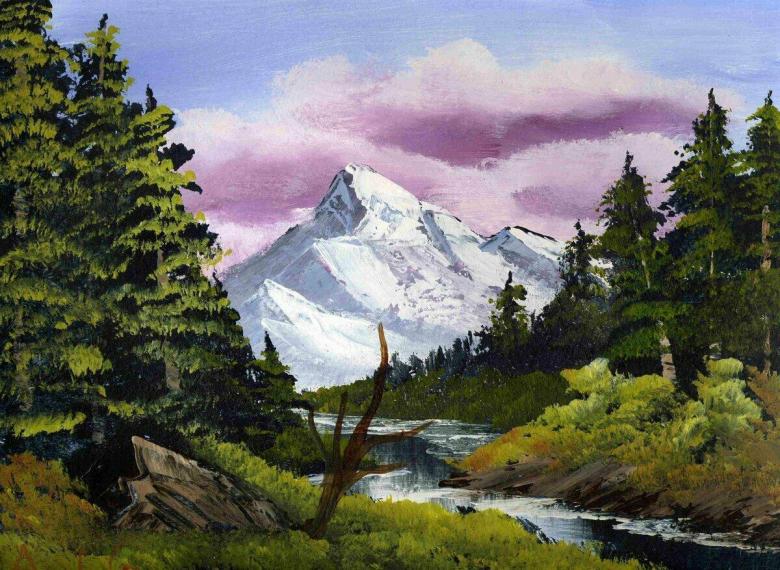
Detailed steps
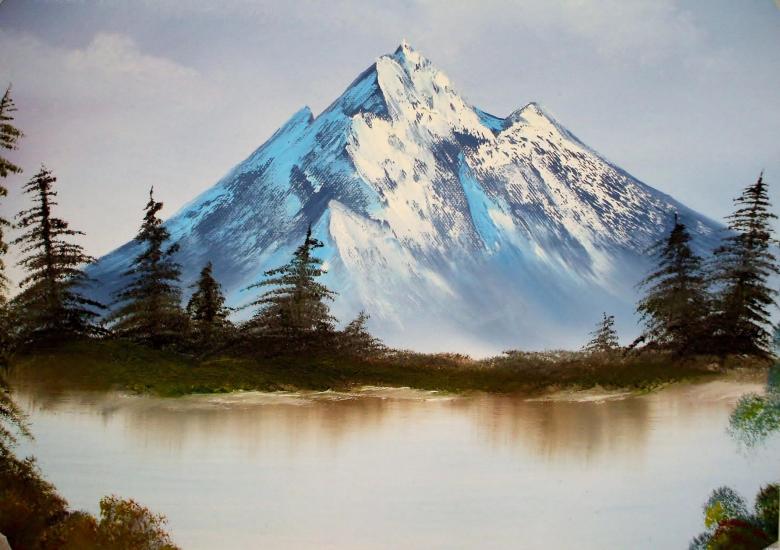
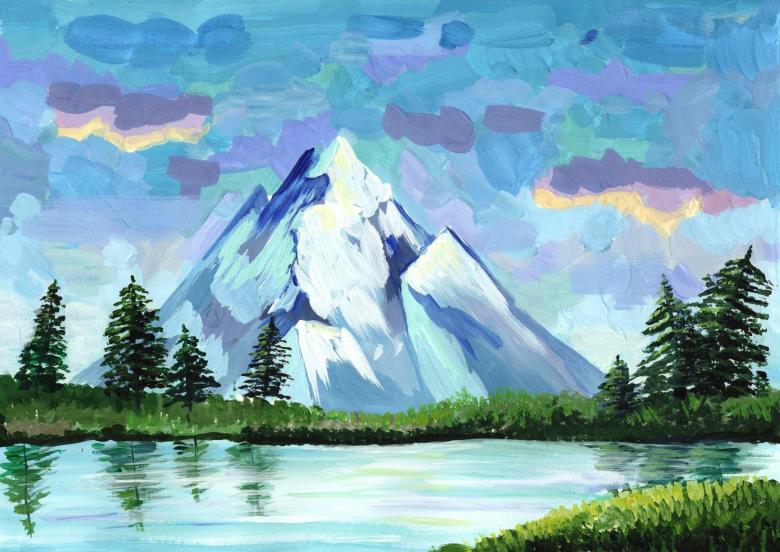
- At the top of the sheet of blue paint a line, and then, wiping the brush, just below the same white color. While it has not dried, 2 of these shades smoothly combine.
- Blue and white are mixed. The resulting palette will work for the top of the mountain range in the background. Adding a little green paint, draw the central and lower areas.
- Below are the hills, using green, white and gray tones. Some elements must be darker. Highlight the grass, black is added for areas that are in the shadows.
- Dark blue will be needed for the farthest hill. Moving down, the outlines become lighter. This creates the effect of peaks floating in the air.
- Silhouettes of mountains are divided into areas - light and dark. White stones are added. Cardboard is used to put snow on the tops, highlighting cracks and splits with lines.
- Light brown tree trunks and green foliage are drawn in the foreground.
We just have to wait for the beautiful landscape to dry!
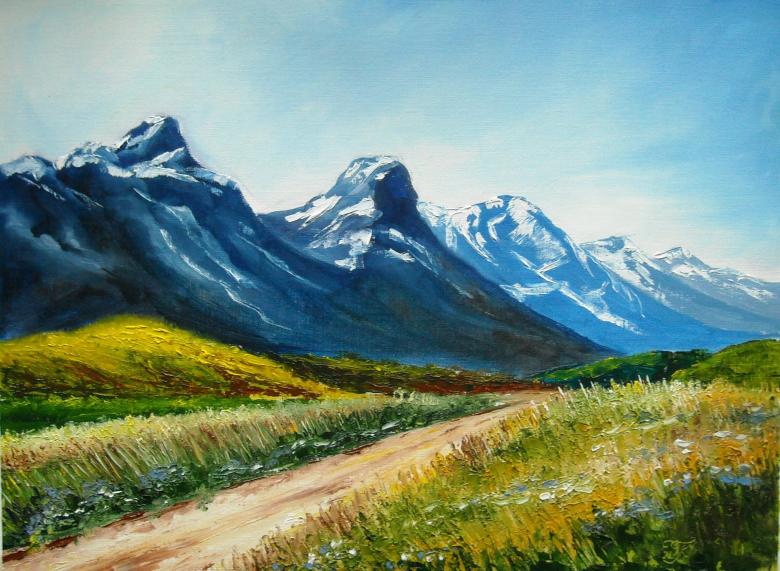
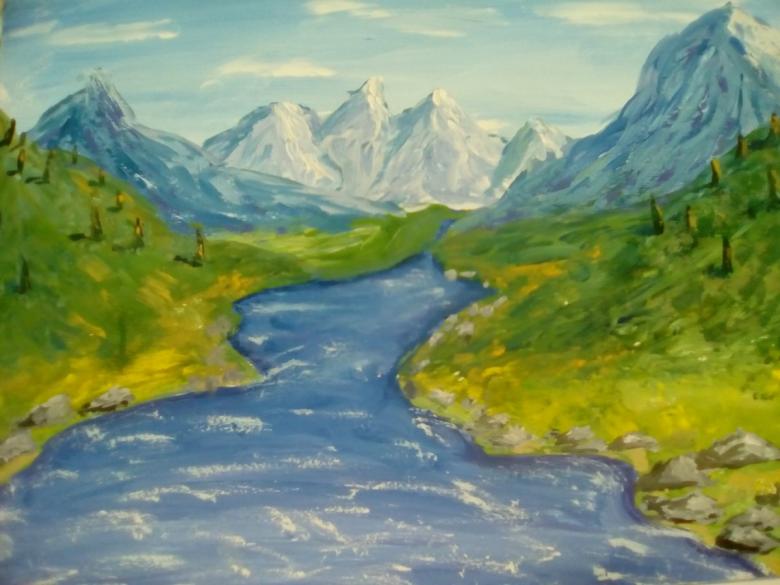
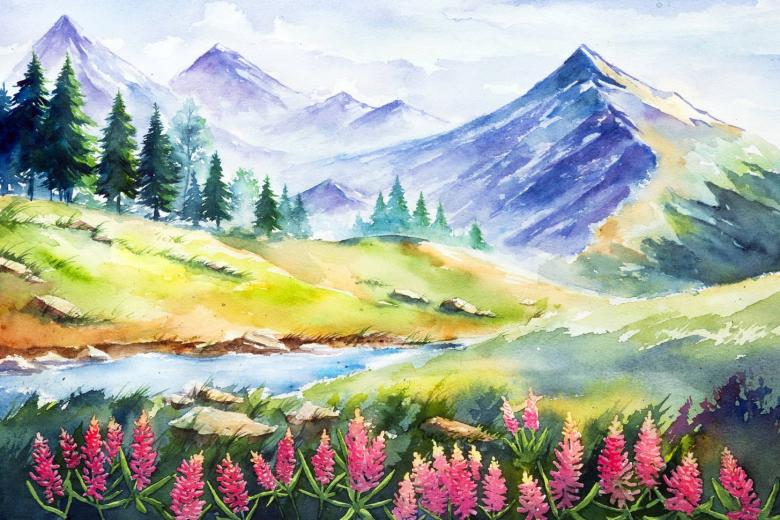
Mountain Valley.
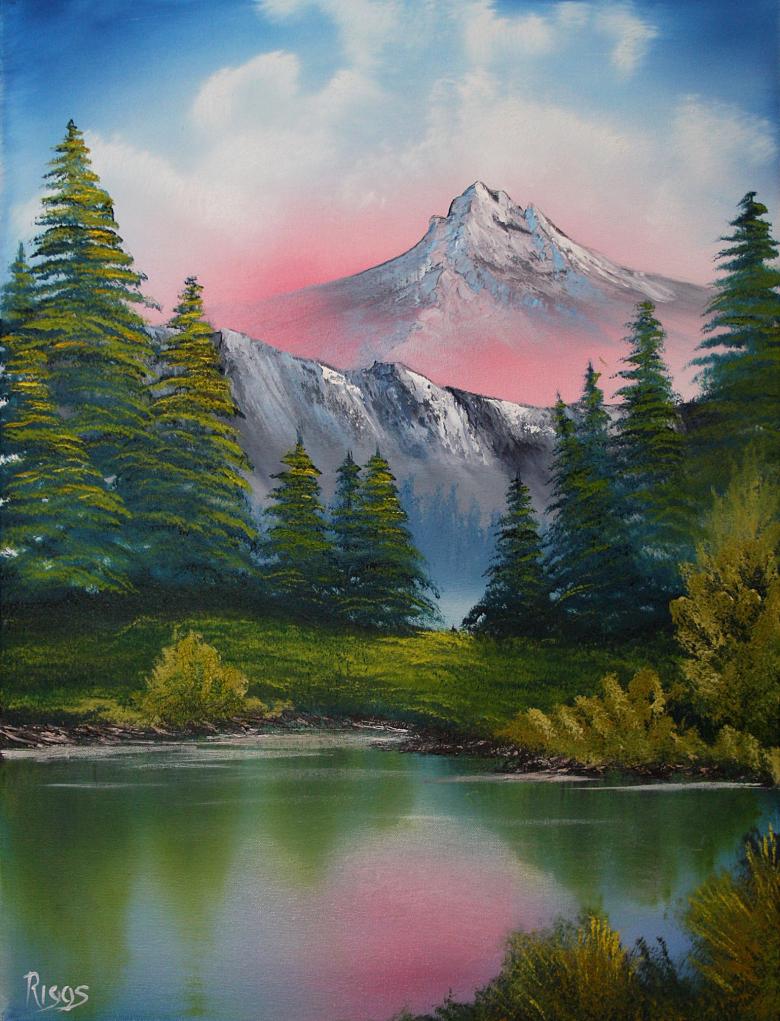
The combination of flowering vegetation and subdued peaks looks very colorful on any smooth surface. There are plenty of examples of how to draw mountains on the wall to convey them very expressively.
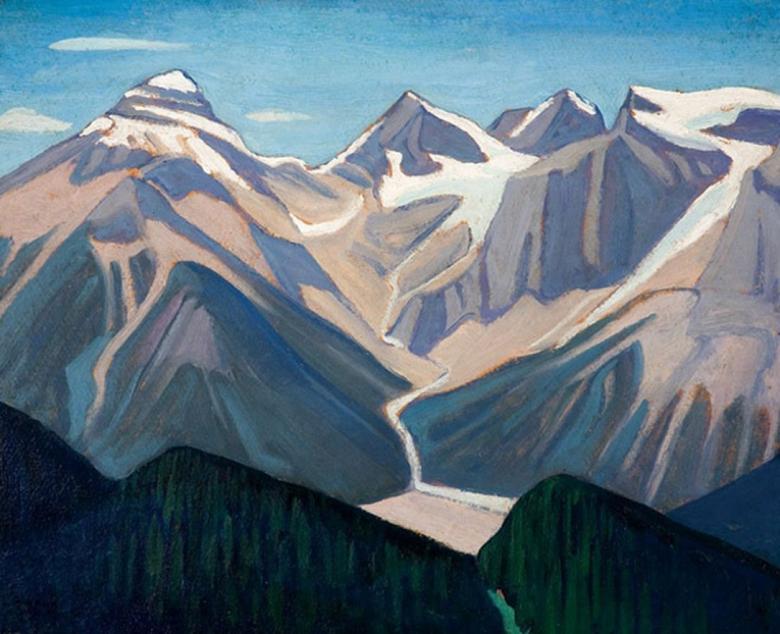
Having prepared in advance the place for the drawing, then follow this order:
- Blue sketches the sharp tips of the peaks, draw the riverbed turquoise, add brown trees.
- Around the hill depict a coniferous forest.
- Plants are drawn in the clearing, large boulders and small stones are placed near the water, trees have decorated crowns.
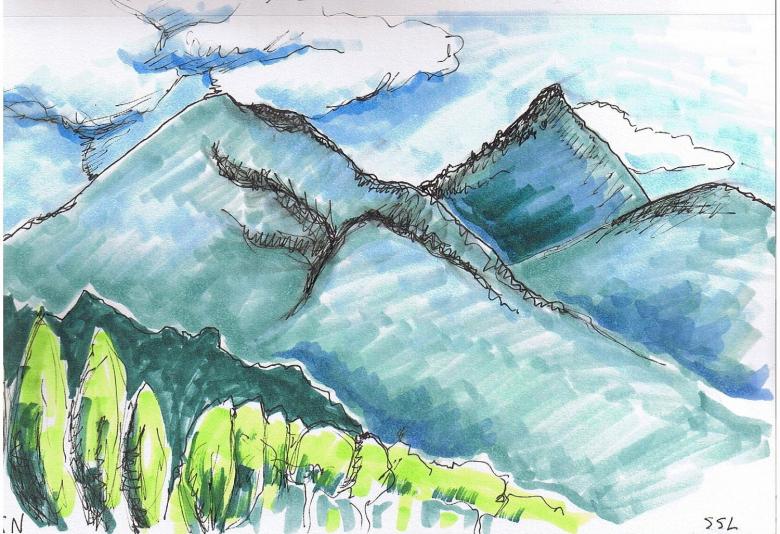
To complete the picture, the meadow is decorated with flowers, small clouds are placed in the sky, and the rocks are clearly reflected in the water!
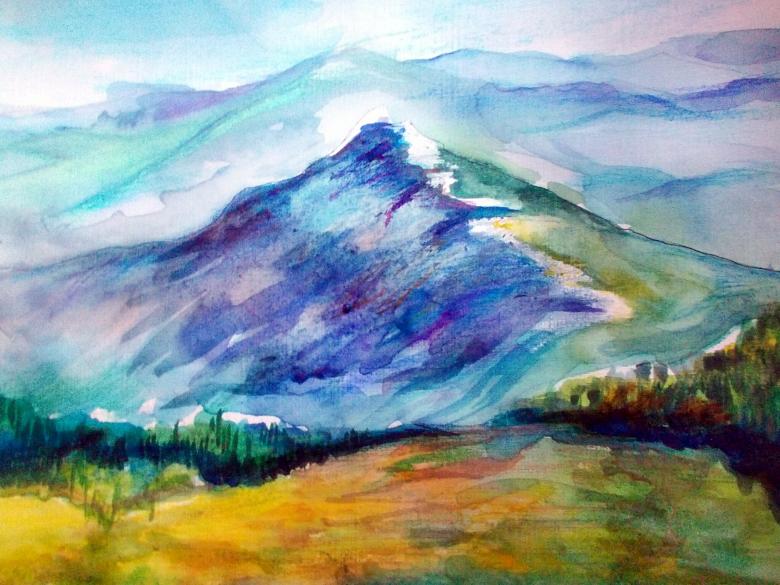
A Winter View of the Mountains
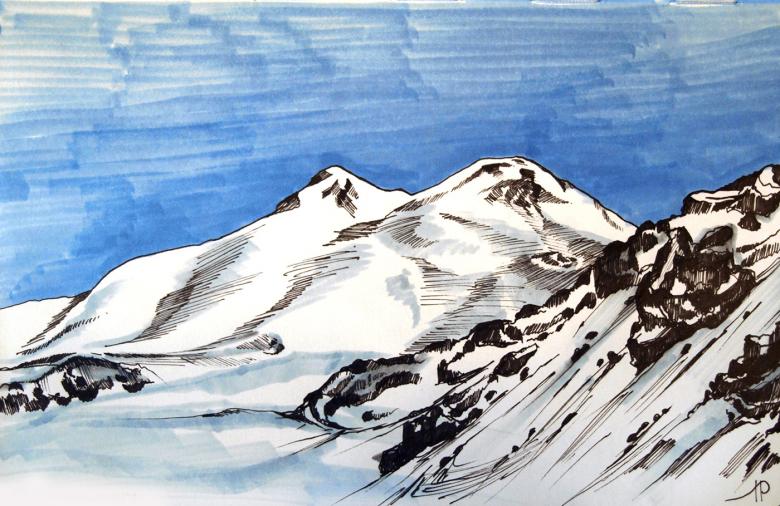
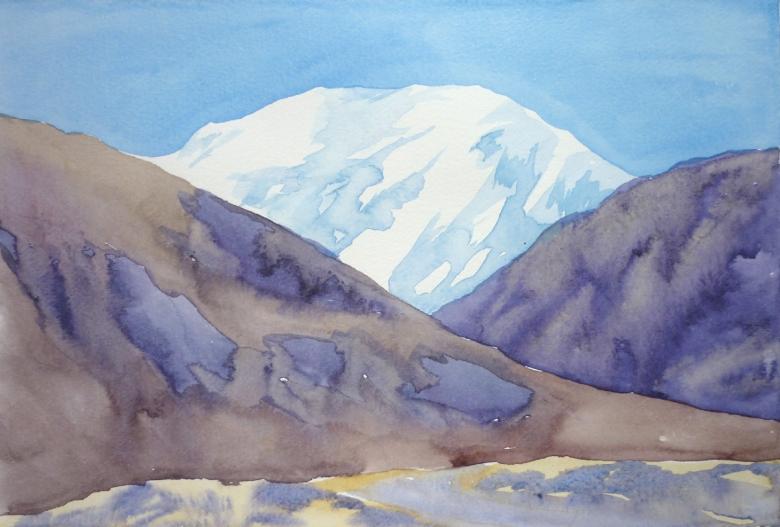
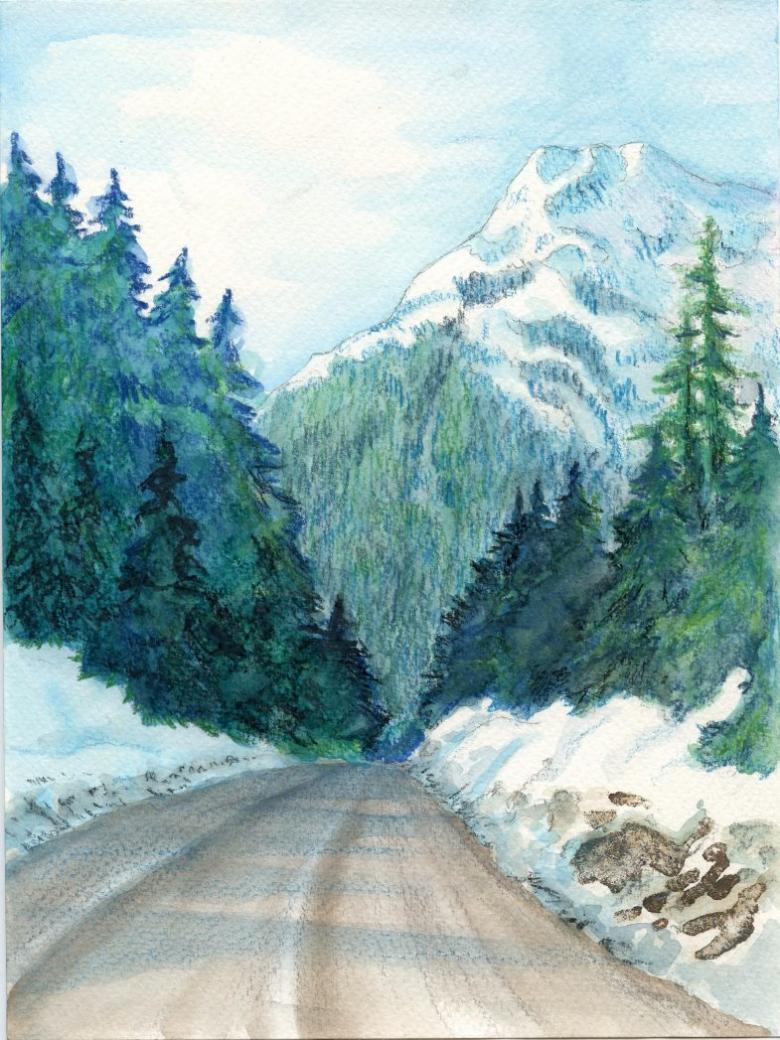
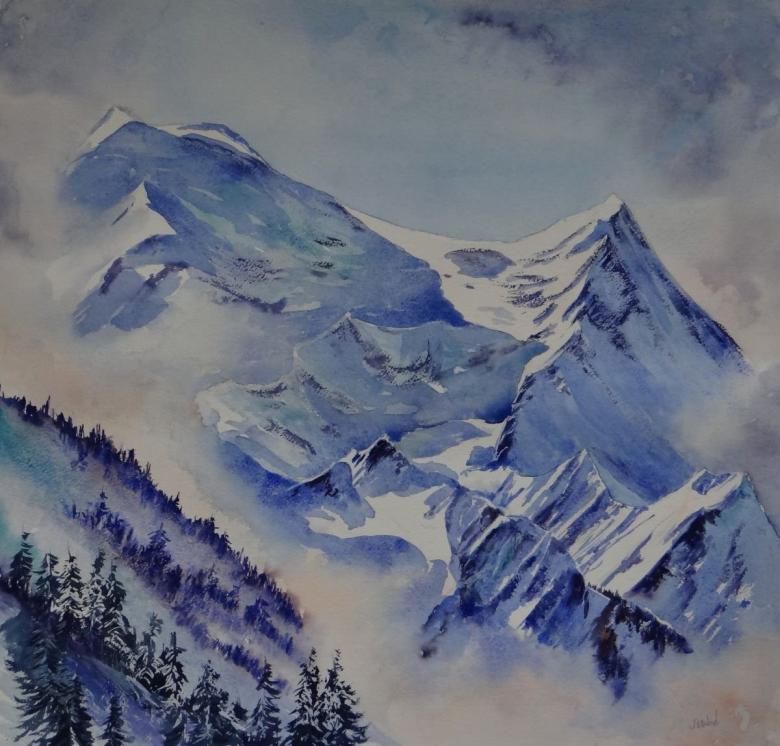
Worthy of attention for novice painters and how to draw mountains in watercolor. They also look amazing in winter! The set of tools is the same, only change the paint.
- On a horizontally placed sheet of blue paint the top of the landscape. As you approach the center, it gradually acquires lighter shades.
- White paint is used for the mountain tops, and blue is used to add volume. Dark spaces are highlighted in light lilac.
- The same color is needed for the tops, visible in front. Blue emphasizes the details of the image. Dark blue adds another object.
- Draw a lake by mixing blue and white, it is darker at the bottom. The mountains on the water are reflected in blue. Do not forget about the smooth transitions.
- For the shore, choose a swampy shade. It can be diluted with dark green, yellow and brown. They add a little white, identifying snow. If desired, paint trees.
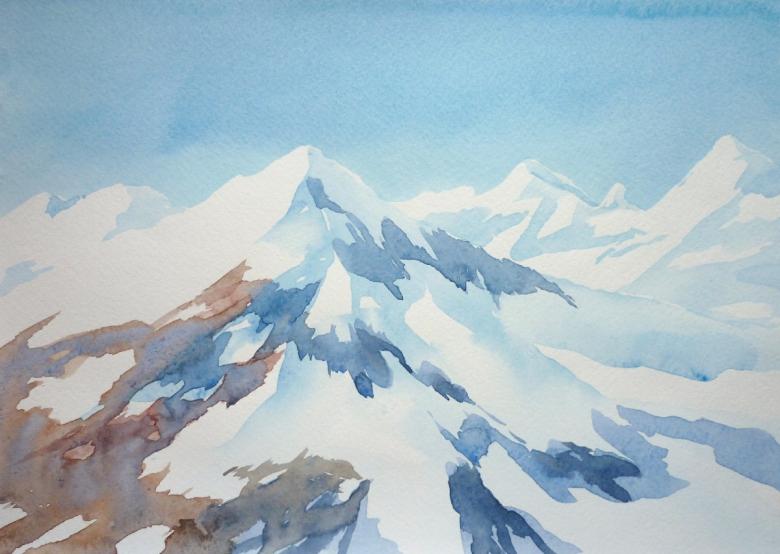
Even without being a great master, by showing creativity, you can create a great drawing. To admire the obtained result, it is enough to have the necessary supplies at hand, as well as to show personal imagination and fantasy!
