The mill with their own hands for the cottage, garden and yard - photo ideas, tips, examples
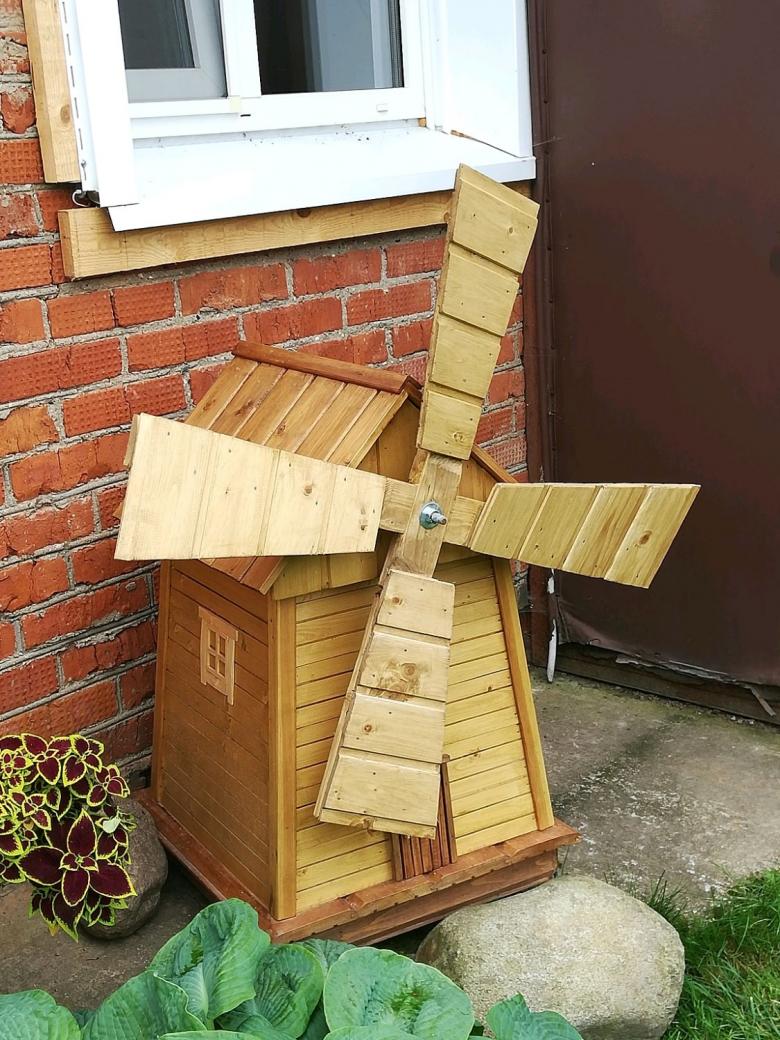
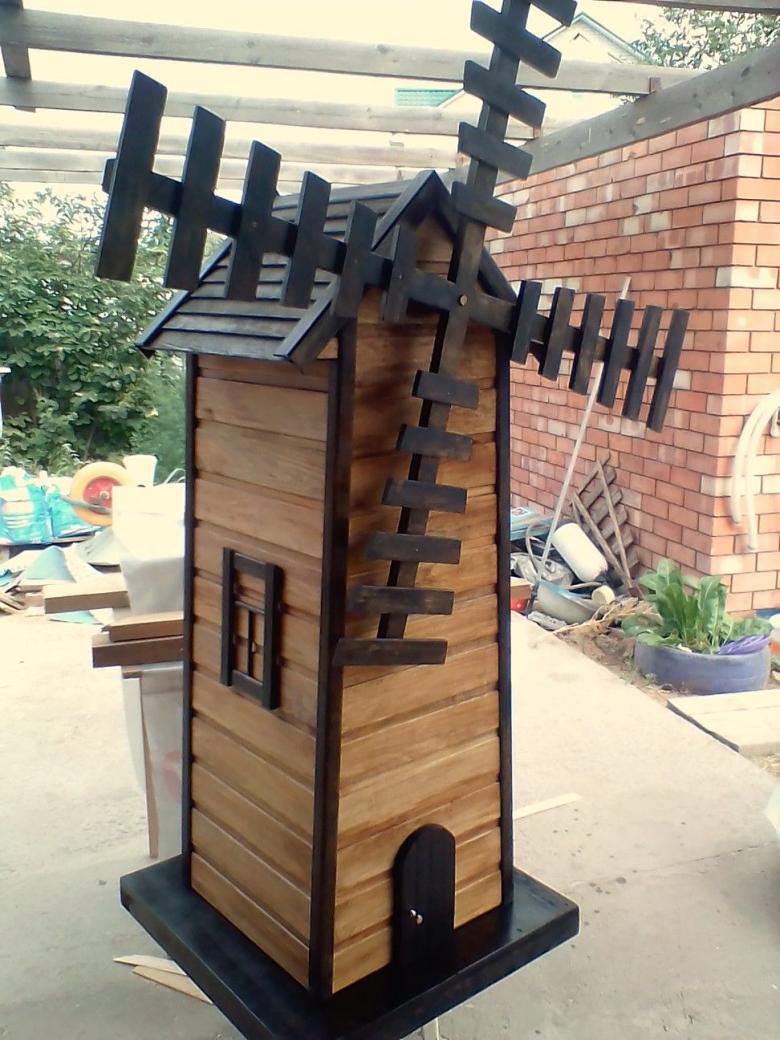
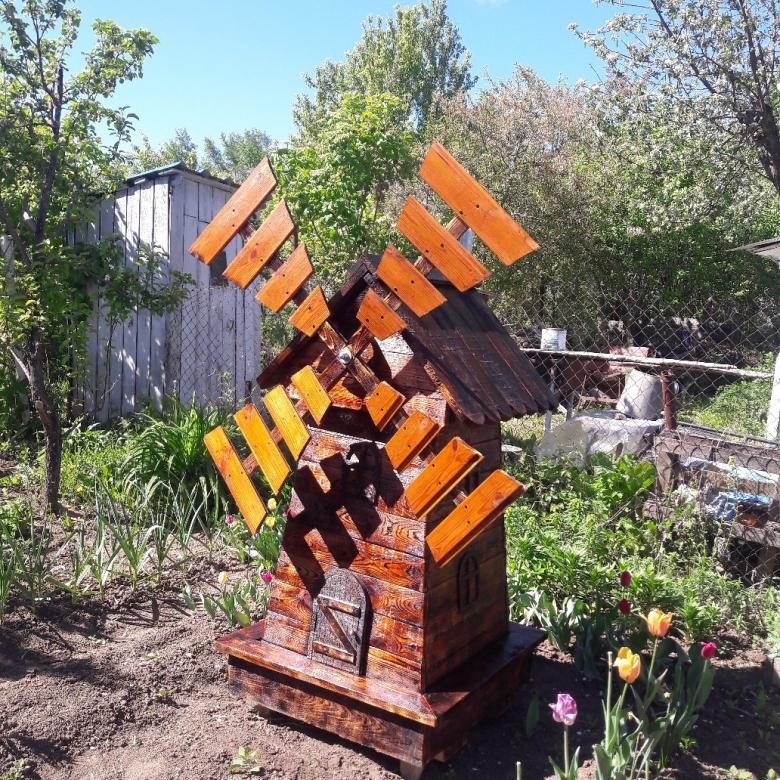
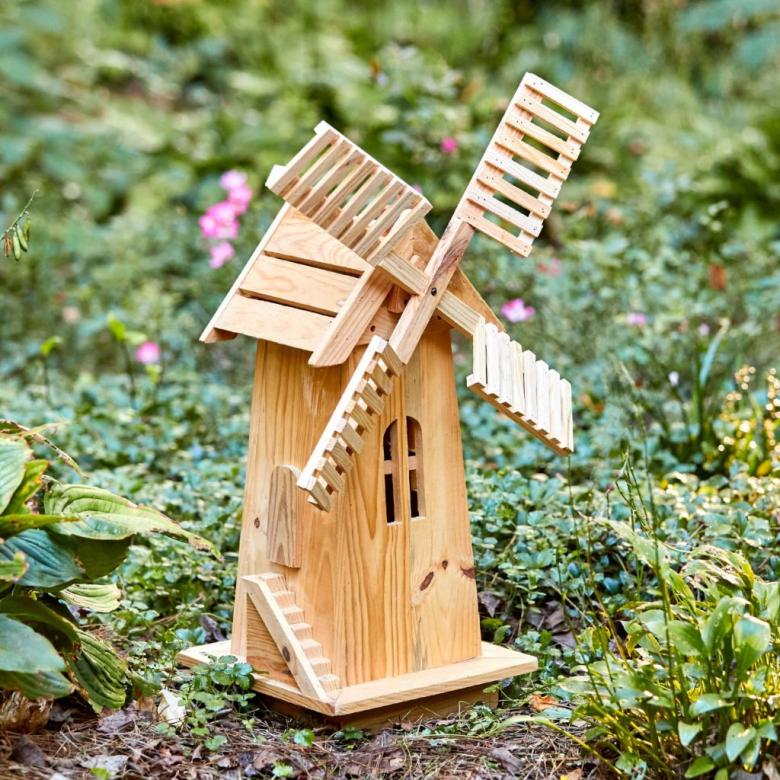
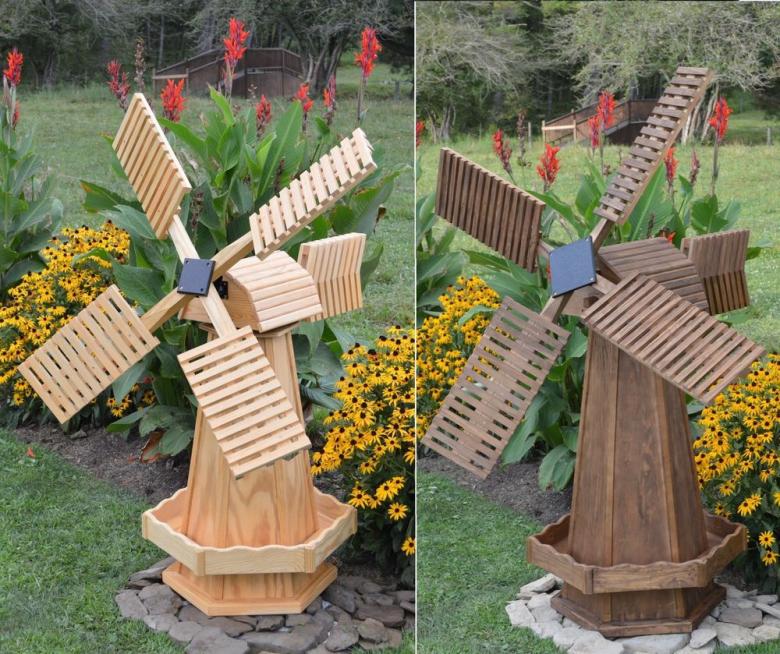
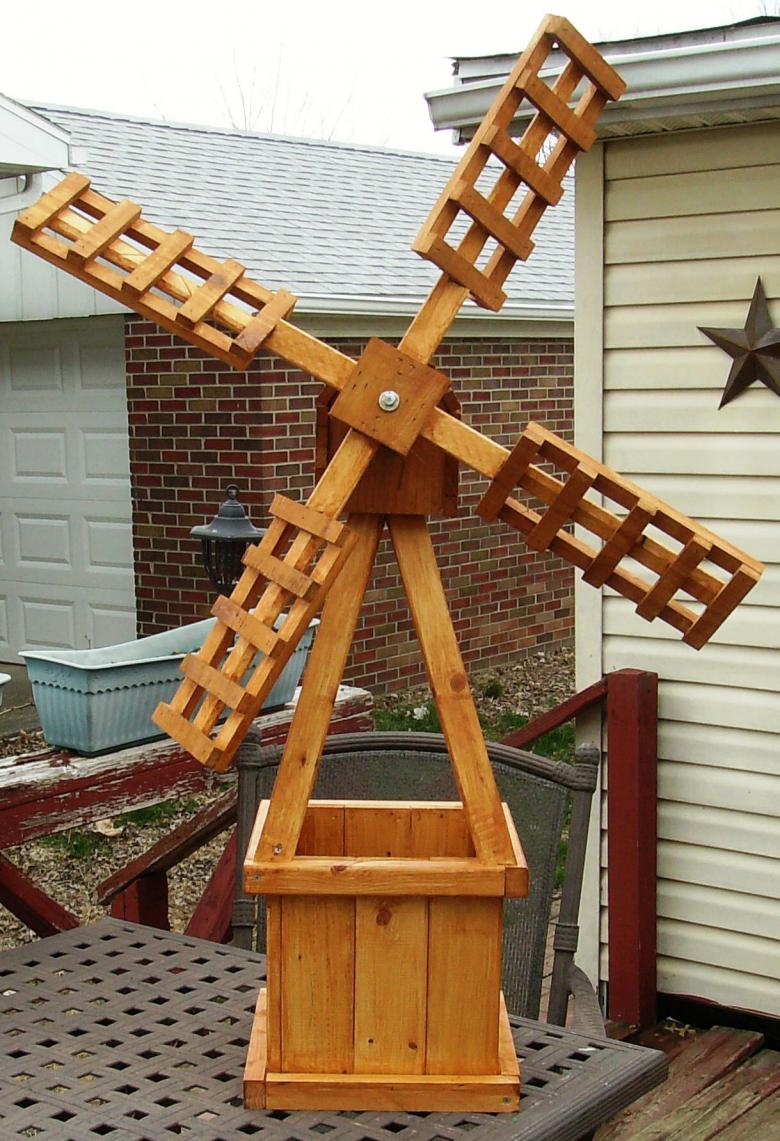
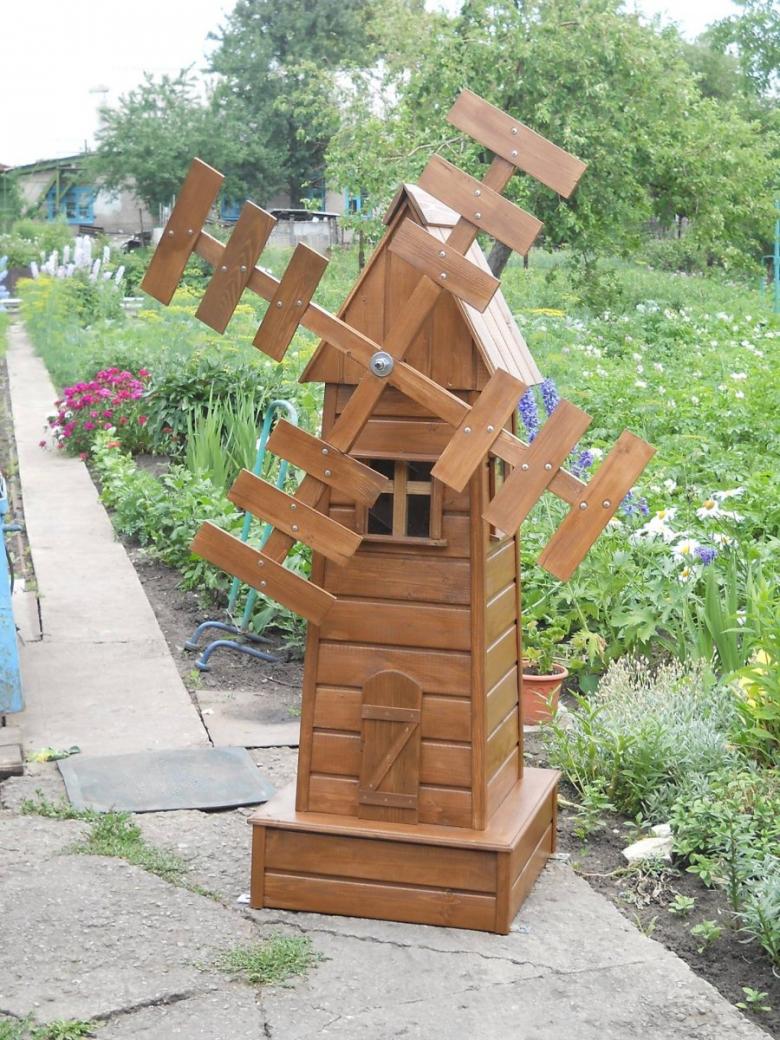
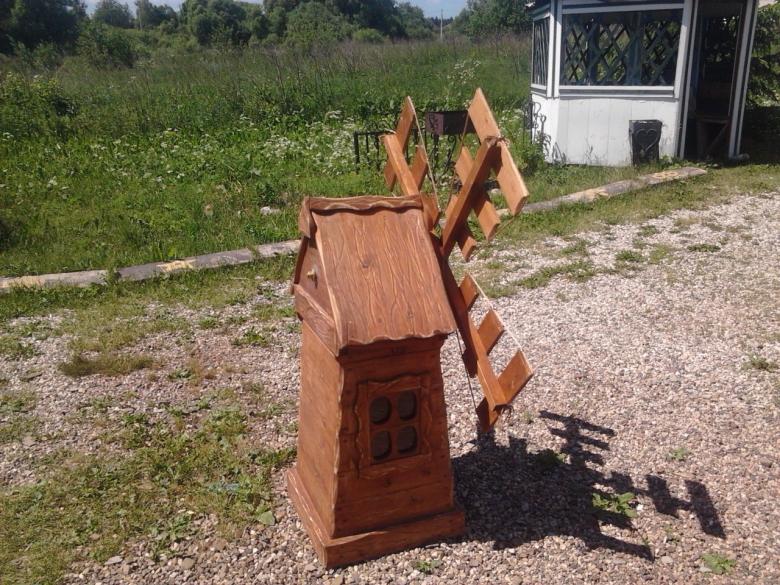
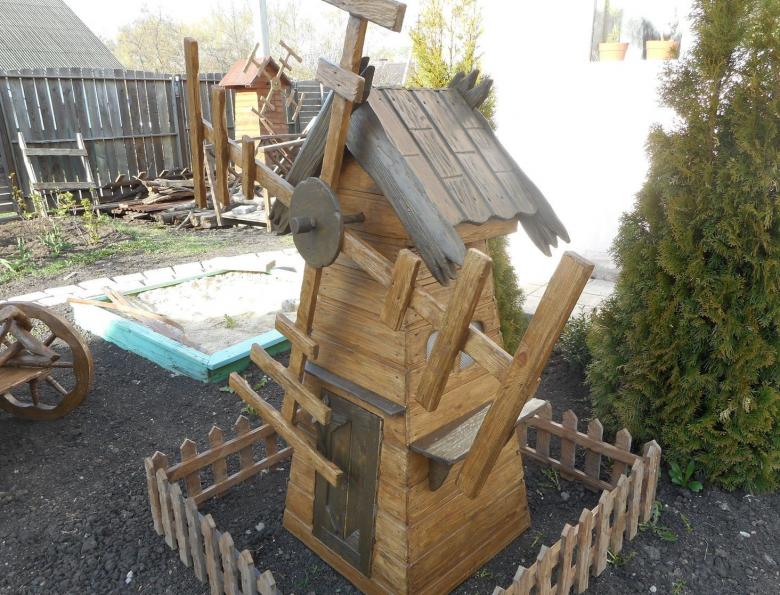
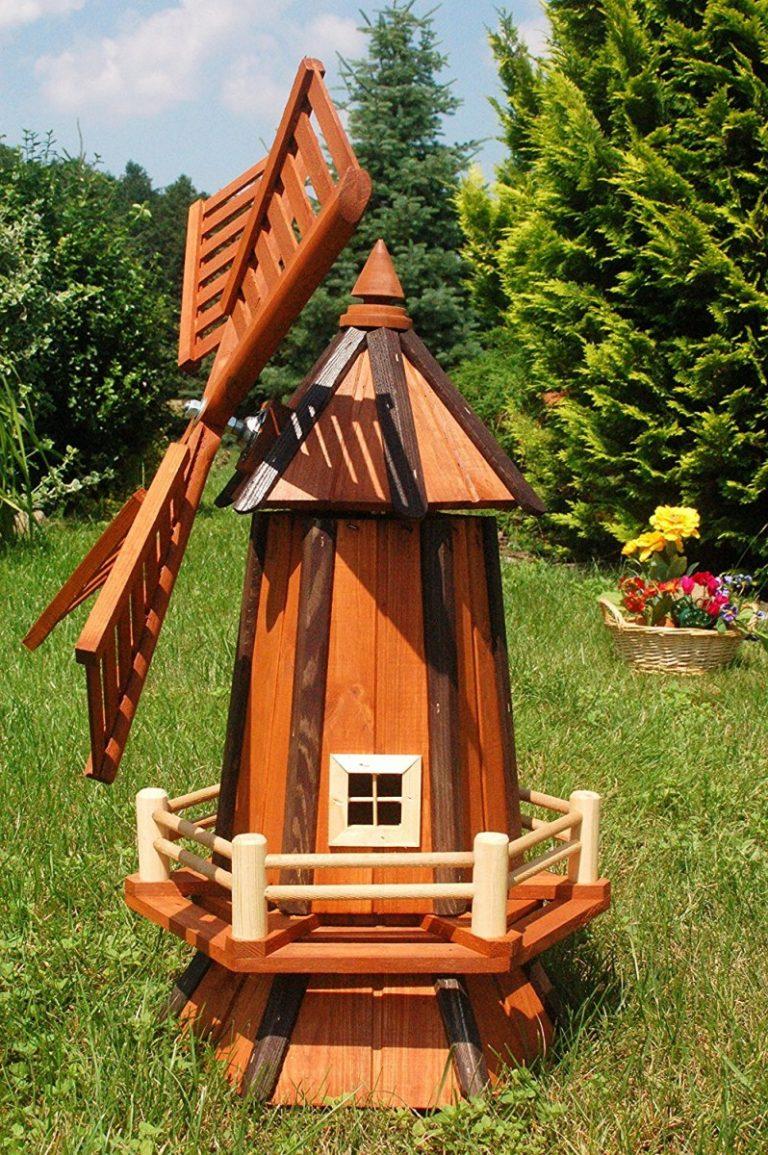
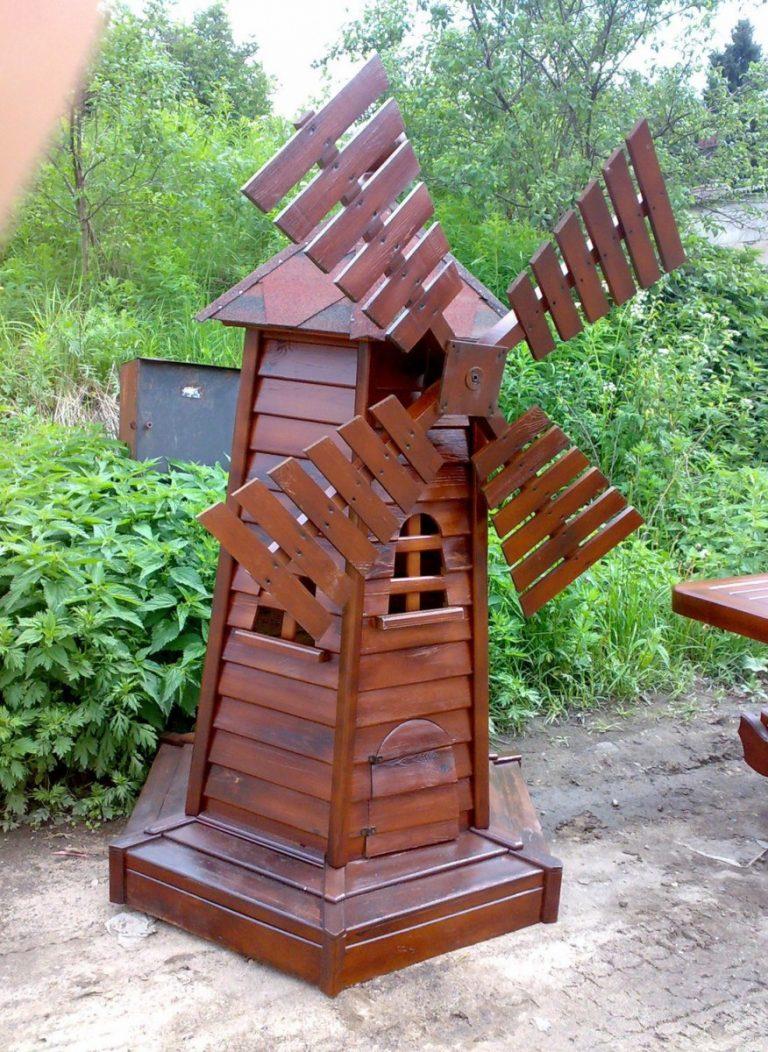
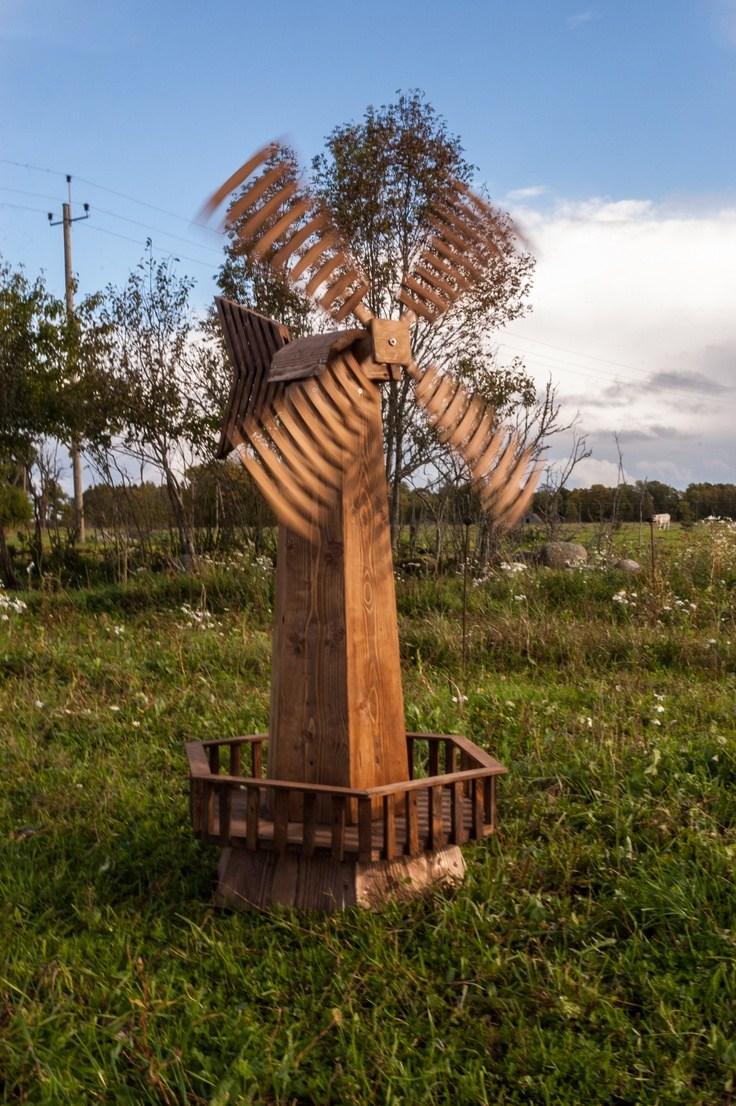
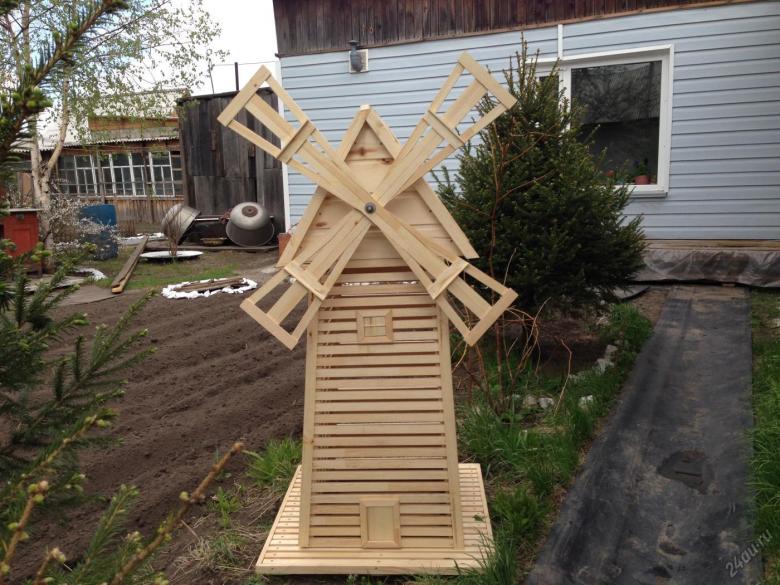
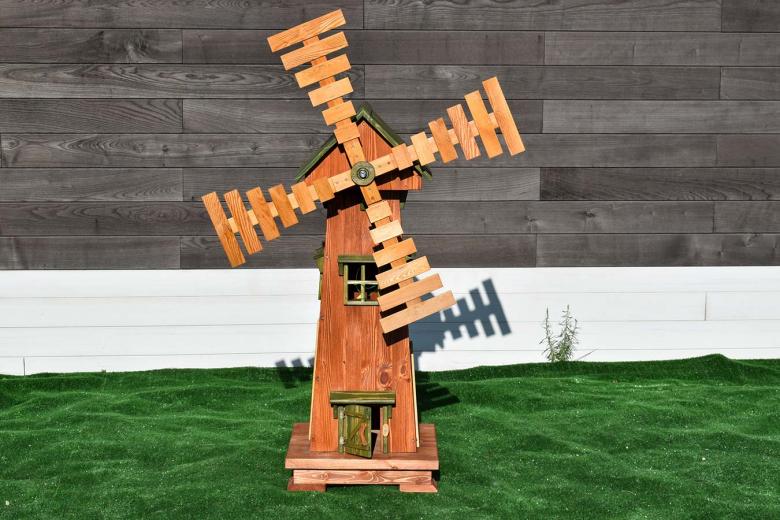
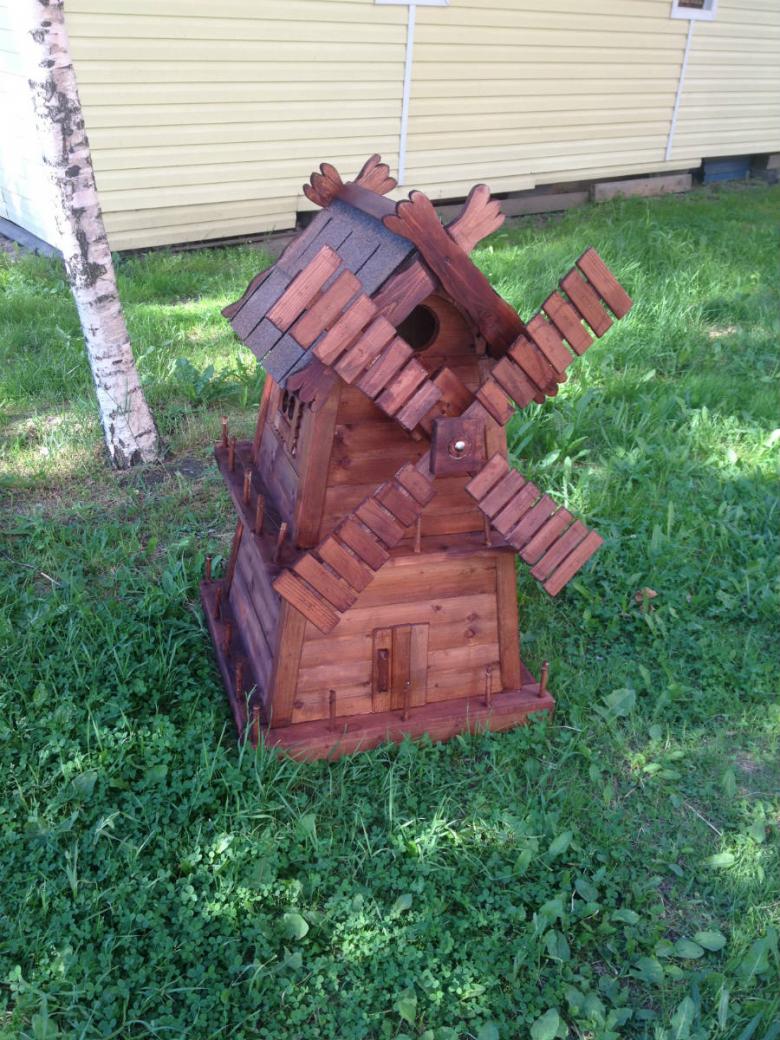
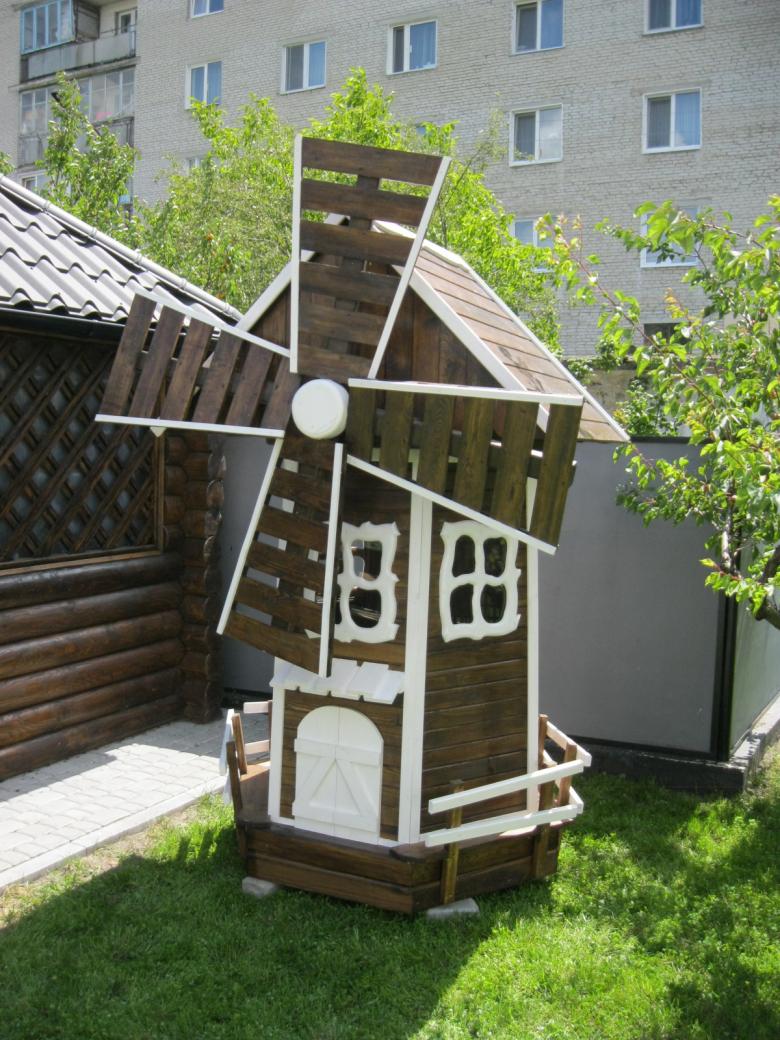
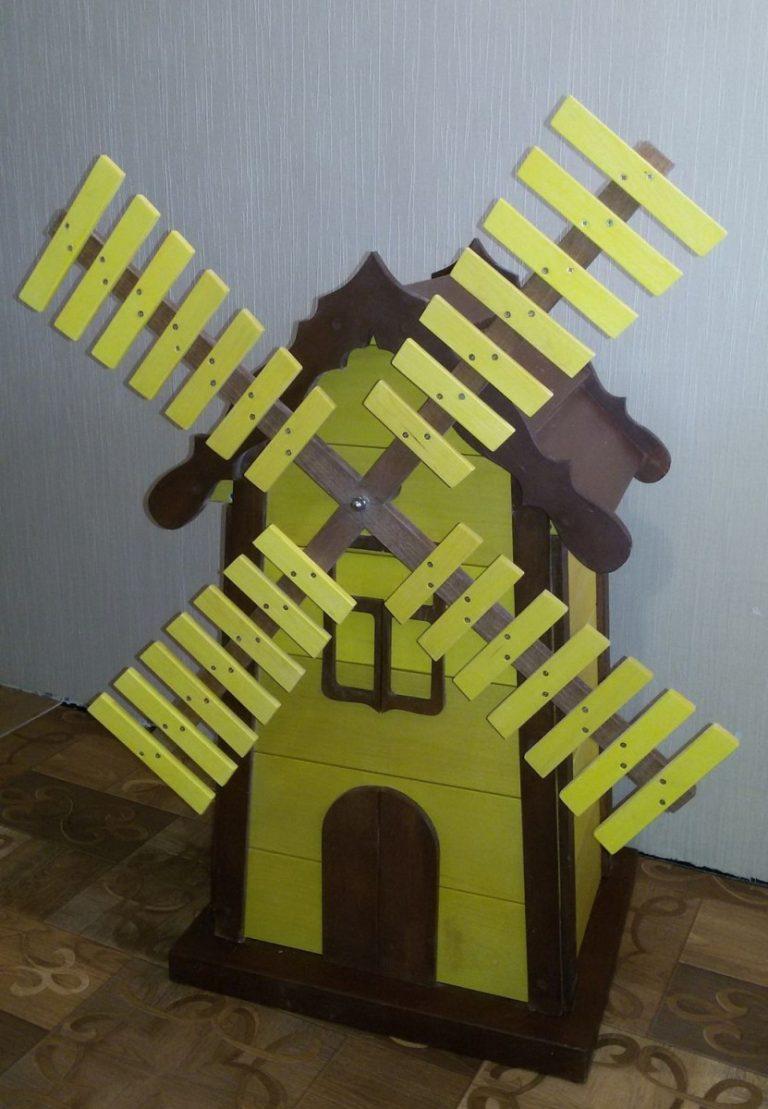
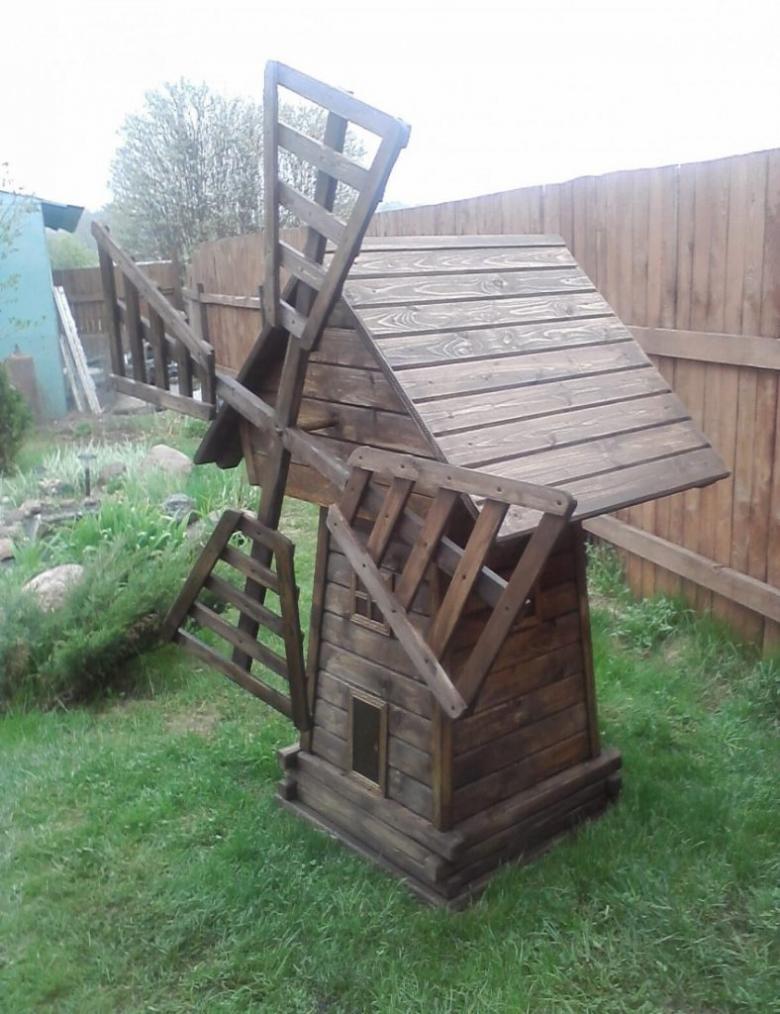
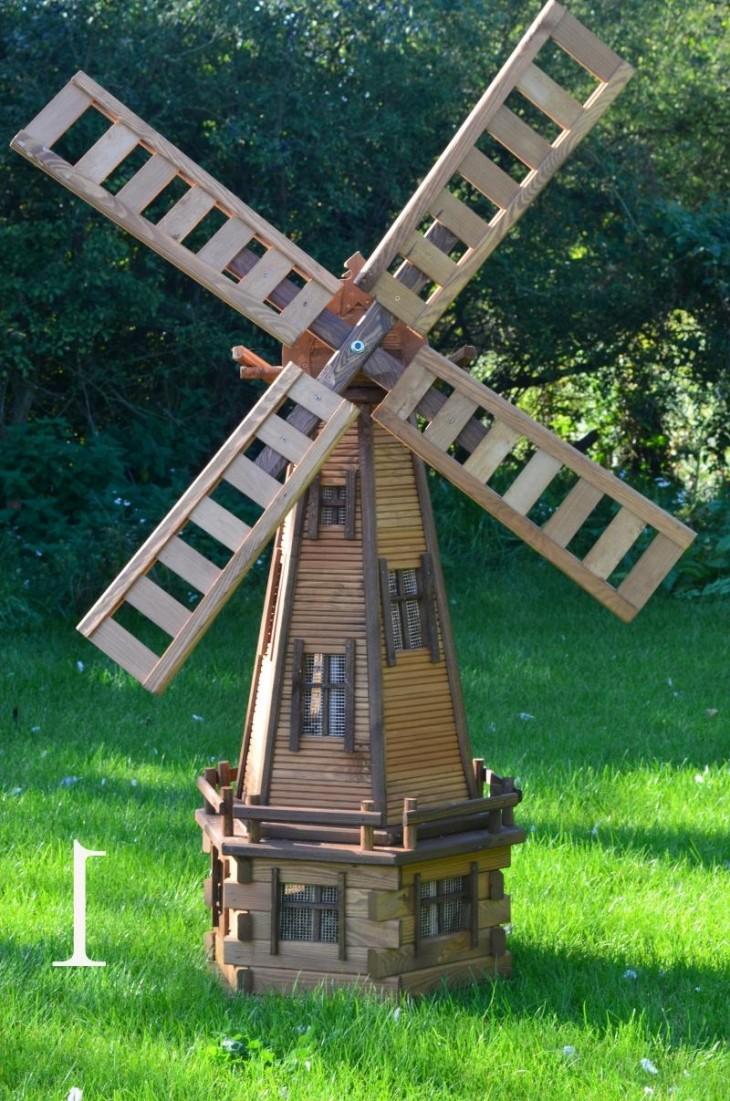
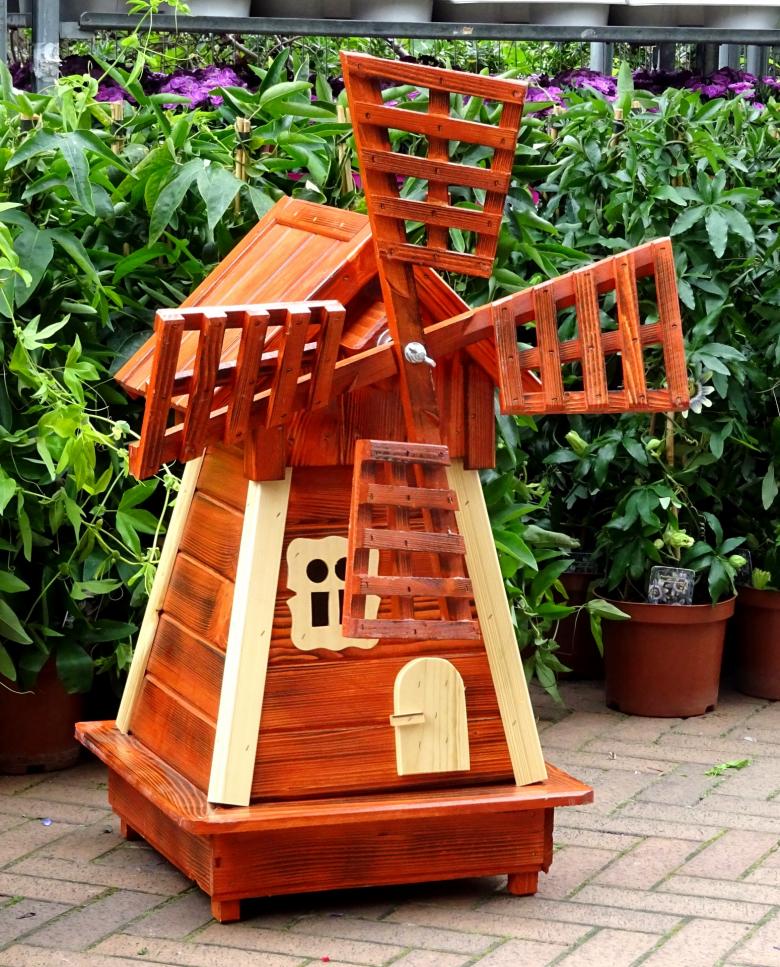
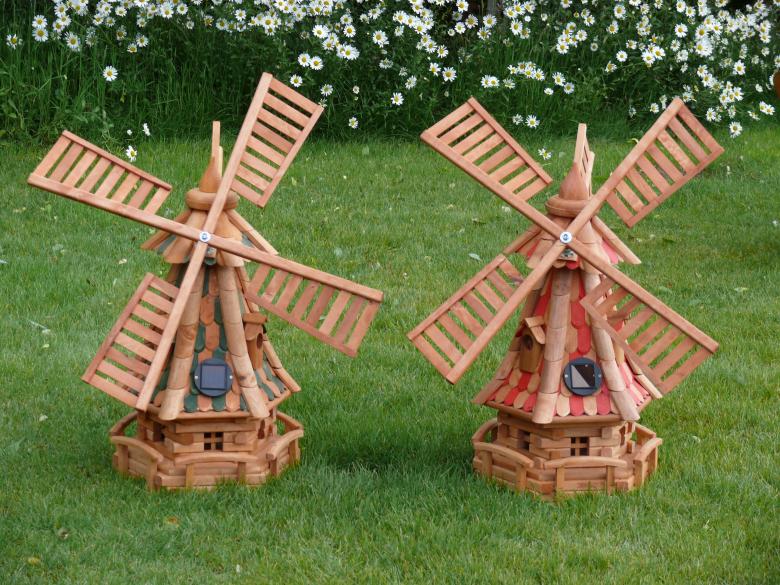
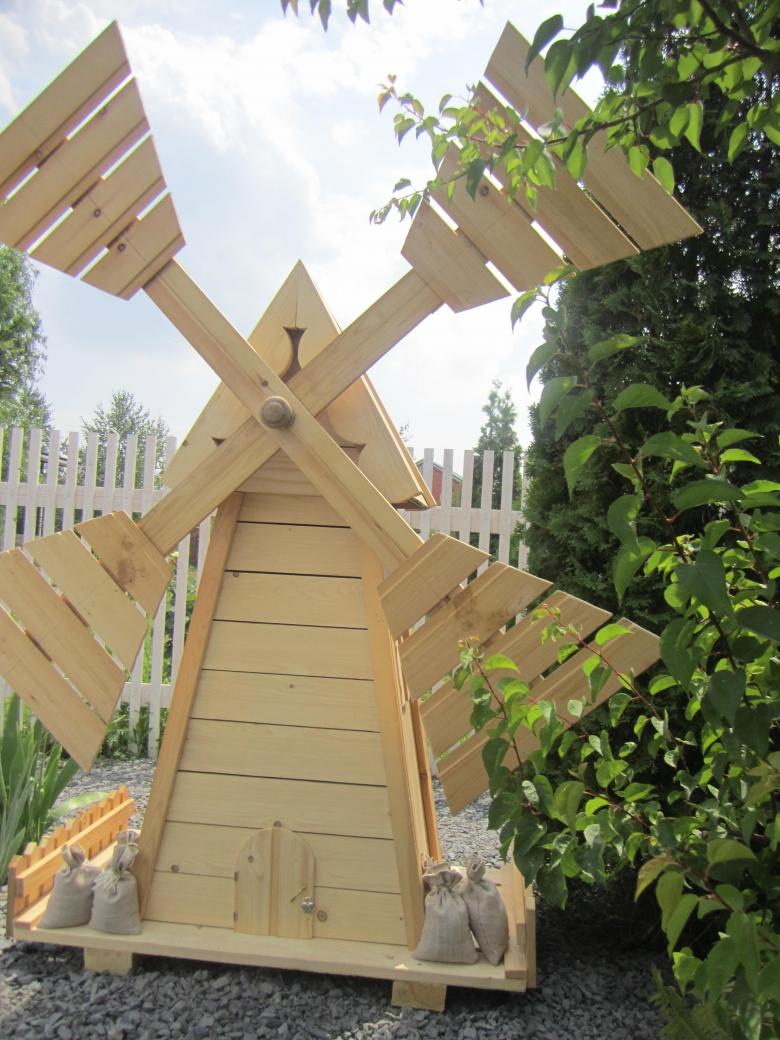
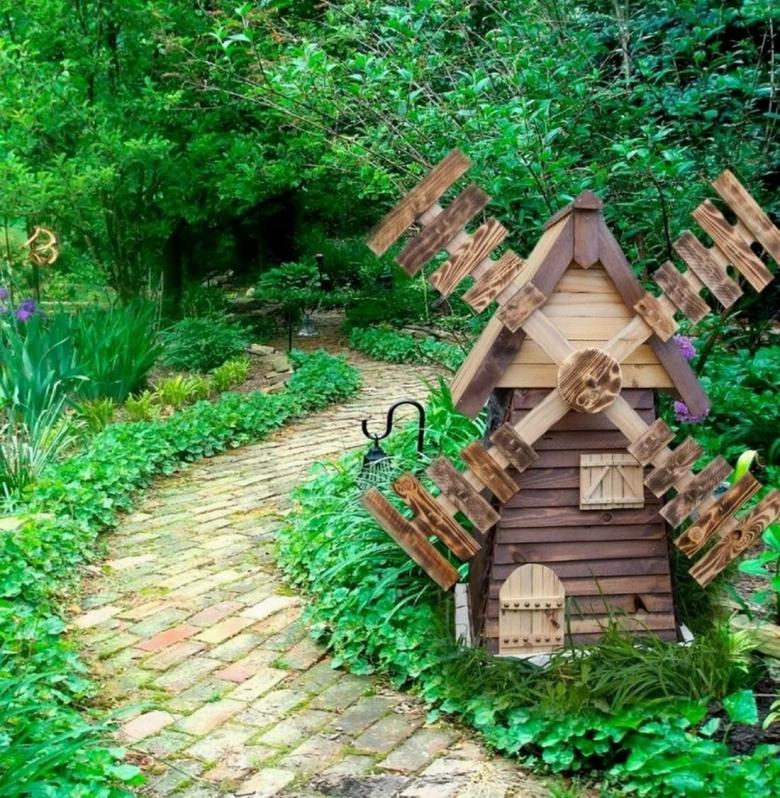
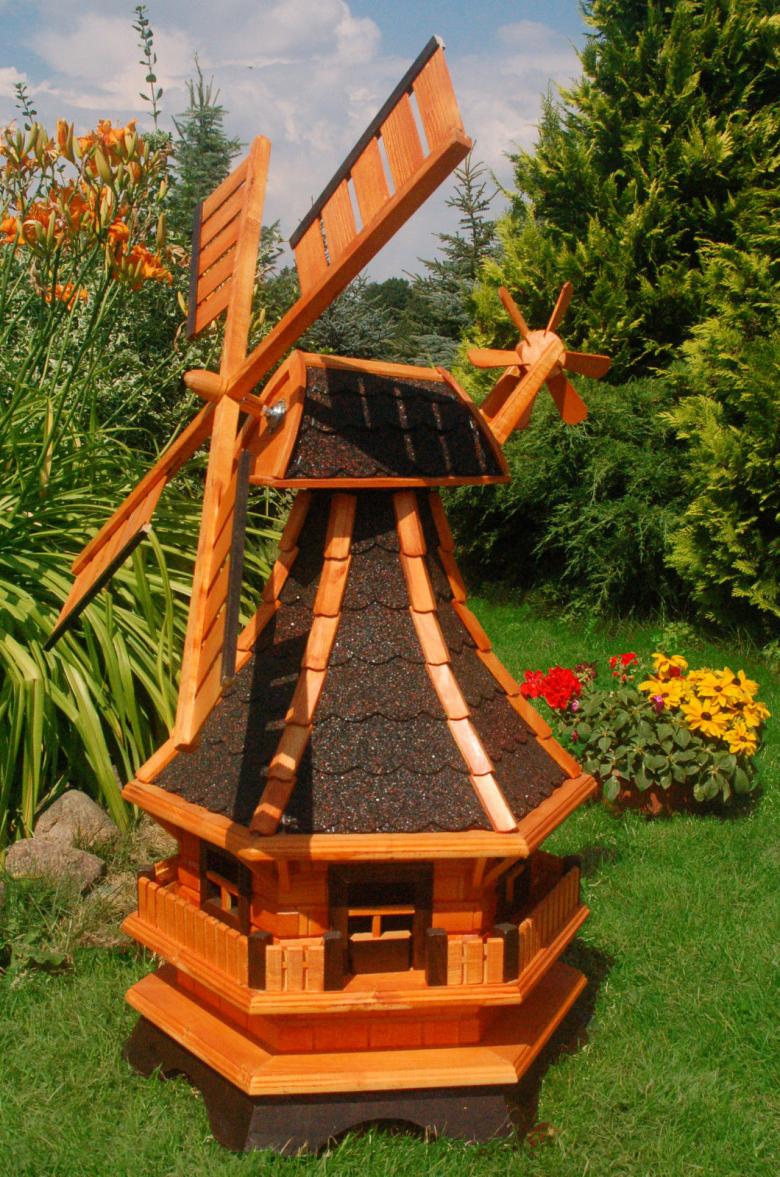
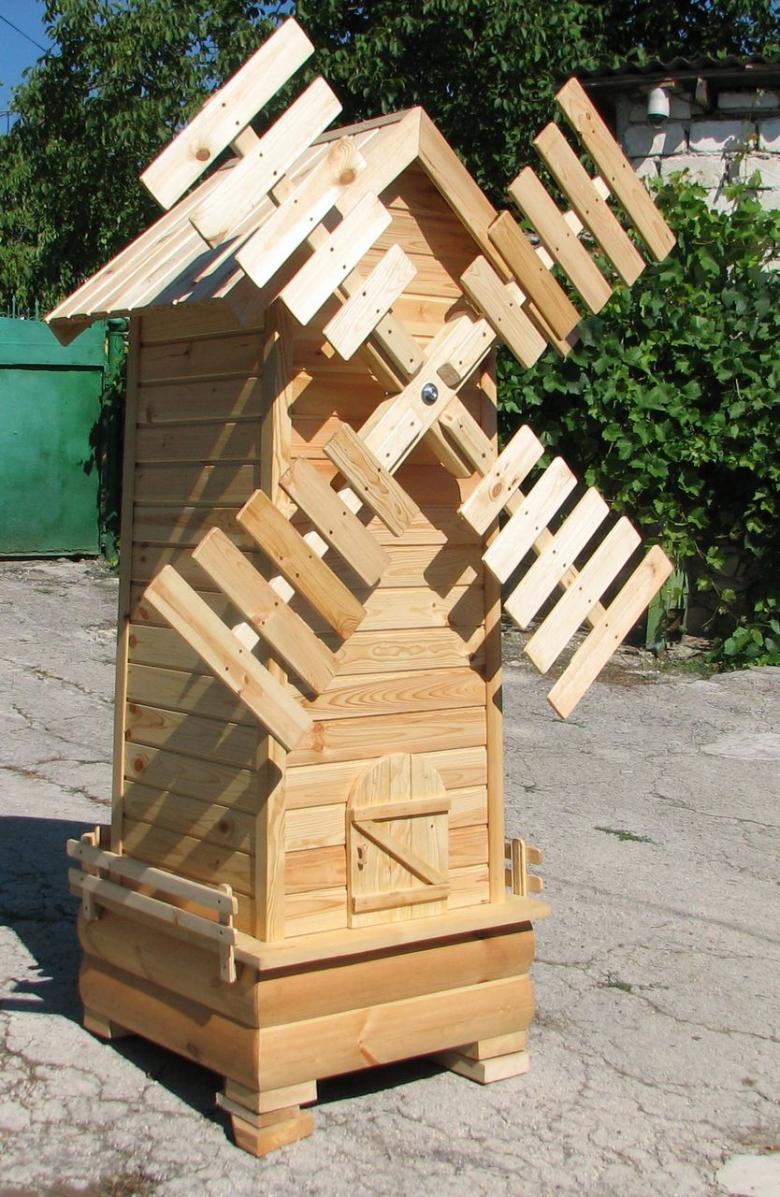
Landscape design of the countryside provides not only the construction of flower beds and the organization of a network of paths, but also the creation of a variety of garden decor. An example of the latter can serve as a compact windmill.
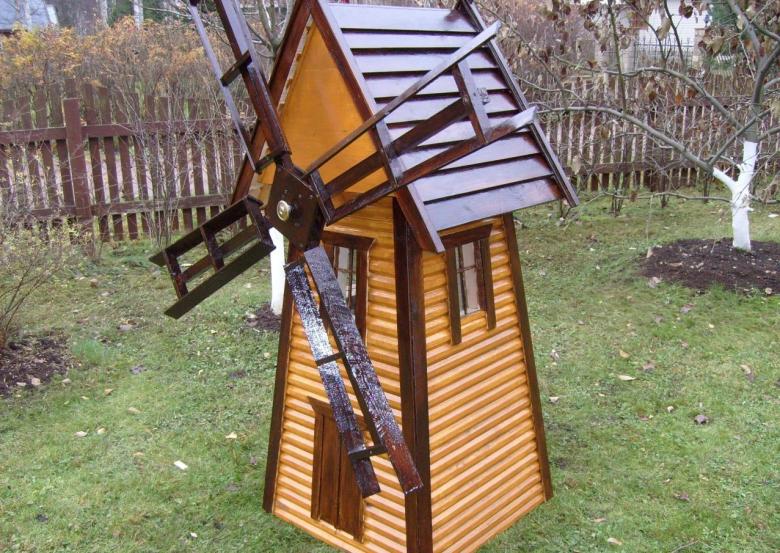
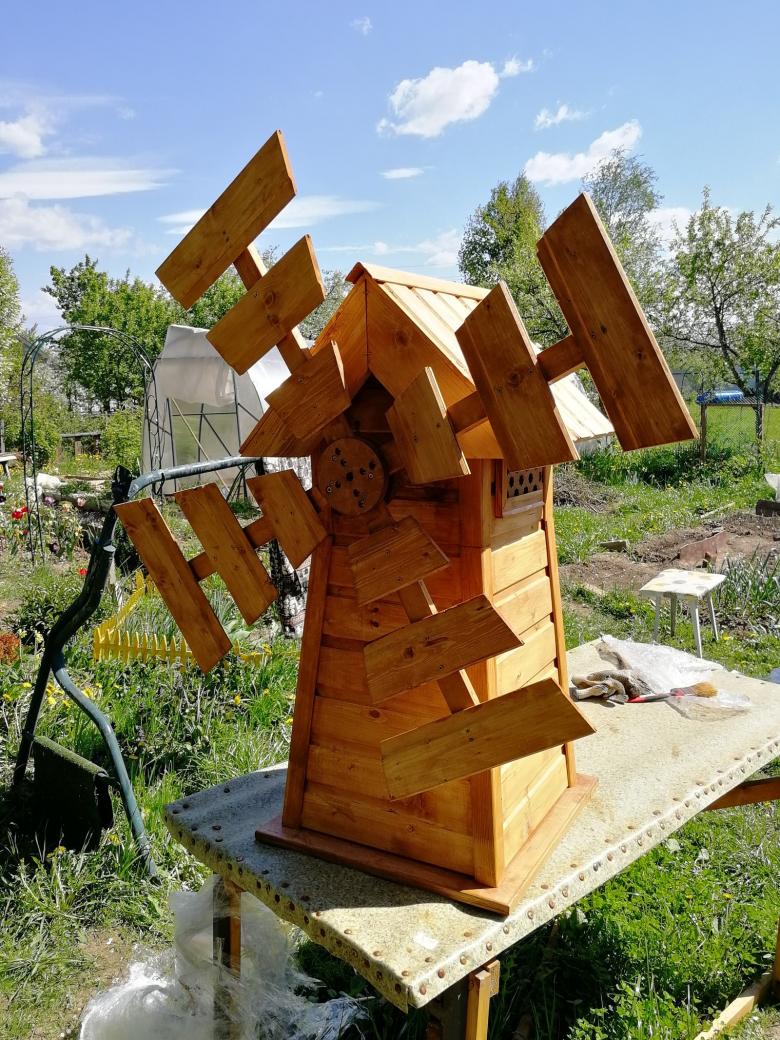
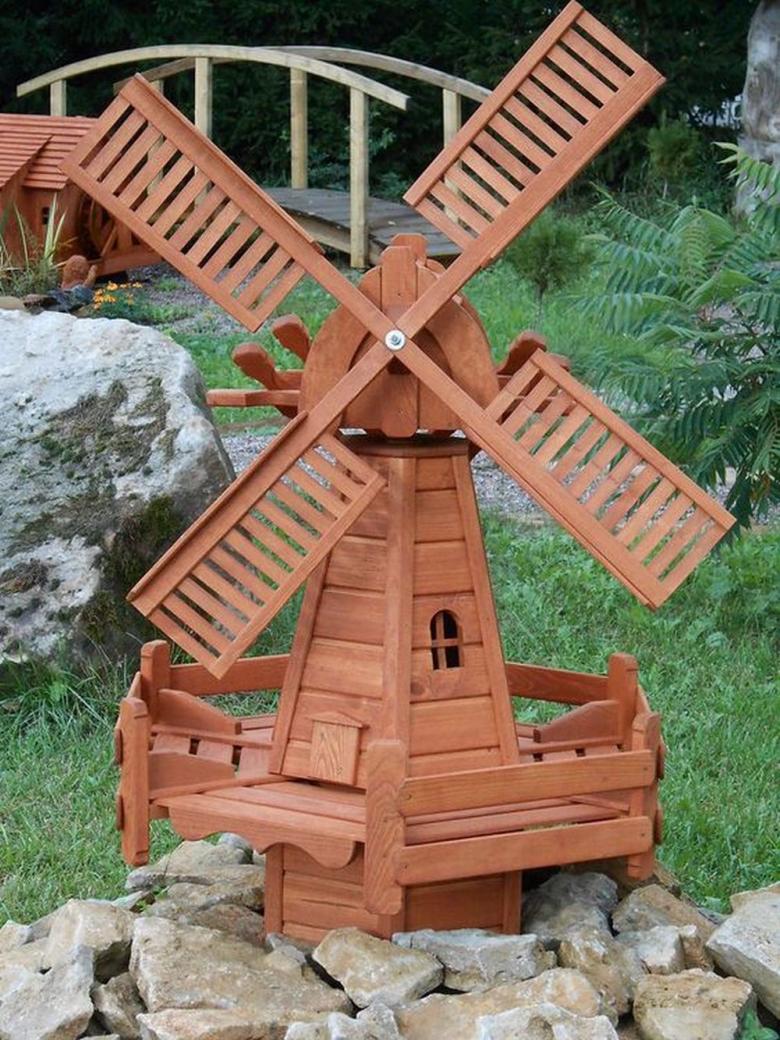
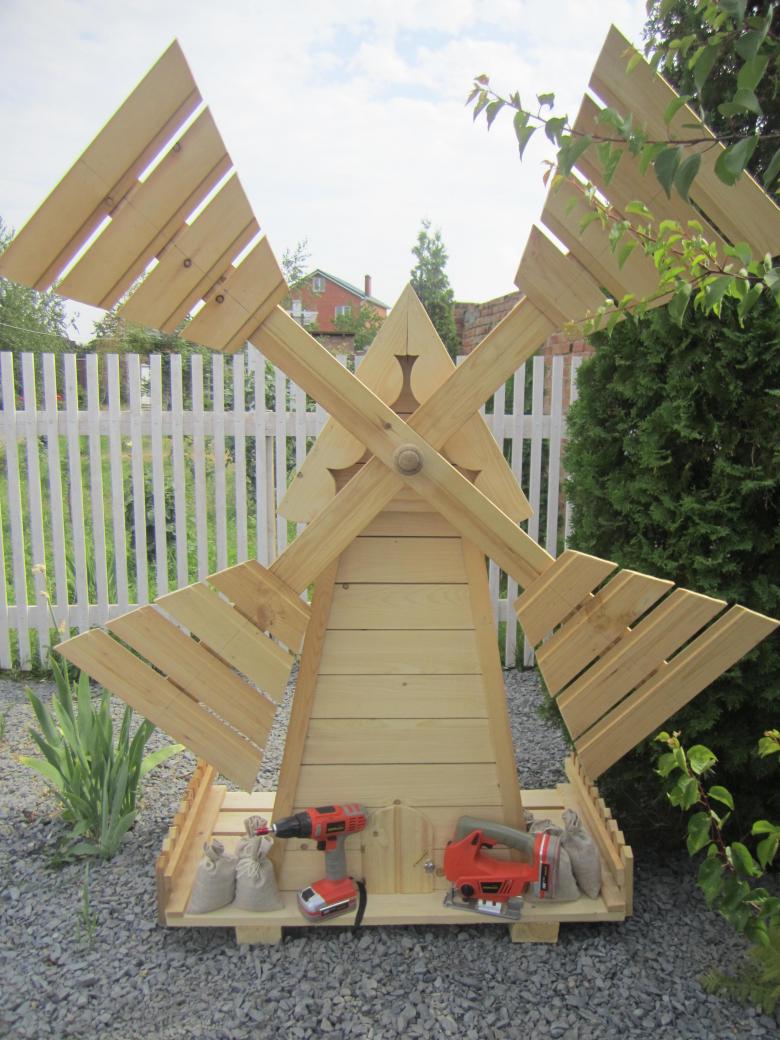
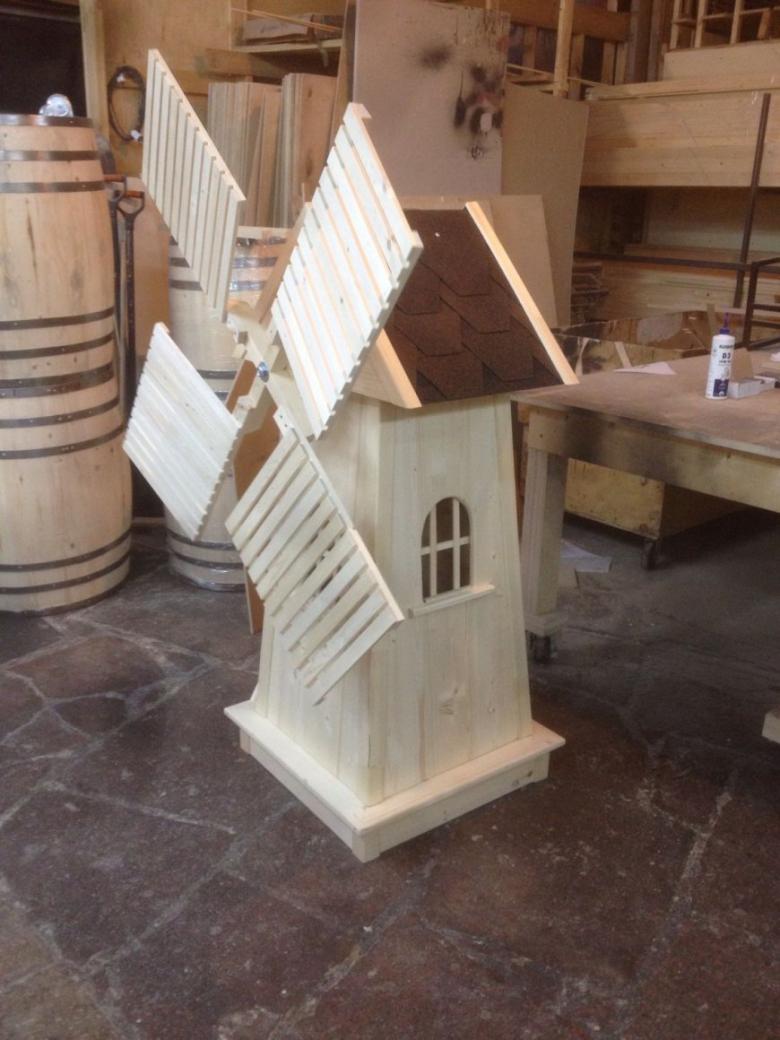
Today in stores it is represented by a large number of models of different volumes and types. But their cost is quite biting. As a consequence, if you have experience working with wood, the rational solution would be to create a windmill with their own hands.
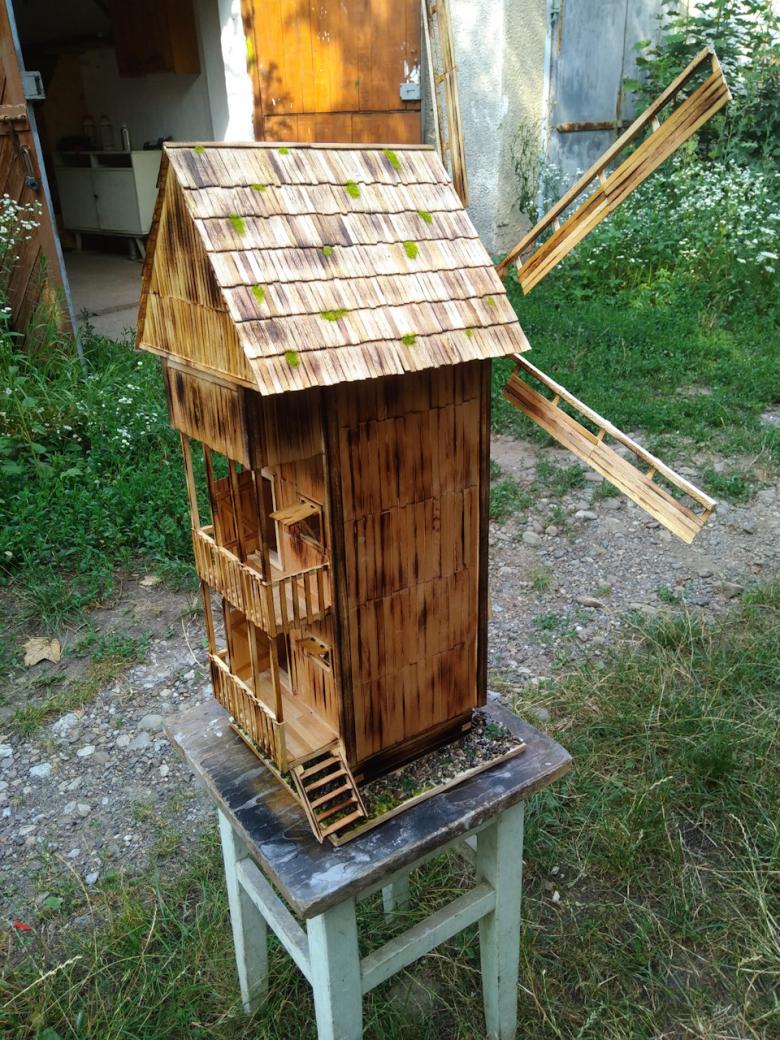
The purpose of the windmill as a landscape accessory
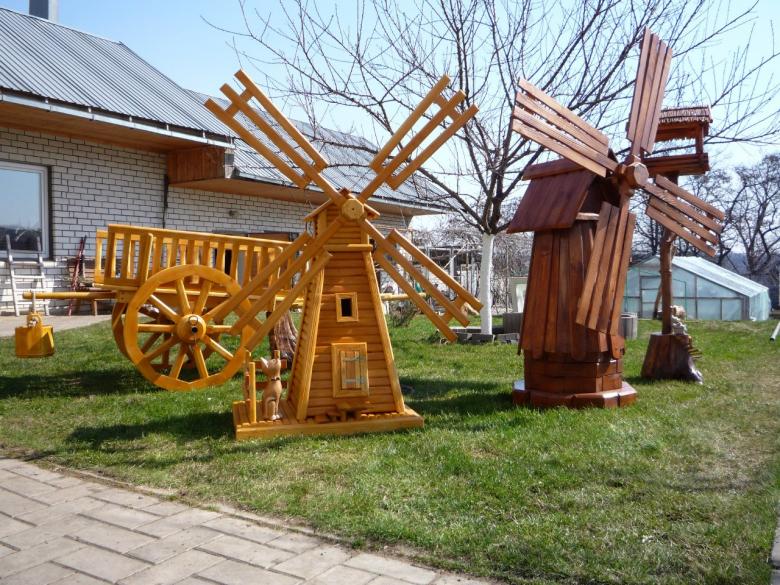
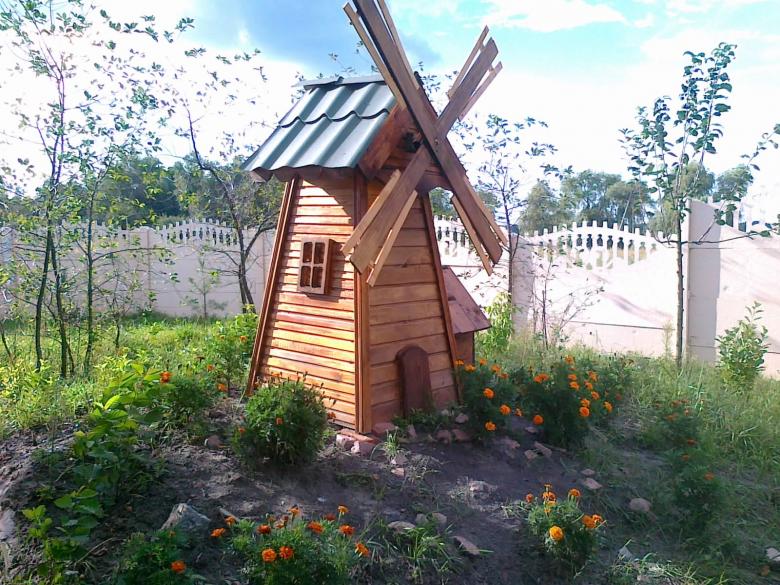
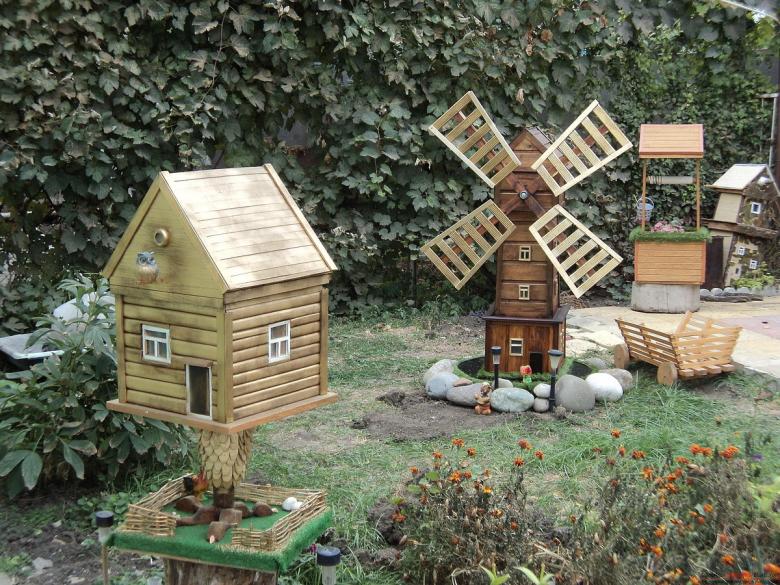
A compact toy windmill will help to create an atmosphere of homeliness on the site, especially if you complement it with a carved bench, a small cart, a hedge, an artificial pond.
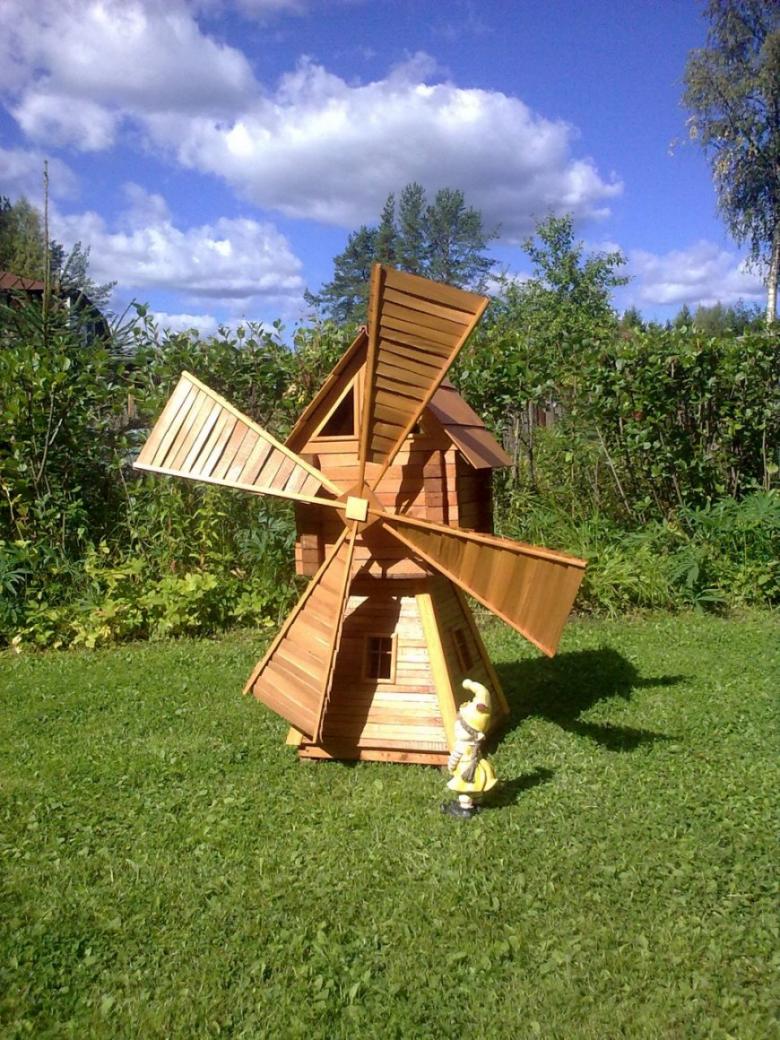
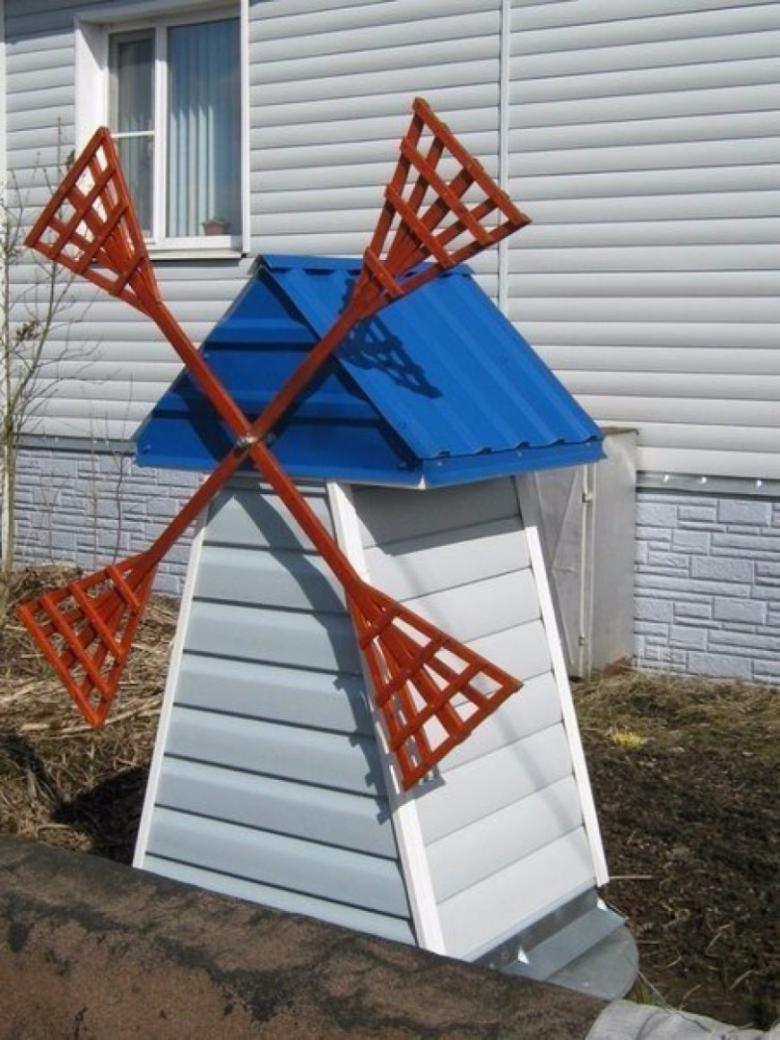
In addition to the decorative function, such a handicraft can perform quite a practical task. With its help, you can disguise the crane, manhole or any other unpresentable object, making the territory visually much more aesthetically pleasing.
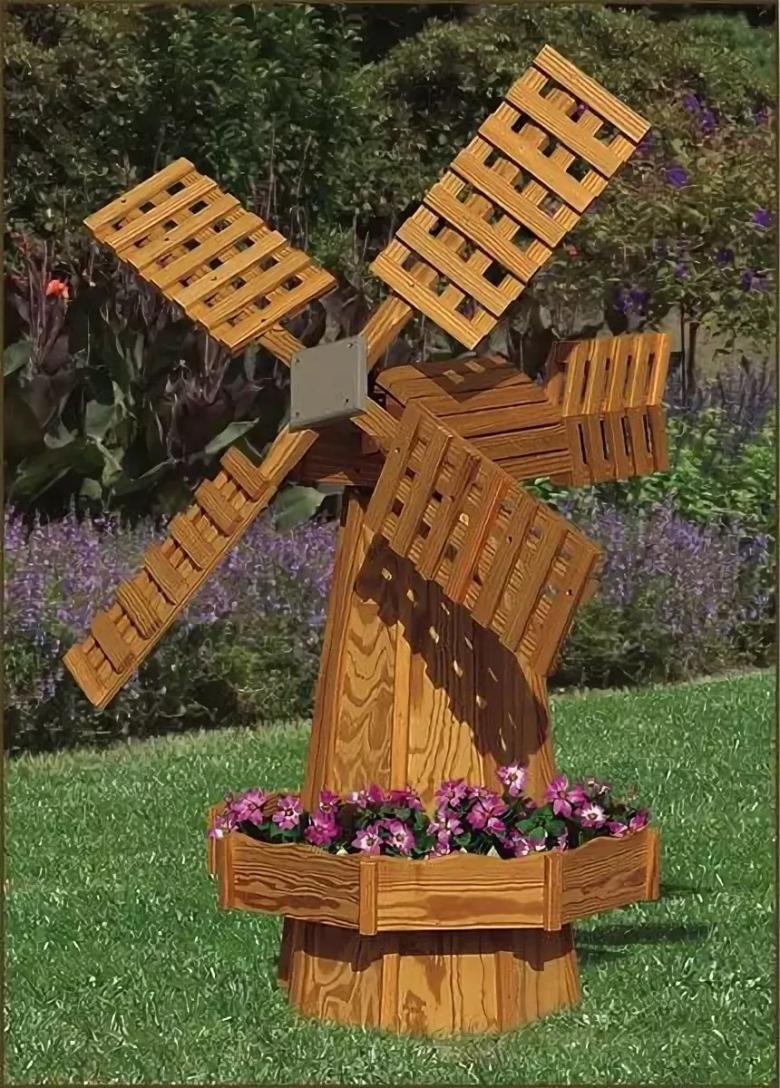
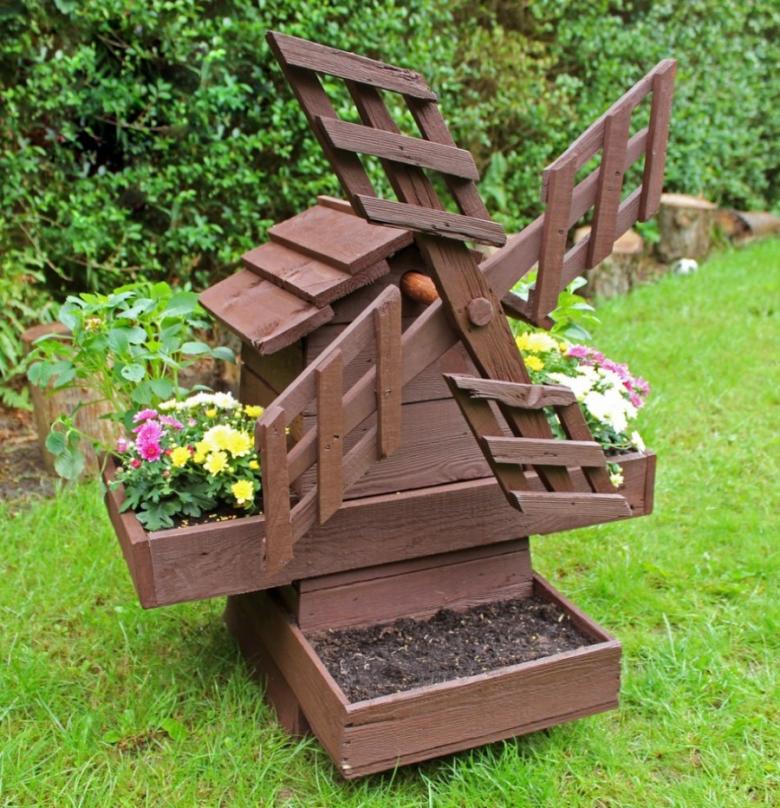
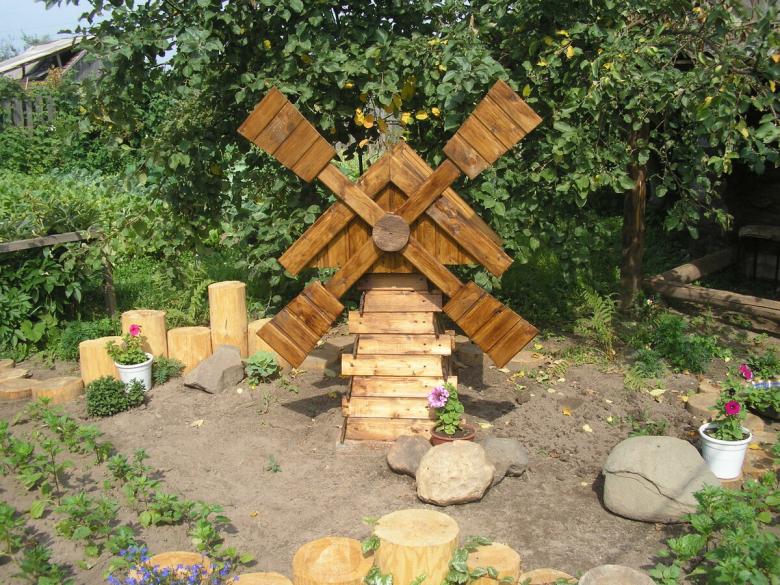
Still in the mill you can break up small flower beds and grow flowering plants.
Stylistic trends
Model "Mill" with their own hands is allowed to erect, choosing one of the following styles:
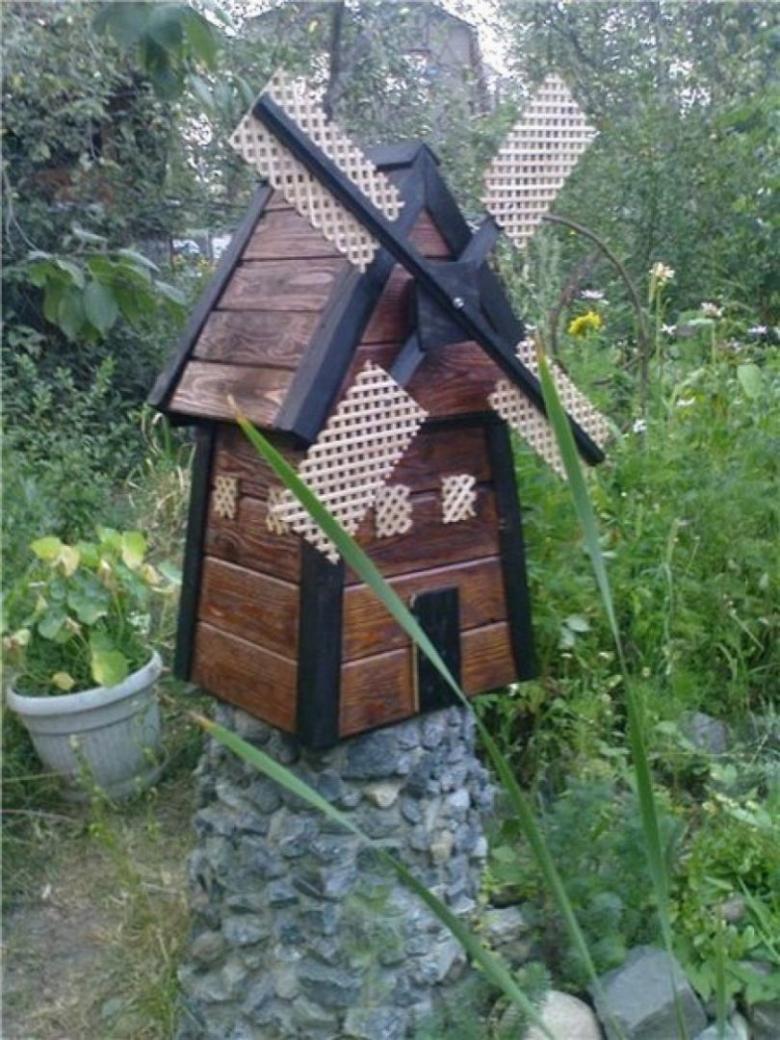
- Japanese. This style is based on the use of only three things. These are stones, live plants (bamboo), a source of water. Japanese design can be described as simple, elegant and minimalistic. Here organically fit a small pond, the banks of which are framed with natural stone.
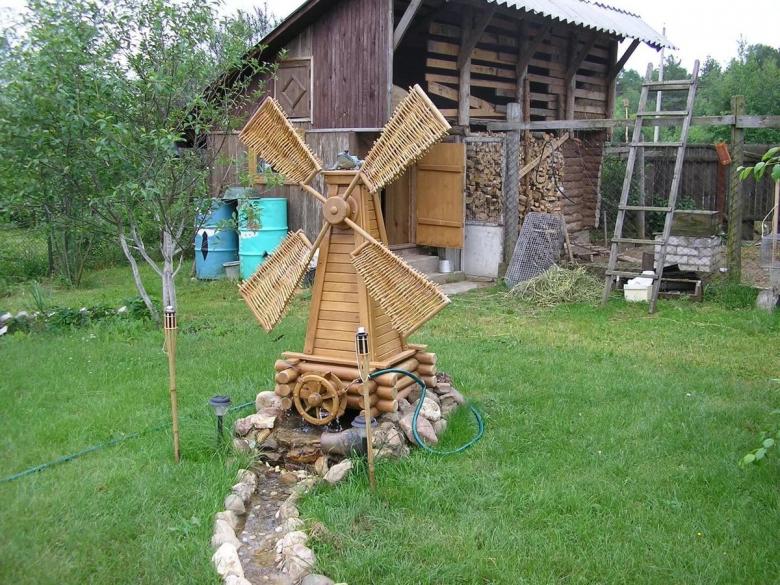
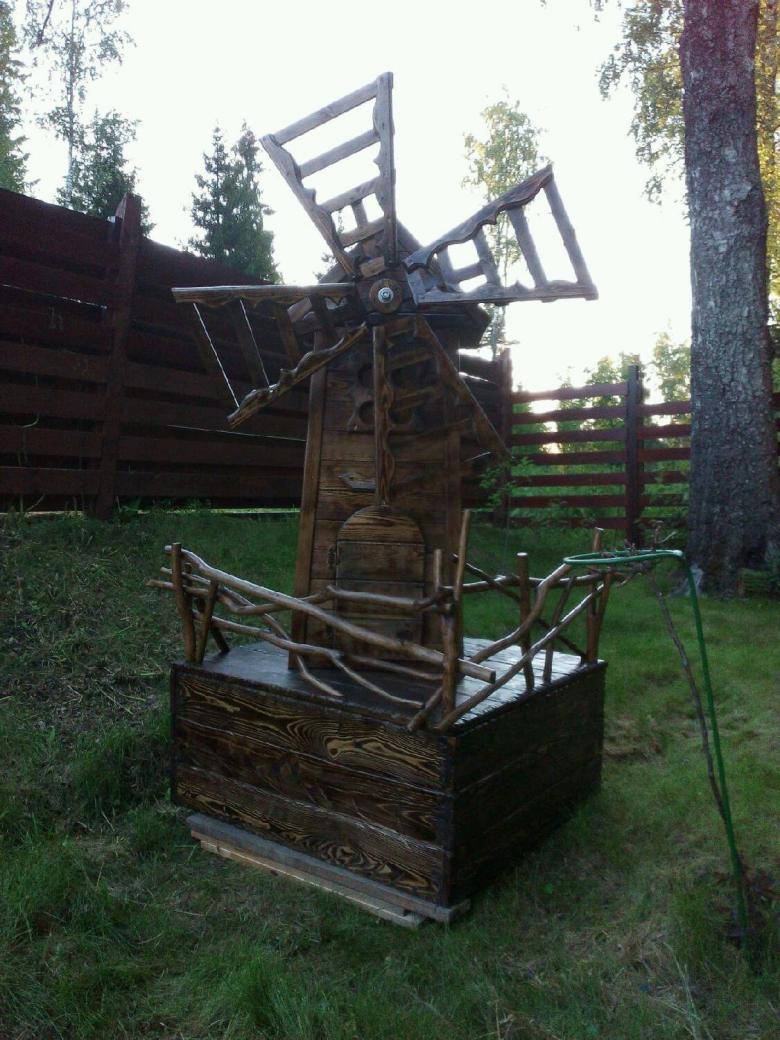
- Country. This style is ideal for sites containing a large number of various structures made of wood. The combination of wood, hay and wildflowers creates a village atmosphere. Unusually will look a mill with a wheel on the bank of a small pond.
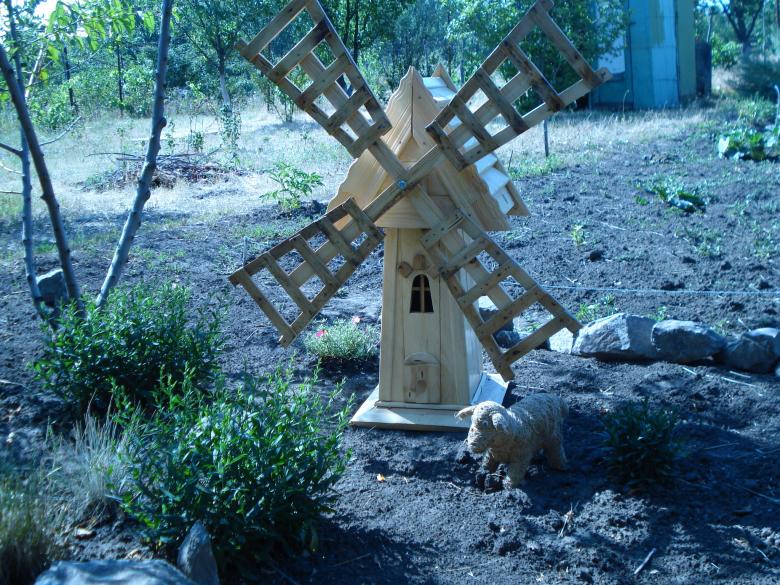
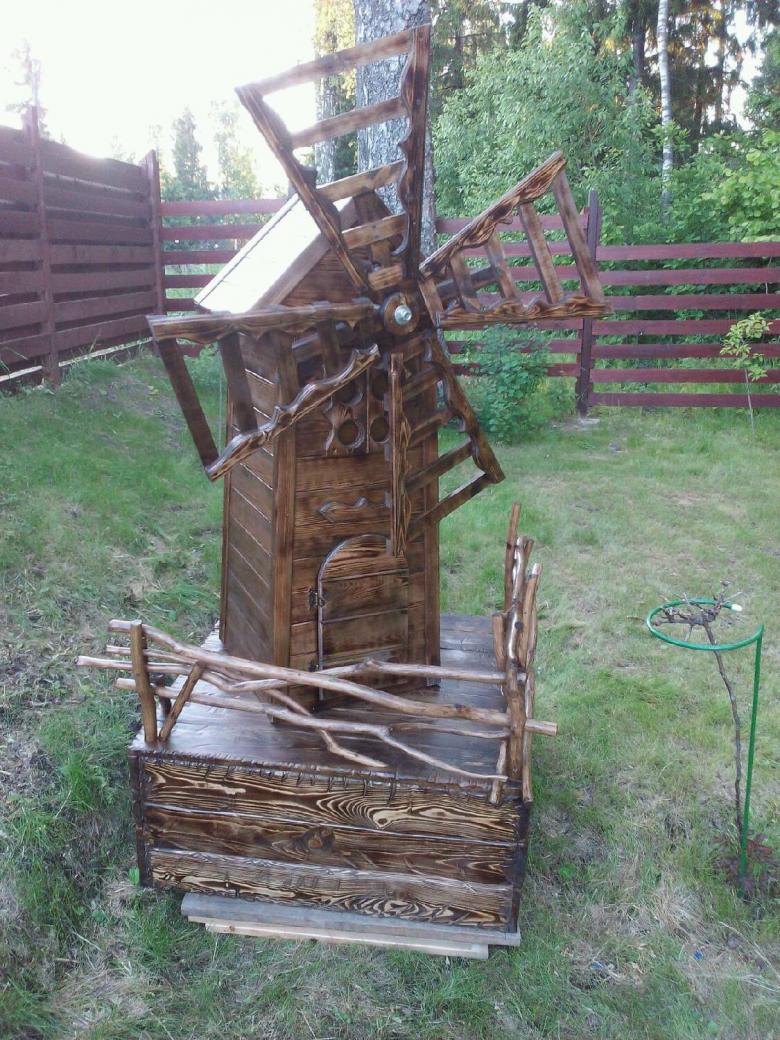
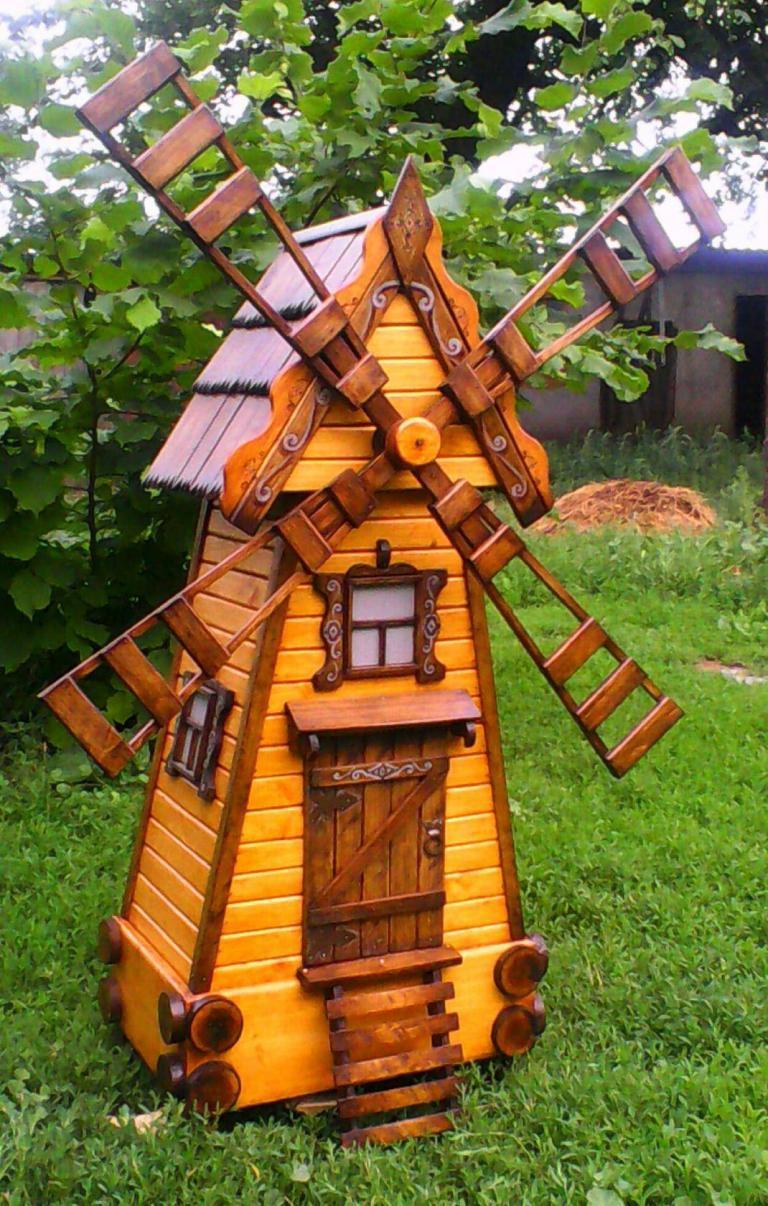
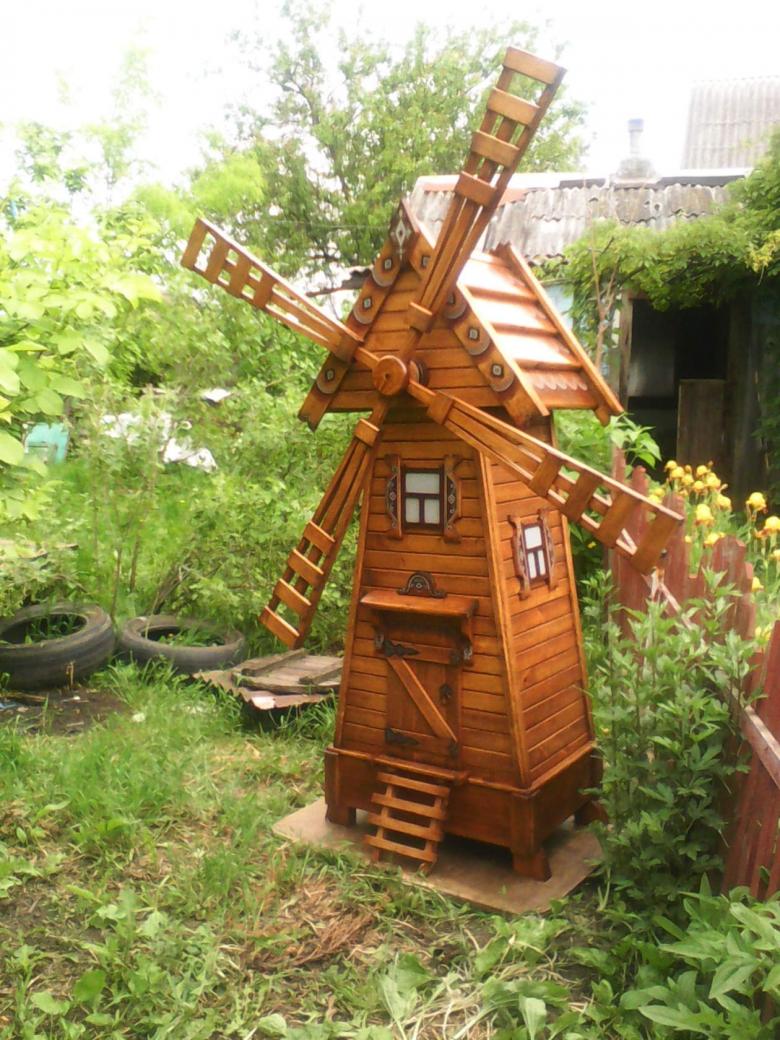
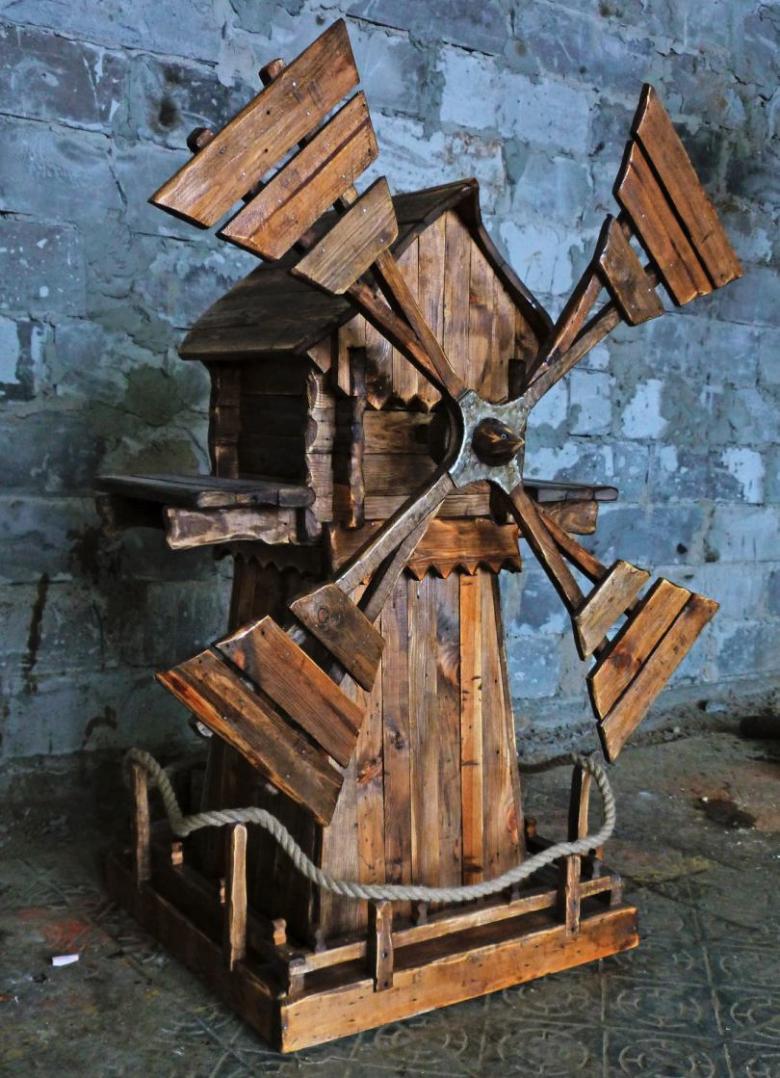
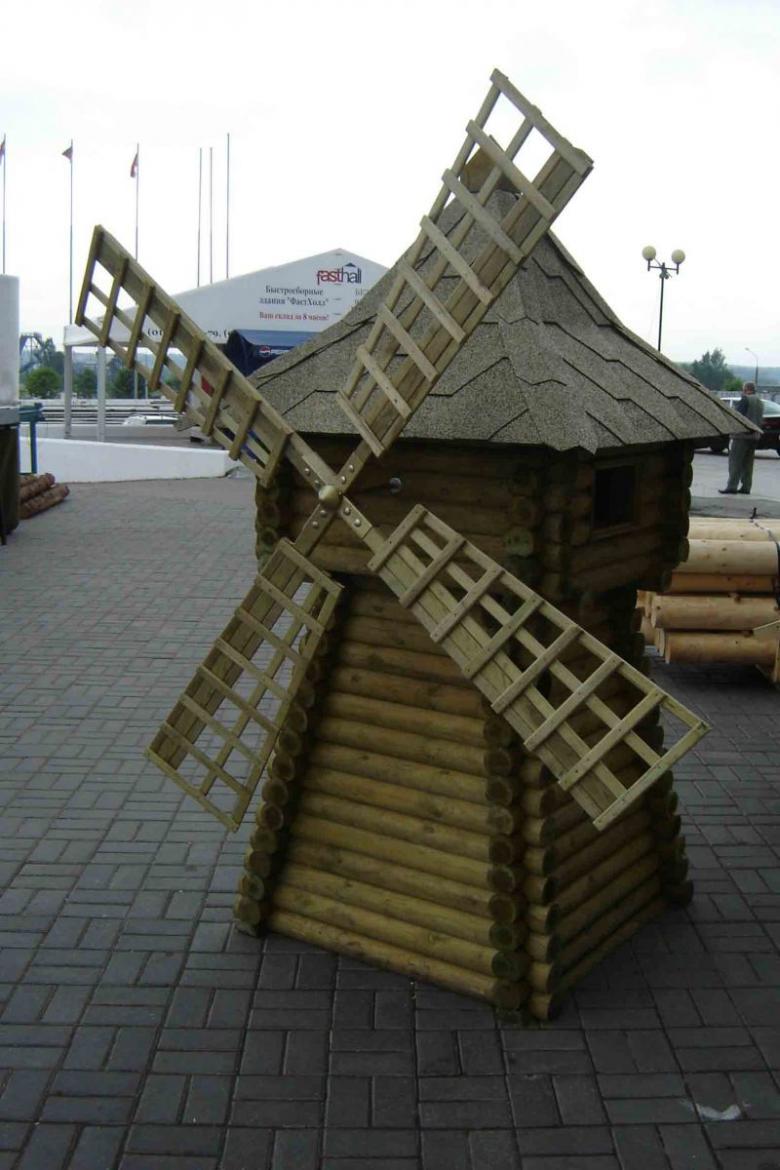
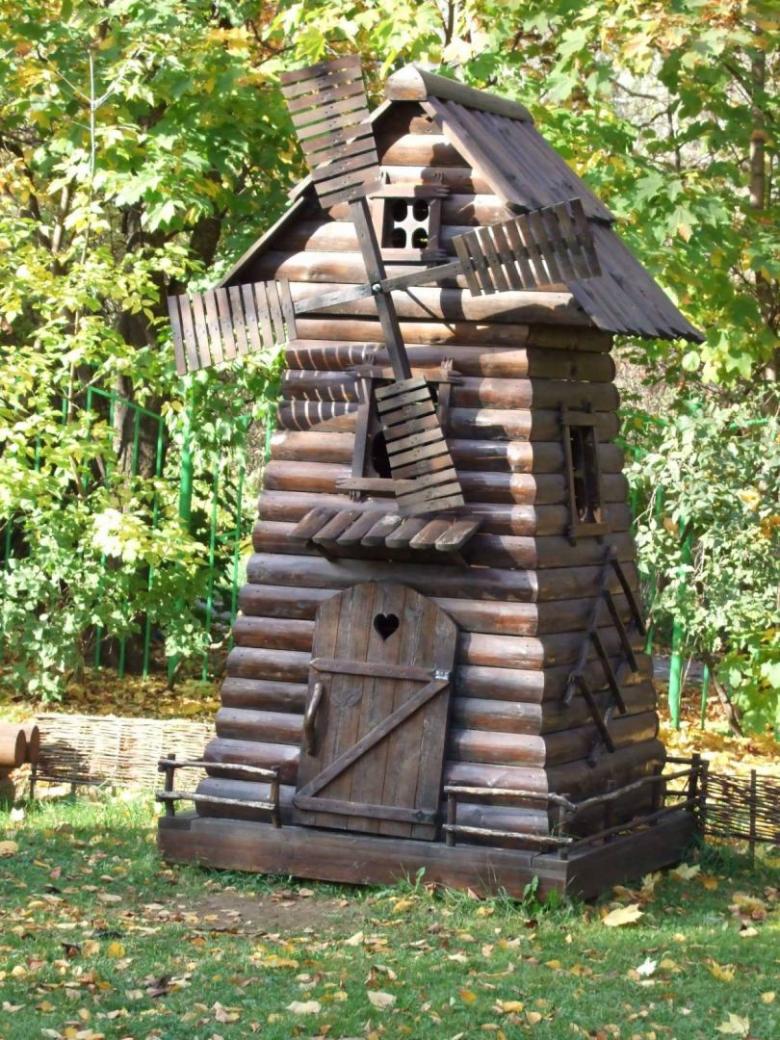
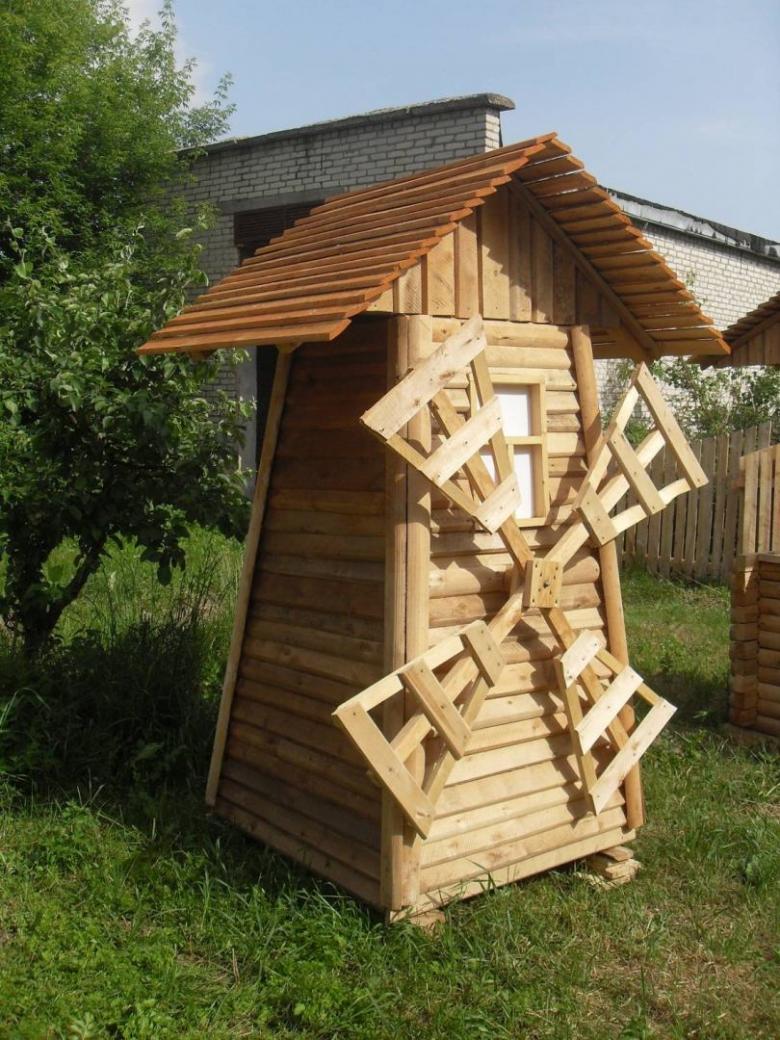
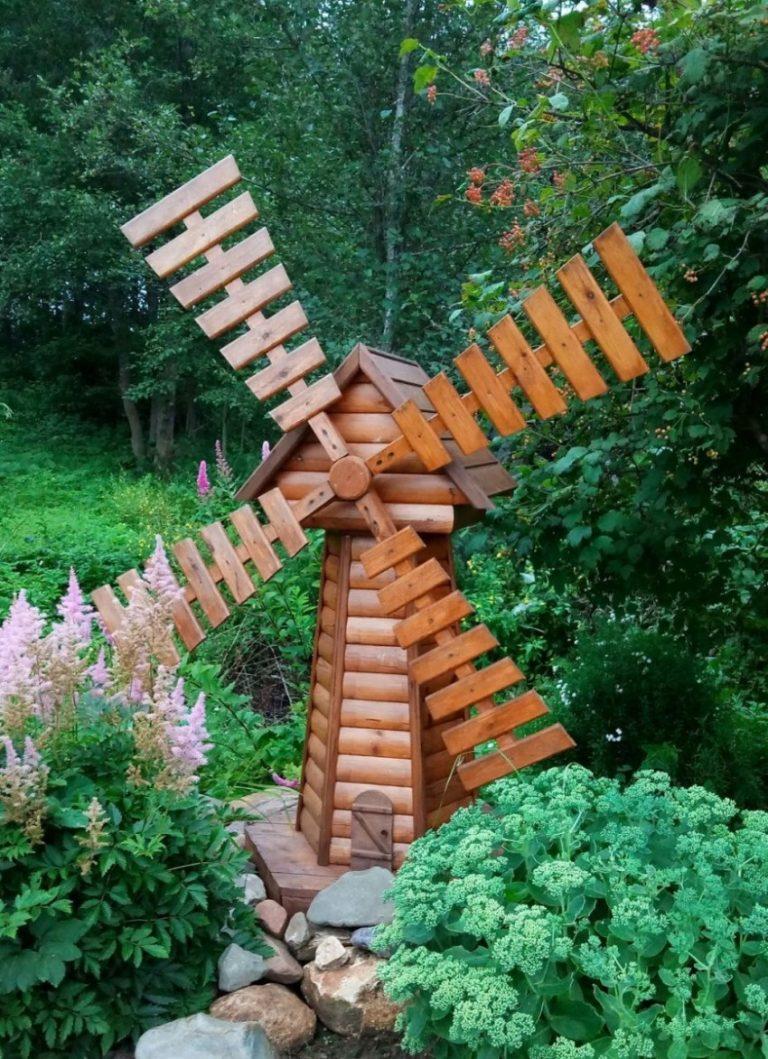
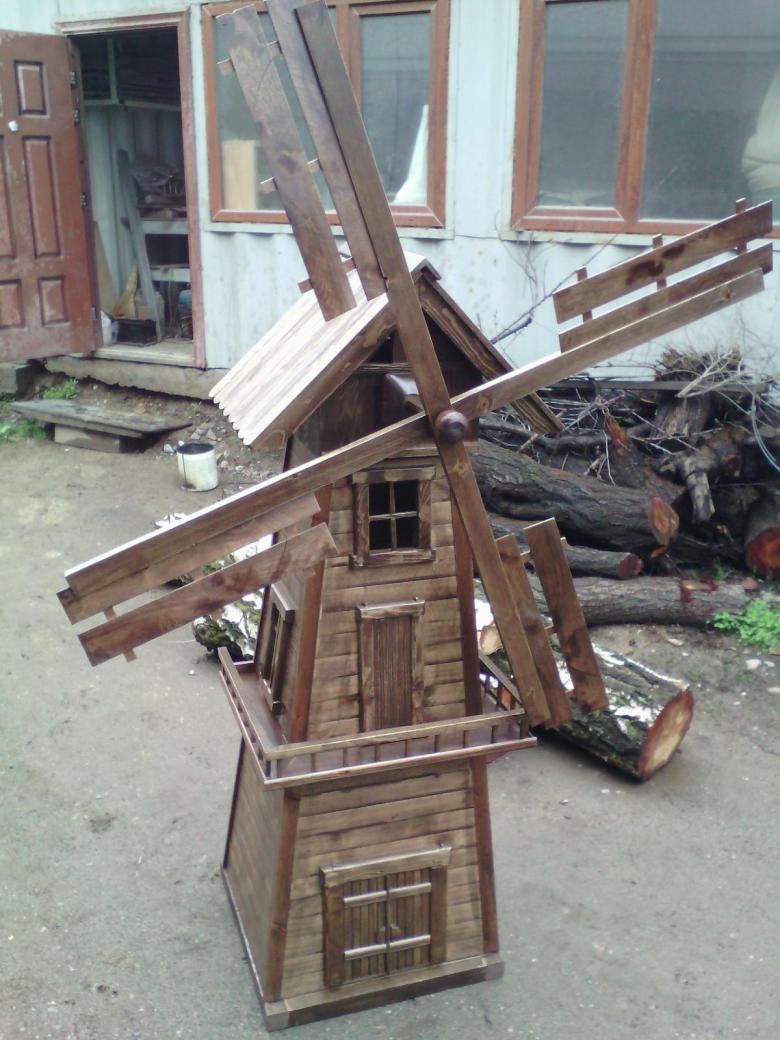
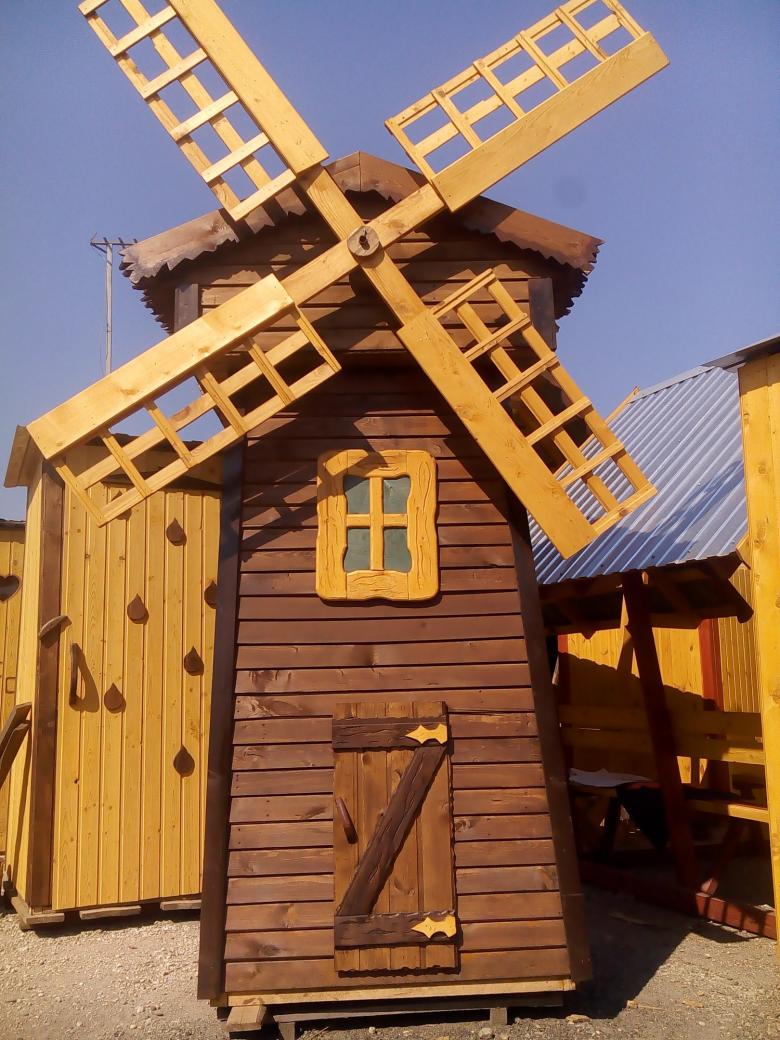
- Russian. This design is somewhat similar to the country. But there is a touch of Russian village and folk tales. The mill is decorated in the form of a typical hut made of rough rounded bars, the windows of which are decorated with carved shutters. Such elements as weathervane, ceramics, wicker fence and planted daisies also make this construction atmospheric.
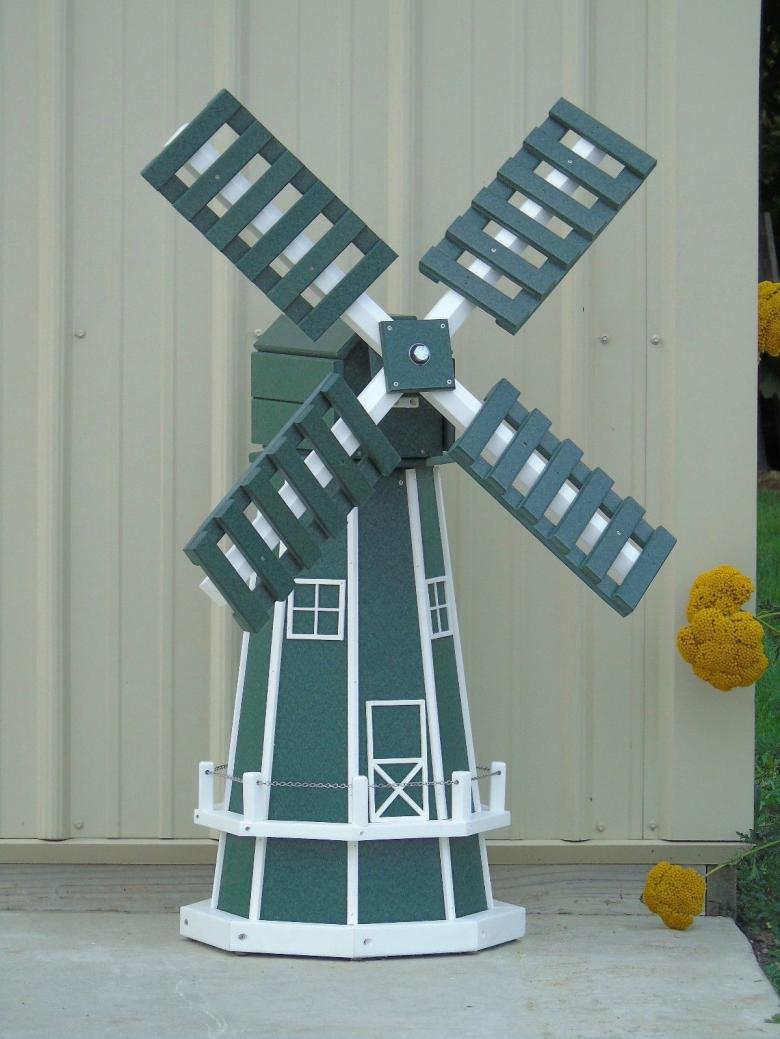
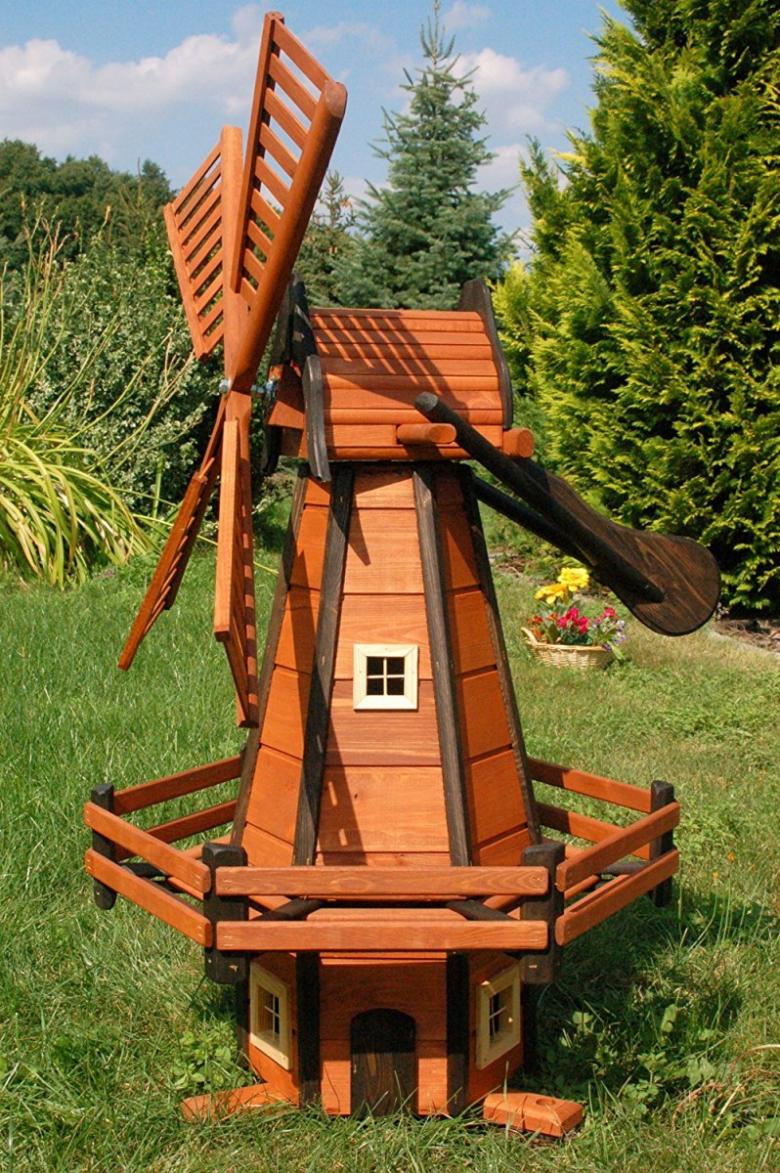
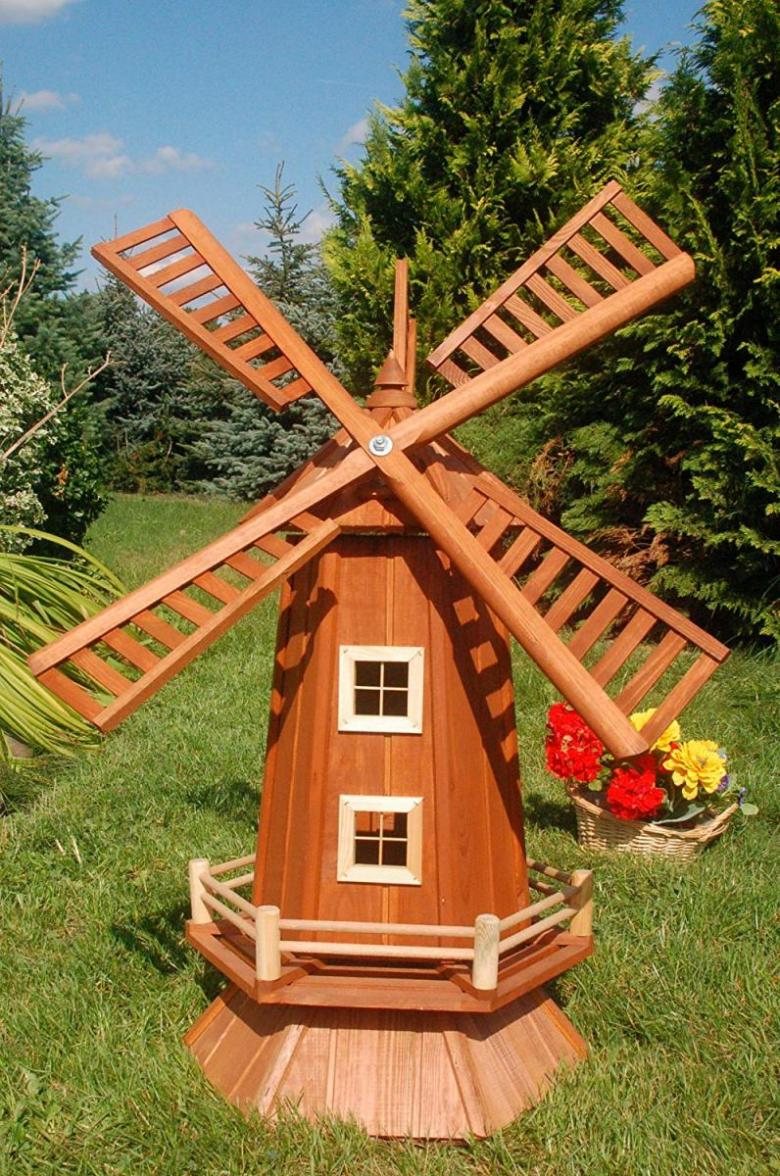
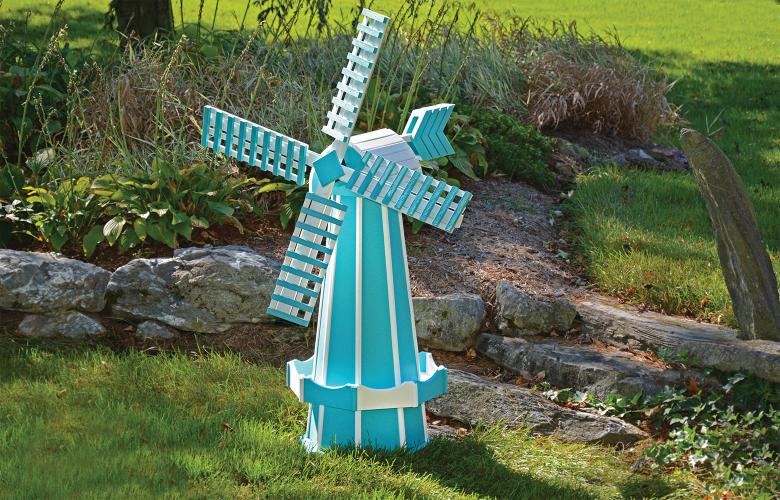
- Dutch. This style welcomes combinations of bright hues and rustic color. The structure is built with the use of half-timbering, ie, its frame is located outside. The finishing touches are a lawn and a bed of tulips.
Preparatory work
The first thing to do is to decide on the structural solution for the future construction. The Internet is full of photos of mills, so it will be easy to choose a suitable option for the garden. Next, you need to prepare materials and tools. For the construction of the mill, you may need:
- screwdriver;
- saw and hammer;
- a grinder;
- a hole punch or drill;
- grinder;
- corner;
- markers;
- ruler;
- construction level;
- gloves;
- jigsaw.
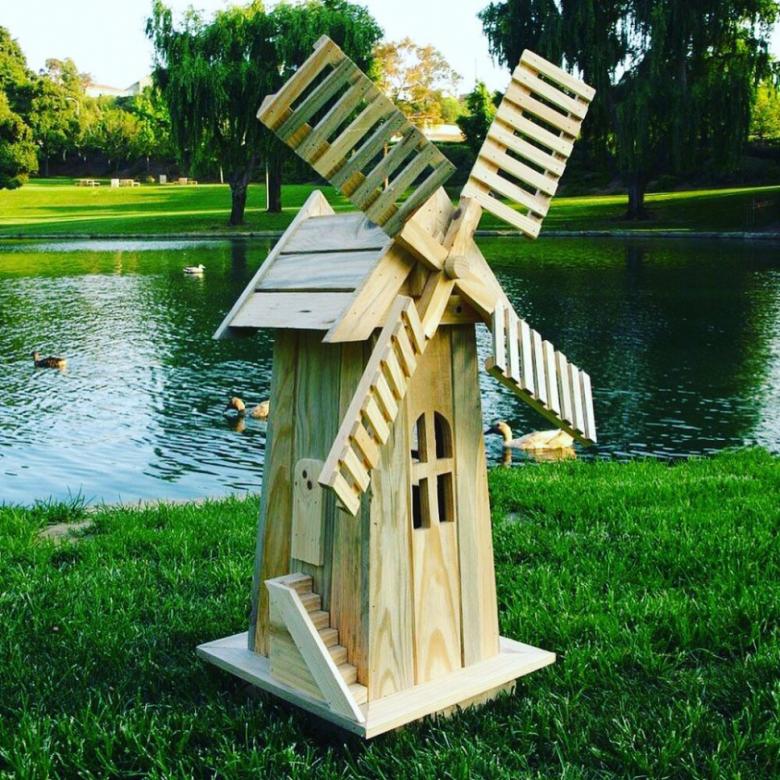
To build a standard model you should prepare:
- timber 20*20 mm;
- slats to create the blades;
- paint / varnish;
- Sheets of moisture-resistant plywood for framing.
Features of production
First you need to develop drawings of a decorative mill for the garden with their own hands. In them it is necessary to describe in detail all the details and dimensions. The more accurate the layout will be, the fewer problems will be at the stage of construction.
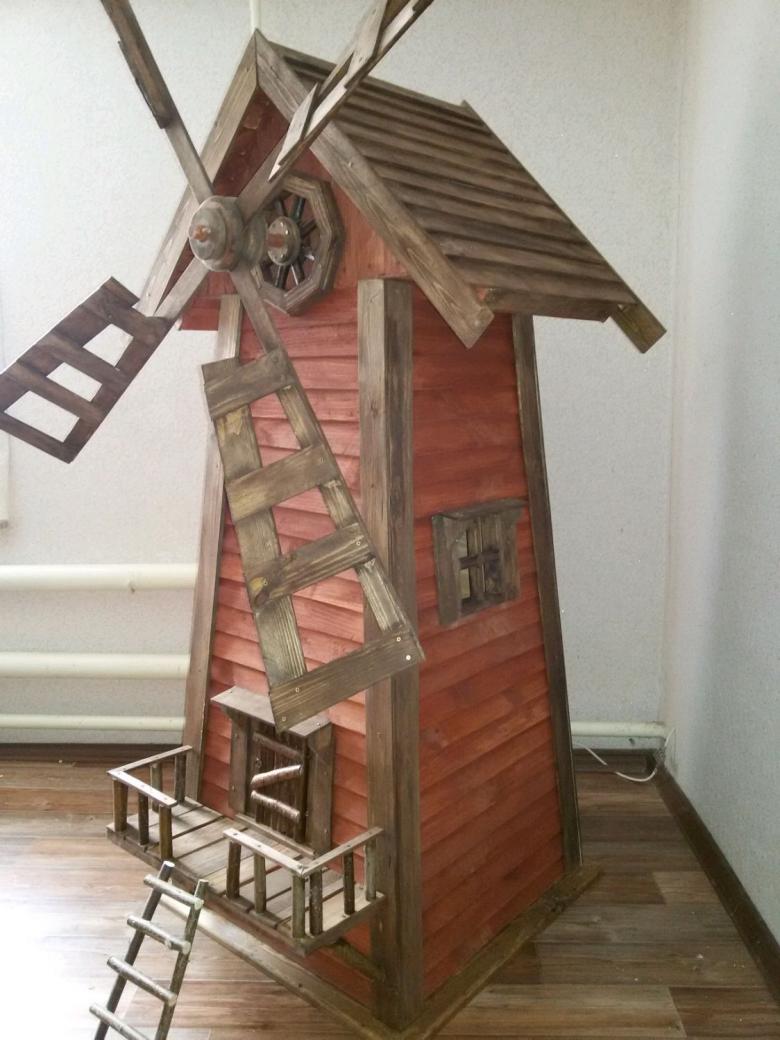
Next, it is necessary to choose a place for the mill. It should be flat, free of trees and other buildings, the site. It is desirable that it is located on an elevated site. Good ventilation is mandatory. The selected area should be cleared of debris and weeds.
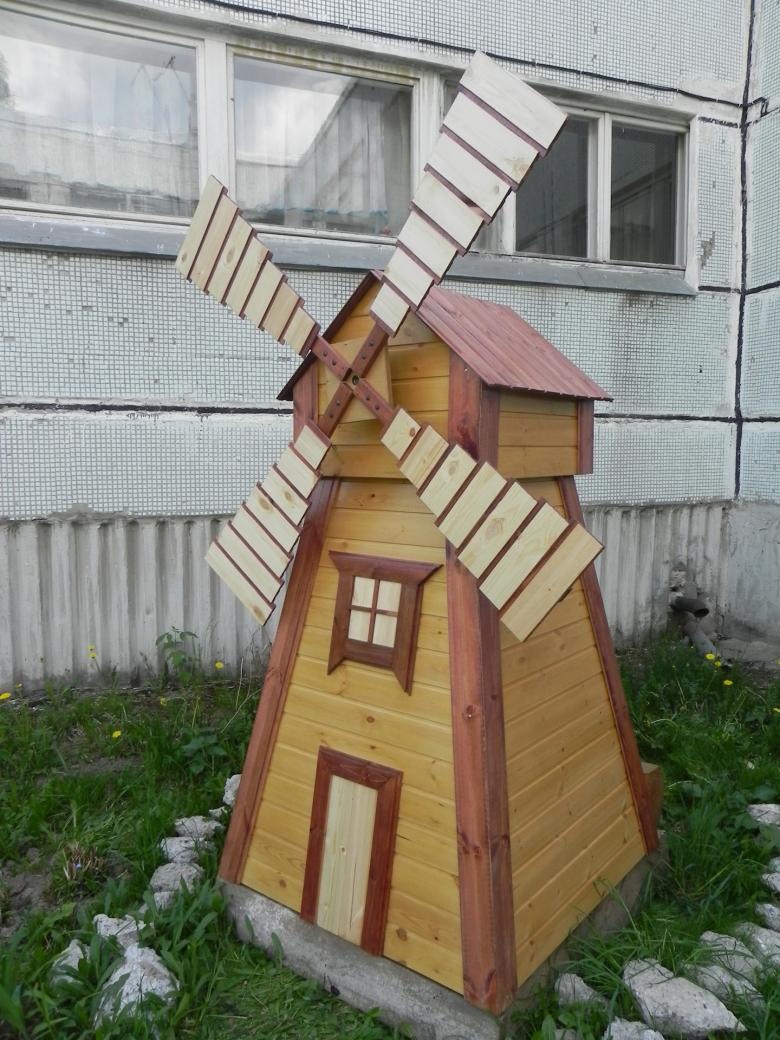
Then it is necessary to choose the type of wood. Ideally, it is better to use pine. Each wooden element of the building should be carefully sanded and impregnated with antiseptic preparations against fungus, pests and decay.
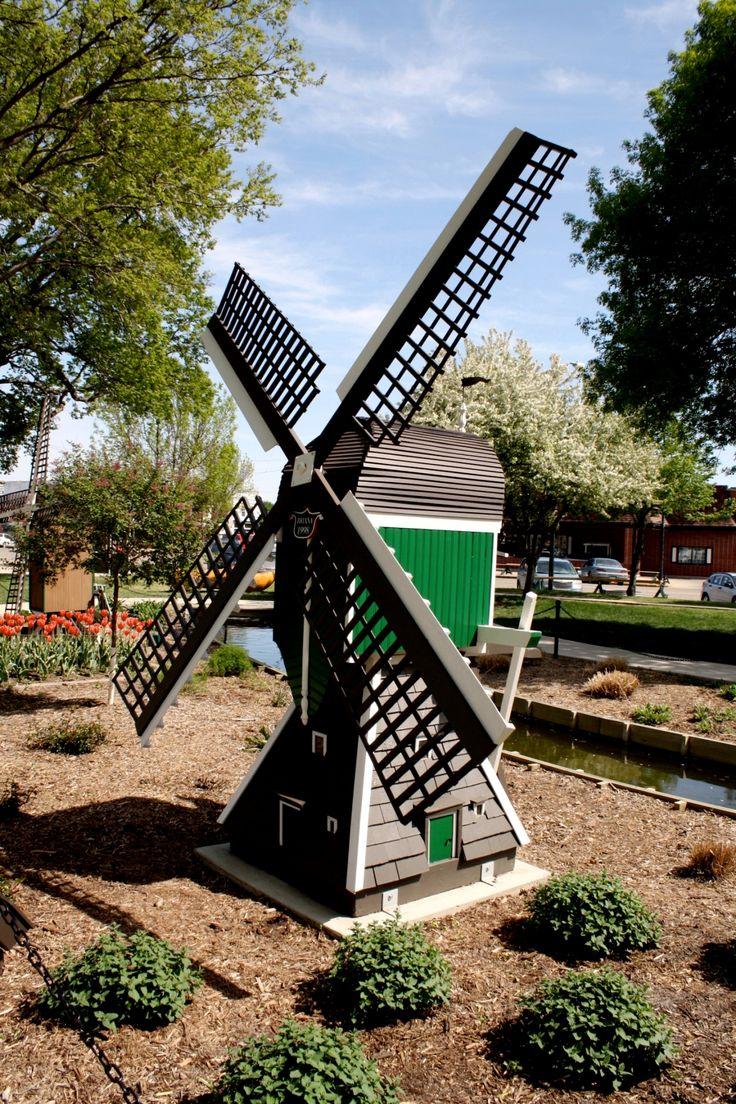
For sanding it is recommended to use glass or silicon sanding pads - they do not leave dark dust. The impregnation should be applied in several layers. Each layer should be applied only after the previous one has dried completely. Since some compositions have a high toxicity, it is required to observe safety rules when working.
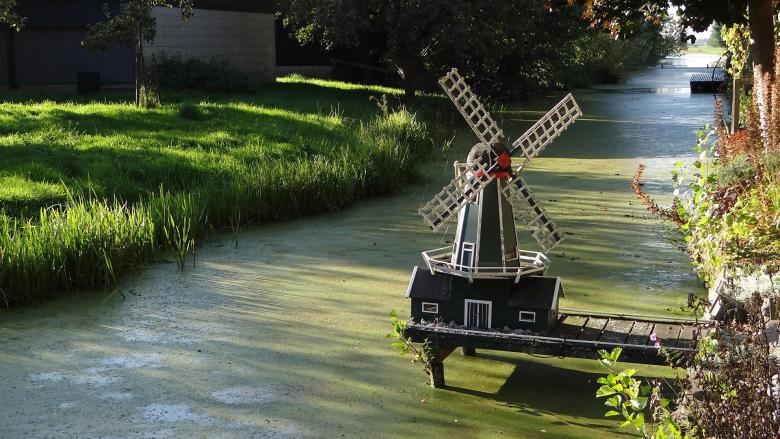
After erecting the windmill, it can be painted in any color of your choice or varnished. At the same time, it is worth bearing in mind that a decorative coating will necessarily accentuate the existing defects. Therefore, during the construction work, it is important to be careful.
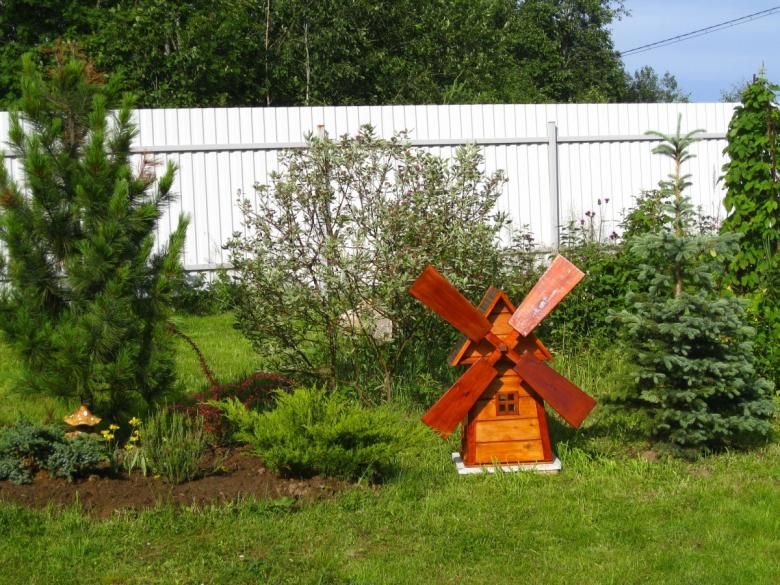
Master class
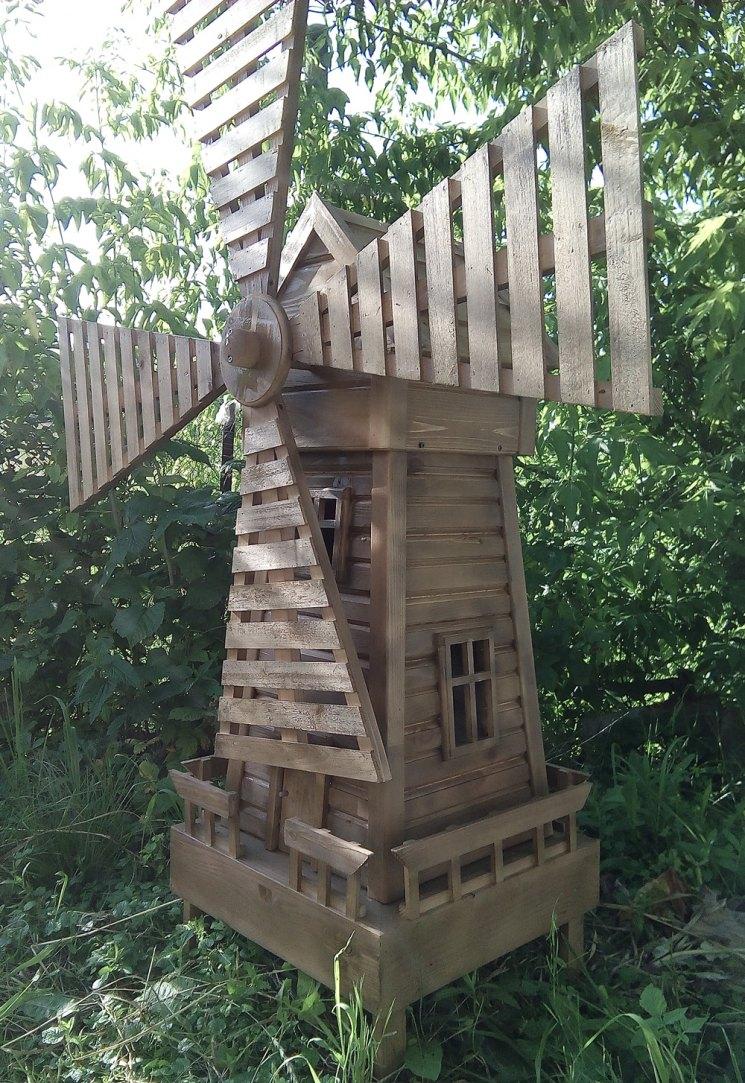
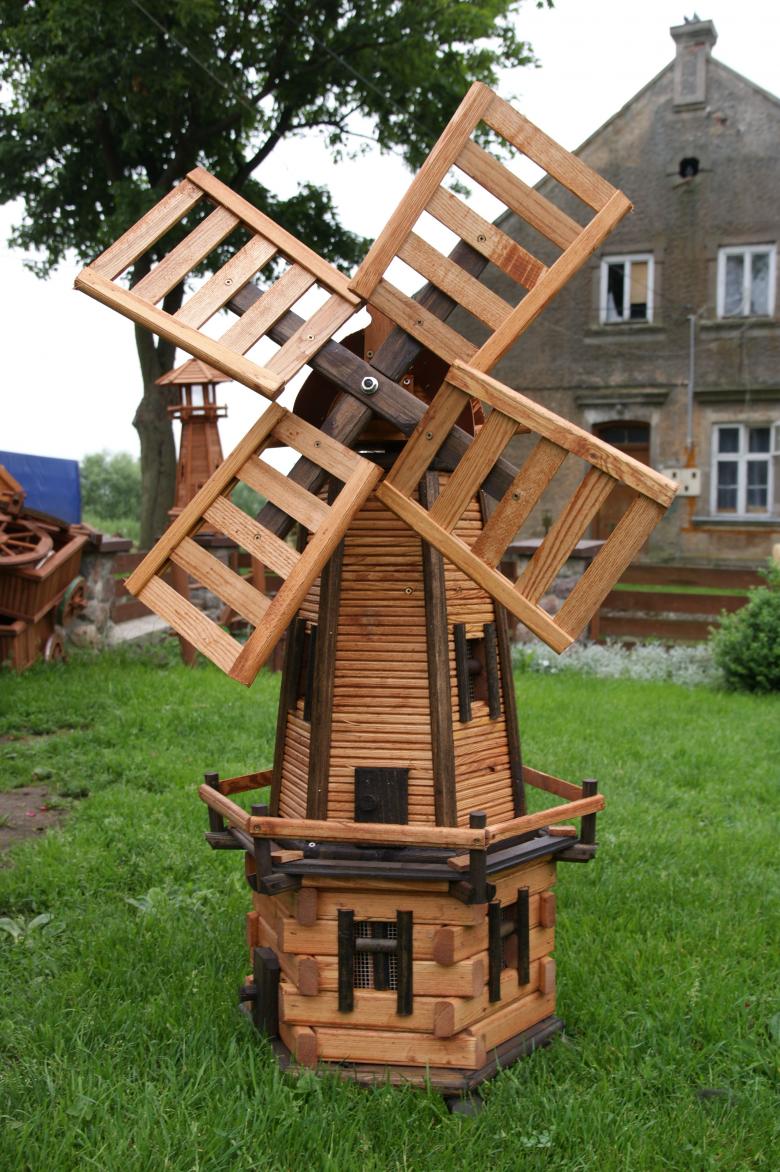
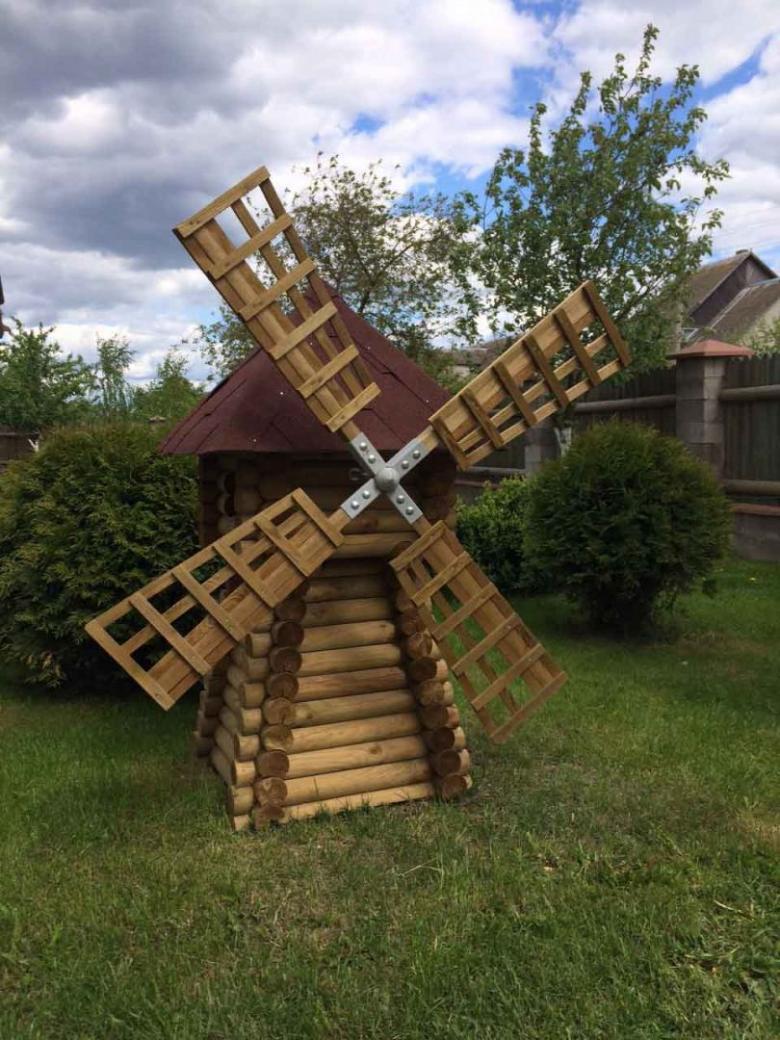
There are many types of decorative mills to decorate the garden. The article will consider the process of creating a log mill. This model is distinguished by an acceptable cost and ease of production. Here is the order of action:
- Take a pair of handles from garden shovels and, having assembled them close together, fix them with screws. The prepared elements must be slightly higher than the planned construction, and the planned places for the cups are at an angle of 60° (for a hexagonal mill).
- Place the combined cuttings on the sloping wedge. Saw the bowls under the log cabin on both sides, using a saw or jigsaw. Do this as many times as necessary to get the right number of logs.
- Take 6 logs and saw each one in half. You should have 6 pieces with cups and 6 without cups. The first are needed for the top of the base, the second for the bottom.
- Combine the logs using studs or carpenter's glue. Assemble the hexagonal base from 2 boards and put the studs at the corners of the next row. String the halves of the logs made before to the studs, forming a log house.
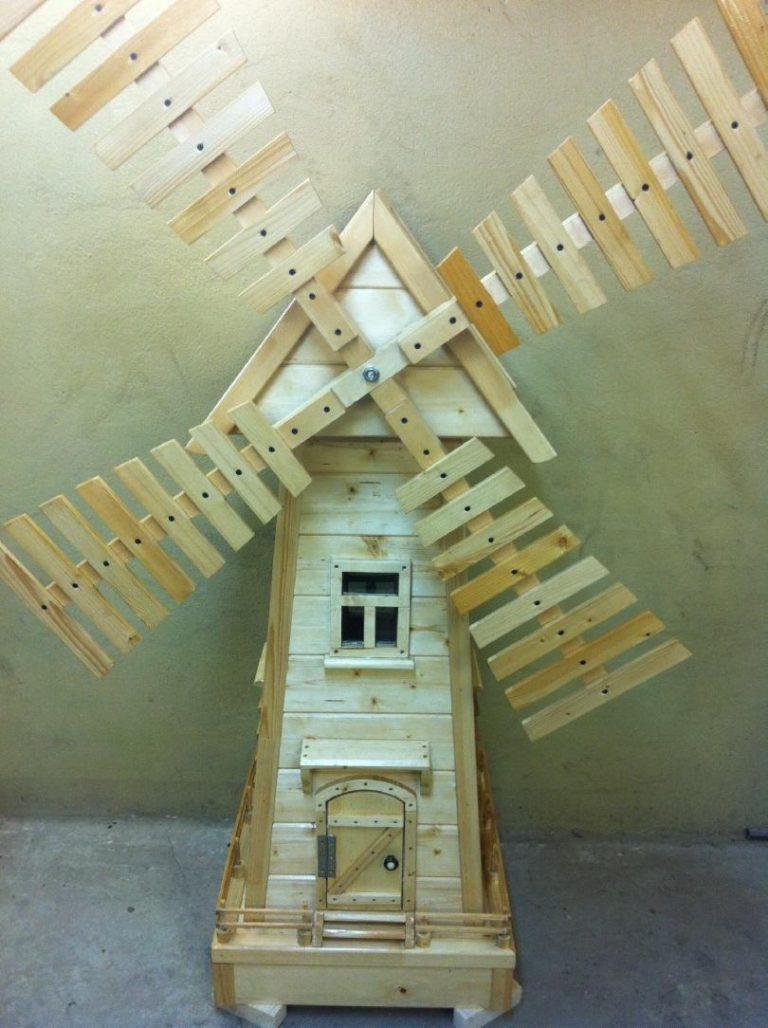
- If desired, cut through windows and a doorway.
- Sand the base and varnish it. In this way the building will be protected from pests and rot.
- On top of the stud build another hexagonal billet and attach steel corners to it.
- Add oblong narrow bars to the corners and finish with small slats. Varnish the walls of the resulting craft with acrylic paint.
- On the sides of the roof, make an indentation for the axle.
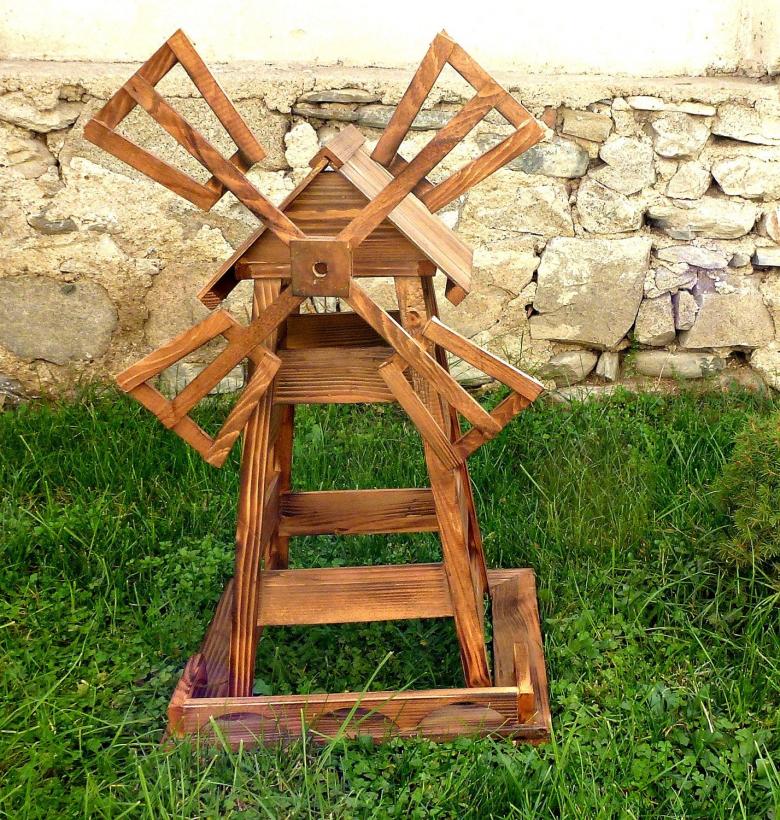
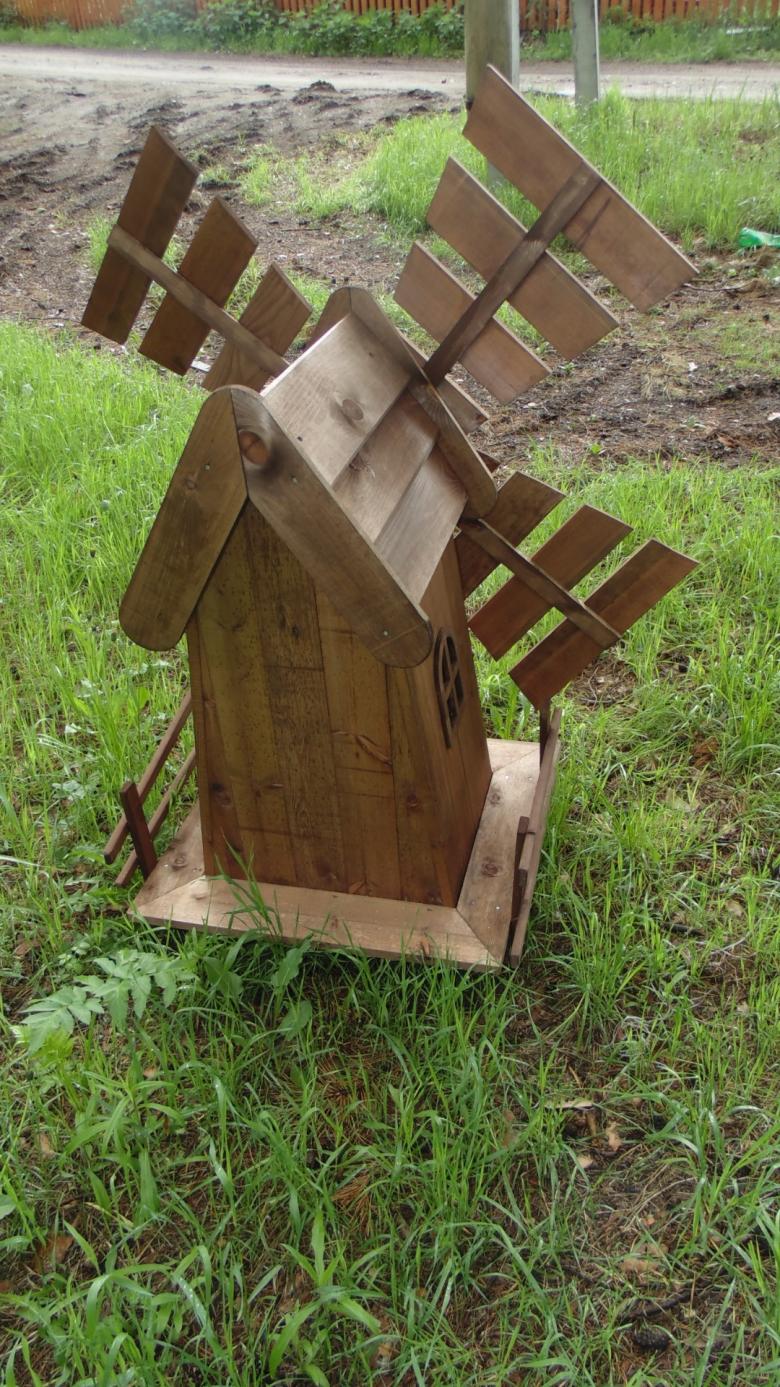
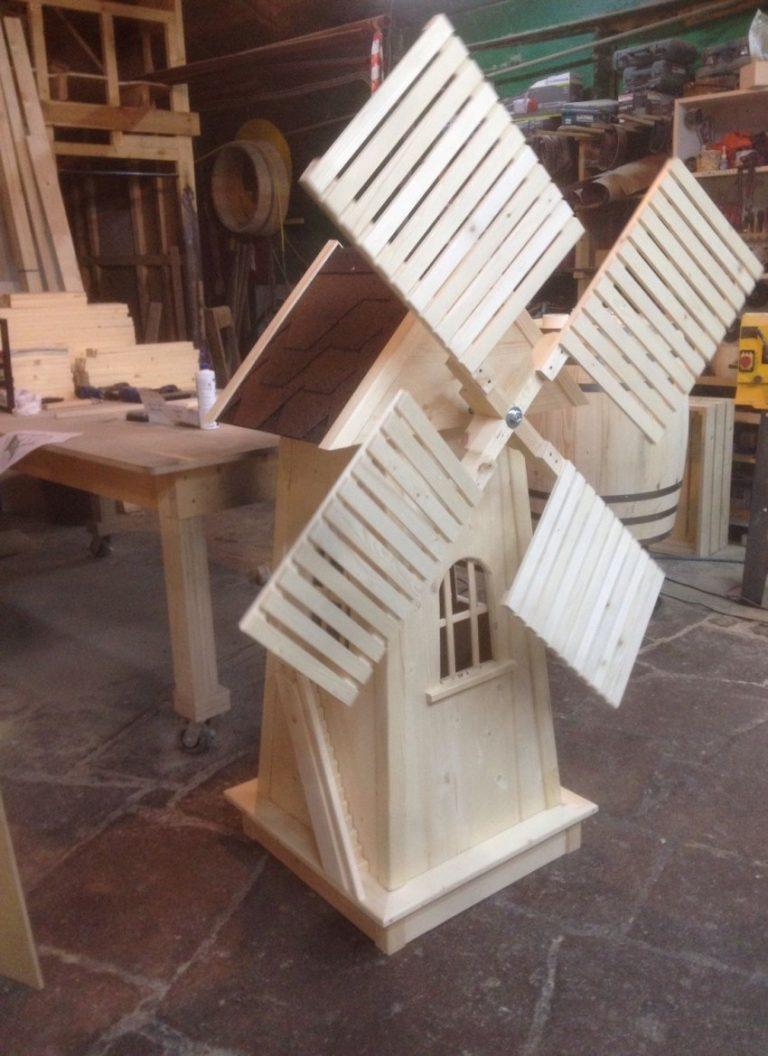
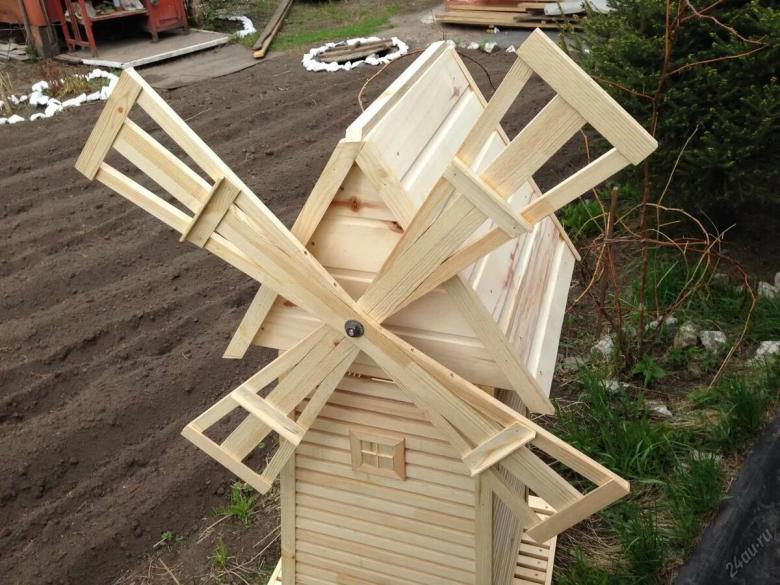
- Make a frame for the blades from 3 pieces of wood, making a rounded stud on one so that the blade can be seated on the axle later. Nail the parts of the frame to the slats and saw them to the desired shape.
- Finish the wings of the mill with sandpaper and set them on the axle. Install the finished structure in the previously selected area of the yard.
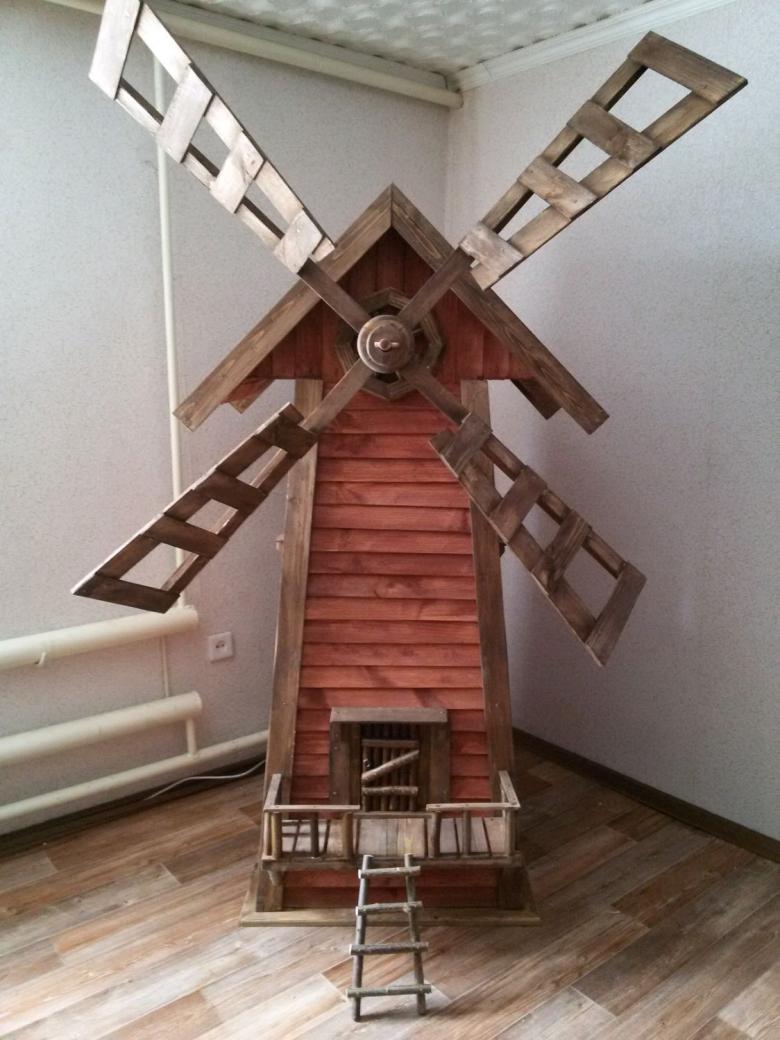
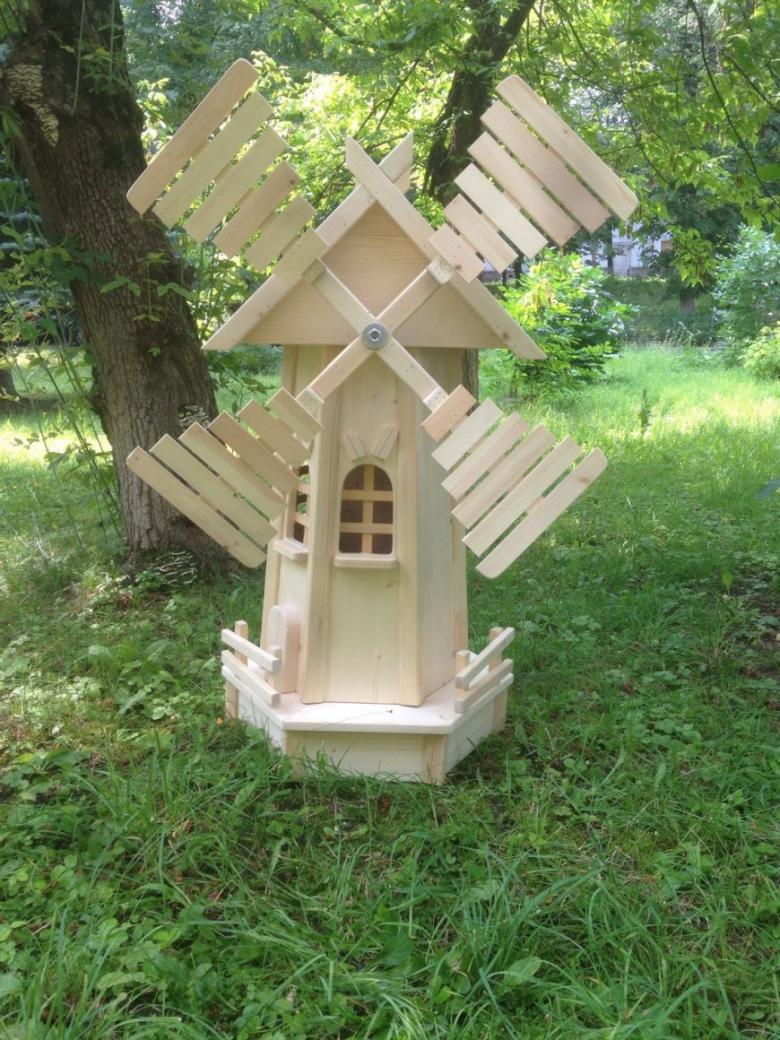
If you are looking for something to decorate your homestead plot, a handmade small windmill is what you need. Decorated with carvings, lights and a wicker fence, it will create a surprisingly cozy atmosphere in your cottage. And you do not spend a lot of money, time and effort to build it. All you need from you - a couple of free hours and some skills in working with wood.

