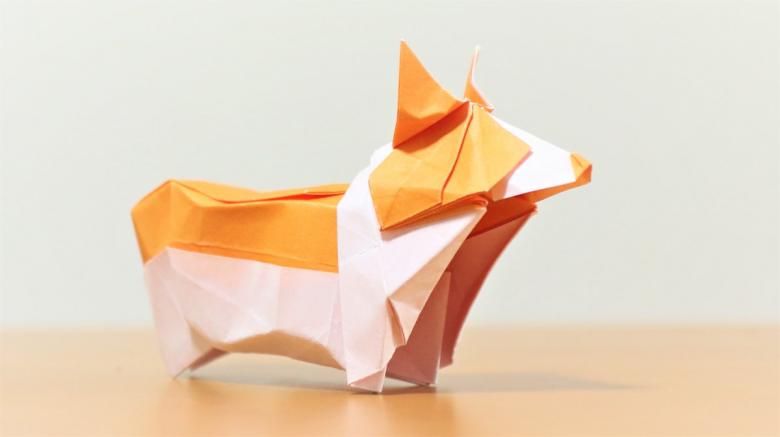
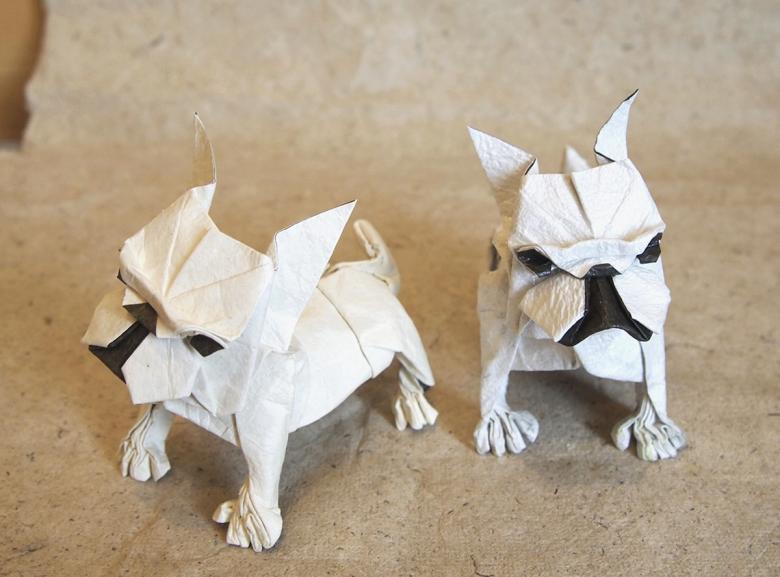
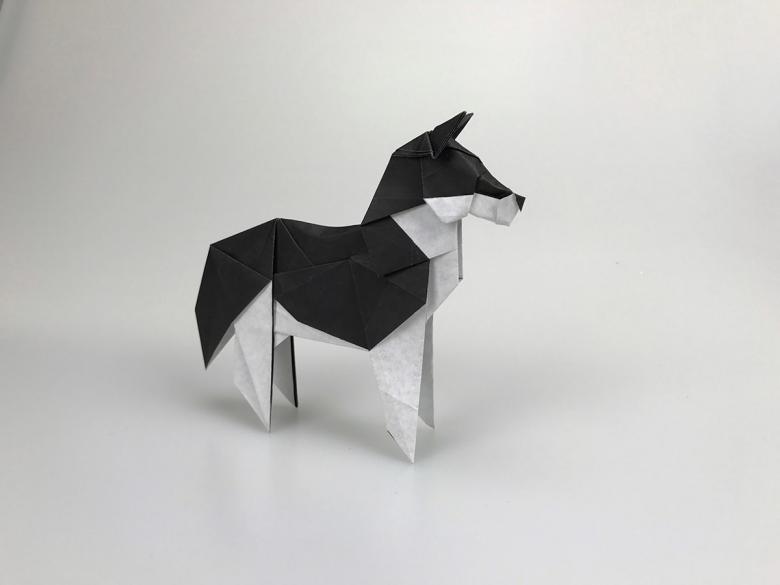
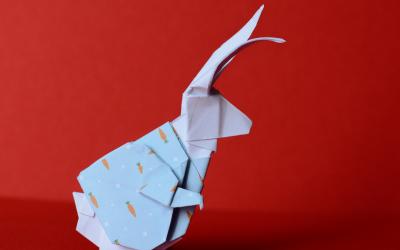
Origami Dog - basic steps and diagrams of how to make a modular paper dog
No one can answer the question: "Who and where was invented such a fascinating art as origami? Since ancient times, the Japanese have contributed by passing on the ability to fold paper into beautiful figures.
Origami is a very ancient art, but it is still very popular in today's world. Create a variety of figures using origami technique can almost everyone. Even beginners can do it.
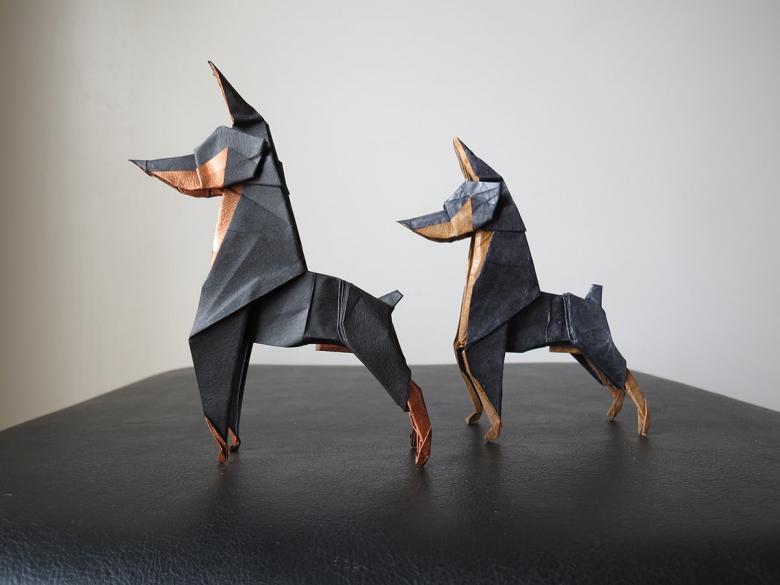
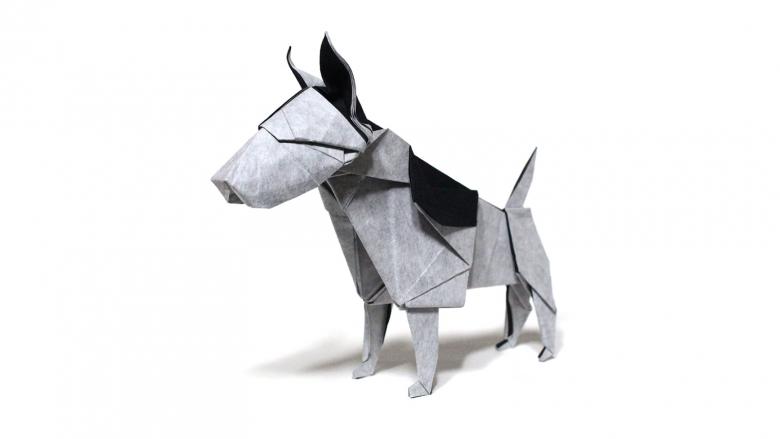
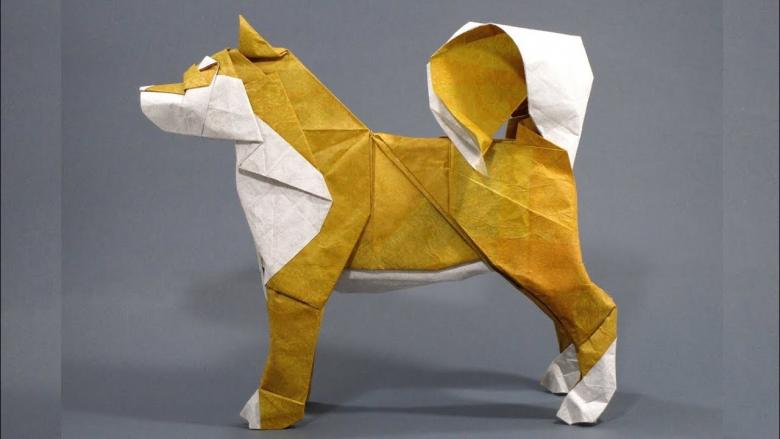
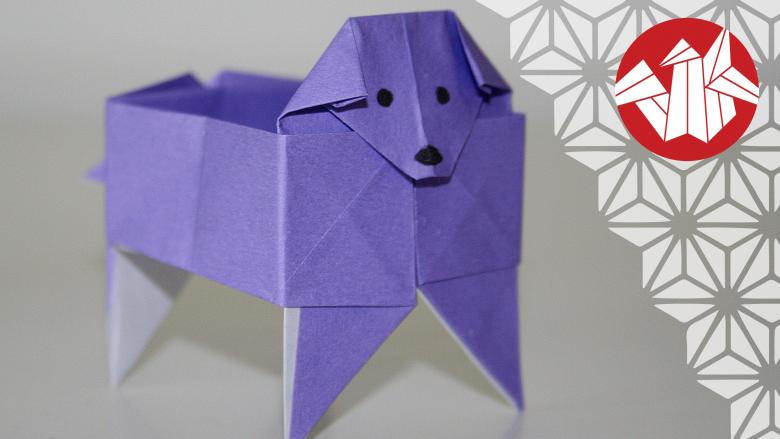
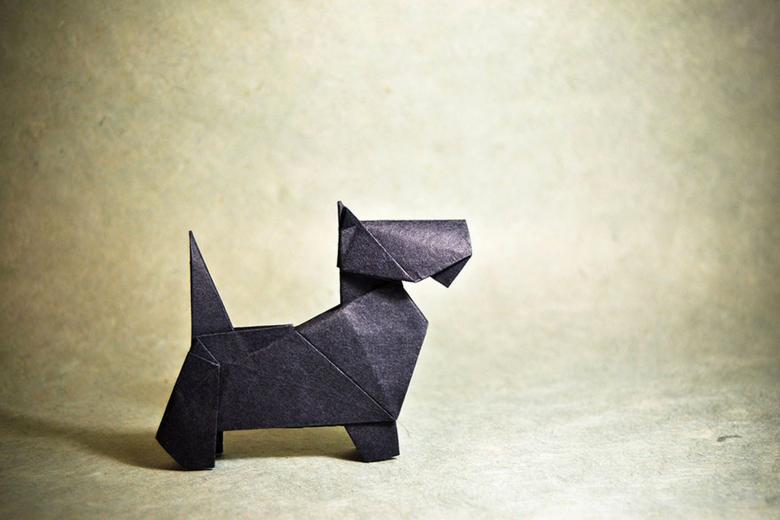
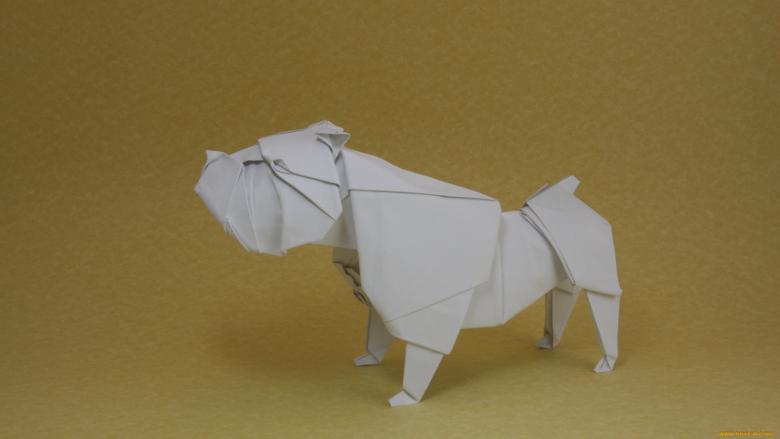
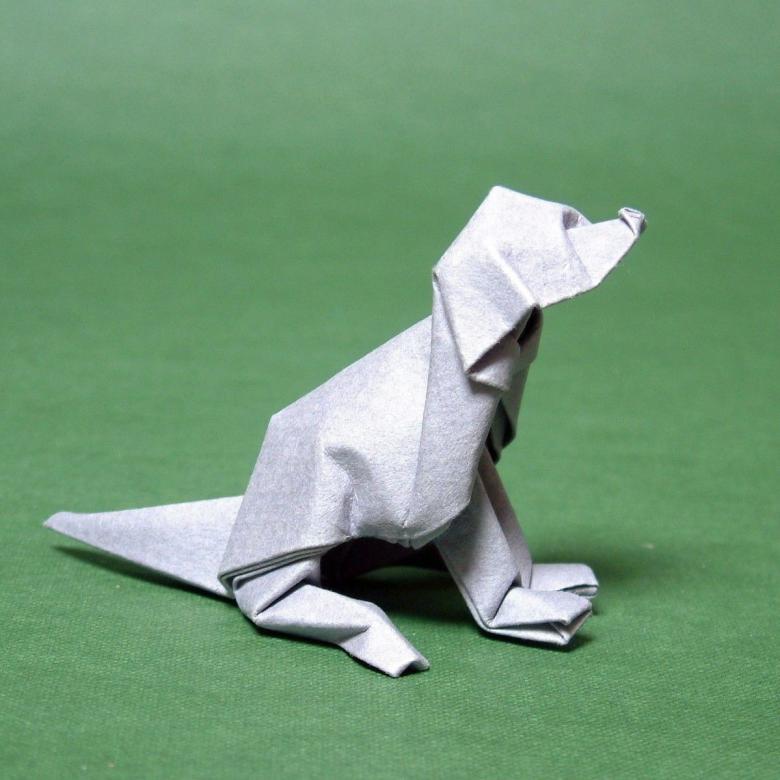
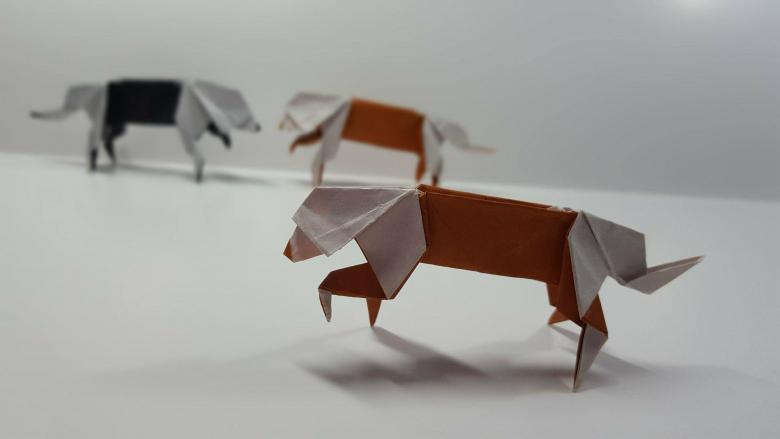
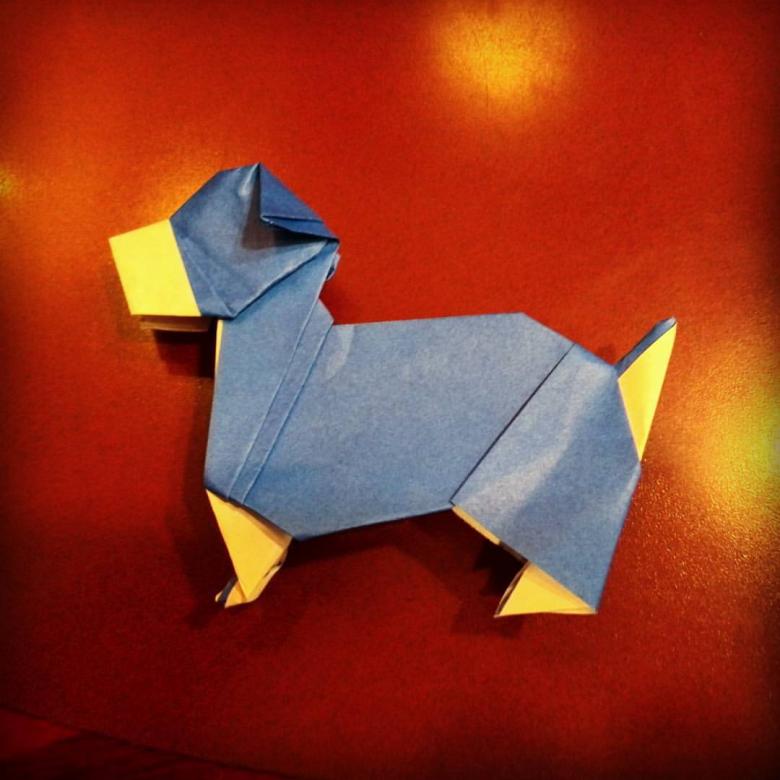
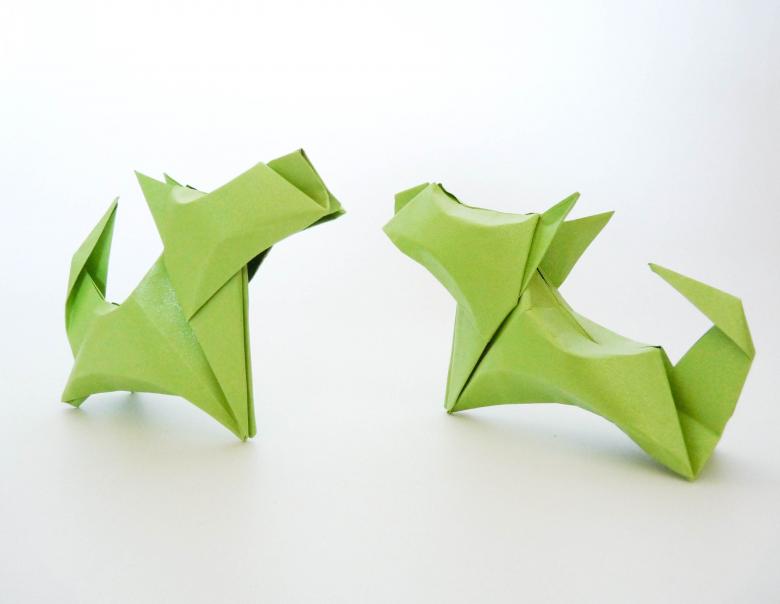
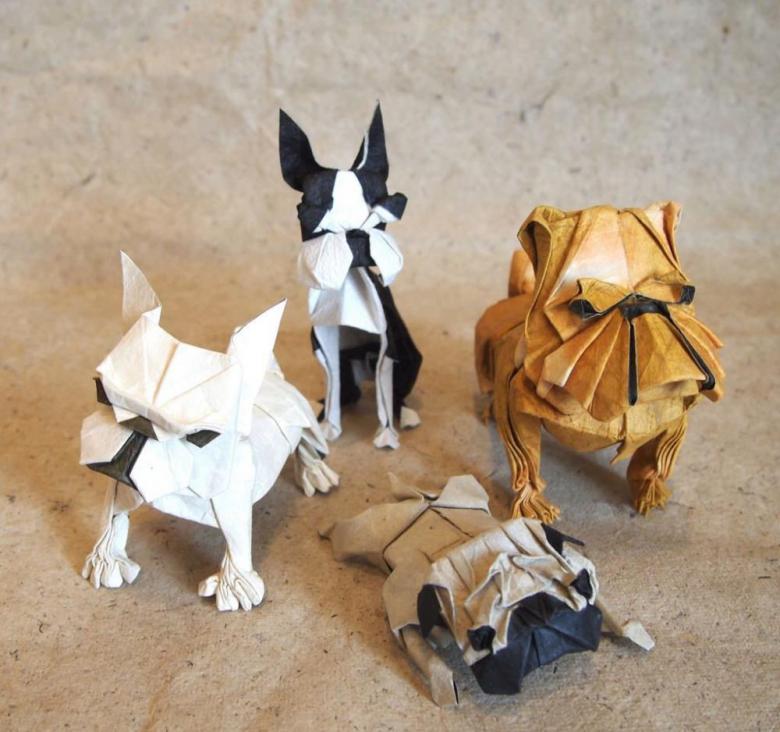
Various types of arts and crafts, including animal figures, can be folded out of paper in the origami technique. Simple paper can turn into cranes, kittens, dogs and other animals. In this article we will look at an example of how to make origami dogs from paper in different ways.
Folding origami with children has many advantages. It develops memory and intelligence, improves fine motor skills, as well as a pleasant pastime with a child, distracting from the TV or phone.
Materials and tools for origami
Basic materials
Paper. The best option would be to use office paper. It is quite thick and not very smooth, so it does not slip and perfectly retains its shape. If the product is small, you will have enough paper for notes. If the stationery has an adhesive frame, you should fold it with the adhesive side inside.
Glue. Glue is used to glue and attach small pieces (eyes, nose, ears, ornaments). But, if you're making a piece that won't come apart, it makes sense to take care of durability. It is acceptable to use thick PVA glue or pencil glue. If glue is not on hand, you can replace it with adhesive mass.
Paints. All crafts can be made from ordinary paper and painted with spray paint in any color.
Scissors. It is necessary to take sharp scissors. It is convenient to cut small parts with manicure scissors.
Cutter. Sometimes the cutter can be substituted for scissors. The cutting tool is very useful for cutting straight lines and, for example, for cutting sheets. The cutting blade should have a good sharpening. Only then can you get a clean, smooth cut. If the blade is blunt, there is a great risk of tearing or crumpling the paper.
Rulers. Triangles. Protractors. You will need a ruler to mark the paper when cutting out the base and folding shapes. It is also very useful to symmetrically place the figures on the canvas. In some origami schemes need to fold the paper at a certain angle. For this will be useful protractor.
Pencil. Preferably using a pencil with a sharp sharpening. It is necessary for marking the paper when cutting the basis for folding. The best option would be to use a mechanical pencil.
When using it, you will draw invisible lines and it does not need to be sharpened. The pencil can also be used to curl the petals of paper flowers.
Additional accessories
- Eyes for toys.
- Various ribbons, leftover threads, pieces of fabric, beads, pearls, sequins, etc.
- Sometimes you need to use thread with a needle to make individual items.
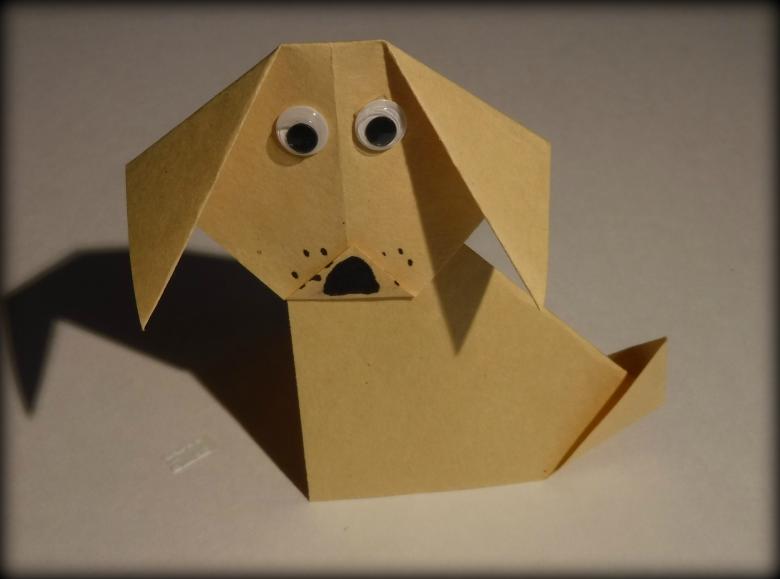
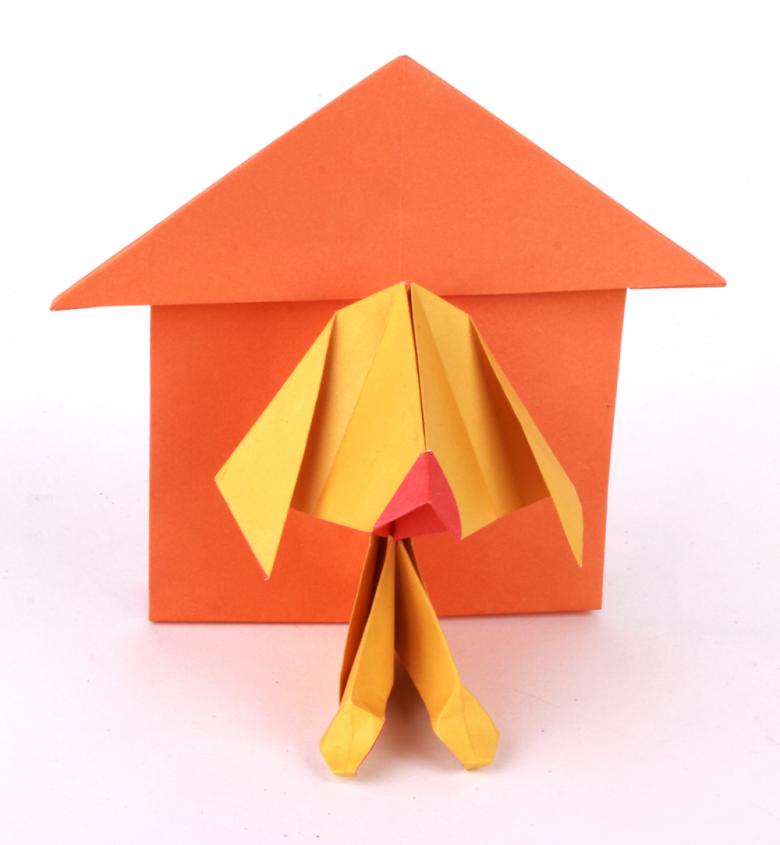
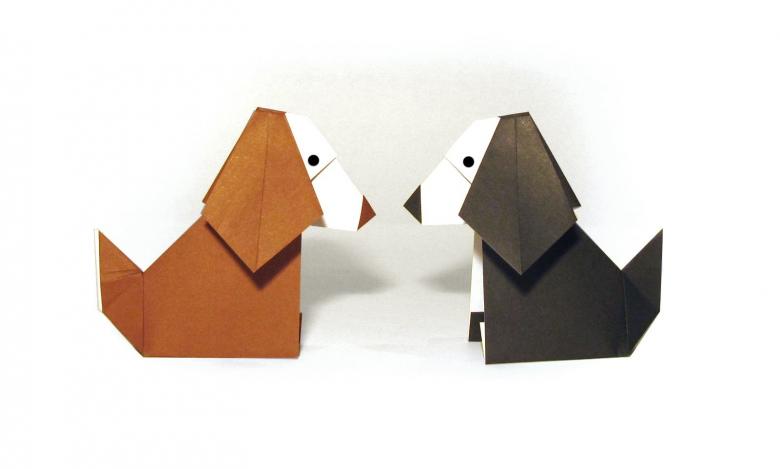
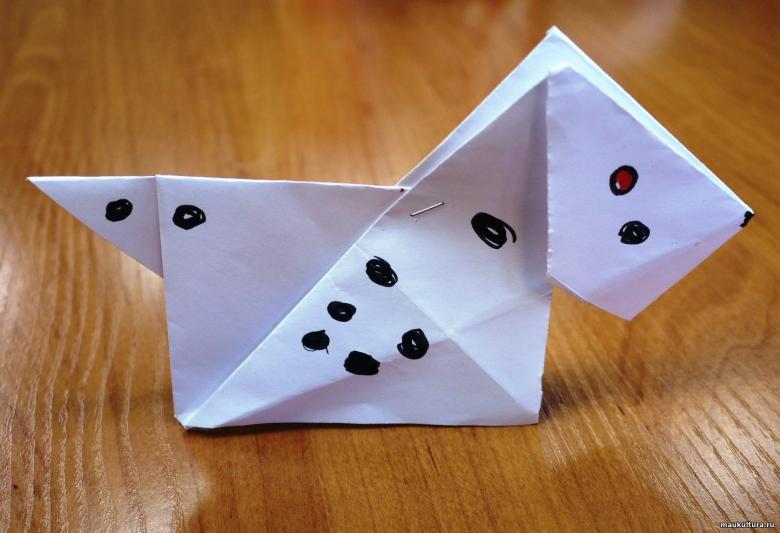
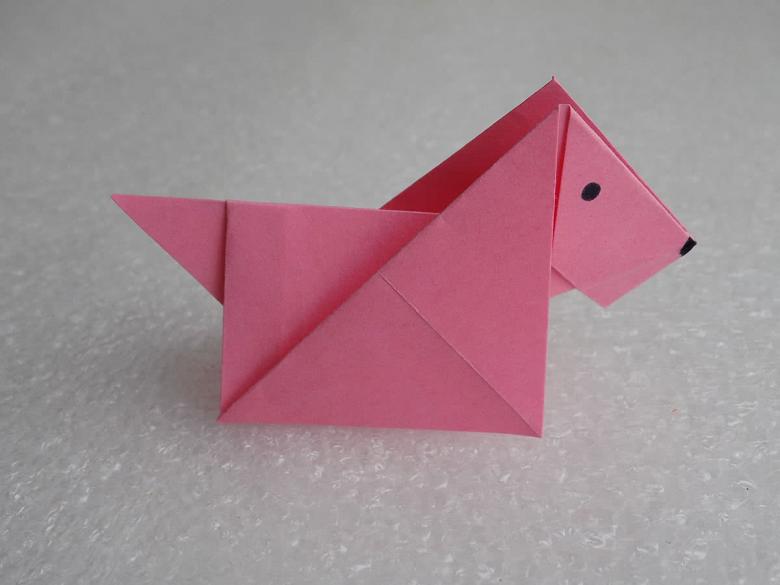
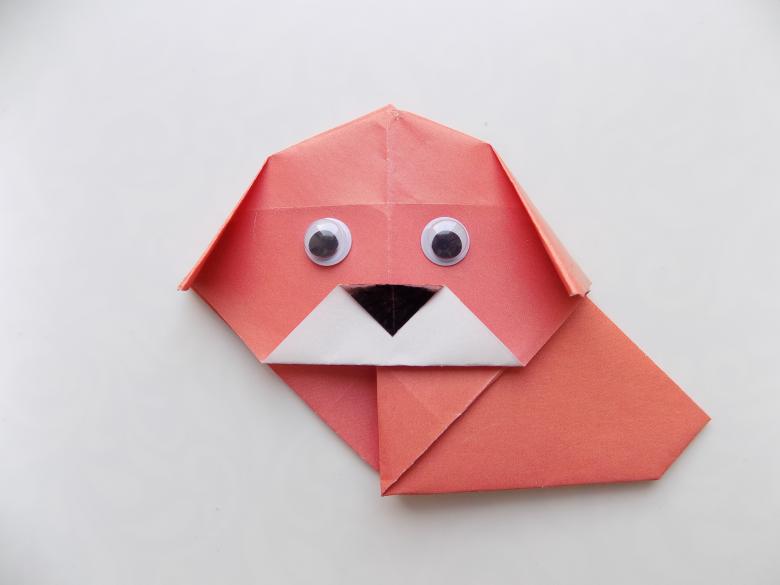
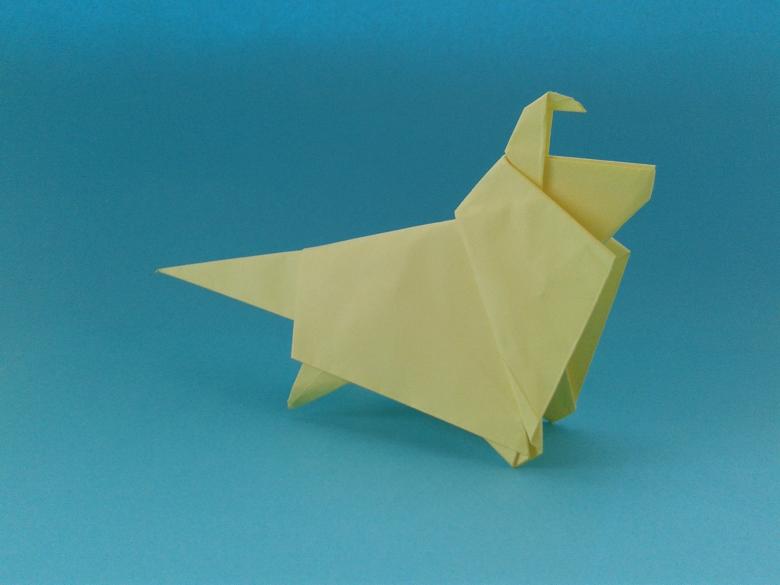
Simple origami "dog.
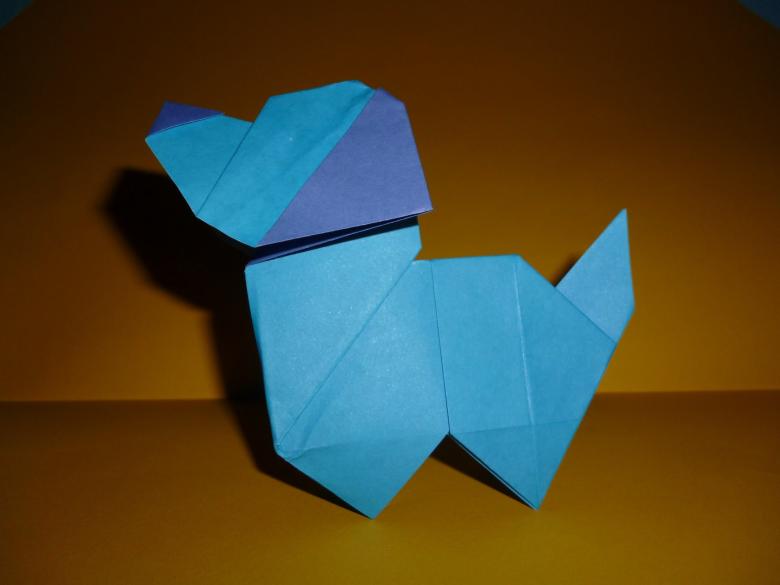
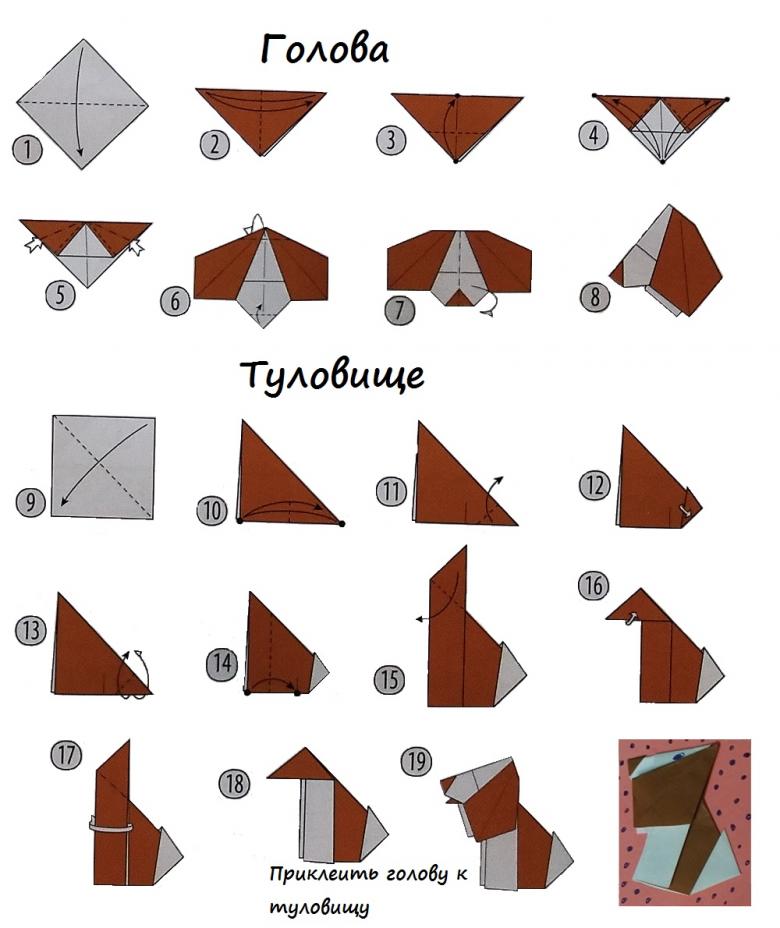
- Body. Fold the brown square in half diagonally. Bend an acute angle (tail).
- Head. We fold a square of white paper in half diagonally. Further from the middle of the triangle we fold the ears of the dog (left and right).
- Draw the dog's face.
- Insert the face of a dog in the resulting torso.
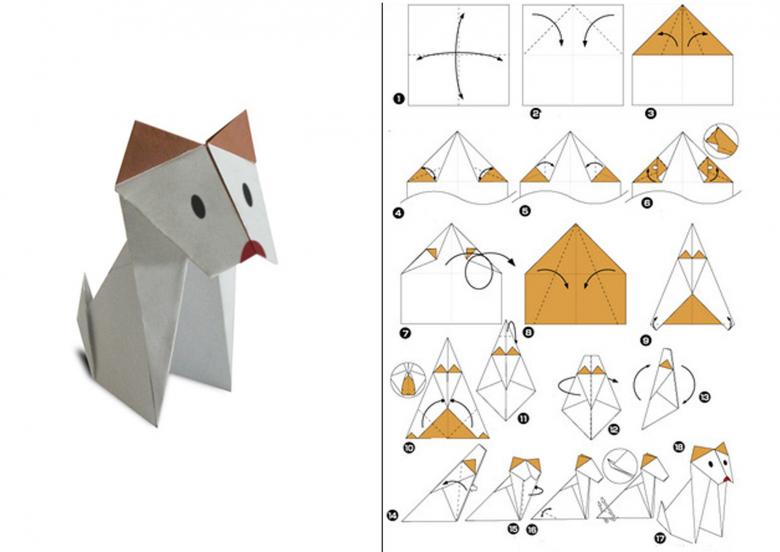
The dog is ready, we make more dogs and play. When making a dog in the technique of origami paper for children, color it brown.
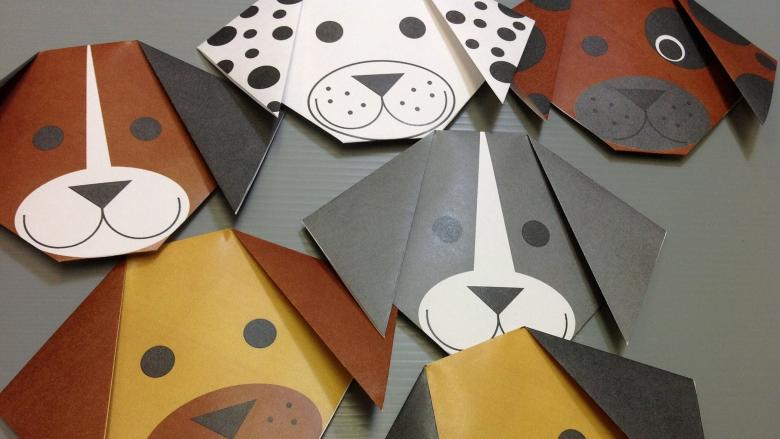
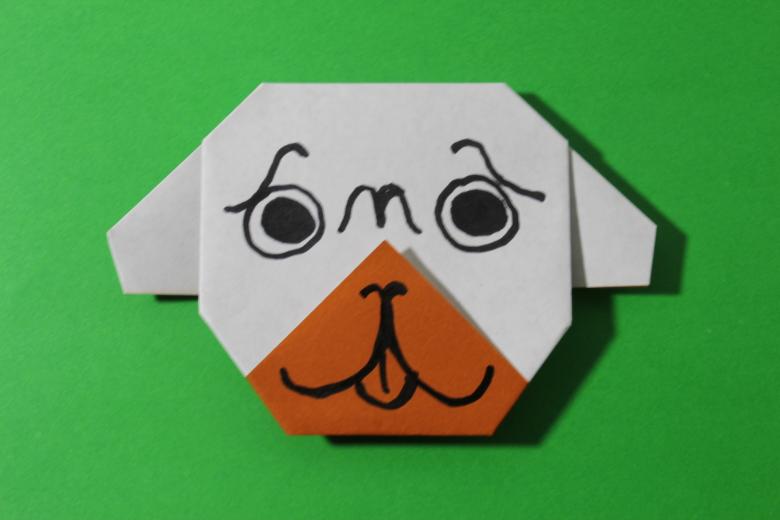
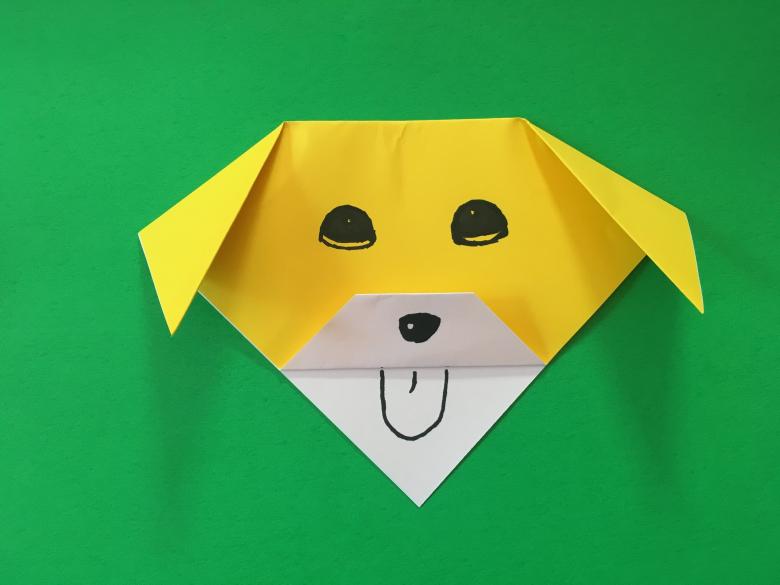
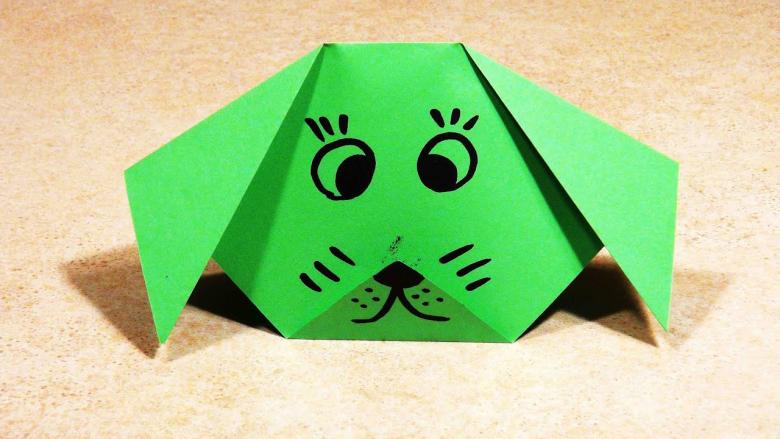
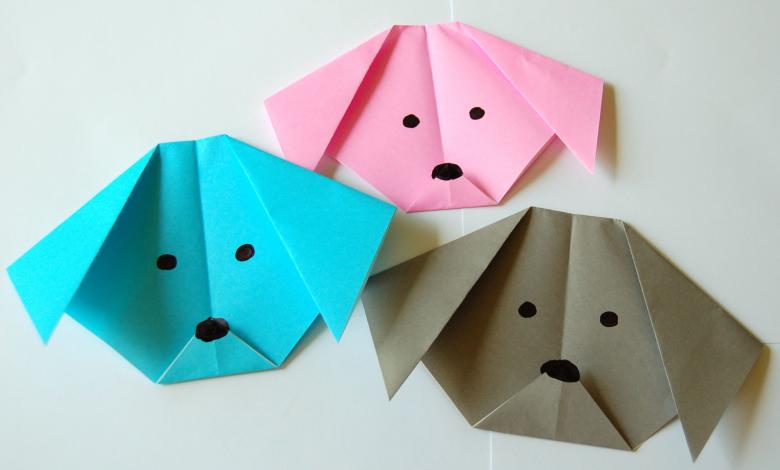
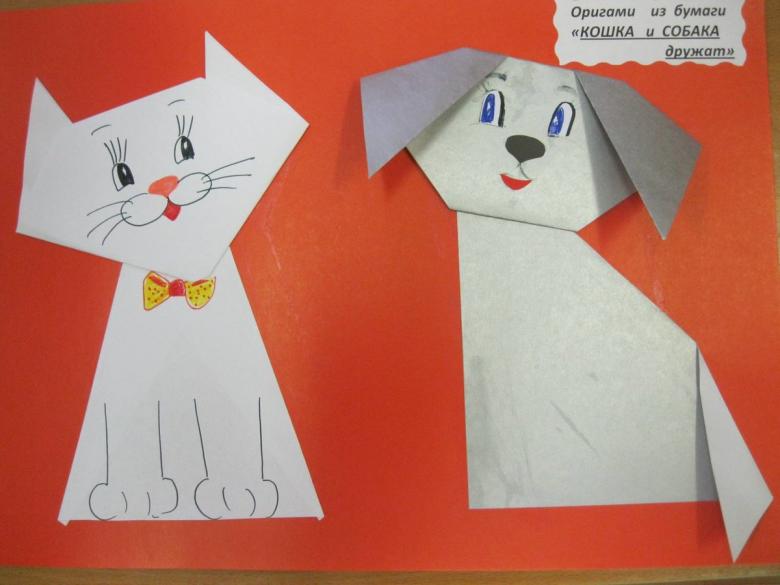
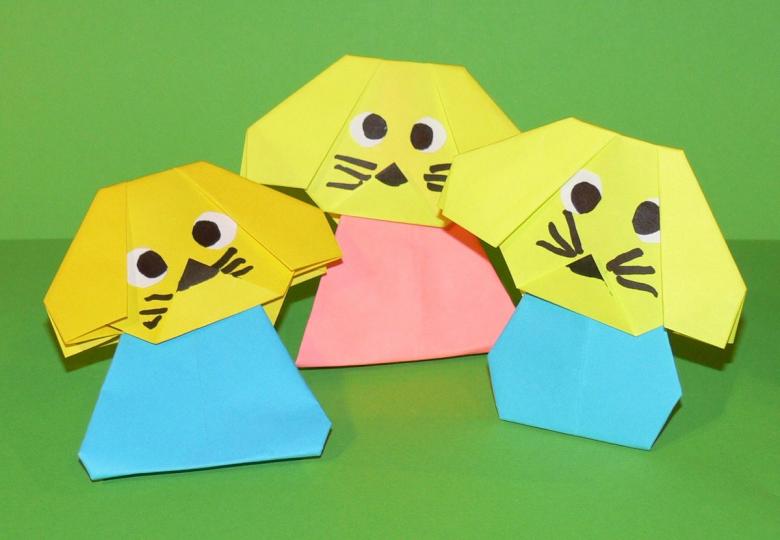
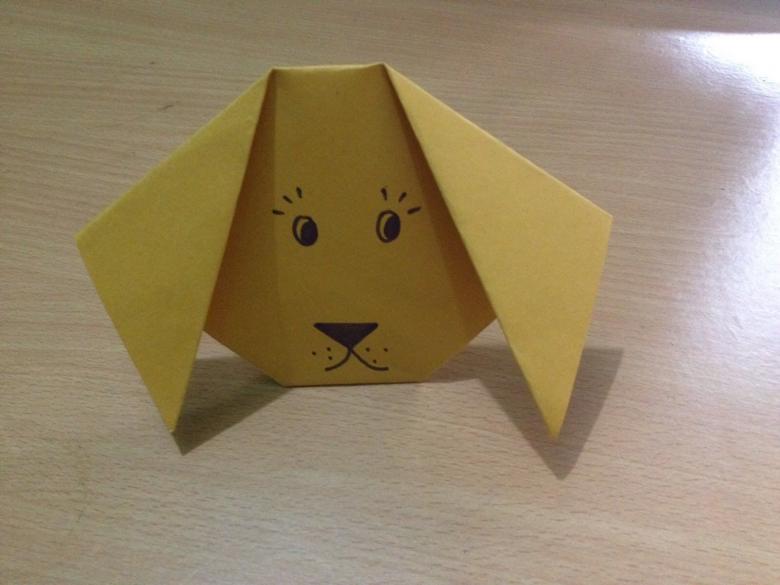
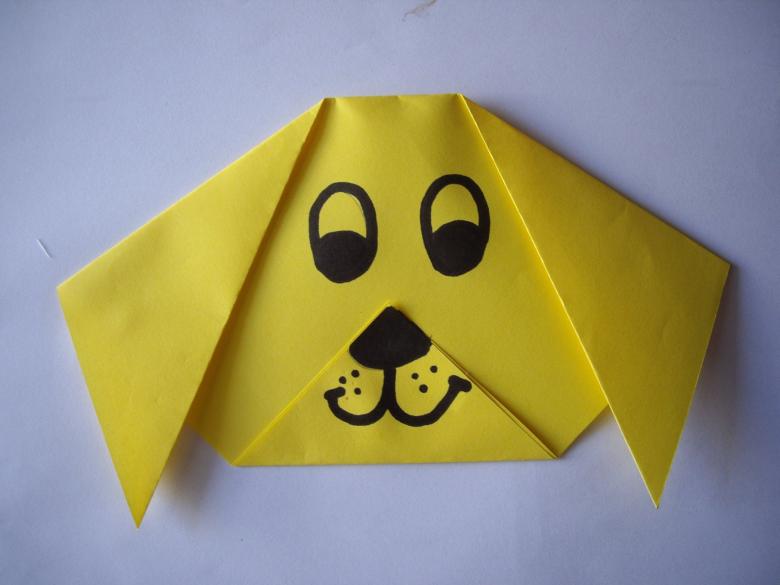
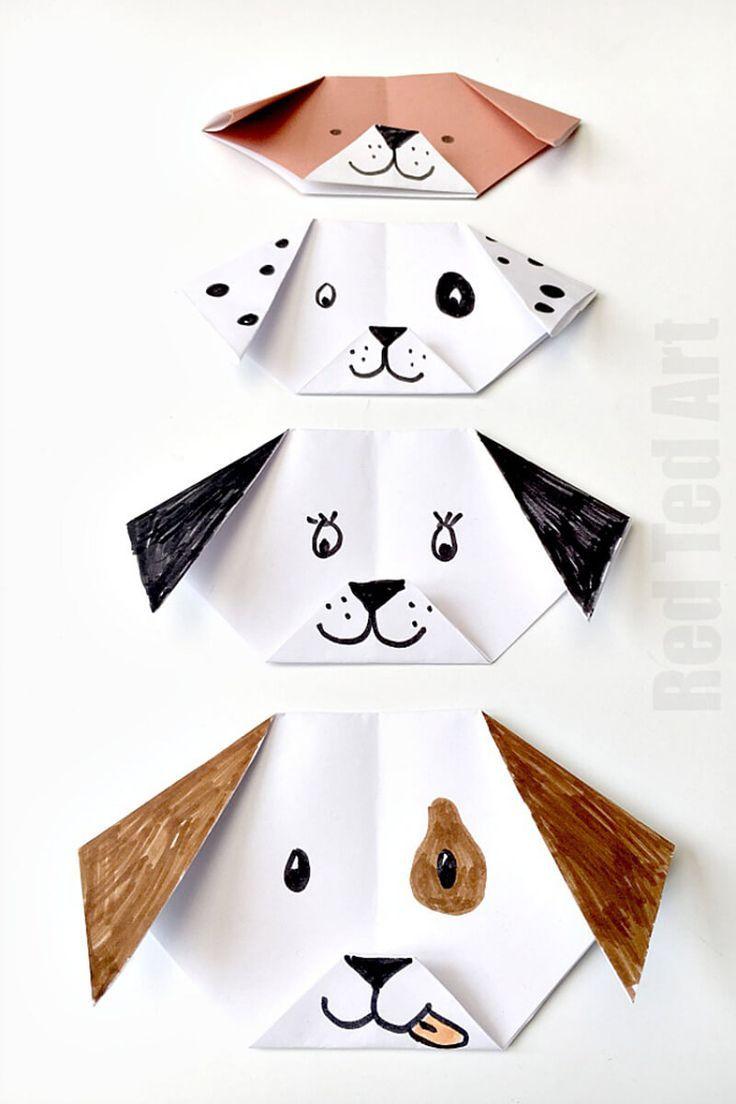
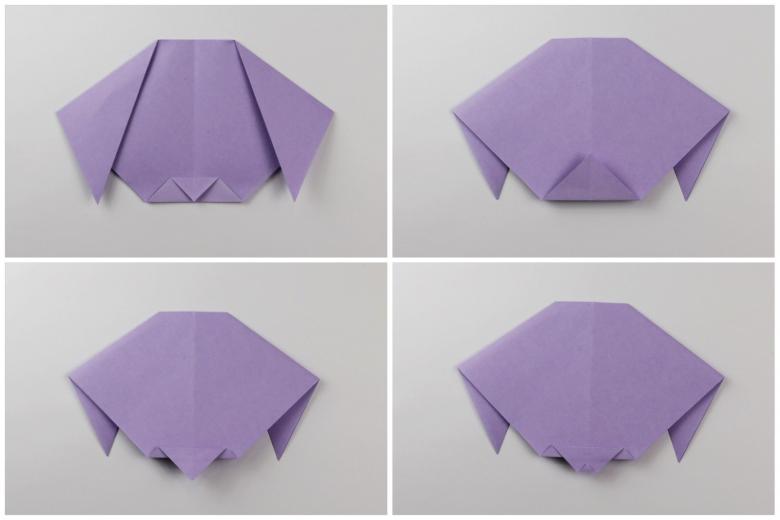
Origami "dog face".
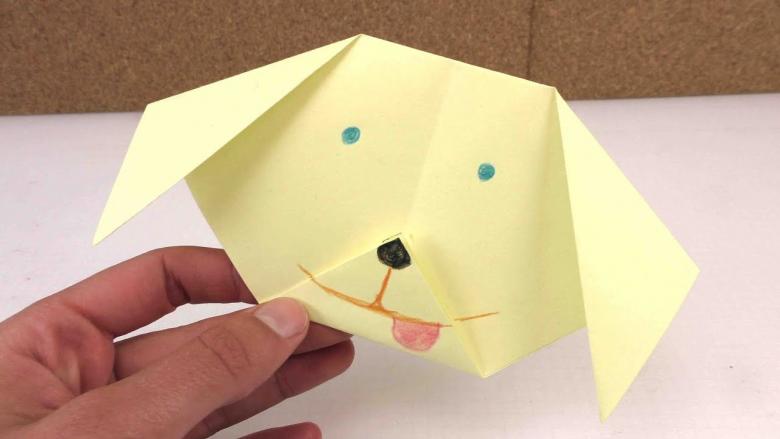
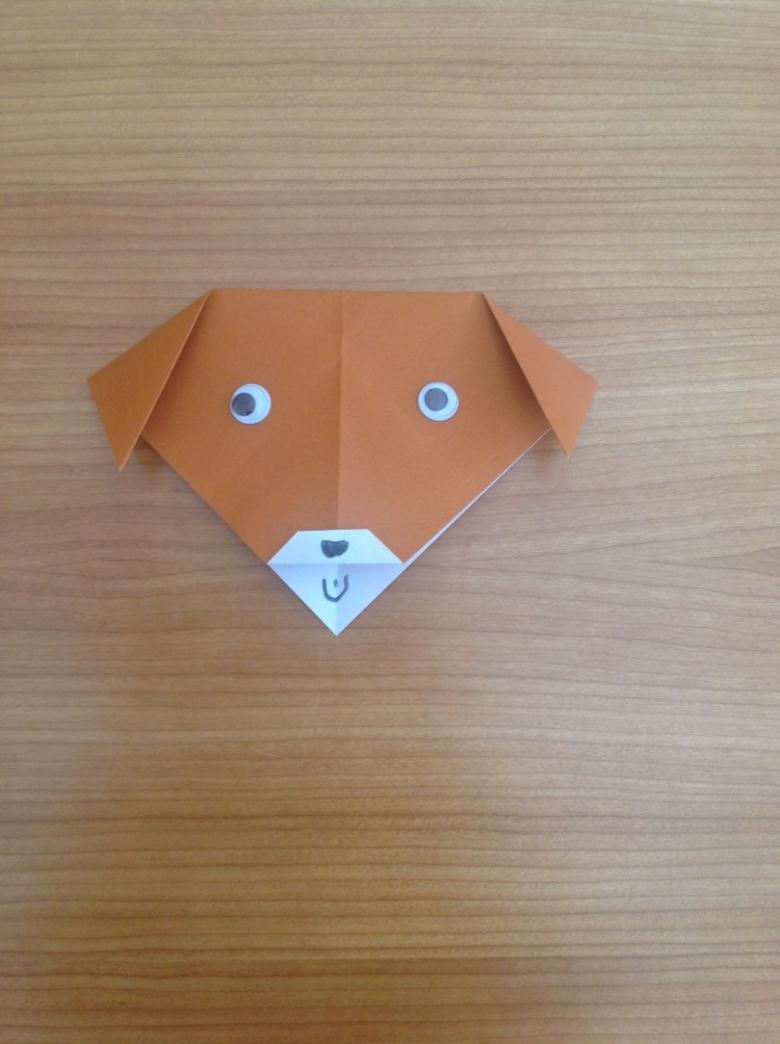
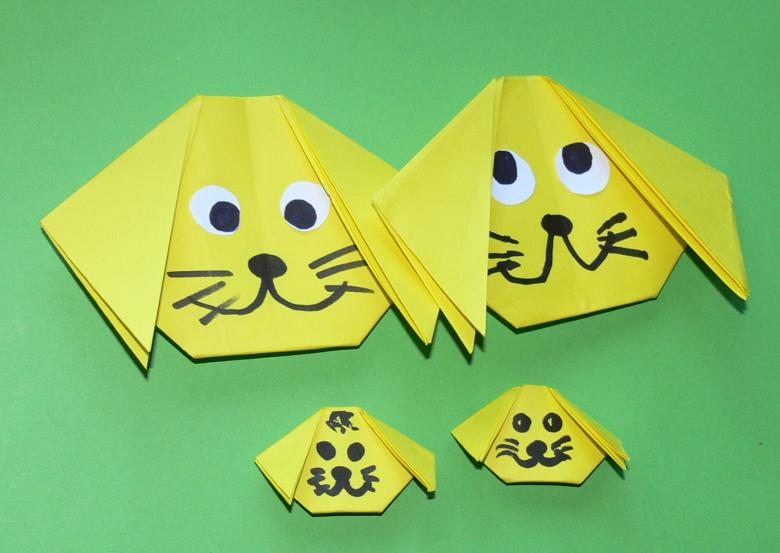
The easiest origami dog scheme is to make its muzzle. How to make a dog's head in a step by step origami technique? Very easy! Follow the instructions:
- Find a sheet of paper and make a square of it.
- Fold the resulting sheet diagonally.
- Then fold it in half again and unfold.
- Lower the acute angle of the triangle, creating the ears of a dog.
- And the remaining corner is directed upwards.
- Draw eyes, nose and mouth.
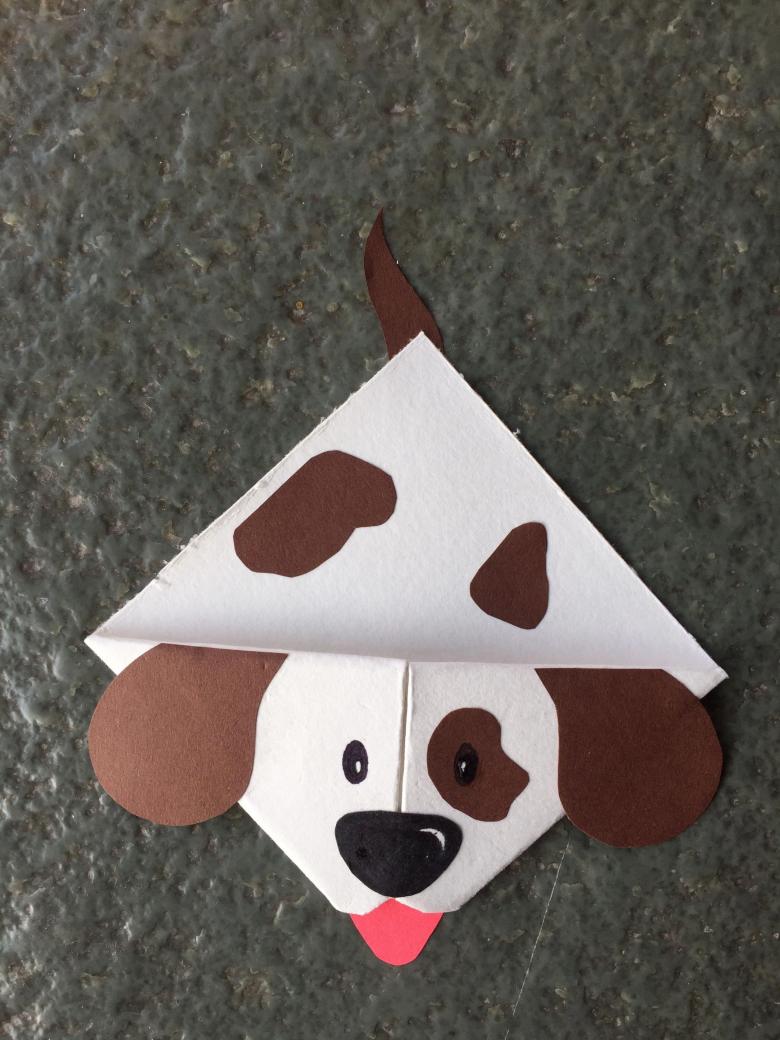
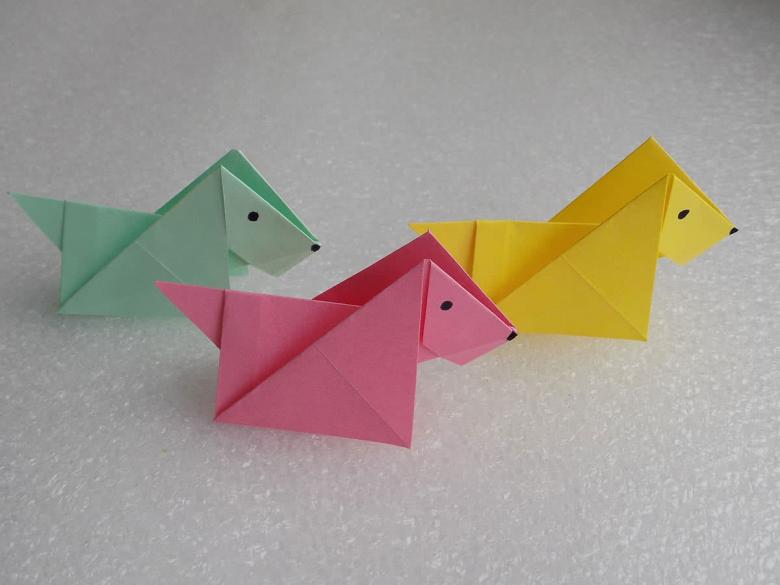
Origami "bookmark dog.
Little lovers of books will be delighted with such a craft, they will be happy to take part in its creation.
- Cut a square and fold it in half diagonally.
- Fold the corners to the top of the triangle.
- Now you need to iron the folds and open them.
- Fold the top corner down.
- Lift the bottom corners, then the top right corner down, then up.
- Next, fold them inward, in the pocket.
- It remains to glue the pink paper tongue and eyes.
Modular origami "dog".
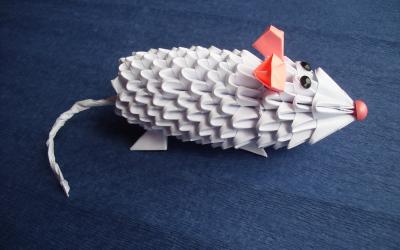
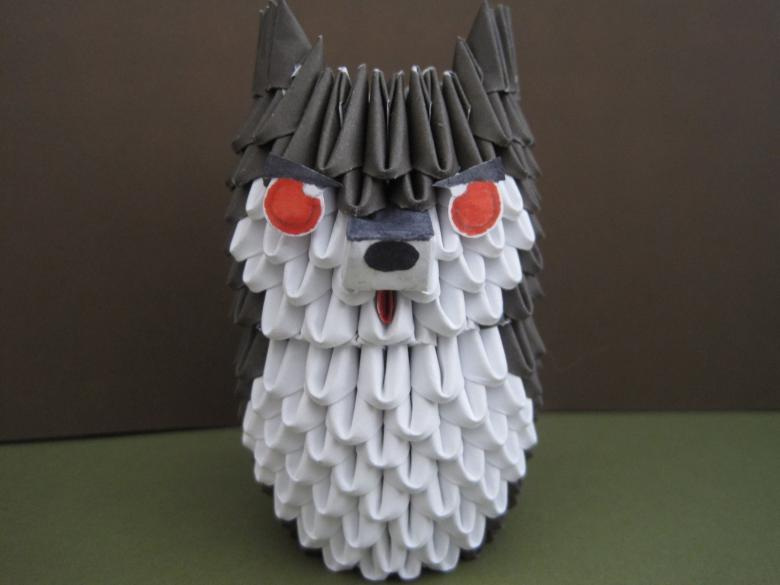
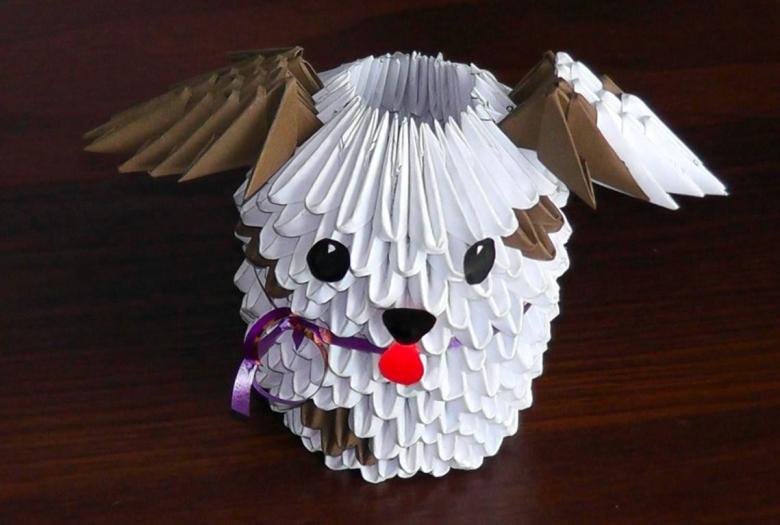
Execute origami dog from the modules will take more time and patience. To begin with we need to prepare the "modules" of which we perform work. For example, we will make a dog. Need 1000-1500 white and 500-600 black.
- For rows 1-3 we need 10 modules. For 4 rows 1 module must be removed (there will be 9 of them).
- Paws. Need to make a figure from the 9 extended lines. The photo shows how to make one of the legs. The second is done in the same way, only in a mirror image.
- Ears. It will take two pieces of black and six white modules. By continuing to "increase" the lines for the ears, we have reduced the number of lines. The second one has two black and five white or more in the same order. After making the ears, turn and glue the white part.
- Tail. There should not be any complications from this. Last to assemble the white modules.
- Front paws. We make four rows of nine modules each. We continue to build 9 modules to get 11 lines.
- For the body we need to grow 20 lines.
- To form the head in the first row will be 8 white and 13 black modules; for the 2nd row we increased the number of white and black by one module (9 and 14 respectively). Then you need to complete 18 lines, rounding slightly from the top. The hole at the top should be closed.
Many people think that there is nothing complicated about origami. But is it really seemingly easy art?
Accumulated skills need to constantly reinforce, devoting it at least 5 minutes a day. Obviously, this process is time-consuming and complicated. But with his help you can develop visual and imaginative thinking, creative imagination, memory, attention, through it to introduce your child with the culture of the Eastern countries, geometry and zoology, literature and art.

