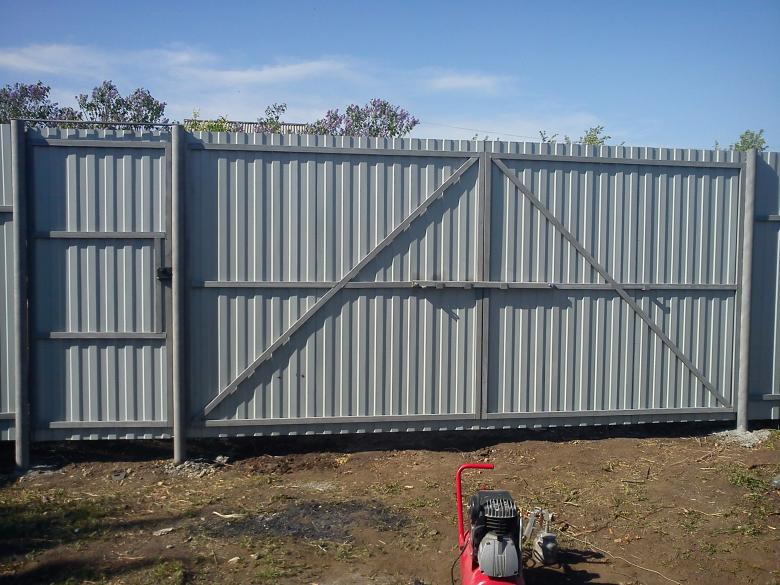
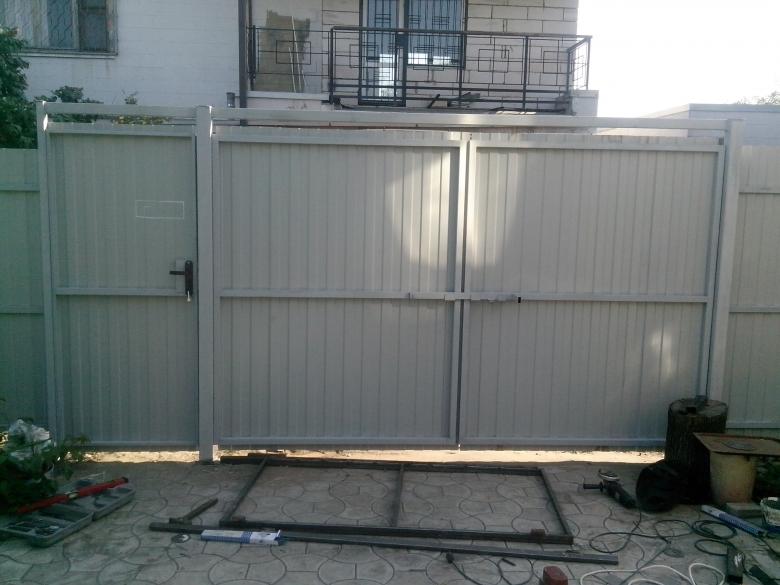
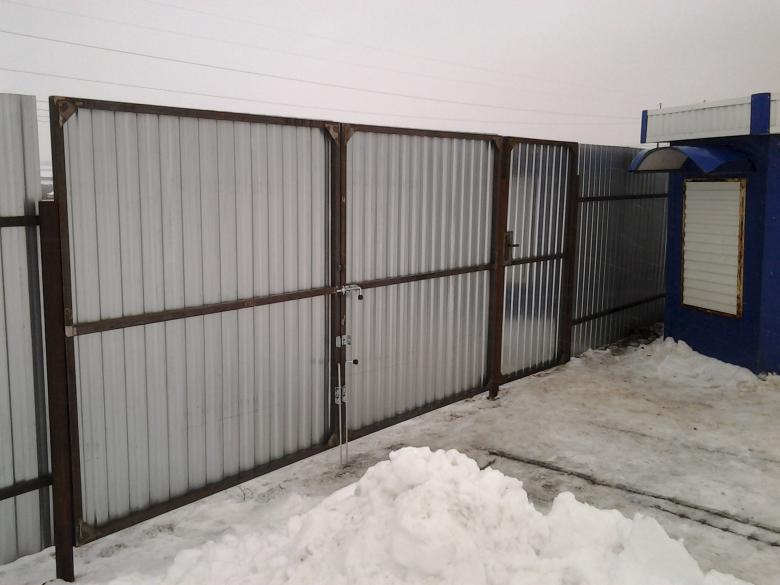
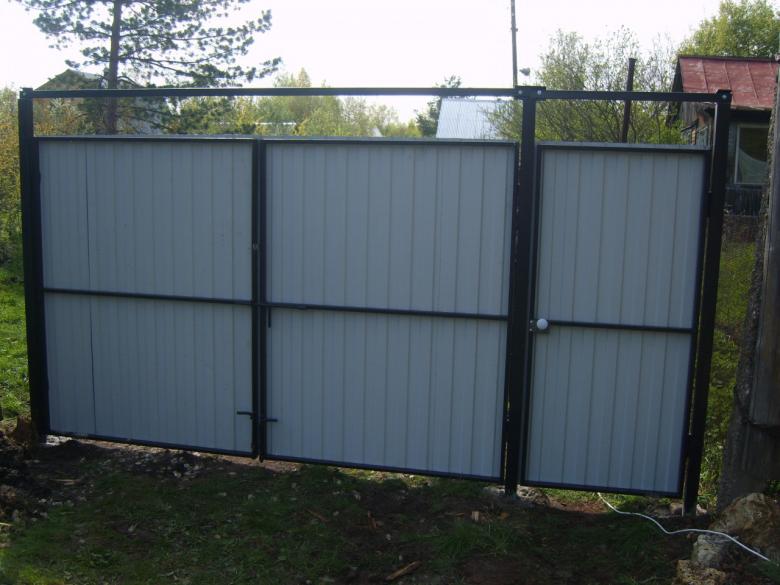
Gates with their own hands sliding or swinging in the yard and at the cottage - schemes and drawings, cool photo ideas
People in the arrangement of a cottage or country site very often resort to the manufacture of gates on their own. Because of insufficient study of information, many of them make mistakes. Today we will understand all the nuances and tricks of making each type of gate.
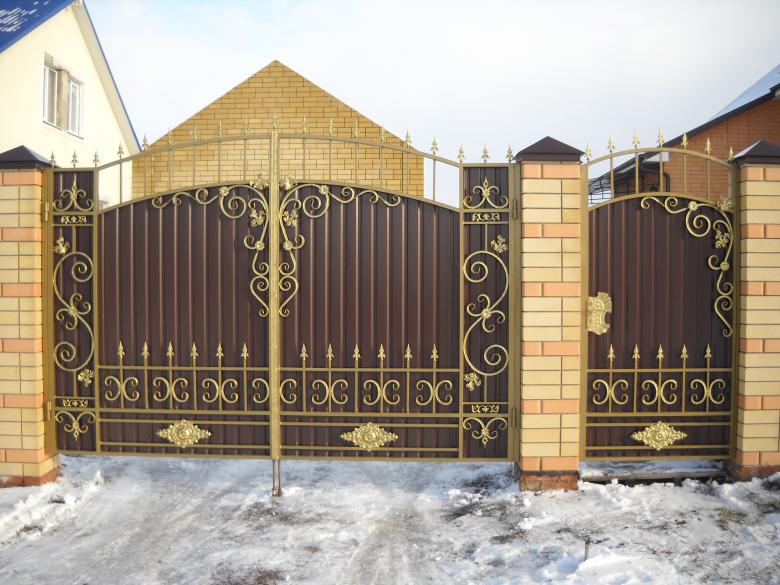
The most suitable for self-made are:
- Rolling gates.
- Swinging gates.
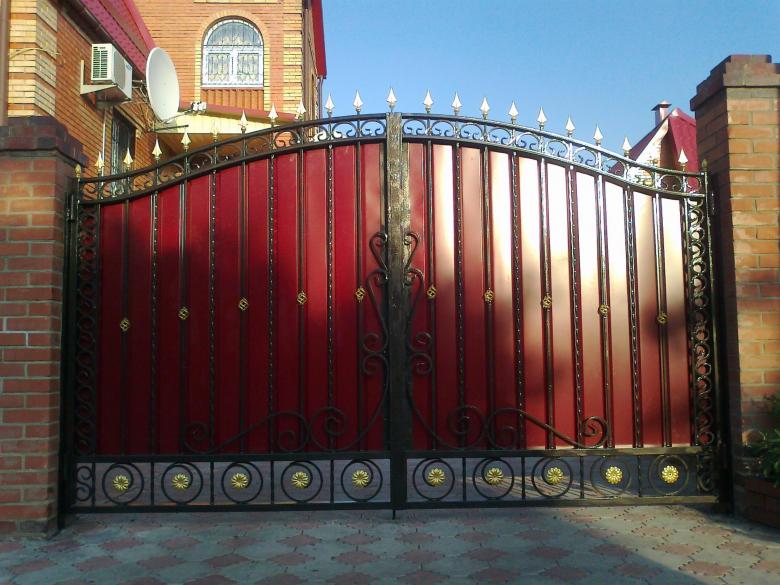
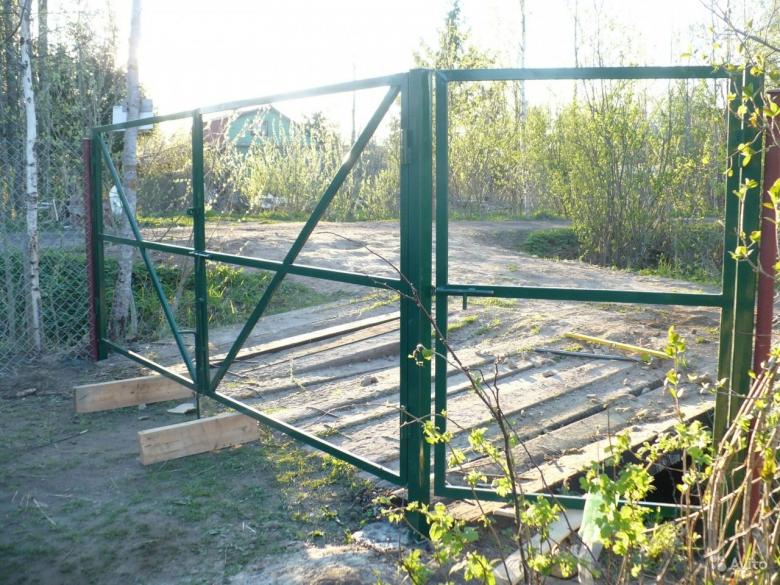
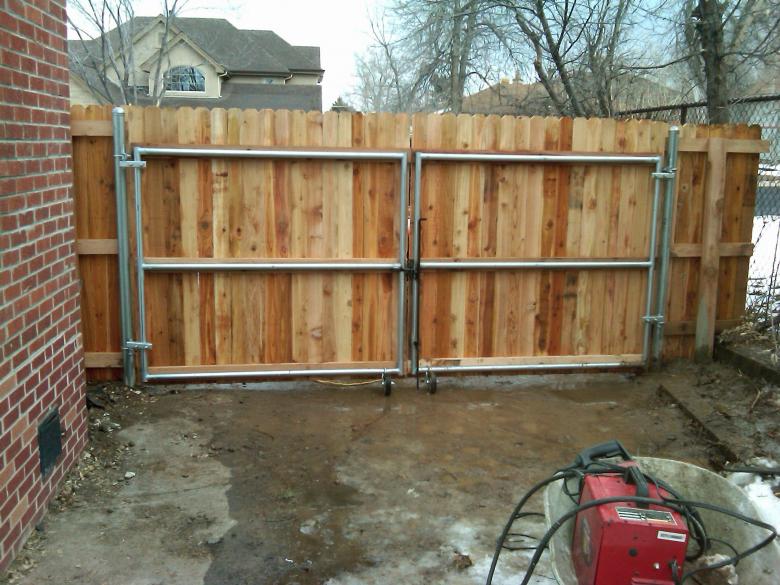
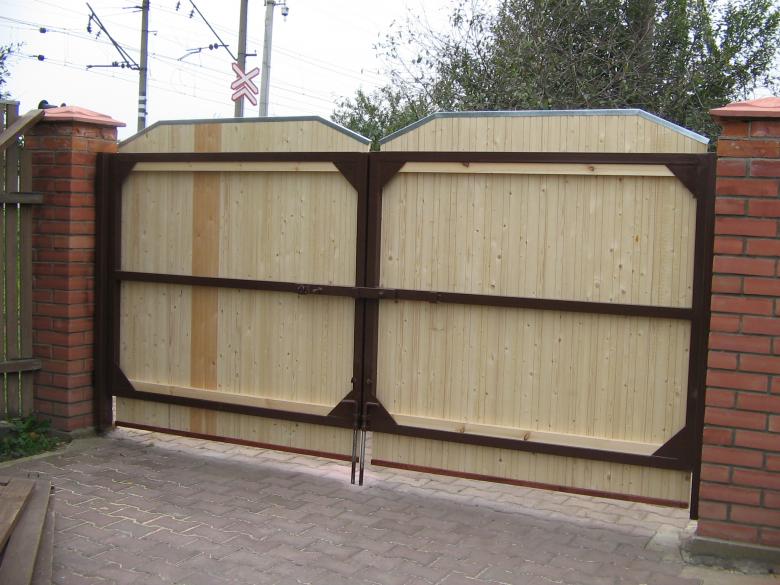
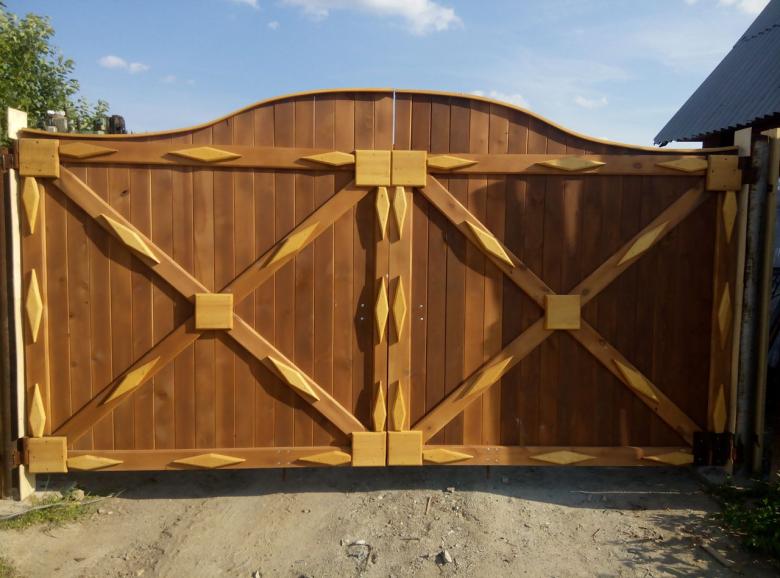
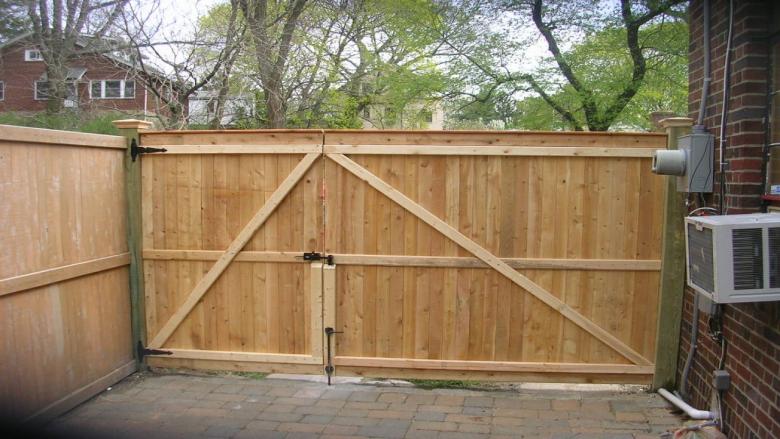
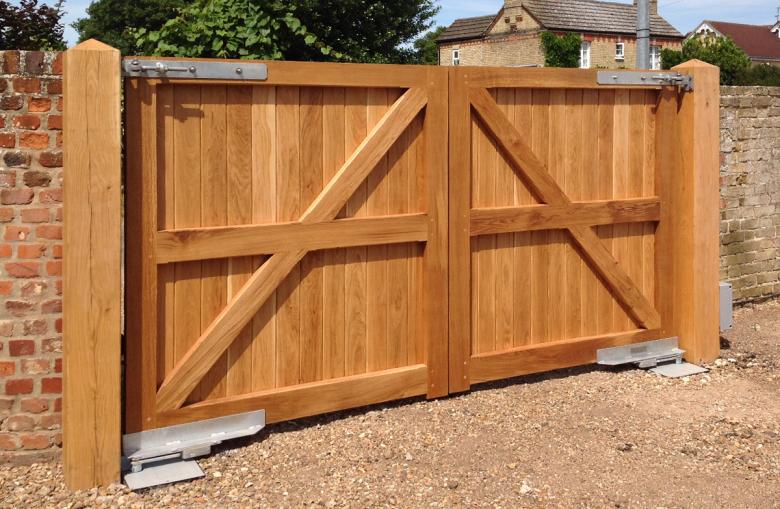
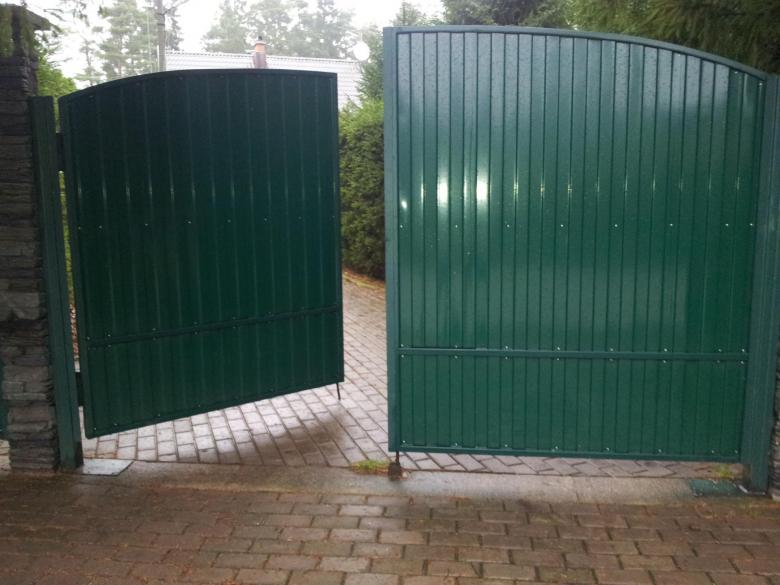
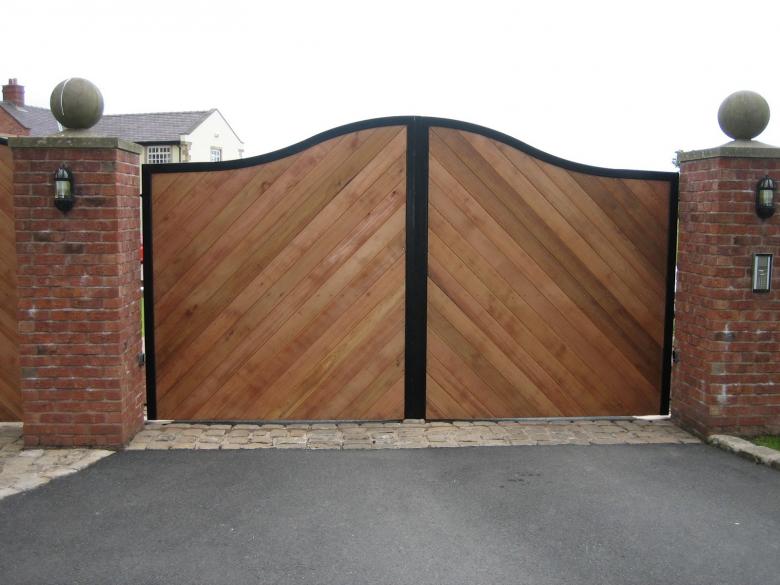
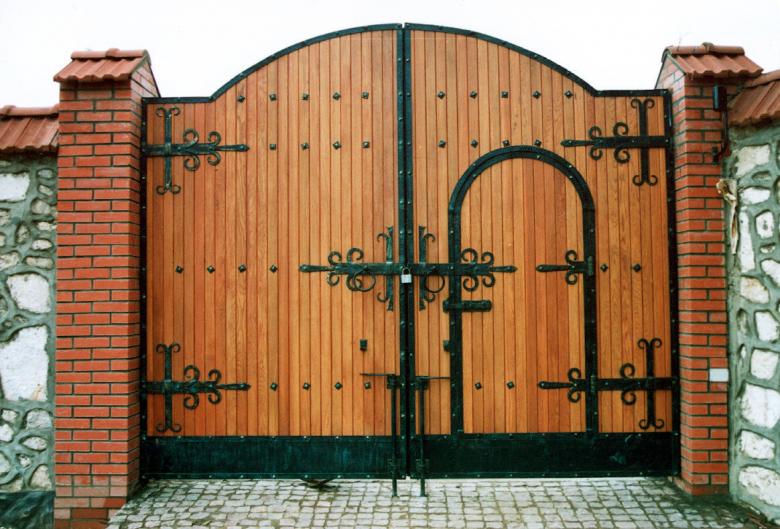
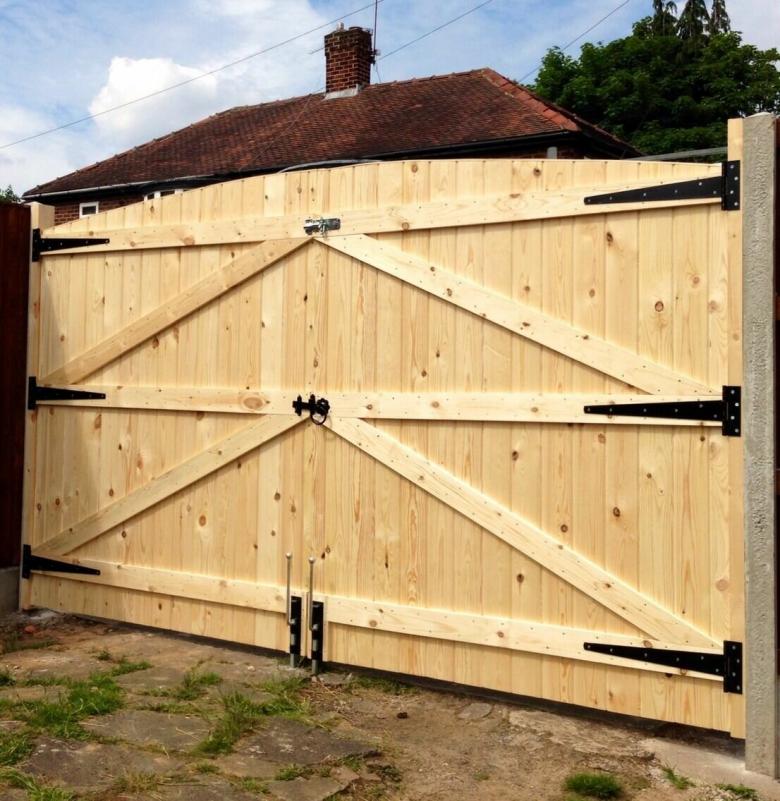
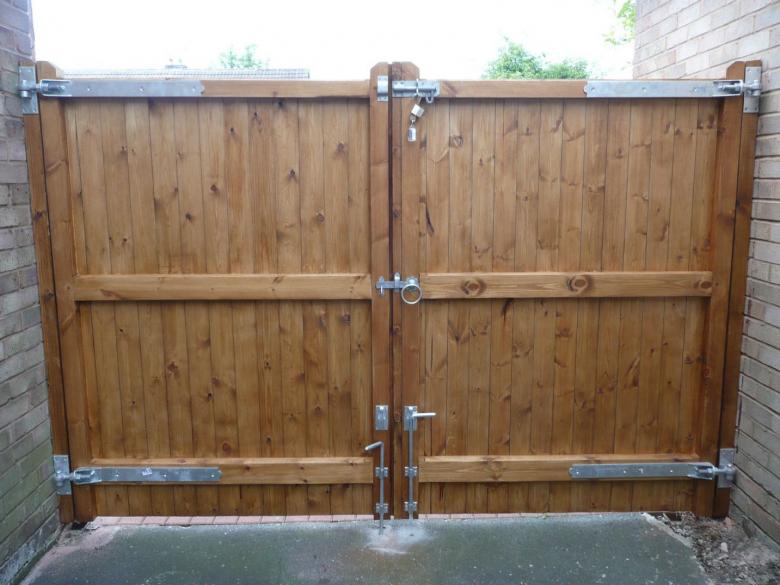
Swinging gates
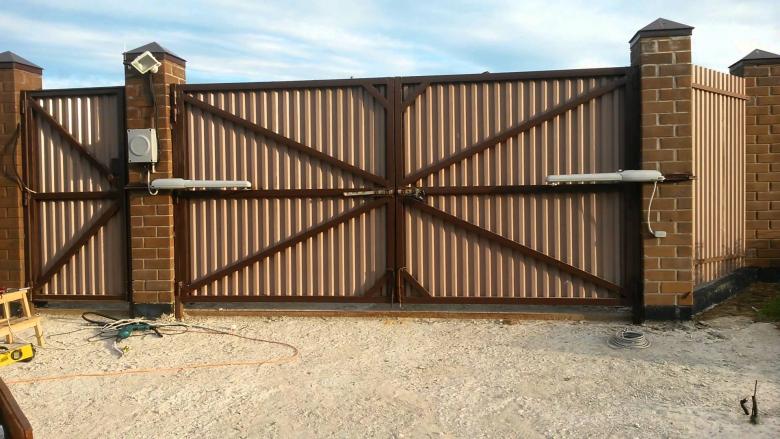
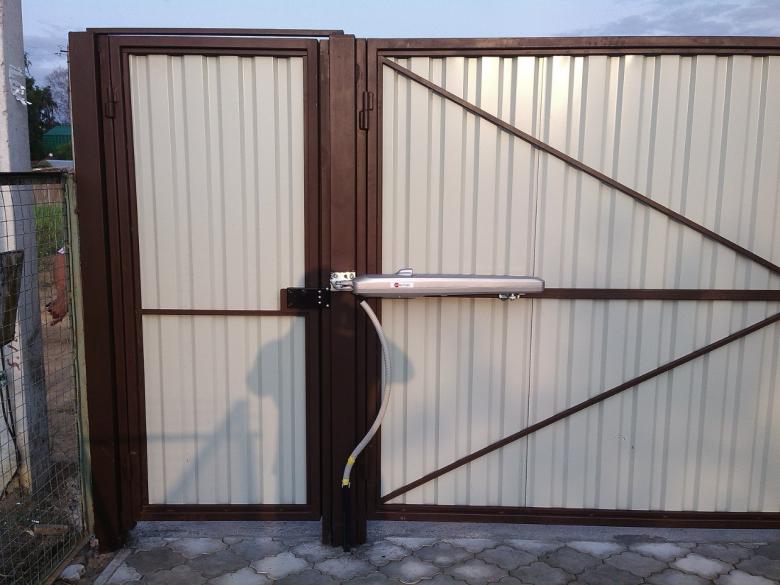
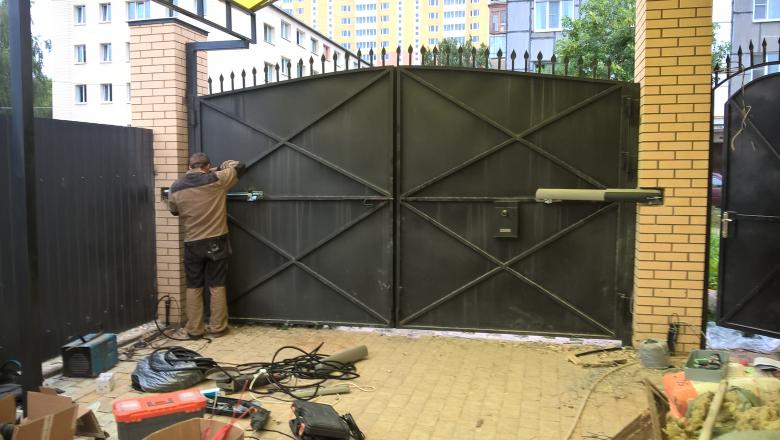
Making a swing gate with an electric drive with your own hands is the easiest of the possible types.
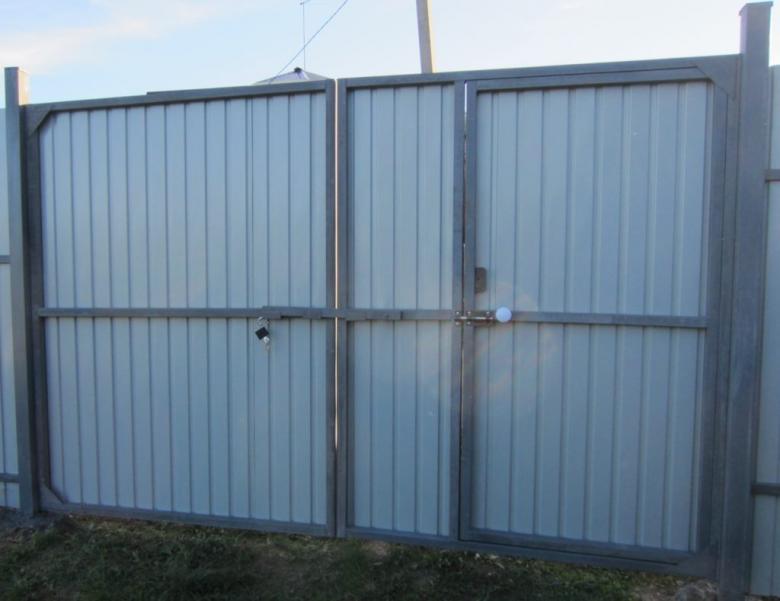
How to make them
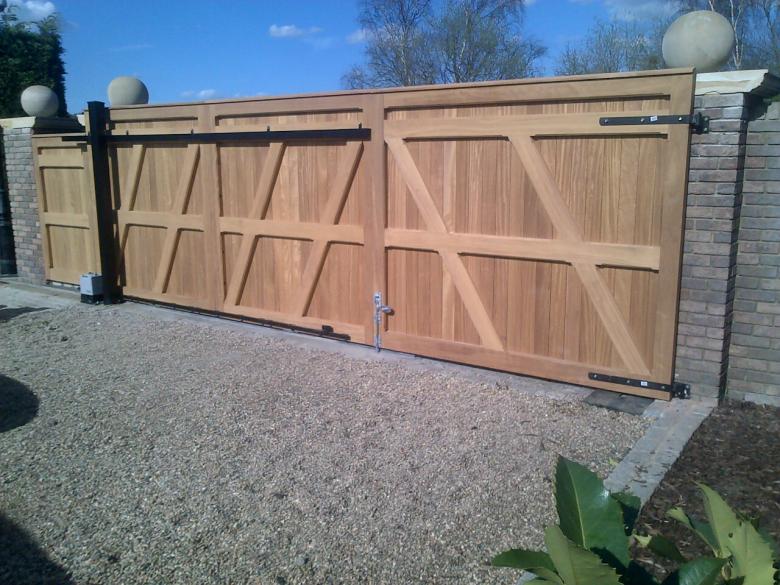
Most people use this type of gate because it is considered traditional. As with any swing gate design, there are both minuses and pluses.
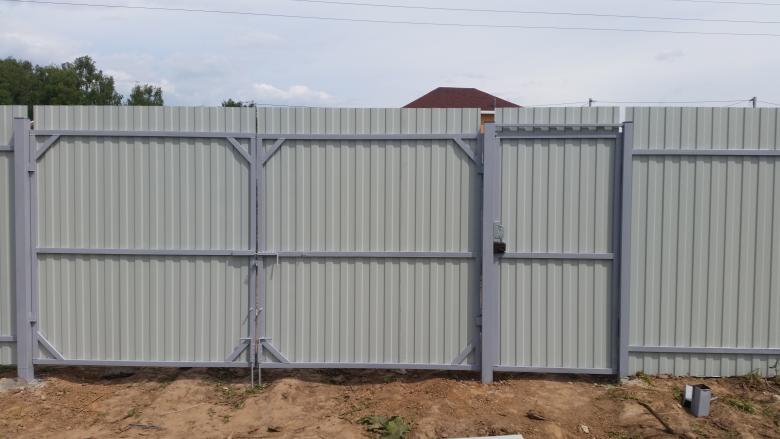
Advantages:
- The gate can be opened in both directions.
- Does not require much space for installation.
- Minimal monetary costs.
- The installation of an automatic mechanism makes it easy to use.
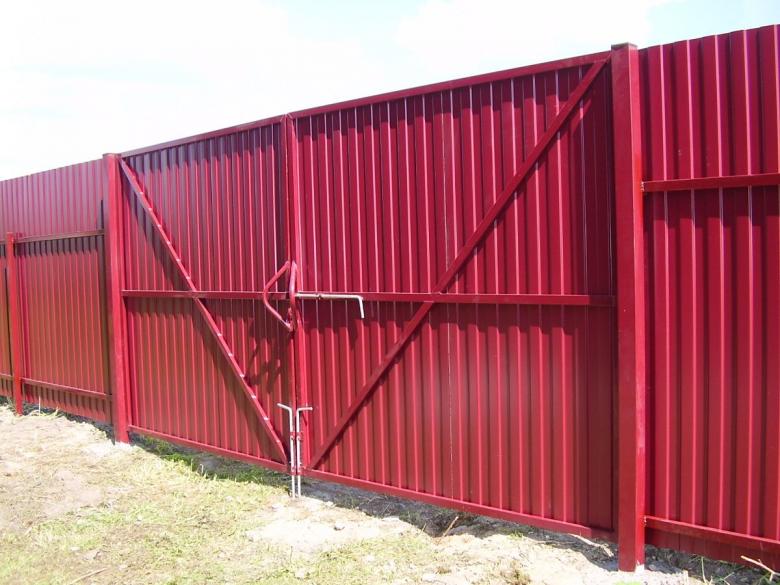
Disadvantages:
- Requires space so the gate can be opened without problems.
- Sashes and hinges can sag, so constant maintenance is required.
- Keep an eye on the automatic mechanism to make sure it works properly.
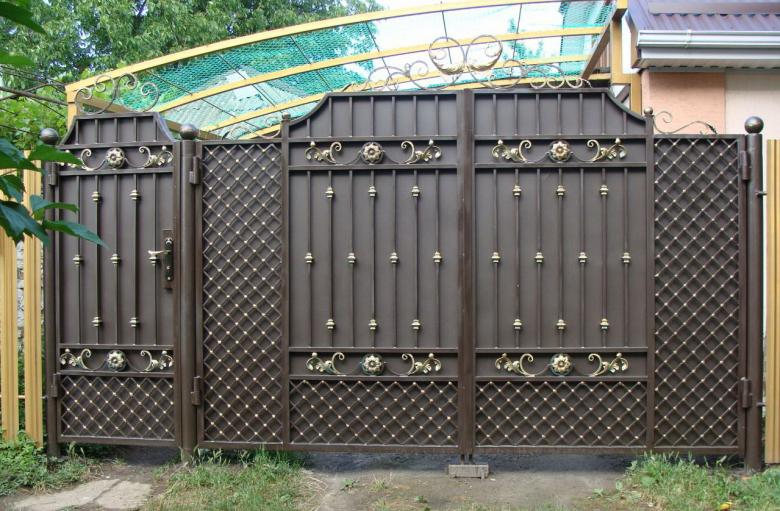
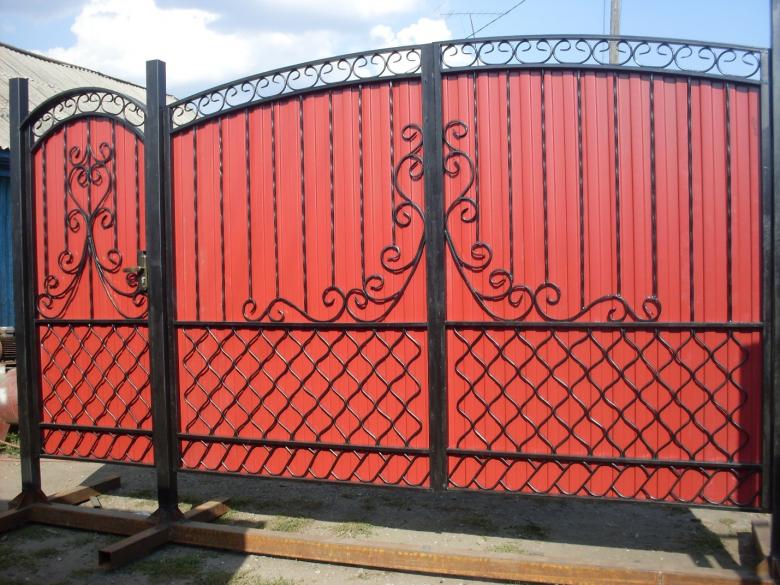
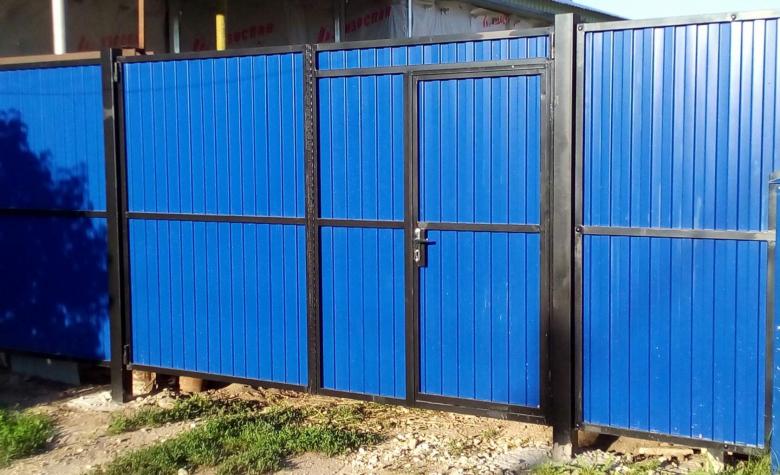
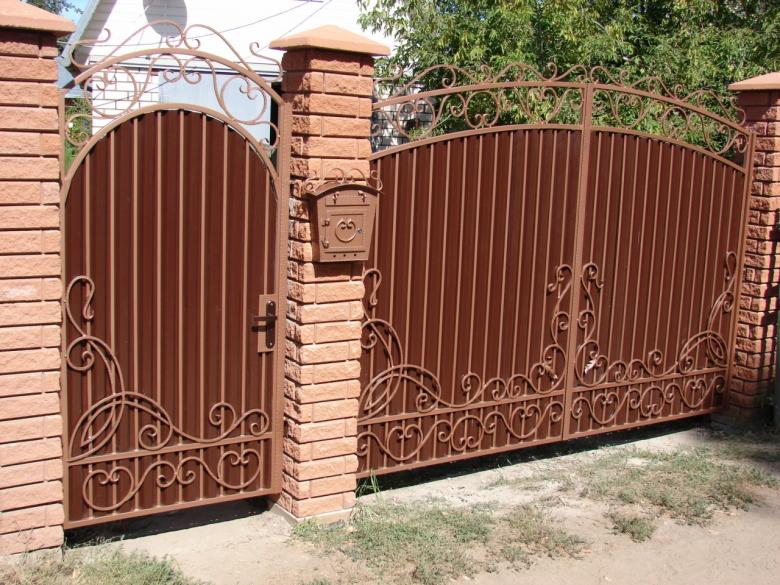
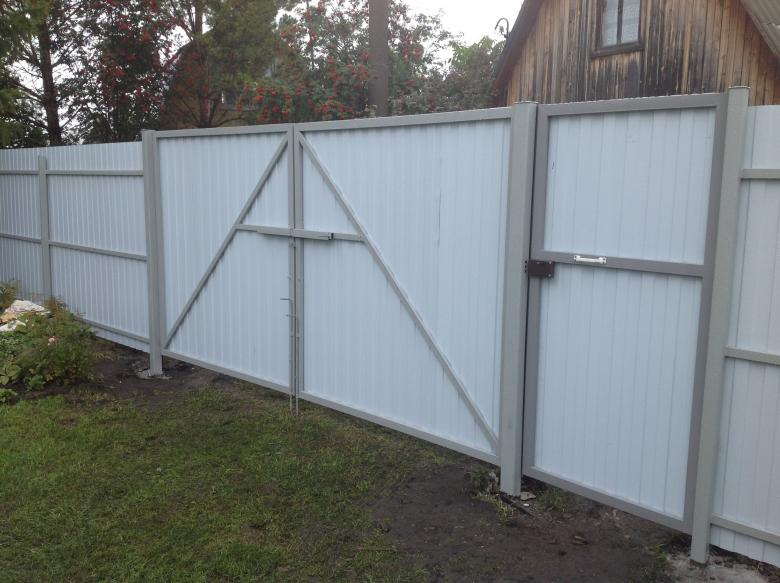
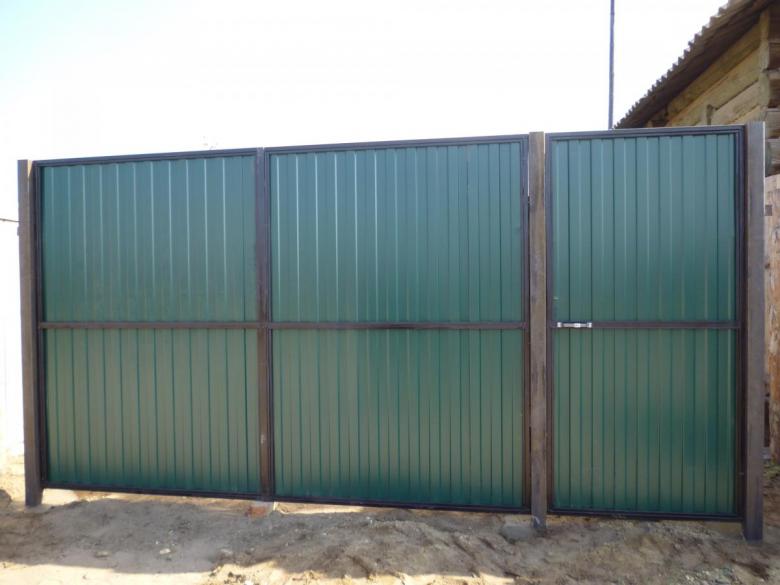
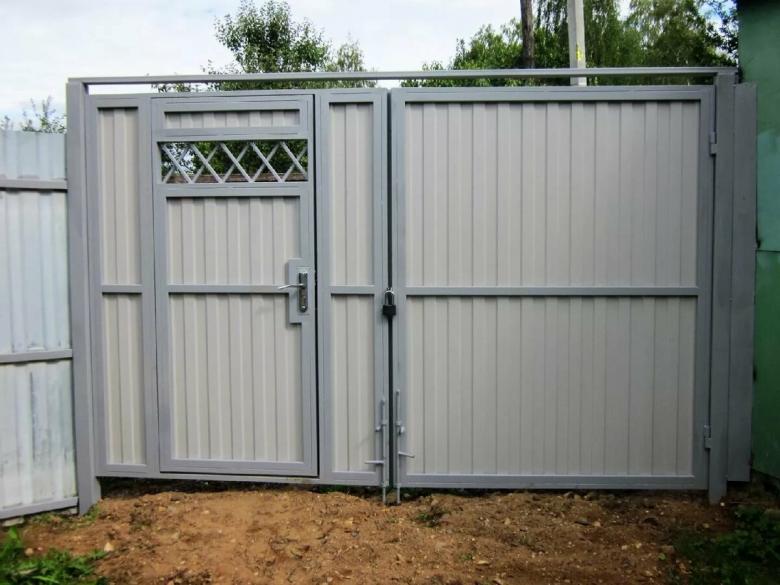
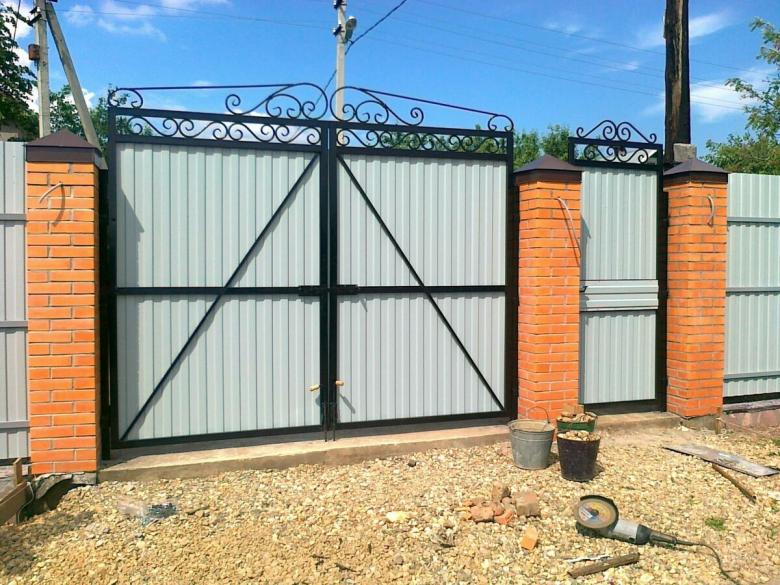
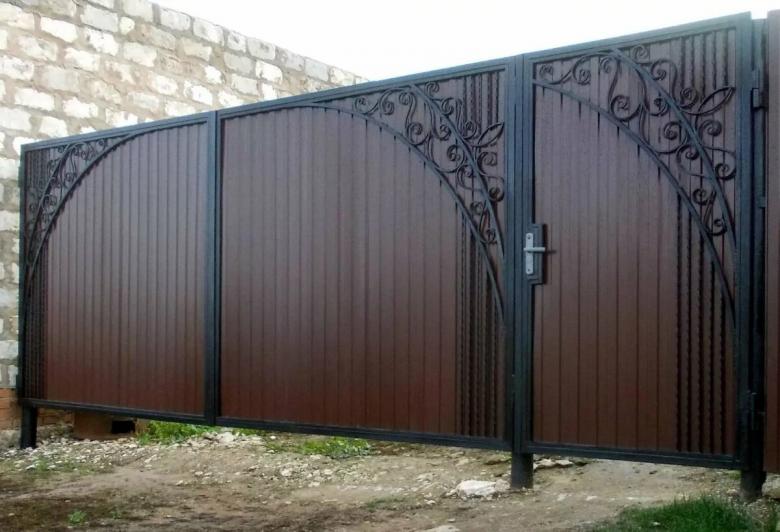
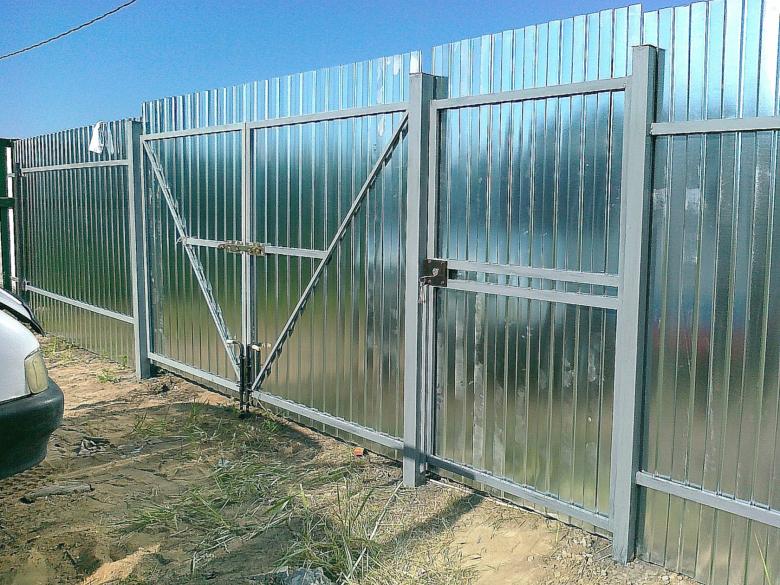
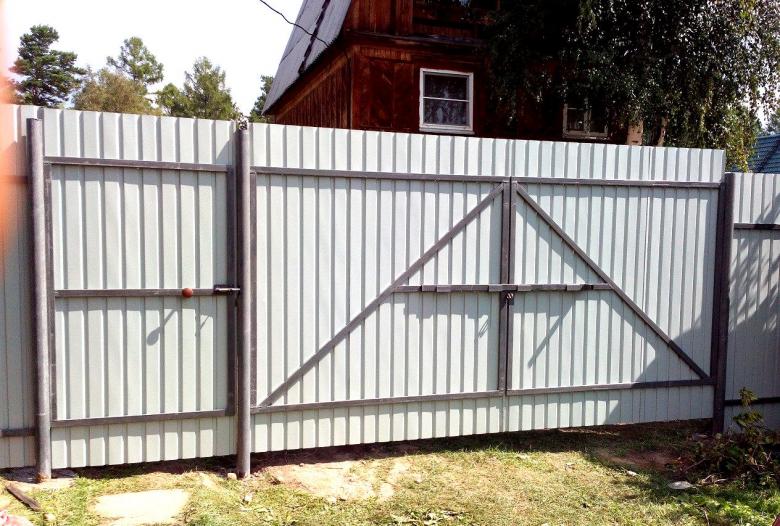
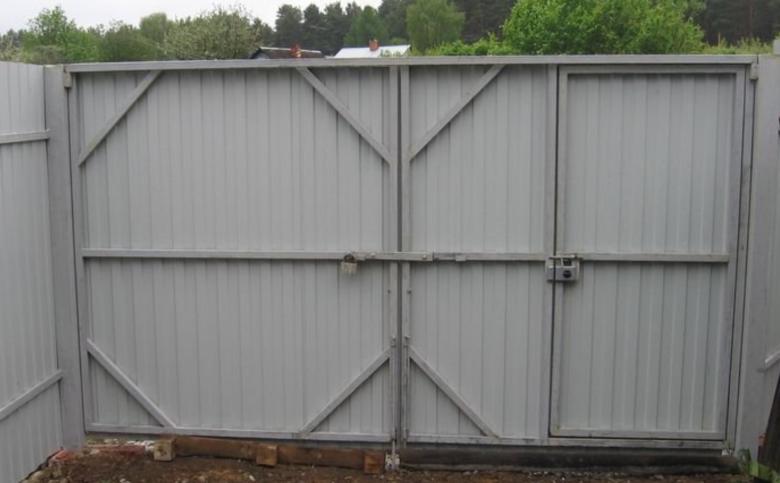
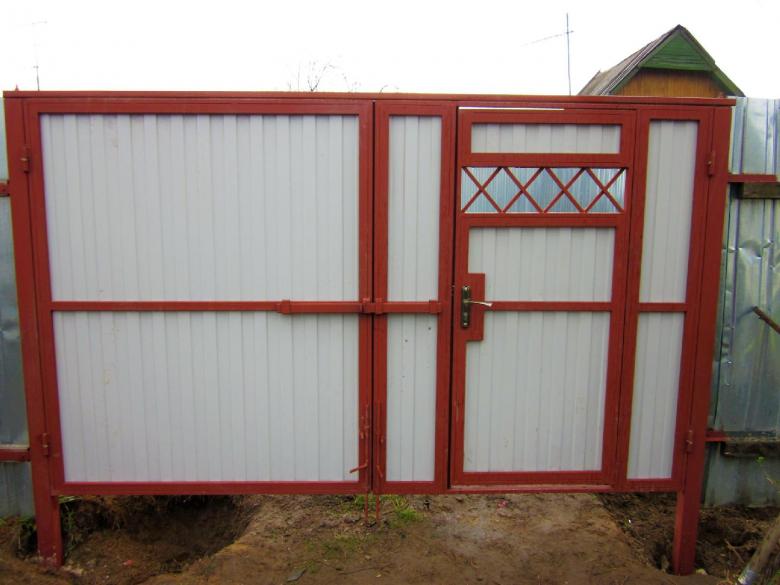
How to make a hinged gate out of profiled pipes
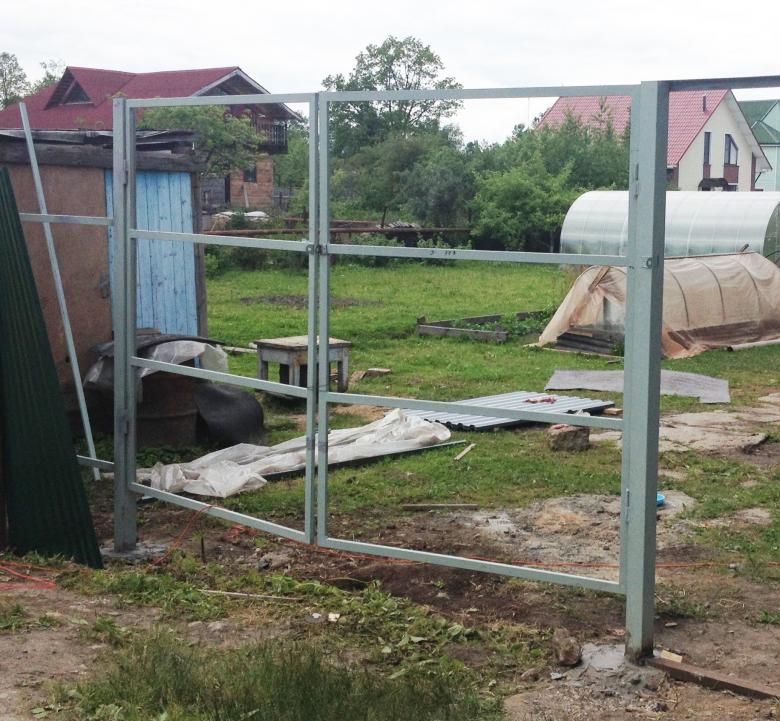
For the manufacture of the gate requires a free space of 3-4 meters in width and at least 2 meters in height. The width of each leaf will respectively be equal to half the width of the gate. It is desirable to leave a couple of centimeters of gap between the leaves.
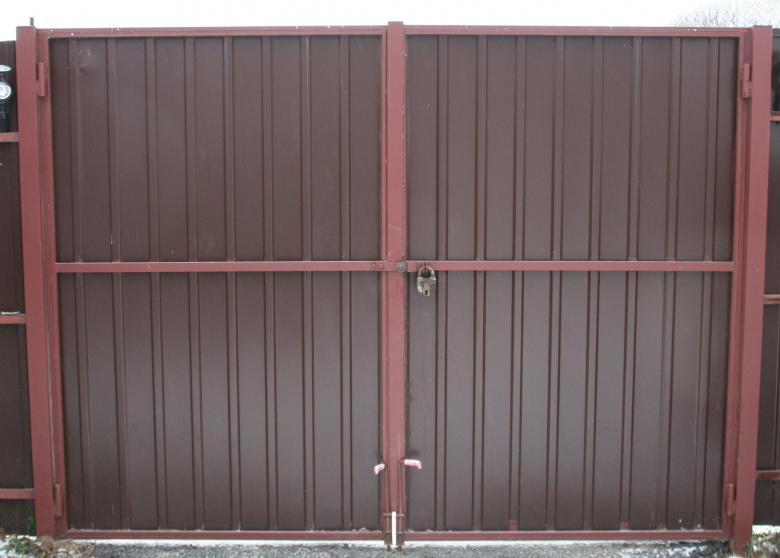
Materials required for the construction of the structure:
- Profiled sheeting.
- Profile pipe 60X30 or 30X20.
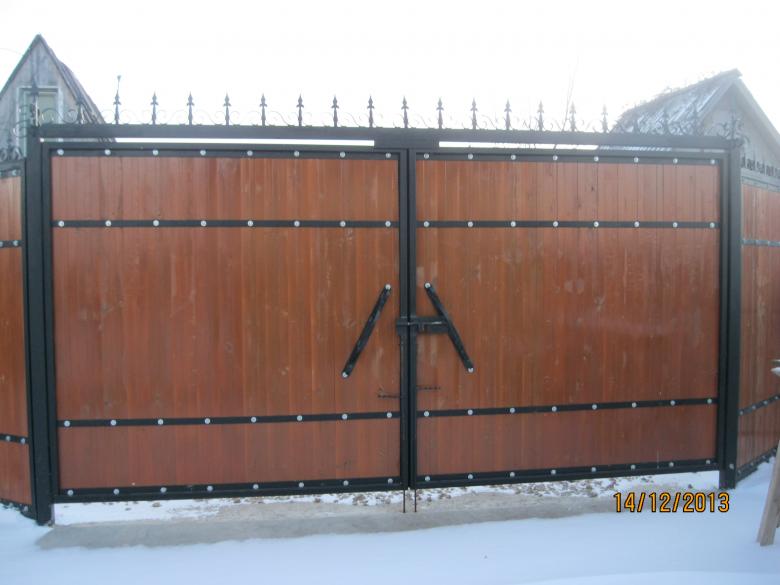
Consider the example of a fence 3 meters in width. Profile pipe will need to be cut into four parts of a length of 4 meters, 3 meters and 1.5 meters (2 parts).
With bricks or concrete blocks it will be necessary to lay a flat surface, so that the gate will stand evenly.
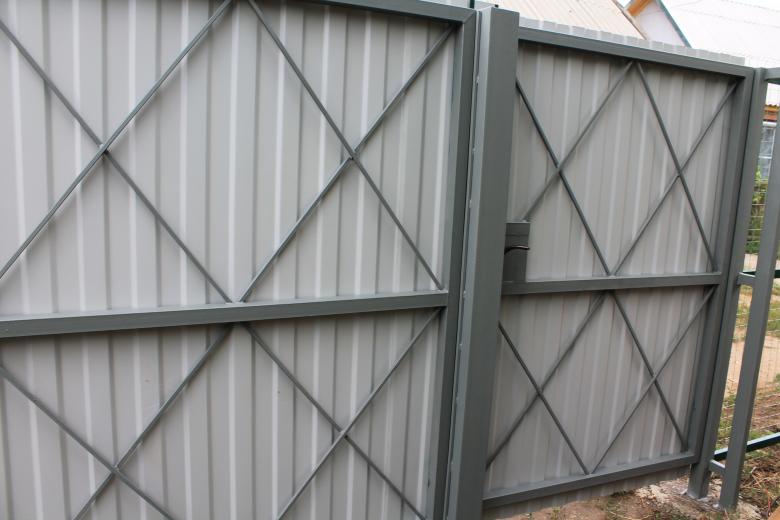
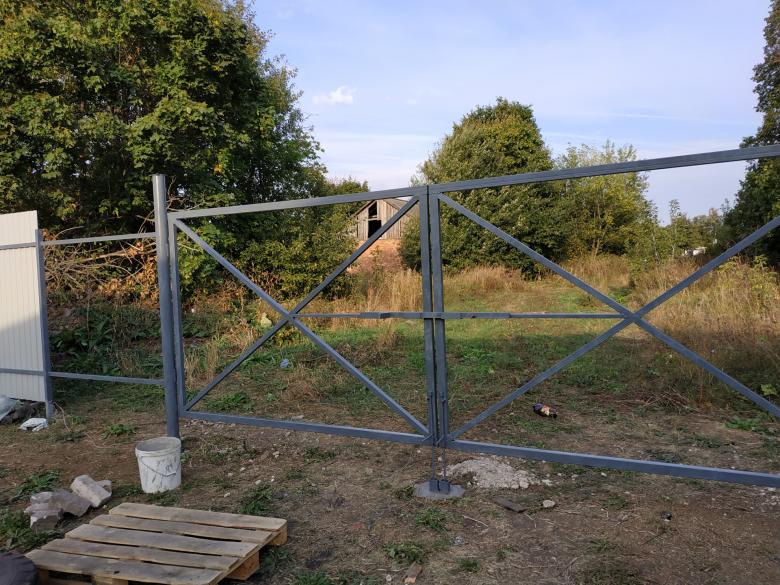
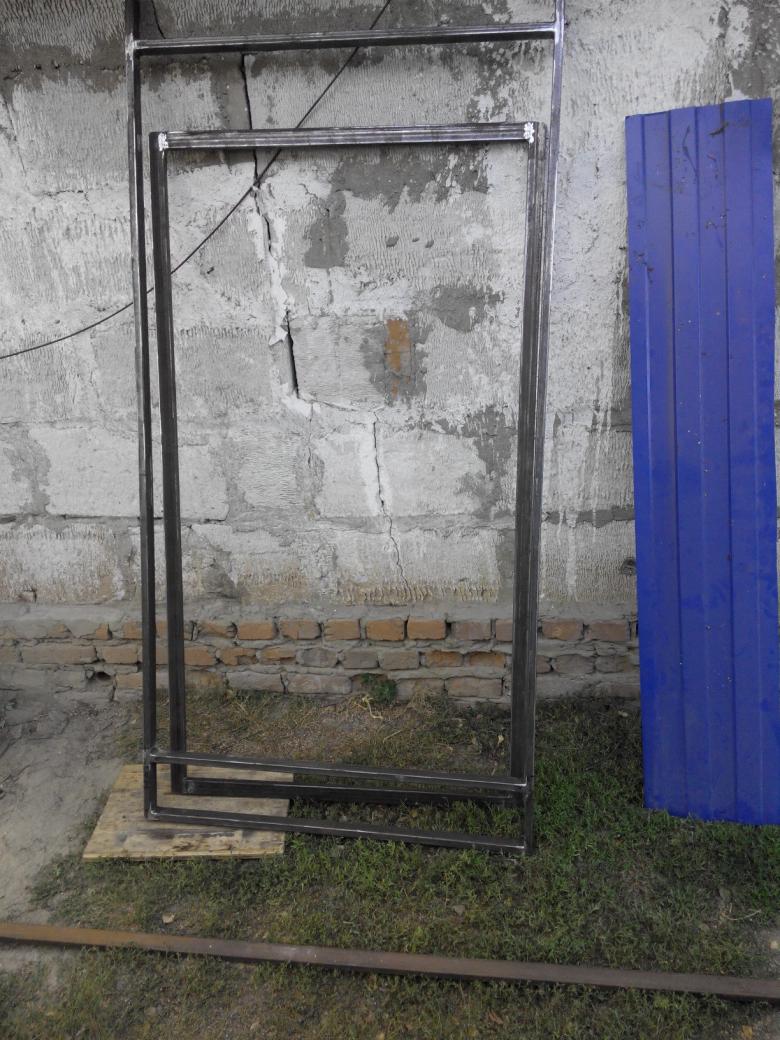
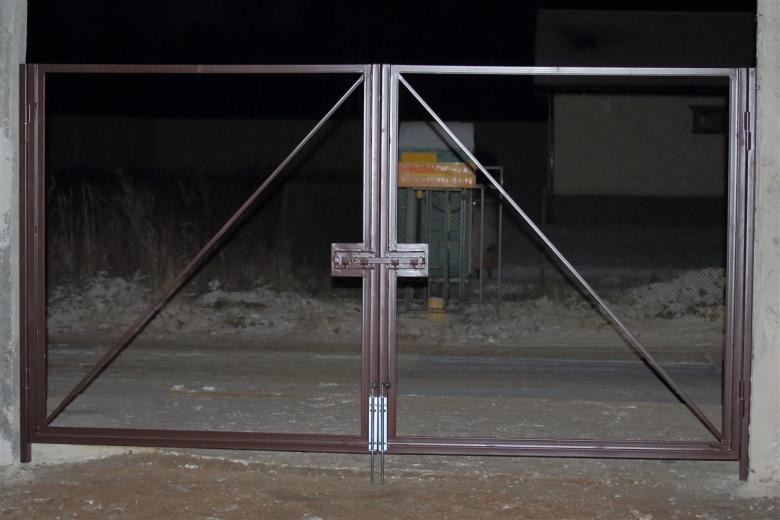
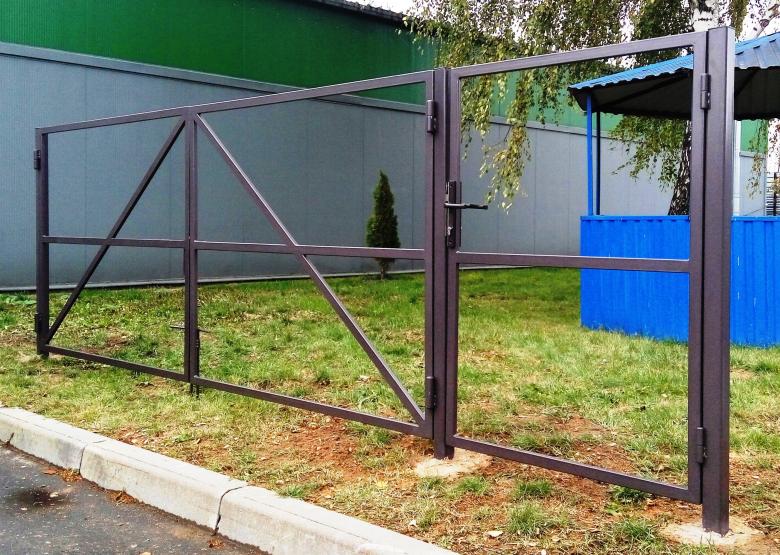
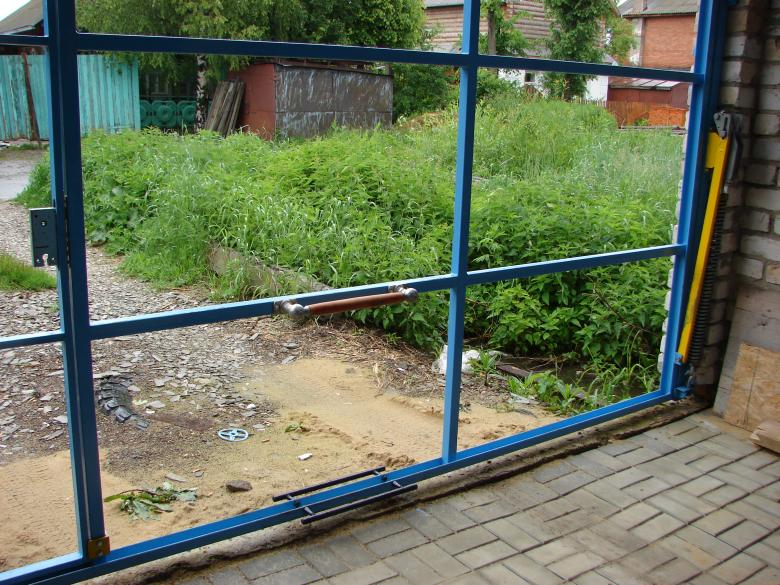
Then assemble a rectangular structure from the cut parts and use a construction angle to check if it is level. Next, the constituent parts must be welded together.
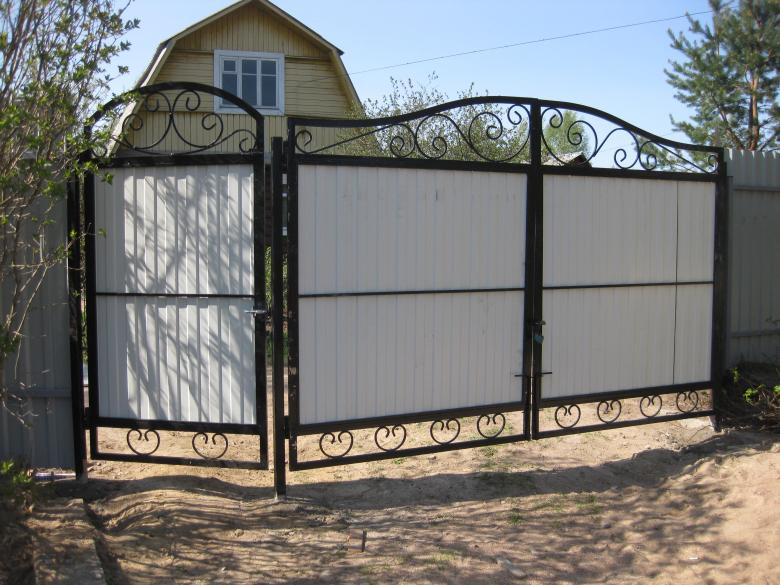
Mounting
This procedure is performed before installing the sashes.
For this purpose, a profile pipe of dimensions 100X100 is taken, the length of the pipe is taken depending on the height of the gate.
Installation of support poles
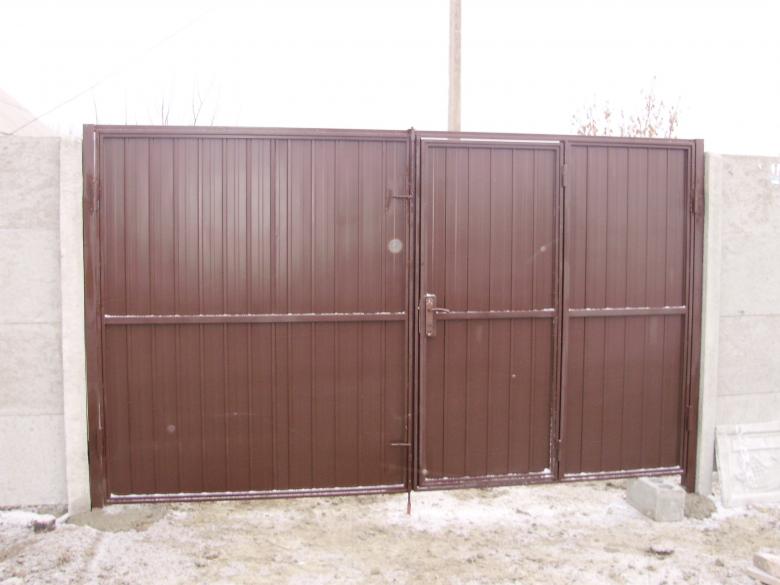
Installation algorithm:
- A pit is dug with a depth of about 1 meter.
- On the base of the pit is poured concrete or other solid base.
- In the prepared pits the posts are installed. Their ends are checked for accuracy horizontally and vertically.
- The posts are poured with concrete mortar.
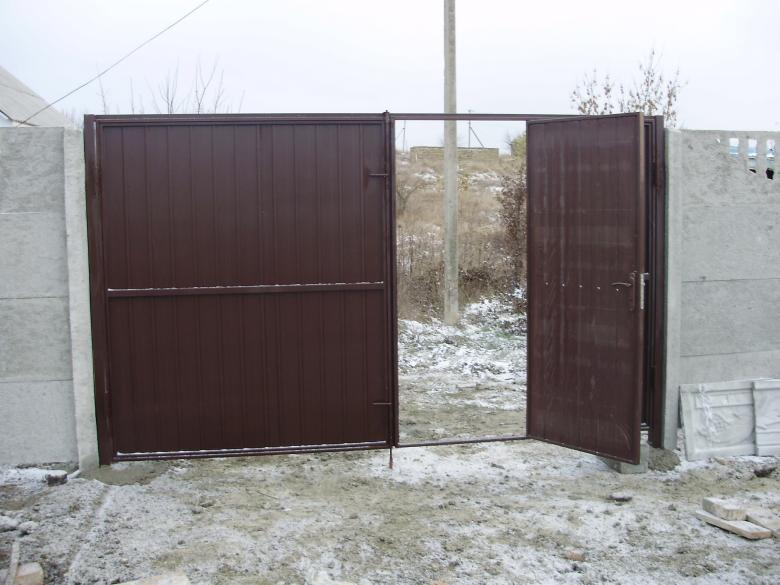
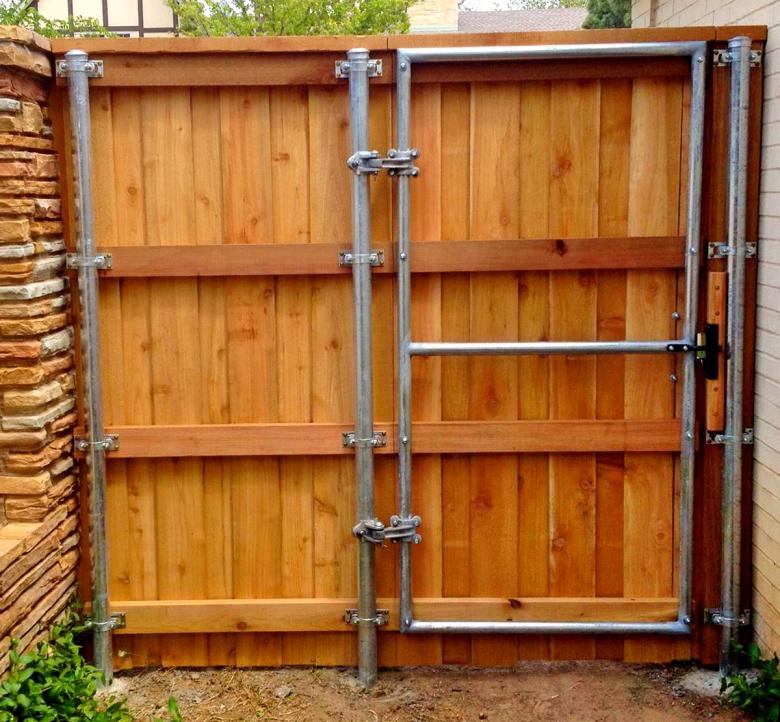
Installing the sashes
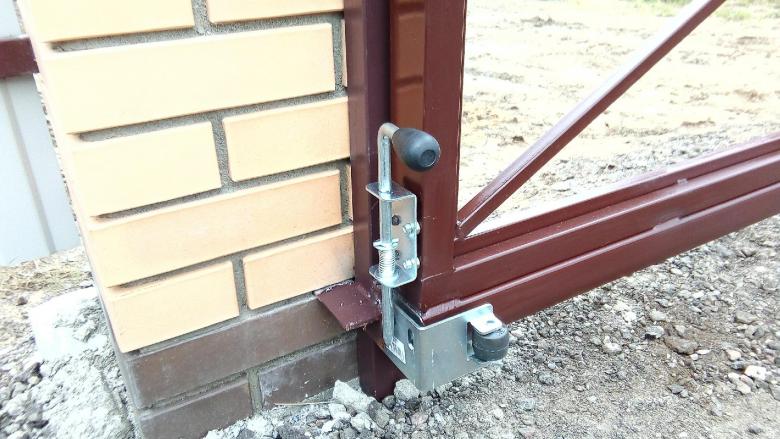
The first thing to do is to weld one of the parts of the hinges with a continuous seam. Two on each side of the post.
After that, with the help of concrete blocks on the height of the sashes are installed. This is done to simplify installation.
After that, on the other side of the sash the second part of the hinge is installed and also welded with a continuous seam.
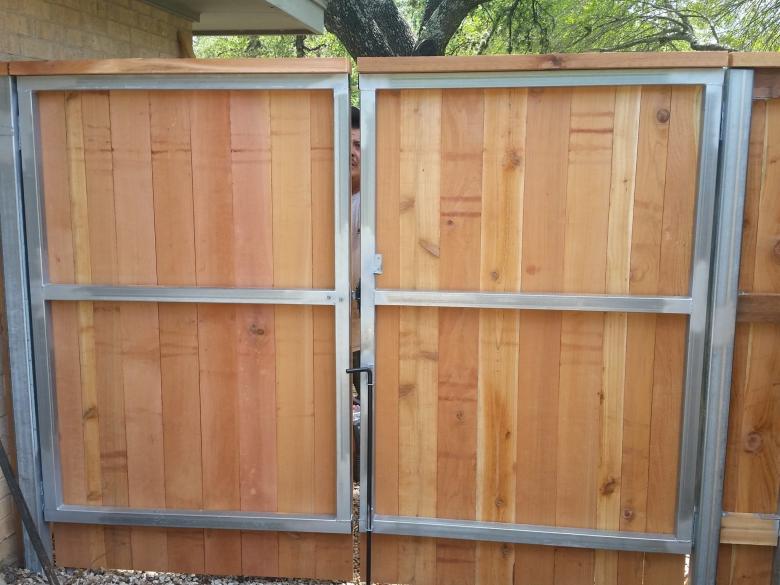
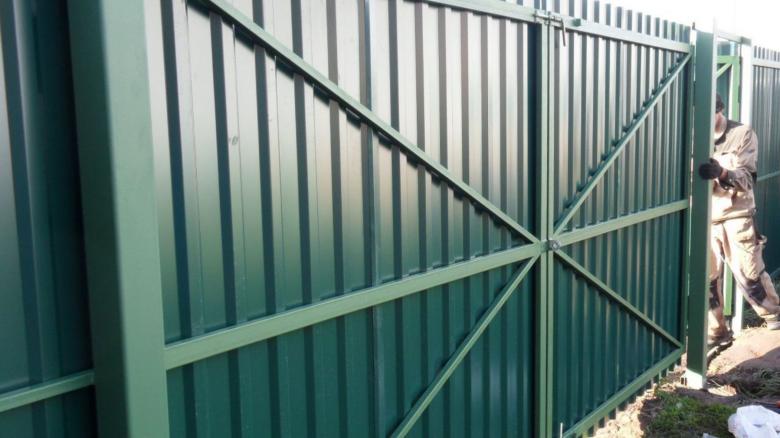
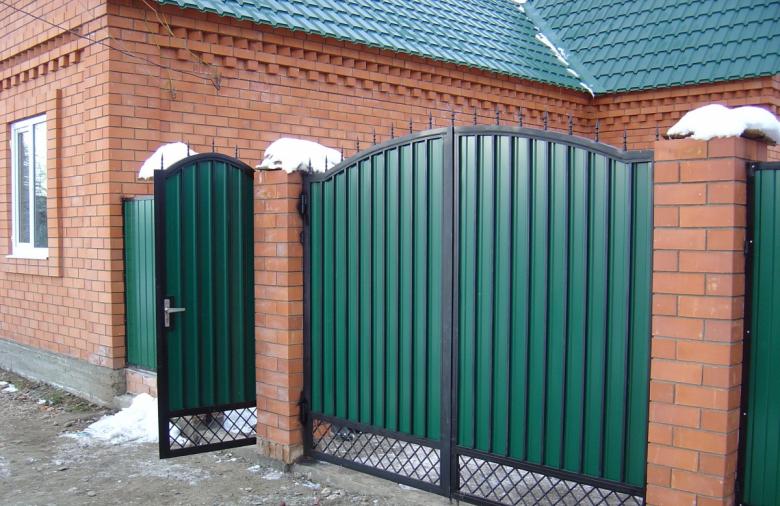
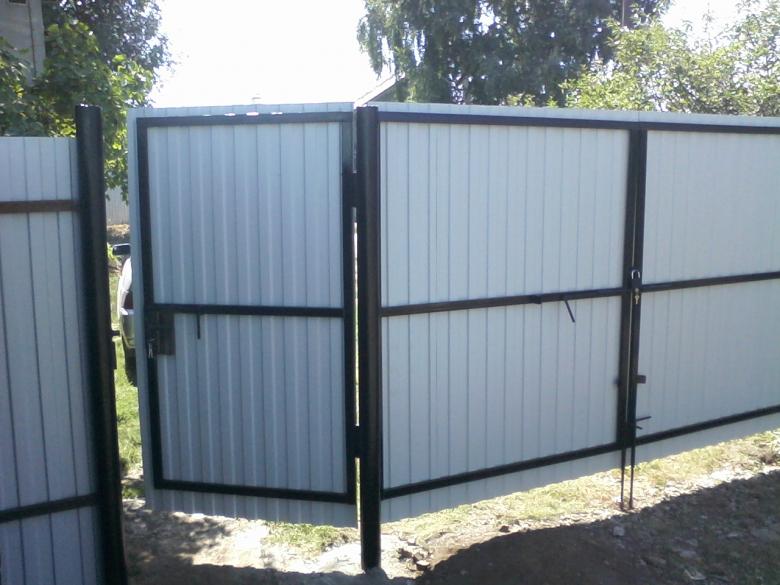
Installation of profiled sheeting
Use a grinder to cut the profiled sheeting to the size of the gate. It is necessary to process it with a layer of zinc because of the high temperature at the cutting area, so that the gate does not begin to rot.
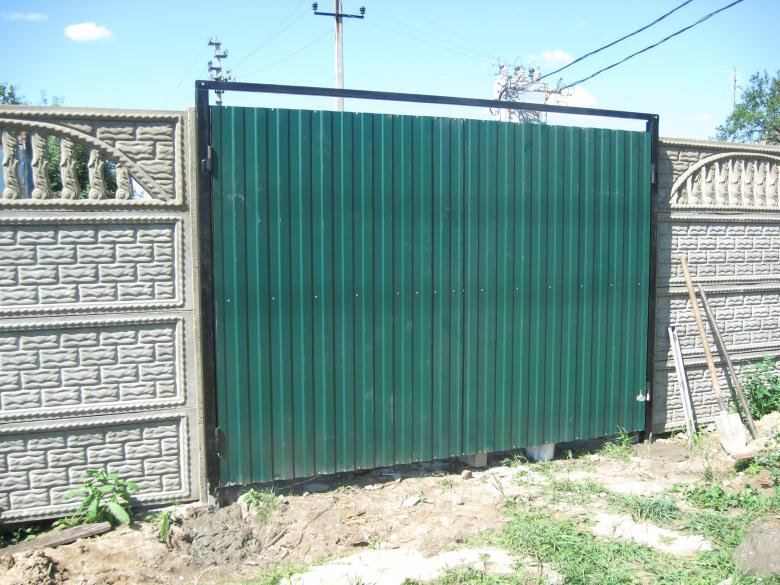
Profiled sheets are laid with an overlap. After that, they are connected to each other with metal screws every 2-3 intermediate strips.
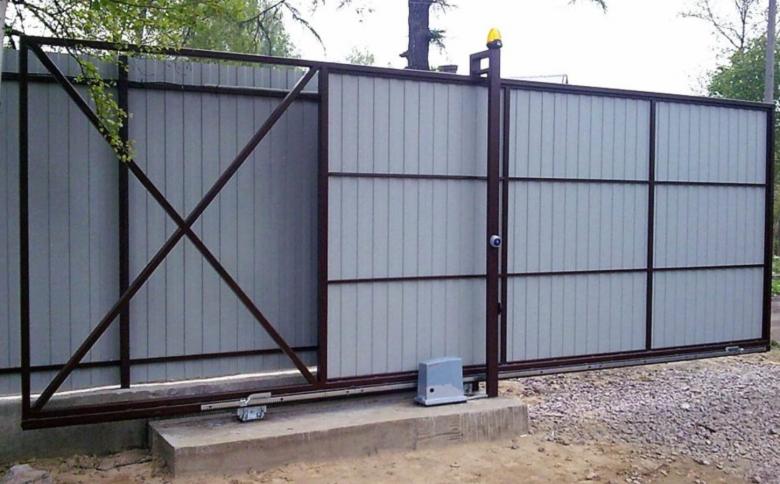
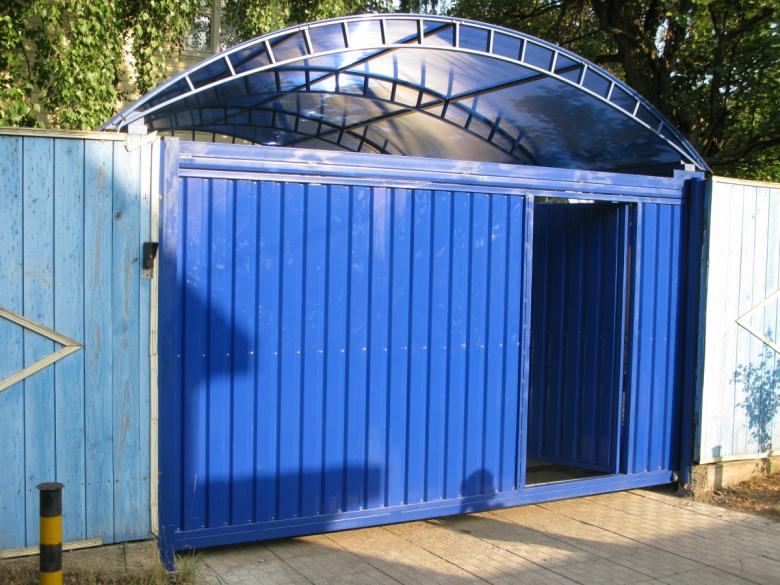
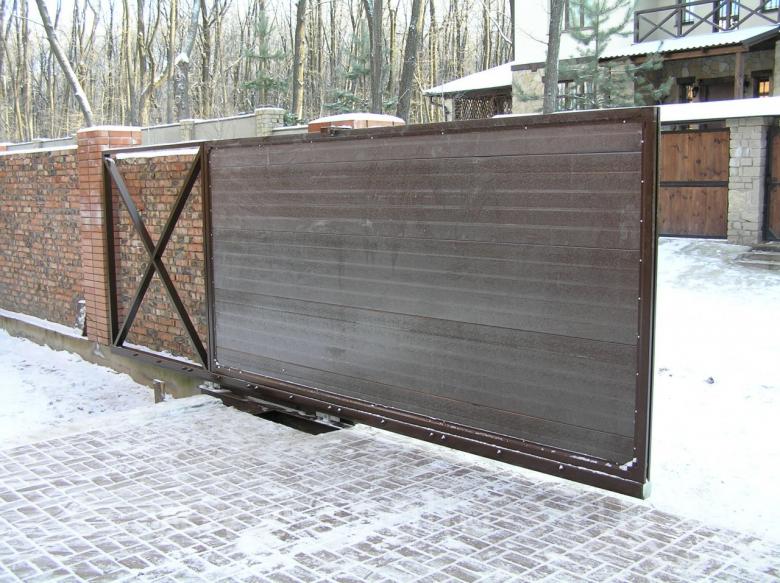
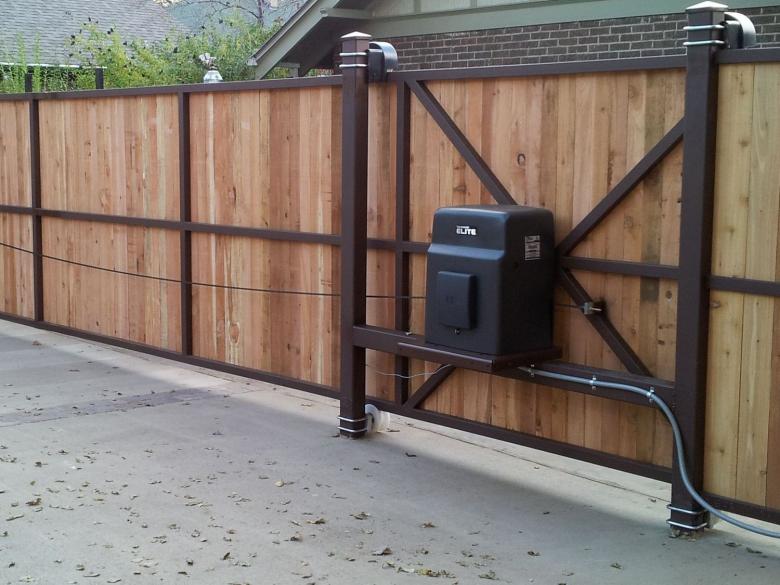
Rolling gates
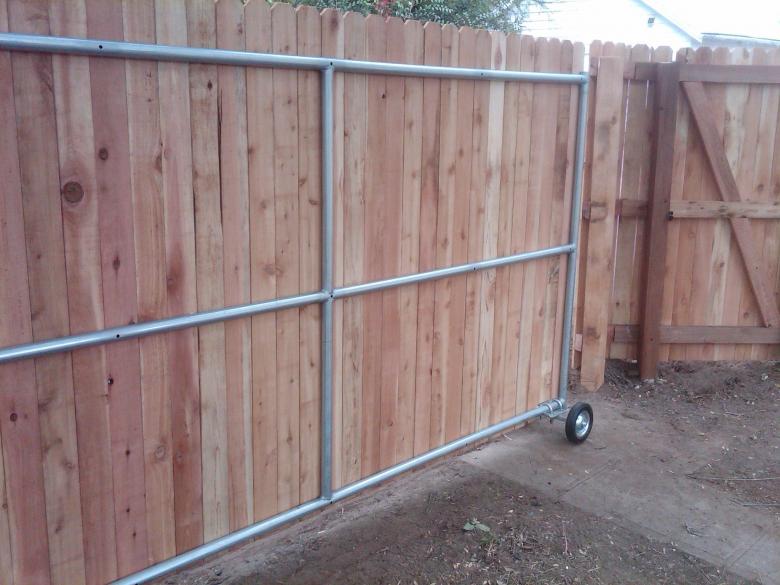
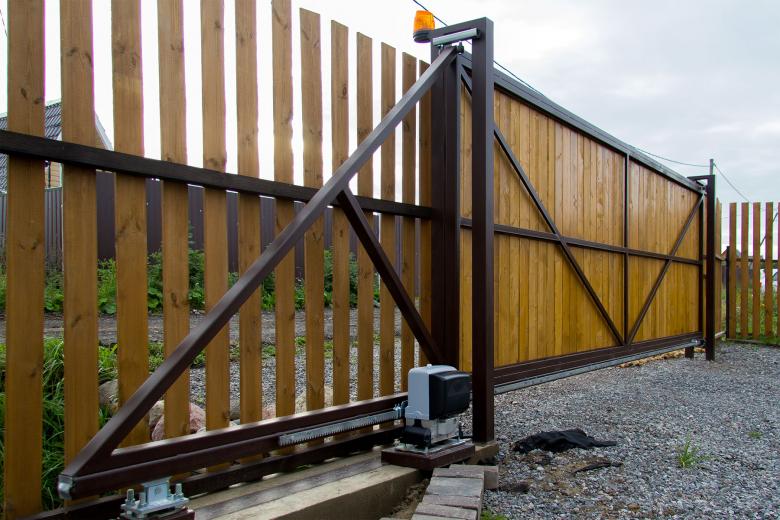
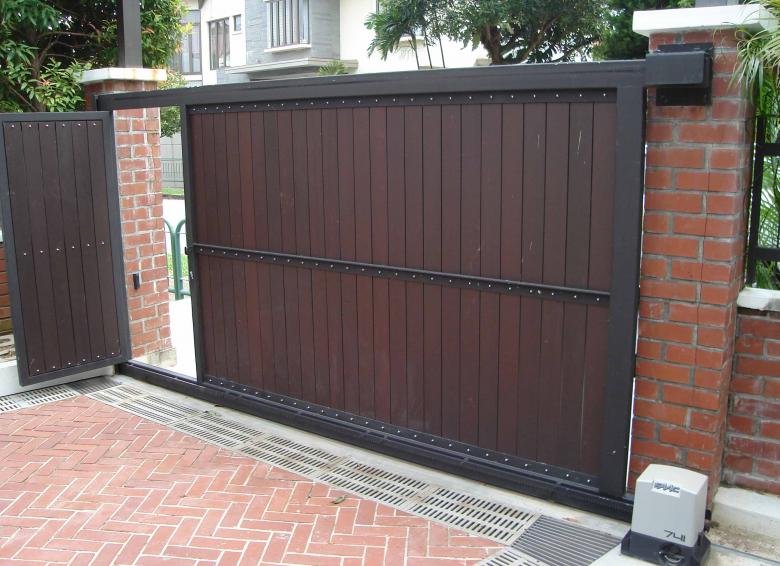
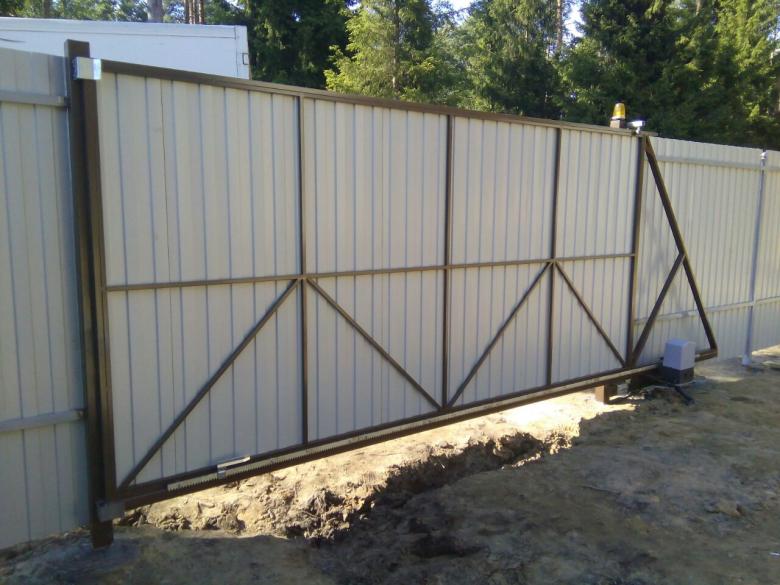
Making sliding gates with their own hands is a little more complicated than the swing gate. However, to make them yourself is also realistic.
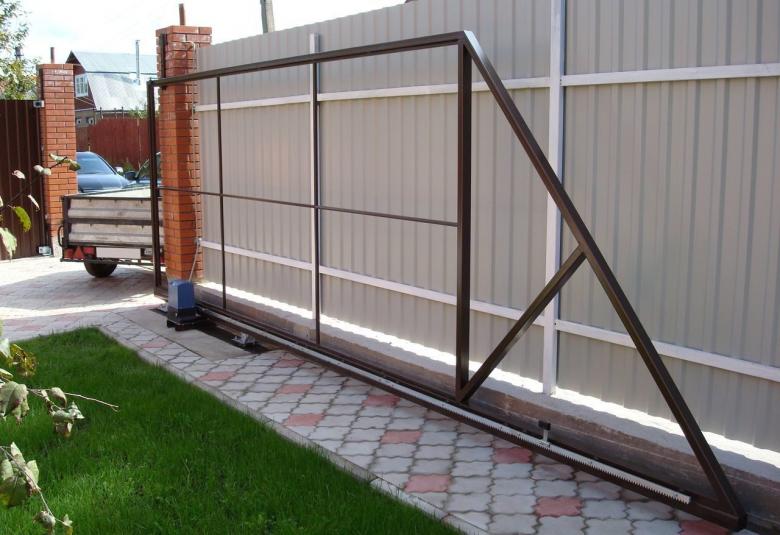
Below is an algorithm for making sliding gates with their own hands.
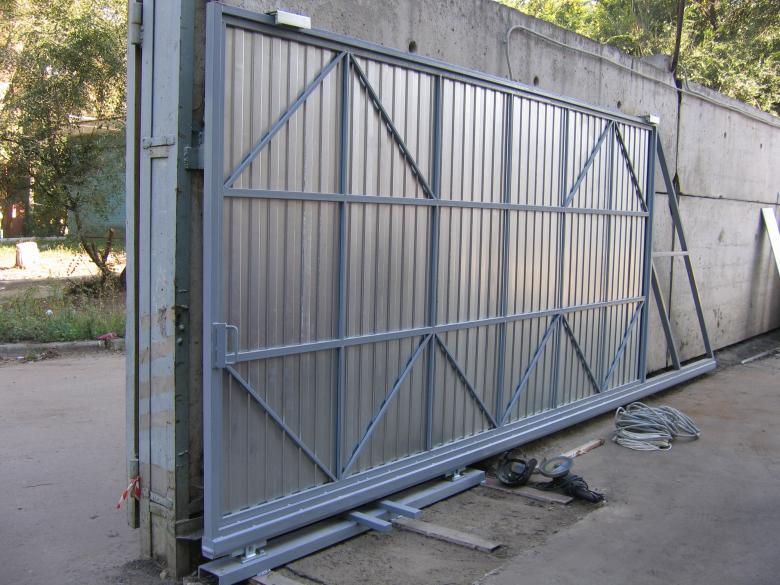
Advantages and disadvantages of this type.
Like any other device, sliding gates have pros and cons:
Advantages:
- Flaps open smoothly and do not create a loud noise.
- Do not require special maintenance in preparation for the autumn-winter period.
- The gate can be opened manually as well as automatically.
- Resistant to sudden changes in temperature.
- The opening of the gate is accompanied by a sound and light signal.
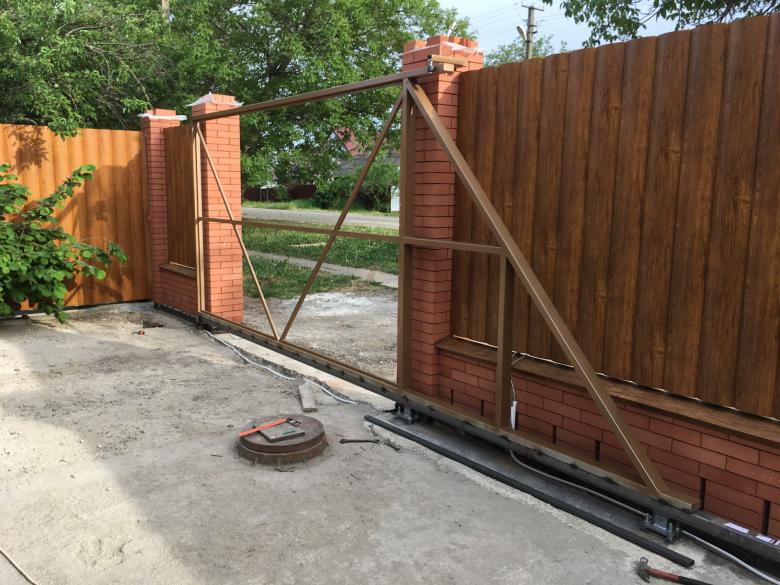
Disadvantages:
- It is necessary to carry out concreting of the support and structure.
- Need to clean the roller system from leaves and snow in a timely manner.
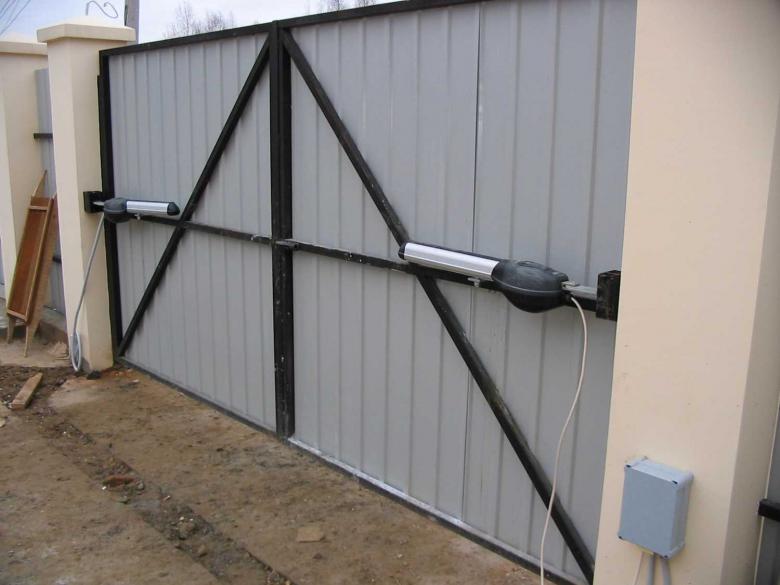
The material of which the gate is made.
As in the case of the swing gate, sliding gates are made of metal profiled sheeting or wood.
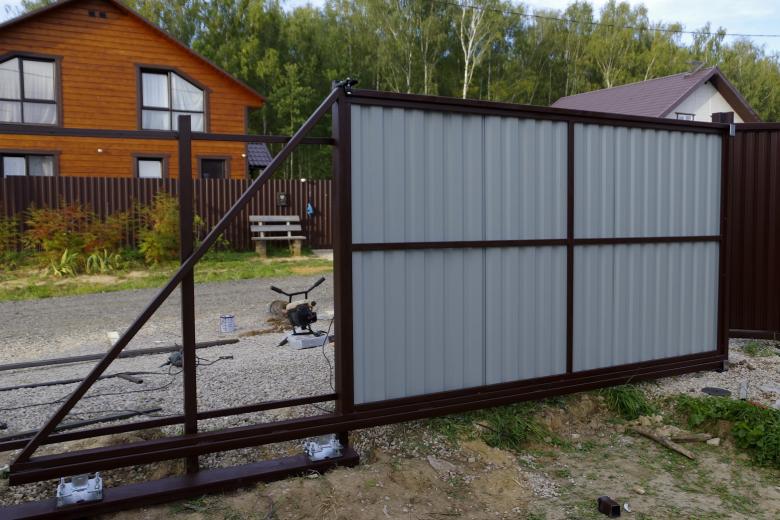
Preparatory stage
To carry out the installation, it is necessary to prepare the foundation. The first thing to do is to dig a trench for the foundation. Its digging is carried out on the basis of the size of the fence.
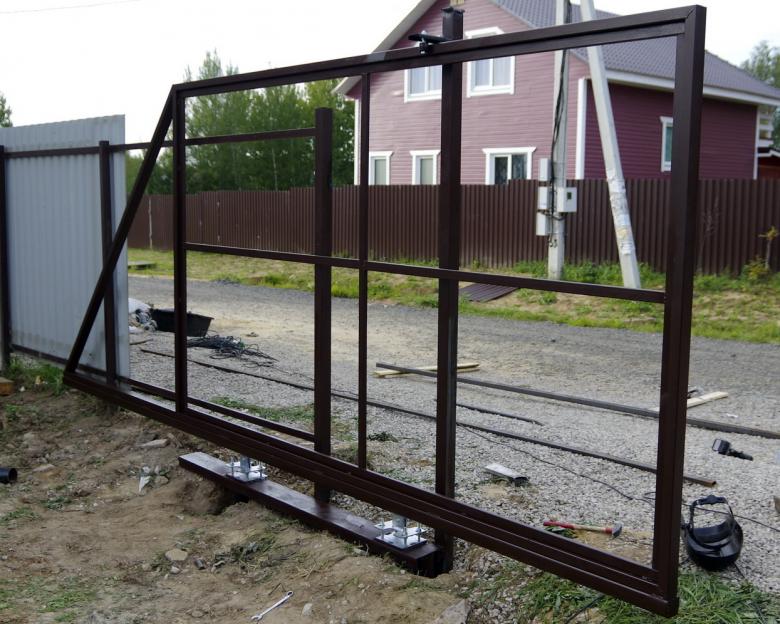
After that, the embedded element is made:
- A metal channel is taken and cut to the length of the trench.
- Using welding, the channel is connected to the rebar. The rebar should be higher than the trench by about 10 centimeters.
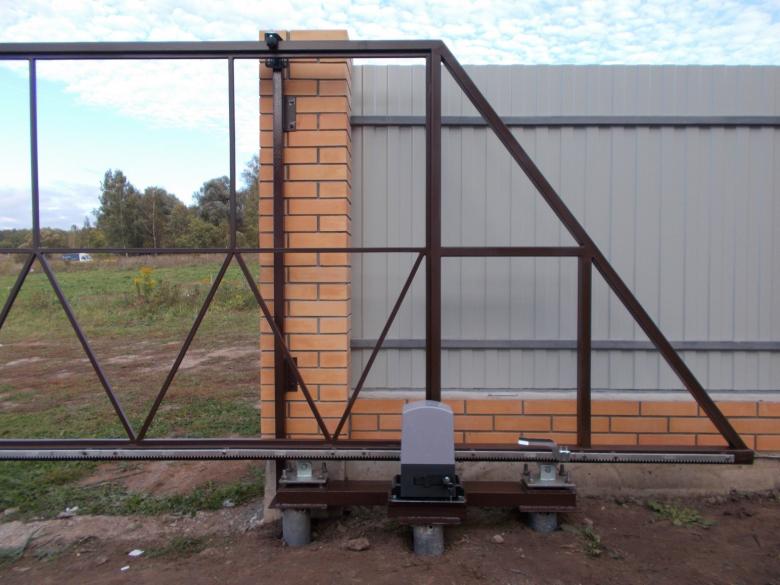
The next step is to install the frame in the trench:
- On the bottom of the hole is poured crushed stone or sand.
- After that, the armature is sunk into the ground.
- Using a construction level, it is aligned. This step is very important, because if it is sunk incorrectly, the gate will not run smoothly.
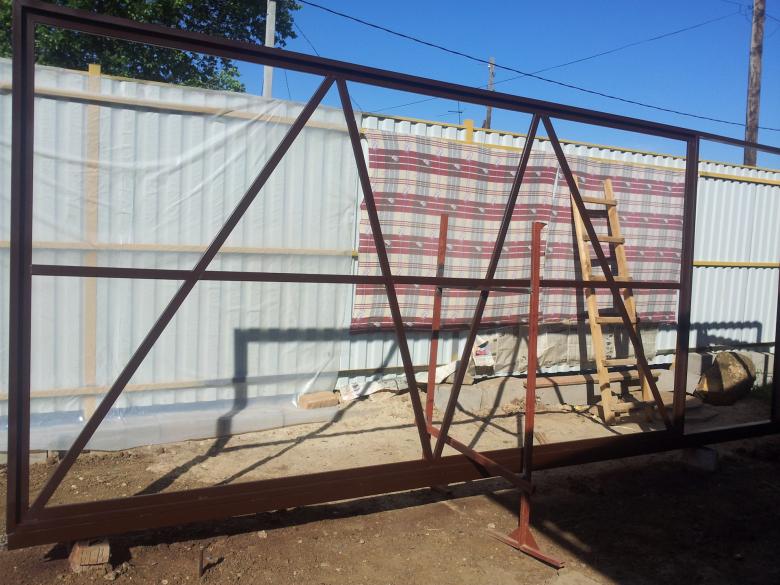
Conducting electricity
The electric cable is laid before the foundation is poured with concrete, along the trench. The cable is placed in a corrugated hose. The free end of the cable should protrude from the foundation for 1.5-2 meters.
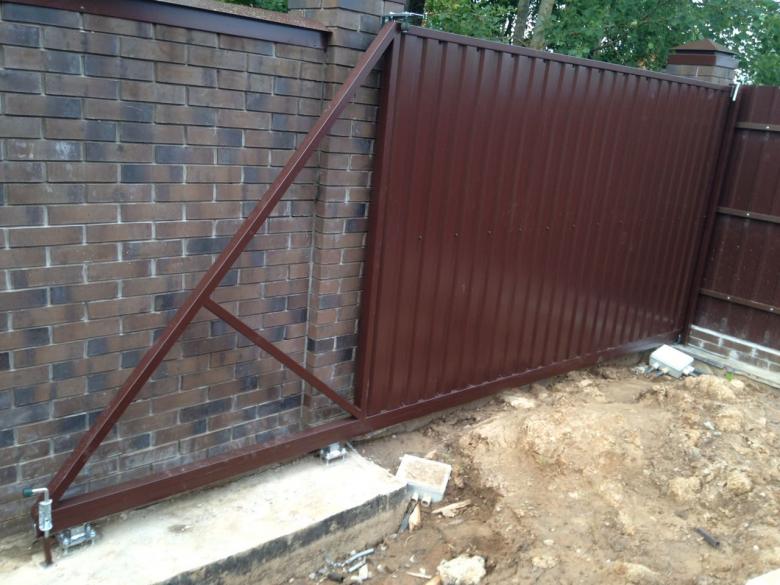
Casting the foundation
Concrete is made from cement, sand and crushed stone in a ratio of 1:3:5. Many experts recommend using concrete grade M400.
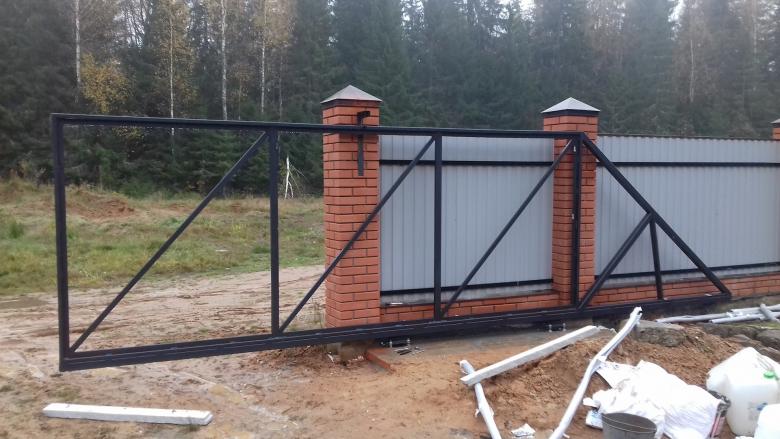
Upon completion of the creation of concrete, the trench is poured to the level of the beginning of the channel. After the pouring wait 5 days, during this time the concrete should harden, to carry out further work.
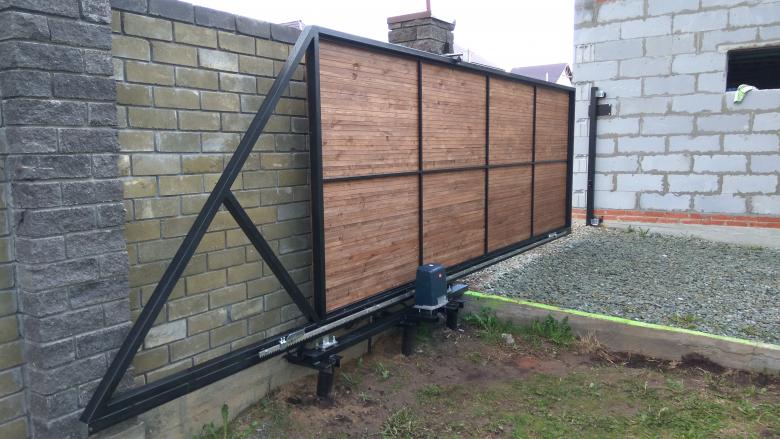
Fabrication of the gate leaf
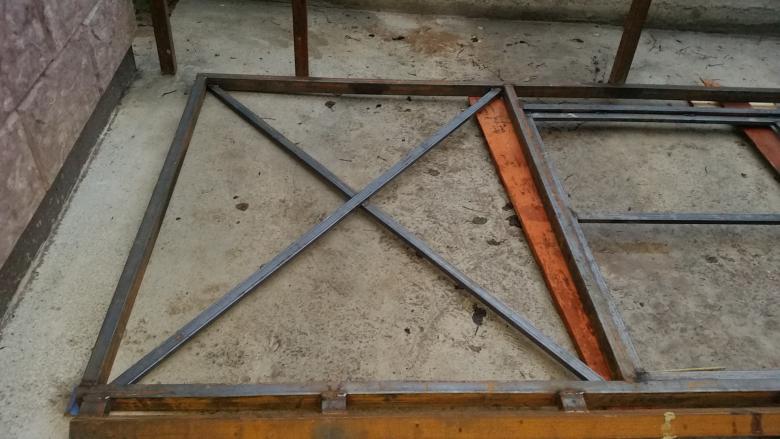
The manufacturing process of the gate leaf is carried out according to the following algorithm:
- Using a grinder and a brush, the pipe profile is cleaned of scale.
- The metal is cleaned of dust and dirt.
- Treatment of the profile with an anti-corrosive agent.
- Pipe 50X50 or 60X40 is cut into frame components.
- Components are connected and welded together using a construction angle.
- Grinding grinder is made joints.
- The gate is painted and fastened to the frame.
Mounting of roller carriages and fixators
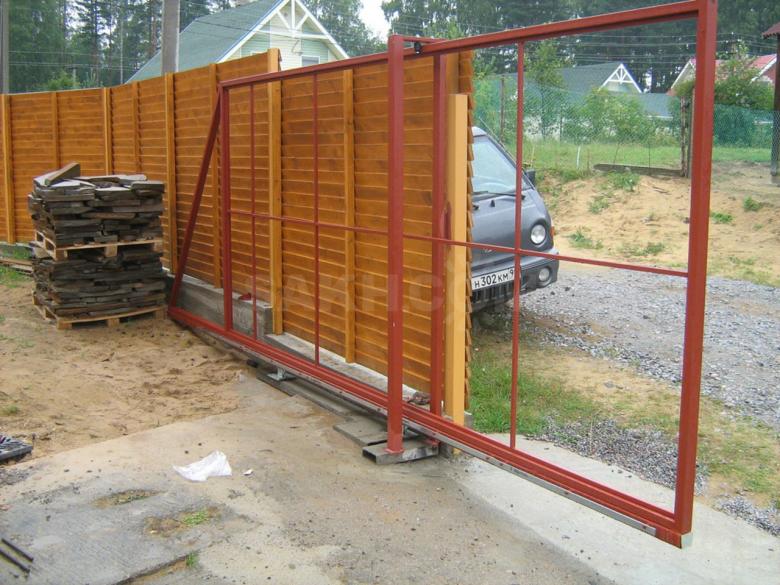
The connection of the leaf with the frame is made with the help of carts and clamps.
- The first plate is aligned with the concrete blocks and welded to the channel. Welding is carried out at a distance of 15 centimeters from the edge.
- The second plate is welded to the opposite edge at a distance of 10 centimeters.
- Using bolts and nuts, the carts are attached to the plates, and then the gate is installed on them.
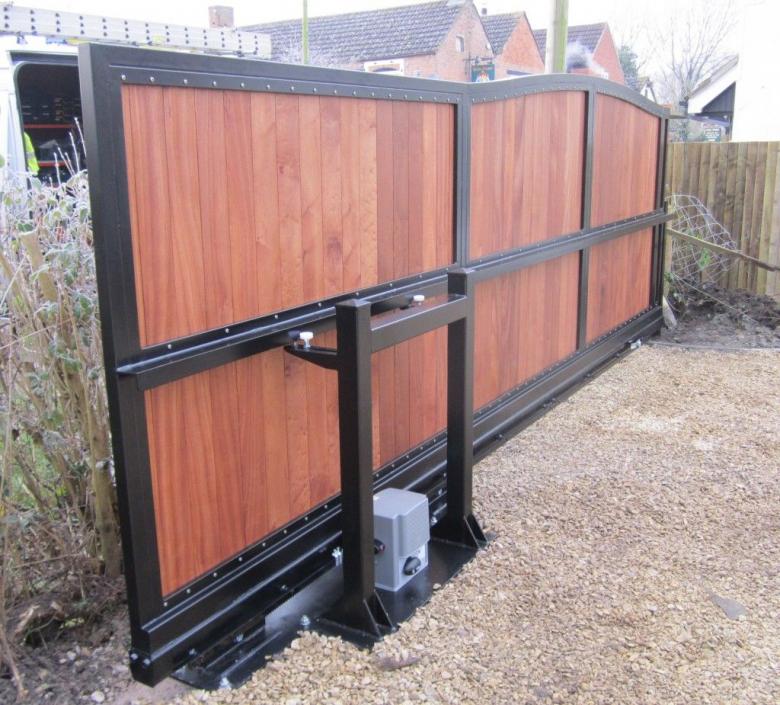
Then, the posts are secured with self-tapping screws. They are needed to ensure that the gate does not come off during movement.
This article should provide you with information on how to make and install gates on your own dacha plot.

