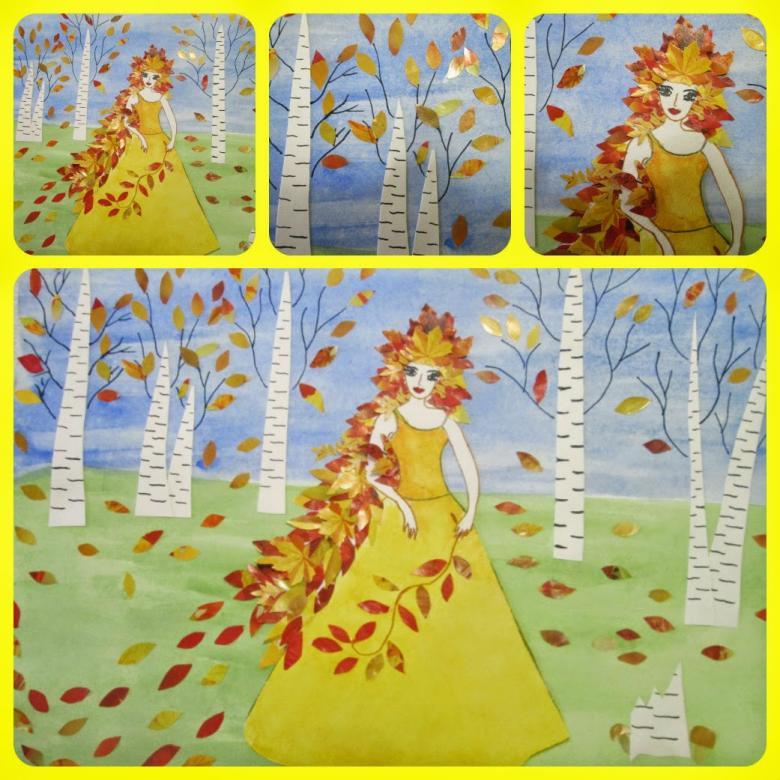
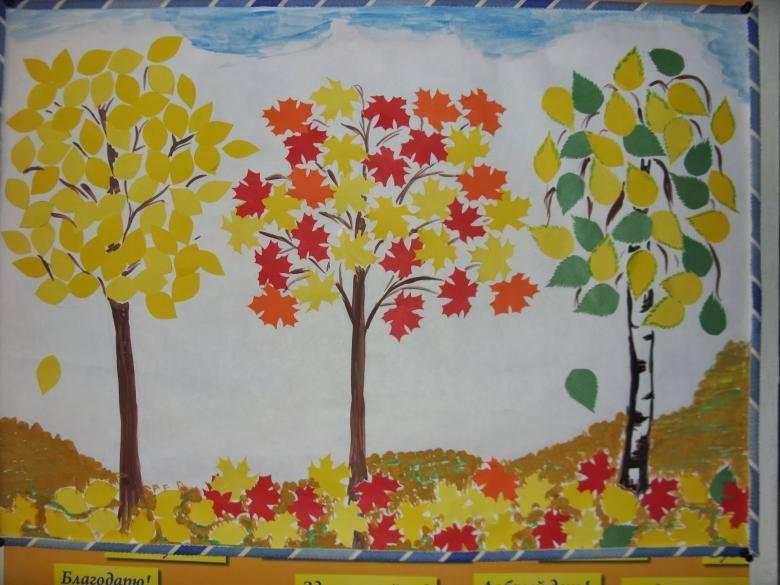
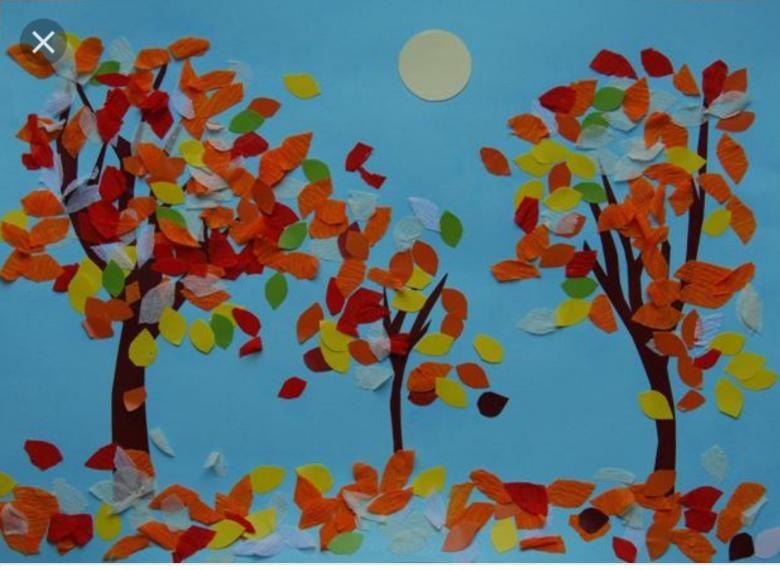
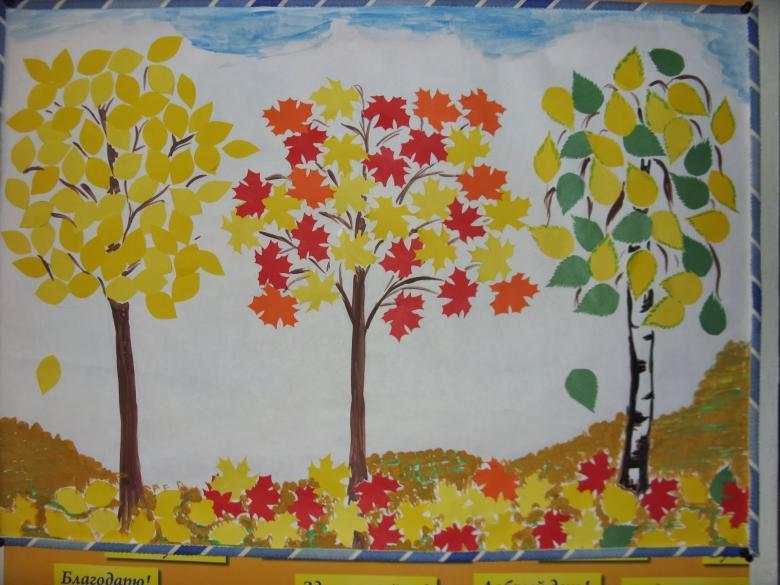
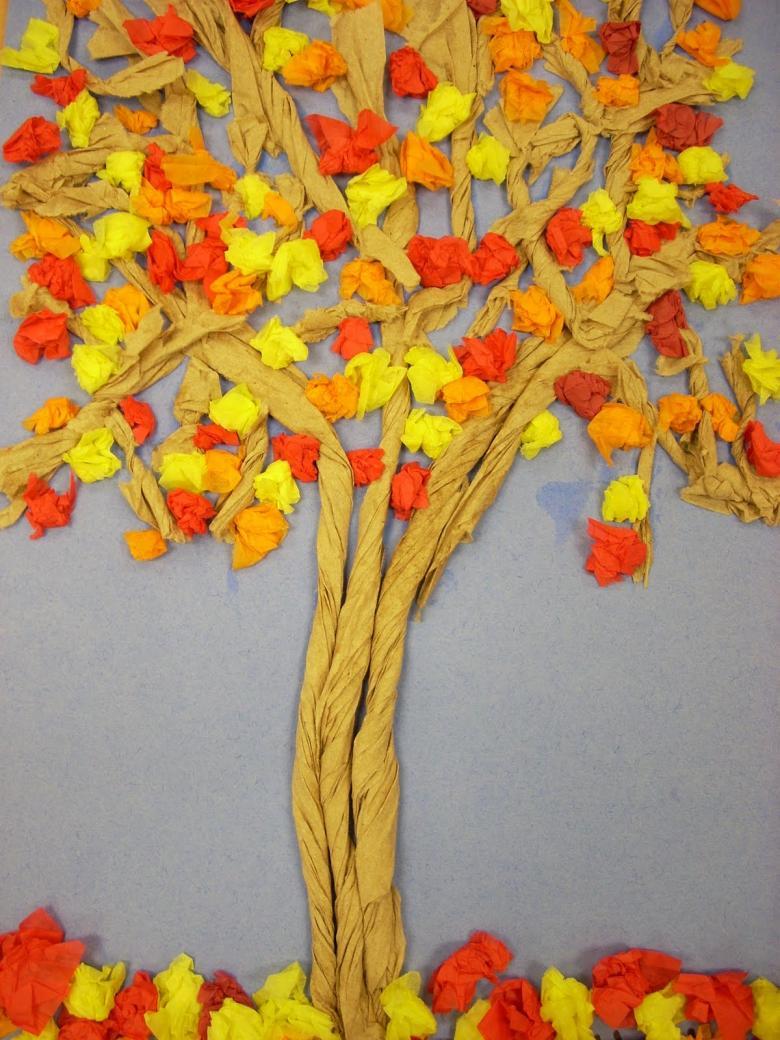
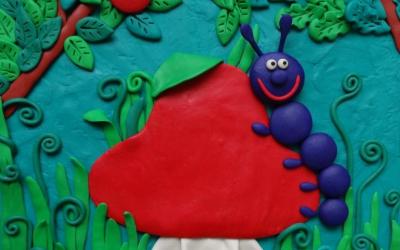
Autumn forest collage from paper - detailed master class with step-by-step instructions and illustrations
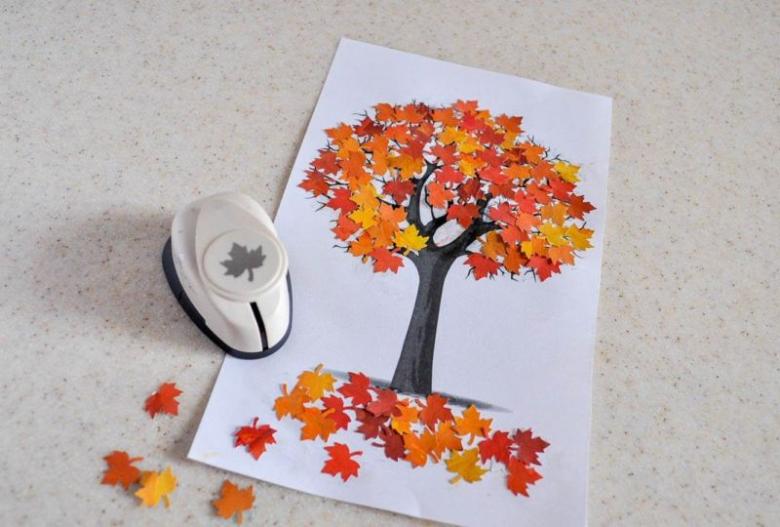
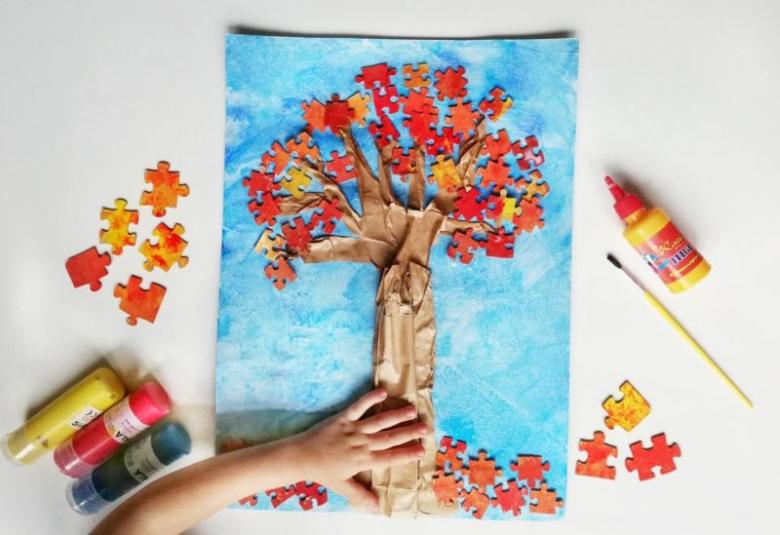
For the full self-development of children it is necessary to carry out for them all kinds of creative work. One of these is considered a collage. It develops hands, teaches children to be diligent. In addition, increases the level of development of creative imagination.
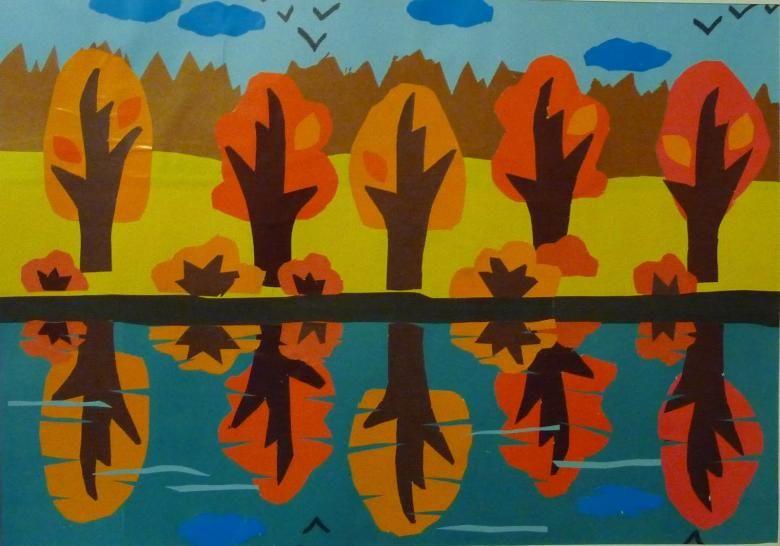
Undoubtedly, such an activity is quite perfect in terms of synchronous combination of the creative process and perception of reality. Learn to make with your child all kinds of children's crafts on the theme of the Golden Season. The children do work on the proposed subject in preschool. This subject is also found in labor lessons in the lower grades.
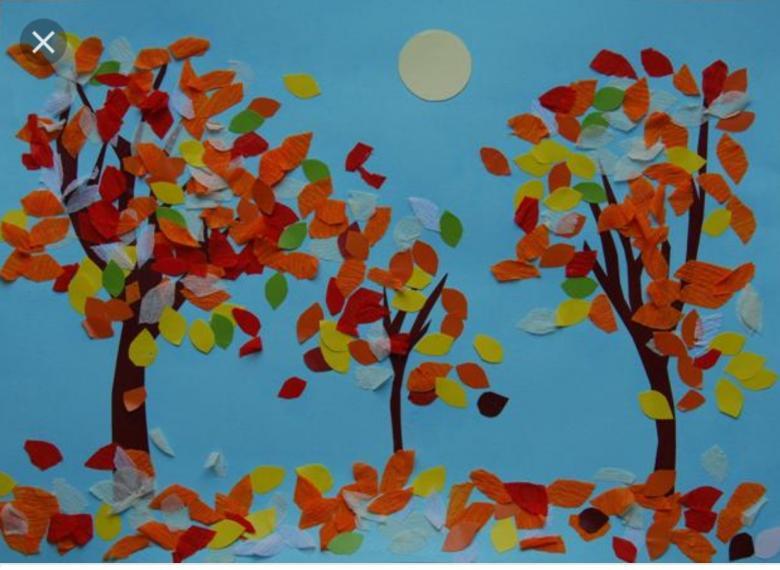
Accessories .
Before you start making a craft, prepare the following:
- Dense and colorful paper;
- Scissors with a rounded cutting edge;
- Glue or silicate glue;
- Absorbent cotton;
- Wallpaper;
- Marker and felt-tip pens;
- Cotton disks;
- Drawing supplies.

Type of execution
There are all sorts of ways of doing this, not limited to colorful paper. It is possible to glue on all kinds of raw materials that you like. Say, absorbent cotton, cotton balls or other materials. In this case the result will be totally different. Try and introduce your child with arts and crafts. So you will develop a genuine approach to creating beautiful things.
Relief technique
When creating three-dimensional appliqués, you can use several fabrication techniques. Consider the basic and most successful of them.
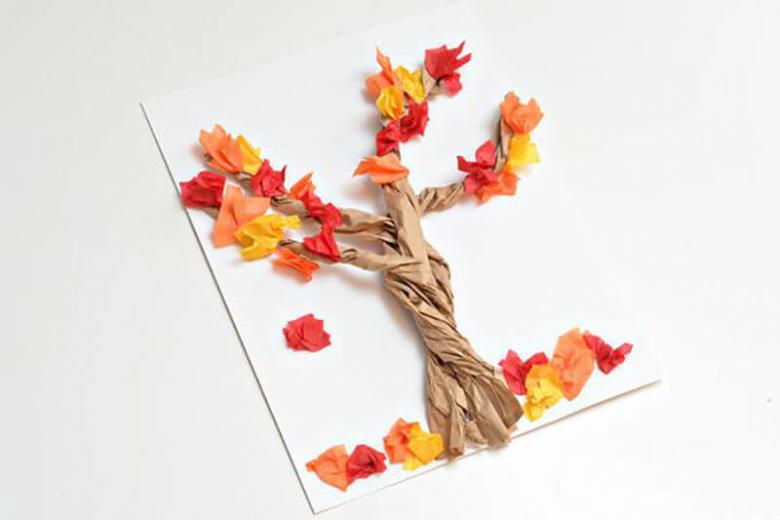
Making crafts with absorbent cotton
Achieve the right size, will help the technique of making from lumps of absorbent cotton. Fix them on the main leaf. Then carefully paint the entire side, in order to implement a particular colorful solution of the whole picture.
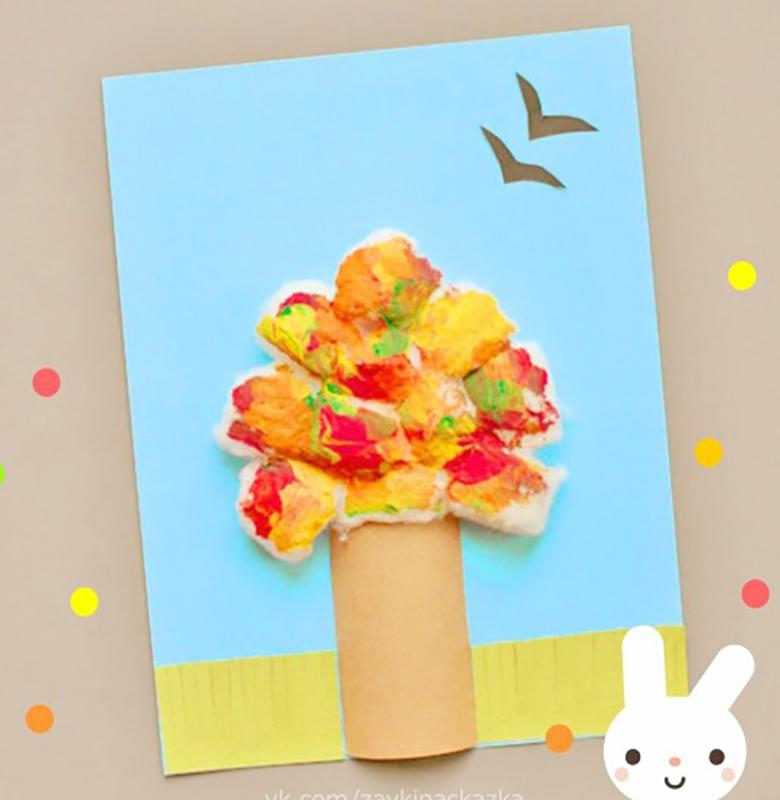
The essence is as follows:
- Tear the absorbent cotton into pieces.
- Prepare a small container of water to make it more comfortable to give the shape.
- Smear or dip the pieces in the glue, fix them in a suitable area, placing a lush crown.
- Take a brush with a thick pile, and diluting the paint of a suitable shade quite liquidly, paint the absorbent cotton in the desired color. It is not necessary to try to achieve a solid shade. Sufficiently apply selectively.
- From the colored sheets prepare the trunks of trees and glue just below the crown.
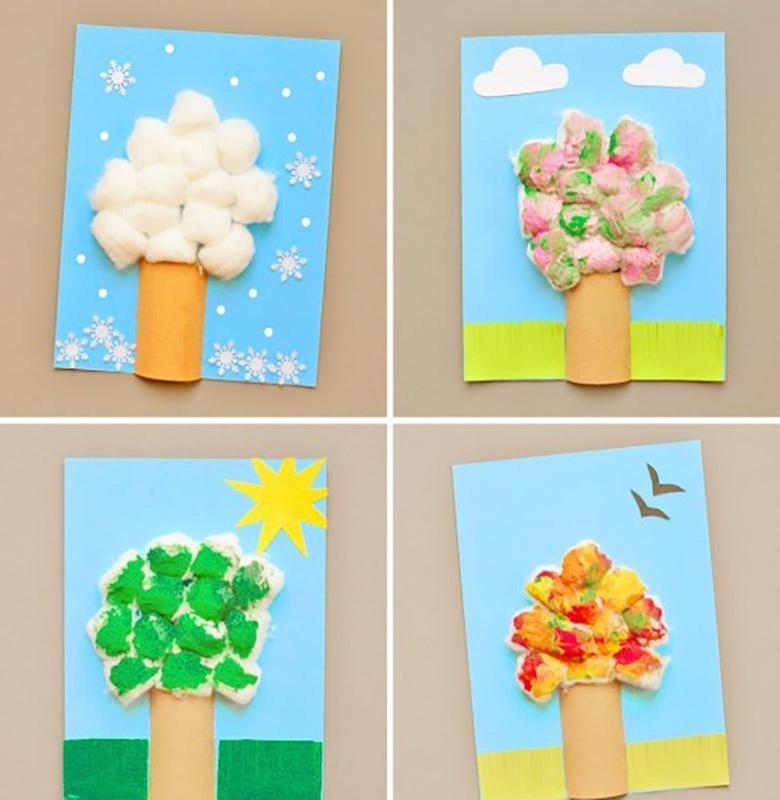
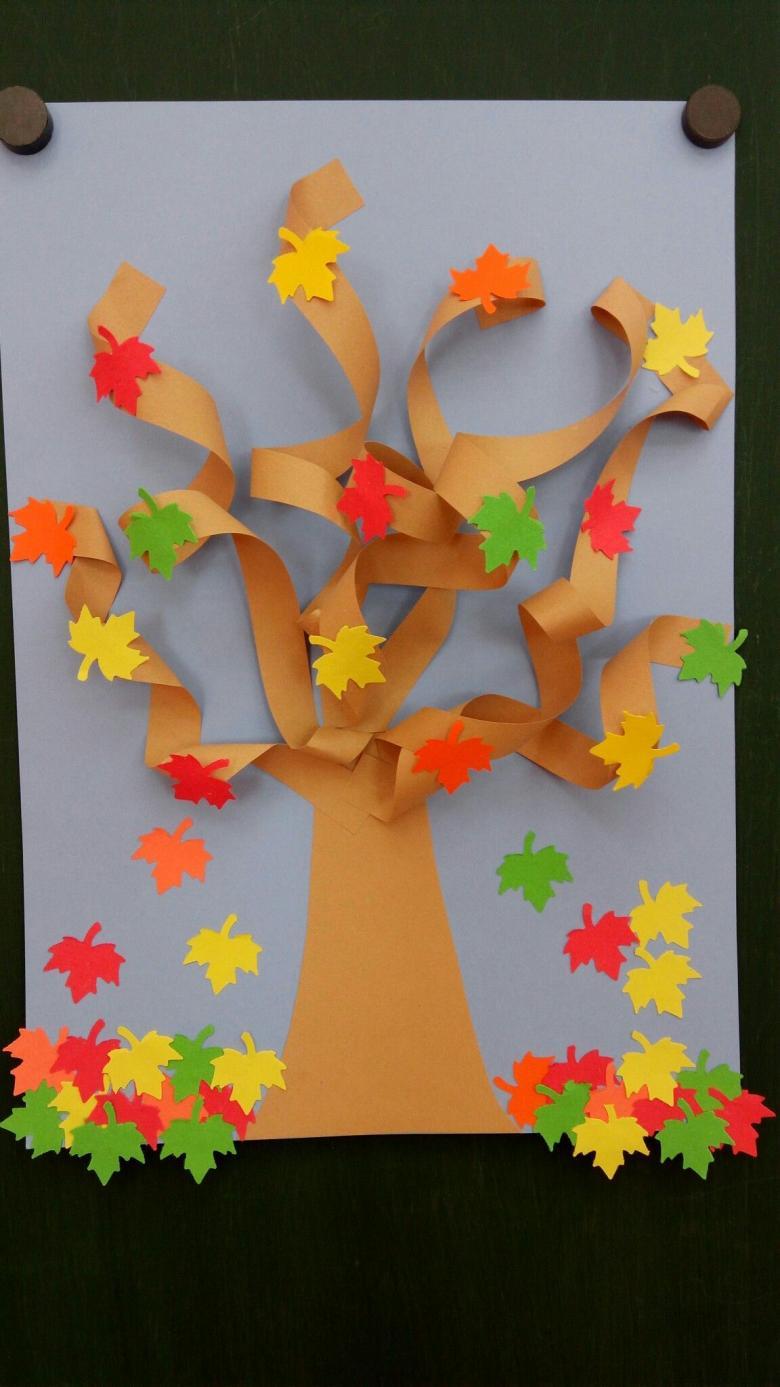
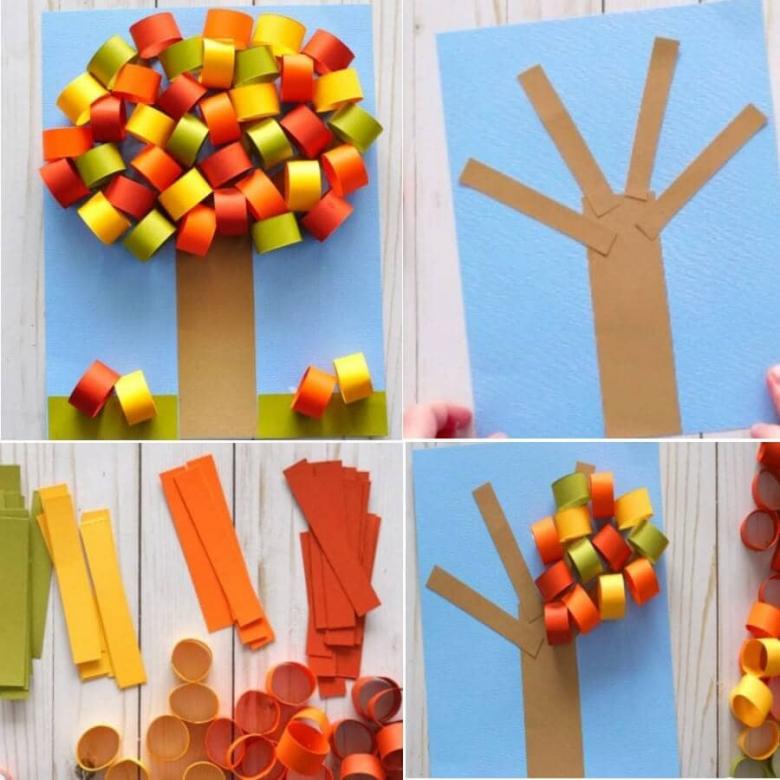
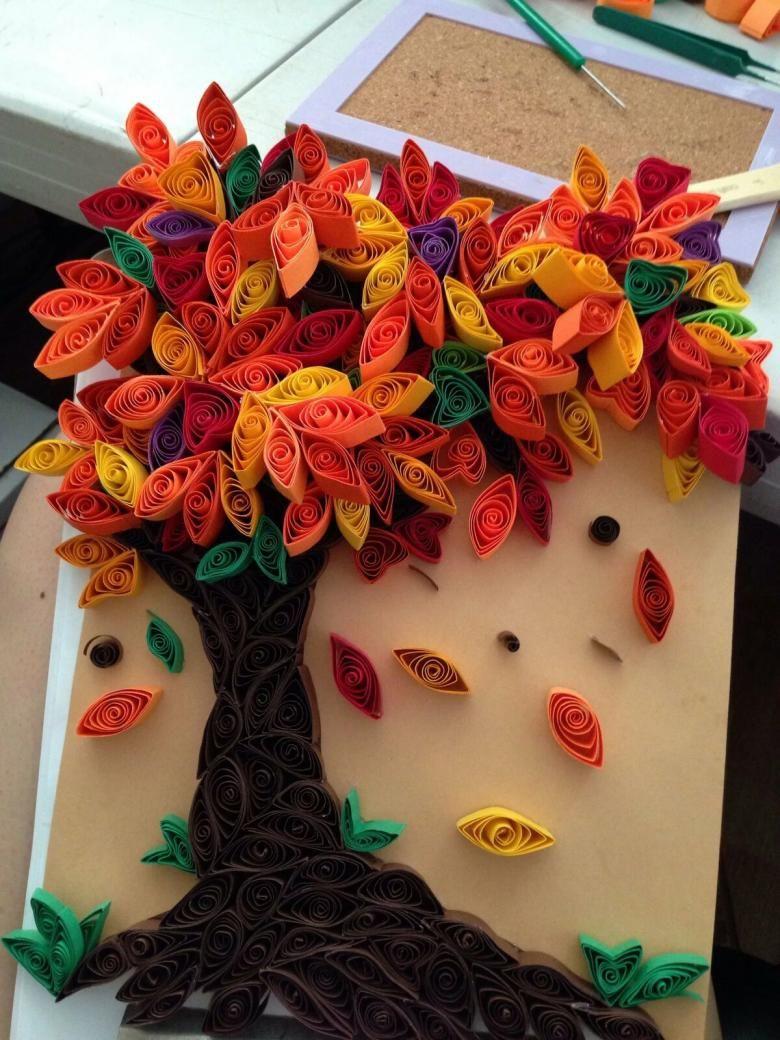
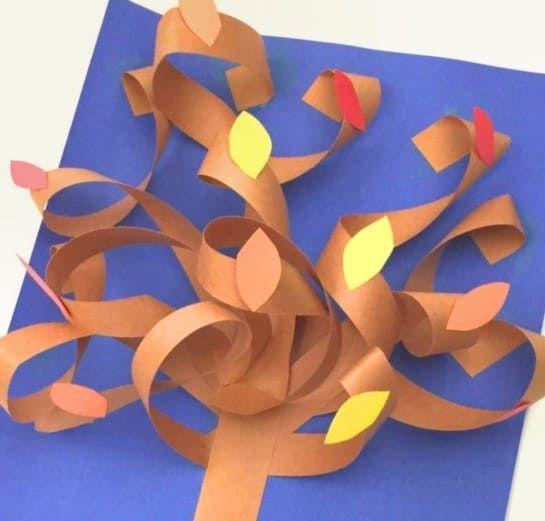
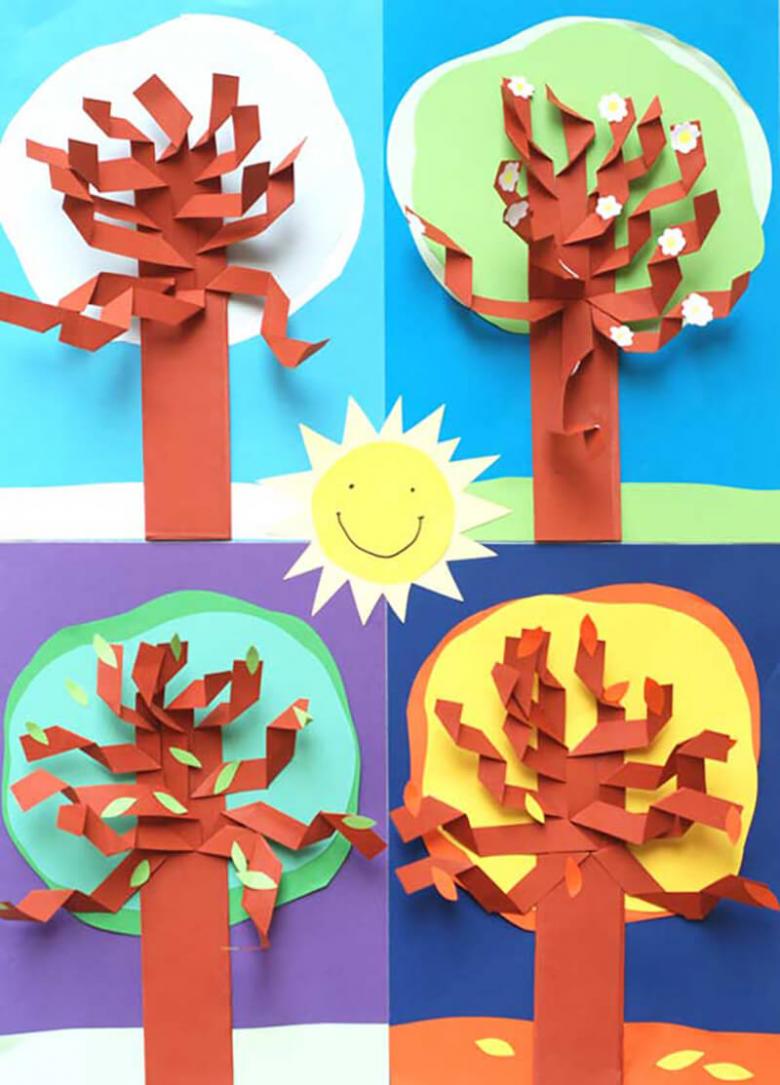
From curled strips of paper.
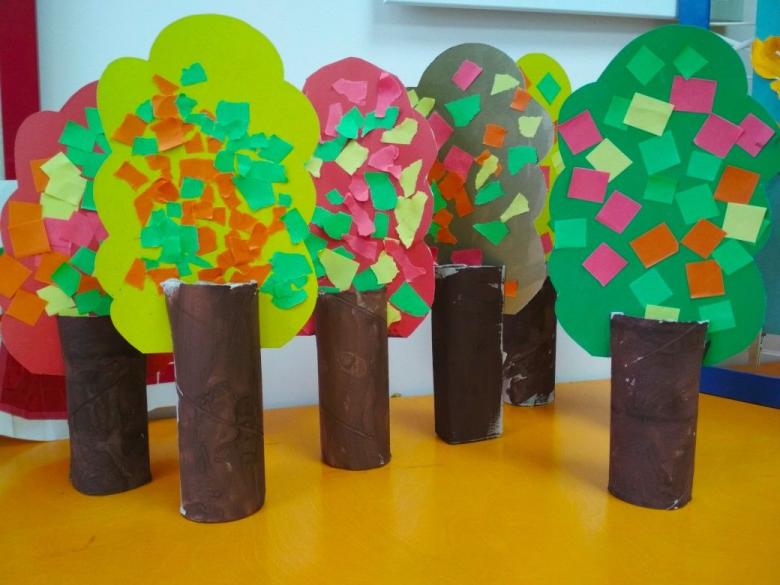
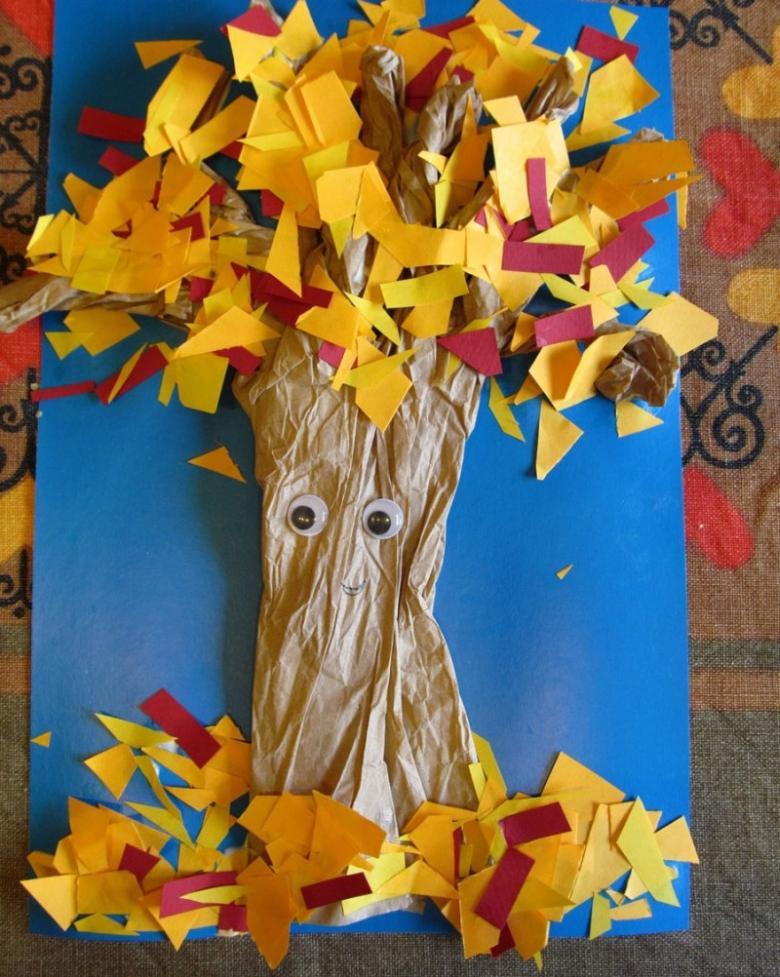
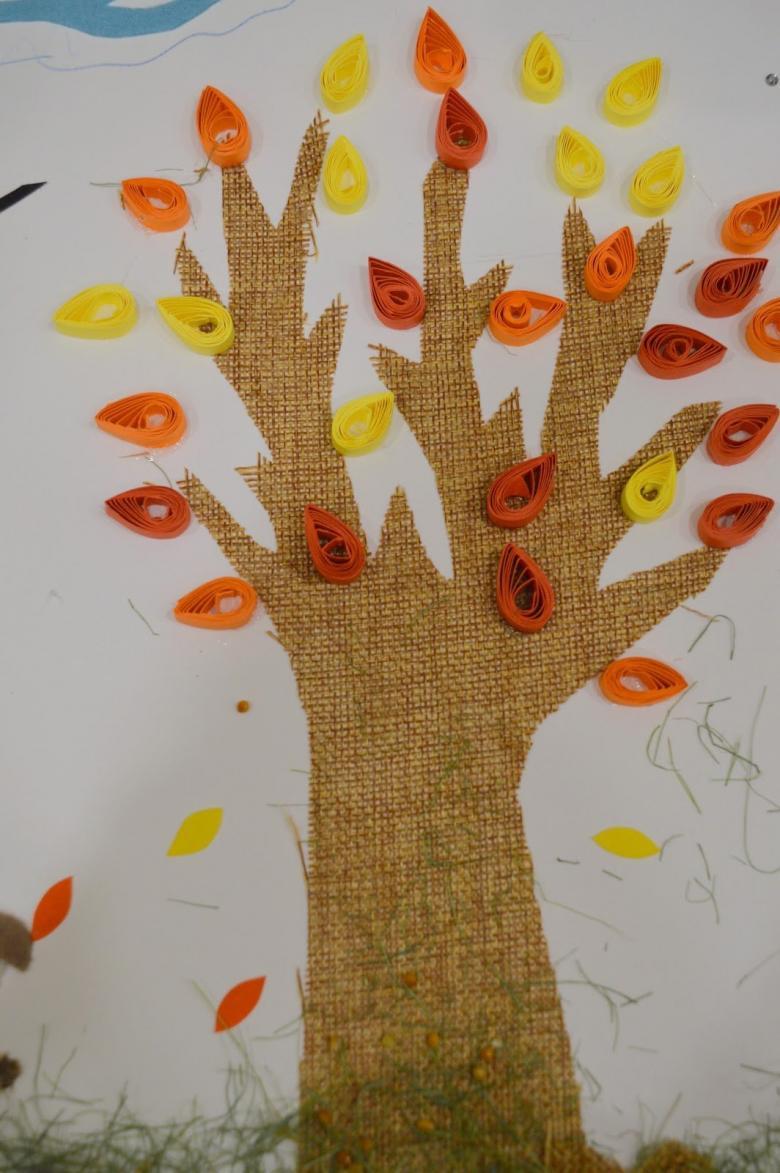
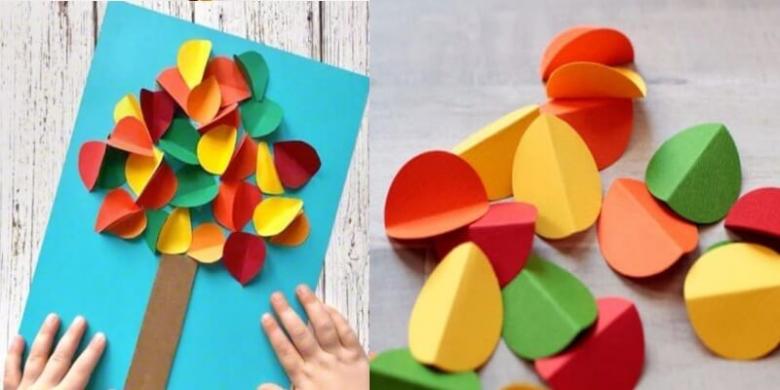
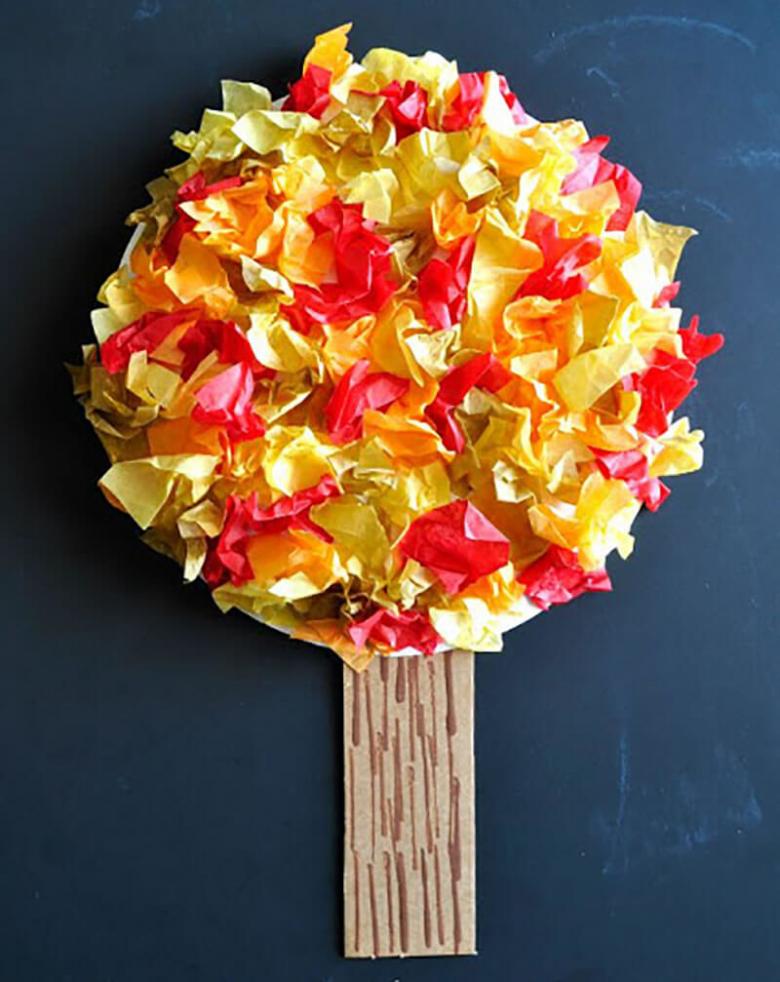
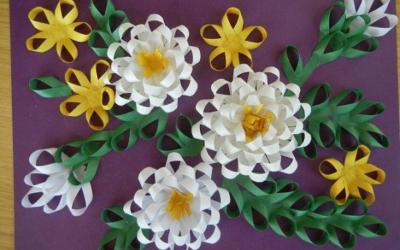
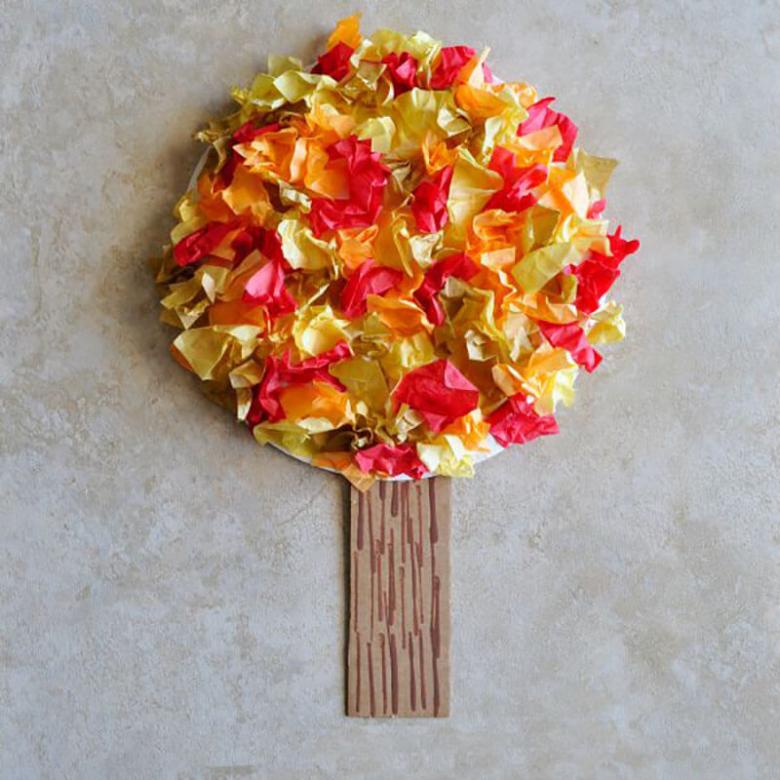
Cut the colored paper sheets into thin strips of small lengths. Glue them together in rings. Glue the finished cut out trunk to the base. Form the foliage over the trunk from the rings.
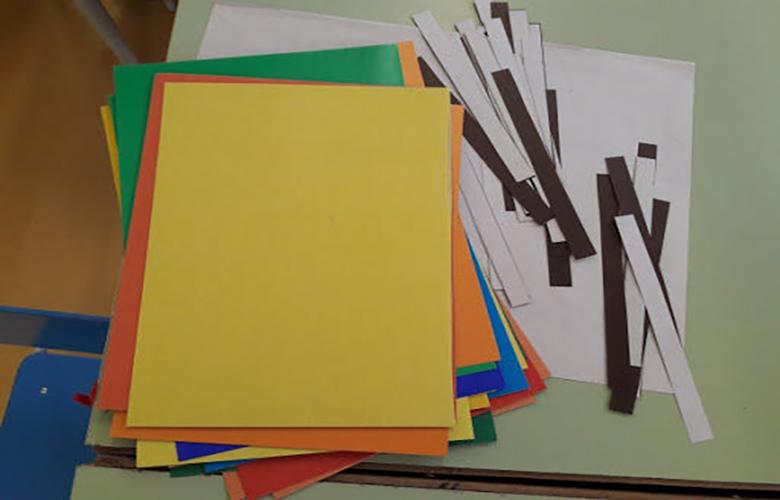
The rings can be glued either vertically or crosswise. You will have different types of trees. Combine several methods in a single handicraft, so you will extract more texture.
With absorbent cotton disks
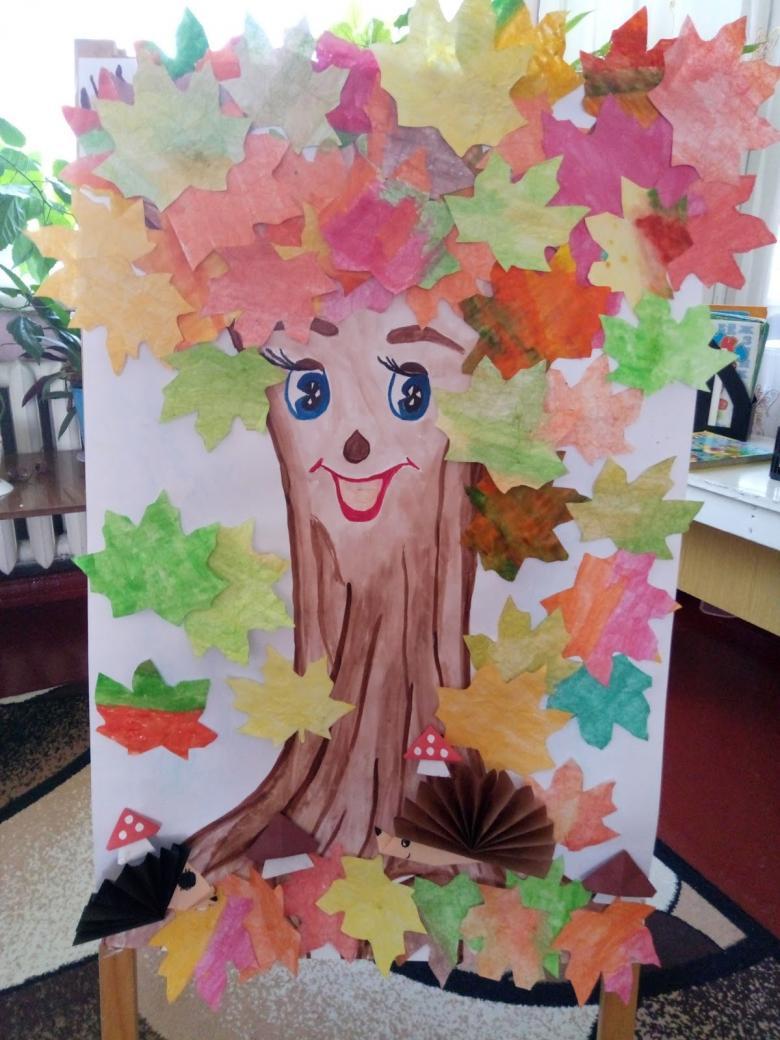
Cotton circles pigmented in a selected color. The handicraft will look most impressive if you use several shades for painting discs.
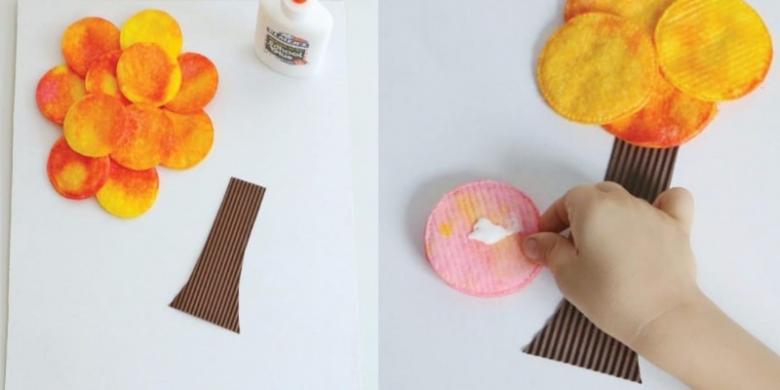
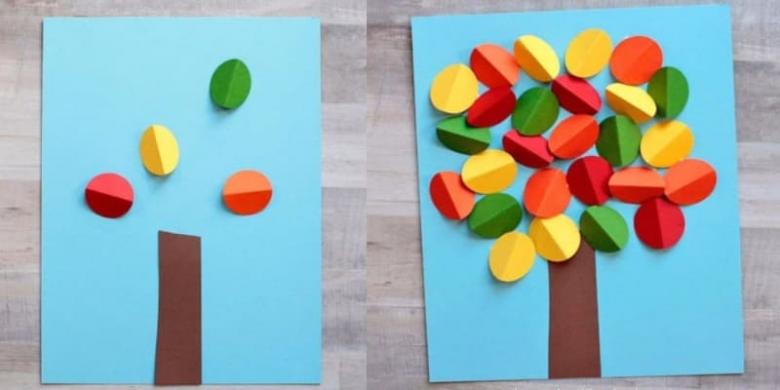
Cut out the trunk and glue it to the base. Around the trunk and going upwards start gluing the painted cotton circles to form the crown of the tree. Take into account that if they are superimposed one on top of the other, with a tiny overlap, you will achieve the maximum volume of the composition and effect.
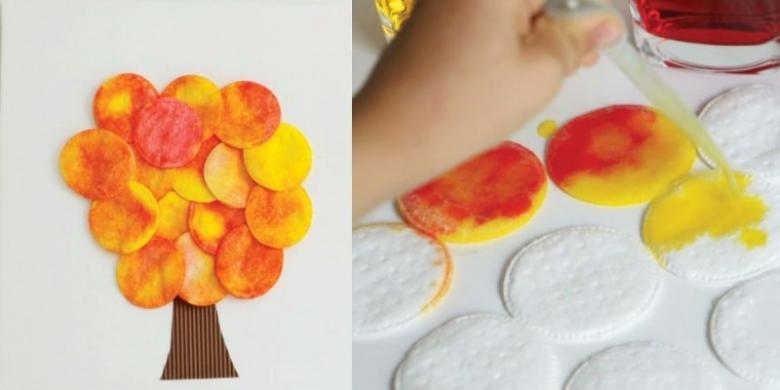
This simplest method is accessible even to a small child. It is used in preschools.
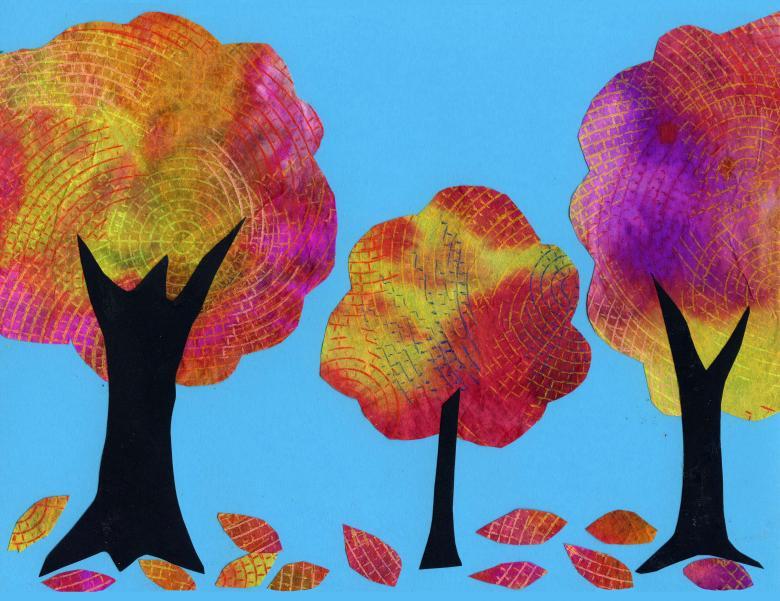
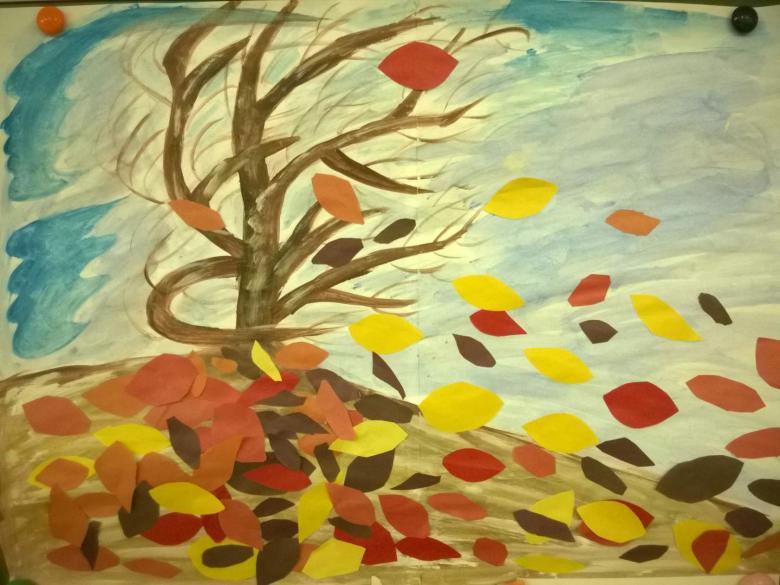
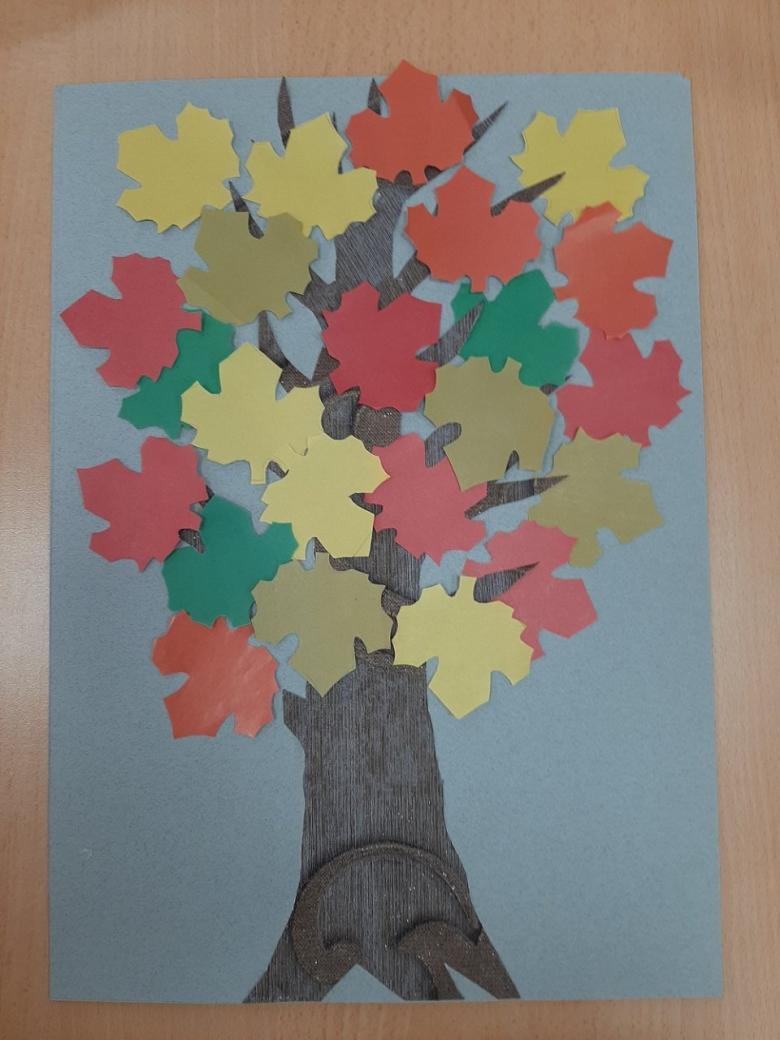
Using flat paper
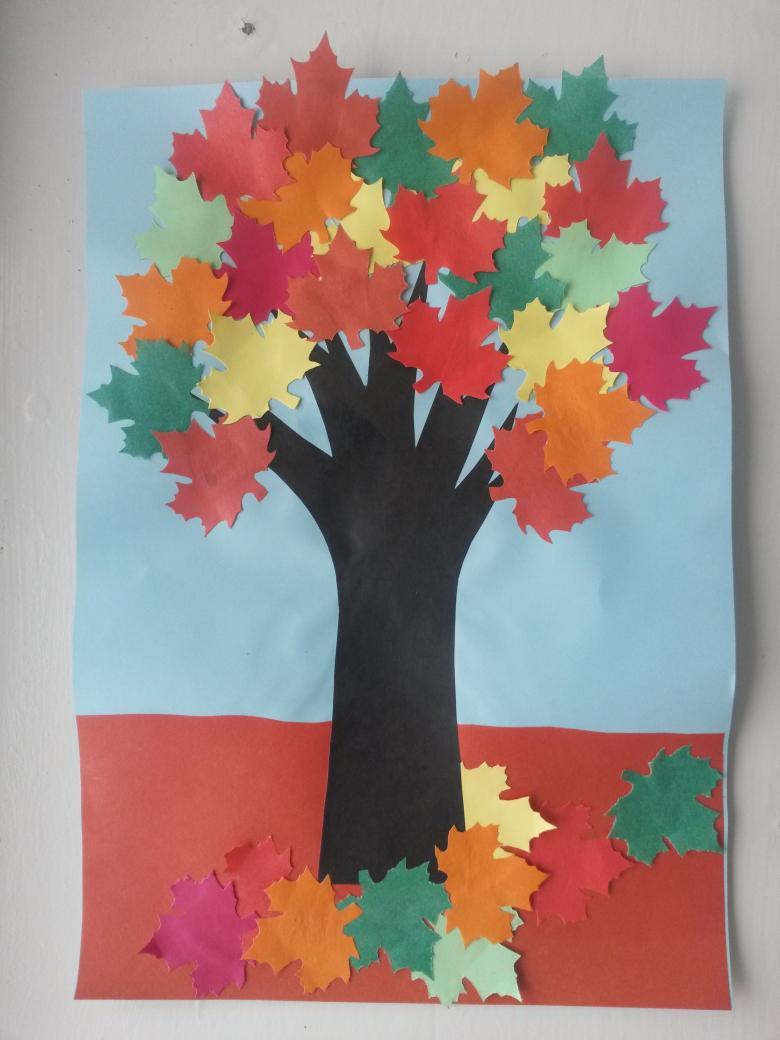
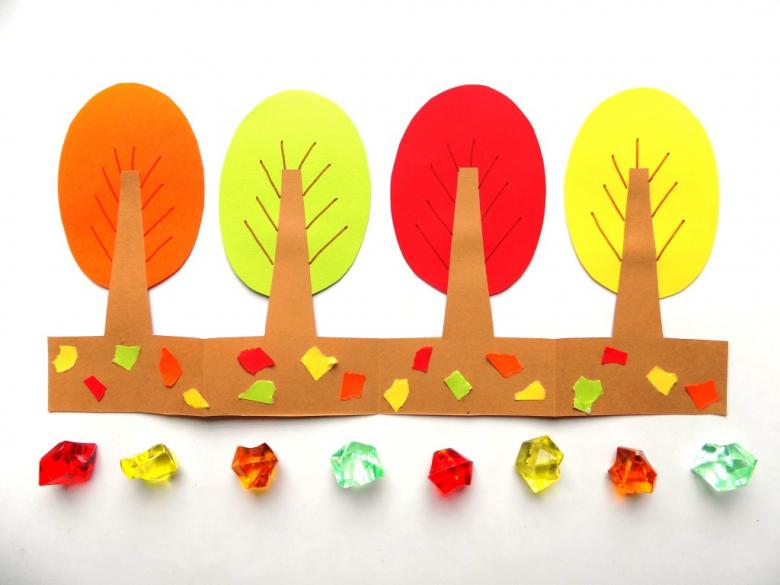
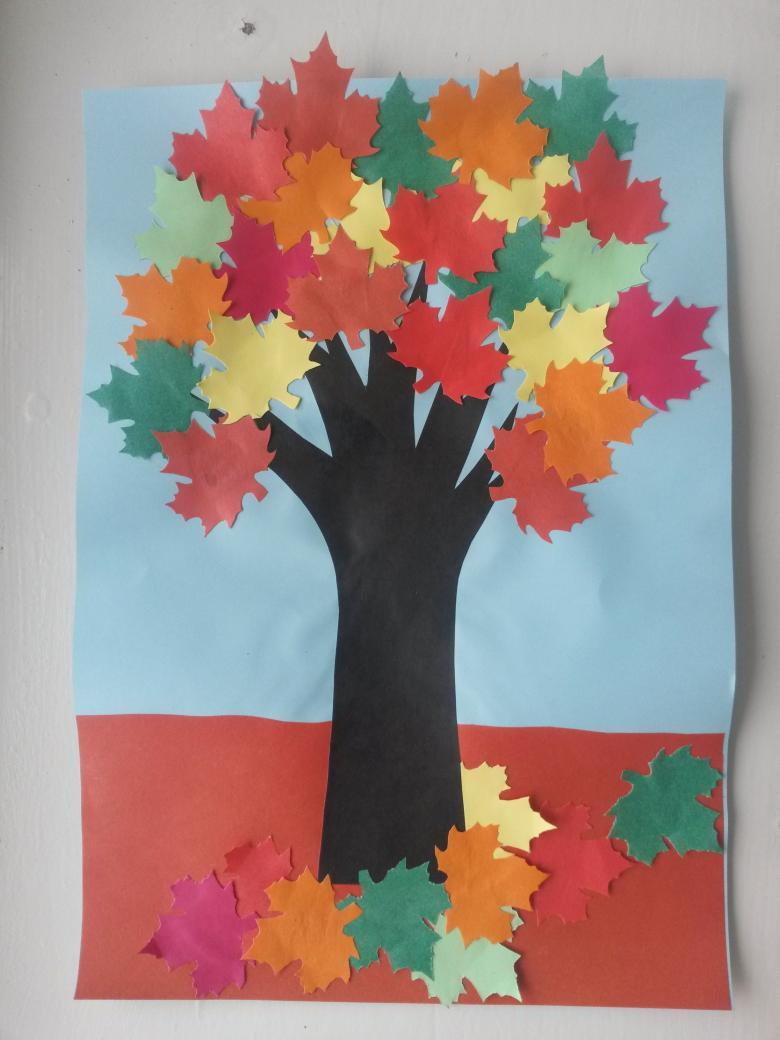
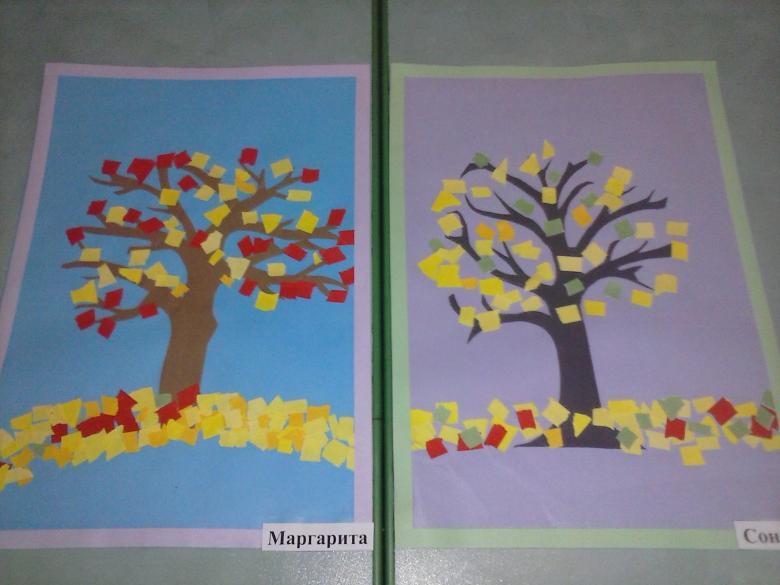
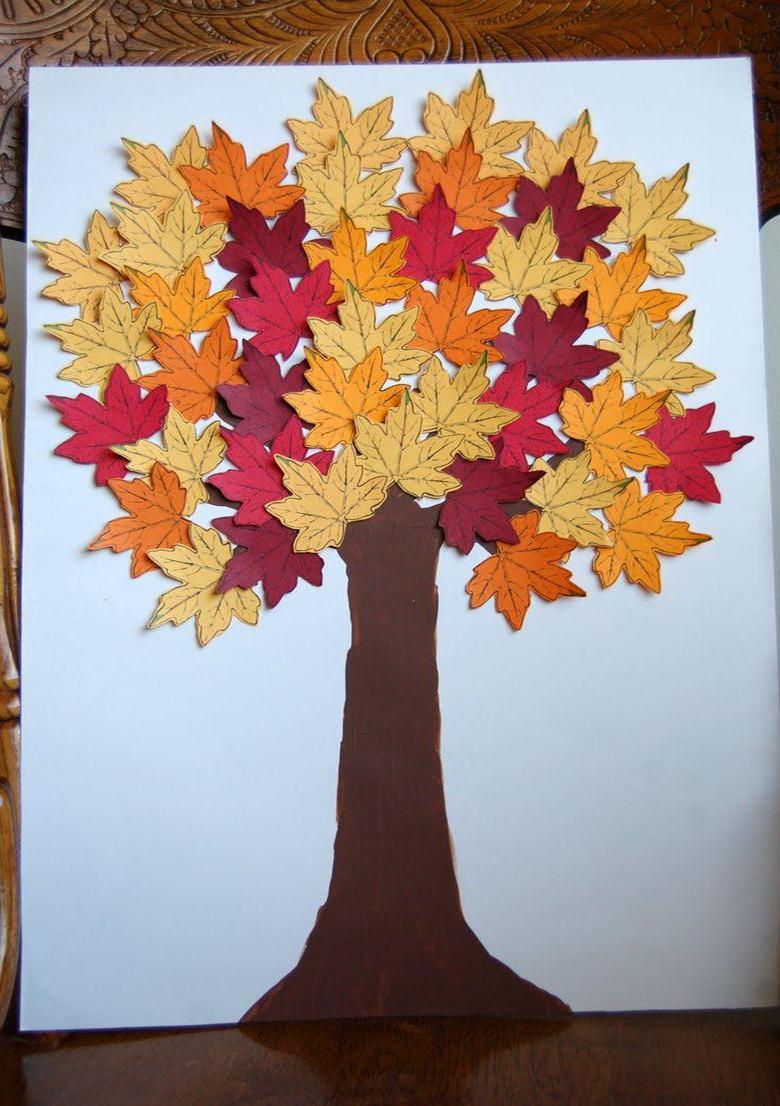
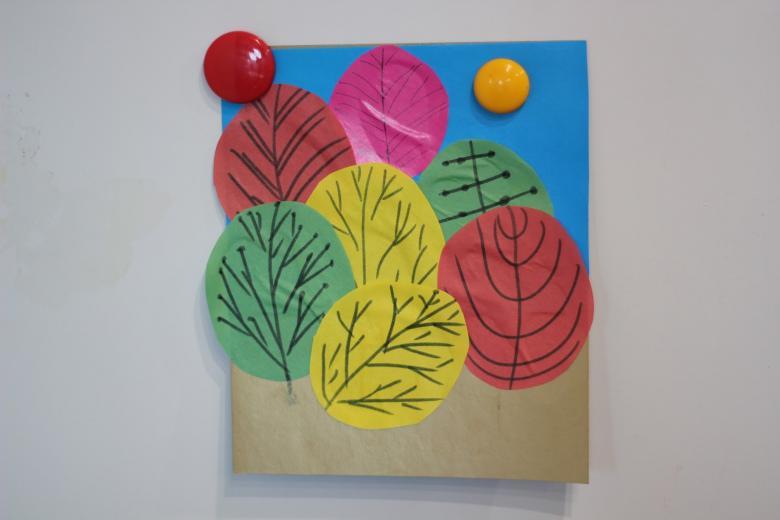
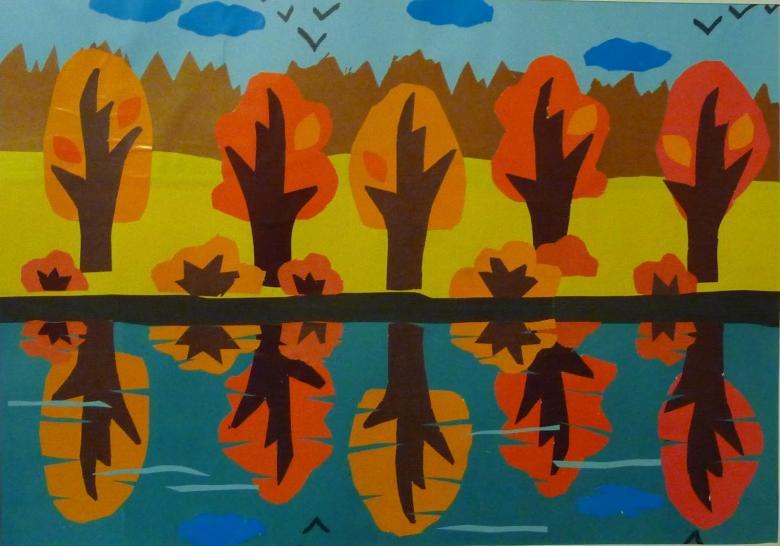
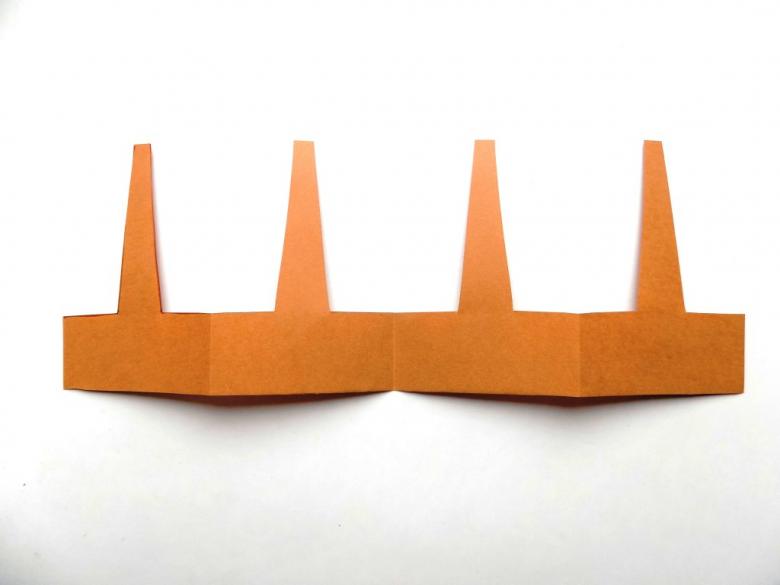
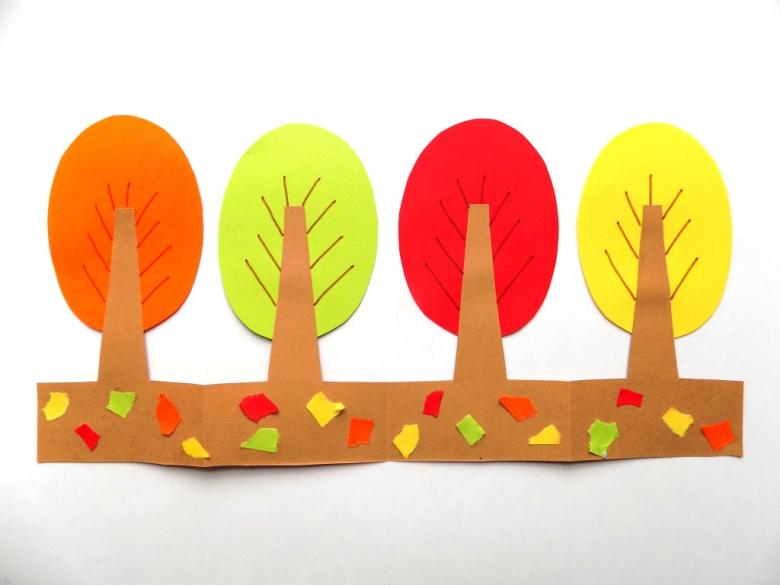
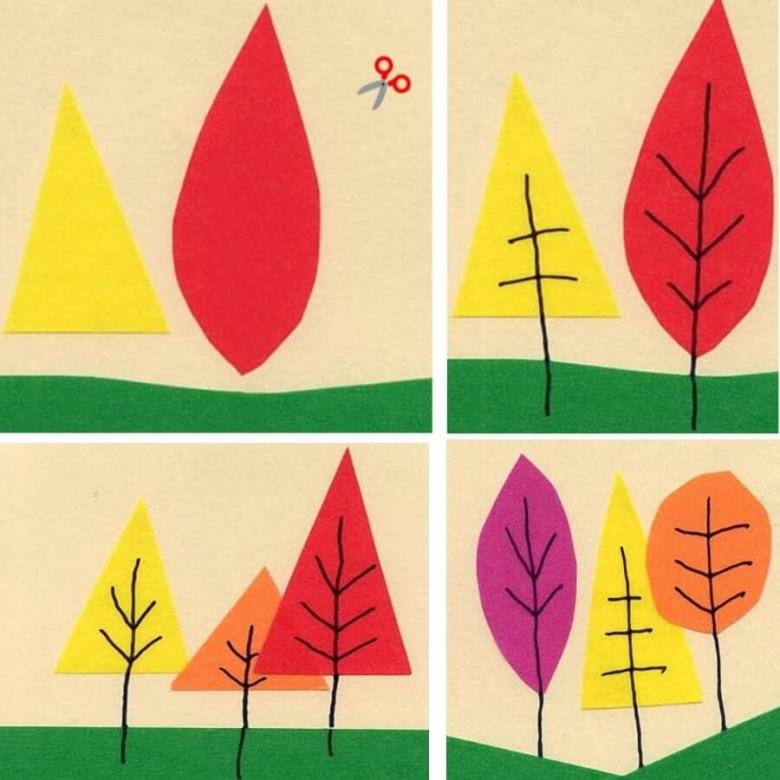
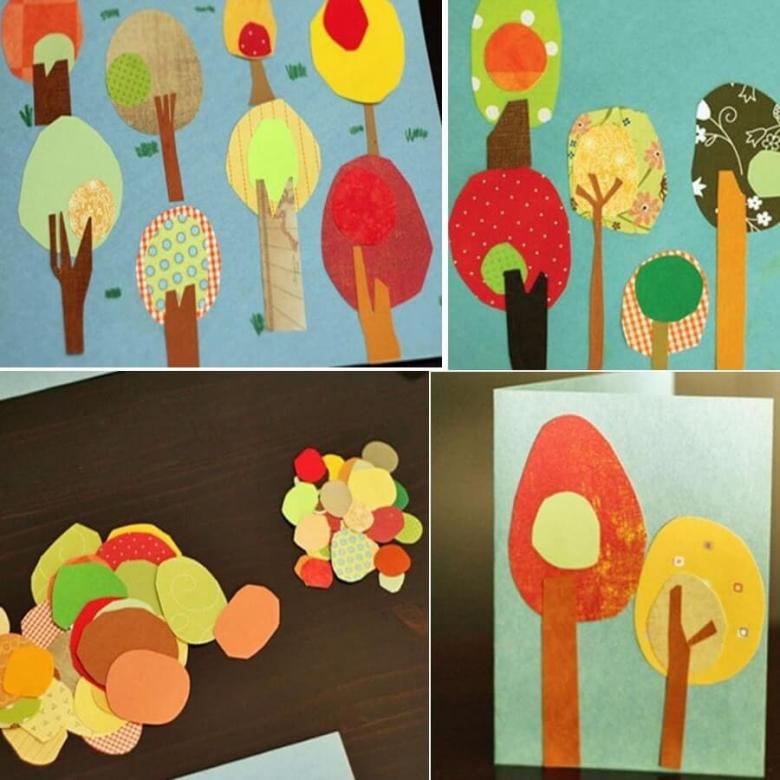
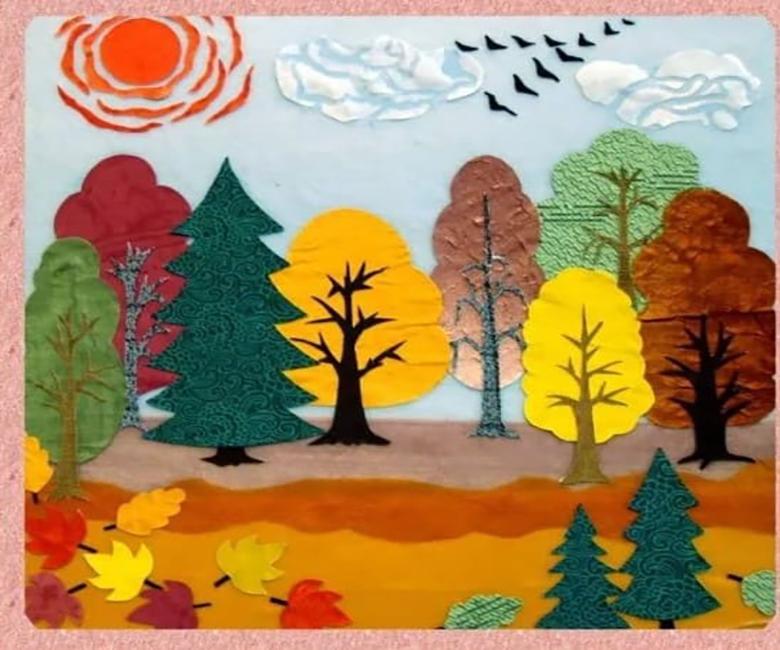
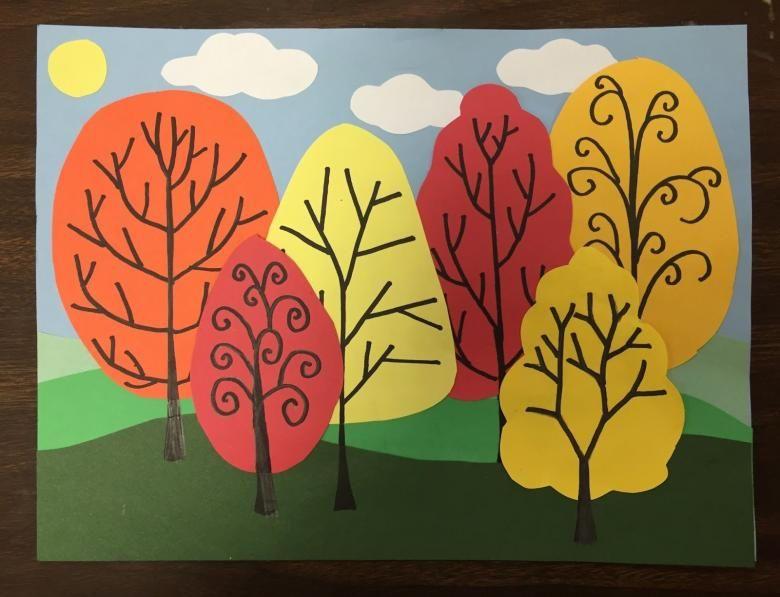
A standard technique for creating an autumn composition. Take a sheet of the desired shade, which will be particularly suitable. Along the base, glue a strip, modeling the soil. A brownish or grassy tone will work.
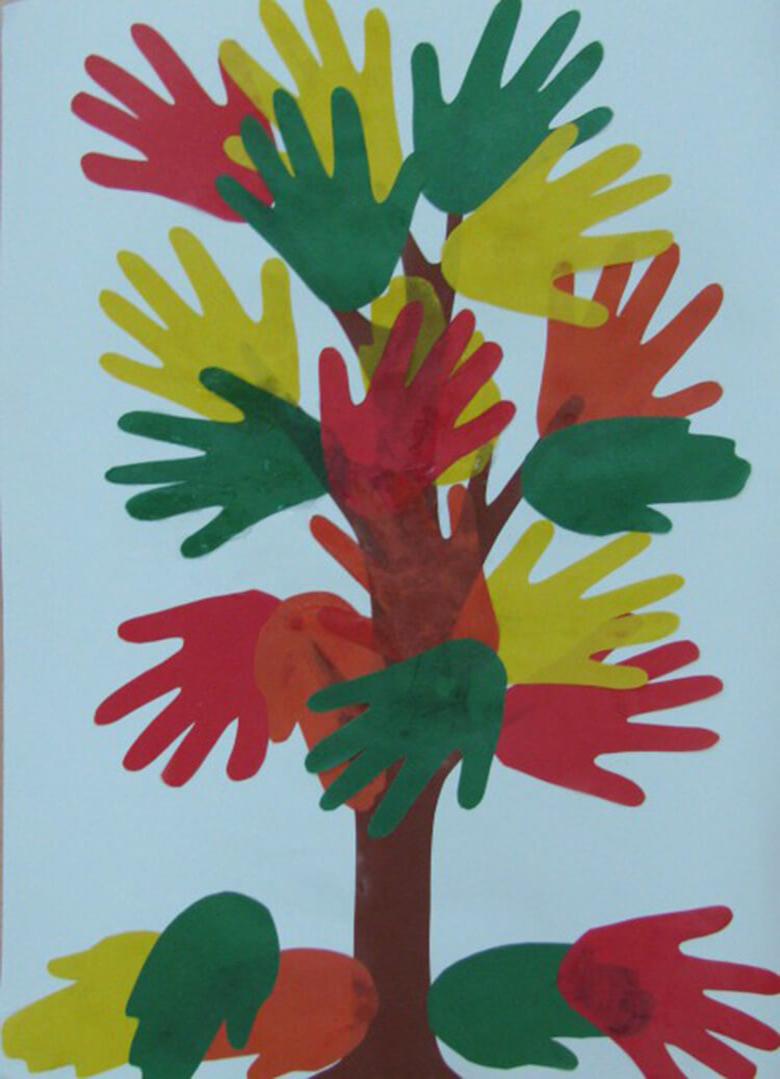
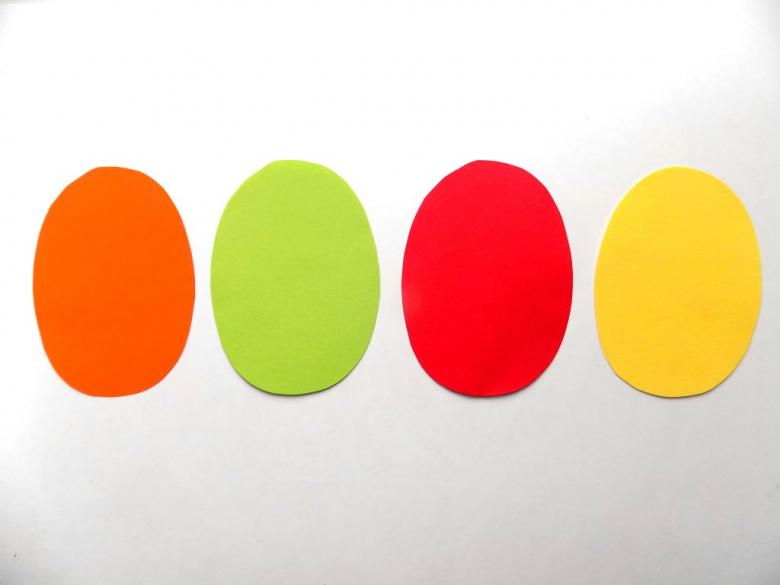
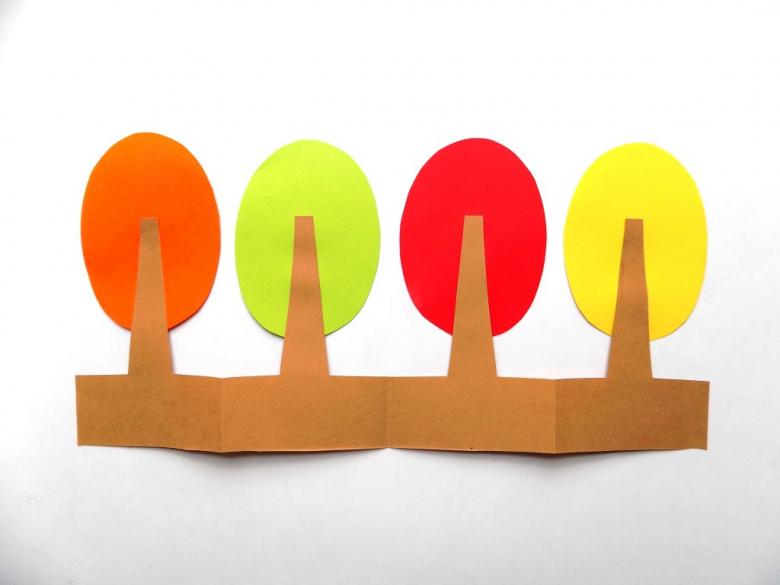
Take only the coloring that contrasts with the surroundings. Make enough trees in a variety of shades. Take yellowish, orange, pistachio, crimson, olive. Draw the outline of the intended forest on the flip side of the leaf, and then carefully cut it out.
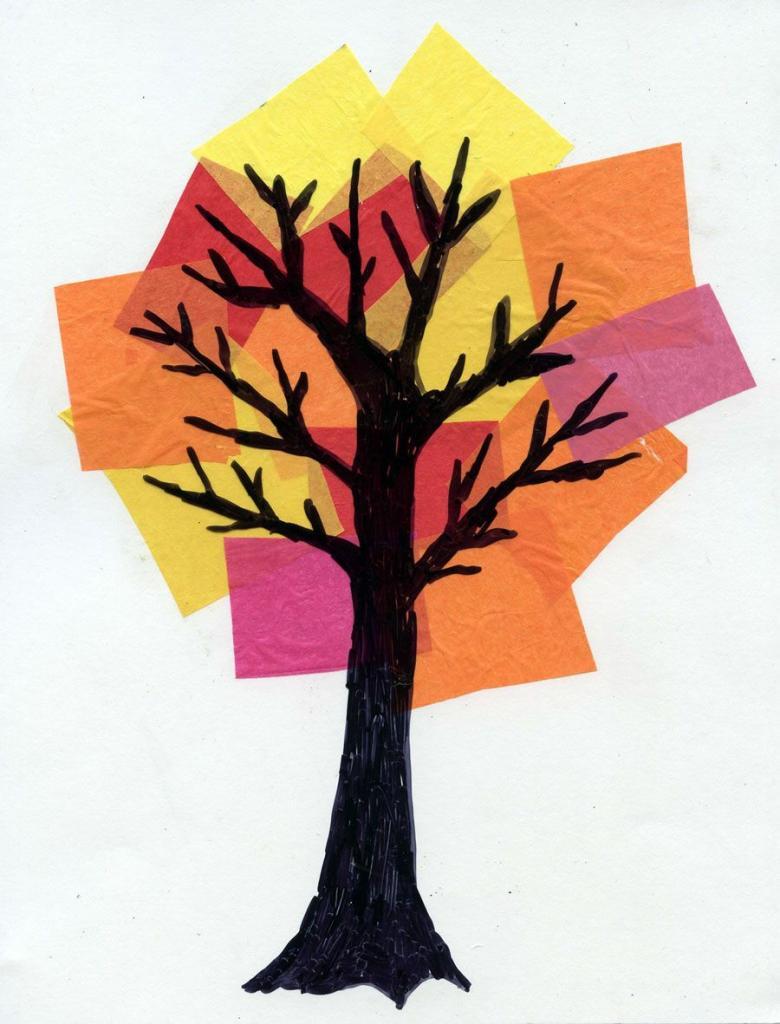
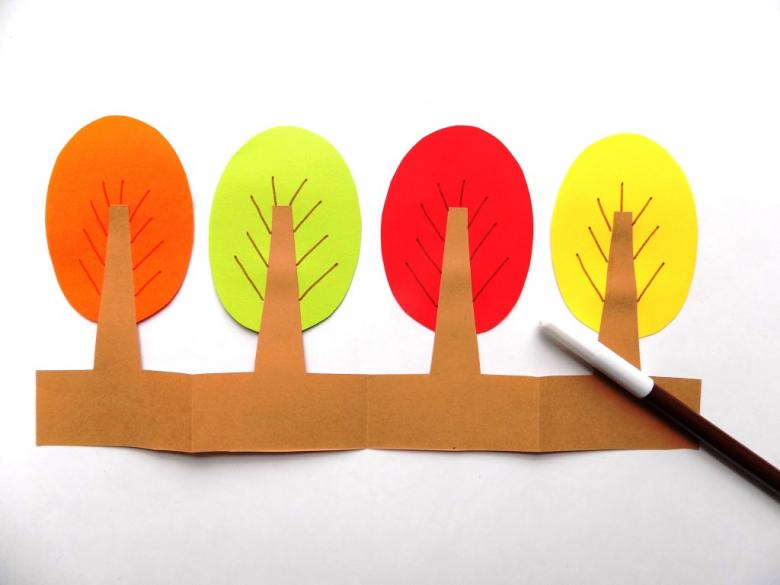
Greasing the back of each piece, glue them to the prepared sheet so that the blanks rest against the ground. Then use a black or dark brown marker to draw the branches directly onto the paper itself.
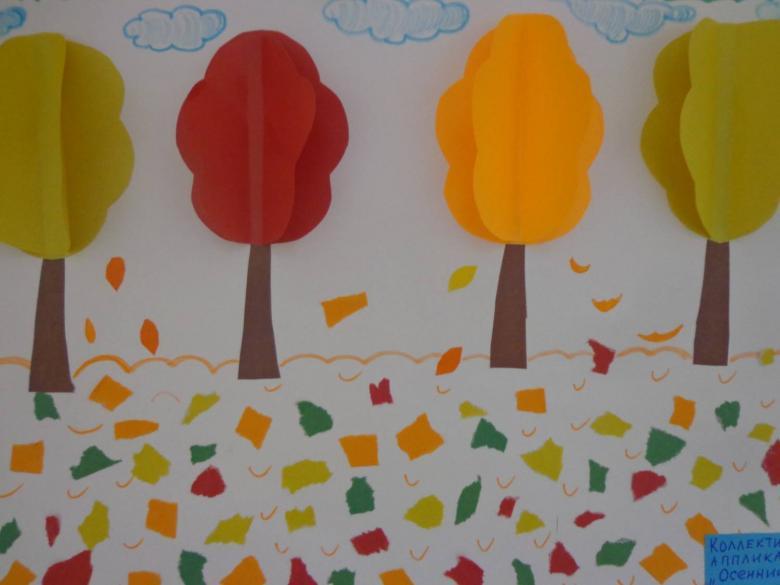
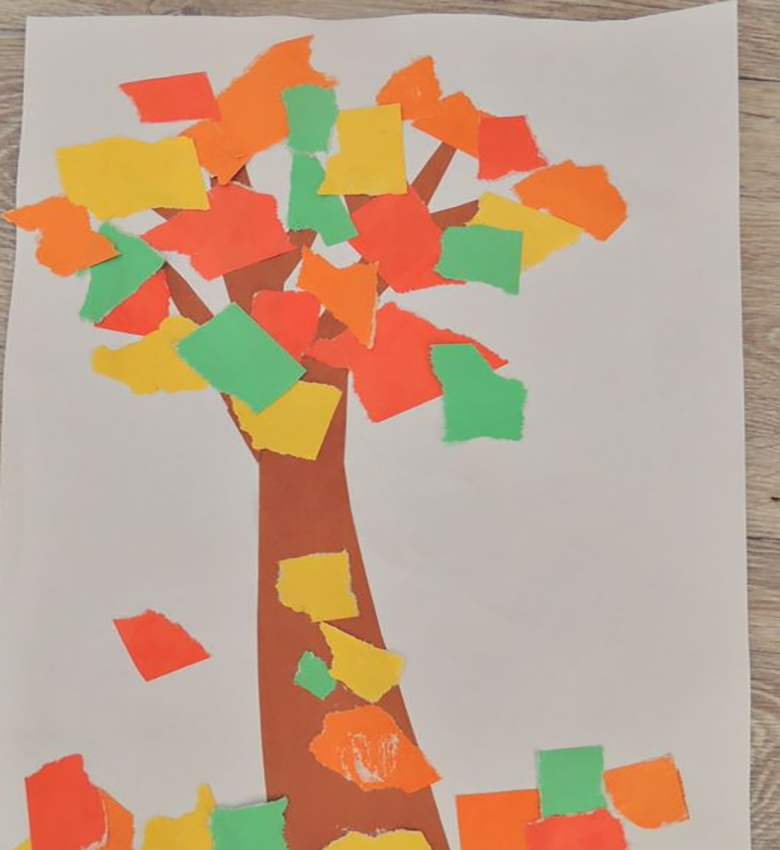
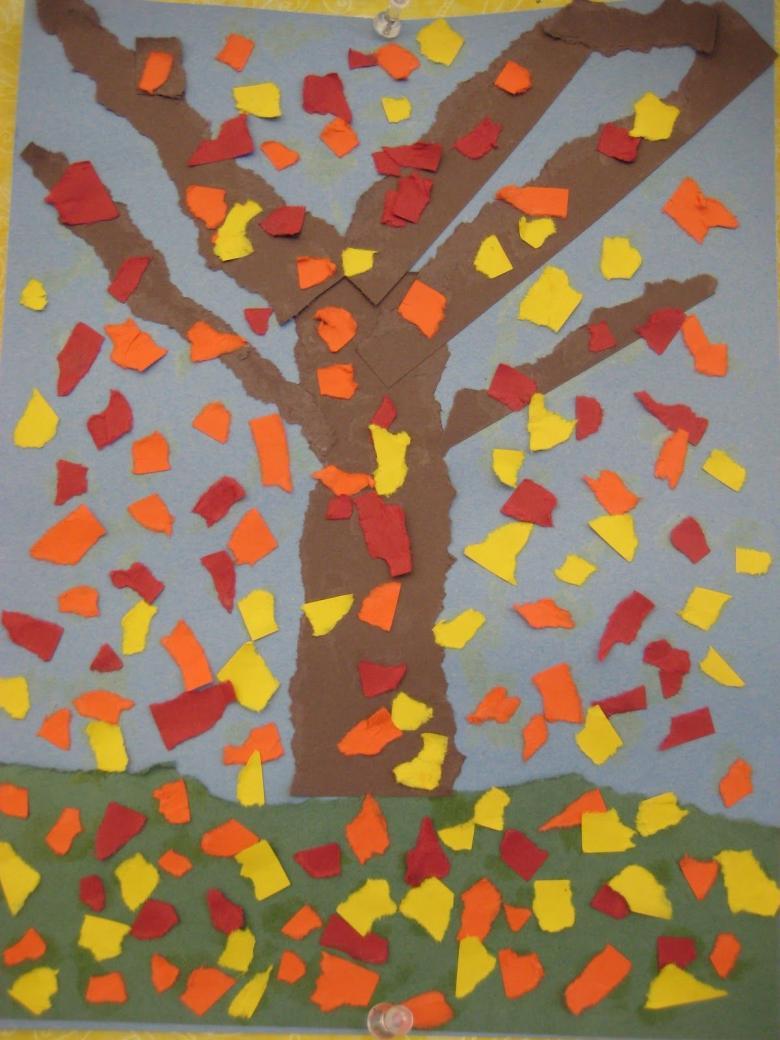
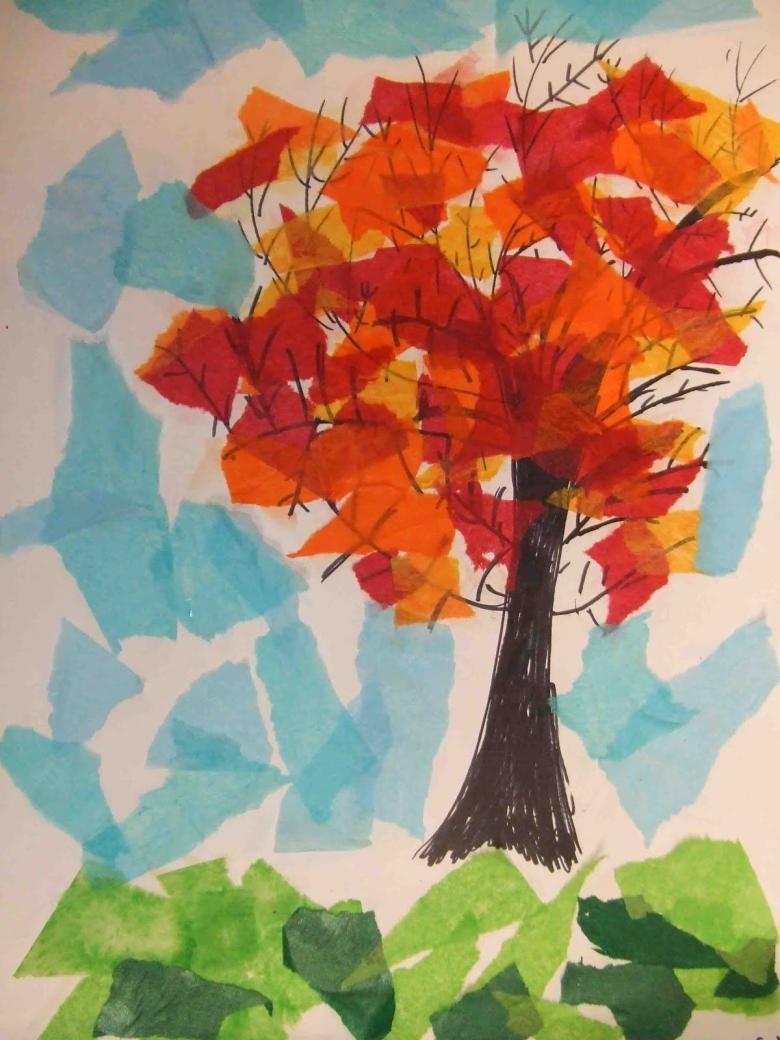
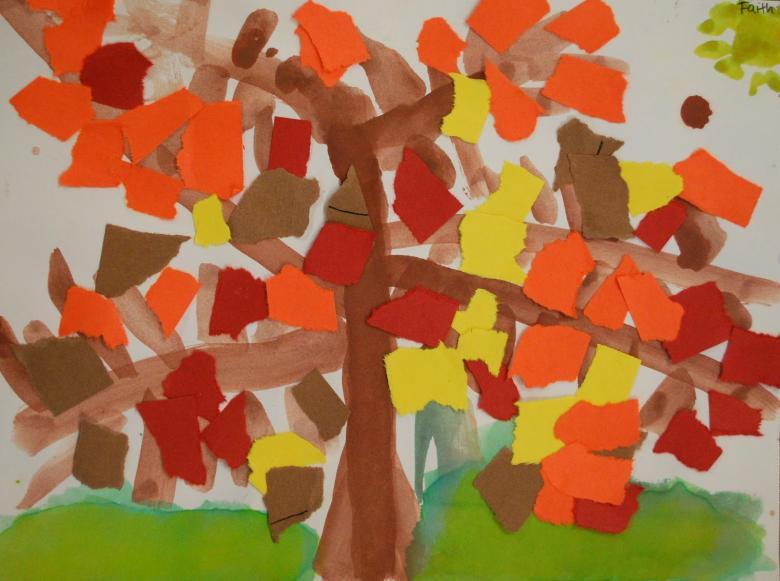
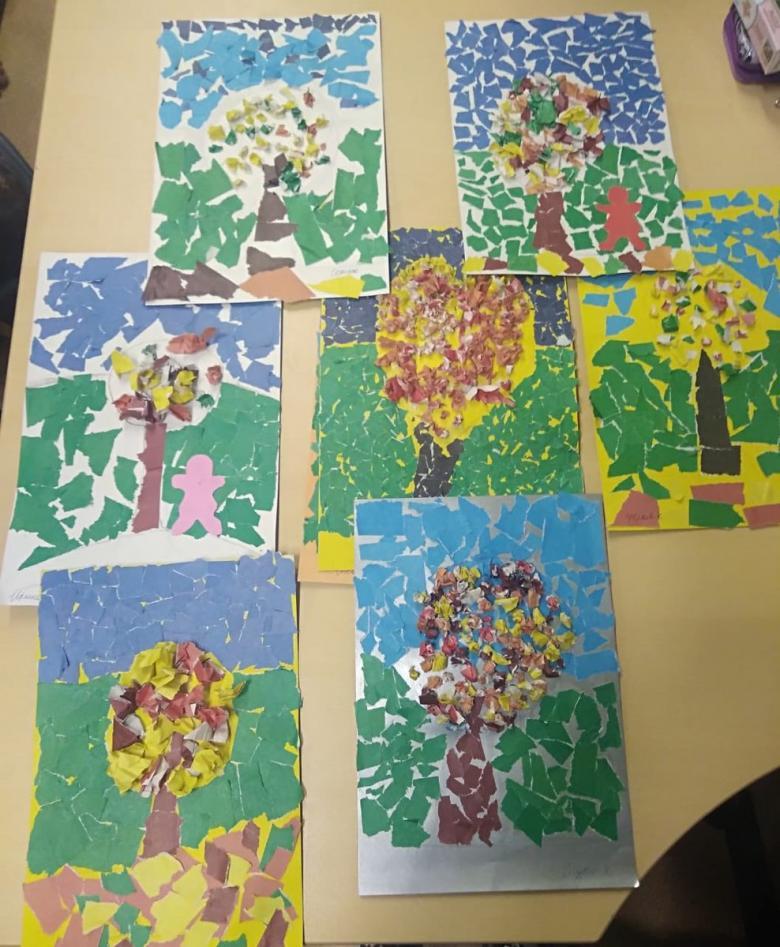
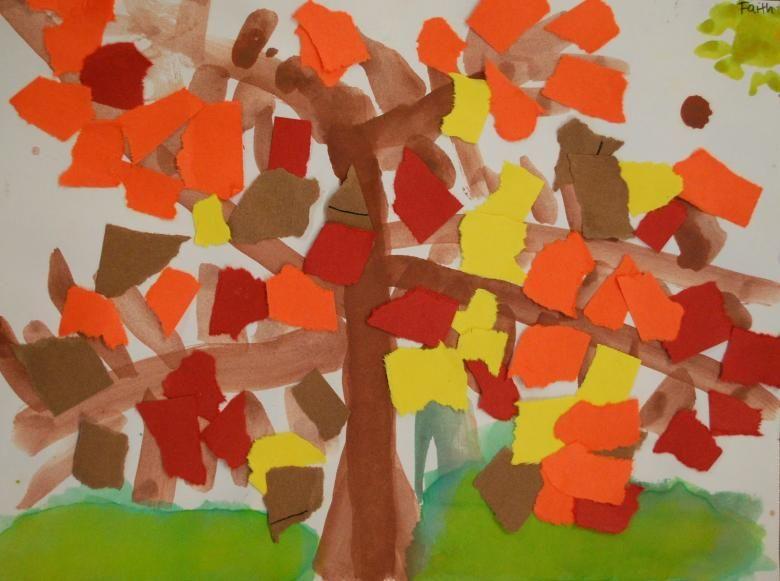
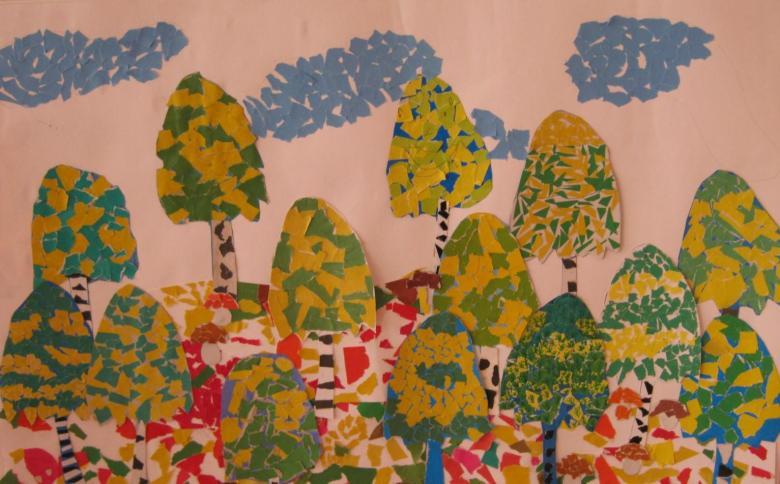
Ripped composition.
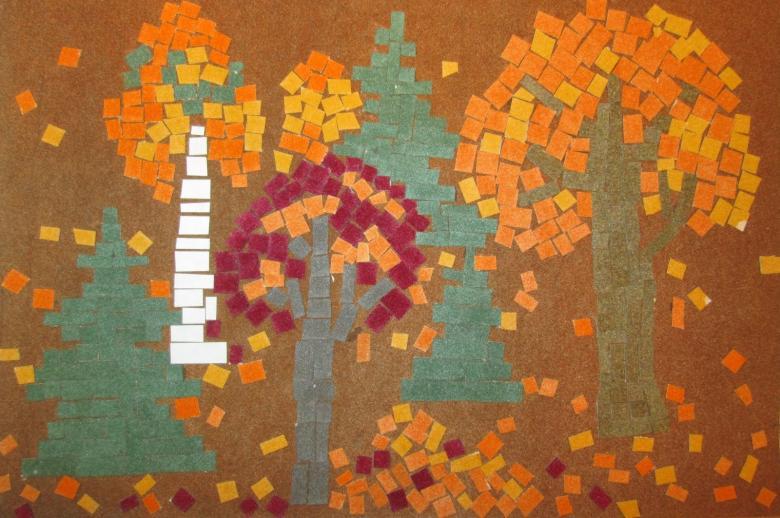
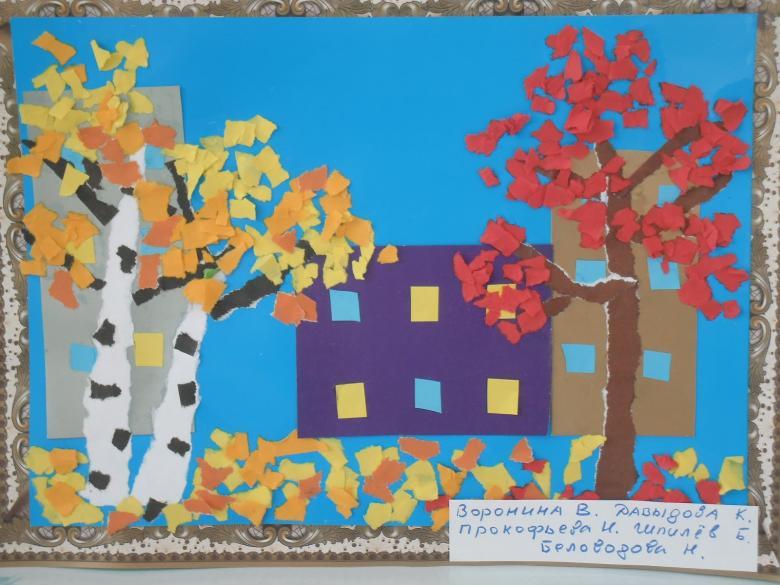
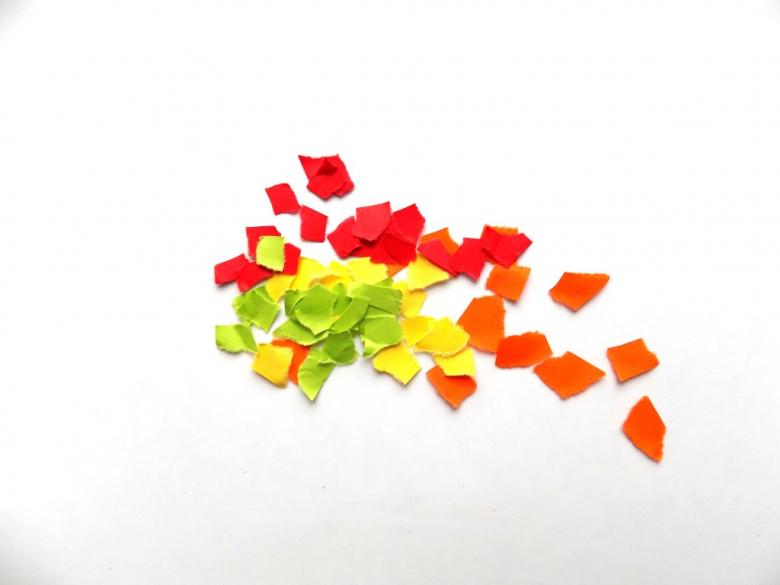
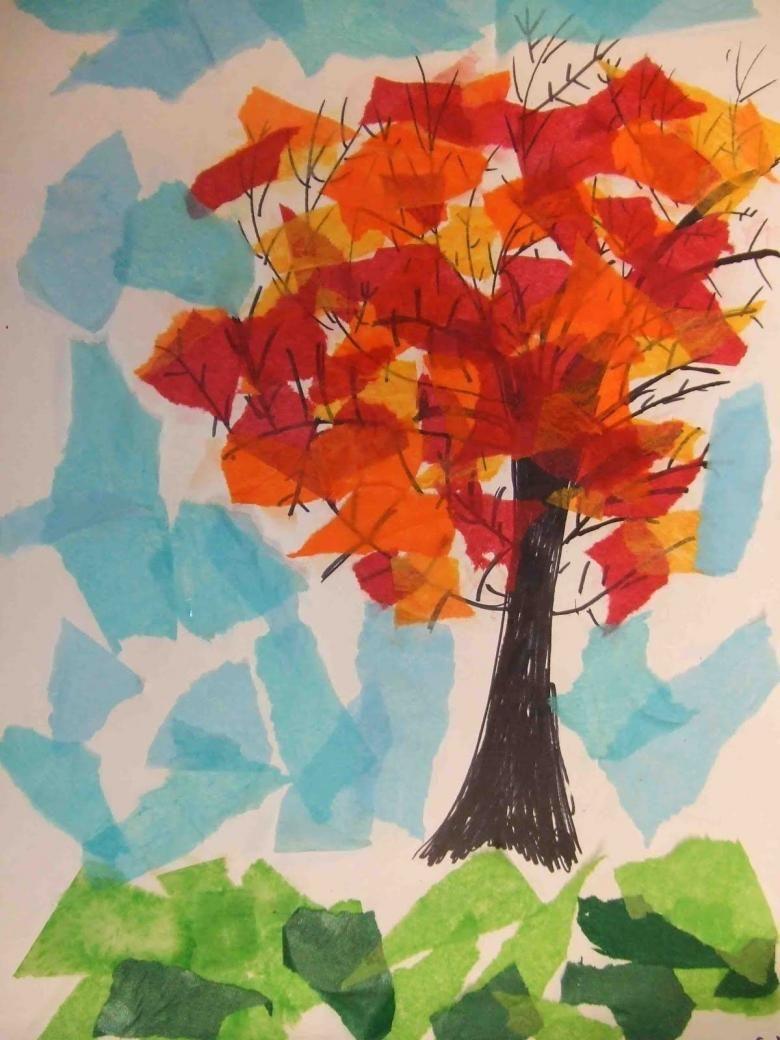
Its essence is that all the objects depicted in it are made of finely torn colored paper. Even a preschool child can cope with such a handicraft:
- To do this, take the red-orange paper and tear it into small pieces of equal size. Do not tear too many leaves at one time so that there are no extra pieces left over.
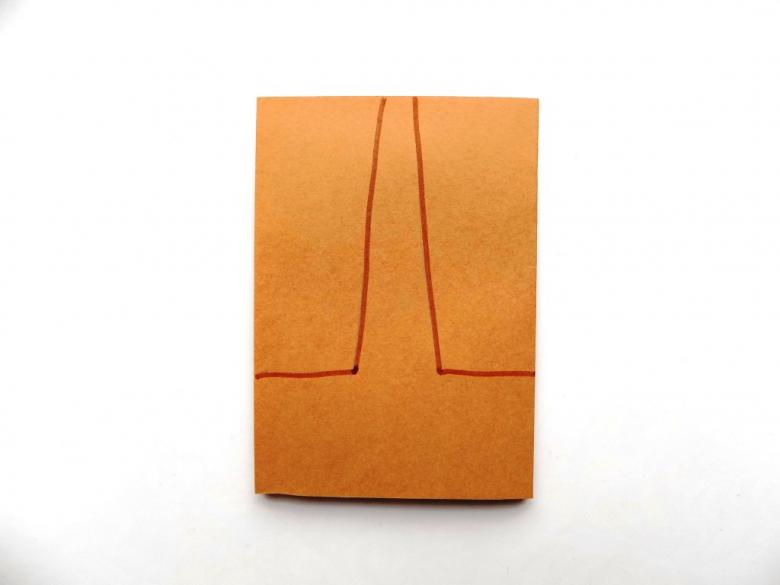
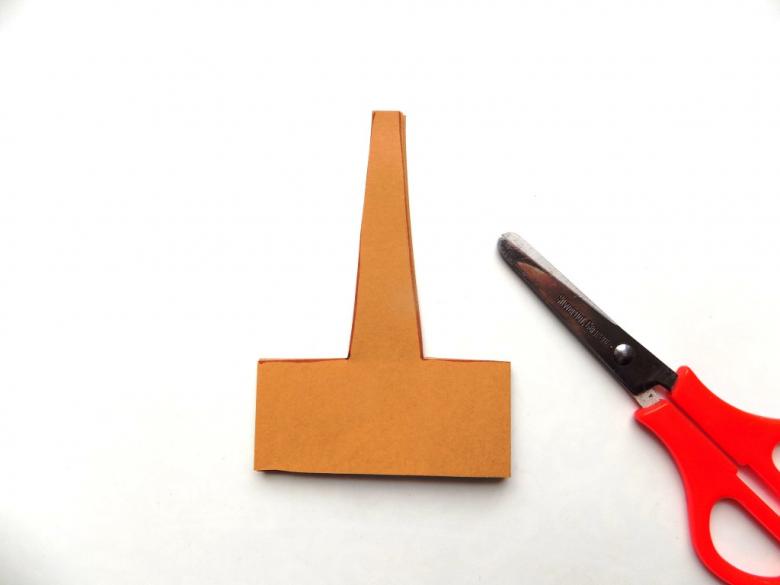
- Draw two tree trunks on a piece of brown paper and cut them out.
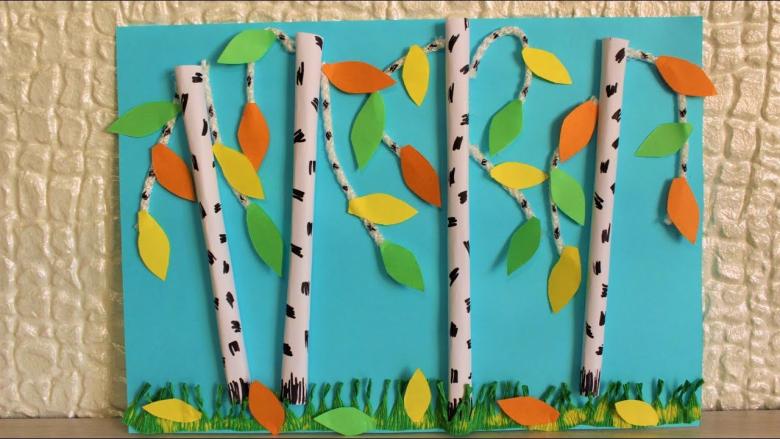
- From white paper prepare a blank birch trunk. Black felt-tip pen draw black stripes.
- Draw and cut out the clouds on blue paper and a circle on yellow paper.
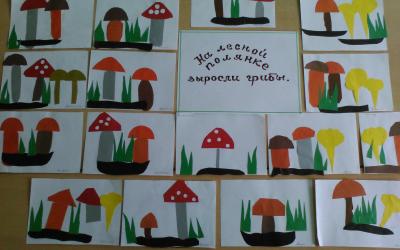
- Separately, cut out green grass and 4 semicircles of brown paper - these will be caps of future mushrooms. Also prepare the legs for mushrooms.
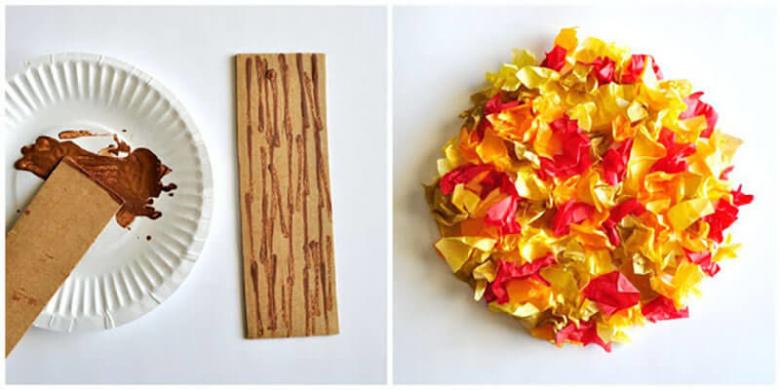
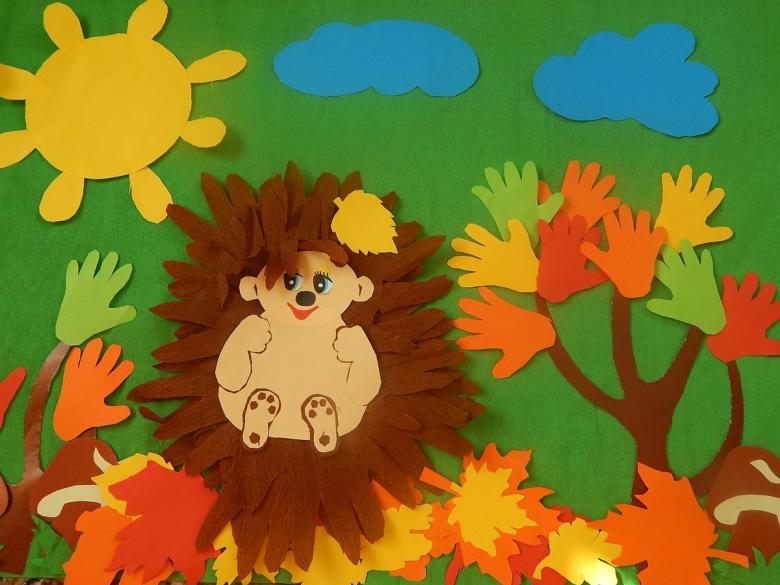
Assemble the composition. To do this, glue the trunks of trees, clouds and the sun on a sheet of white paper. Then details of mushroom legs and caps. Then the grass, so it slightly overlaps the mushrooms. Now glue the pieces torn off. Try not to leave gaps. On a black sheet of paper draw and cut out the silhouette of a hedgehog. Glue it to the picture.
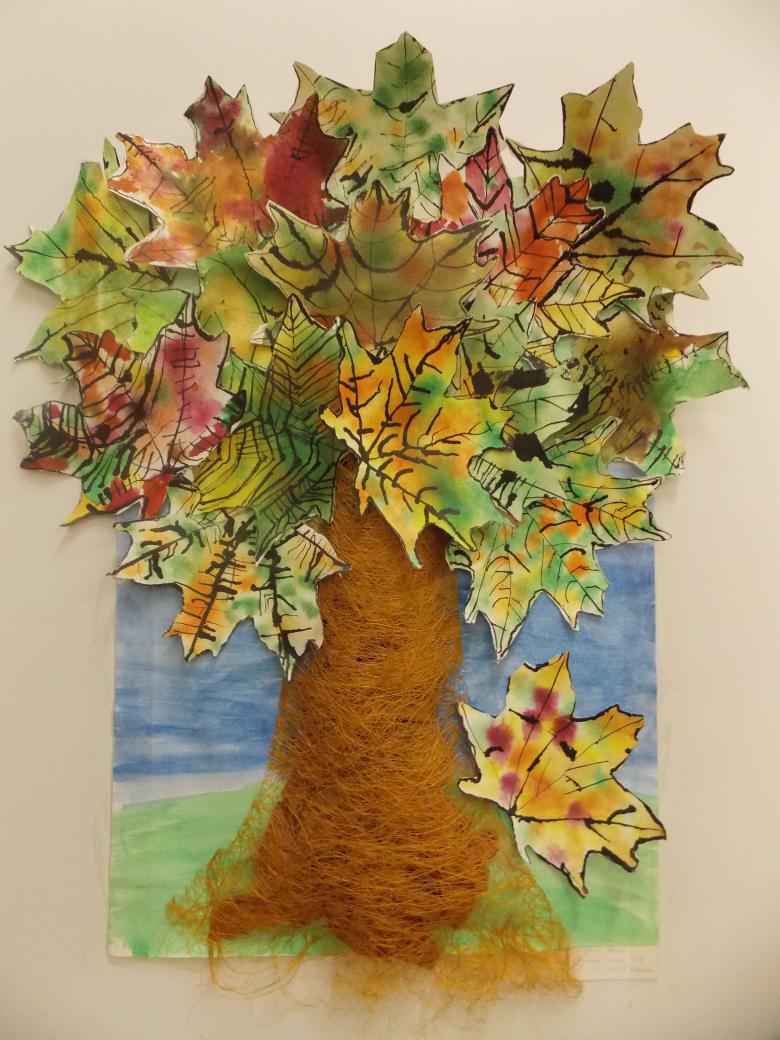
From dried leaves
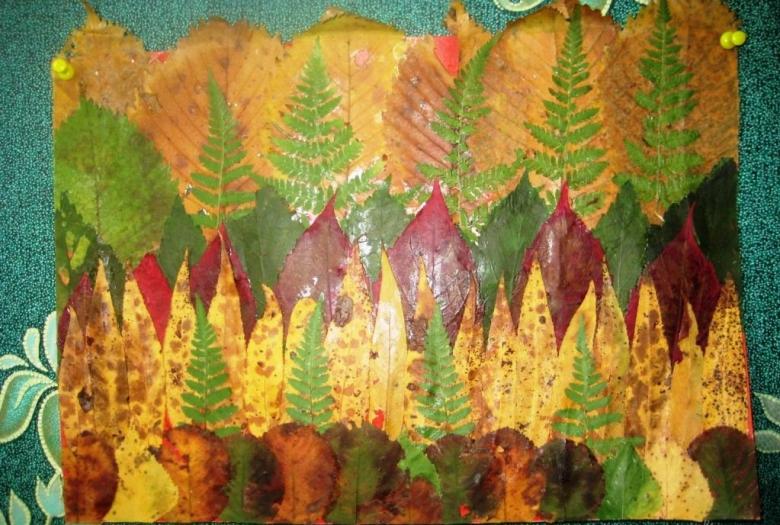
Natural materials always look interesting and very beautiful. That's why we suggest creating an application "Autumn Forest" from dried leaves.
- Collect leaves from different trees in advance. Dry them.
- On a scrapbook page, draw the background.
- Make tree trunks and crowns out of twigs. Glue to paper glue.
- From dried leaves, make different shapes and sizes.
- Place on the trees, forming leaves. Fix everything with glue.
- Decorate with rowan berries.
Applying methods of creating applications of the autumn forest, you can organize a real master class for a child, both at home and in classes in the garden or at school. Although, there are other ways, which should also take into account the teacher, making a plan for the relevant classes.
