How to Draw a Microscope in Pencil - Instructions for Experienced and Beginning Artists
Drawing various devices and instruments are particularly clear and detailed. In order for the drawing to look better, over it will have to sit longer and use different materials. On how best to do this work and draw a realistic microscope, we will tell you in this article.
Materials for the robot
Before you start drawing, you should buy all the necessary materials. You can either find them at home, or buy them in an art store.
You will need:
- Simple pencils. You can buy a set of pencils of different hardness. This will help convey the best effect of realism, so it will be easier for you to draw the details of the microscope. In any art store they can help you choose the necessary pencils. But for awareness I will tell you that hard pencils are marked with the letter "H". On soft pencils you will see the letter "B". Depending on the exact hardness and softness, there are numbers there as well.
- Colored pencils (optional). They come in regular and watercolor pencils. The difference is that watercolor pencils, after they are applied, in the necessary places can be shaded with a brush soaked in water.
- You can use either paper for drawings or a regular piece of absorbent cotton as paper.
- You can use a ruler to achieve clearer lines.
- The compasses can also be used to make clear circles.
- An eraser and a blotter. The eraser is available in art stores. It is the same as an eraser, only soft. Before using it, you can knead it like plasticine. It, unlike the eraser, will help achieve the effect of lightly erasing unnecessary lines and strokes, so you will have a better chance of not spoiling your work.
When buying pencil sets, make sure they have different numbers and check with the salesperson to see if these will work for you.
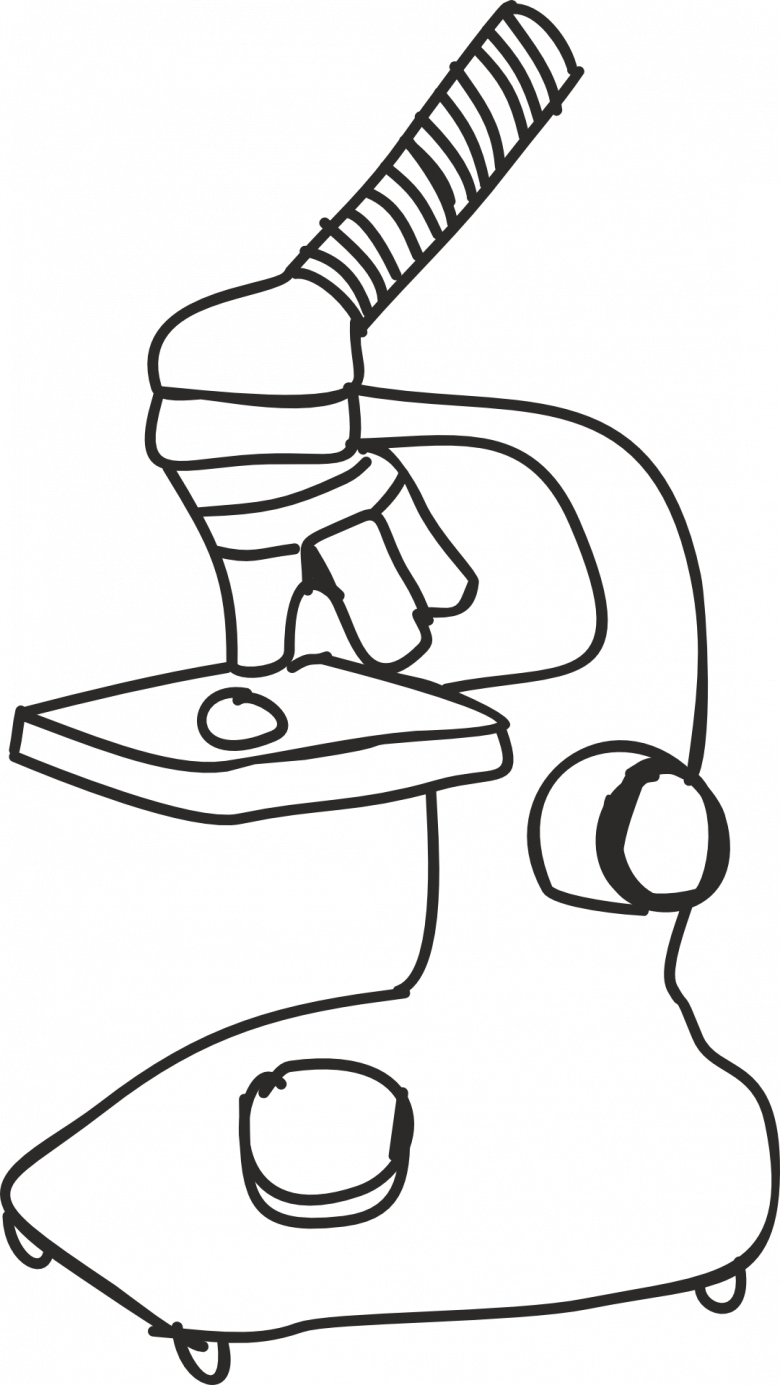
How to draw a microscope for a child
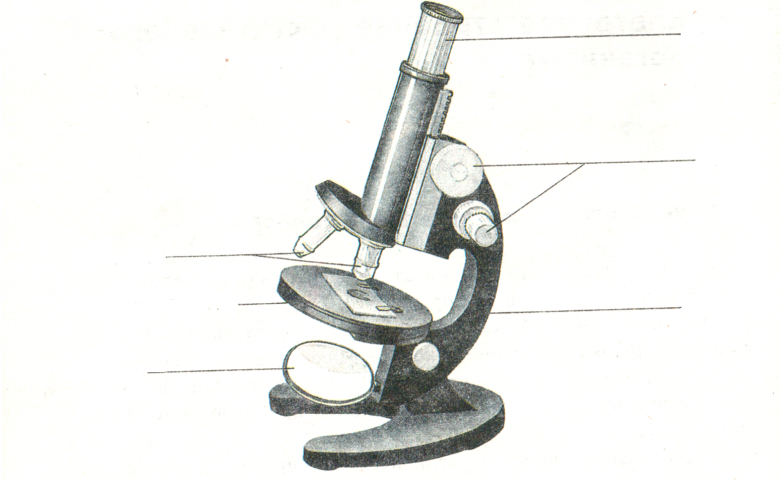
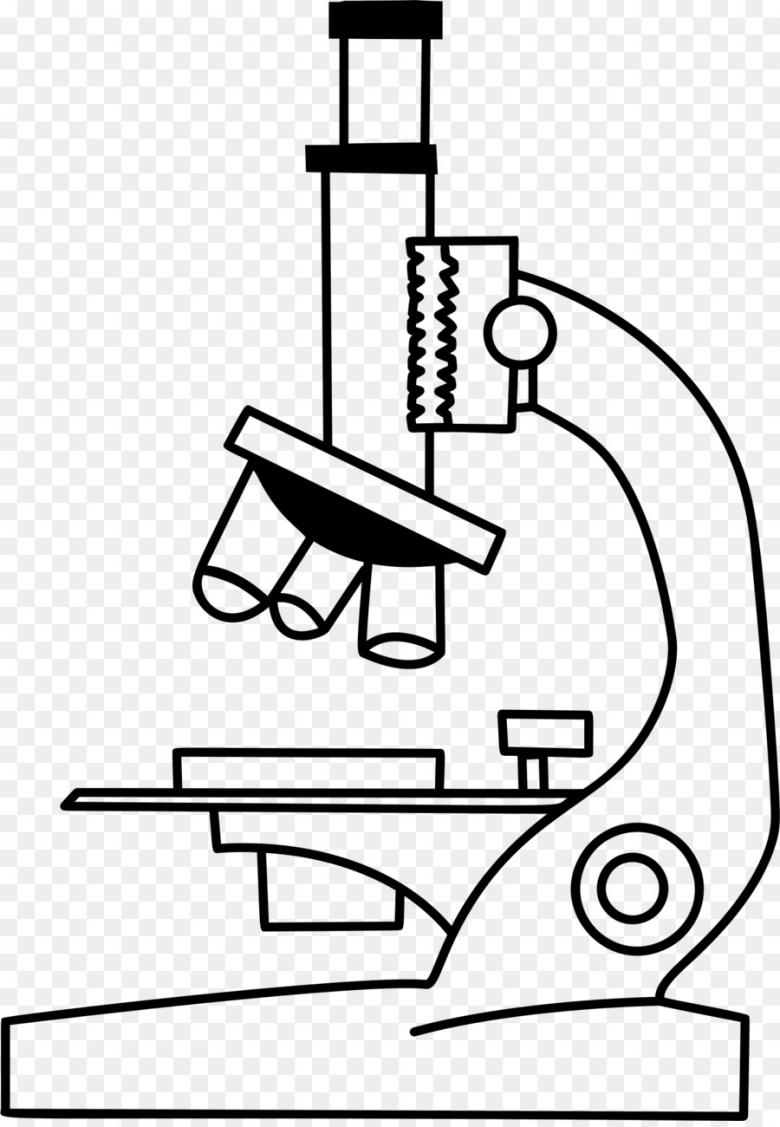
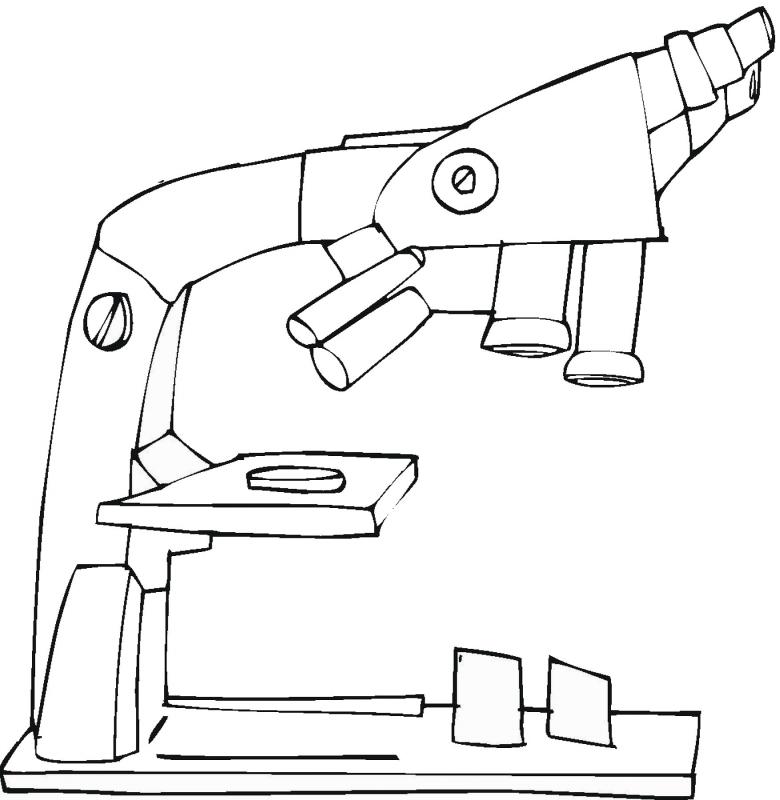
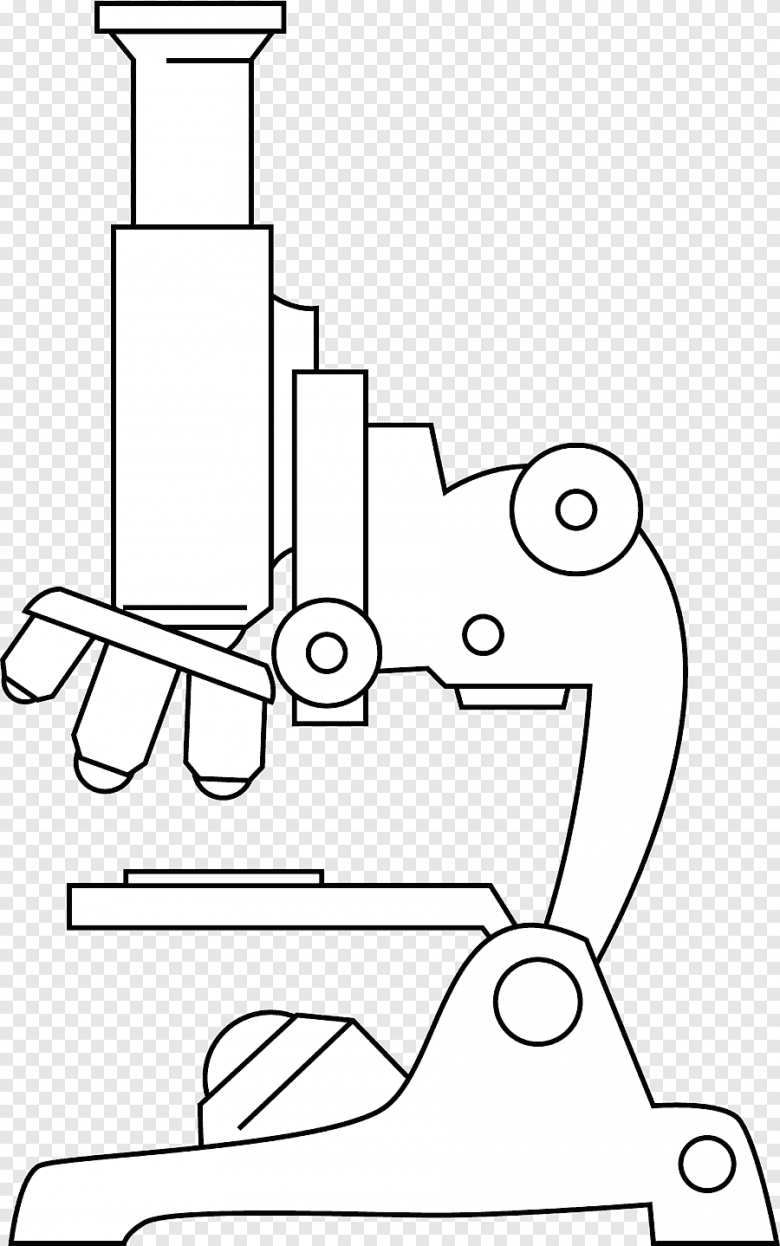
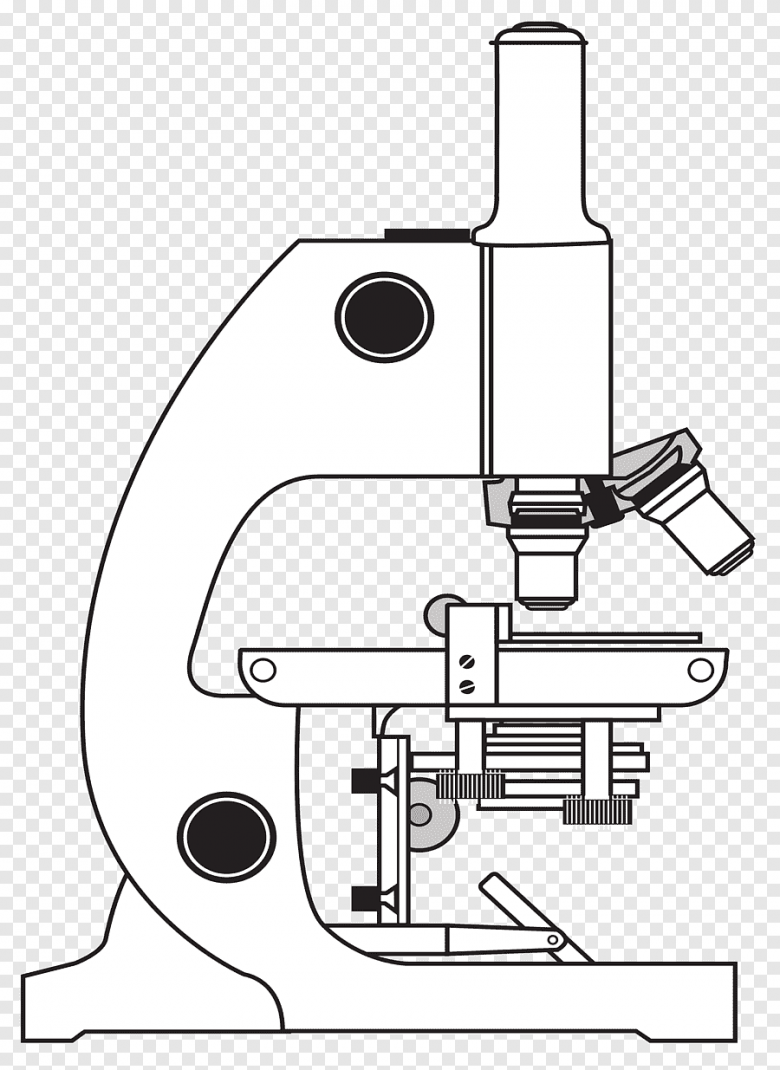
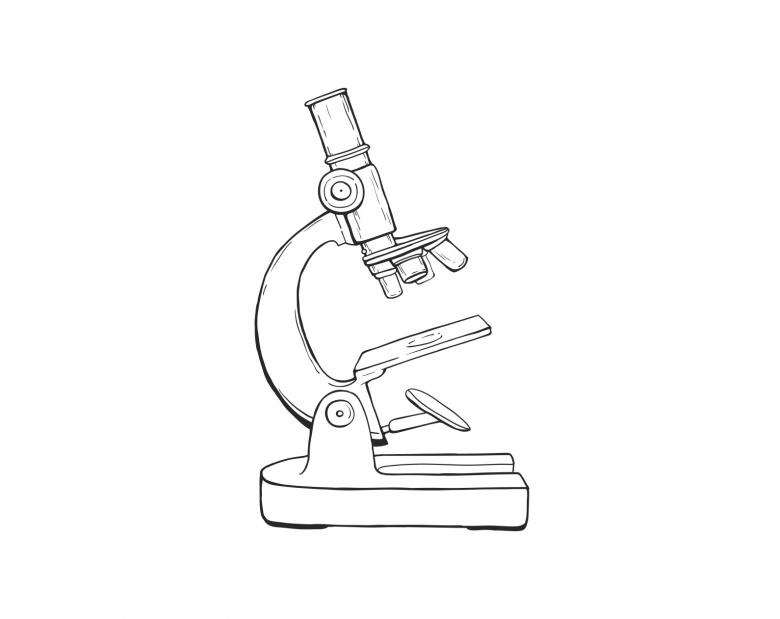
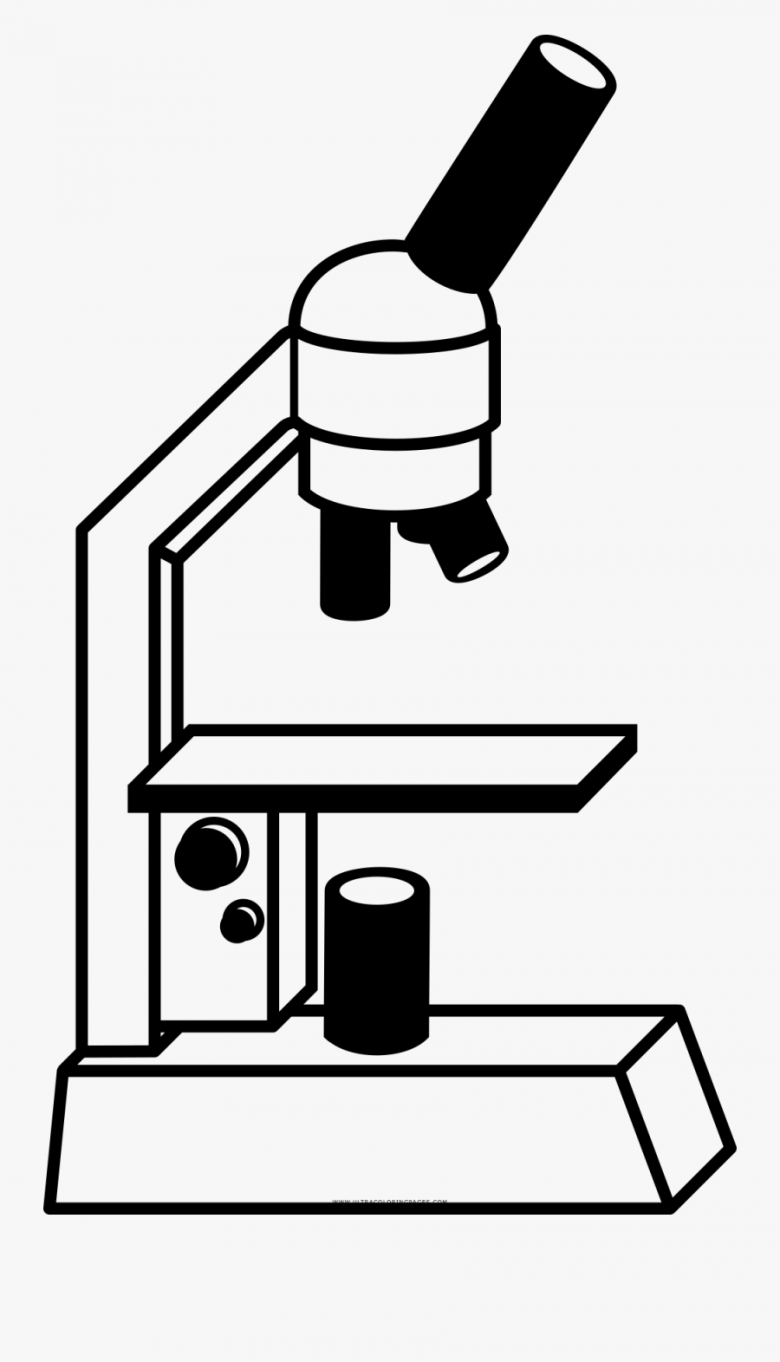
It is easier for children to draw a microscope in profile. Normal clear lines, no extra details, no volume. All lines are simplified as much as possible. Straight, horizontal, vertical, diagonal, etc. .
Stages of drawing:
- The base of the microscope. This is a trapezoid. The bottom line is slightly larger than the top. The sides are low.
- At the top right you have to draw a small square. This is where the microscope stand is attached.
- On the left you need to draw a rectangle along the remaining length of the trapezium.
- Then inside the square you need to draw a circle. It should not be too small.
- You need to draw a big letter C to the square, this will be the handle of the microscope. First, the child draws just a letter, and then circles it to make it thicker.
- At the bottom of our pen will be attached two rectangles. The one at the bottom is smaller, and the top is larger.
- The top of the handle should be another circle. To get a better idea of how to draw, use the photo. It is attached below.
- Next, we draw a rectangle connected to the pen. To him draw 2 more rectangles at the bottom (the one at the top is larger and narrower, and the bottom less and longer). And on top of a triangle trapezoid with a large base on top. A square is attached to this trapezoid.
In principle, this is all. For a child, such a drawing will look like a coloring book, which is very interesting to paint. So now you can give him colored pencils and let his imagination run wild.
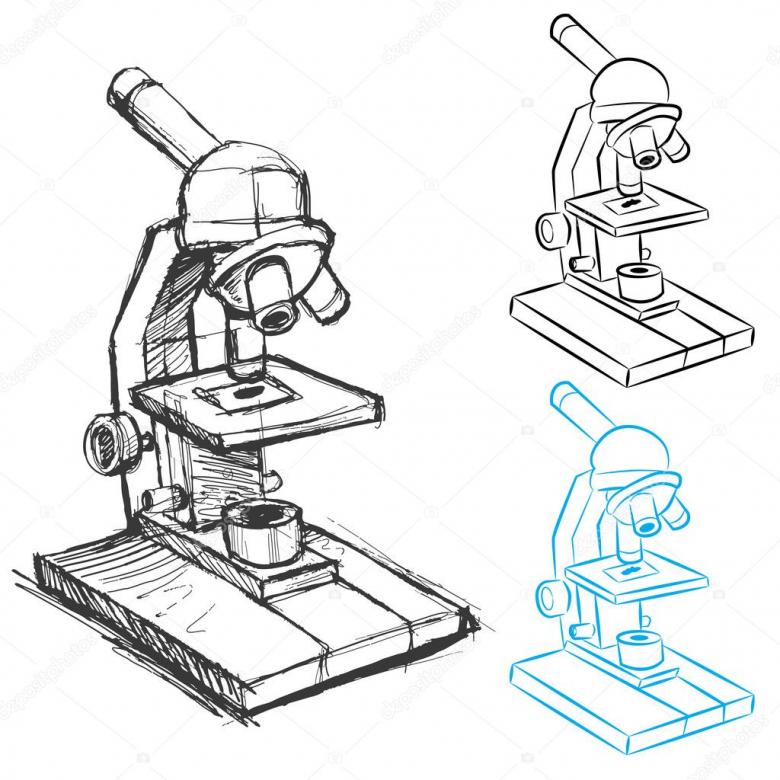
Such a drawing will help the child not only to spend time interestingly, but also to spend it in a useful way, because in this way he can better understand the structure of the microscope.
By the way, you can get paints for your child to paint his drawing with immediately. Or you can teach him the technique of watercolor pencils. Kids love anything new and exciting, so this will keep your child occupied for a long time.
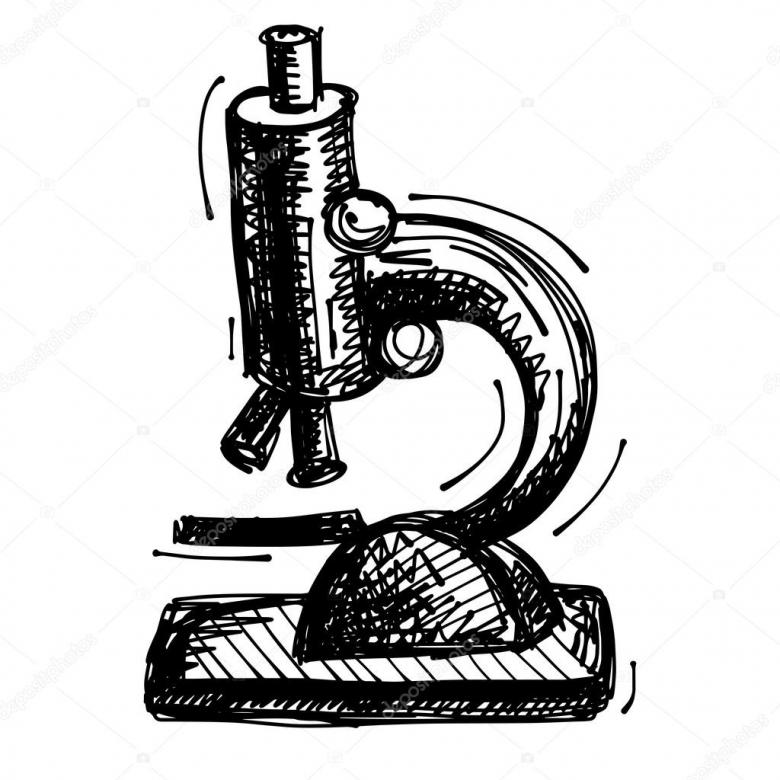
A realistic picture of a microscope
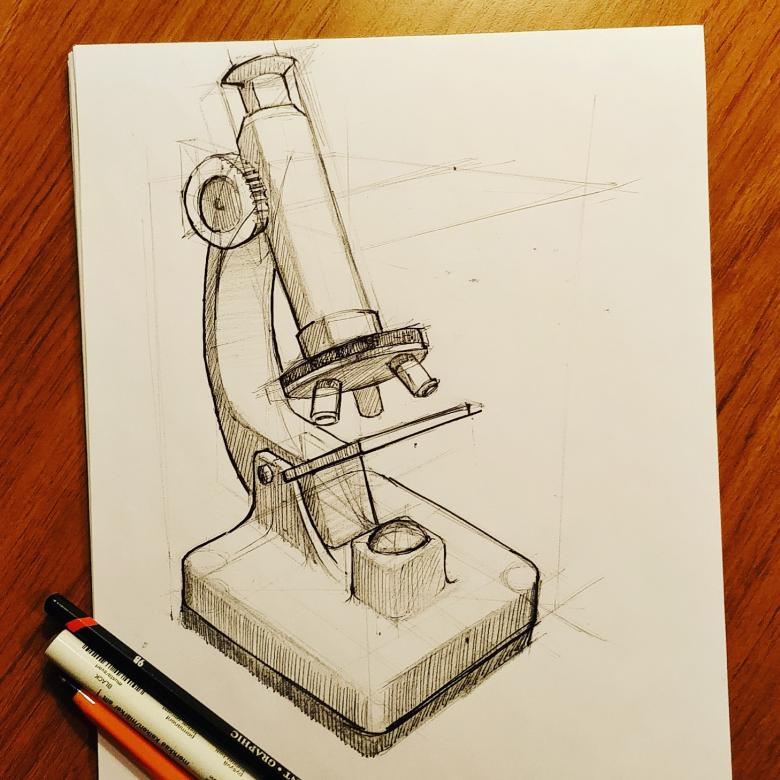
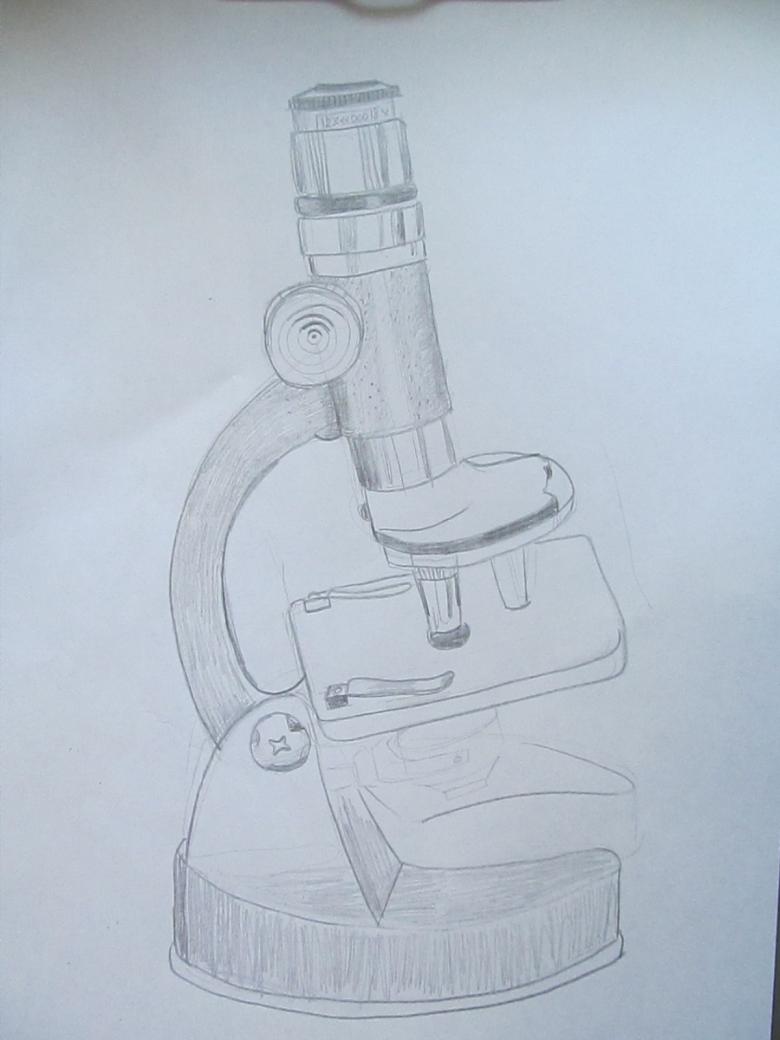
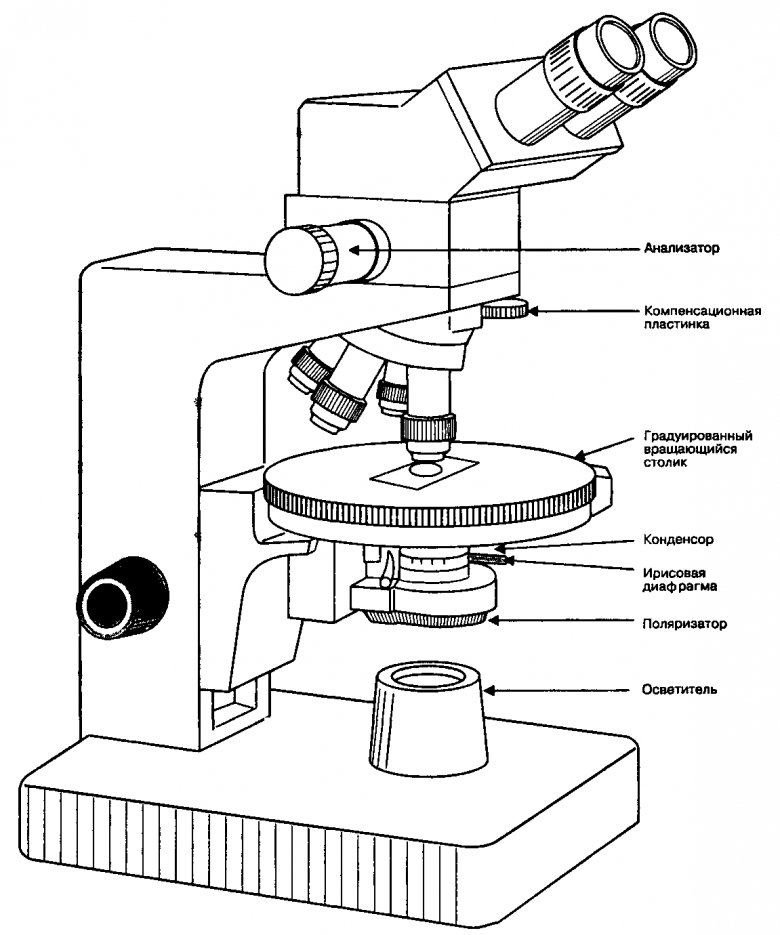
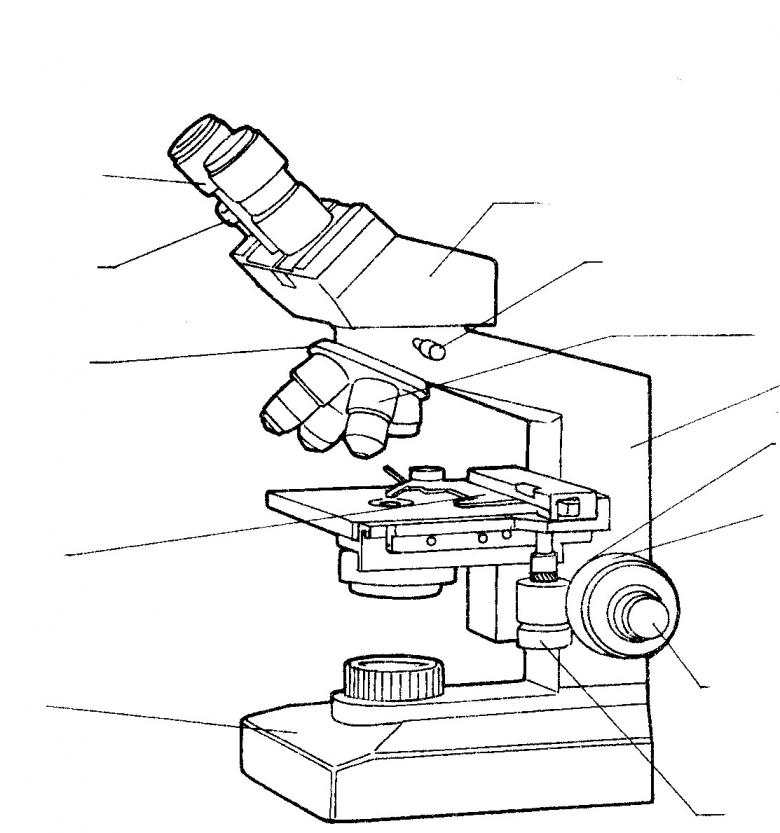
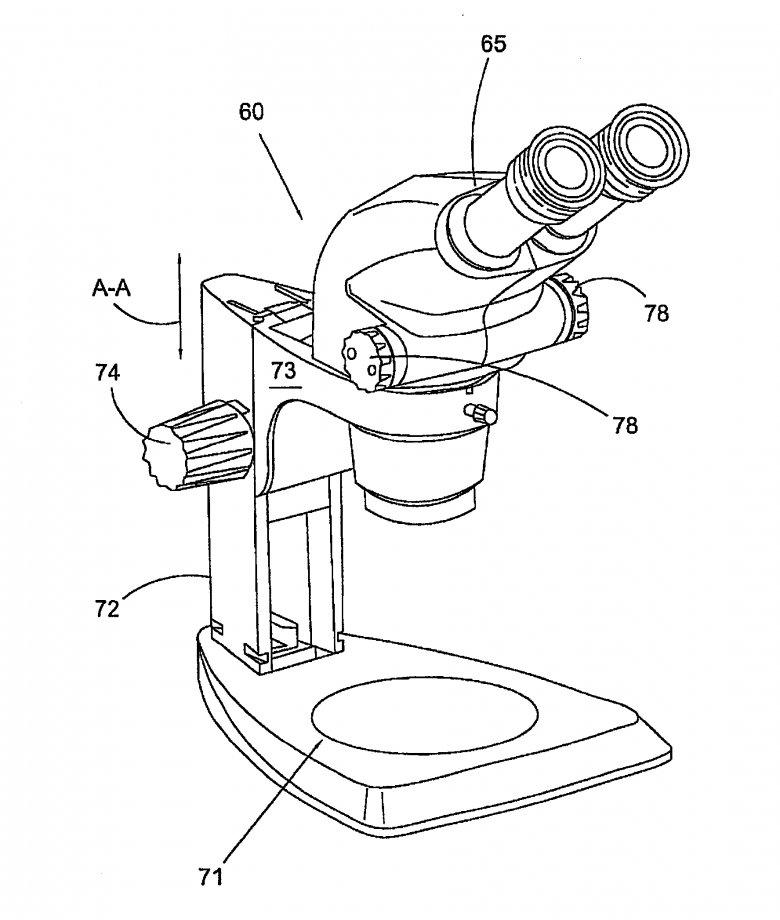
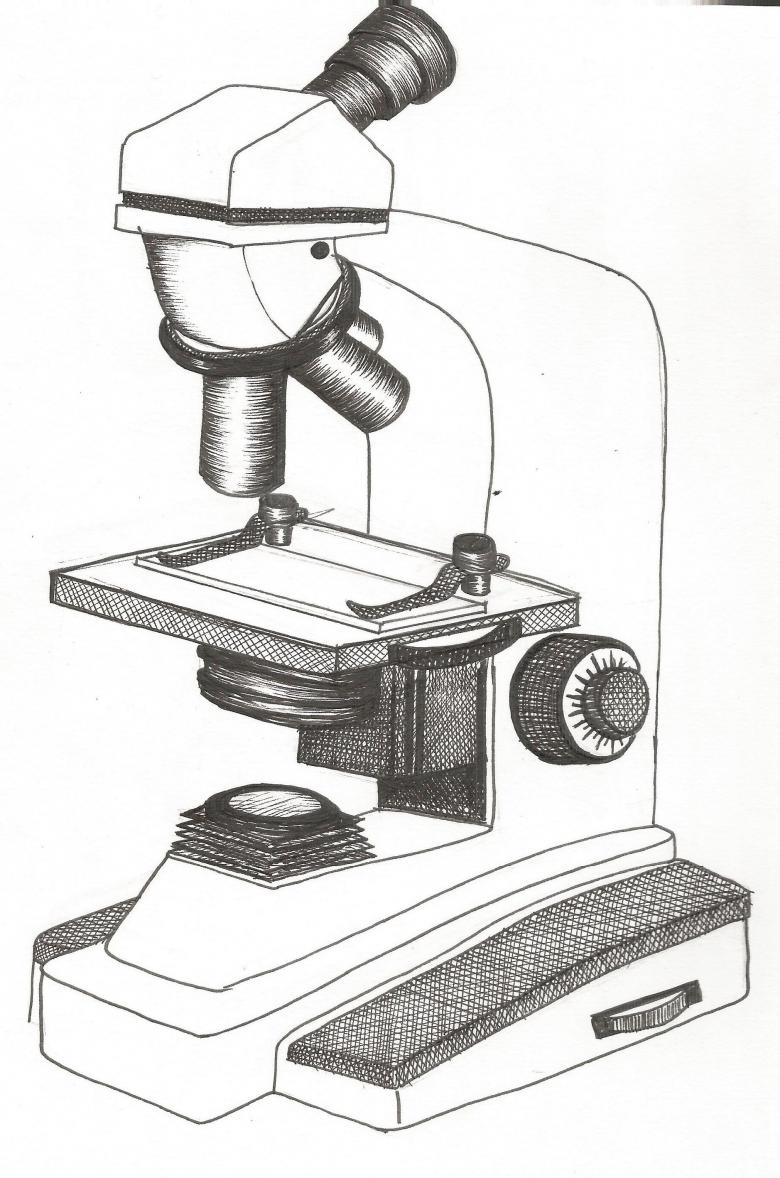
Drawing a realistic microscope is a more difficult task. The main difficulty lies in conveying volume and correctness of shapes. For a clearer image, it is better to study the exact structure of the microscope, watch video drawing tutorials.
Workflow:
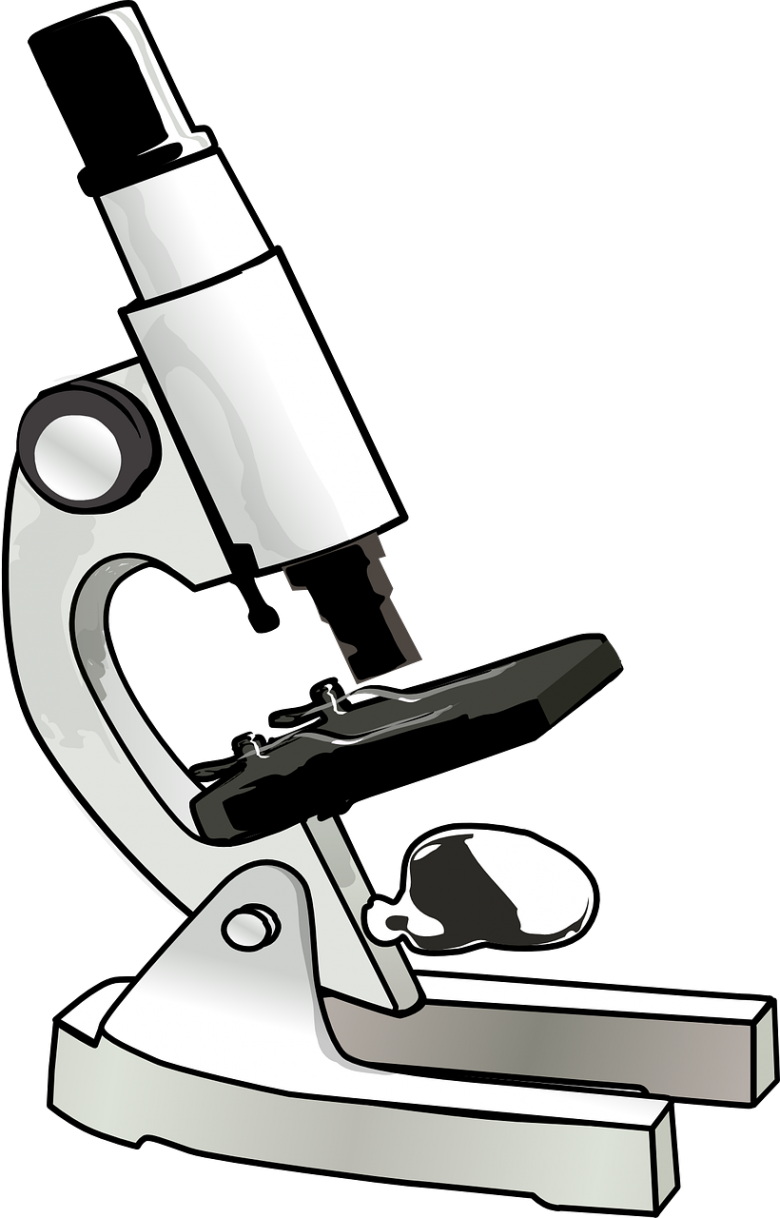
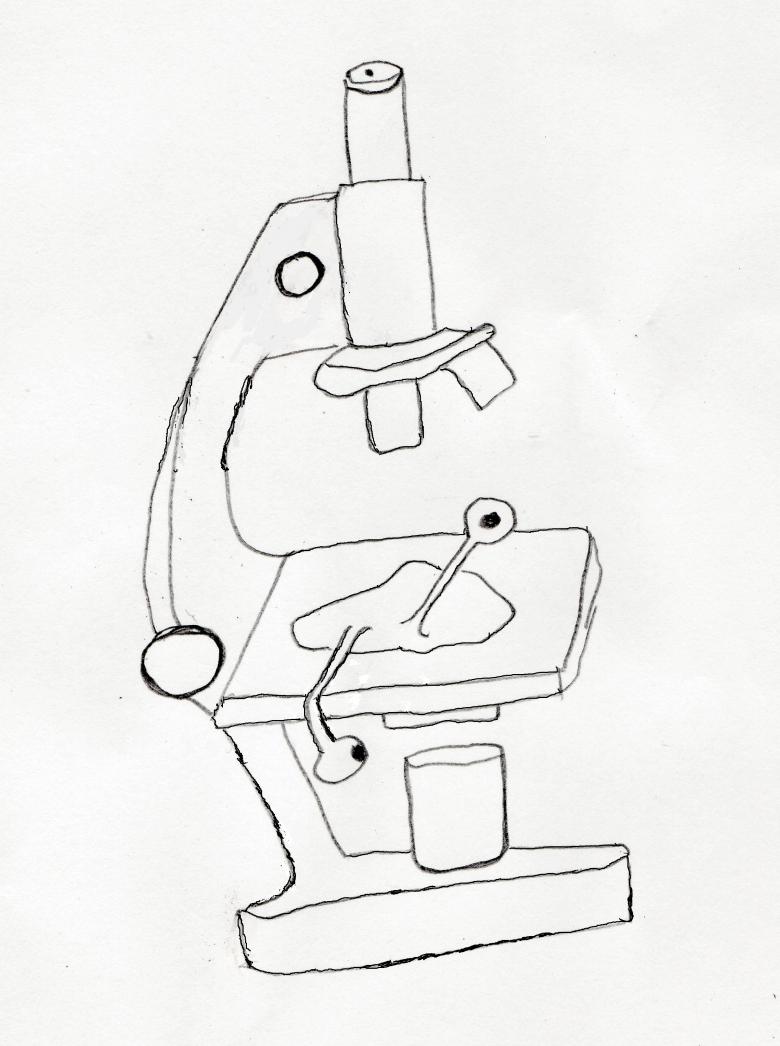
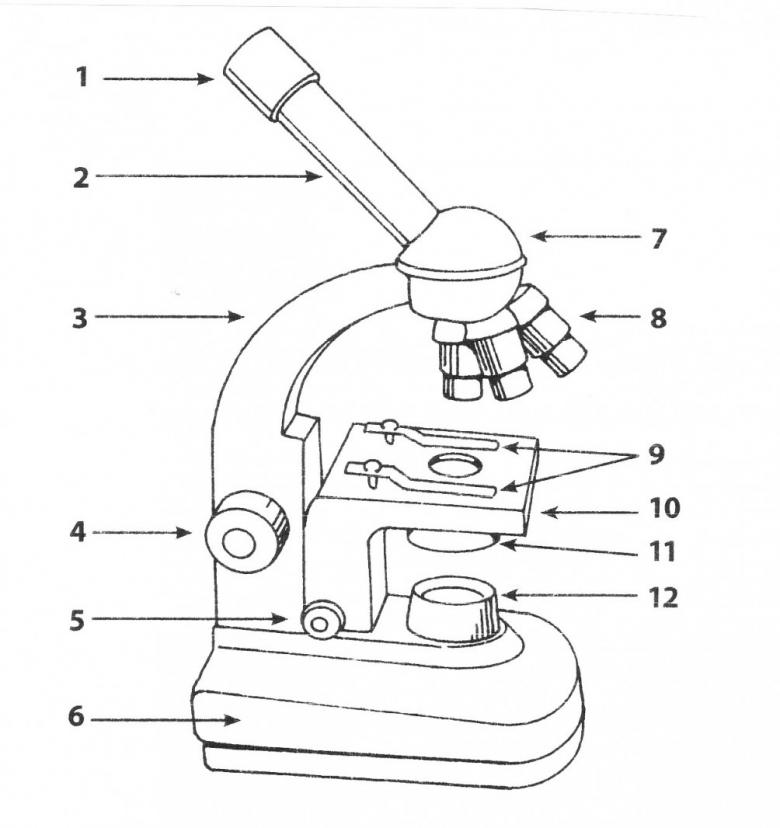
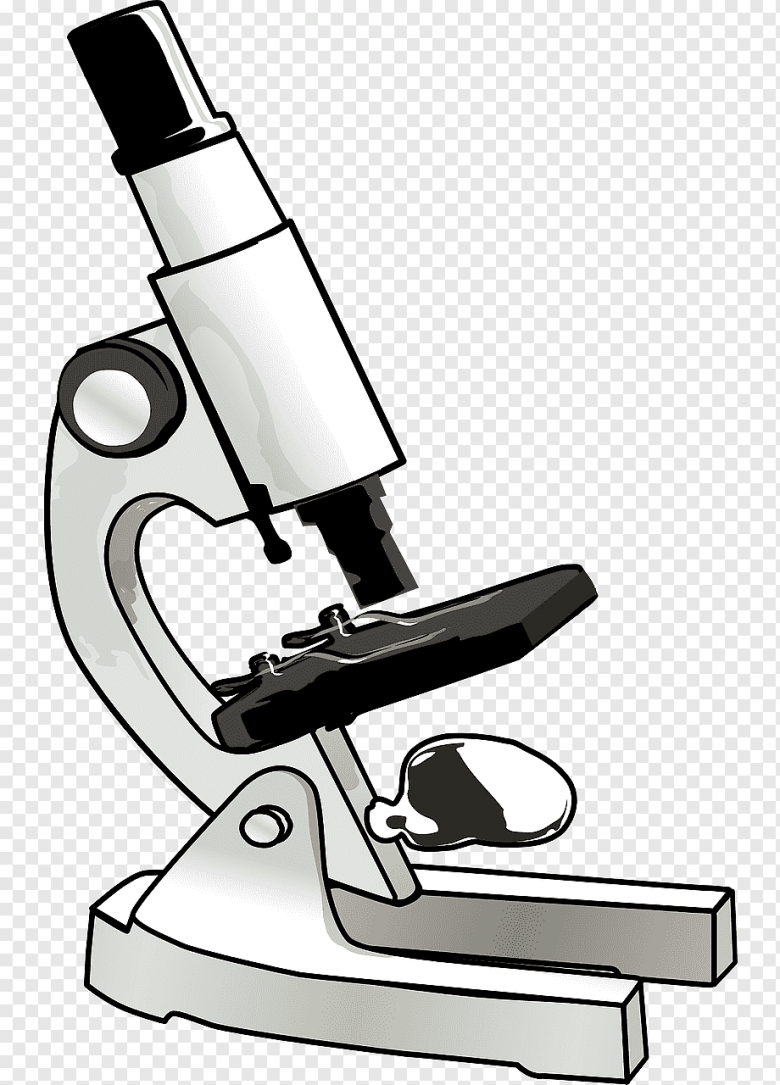
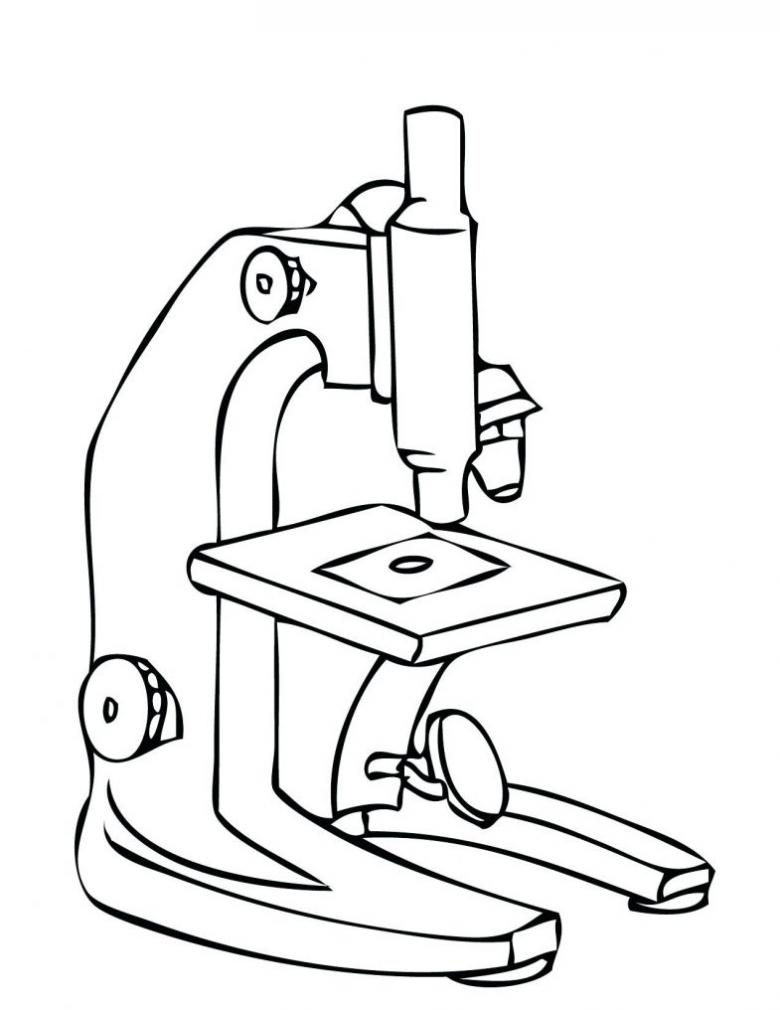
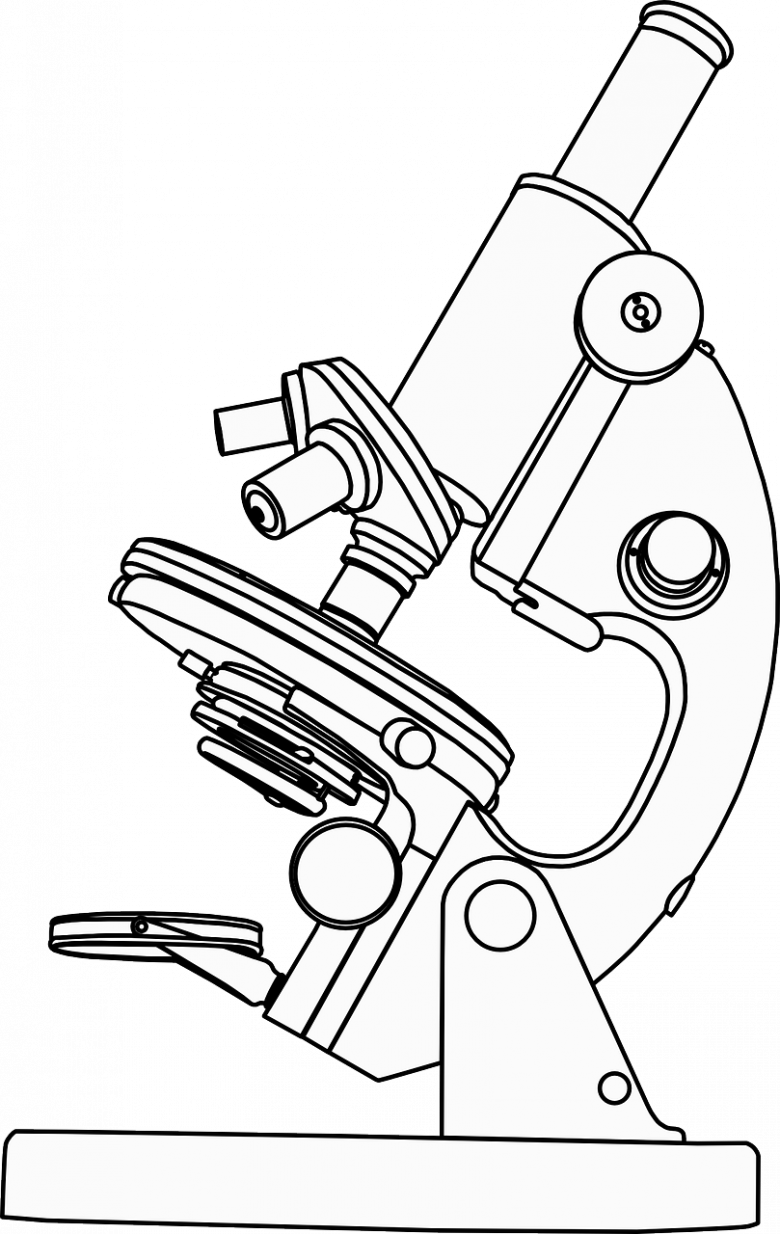
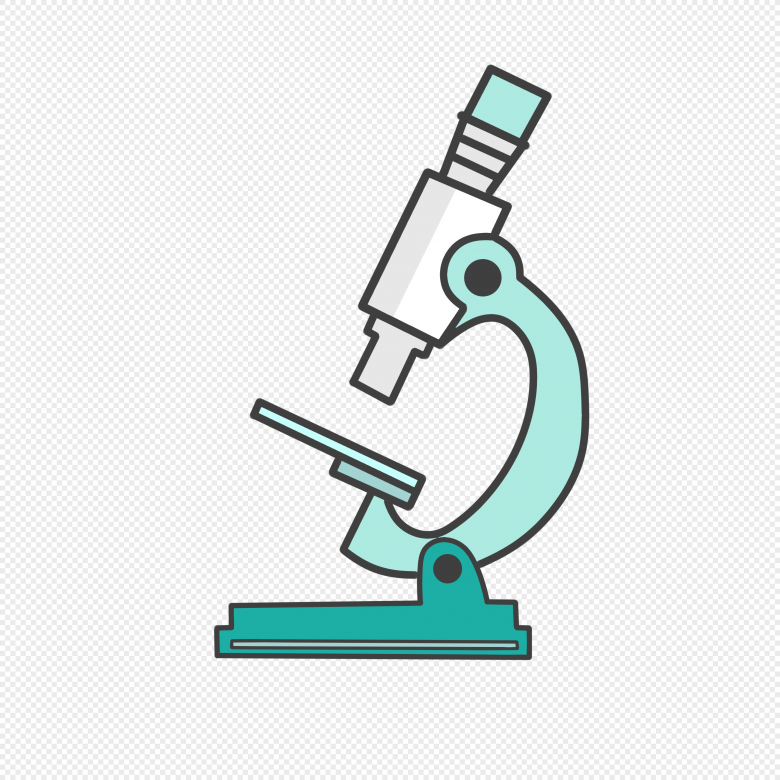
- First, mark how the microscope will be placed on the sheet. Mark this place with a square. And for himself microscope identify the outline of the form of a sloping trapezoid. This way you will be easier to mark the details. Don't forget to check the relationship of the parts to each other. Proportion is extremely important in the work of artists.
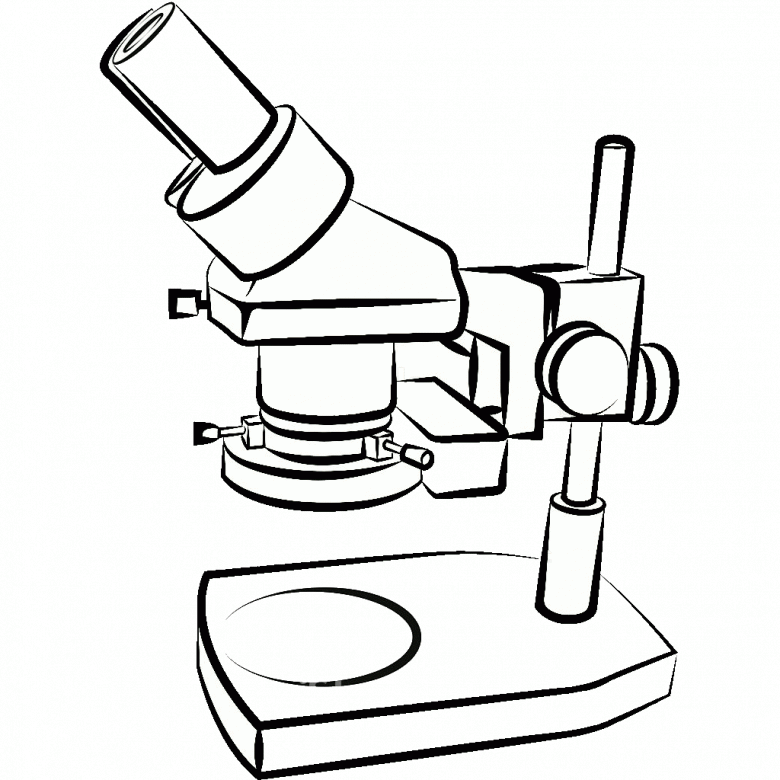
- First you have to draw a visual tube. It is two parallel lines, slightly inclined. They will be connected by ovals.
- A holder is attached to the bottom of this tube.
- To the holder it is necessary to finish drawing the base. This is a disk with lenses.
- On the back side to the base, to the holder is attached a leg. It fixes the microscope so that it will not fall and stand evenly, keeping the balance. Then the base is drawn. It is together with a table to which the feet are attached to set the material.
- To this table is drawn the stand of the device itself. It looks like a tall cylinder or parallelepiped. It has adjustment knobs on two sides.
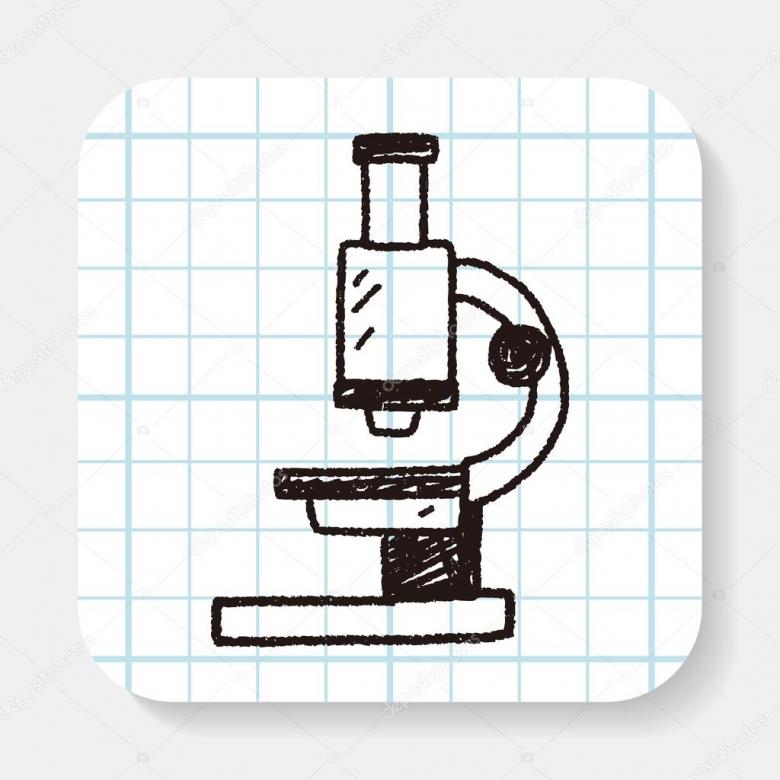
After you have done all the steps mentioned above, you can begin hatching. Start hatching from the darkest places to the lightest places. Make small, neat strokes, don't put pressure on the pencil.
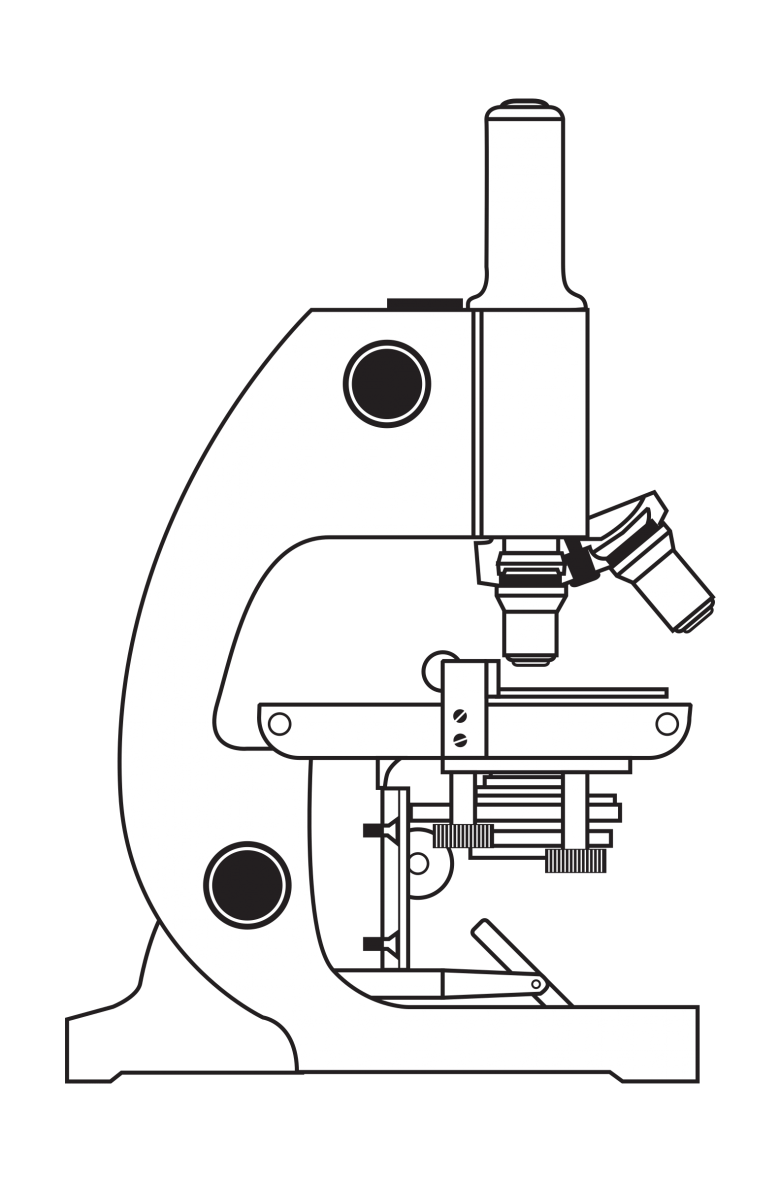
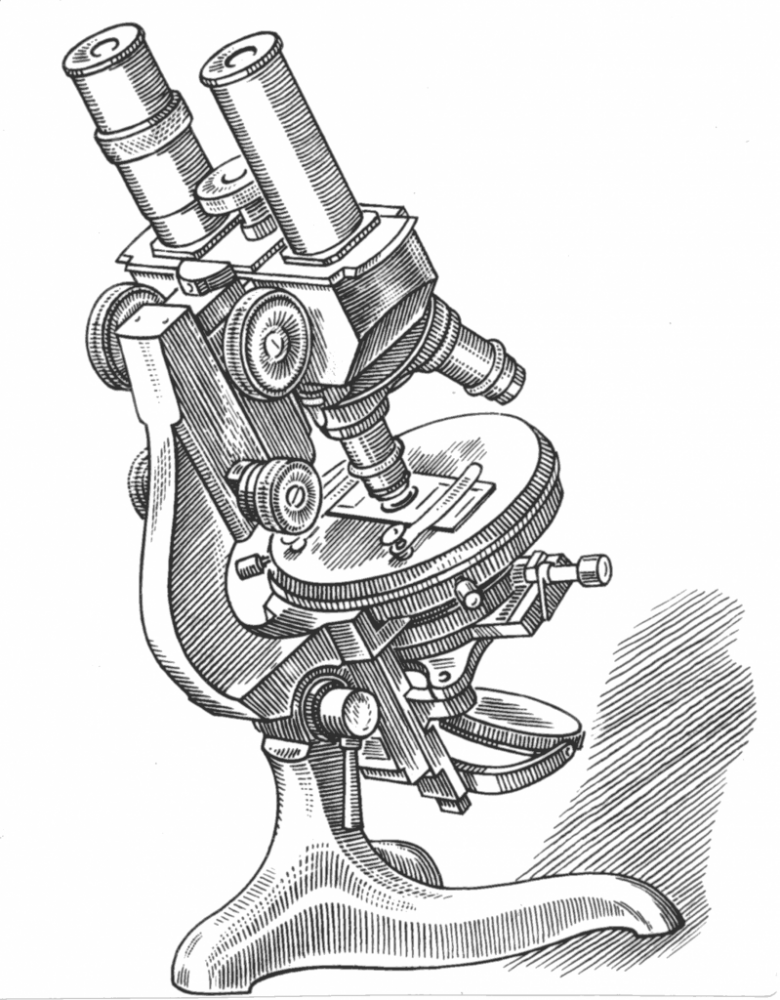
Drawing is recreation, not work, don't strain yourself. Don't try to do everything in one step. Apply the first layer first. This will be the base. Next, deepen the stroke where there are shadows. Where there are cylindrical shapes, make horizontal lines, by shape.
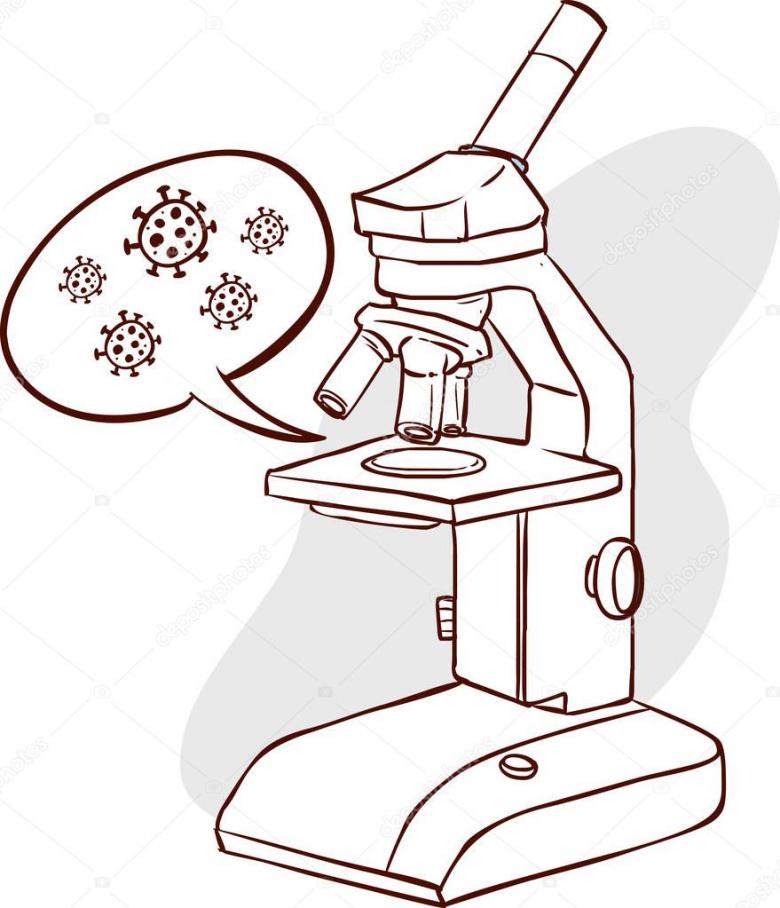
Diagonal strokes, overlapping the grid are welcome, but the grid in the form of marking a sheet (squares) is excluded. Don't be afraid to overlap strokes. The moment you see a clear form, when the work appears volume, it is finished.
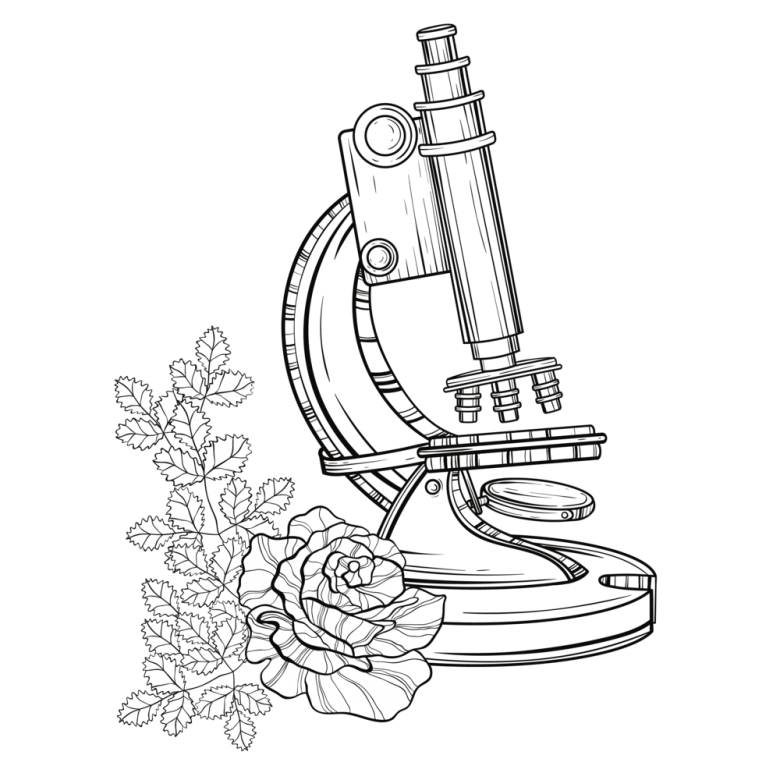
This is how you can draw a volumetric microscope with a pencil. From the first time you may not get a perfect work, but do not worry, a little practice and you can reach any heights.
