How to draw a dog step by step in pencil: learning to depict easily and beautifully for children
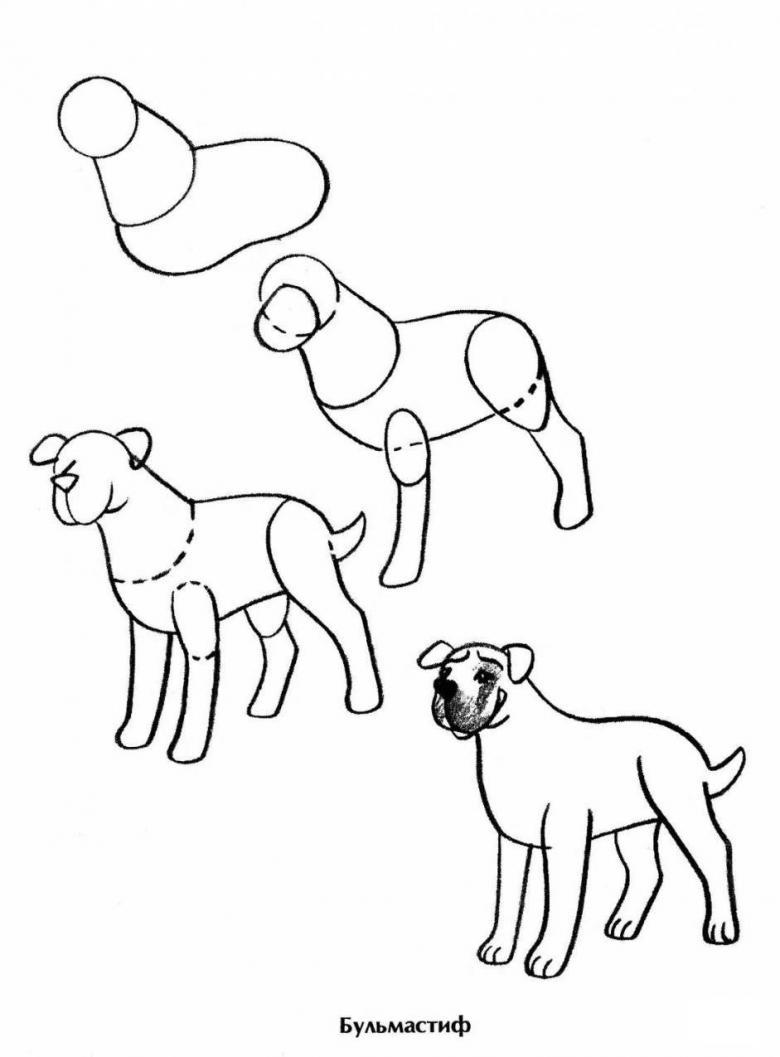
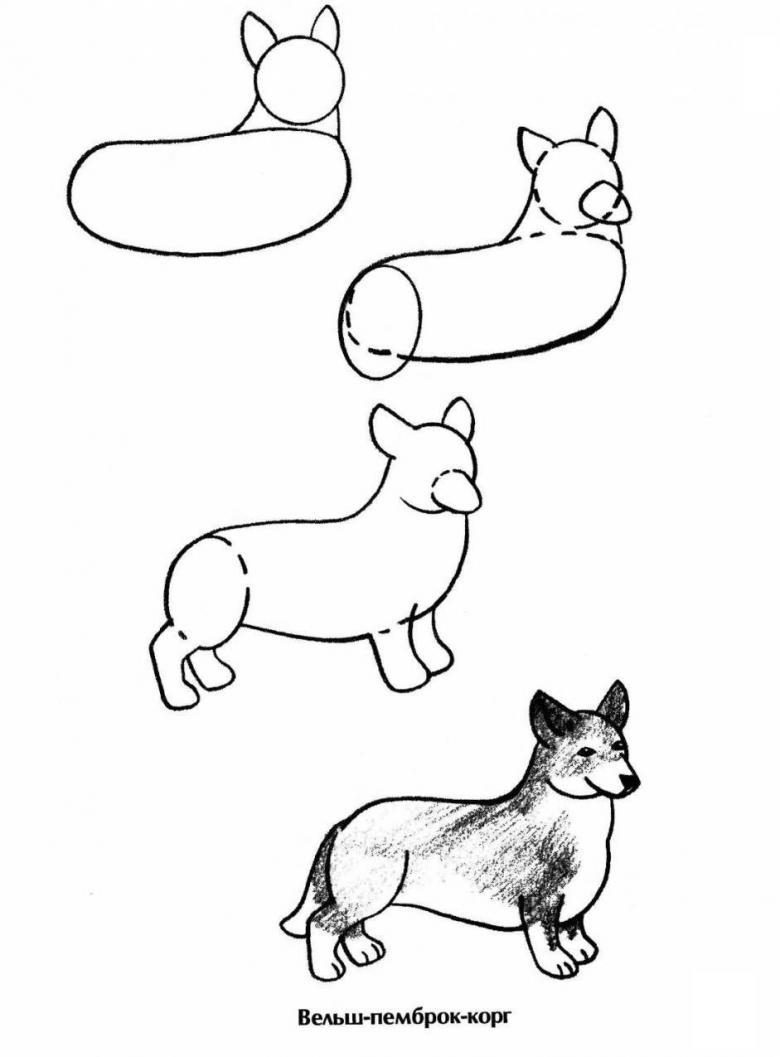
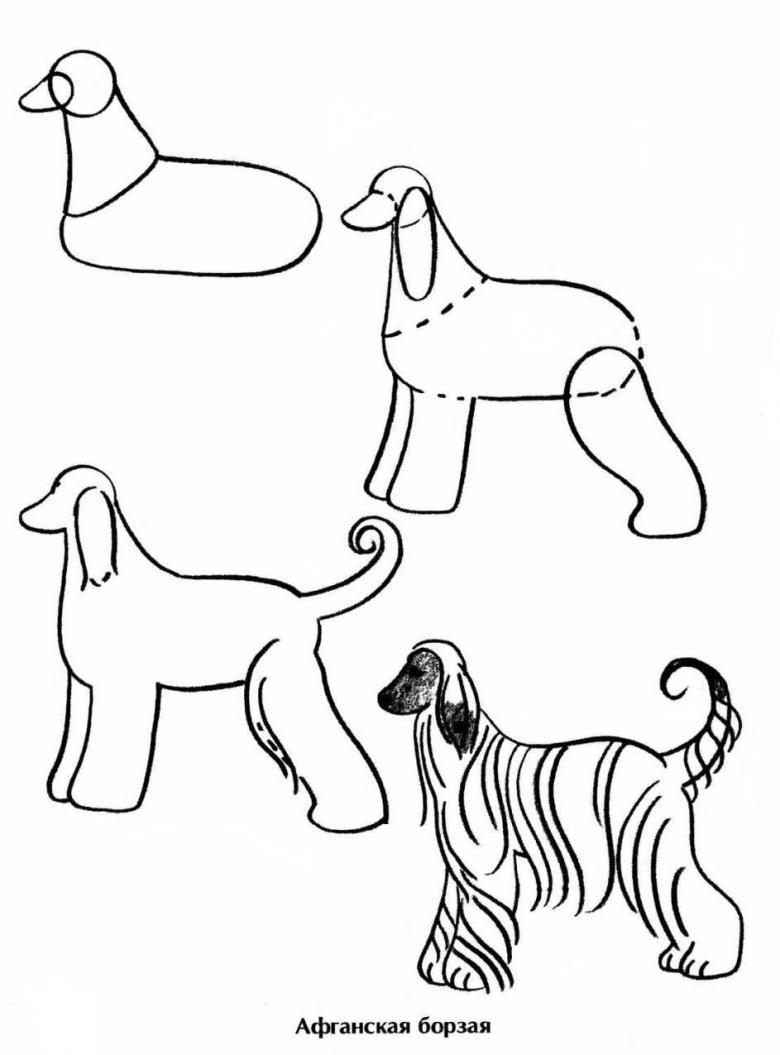
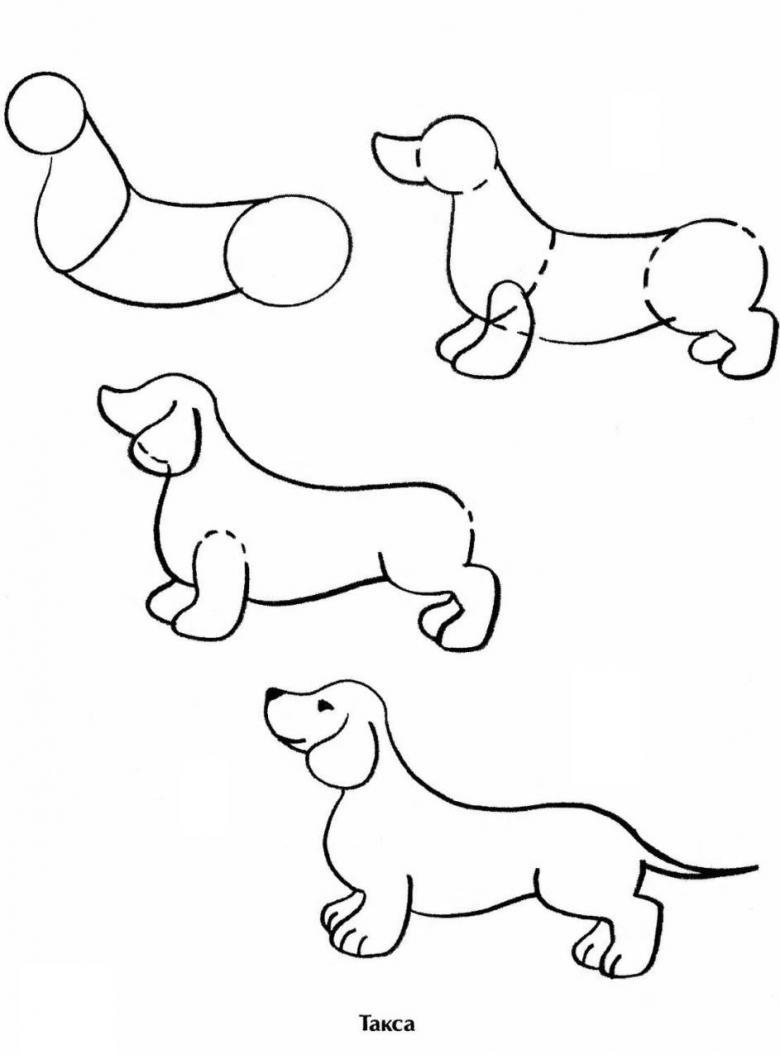
Drawing a dog from nature is not possible. A visual aid, a picture will help. It's easier for a child to figure out how to draw a dog easily if the task is broken down into steps.
An easy way for kids
The first drawing lessons should not be complicated, so that the child does not lose interest.
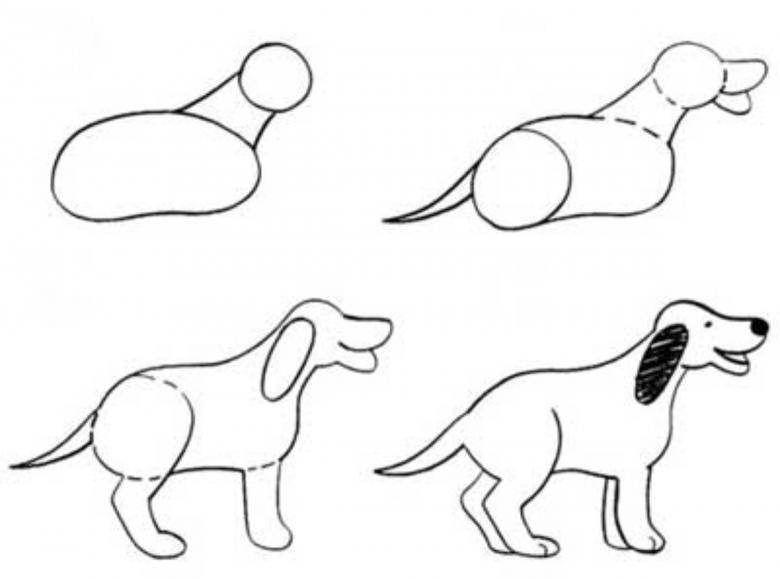
It is not difficult to figure out how to draw a sitting dog if you work step by step.
- The head is drawn first.
- A forehead line is drawn, which passes into a muzzle. The nose, eye and ear are drawn.
- The front part of the dog is drawn from the muzzle line. Completes one front leg.
- From the ear descends the back line with a small bump at the top. So traced is the shoulder blade of the animal. The line ends with the image of the tail.
- With a sitting dog's hind leg is bent. Draw an arc close to the front paw.
- Under the arc paw is finished drawing. The picture now shows one front and one back leg.
- Is added a second front and back. And for the back stroke is enough. After all, it is not visible.
A simple drawing, which a child can handle, is ready.
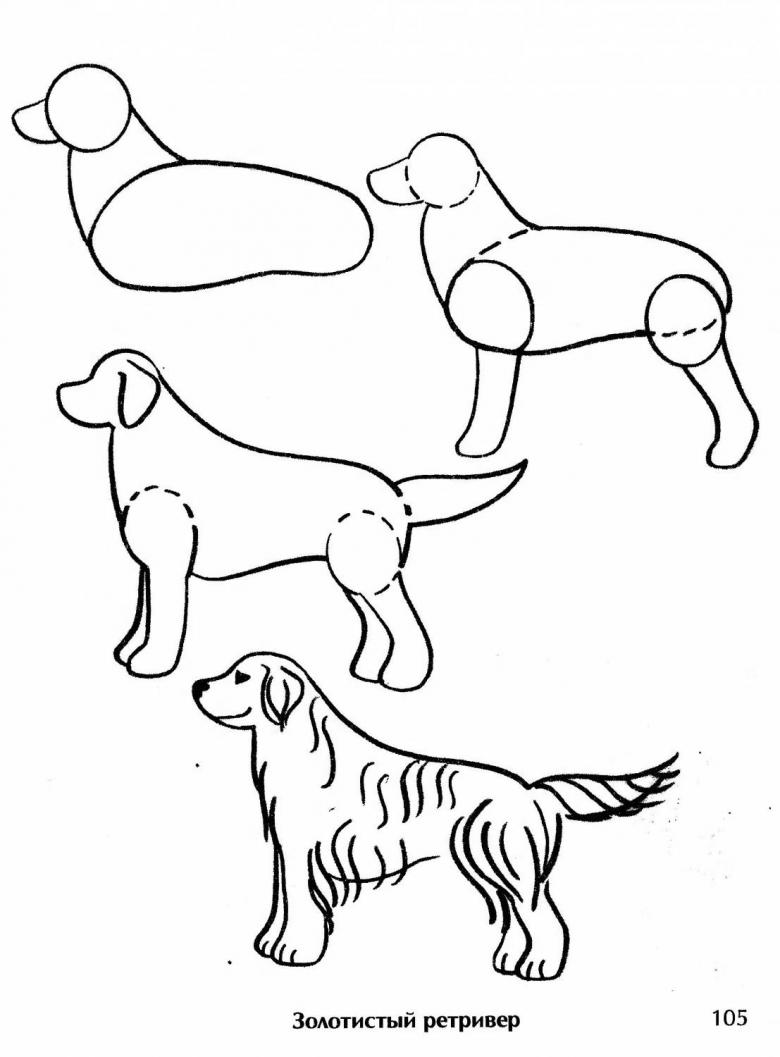
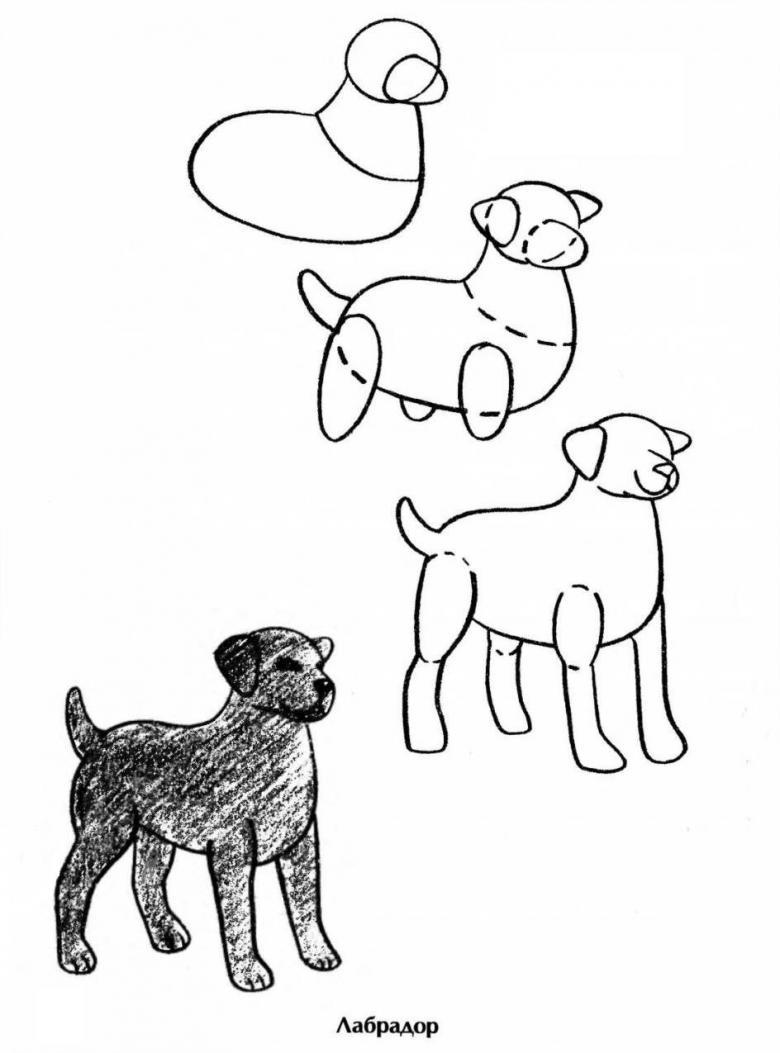
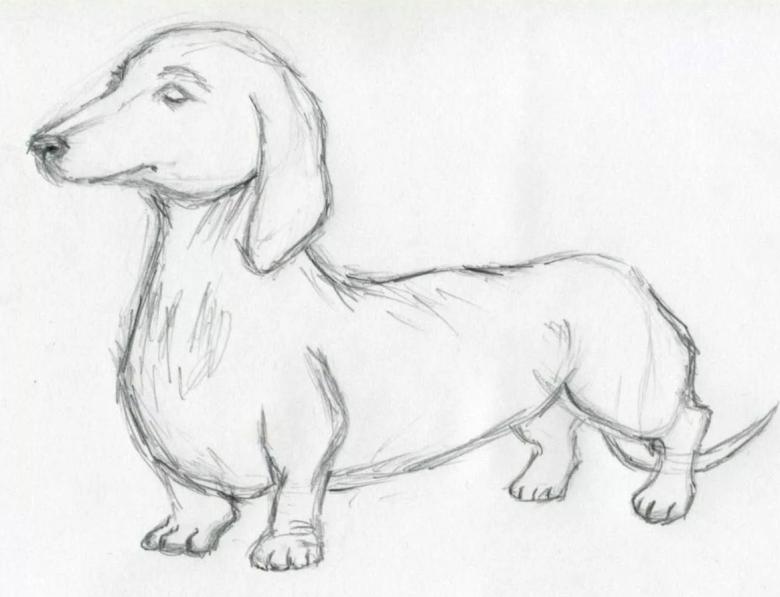
A dog in a standing position
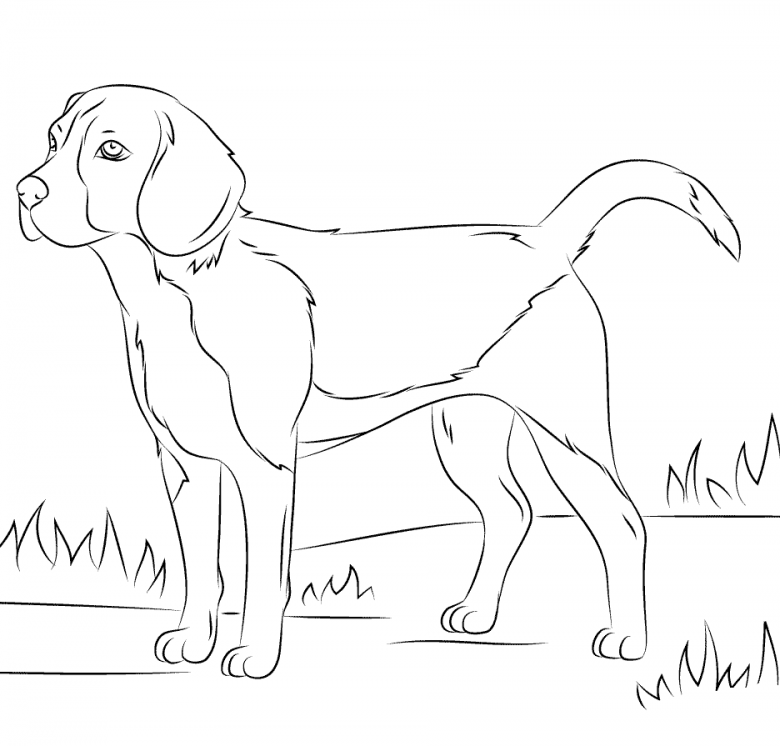
For school-age children, it will be interesting to know how to draw a dog in a standing position.
On a scrapbook sheet, the center is chosen as the location of the figure of the dog.
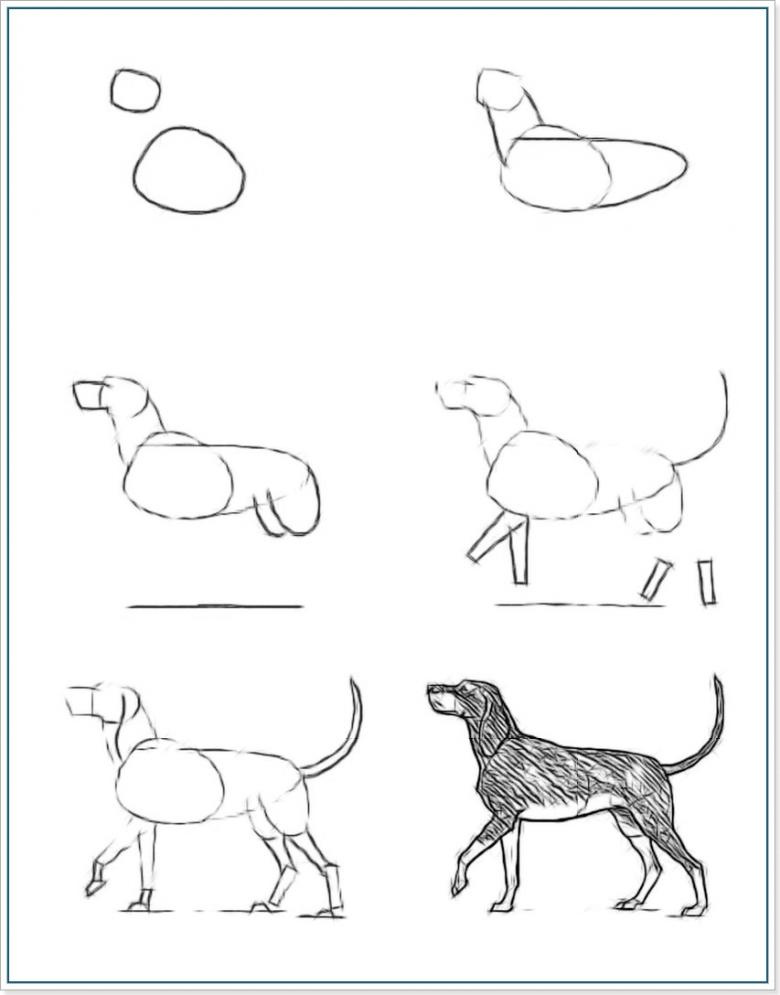
Etaipi roboti:
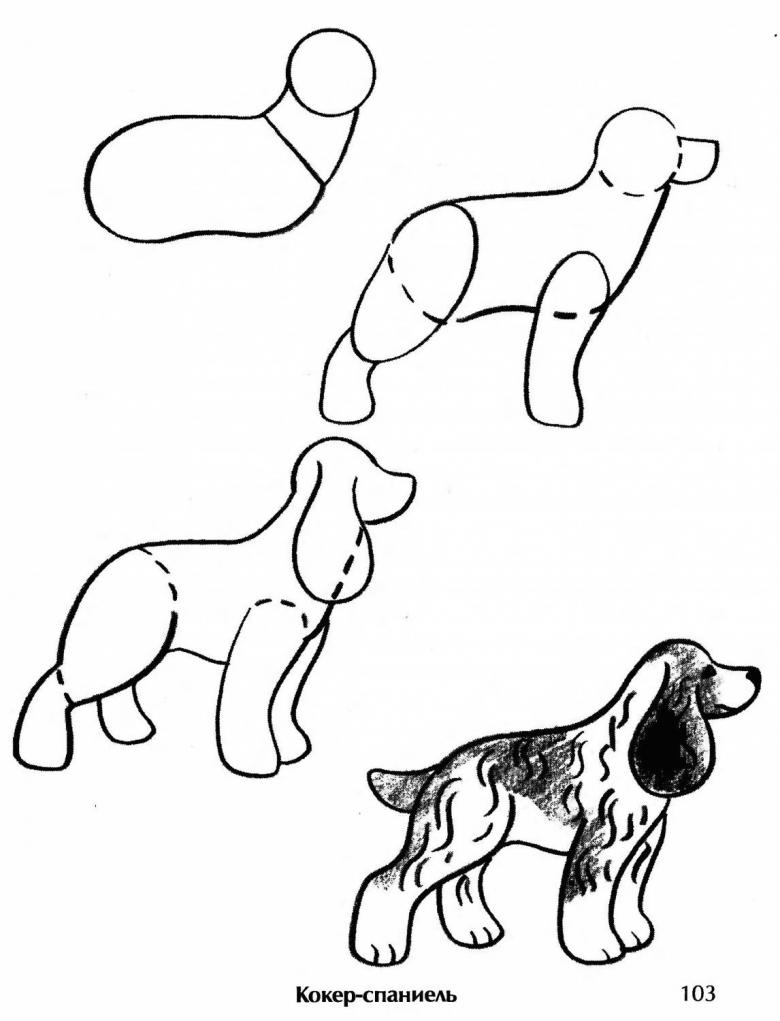
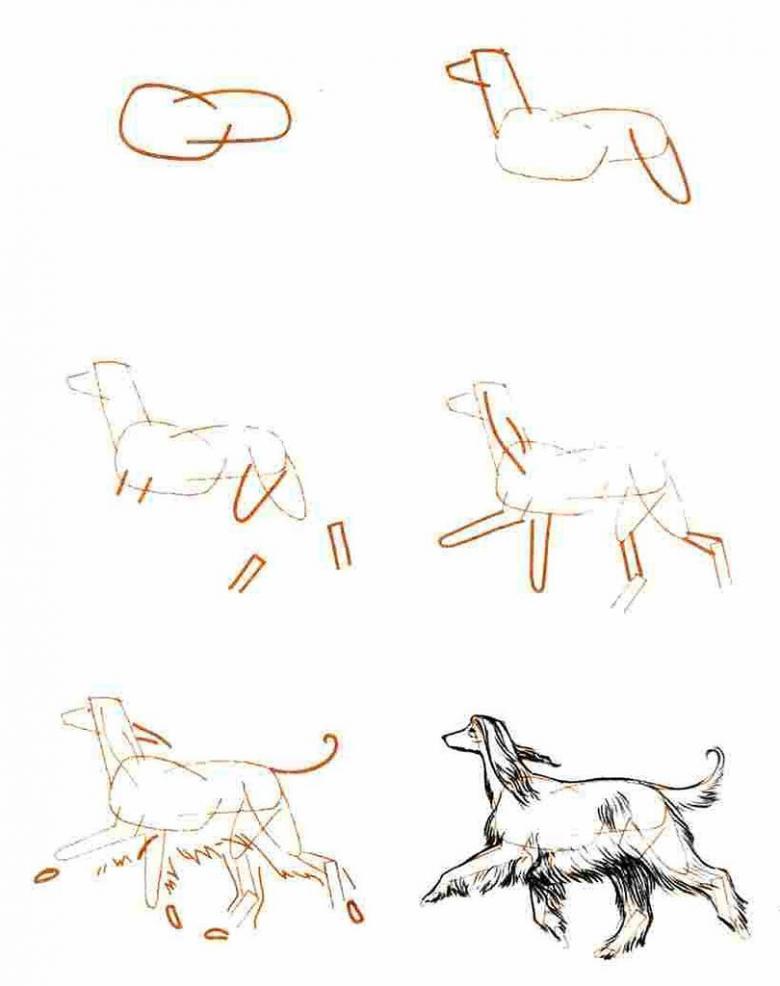
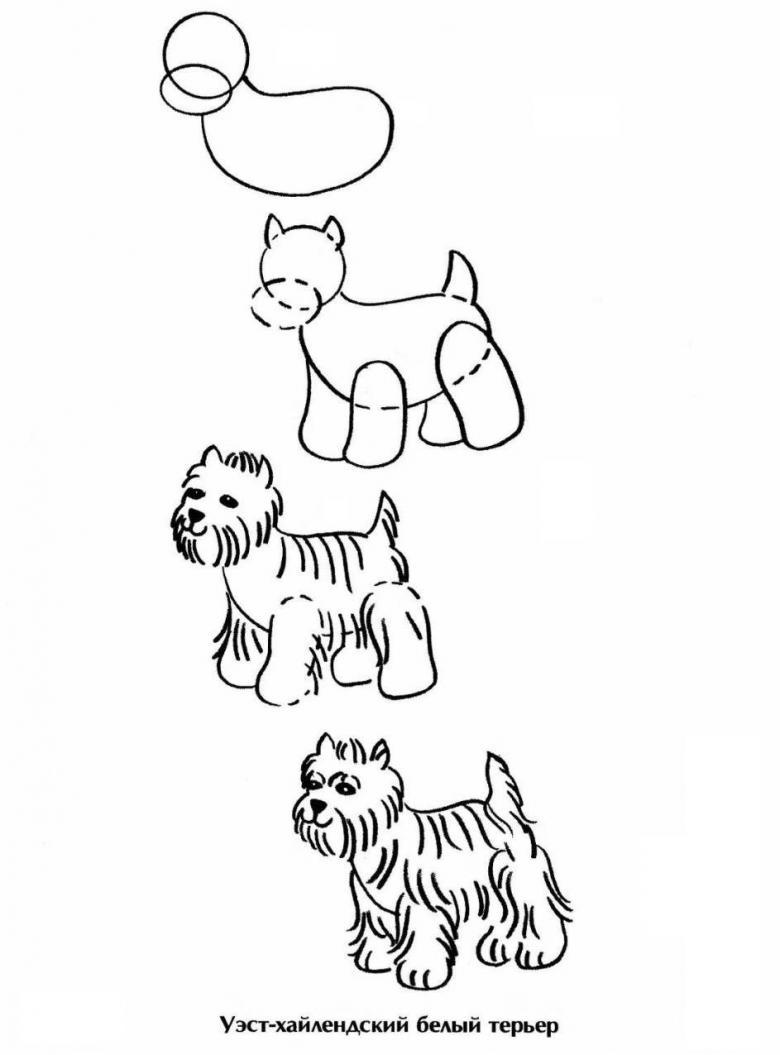
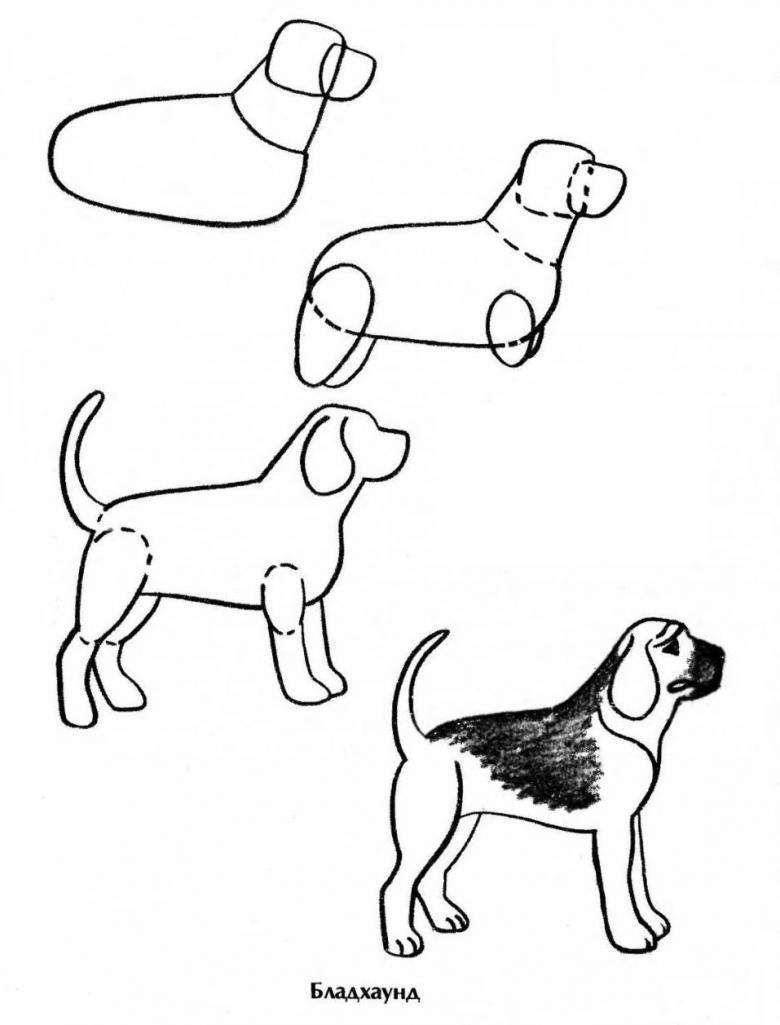
- The pattern of the figure consists of three circles of different sizes. Step aside from the center point of the sheet, draw the largest circle. The front part of the torso will be drawn from it.
- On the line of the center of the first large circle, a little off to the side, the second is drawn. It is smaller in size.
- Again marked the center point of the first circle. A horizontal line is drawn through it. And in relation to it, from the center the left acute 45о angle. This is how the dog holds his head when he stands. The line of the angle is extended upwards. A third circle is drawn on it.
- From the main large circle, lines are dropped to fix the position of the two front paws.
- With hind paws will be more difficult. From the center point of the second circle, long strokes are drawn almost parallel to the neck line, which set the upper section of the limb. The down strokes are the middle section, and the short one looks like the foot of a woman in heels. This is the template for the paw pads.
- The line of the tail lies on the back.
- Two triangles fix the location of the ears.
- The rounded trapezoid forms the dog's muzzle. The lower jaw is shorter than the upper.
- All circles are connected by smooth lines. They should not be straight, but arched. This is how the neck and back are drawn.
- The shapes of the limbs are shaped. The hind legs have the upper part wide and massive. The feet have toes and claws.
- At this stage, the conventional lines are wiped out.
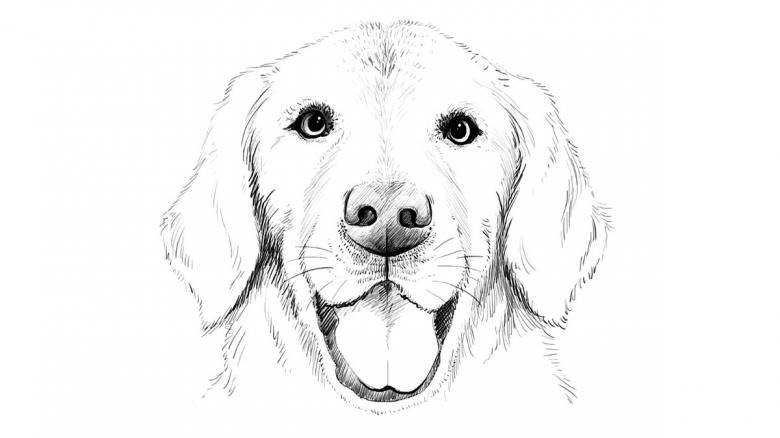
- On the muzzle, eyes, eyebrows, and nose are drawn. The long tongue hangs downward. The nose resembles a triangle, small circles are the nostrils. The teeth are not to be forgotten.
- The outline of the entire body is drawn with strokes in the direction of the wool.
The picture is colored in the direction of the growth of the coat.
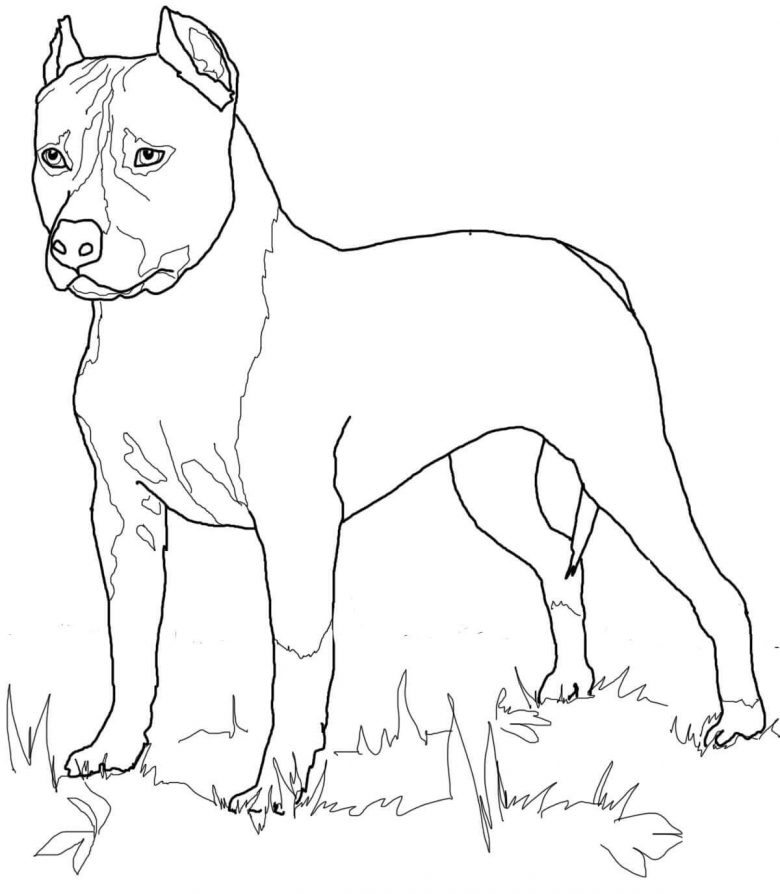
The lower part of the body is always darker. Paws are painted unevenly, with emphasis on the light areas. Then the image will be three-dimensional and realistic.
Picture of a favorite breed - Husky
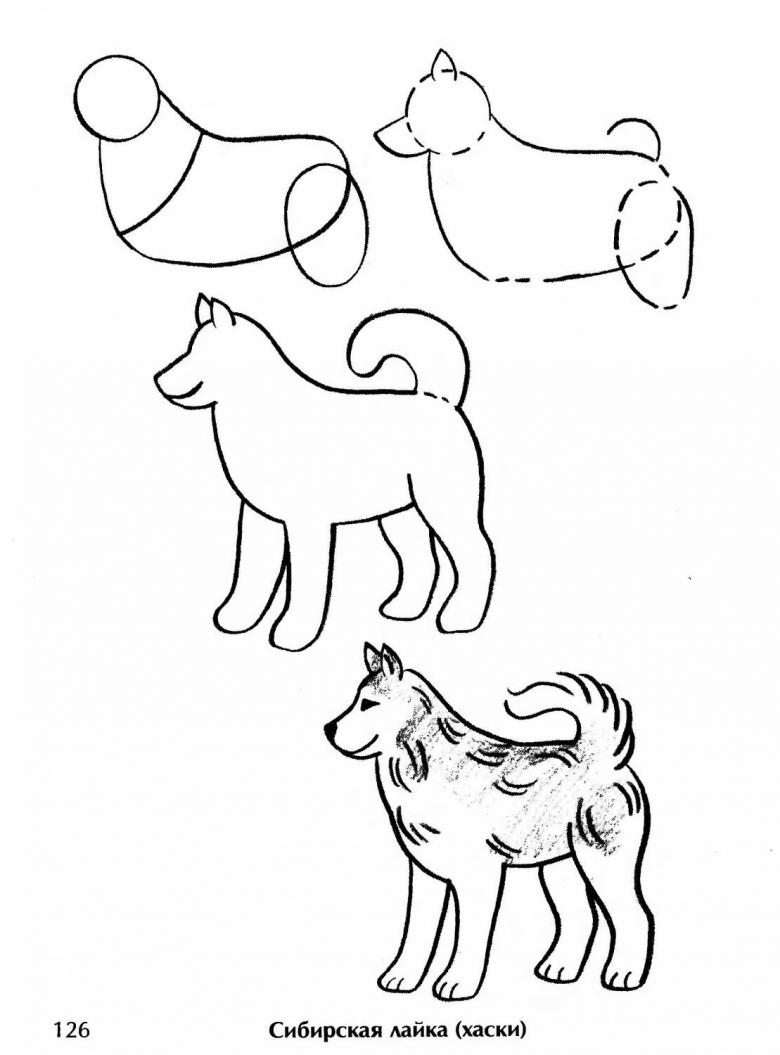
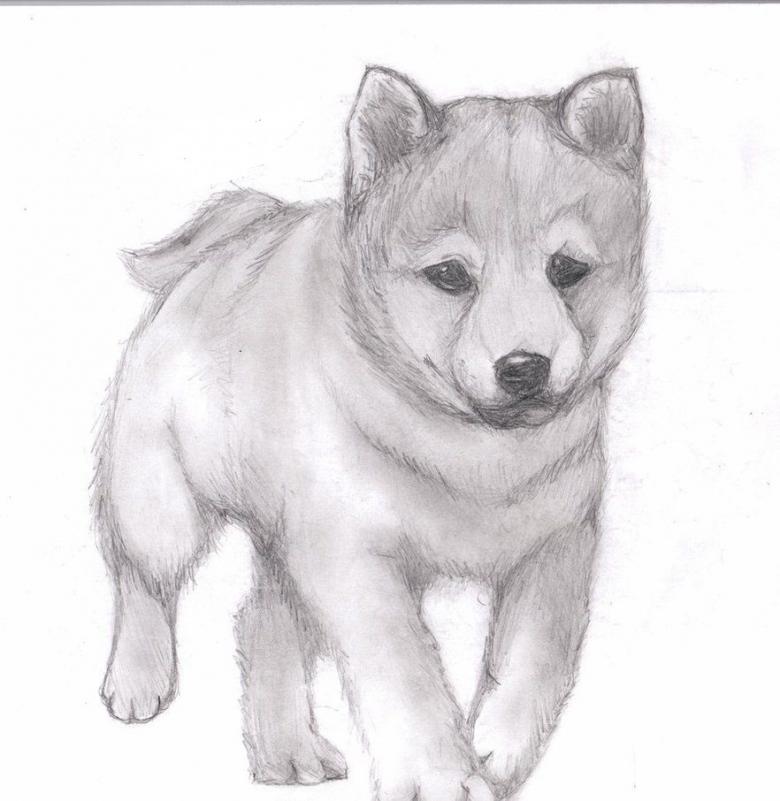
Children love to draw the husky because of its unusual appearance. They retain the features of their ancestors: northern dogs and wolves. A step-by-step lesson for elementary school children will tell you how to draw a husky dog without missing all its features.
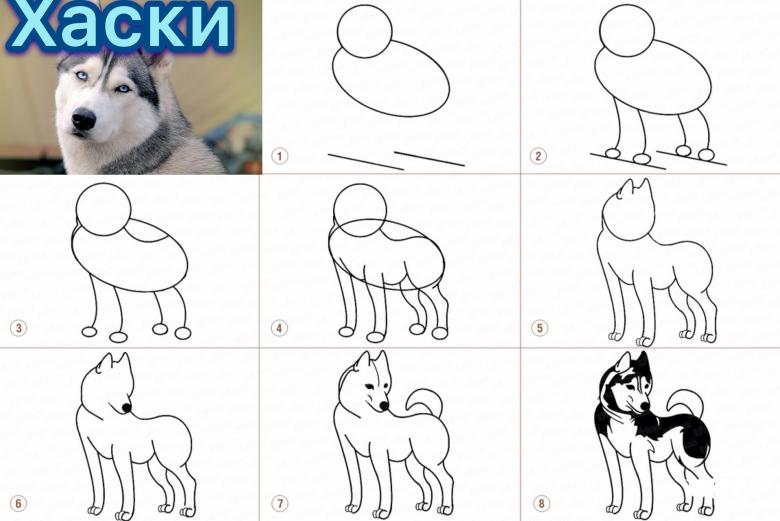
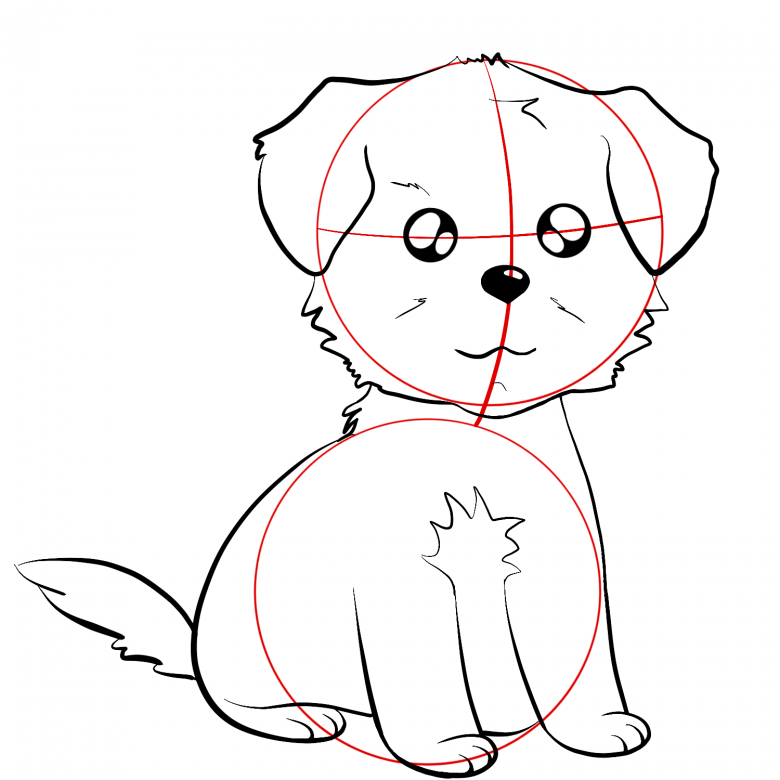
The drawing will show a sitting puppy.
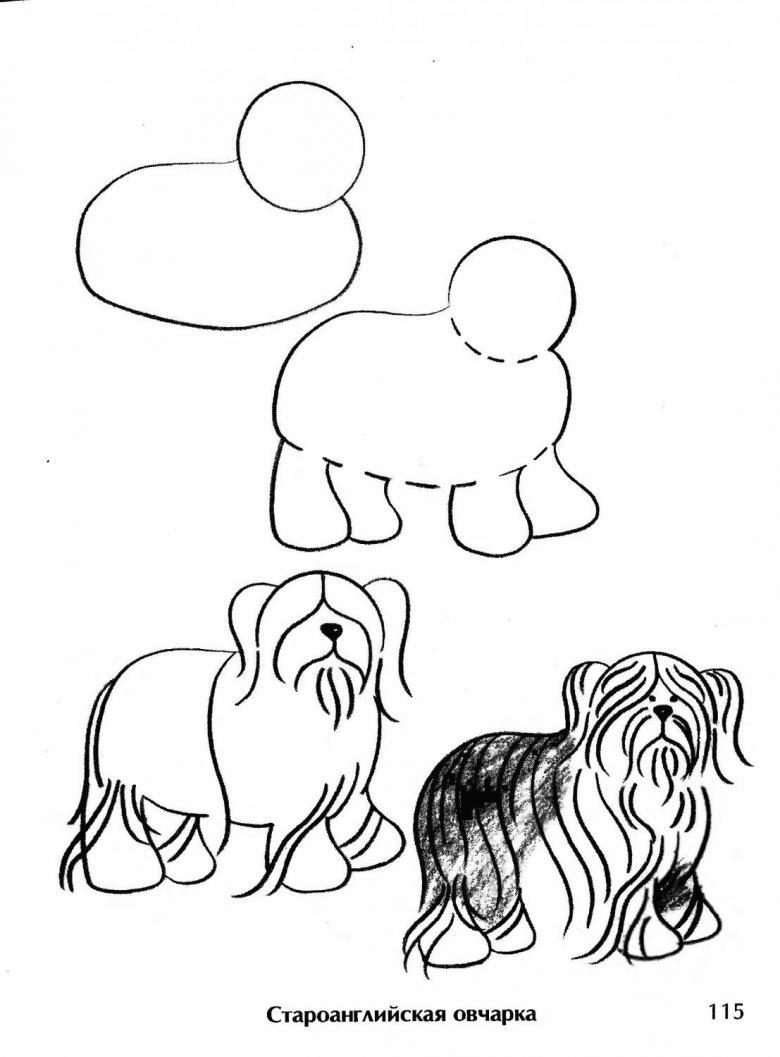
- His figure is visually divided into geometric shapes: a ball (the dog's head) and a trapeze (the torso).
- Triangular ears are finished.
- Curved lines fix the position of the hind paws. Smoother lines are the front limbs.
- Eyes are marked with small circles.
- Under them, the template of the puppy's muzzle is drawn - a small circle.
- Paws, which end with semicircular pads, are shaped.
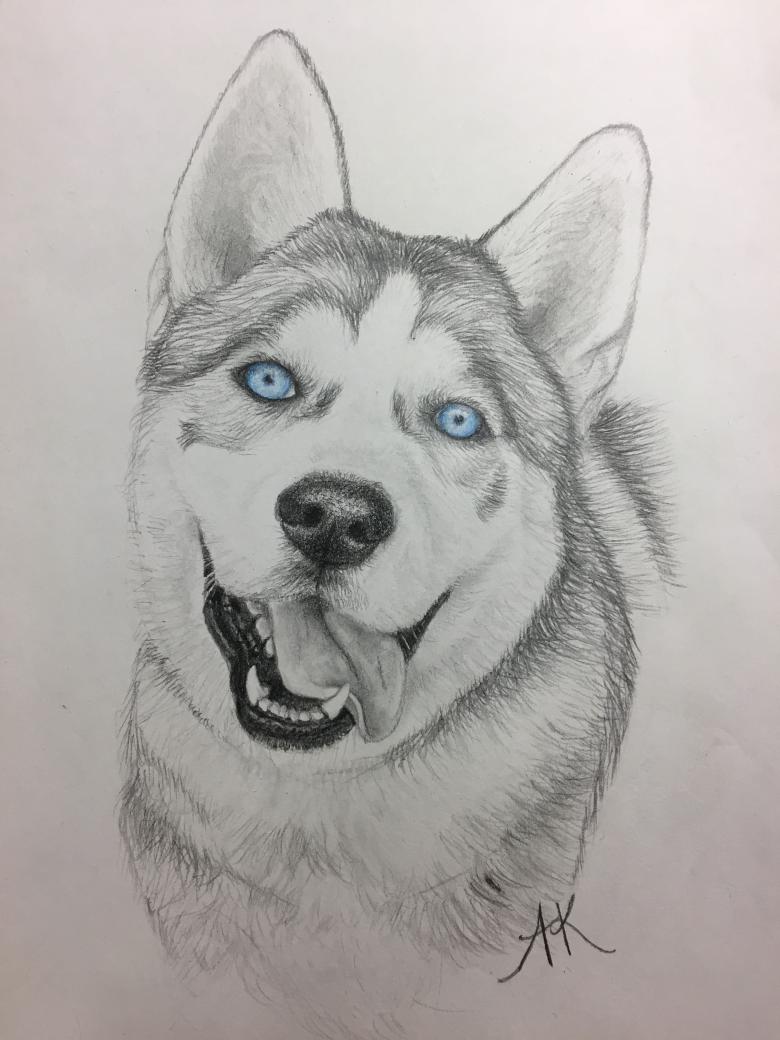
- If we talk about the peculiarities of the Husky breed, it concerns the shape of its head. At the top there is a noticeable narrowing.
- It remains to draw the eyes, mouth, tongue, nose and eyebrows. The pupils are highlighted.
- Another characteristic feature of the breed is its beautiful coloration. It has a combination of dark and light areas.
- The area from the nose to the forehead, around the eyes, the sides of the muzzle are painted light. Wide dark lines emphasize the dog's eyes.
- Conventional lines are erased. To imitate wool, short strokes are applied along the contour of the figure.
- The figure is painted with broken short lines to create the illusion of wool.
- The light coat is depicted in shades of blue, and the dark areas are painted in black, brown and blue.
Such a beautiful puppy can be decorated with a greeting card for a friend.
Drawing a dog by cages
At the preschool age to teach a child to draw a dog helps the technique of drawing on the cages. For parents, this is also a time to occupy their child as during a trip, at the cottage, on the beach and in any other place. How to draw a dog with cages is interesting for children both 4-6 years old and at the age of ten.
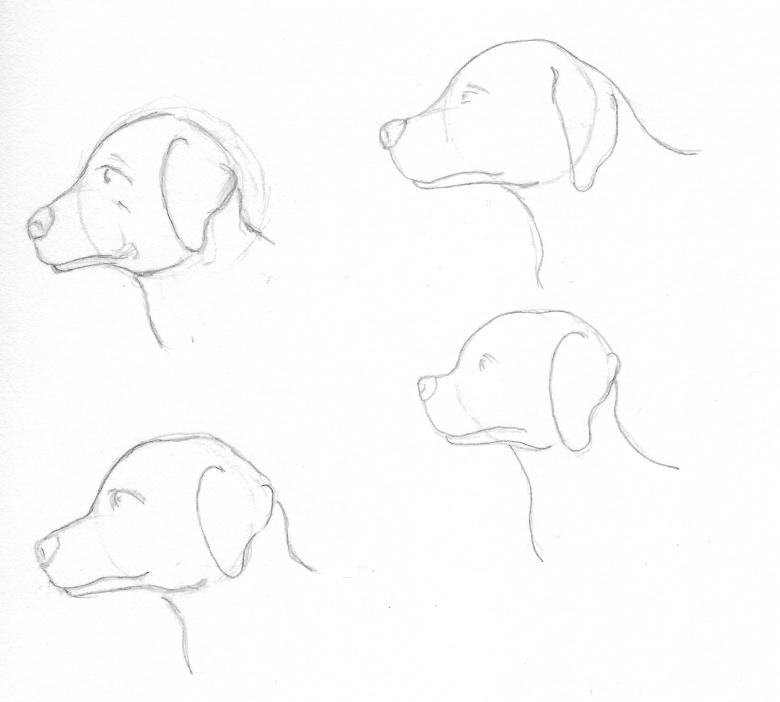
The task is performed on an ordinary sheet of paper in ticks. A simple version of the task is suitable for little ones.
For older children, it is more interesting to perform the more complicated task.
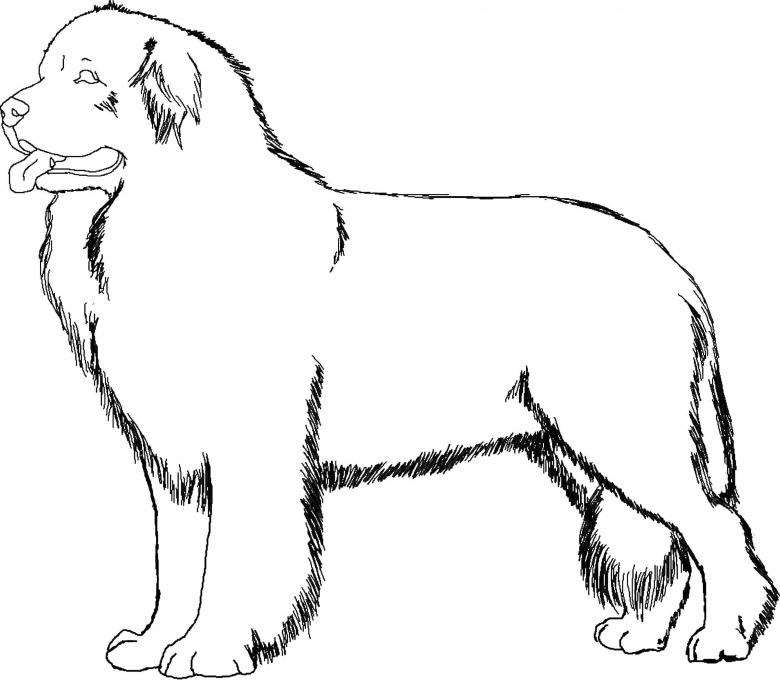
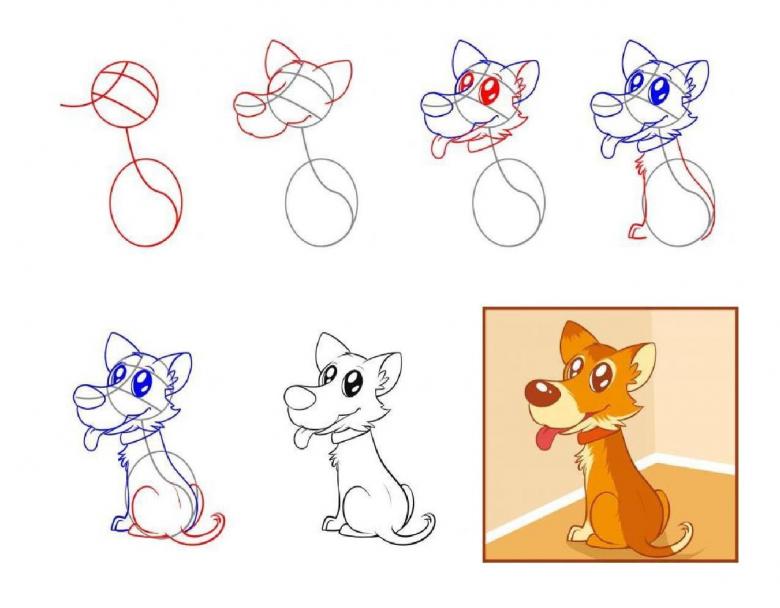
Cartoon dog
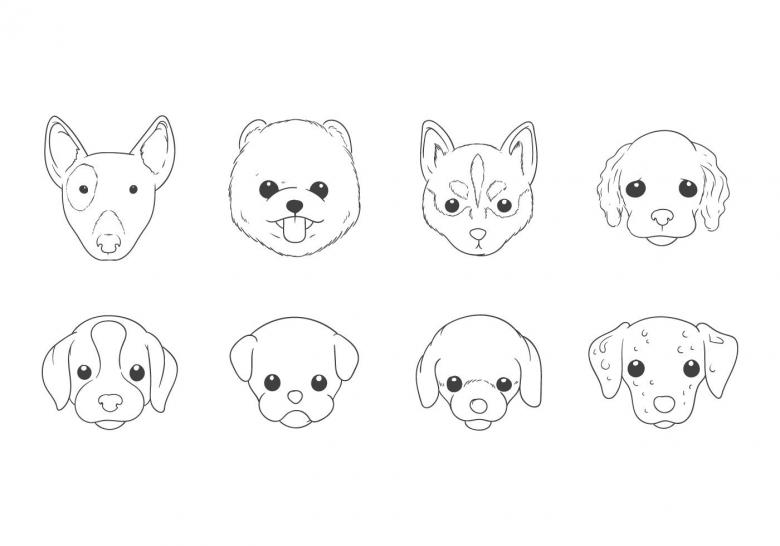
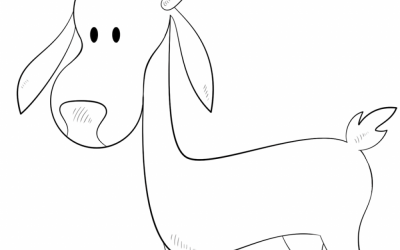
Children like to draw animals not only in a realistic style, but also in a cartoon style. Cartoon dogs are funny and cute.
- The work begins on the drawing of the head. A circle, broken into sections with thin auxiliary lines, is taken as its template.
- Outline of the muzzle, dangling ears and protruding tuft is drawn.
- On the horizontal auxiliary line drawn eyes with enlarged pupils with highlights.
- In the form of a drop of water are drawn eyebrows over the eyes.
- A large nose with a glare, sticking out the tongue from the mouth emphasizes the cartoon image of the dog.
- Auxiliary lines are wiped away.
- Starting to work on the torso, the line of the back with the butt is drawn, passing into the contour of the hind leg.
- Curved line draws the belly of the doggie.
- Is finished first the second hind paw and then the front limbs.
- A small tail and the spots next to it will make the image of a puppy playful.
- Conventional lines on the front paws are erased.
- The muzzle is decorated with dots for antennae.
After the outline of the doggie is outlined, the drawing is complete.
