How to Draw a Tulip in Pencil: Professional and Children's Drawings of the Symbol of Spring
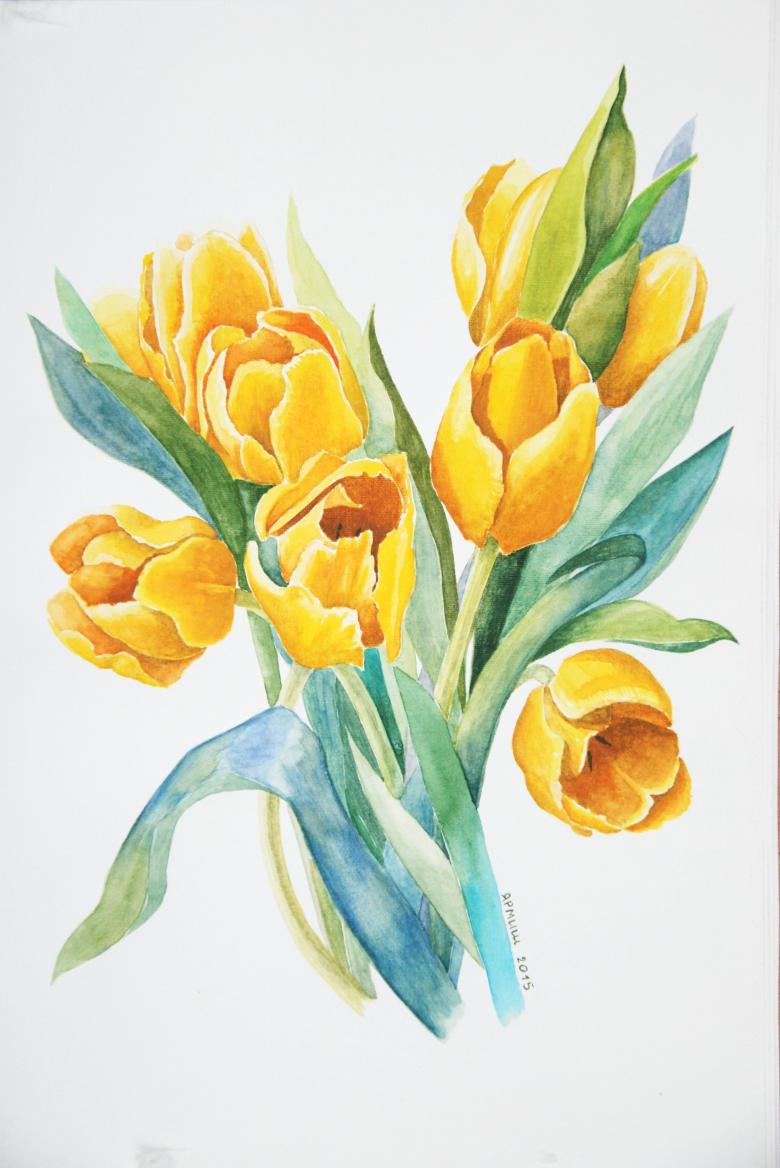
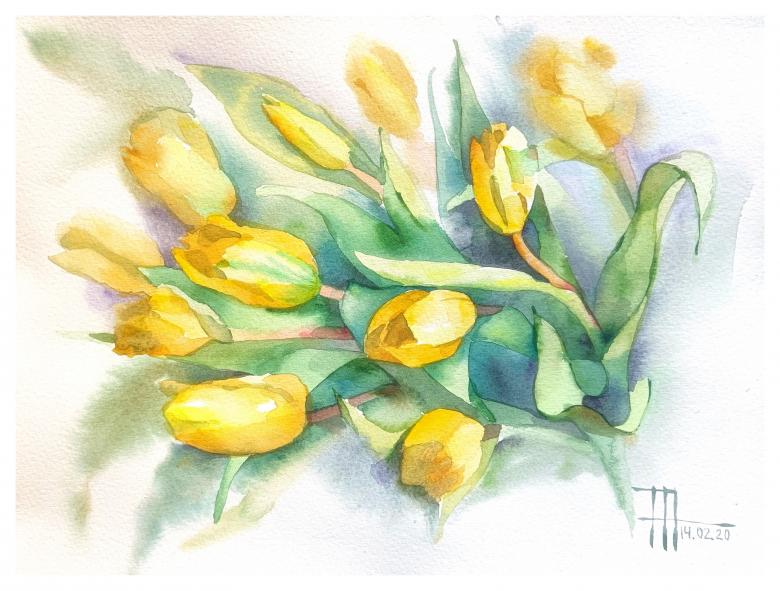
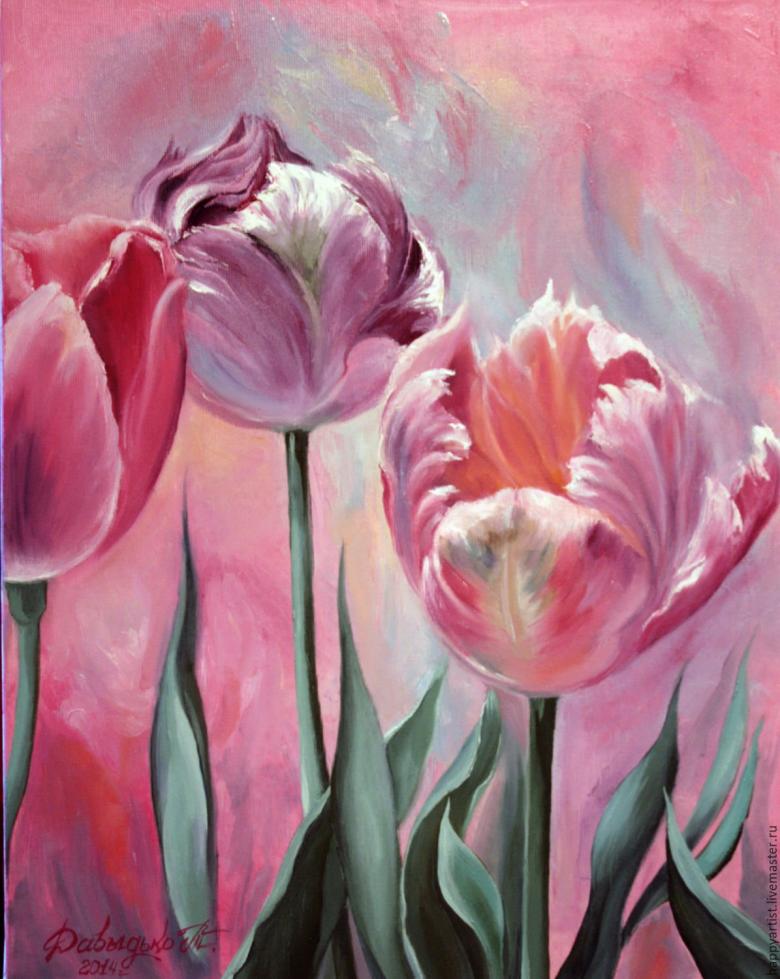
The greatness of the empire of Flora artists of all times have sought to capture on their canvases. Tulips were chosen as the main symbol - one of the first spring flowers with an interesting fate and an unusual history. Stylistics and manner of writing of each master was different, but all pictures with meek tulips have extraordinary charm and unique, magical harmony.
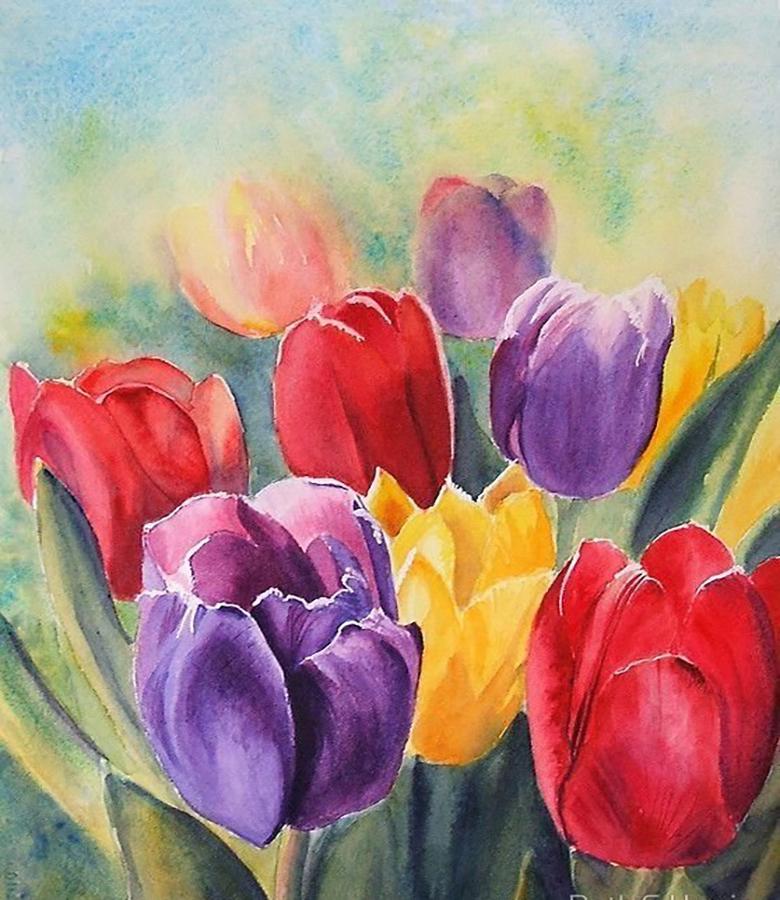
The cult of the tulip was not spared the almighty fashion. At all times they created fabrics with exquisite patterns of this flower. The image of the tulip was woven on the most luxurious lace, which were incredibly popular in the royal palaces of England and France.
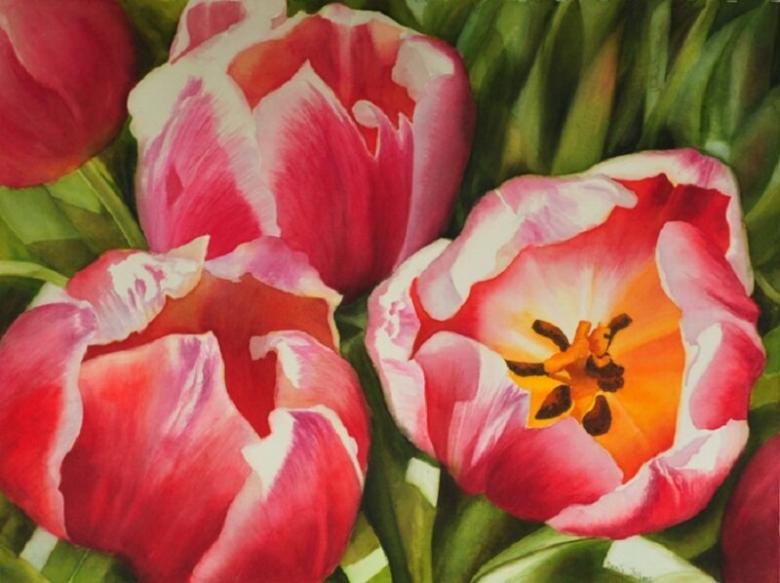
For lovers of this flower, as well as for those who are just starting to draw, this article will be a good helper. You should start from a simpler drawing to quite complex compositions.
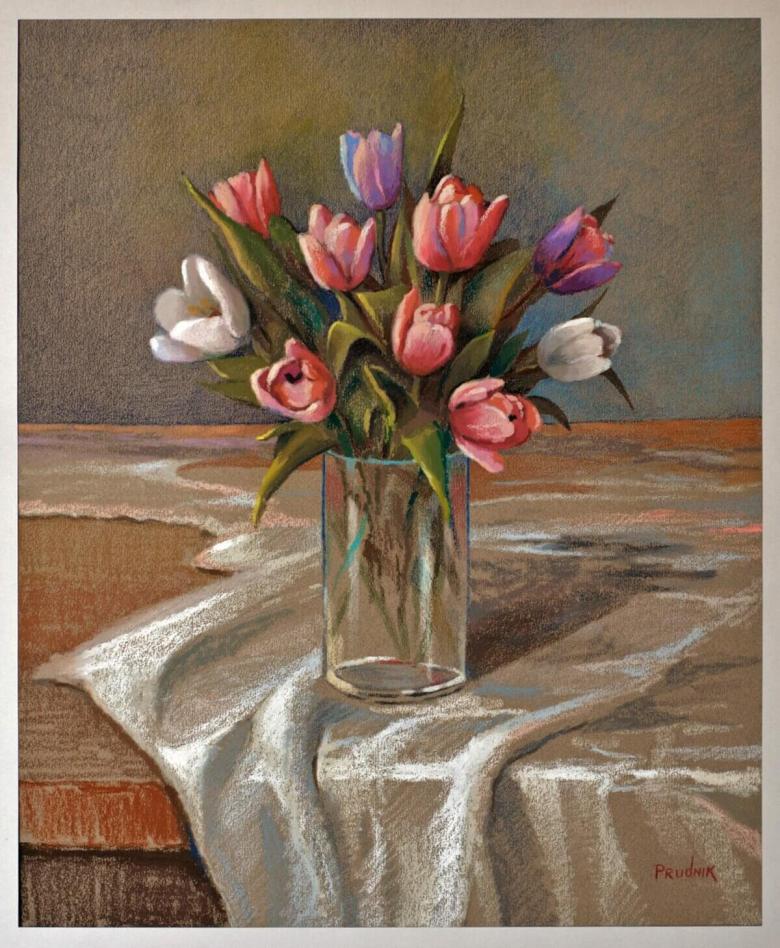
A Symbol of Spring
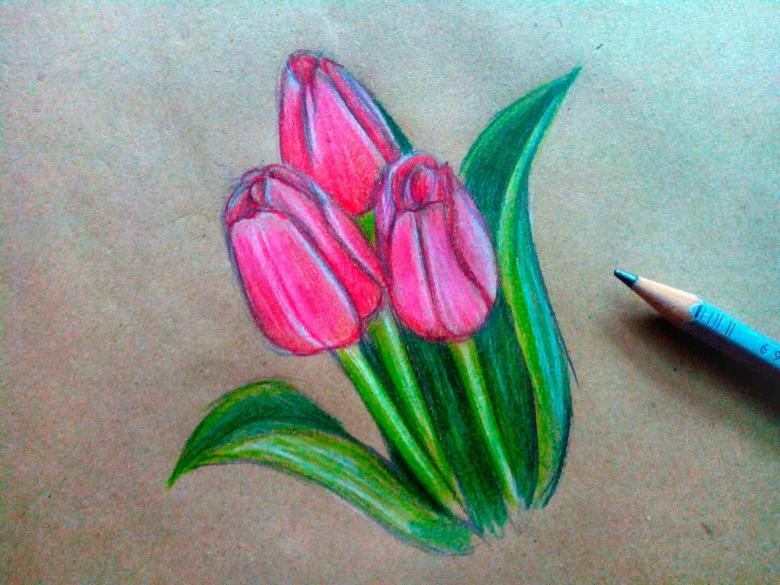
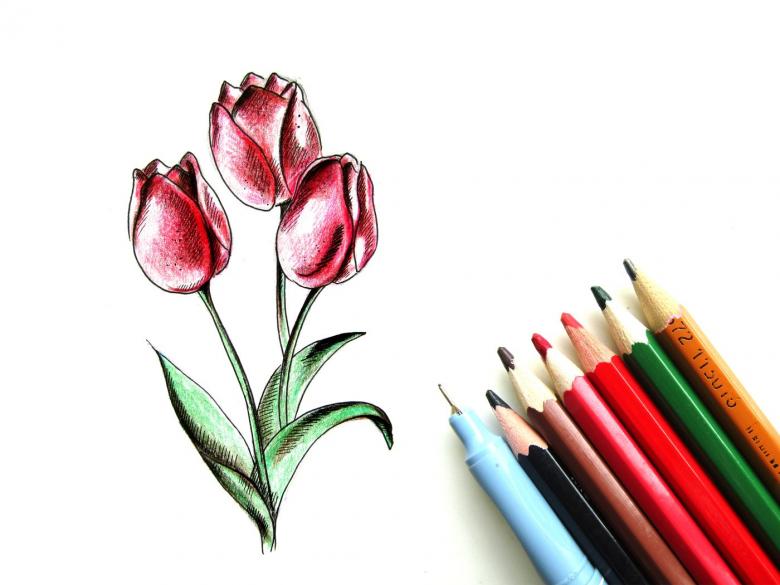
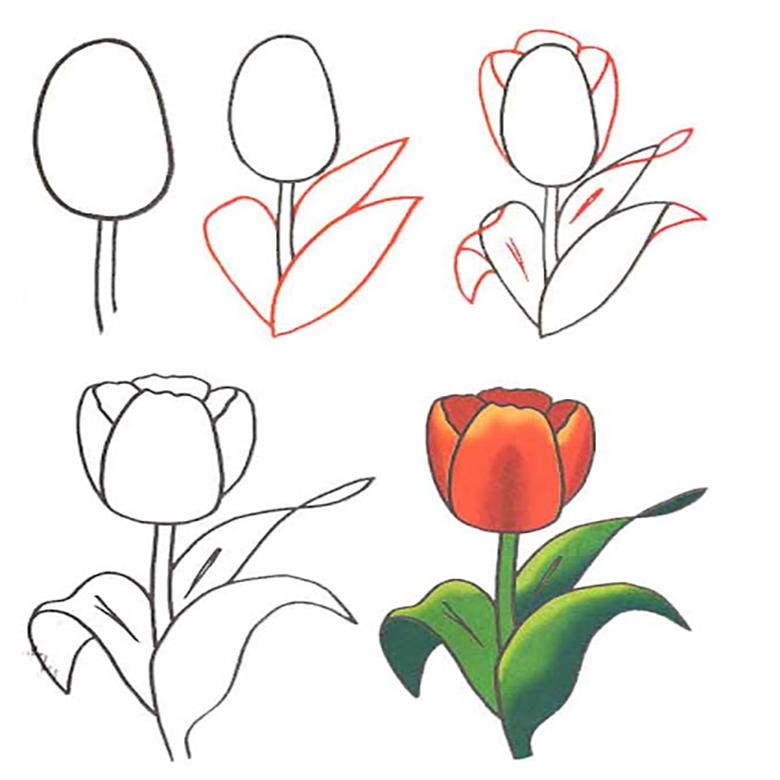
For beginners, we offer an example of how to draw tulips step by step, using the most common set of colored pencils. A simple pencil is used for sketching.
Stages of the process
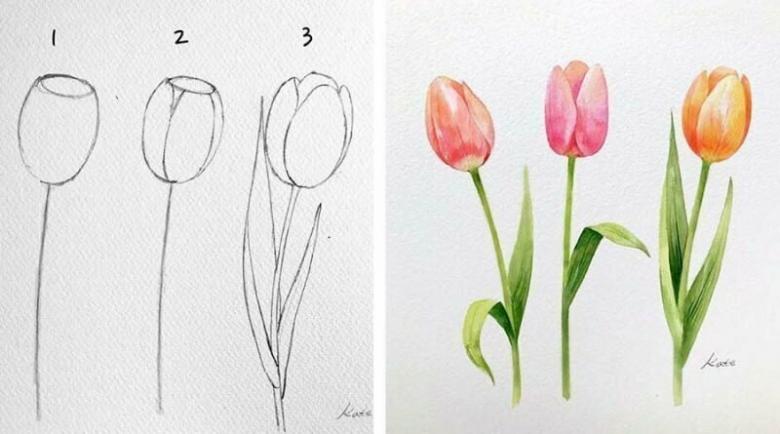
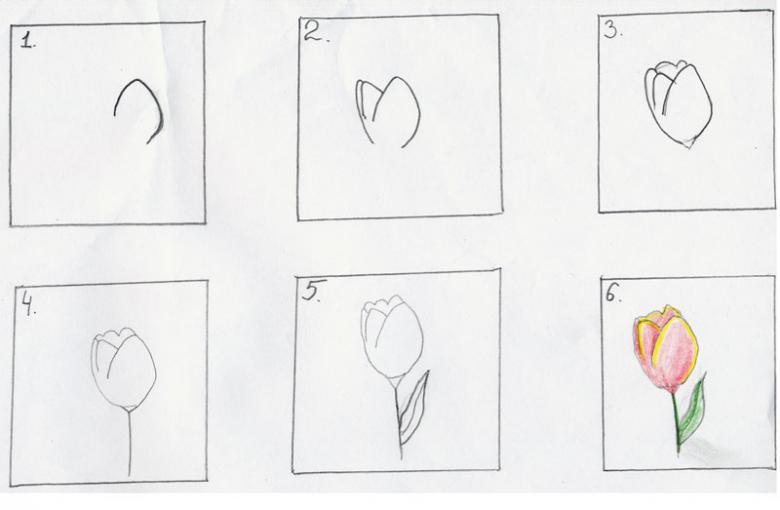
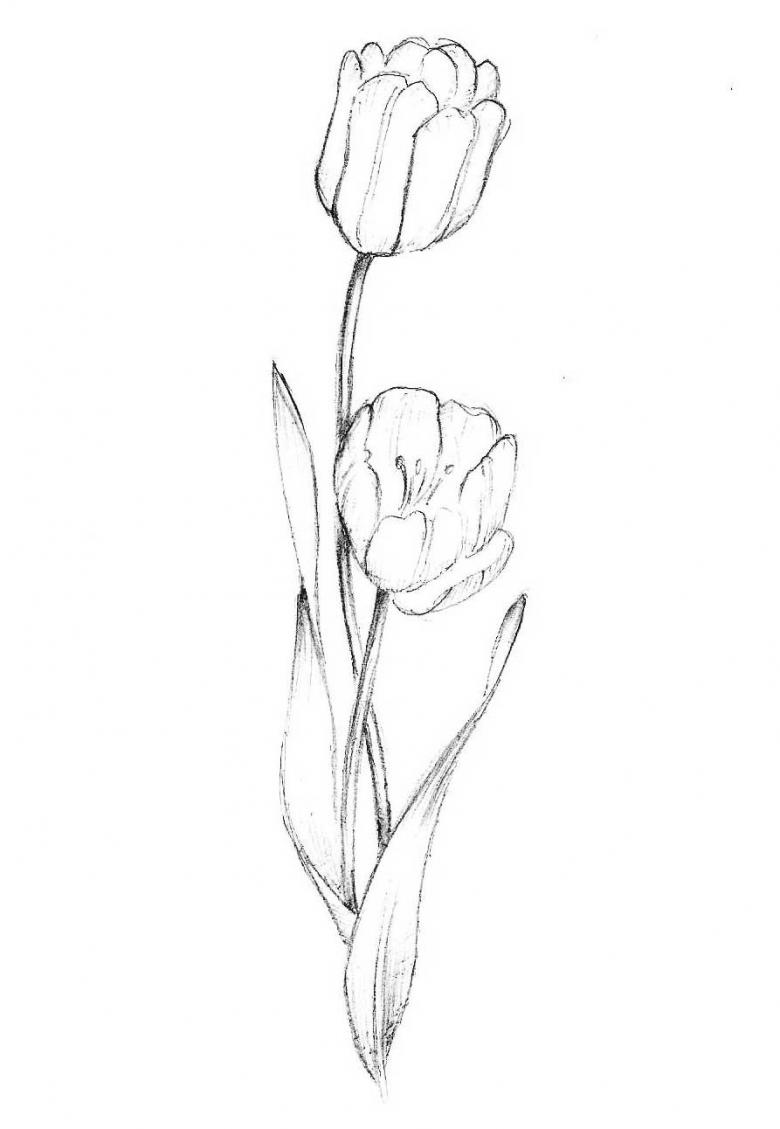
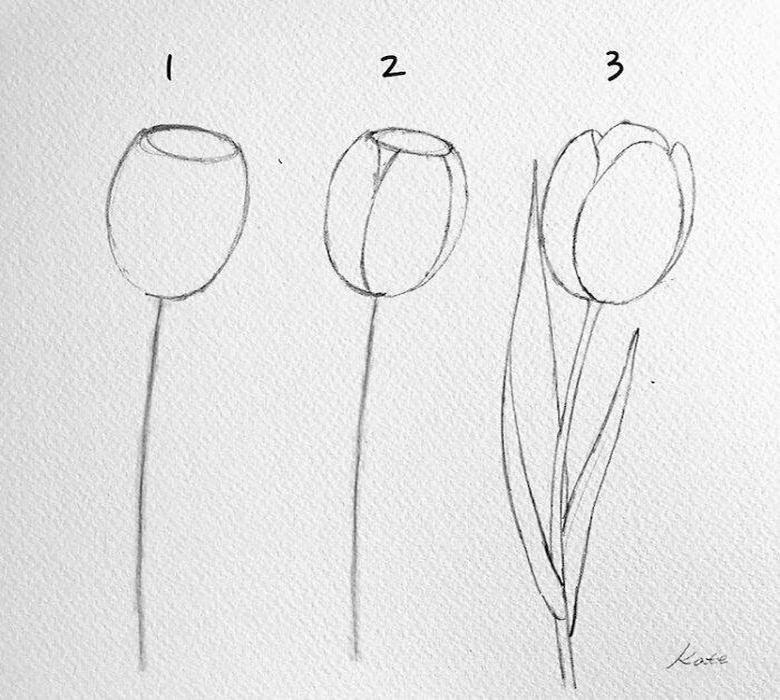
The bud of a spring flower. On a sheet, arranged vertically, at the top of it, you should draw a semi-oval with a slight constriction, resembling a glass.
Drawn the first petal. Inside the oval to portray a petal resembling a triangle, but with rounded corners. Leaf to put it in such a way that the right side of the free space.
Drawing the bud. After tracing the rest of the petals, you will get a tulip bud. It is not hard to do. The arc-shaped lines are drawn on both sides of the central petal. They can find it, and subsequently the extra lines are simply grayed out with an eraser. The tops of the two petals are made slightly twisted. The result is a real bud.
Stem. To draw this part of the flower, it is worth looking at it carefully - slight curvature, smoothness, absolutely not thin, but also not very thick. From the bottom of the bud you need to draw a line that resembles an arc. Backtracking a little, add a second similar line. Both lines connect to each other with a light stroke.
Tulip leaves. Elongated, smooth at the edges (may have a slight waviness), they depart from the stem. It's quite easy to draw them - a little backward from the bottom of the stem, draw an elongated leaf with a sharp top angle. Usually there are three leaves, one can be left unchanged, and two can be used to draw wavy lines.
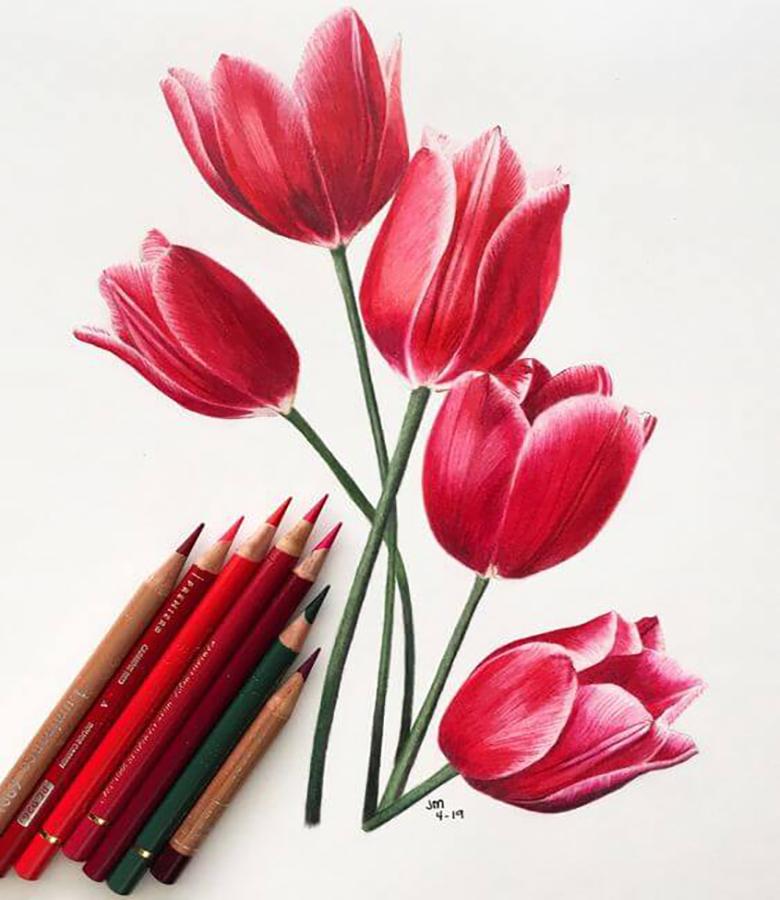
Coloring. For the stem and leaves, you will need green pencils, but in different tones (light and a little darker). When coloring, try to make light movements so that the color is soft light.
Bud coloring. Coloring can be chosen by any taste. It is only worth observing the nuance of the edges of the petals are painted with one color, and for the bud can choose the same color, but a different shade, or you can use a different color. It is very important when coloring to achieve the main color transition.
Completion. If the outline of the flower outline with a black marker for sketching, the drawing will not only look neater, but also more realistic.
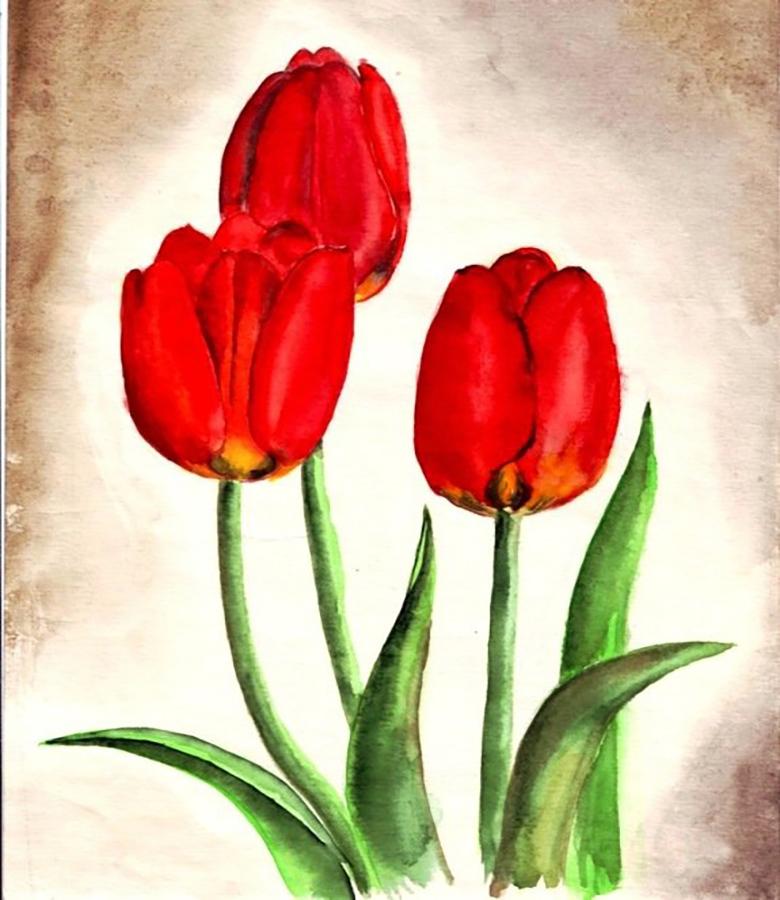
With each drawing, the quality of the tulip image will only get better.
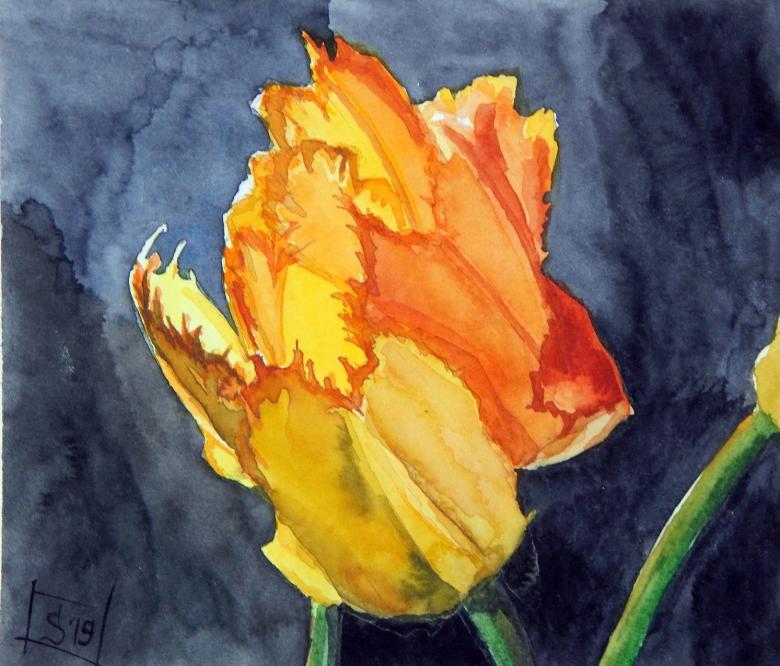
Drawing a child
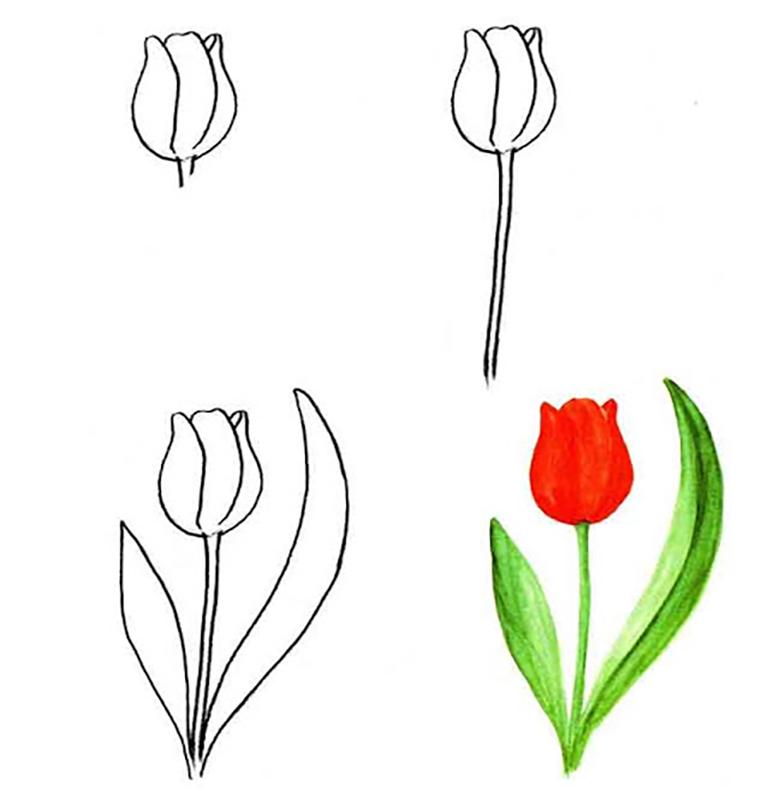
Children at any age love to draw, especially if their drawing is a gift for mom. Here is the easiest way for a child to draw a spring tulip flower with colored pencils. In just four alternating steps, your child will feel like a real artist.
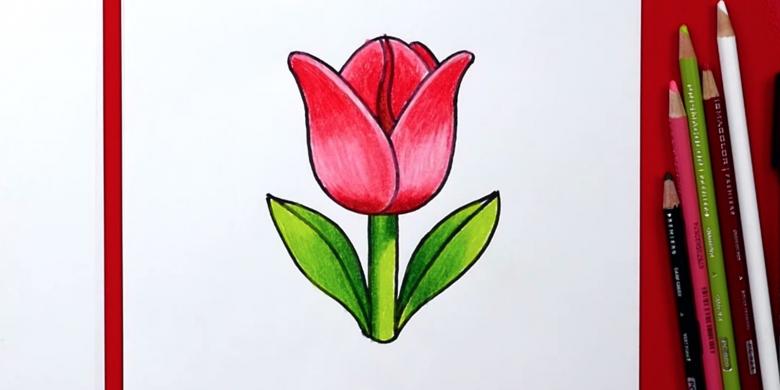
How to make a drawing:
- draw a petal that resembles a droplet;
- on both sides, finish drawing one more petal so that only part of it is visible;
- then draw the stem as a straight or curved line and an elongated leaf;
- the finished tulip, the child will be happy to color it as he or she sees fit.
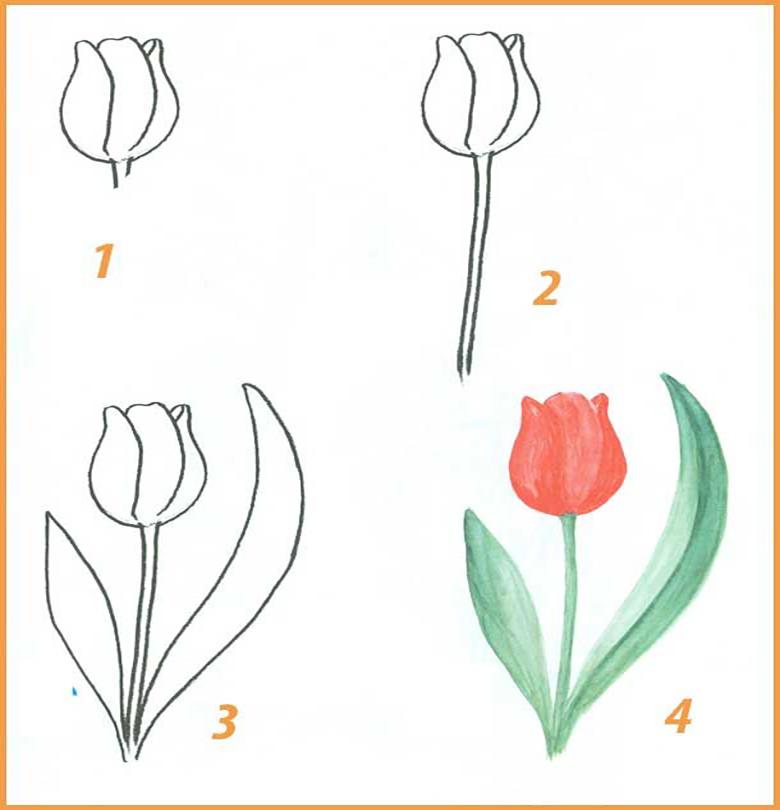
It is very important to trust the little artist to create independently. To do this, you can draw in parallel with him. And it is desirable to have a real sample, and even better - a bouquet of tulips. So the baby will have the opportunity for a variety of ways to color the flower.
Varieties of Tulips
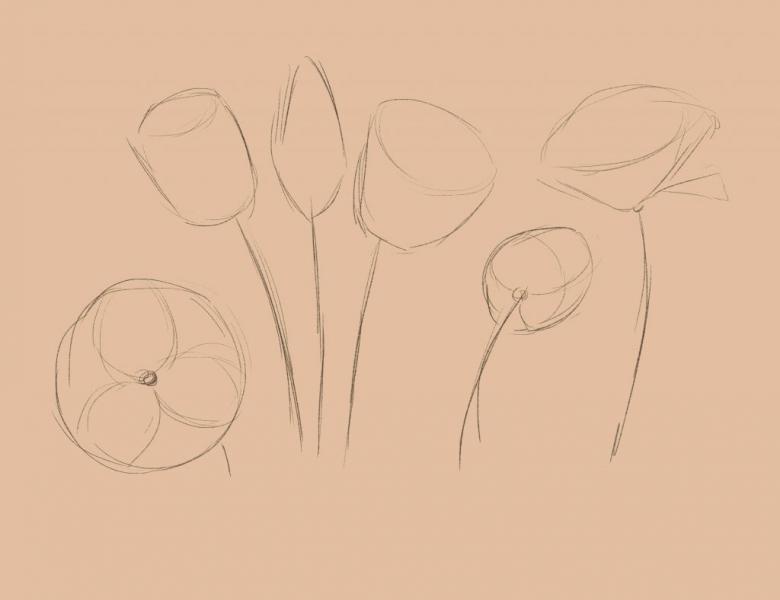
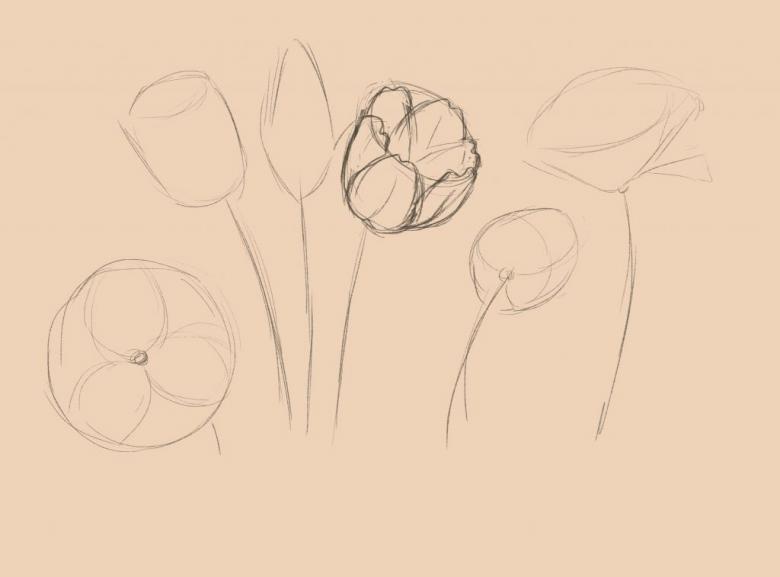
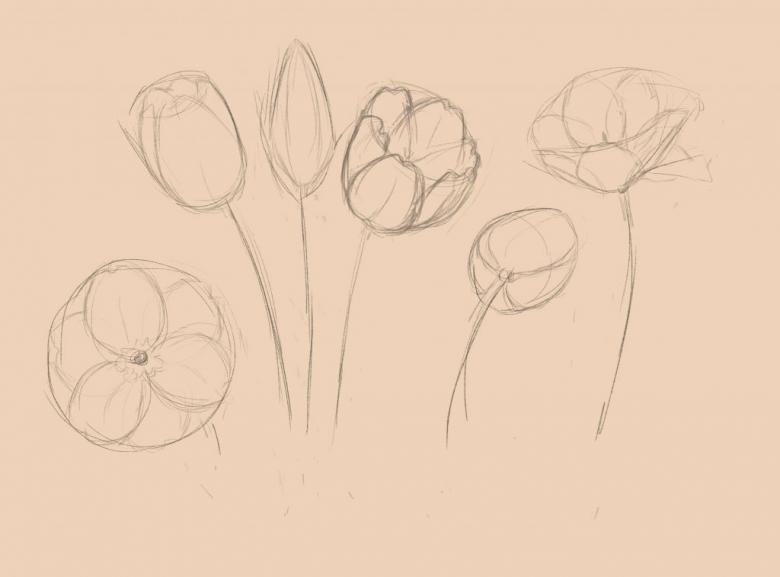
When admiring tulips on a flowerbed, on a postcard or on the paintings of masters, you should notice the variety of shapes and colors of this beautiful flower. Professionals often recommend using geometric shapes in a sketch. This method will help you understand how to draw a tulip easily and beautifully.
Examples of shapes and figures
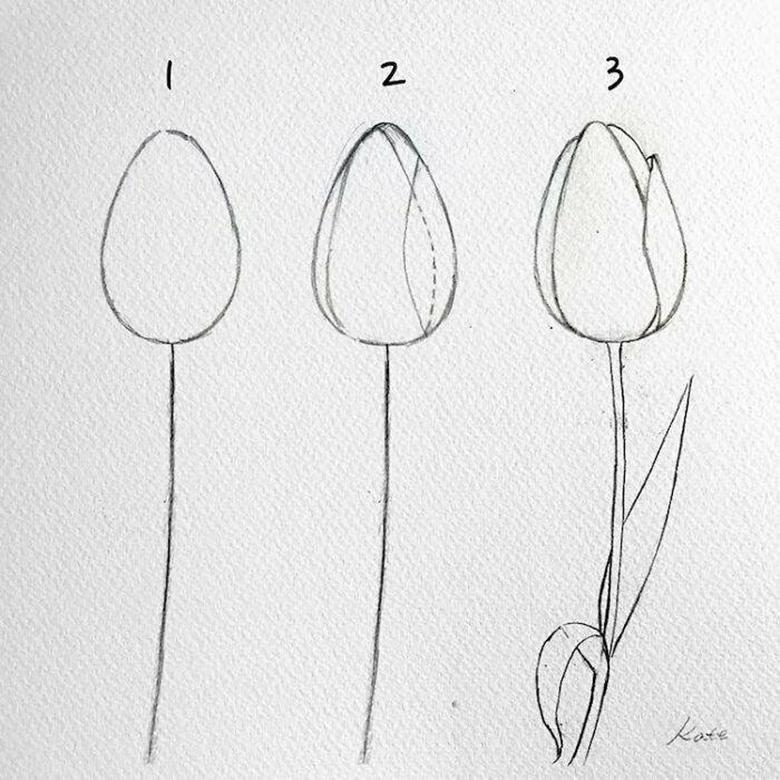
To create a closed bud, use an oval shape, even a bit like a rhombus.
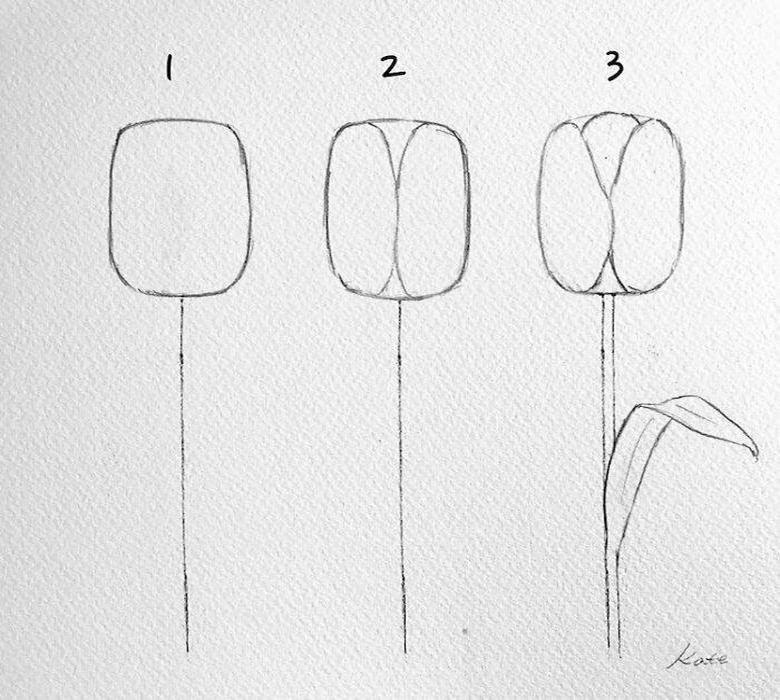
The opening flower resembles a square with very soft edges.
The tulip, which is fully opened, visually has the shape of an inverted trapezoid. The difficulty in the image is that each side should try to draw as evenly as possible.
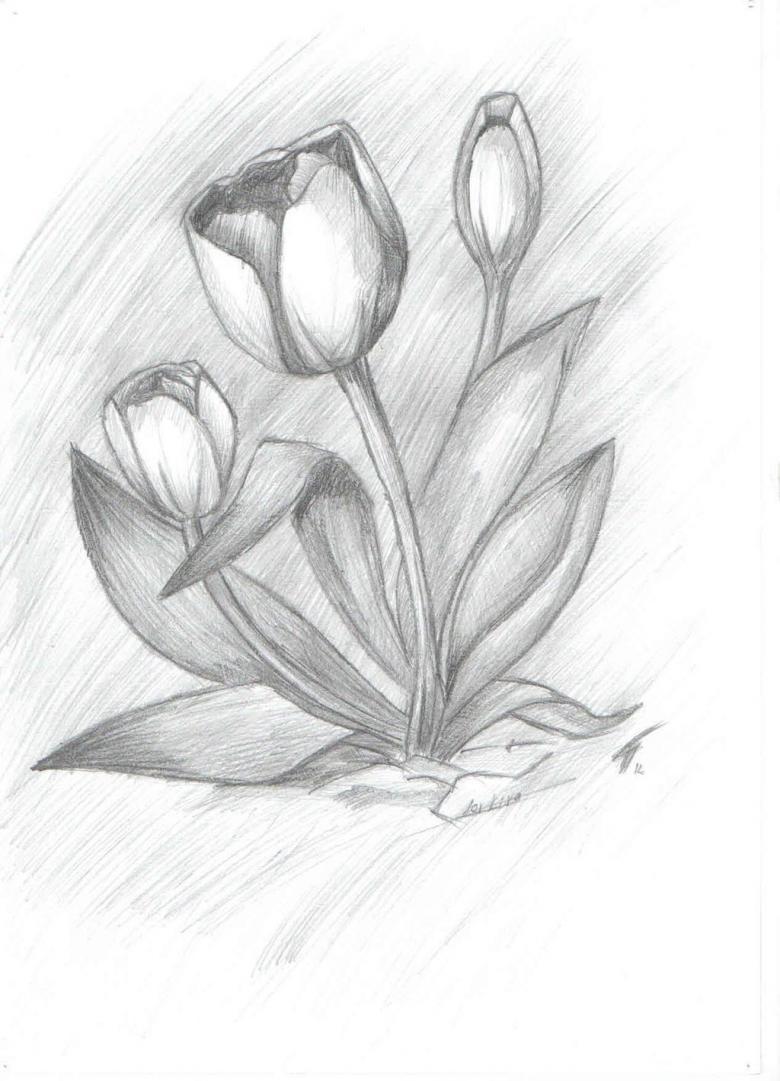
The shape of the fan (three petals connected to each other) bears a resemblance to a blooming tulip. Some artists have given place to such flowers on their canvases as well.
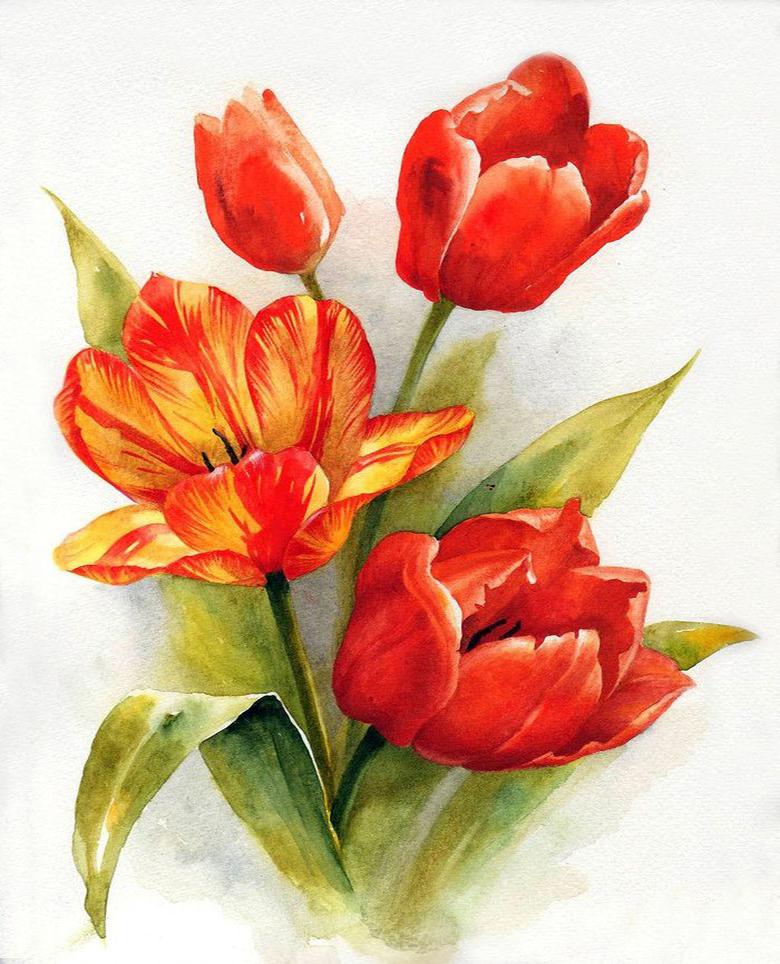
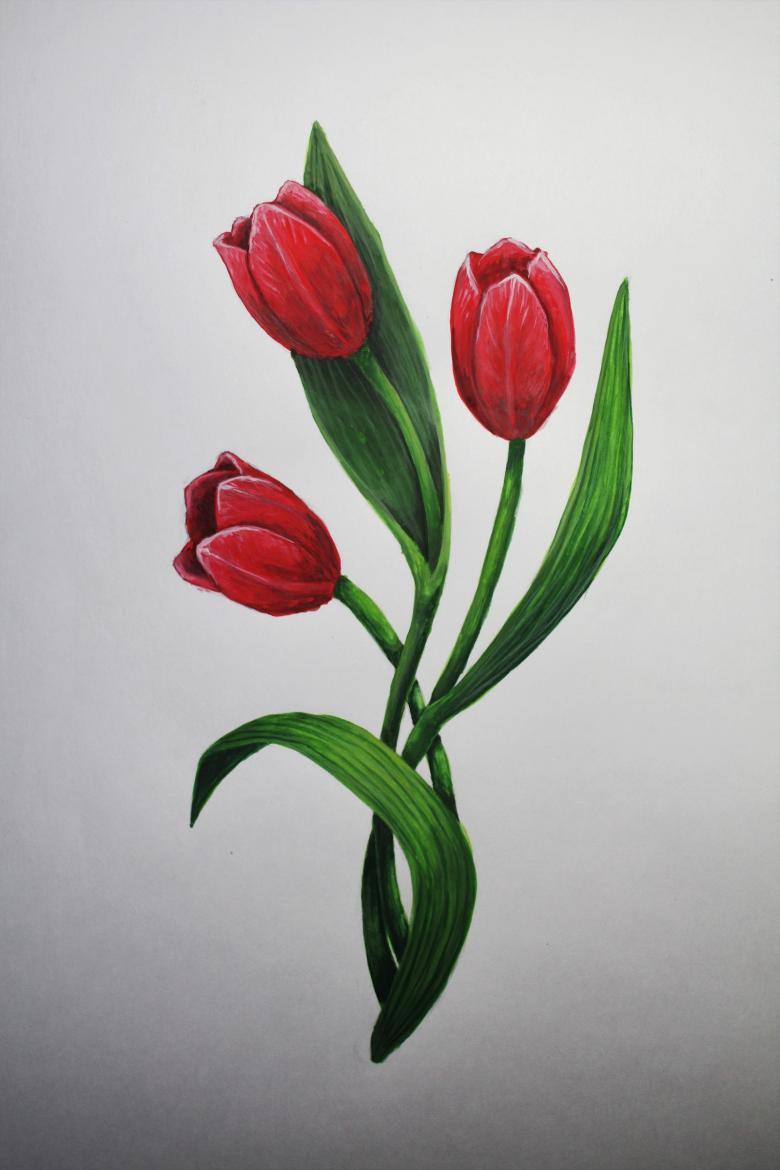
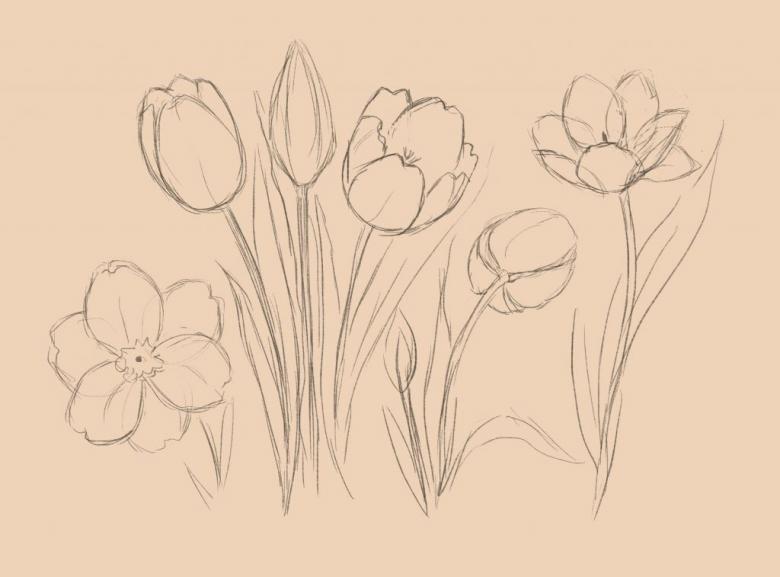
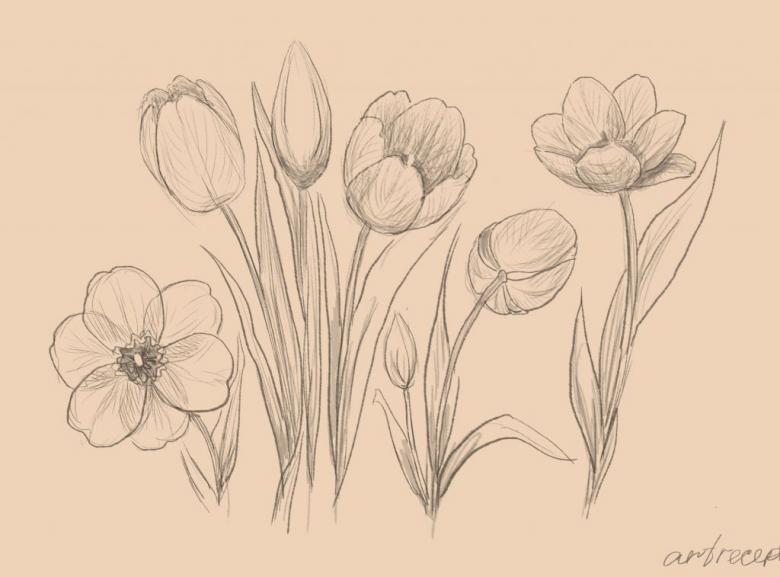
Particular attention in the master class is paid to drawing the leaves and stem. It is very important that these parts of the flower be as similar as possible to the real images, i.e. the stems are not like a ruler and turned to one side. Some slight asymmetry, smooth curved lines, different lengths of leaves (it is desirable to draw more of them) are welcome in the drawing.
Creating a visual volume
Two very simple techniques are used in this process:
- Shading the silhouette and curves with the side of a pencil;
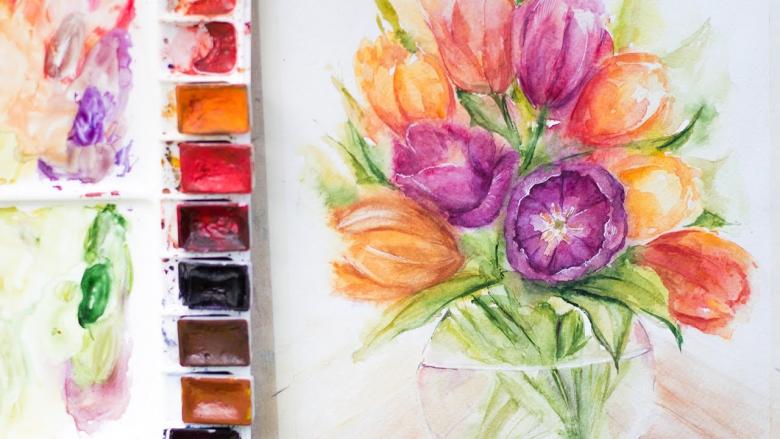
- coloring in different ways - with colored pencils, gouache, felt-tip pens, watercolors and other means.
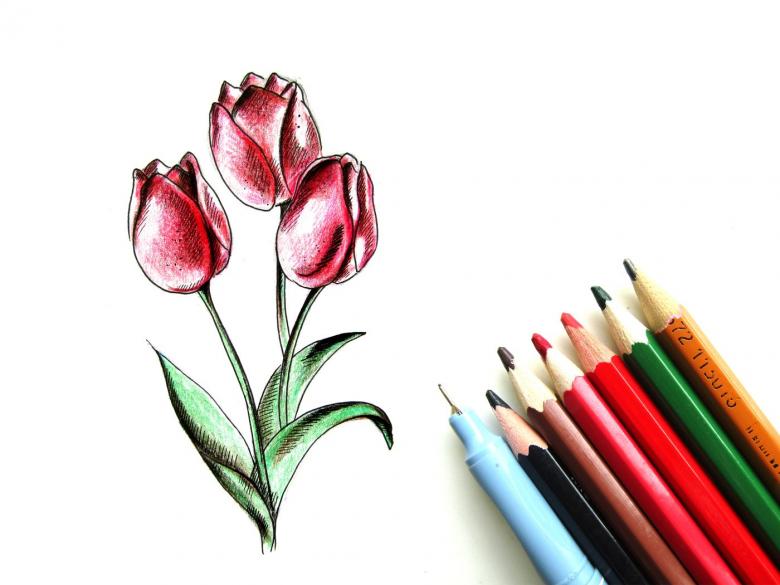
Bouquet of tulips in pencil
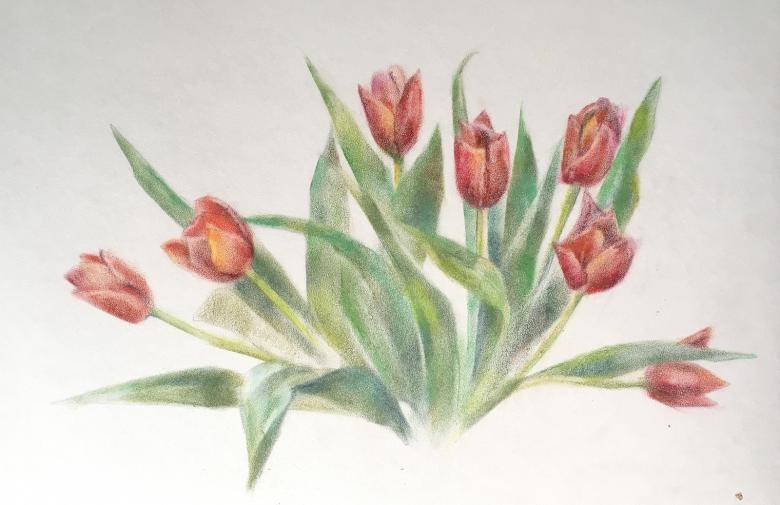
Once you have the skills to draw an individual flower, you can try to assemble a fragrant set. To understand how to draw a bouquet of tulips correctly and uncomplicated, you need to adhere to the execution of the process step by step. The main thing is patience, and everything will work out.
The necessary material:
- paper;
- simple and colored pencils;
- eraser;
- preferably a real sample (a bouquet of tulips in a vase).
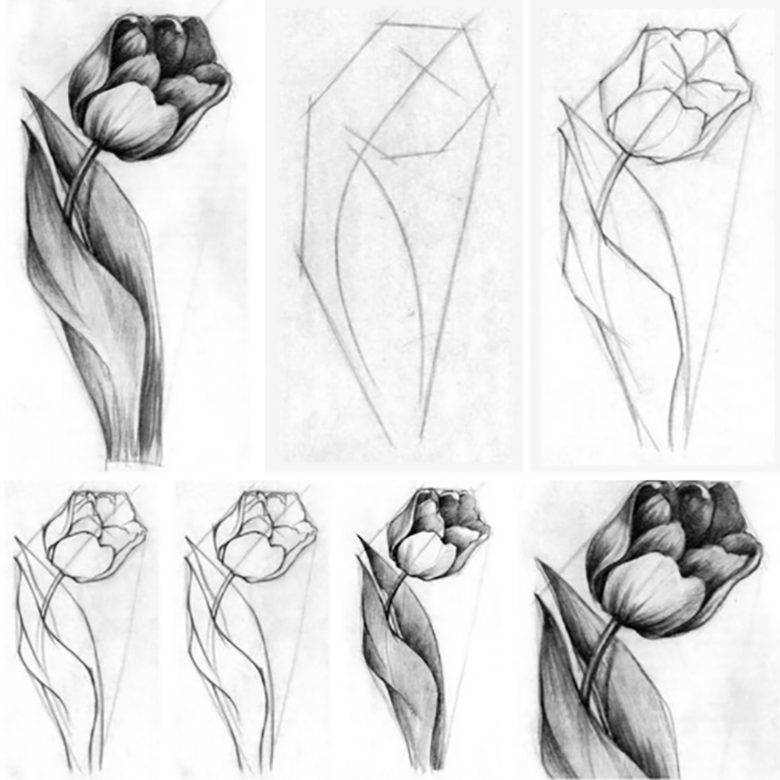
If the drawing is done by a child, it is worth working together. For example, he or she draws the basic figures and is engaged in coloring the created composition, and the adult focuses on drawing more complex elements.
Stages of drawing a bouquet
Come up with the composition by looking at various options (photos, postcards, paintings, etc.).
Then you can proceed to the sketch sketch, where make hints for specific elements that you want to display in the bouquet, as well as draw their placement.
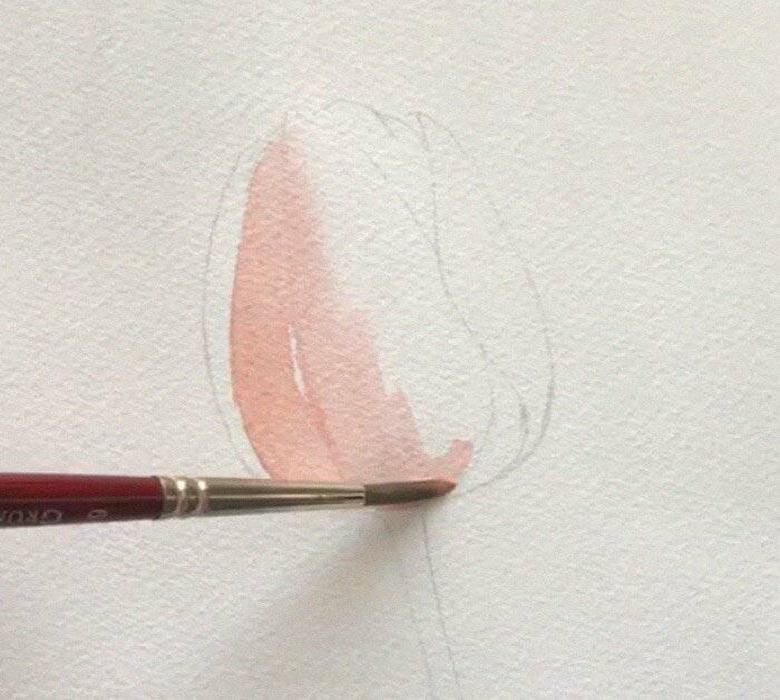
To make the bouquet look full and voluminous, you need to use different kinds: buds, blooming flowers and fully bloomed tulips, pay attention to the leaves.
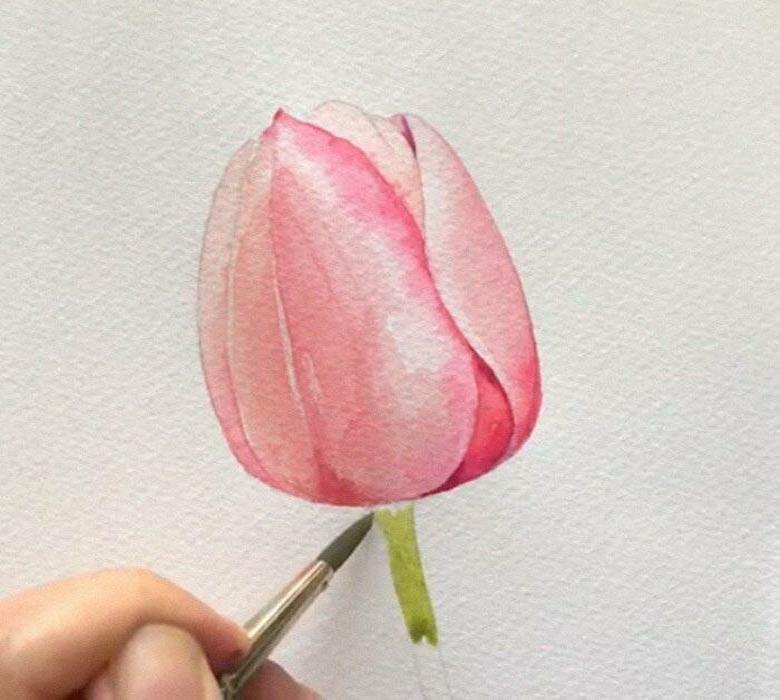
Make an emphasis on the stems - they can be both straight and slightly curved, and also make sketches of the leaves (narrow and wider, but necessarily, pointed forms).
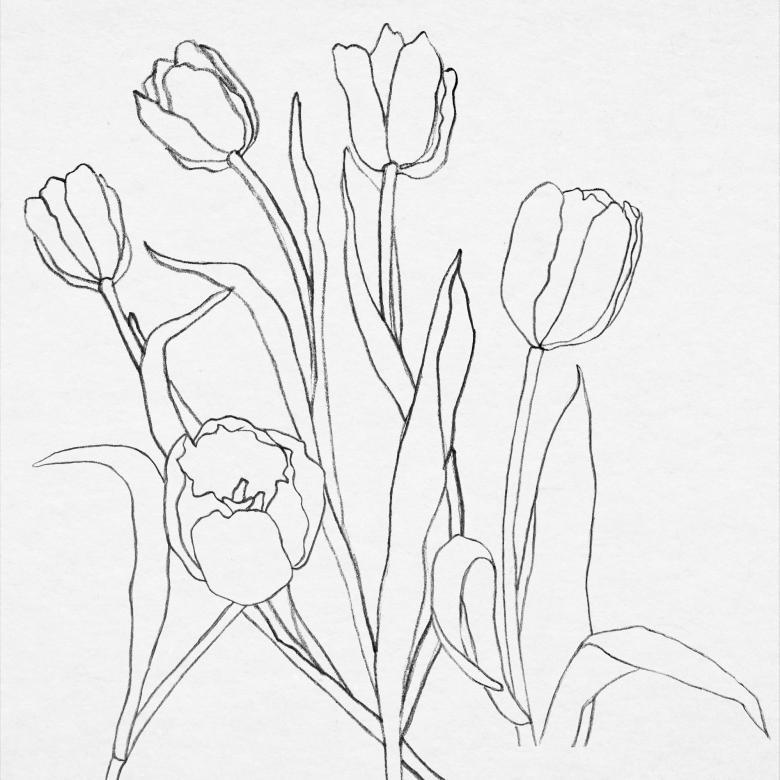
The sketch is drawn with a simple pencil, for coloring leaves, stems and flowers colored pencils of different colors, tones and shades are used. It is necessary to constantly monitor the smooth transition of color when painting, so that you do not see an abrupt, very contrasting change of color scheme.
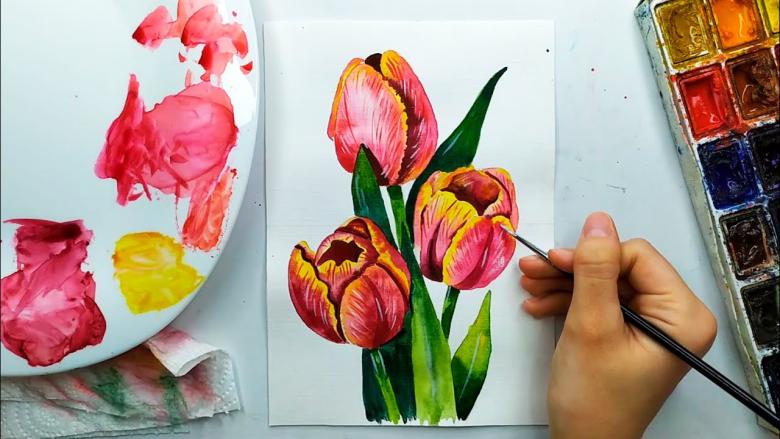
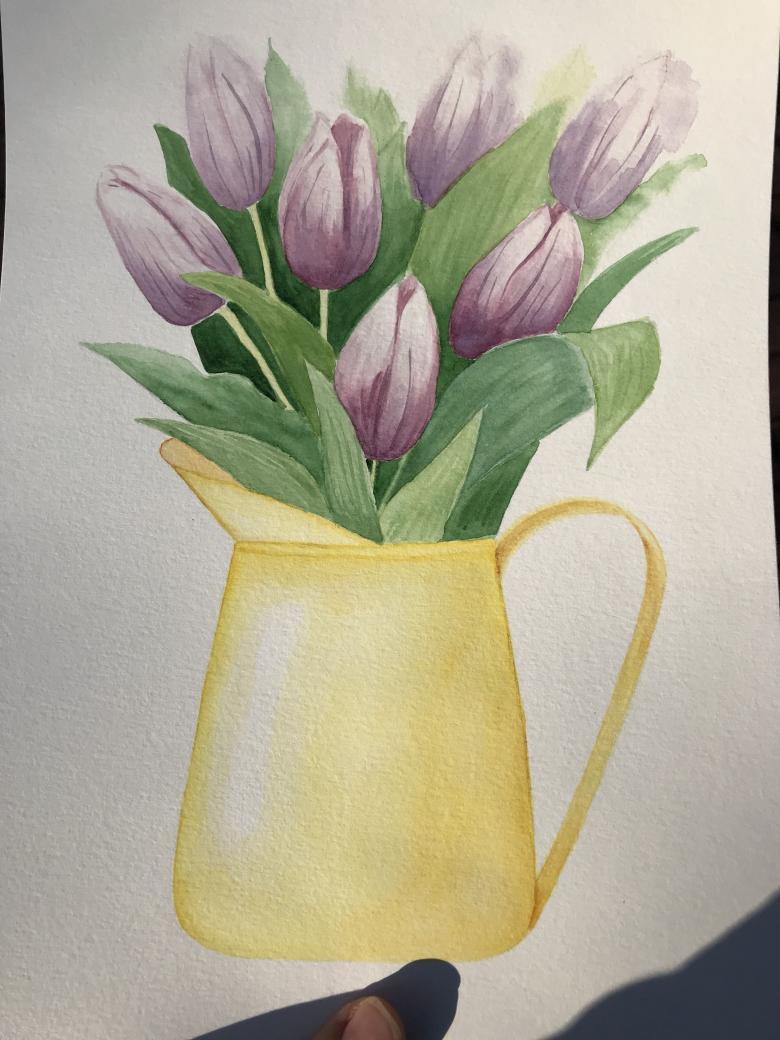
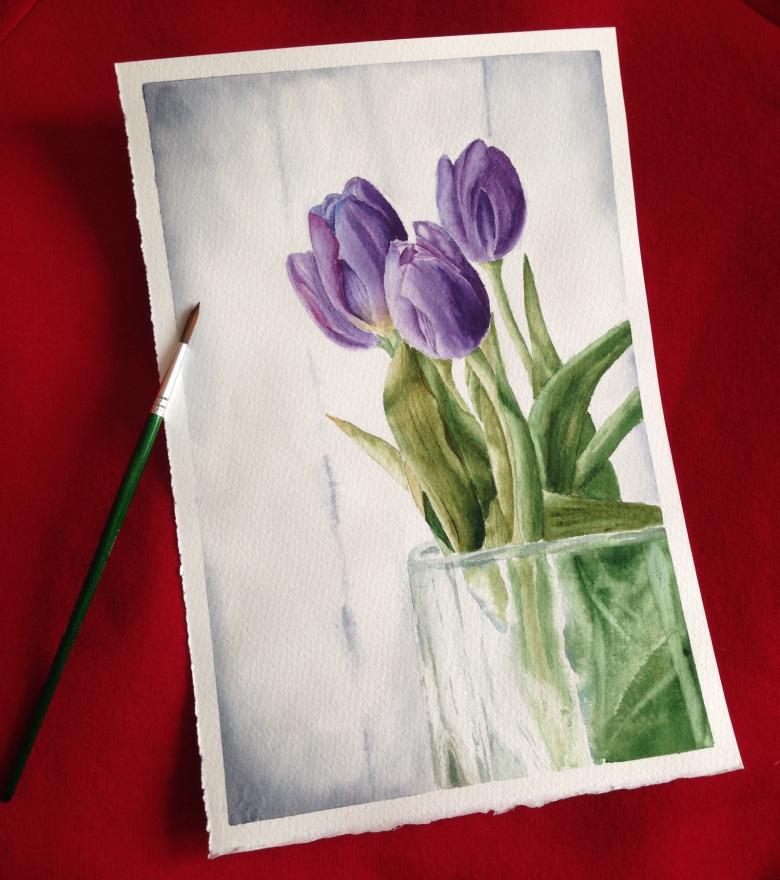
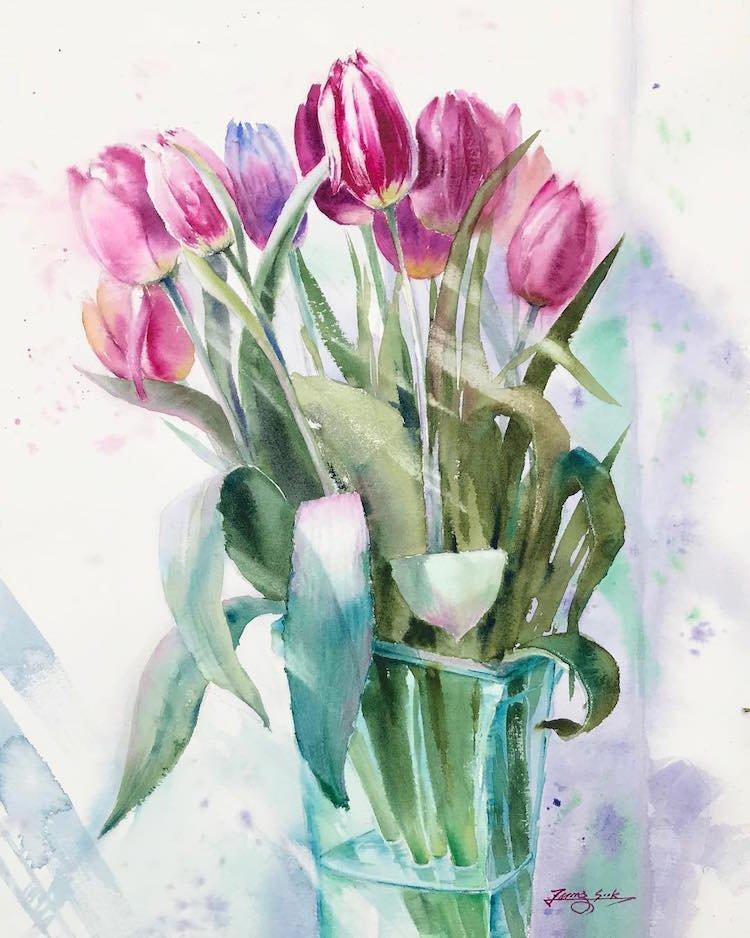
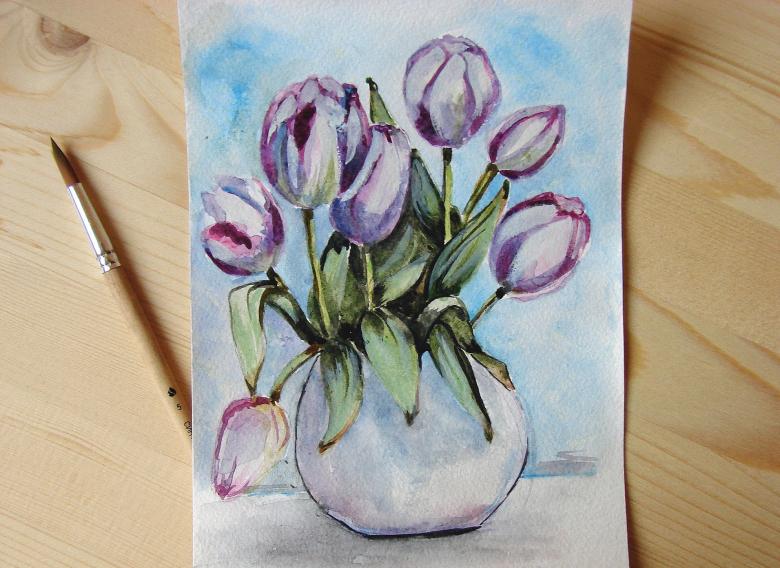
Tulips can be tied with a ribbon or placed in a vase. The easiest way is to finish a certain container in the form of a square or a circle, a rectangle with a detailed drawing of the base, the upper part and the sides.
Or you can go another way, by attending a master class of a specialist. Such a visit will give you an understanding and experience of how to draw tulips in a vase with a pencil.
Step by step drawing
You should start by drawing the outline of the vase. At the bottom of the sheet, draw a circle, leaving room for the full image of the vase and the tulips themselves. The sketch is made with a simple pencil with thin lines enough to easily erase all auxiliary lines later on.
On top of the circle draw a cylinder - the neck of the vase.
The next step is to sketch the tulips themselves: stems of different lengths and shapes, as well as the outlines of the different shapes of the buds.
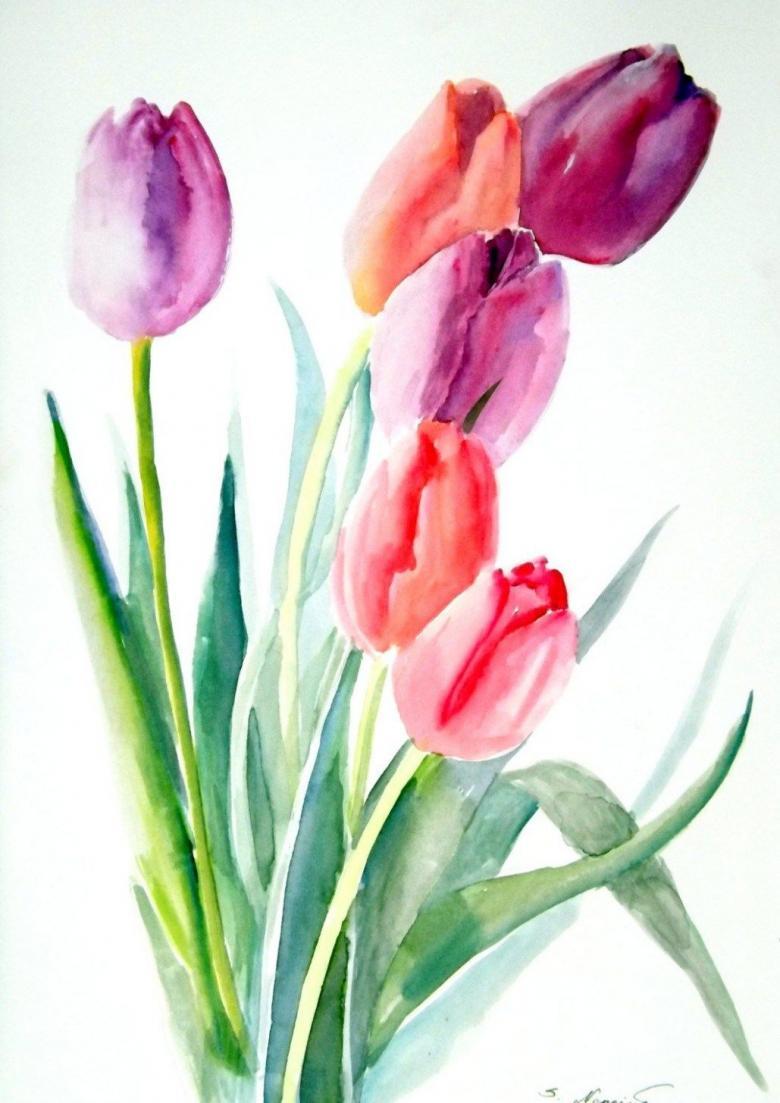
Now you can draw the vase more clearly, with additional lines erased.
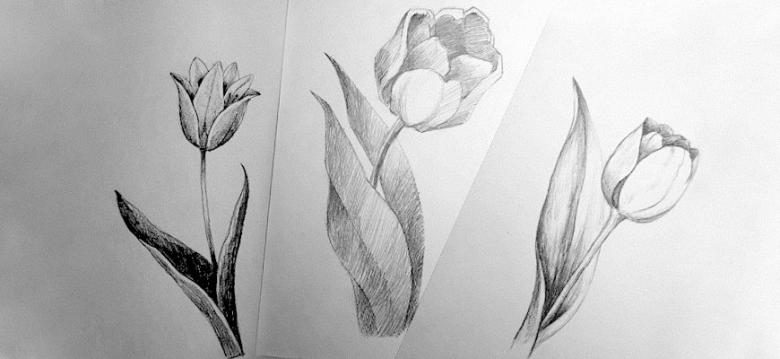
Concentrate on the image of the bouquet itself, using the knowledge and experience of drawing a single flower. When drawing, it is desirable to be guided by the sample.
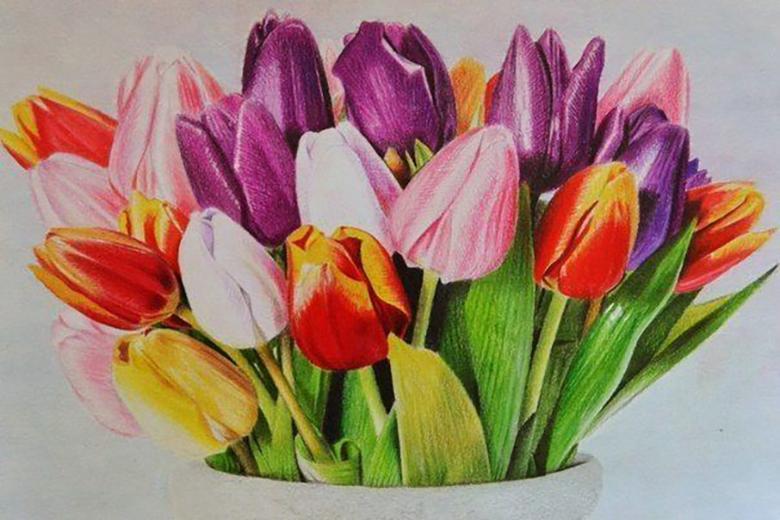
The final stage is coloring. The vase is painted with lines, repeating its contour. Thus it is possible not only to emphasize the shape of the vessel, but also to give the necessary volume. When painting you should always pay attention to the light in the composition.
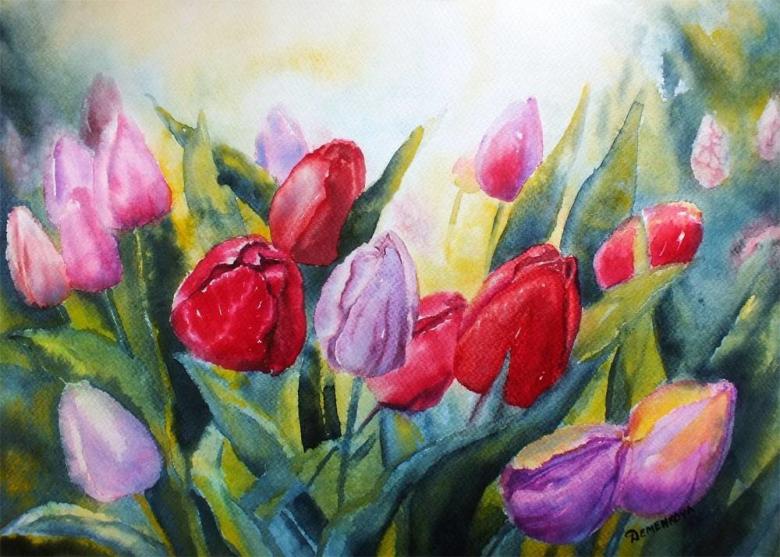
On the side where the vase is more illuminated, the color will also be lighter. Transition from light tone to dark tone should try to make a smoother, inconspicuous intersection. A darker shade is used when painting the base and the neck of the vessel.
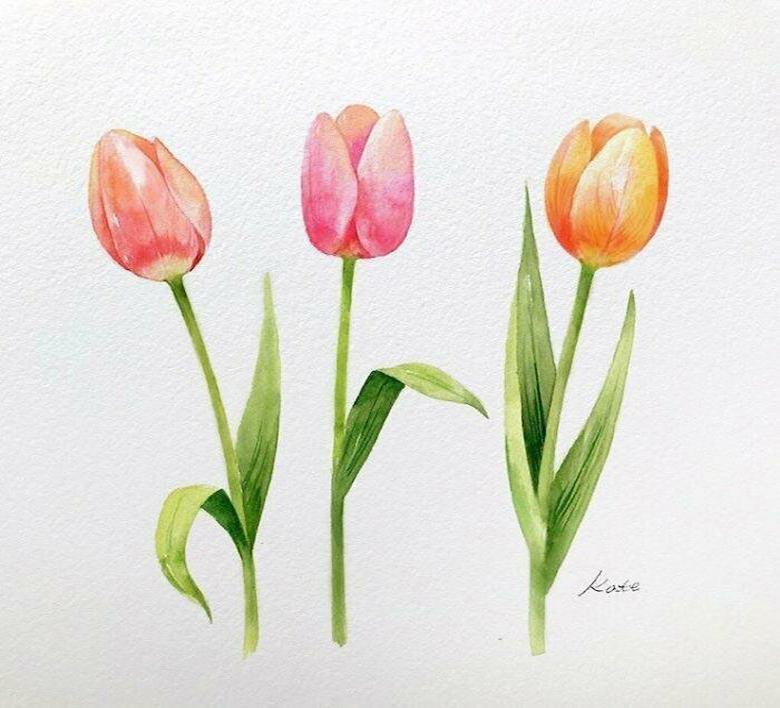
Each flower can be painted in one color or use different colors.
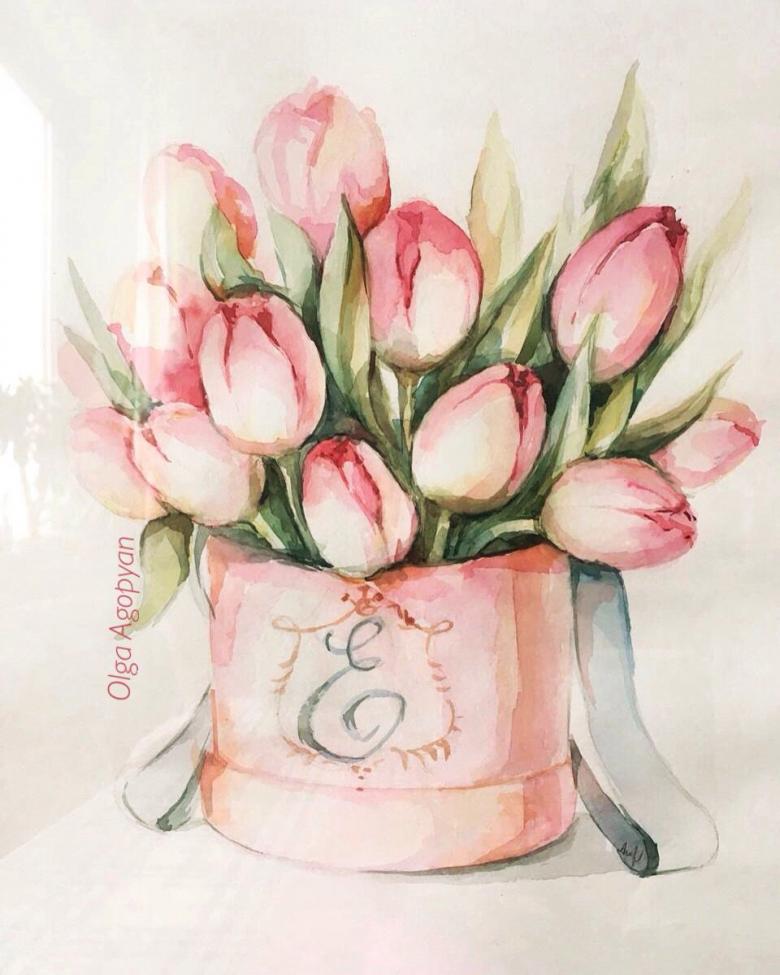
Self-drawn tulips will be a wonderful addition to the interior, a gift, or maybe the beginning of a great creative journey.
