How to make a book with your own hands - a simple master class for beginners
In the book world that exists, it is very easy to find a book that you want to read. To do this, it is enough to look on the Internet and download its electronic format. But often one wants to more conveniently produce the process of reading what one is looking for or has long loved.
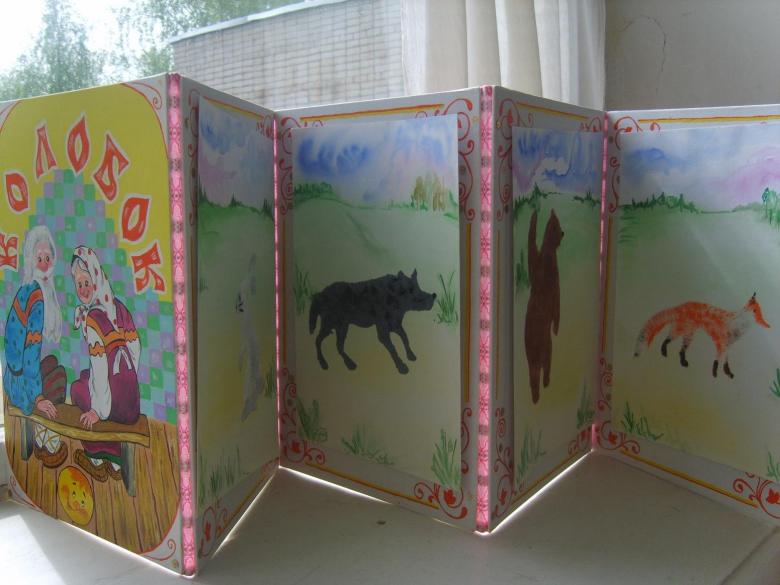
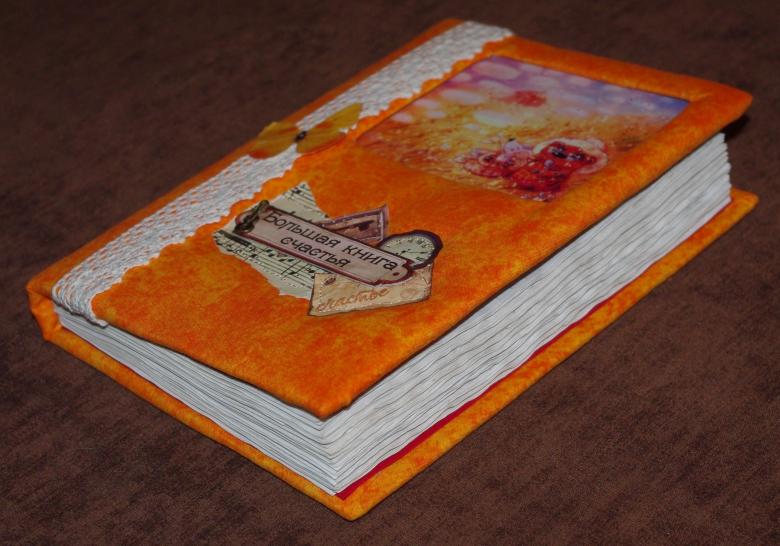
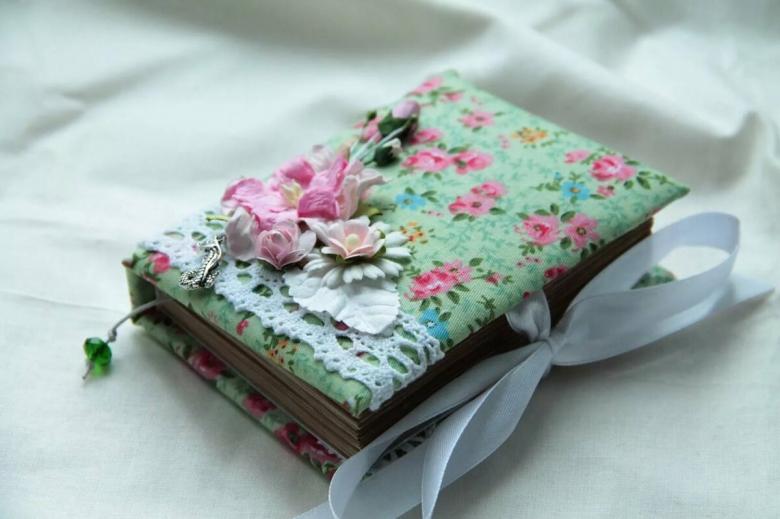
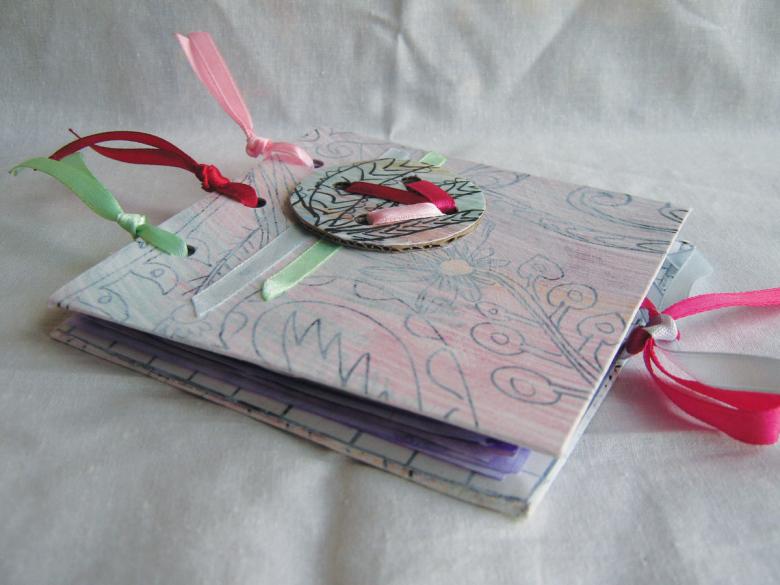
Just the words on the computer screen, gadget, are not satisfied. It is better to see them in a well designed medium, with a beautiful cover, illustrations, pages. There is also a desire to express your thoughts and fantasies, and give them their own paper medium, called a board book. So how to make a book with your own hands using household items.
Materials and tools for work
- Sheets of paper, A4 format, premium quality, density 80 g/m2;
- Heavy cardboard;
- PVA glue, glue pencil;
- Needle for stapling documents, awl;
- Capron thread white;
- Scissors, office knife, clip;
- A piece of cloth;
- Pencil, brush.
Book printing at home
After finding something you want to turn into your own board book, scrapbook of memories, or gift. Assemble the production inventory described above and proceed to the next steps of the action:
Printing the text
In order to print the text, you need to use Word and printer services. Before you begin printing, you need to make settings:
- Set the mirrored margin size;
- Enter indentation parameters for a certain binding width;
- Set the book page format;
- Select the double-sided printing option;
- Set the numbering according to the settings;
For example, if there are 60 pages in a book, the A4 sheet will have 60 and 1 on the first page, 2 and 59 on the second, 58, 3 and 4.57 on the second sheet.
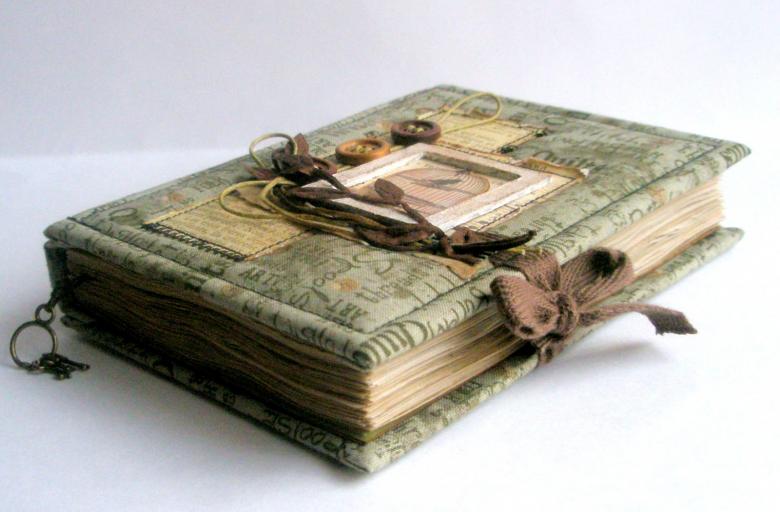
Assembling the book block.
After printing, we begin the process that will show how to make the binding for the book with your own hands. This requires the following steps:
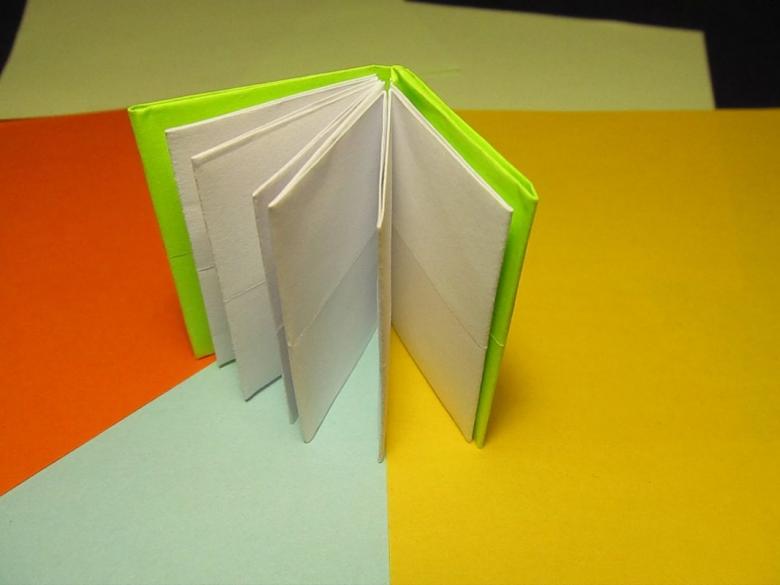
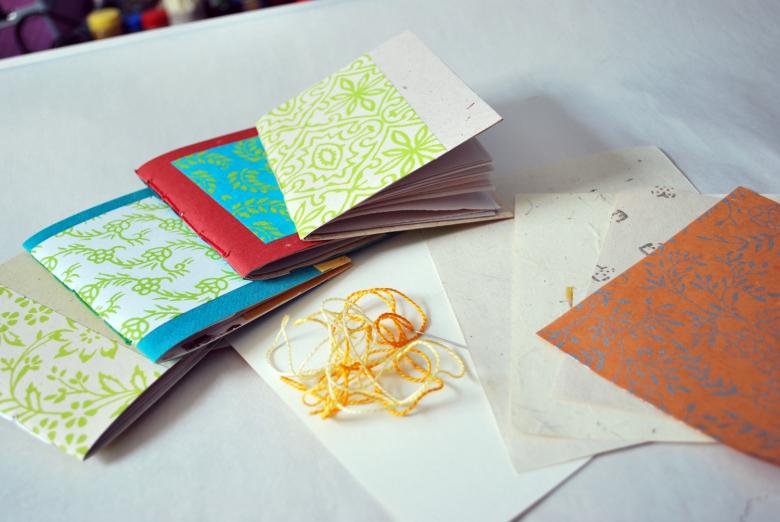
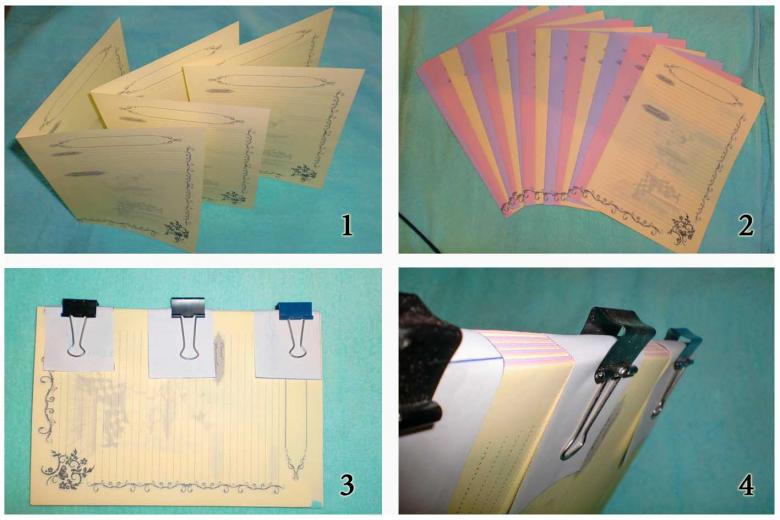
- Fold the sheets in half. Staple the two sheets together with a stapler, or stitch around the edges with two thread loops. Glue the folded pieces in the stapled area together along the entire length, using pencil glue;
- Place under a "homemade press" and let stand for a while. You can use gymnastic weights placed on a board placed on the folded printout as a press;
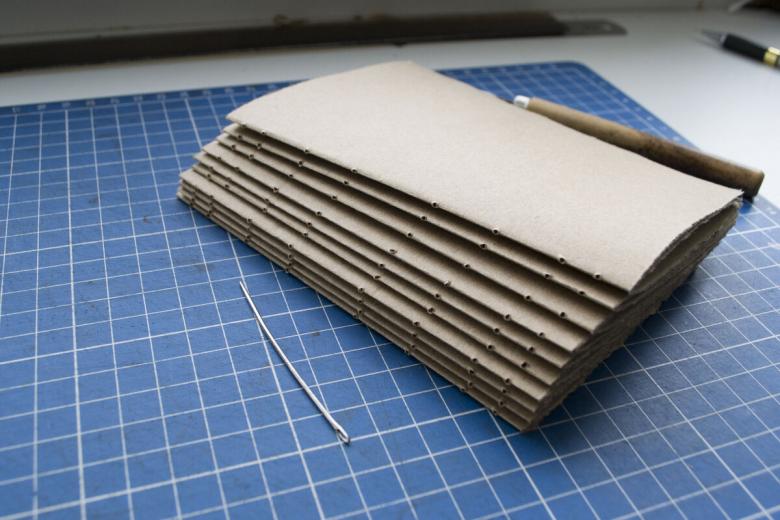
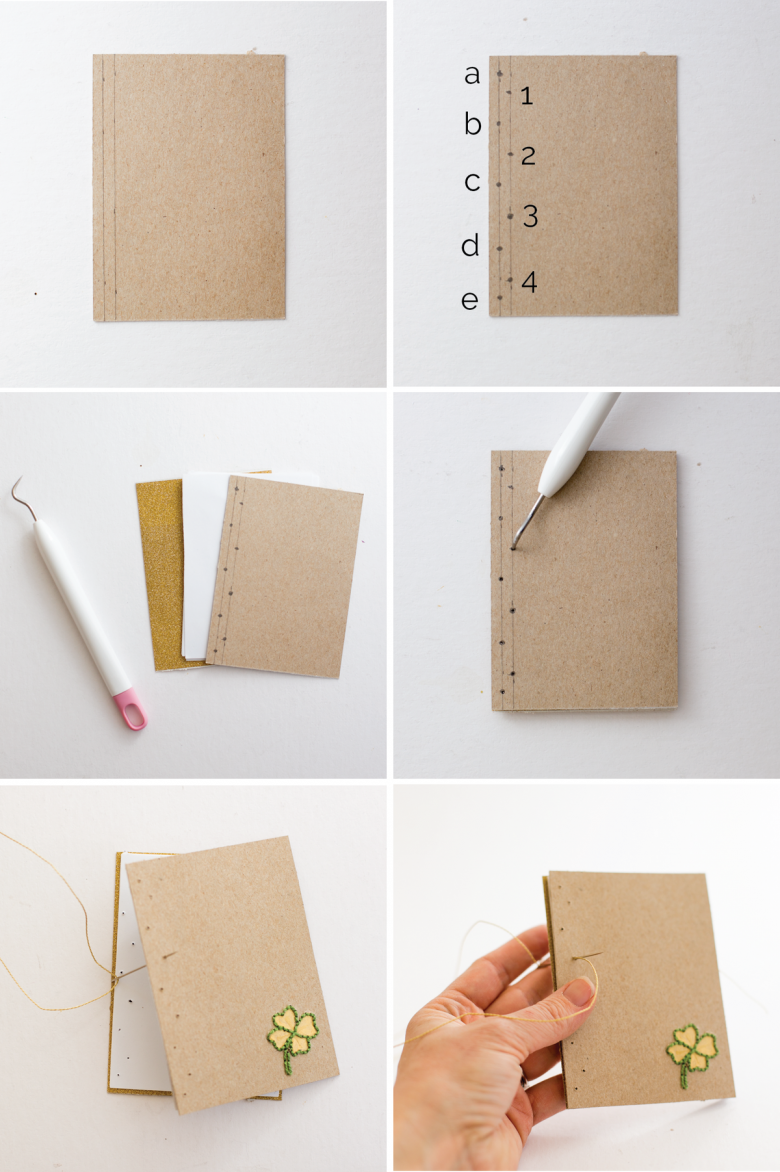
- Set an indentation of 0.5 cm from the superimposed surface. Make the cuts with a box cutter half as wide as this indentation, or with an awl. Before doing this, make a pencil marking into 4 equal parts, according to the width of the resulting end under a gravity press;
- The front side of the marked and trimmed end of the book smear with PVA glue. Apply a piece of white cloth to the size of the pasted side. Leave to dry under pressure until the next day;
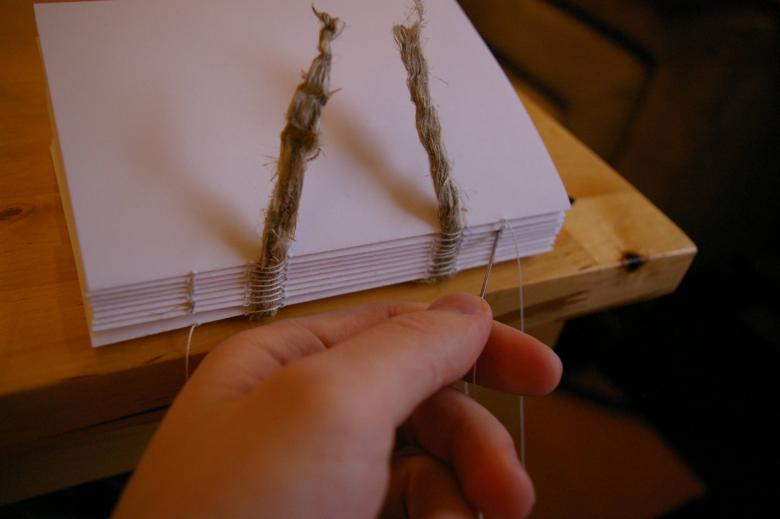
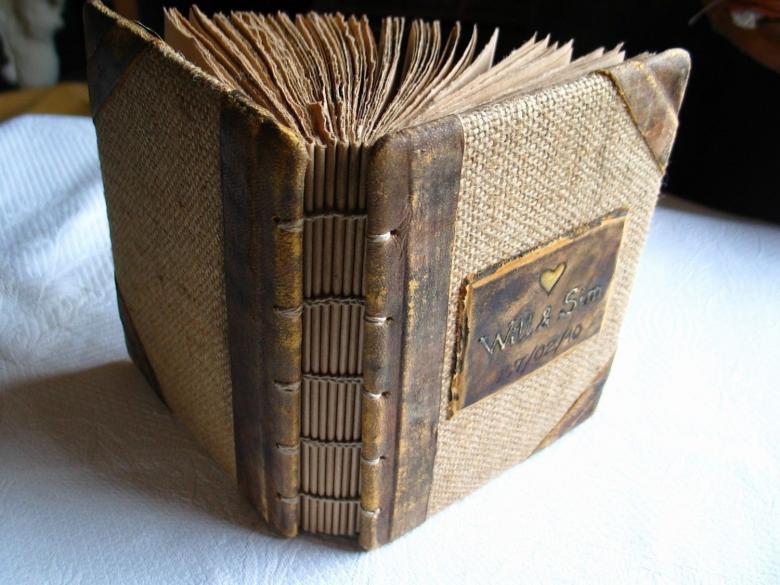
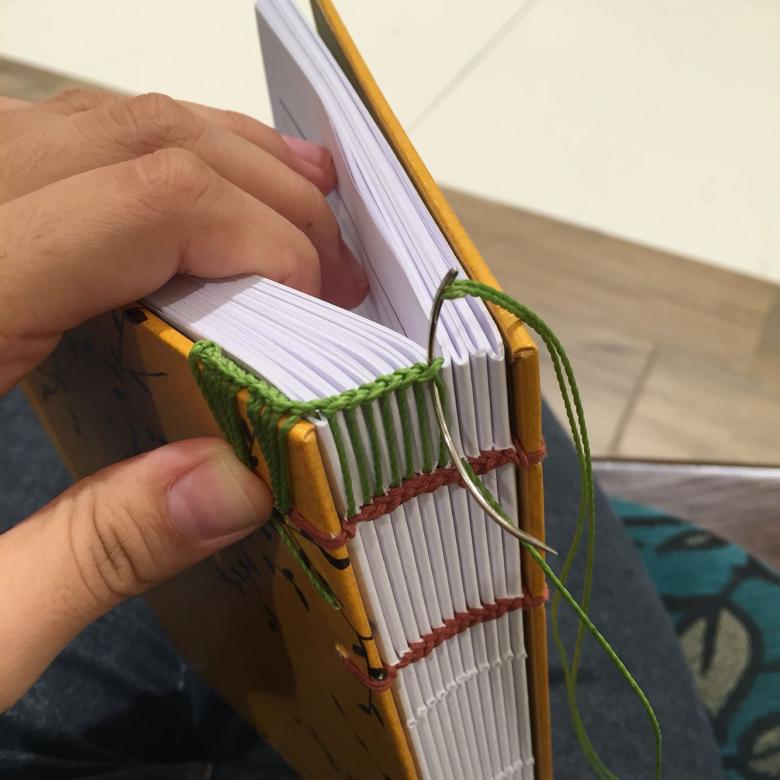
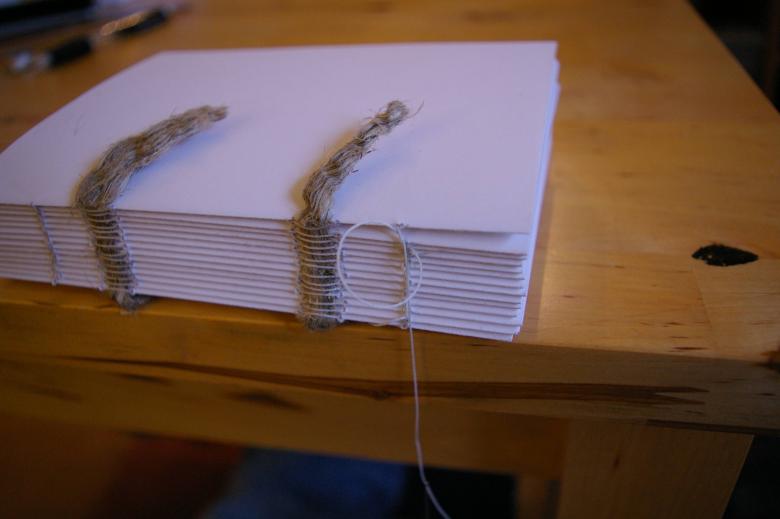
- Stitch the leaf parts to the glued piece of fabric with kapron thread through the holes formed by the notches. We lay the thread in a snaking pattern from left to right, right to left;
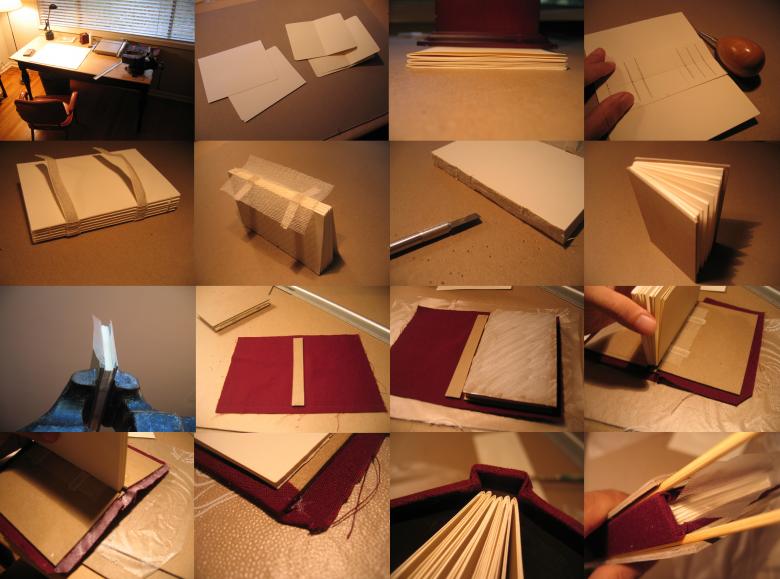
The process of stitching for the first time is long and laborious, and requires patience and concentration.
Master - class handmade cover
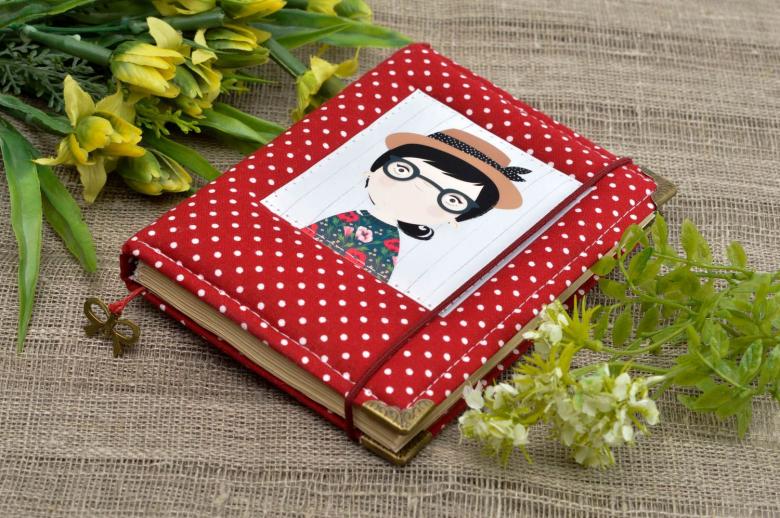
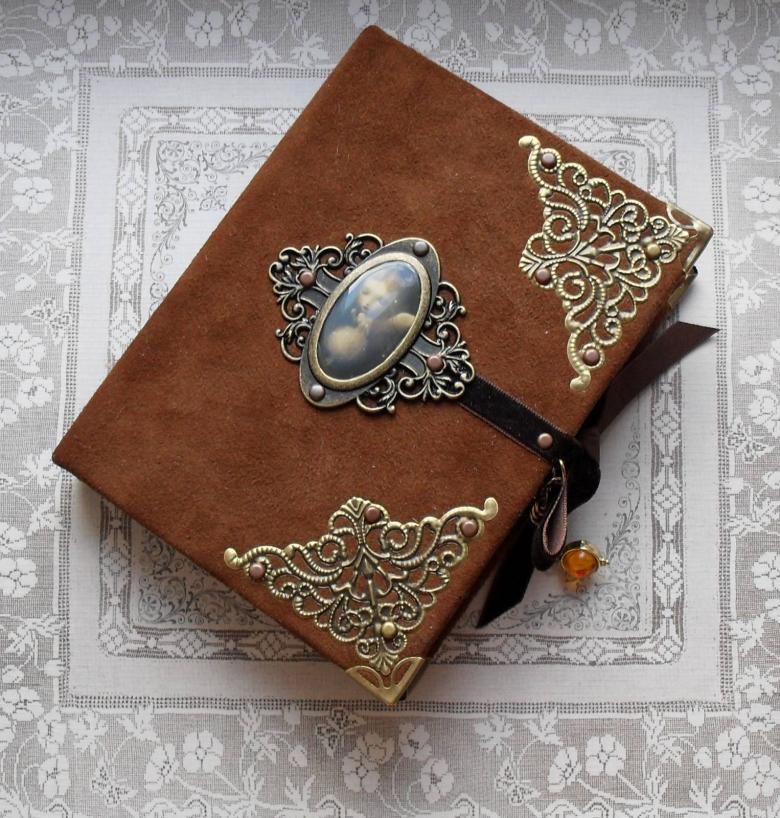
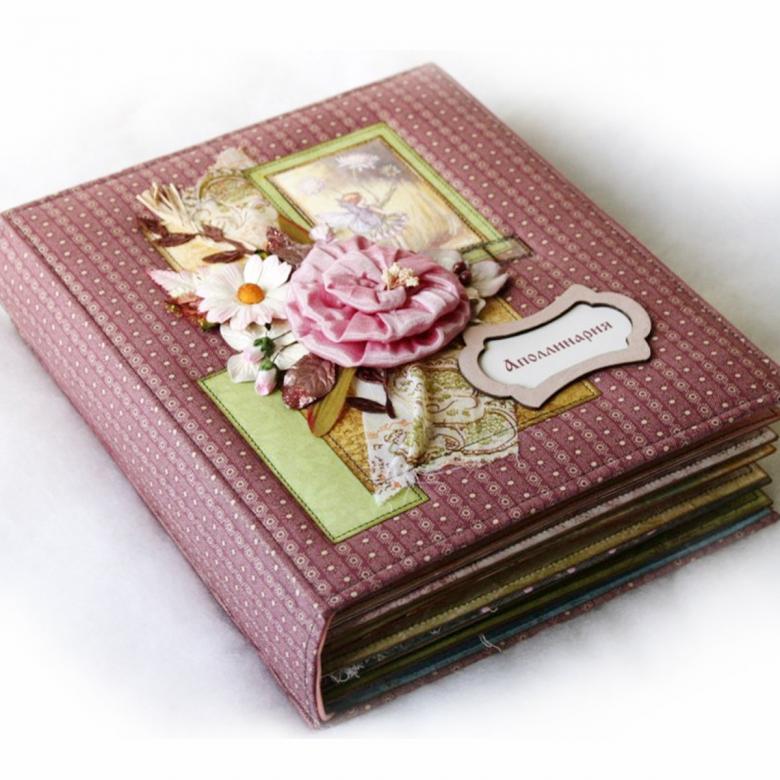
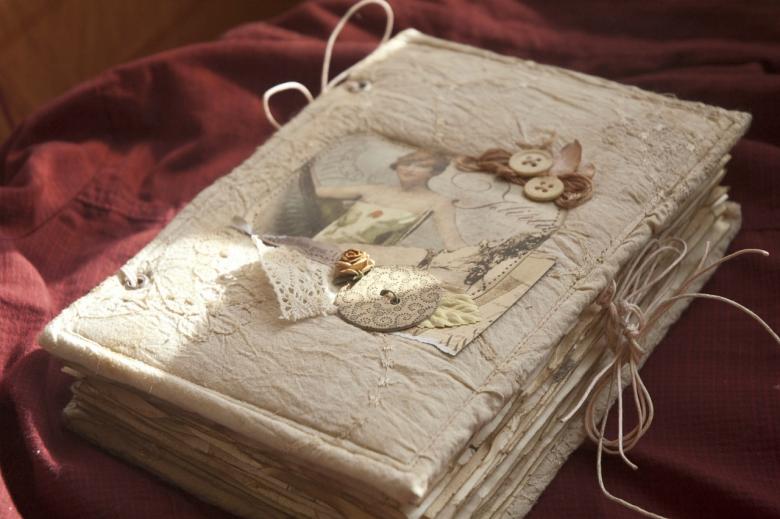
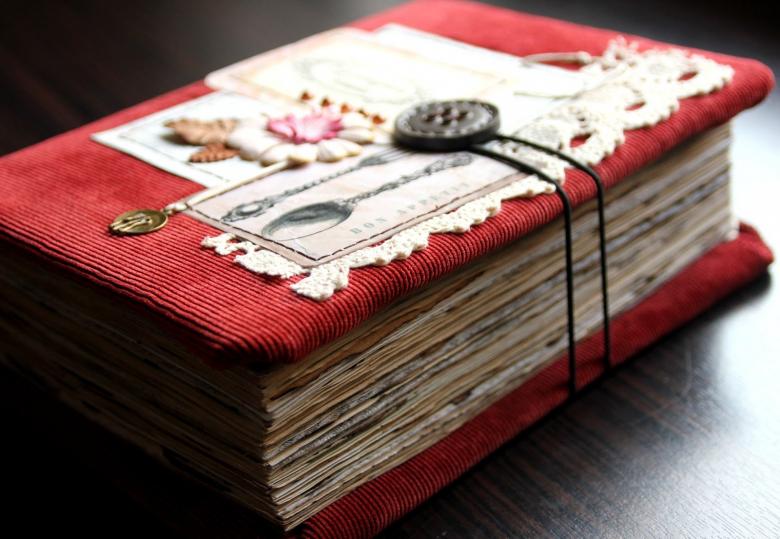
The cover is one of the most interesting book segments. From its very appearance and content it is already interesting what's inside. For her stuffing to like and be loved, there is always the desire to make a cover for the book with your own hands. To do this, we launch production moves such as:
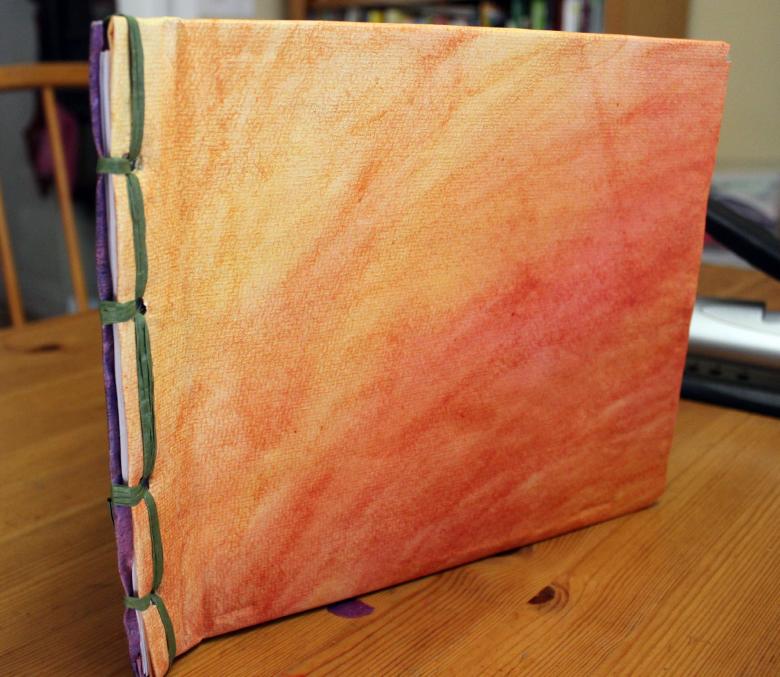
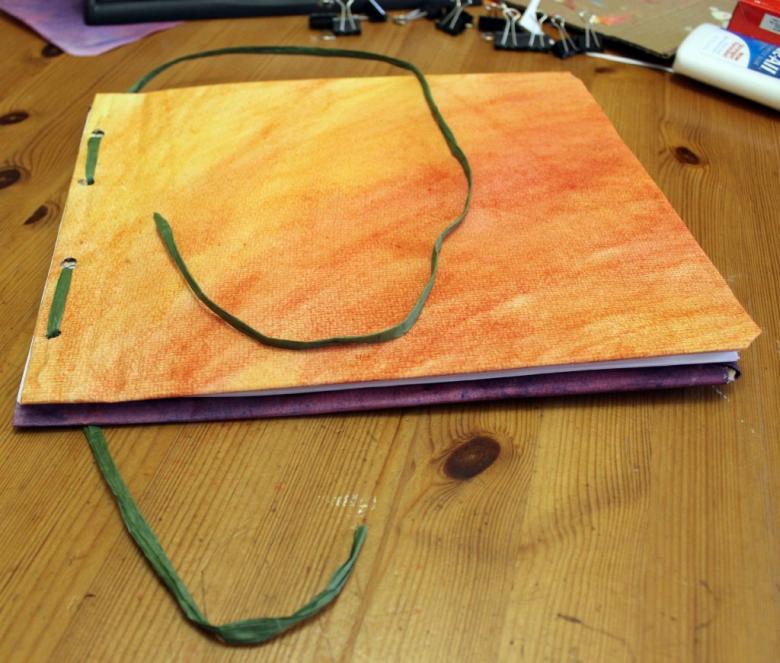
- Using a good, thick cardboard cut out of it two equal rectangles. The dimensions are 3-4 mm larger than the front of the book. From the thin cardboard cut part of the width of the glued end, and the length of the cut out parts;
- We make 2 fabric blanks. One long trim from the thin cardboard, and a width of 6 cm more. The second is as wide as the first blank, and 5 cm longer;
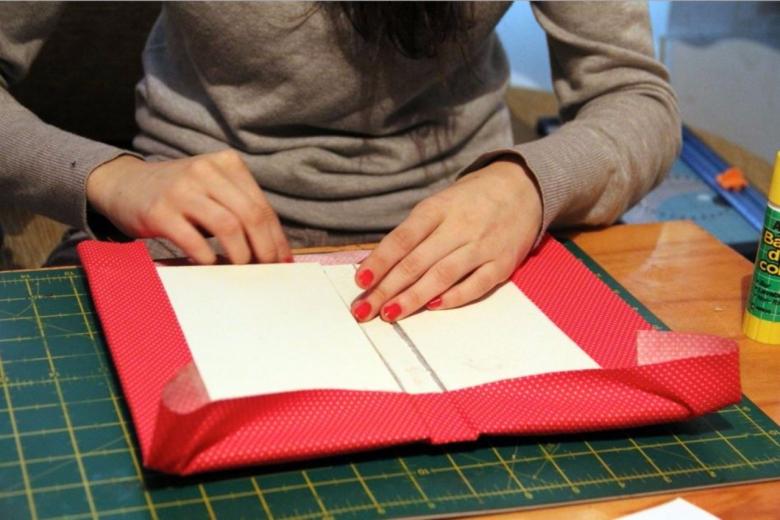
- Then lay out the cardboard pieces face down. The narrow piece in the middle, two thick pieces on its sides, without pressing, leaving a small gap;
- Glue the pieces of fabric. We put a short piece of fabric on top of the cardboard piece in the middle. On the other side similarly long piece, leaving equal ends on the sides. We turn the tails to the back of the cover. We glue them on;
- We take a nice, thick paper, cut it to the size of the cover layout, with an indentation of a couple of centimeters, and glue the outer part of it;
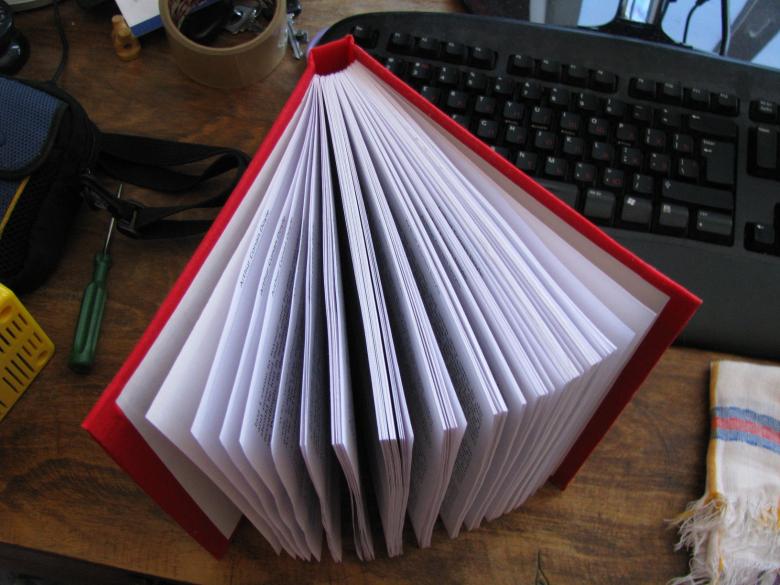
- Next, glue the pressed fragment of the book to the fabric part of the inside cover. You can also glue first and from the end a couple of blank sheets of book format for the foreshortenings.
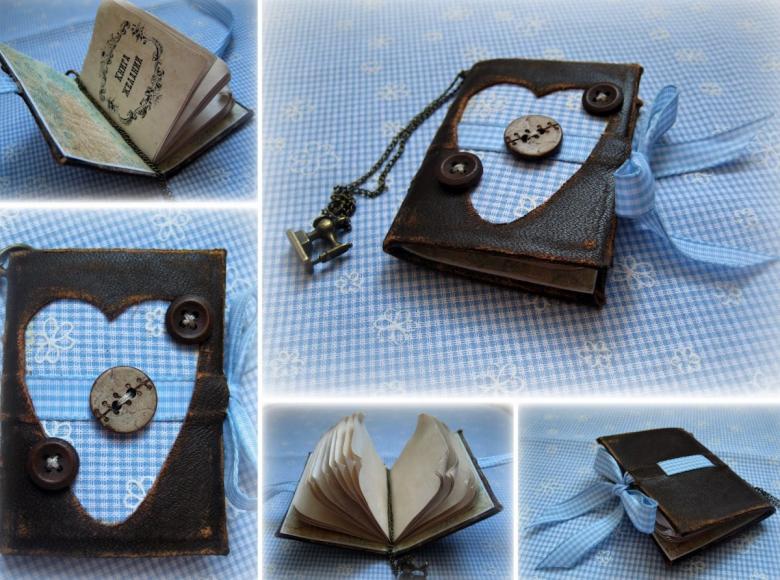
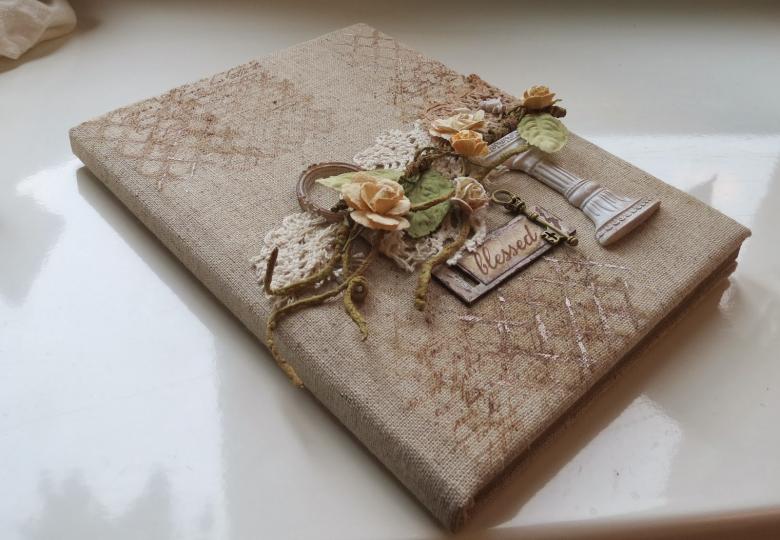
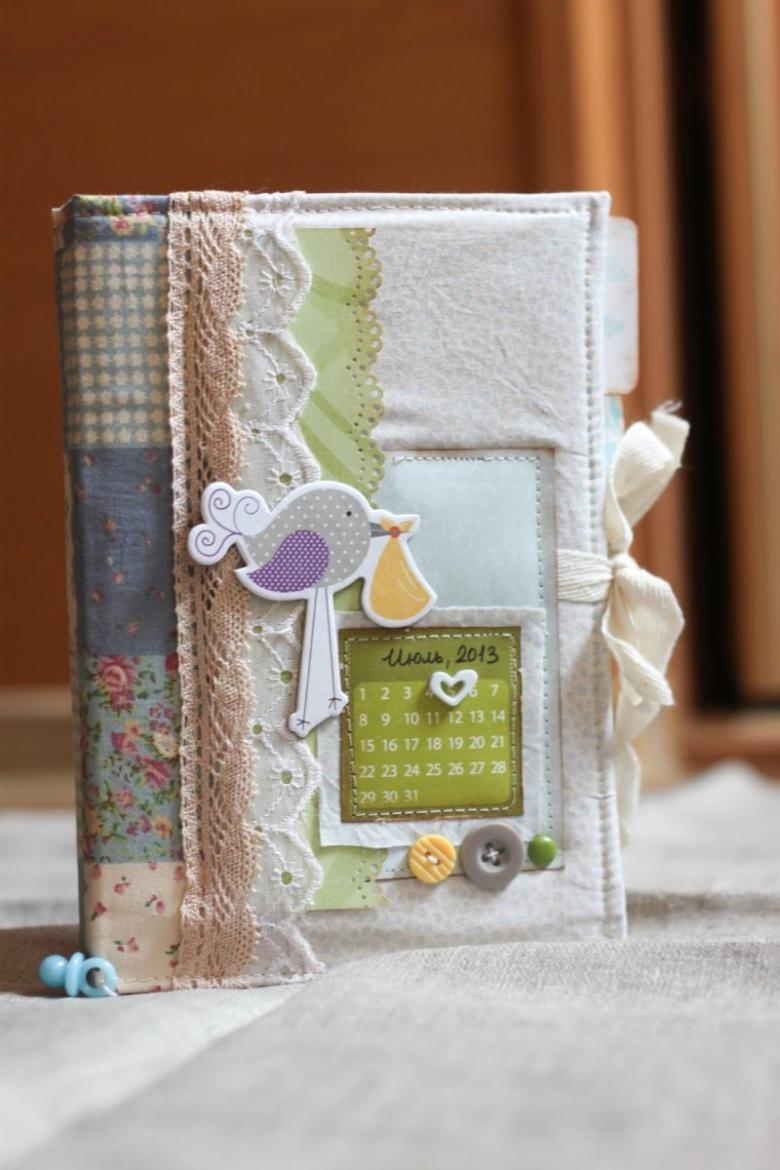
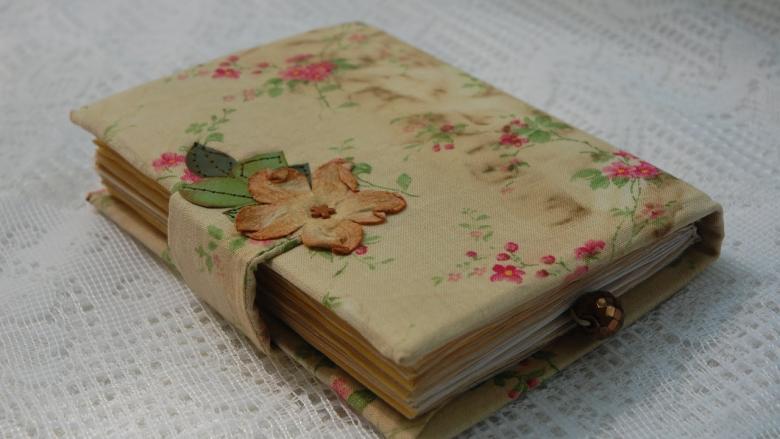
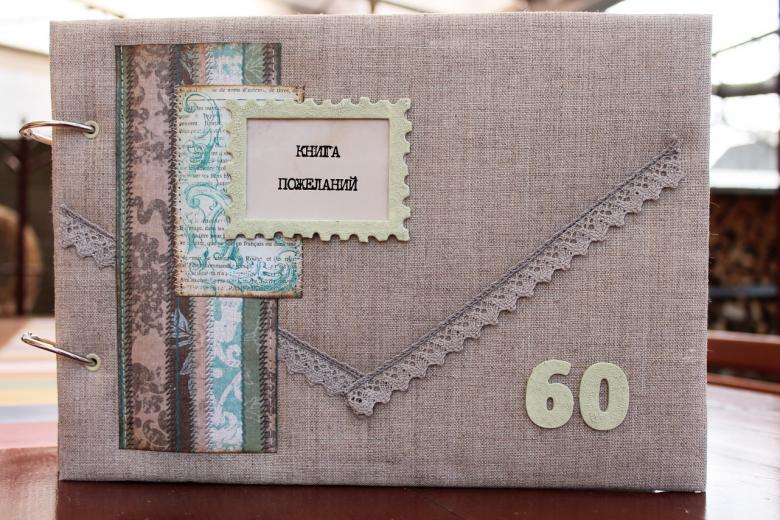
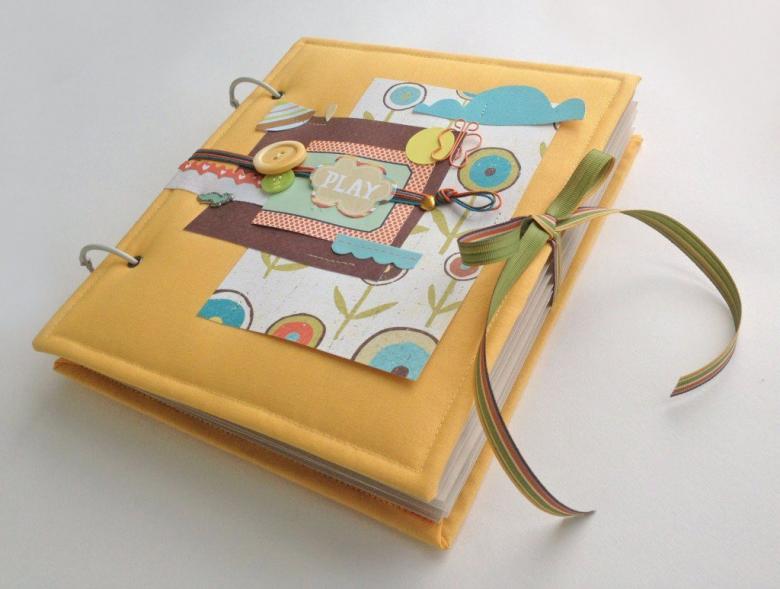
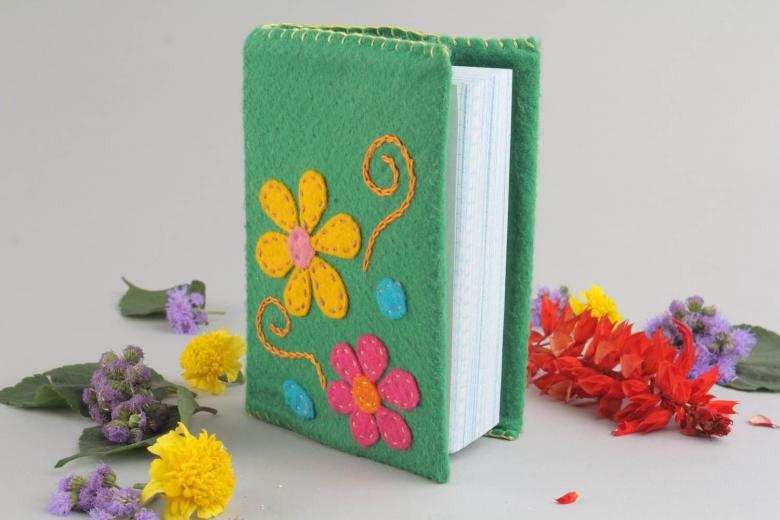
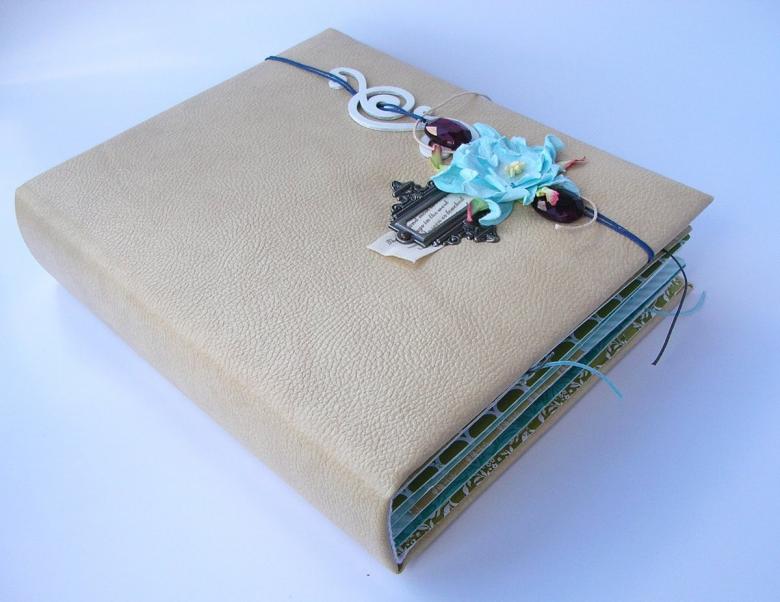
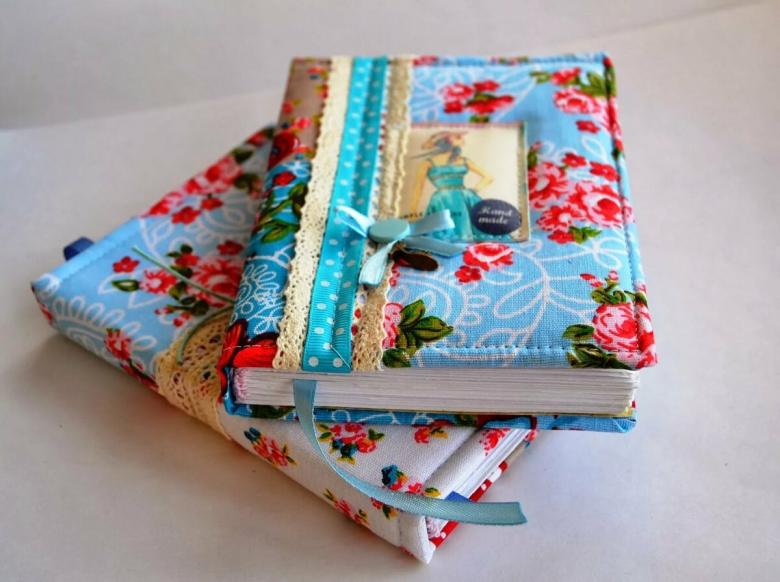
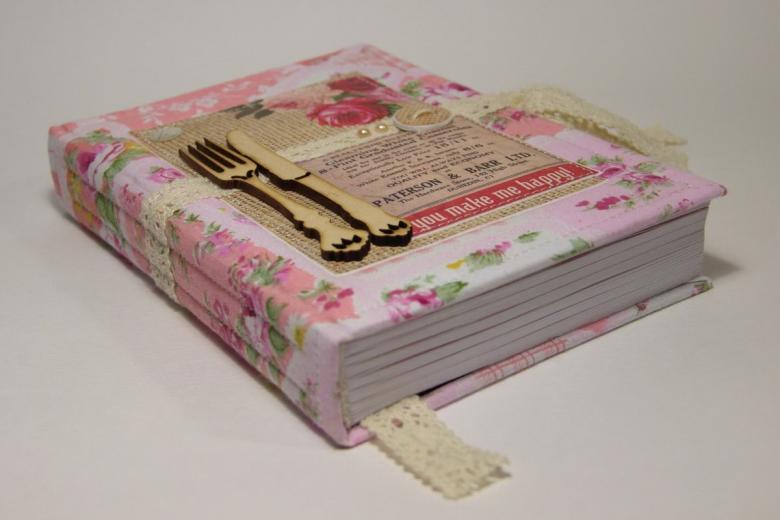
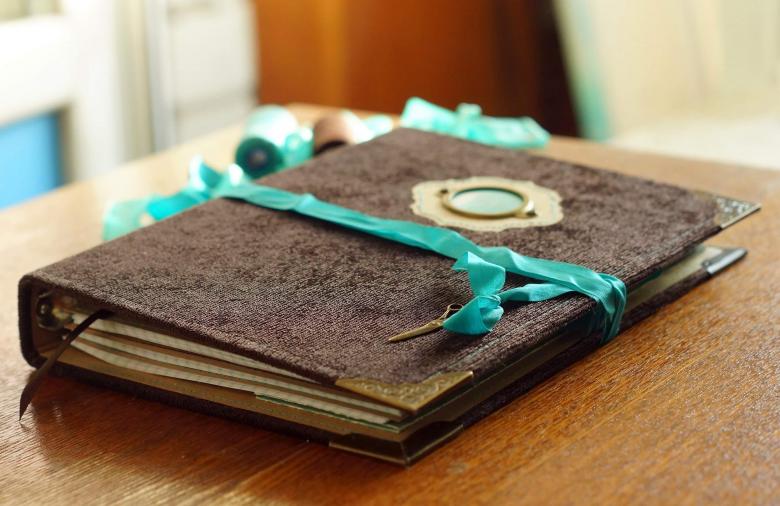
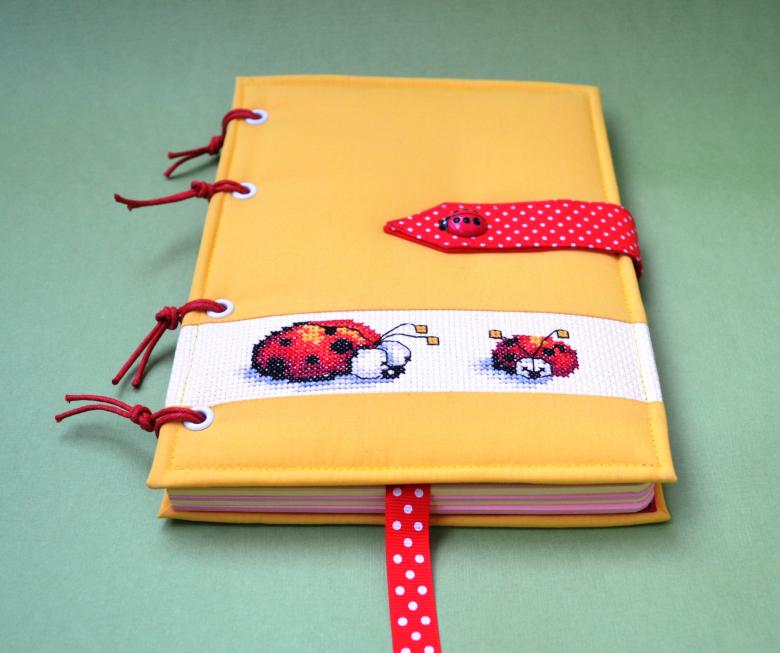
A variation on pasting the cardboard blank is to decorate the cover. It is a matter of imagination and fantasy.
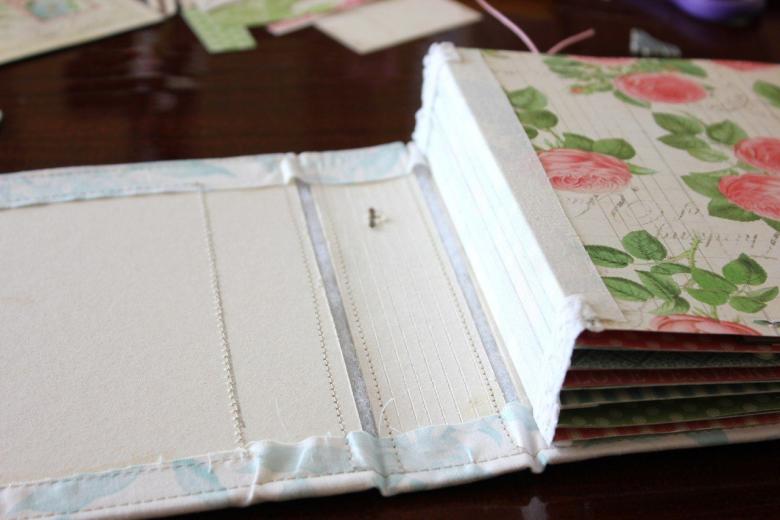
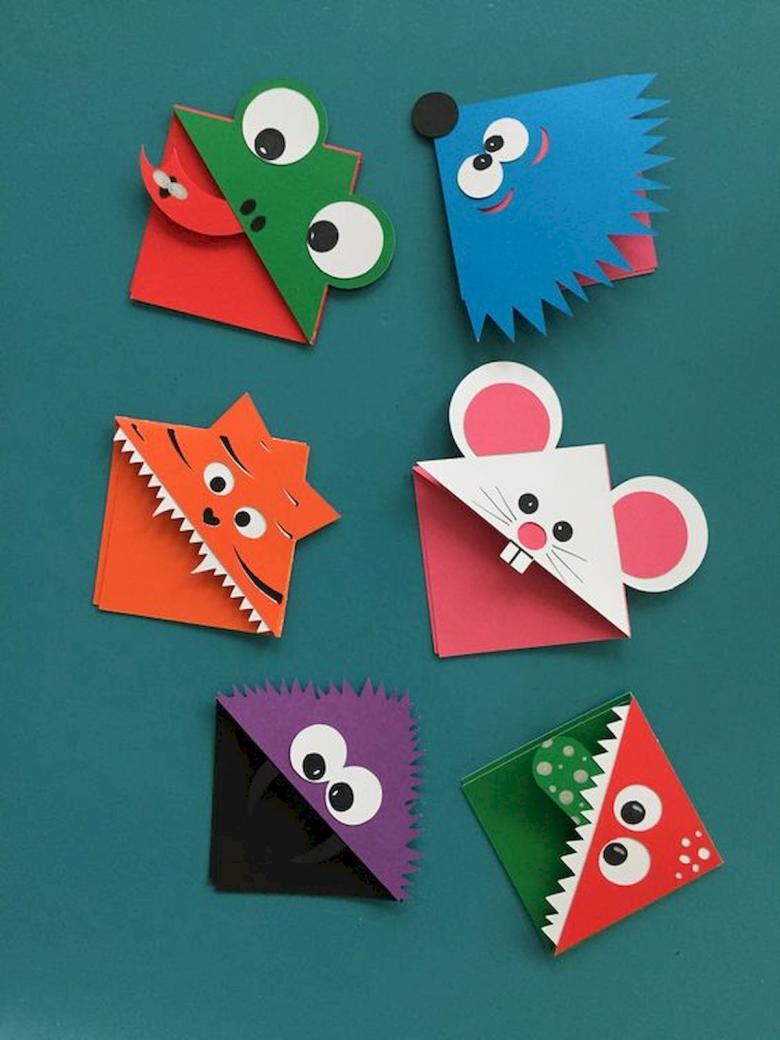
A bookmark for the book you have created
When reading it is always important to remember the page where you stopped. But it rarely works out. In order not to forget and not to put the book upside down, which spoils its condition, it is better to use a bookmark. It is not necessary to buy this useful accessory. A few ways of how to make a bookmark for the book with your own hands.
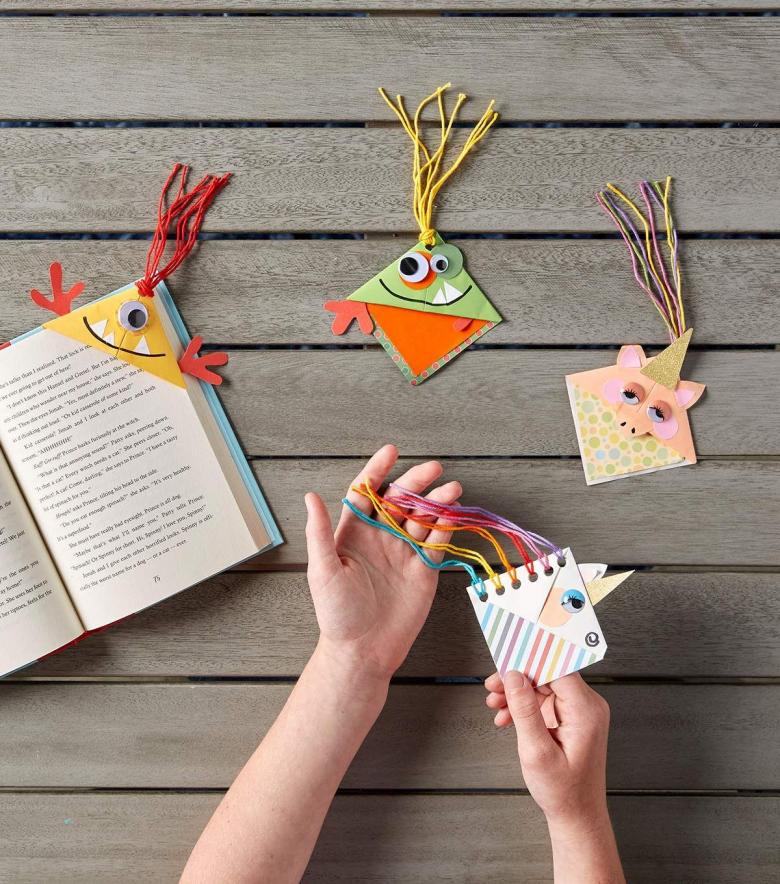
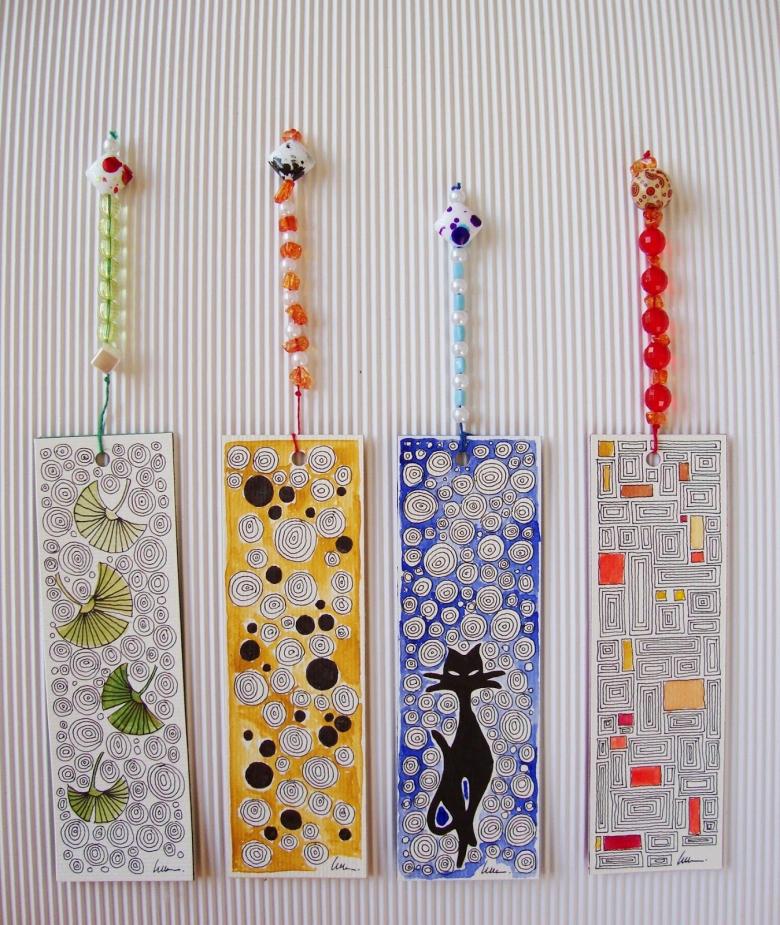
With a string of thread
- We take a colored cardboard and cut out a small rectangle from it. In it we make a hole with an awl;
- We slip a multicolored yarn for knitting, half the length of a cardboard scrap. Tie a knot;
- Glue the figure of a star, or a heart, cut out of cardboard of a different color;
Bookmark the stopped page with a threaded cord outward.
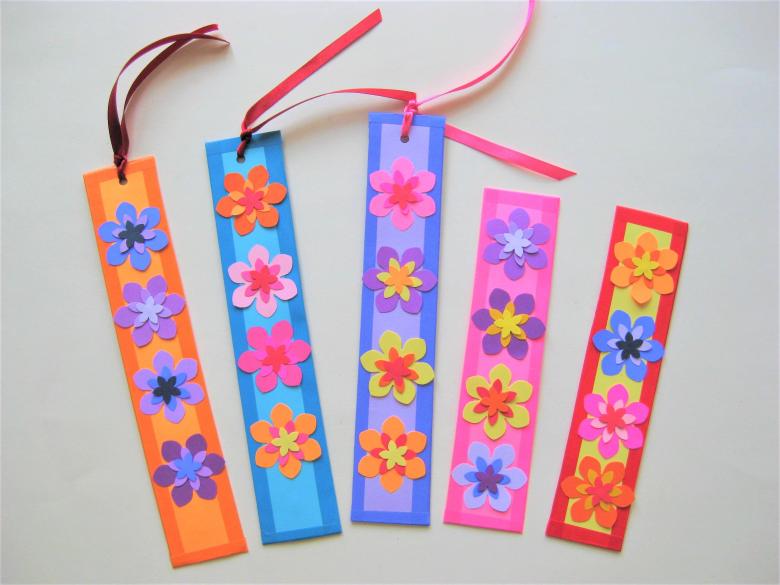
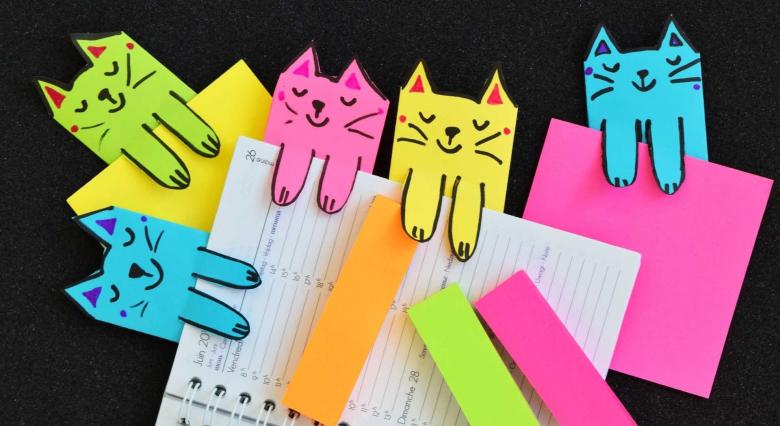
Bookmark "Cat Scientist".
- From a thick paper of blue color we make a small trim of a rectangular shape. On one side draw simple lines of a cat with paws with a felt-tip pen;
- According to the shape of the ears we cut out with scissors. In the area of the outline of the paws create a cut with a paper knife, so that they depart from the paper base;
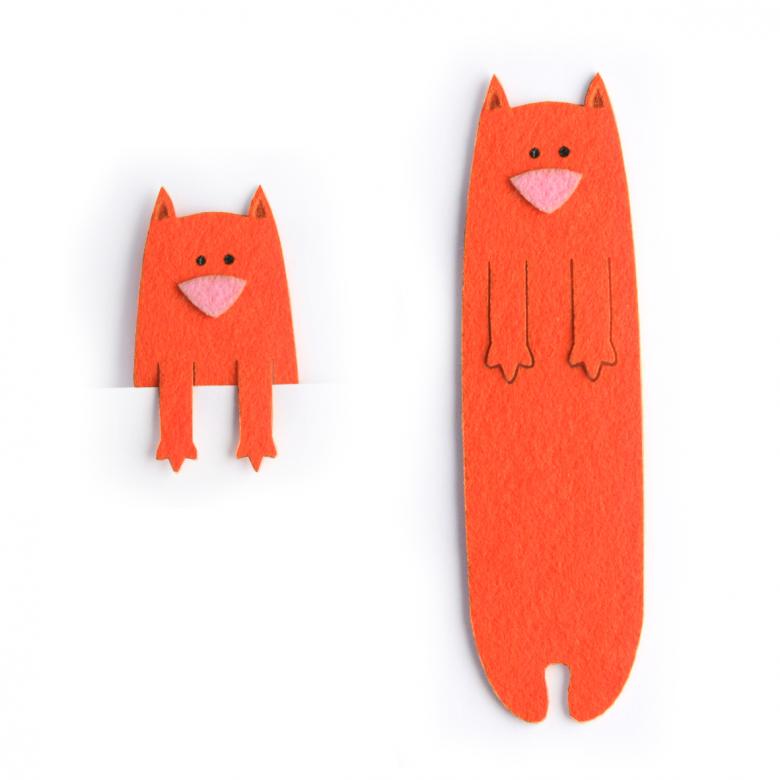
Fix the bookmark to the desired page, clinging to the top with the cut paw silhouette. We get the cat sitting in the right place.
Bookmark Forever
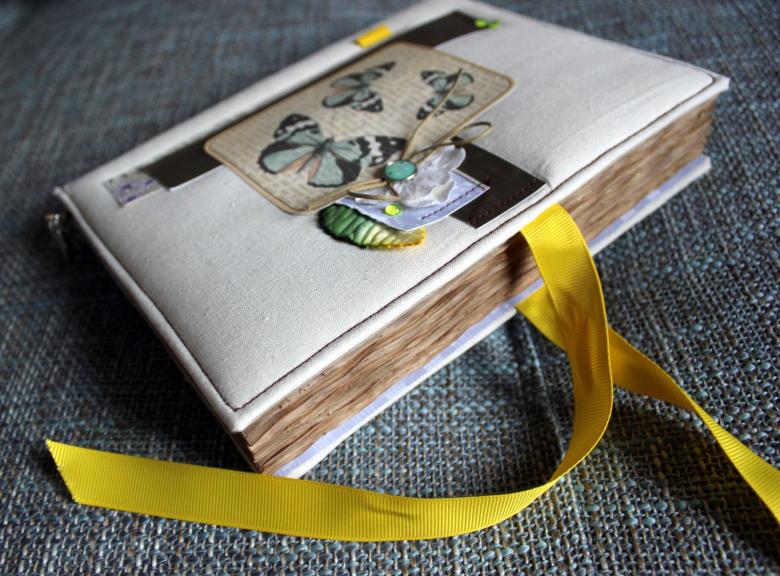
- Glue a colored ribbon to the spine of the head of the created book;
- Set the size to 3-4 cm longer than the length of the book. For a free passage between its pages, and the end that goes beyond them;
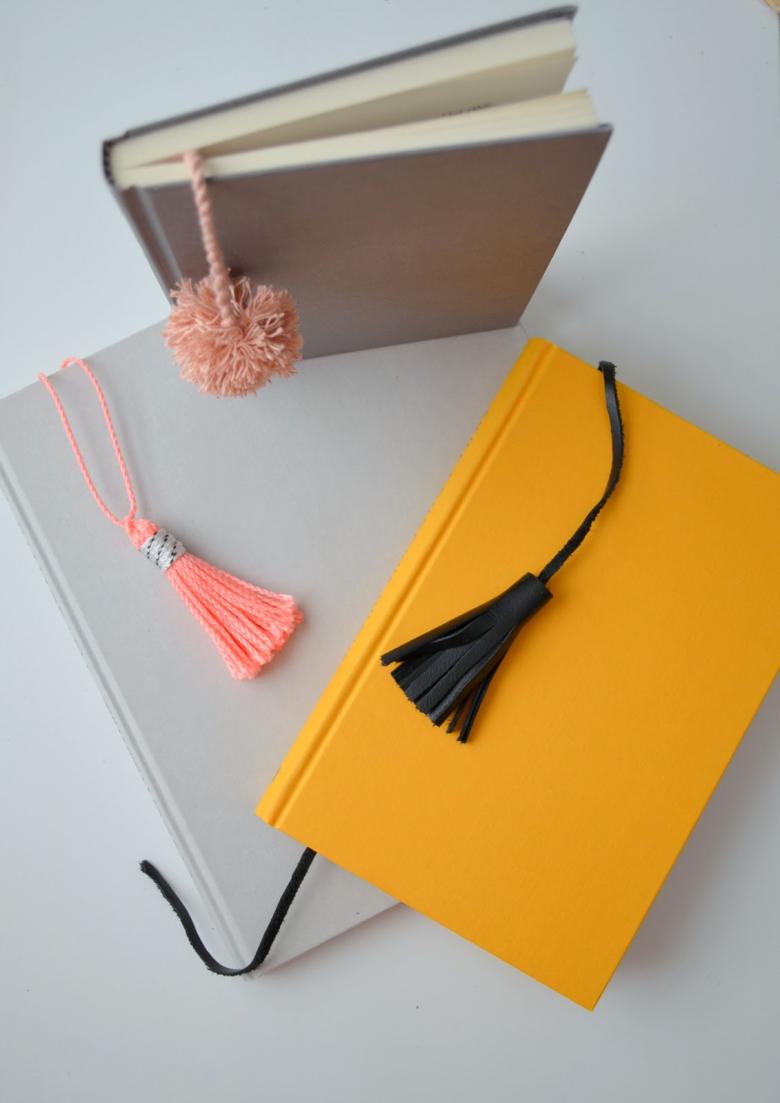
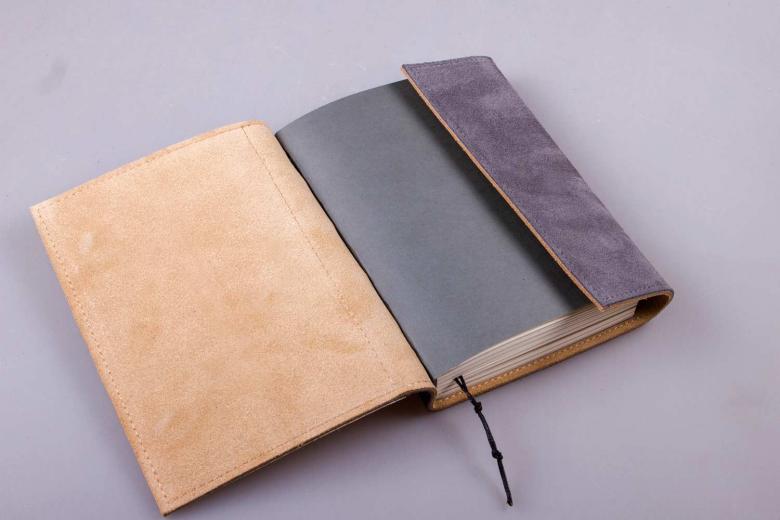
It is convenient and practical to have a bookmark that will always be with the book, never leaving it. A bookmark that is attached to the book as a narrow ribbon or braid is called lassé.
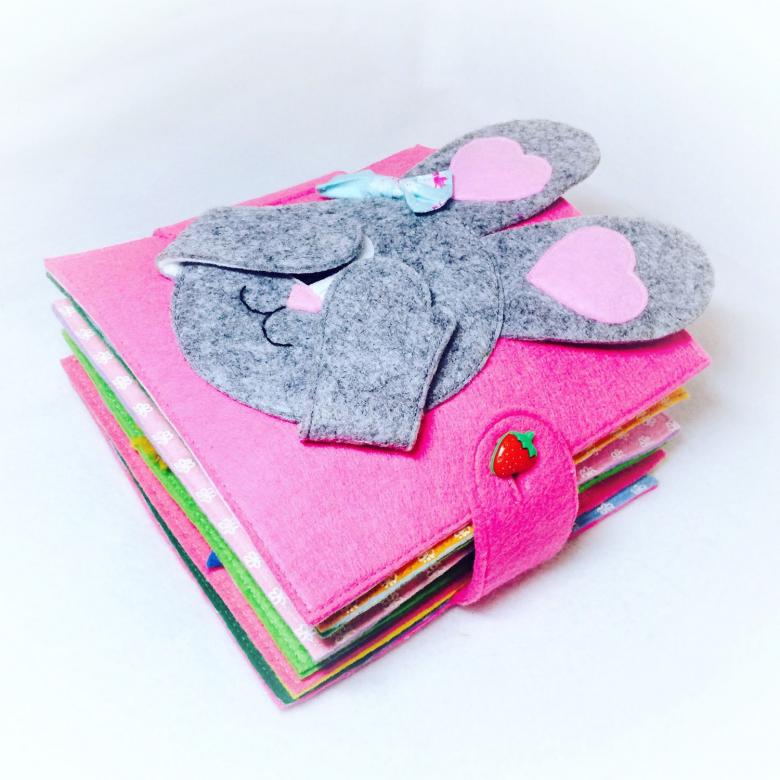
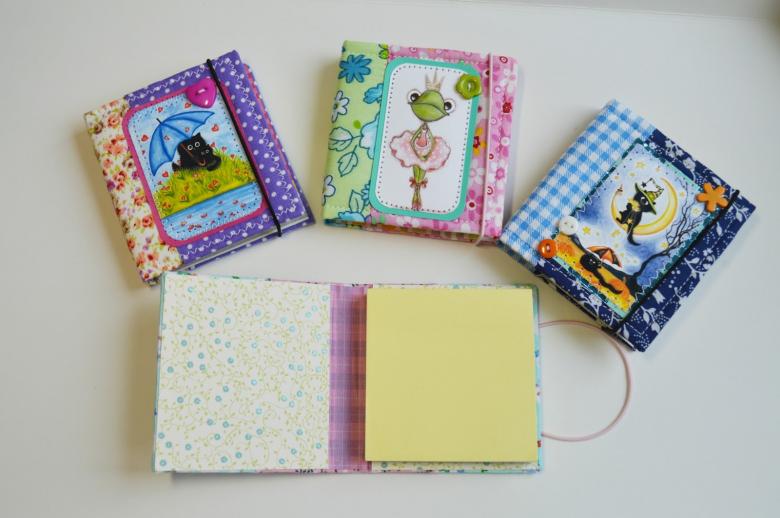
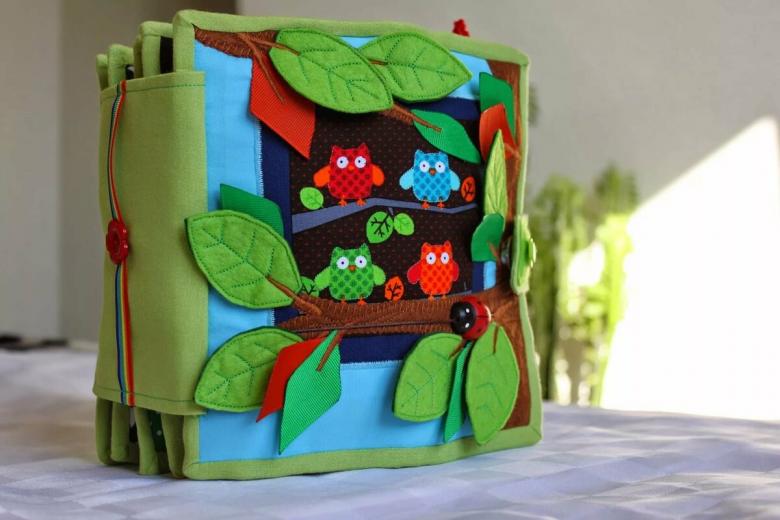
Homemade books can be a fascinating hobby, as well as a source of income. A handmade book can be offered as an original gift to a loved one. It can be a source of exactly your thoughts and ideas, made for children, their development and keen perception. The above instructions for creating everyone's favorite printing product is only a small fraction of what you can use for such an interesting activity as hand book printing.

