Handmade Chandelier - 82 photos how to make a stylish homemade designer chandelier
Lighting fixtures - a kind of cherry on the cake when completing the interior design. Although the chandeliers sometimes do not play a key role and do not care about the choice, they play an essential role in the overall feeling of the room. That is why designers often perform chandeliers by themselves to order when decorating living spaces. This is the only way to create a unique and unrepeatable product.
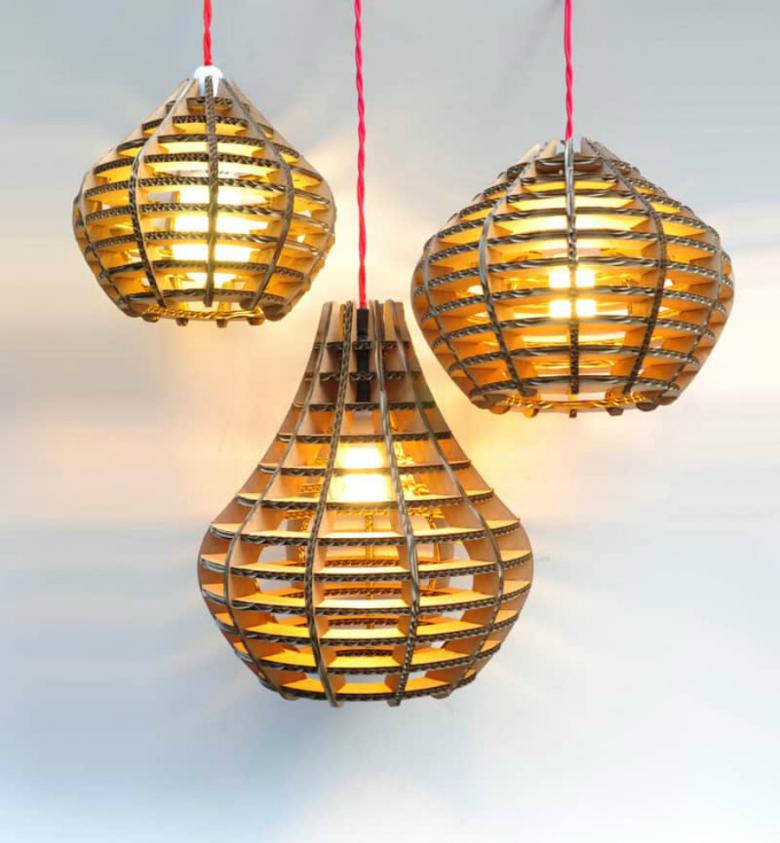
But, you do not need to be qualified specialists, you can try to make a chandelier with your own hands from improvised materials.
Important points when modeling chandeliers
Before you start making a chandelier with your own hands, you need to take into account some points:
- It is better to choose LED light bulbs, rather than the usual incandescent. This is due to the fact that they are less heated and therefore become safer during operation.
- Choose materials that are not inflammable. Safety is a must.
- Choose reliable fasteners that are able to support the construction in a given shape.
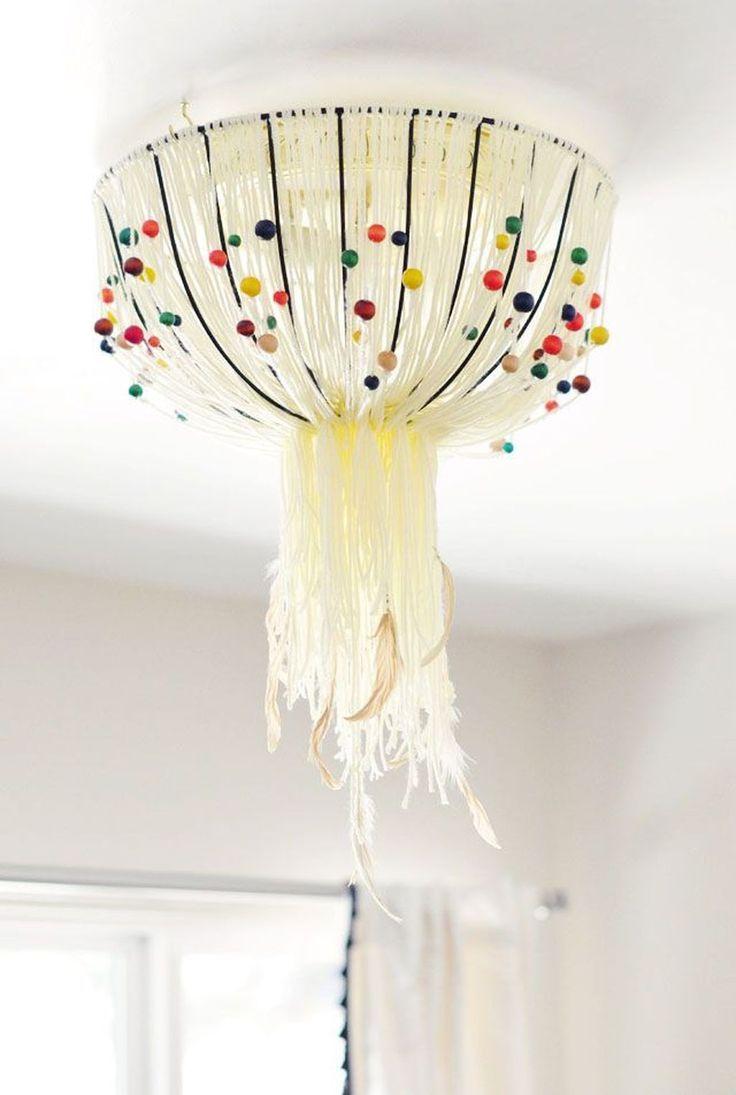
Linen thread or fringe lampshade
For the bedroom or kitchen, you can make yourself a cute lampshade, emitting a soft light. To make it you will need:
- Linen yarn of any shade.
- Scissors.
- A small photo frame.
- Hoops of several different sizes.
- Pliers.
- A special chain for fixing the chandelier.
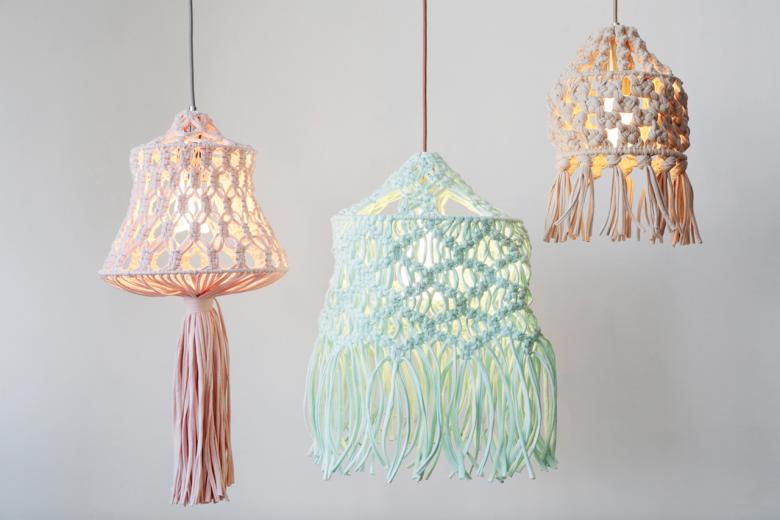
The process of making:
- Take a picture frame. Place it in a horizontal orientation.
- Secure the thread along the top long side.
- Wrap the thread evenly around the frame so that the longitudinal thread lies under the winding layer.
- Tie the thread gently so that it joins the bundle. The ends of the thread should be long enough to tie the tassels to the hoop.
- Carefully cut with scissors from below.
- It turns out a strand from which you need to make a tassel. To do this, backing away from the thread fixed at the top, you need another thread to tie a bundle, thus forming a tassel.
- The rest of the tassels are made. Their number should correspond to the diameter of the hoop.
- Take the outer rim of the hoop and tie the tassels across the diameter tightly enough to each other.
- Repeat with a hoop of smaller diameter. Most often, either two or three rims of different diameters are taken in order to form several steps of the chandelier.
- It is necessary to tie the hoops to each other to form the steps of the chandelier. This is done with threads in several places.
- Take three chains of equal length and fix them on the largest diameter rim. It is important to maintain the same distance between the fixation points.
- From above, the chains are connected together with a link, securing them with pliers.
- The suspension is fixed to the ceiling, the bulb is left on a wire of such length that it is in the center of the lampshade.
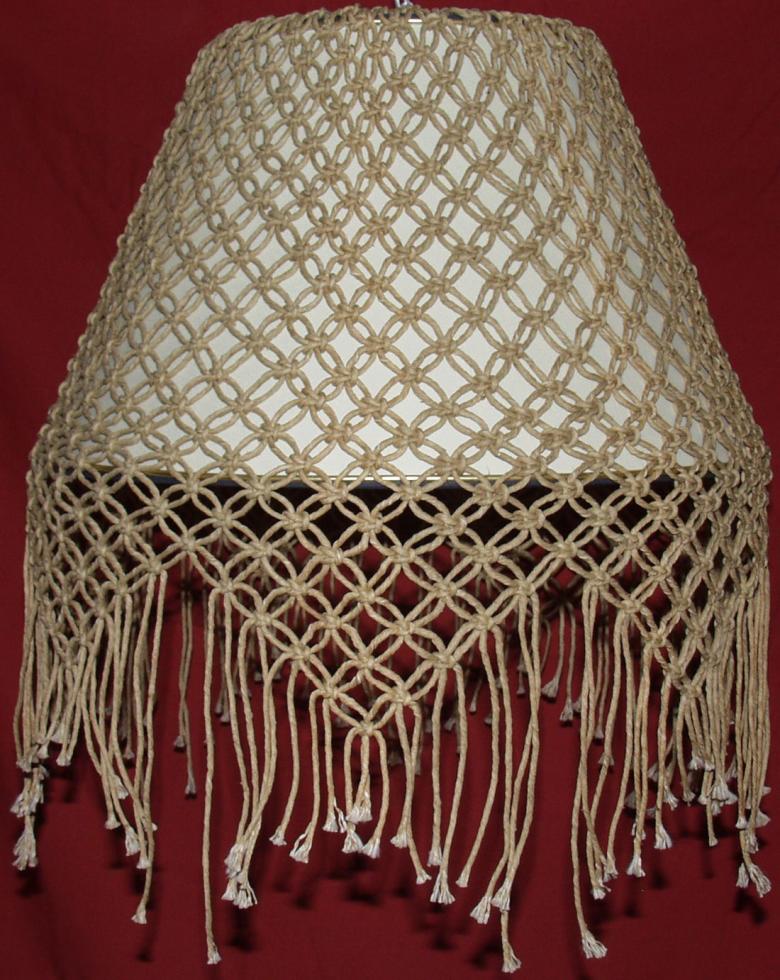
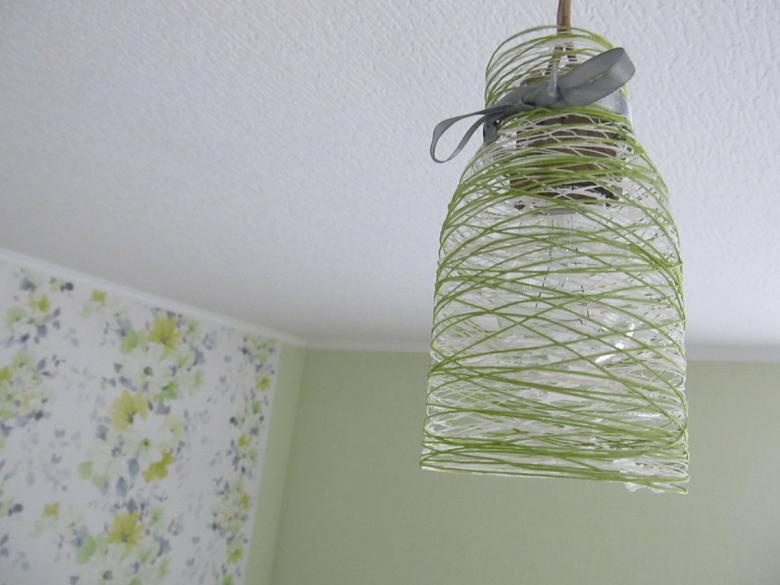
This lampshade with their own hands for a chandelier is extremely easy to perform and does not require any special skills. Therefore, it can always be taken as a basis for those who have no experience mastership any design things with their own hands. In this case, you can change the color of the thread in the layers, achieving a particular effect.
Suitable for such a variant under the style of boho, rustic or ethno.
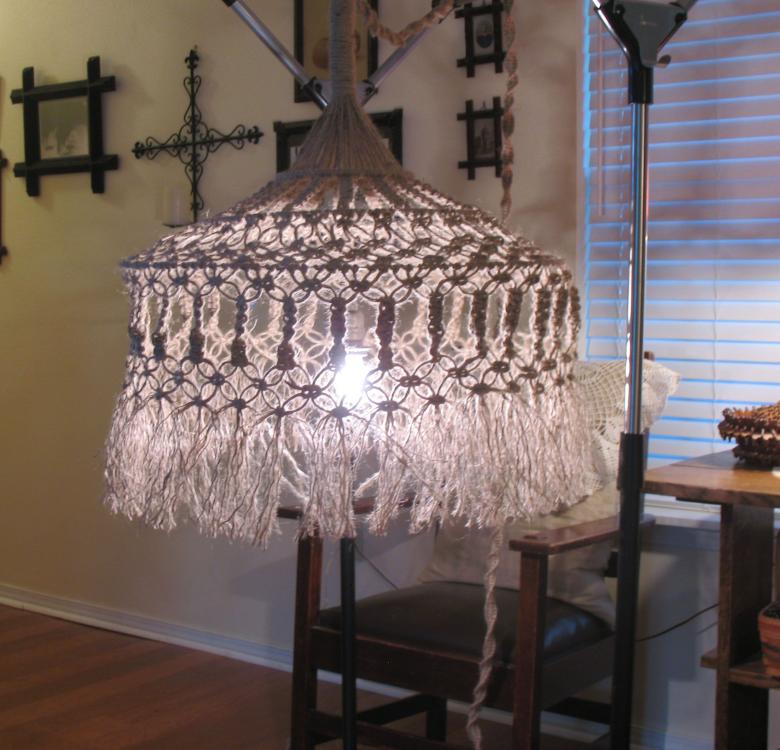
The second version of the thread chandelier
This is a simple method that will take a minimum of time and require a small amount of materials. It is necessary to prepare:
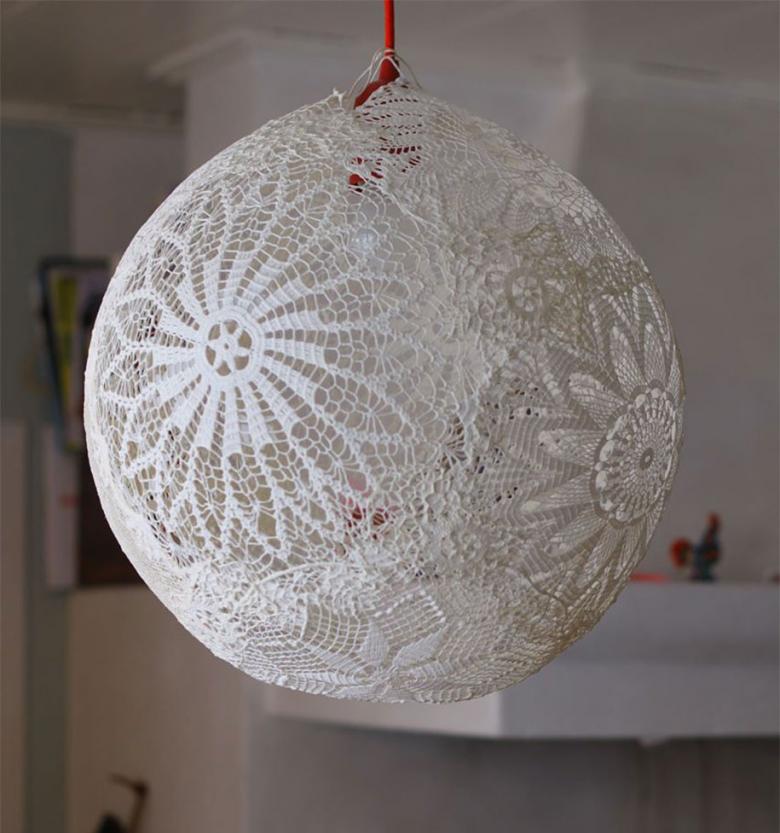
- Sufficiently thick twine or coarse twine.
- Inflatable balls of round shape.
- PVA glue and water.
- Scissors.
- A special hood for hanging bulbs.
- Lightbulb.
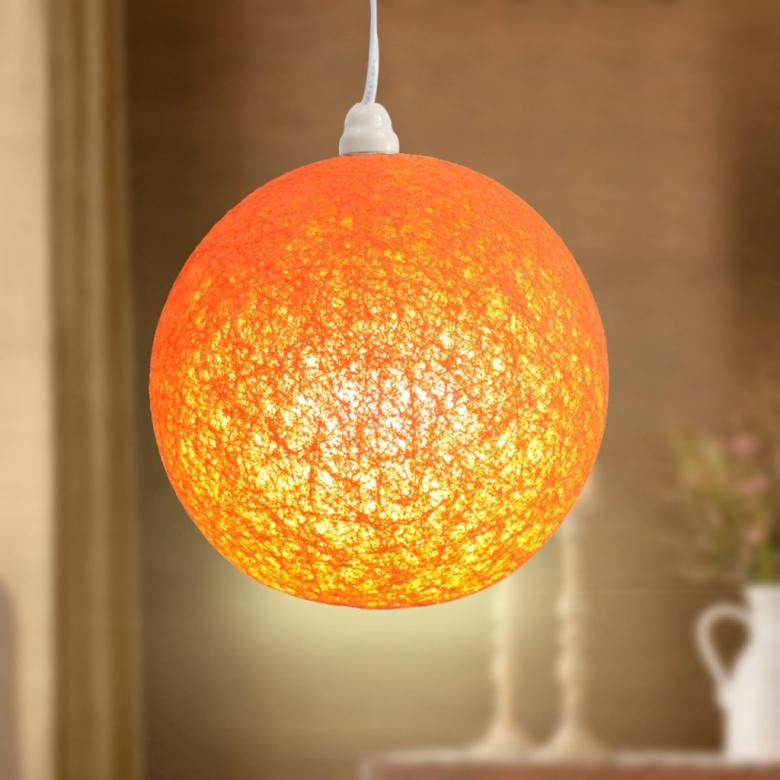
Step by step manufacturing:
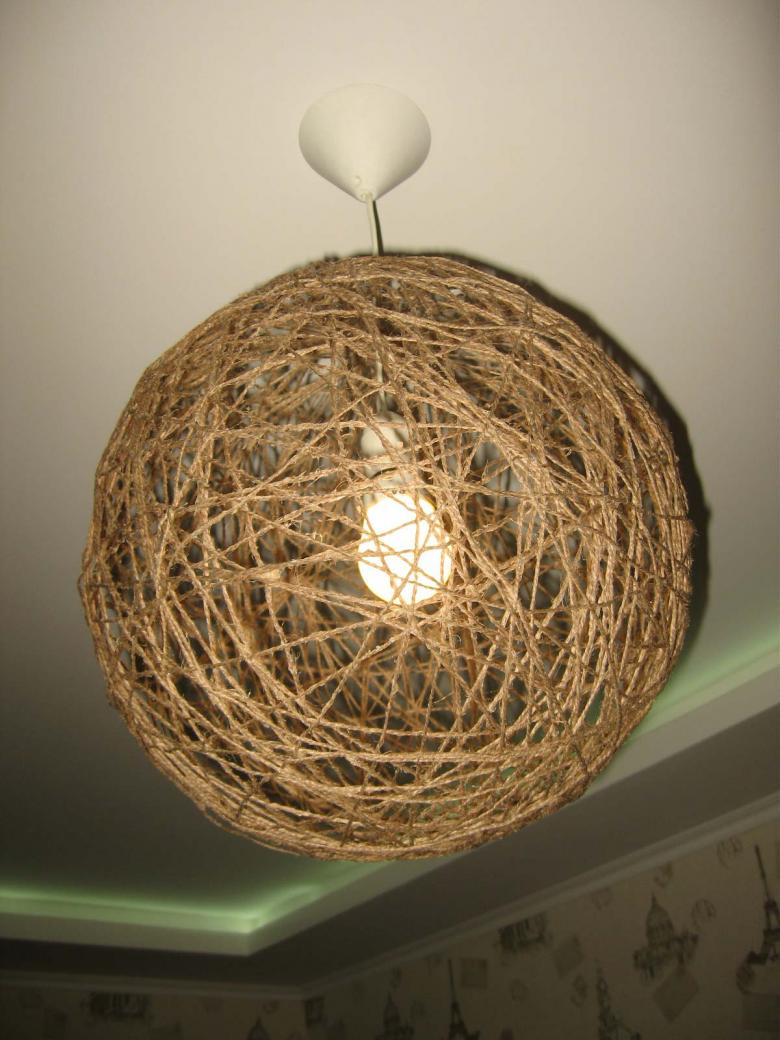
- Inflate a balloon of the size you want to get a chandelier. Firmly fixed, so as not to deflate earlier.
- On one side of it is drawn a circle of small diameter, on the opposite side of a larger diameter - these are holes for the cap of the bulb and for the entrance of the hand to change the bulb.
- Mix PVA and water in the proportion 2:1.
- Wet the twine in the glue composition and gently wrap the ball with the thread. Do not go beyond the boundaries of the outlined circles. It should be a free space, not covered with twine.
- In this form, it is necessary to let the glue dry for 48 hours.
- Carefully lower the ball and pull it out.
- The smaller hole inserts the socket and attaches the pendant.
- The bulb is inserted through the larger hole and secured in the socket.
- The chandelier is attached to the ceiling at the desired length.
This version of the light fixture is ideal for the style of high-tech and minimalism.
Wooden chandelier with their own hands
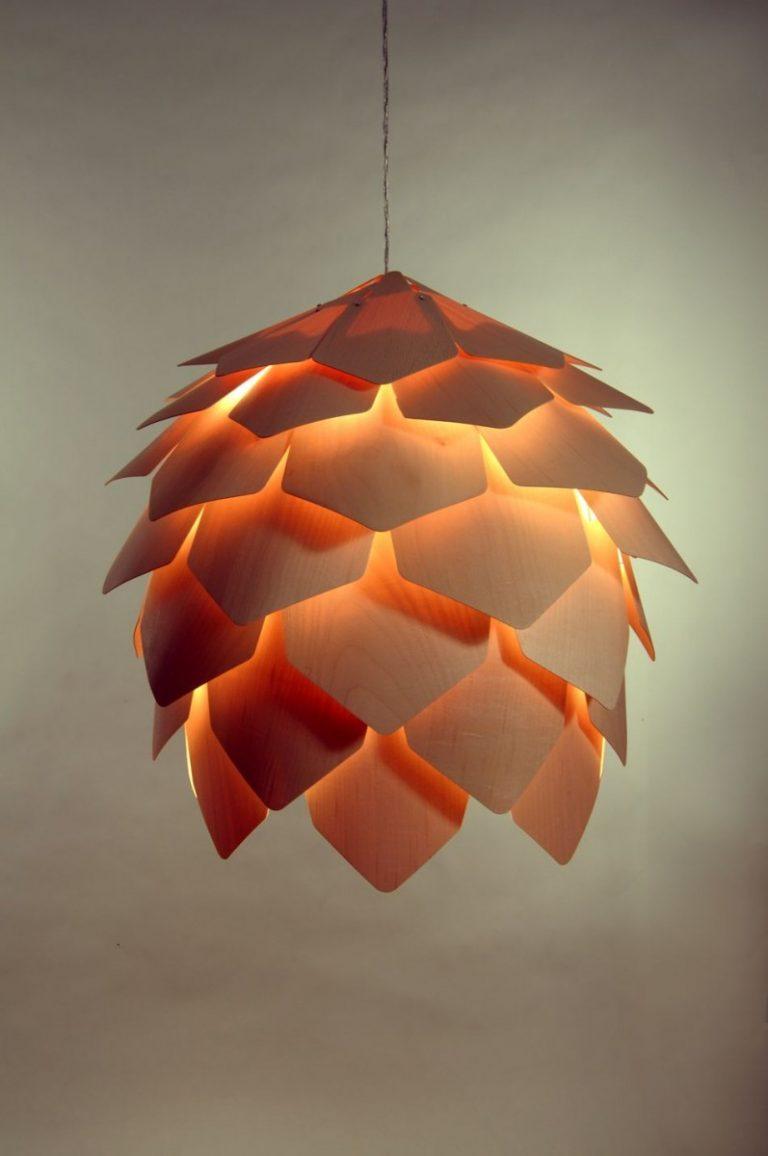
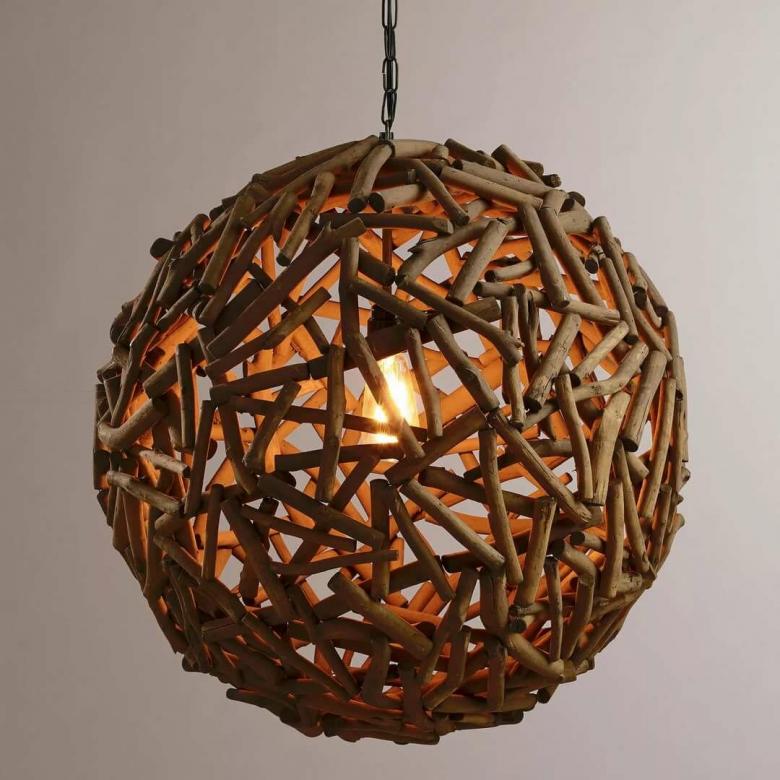
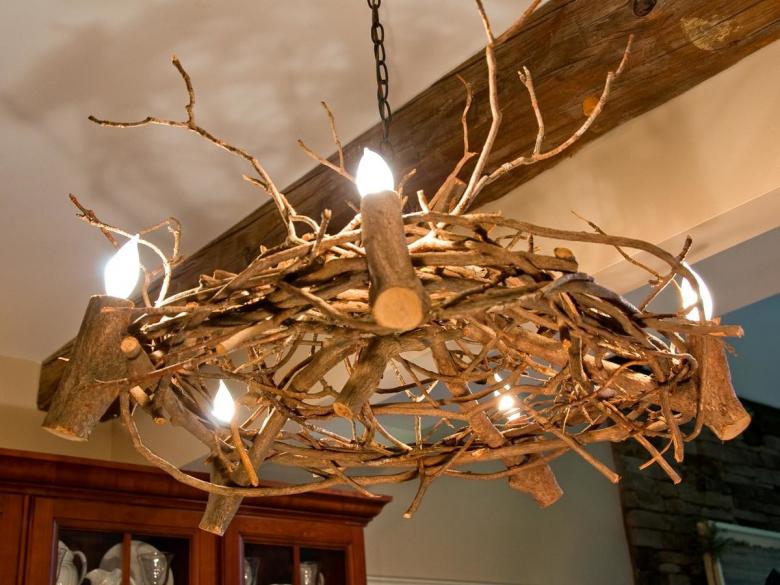
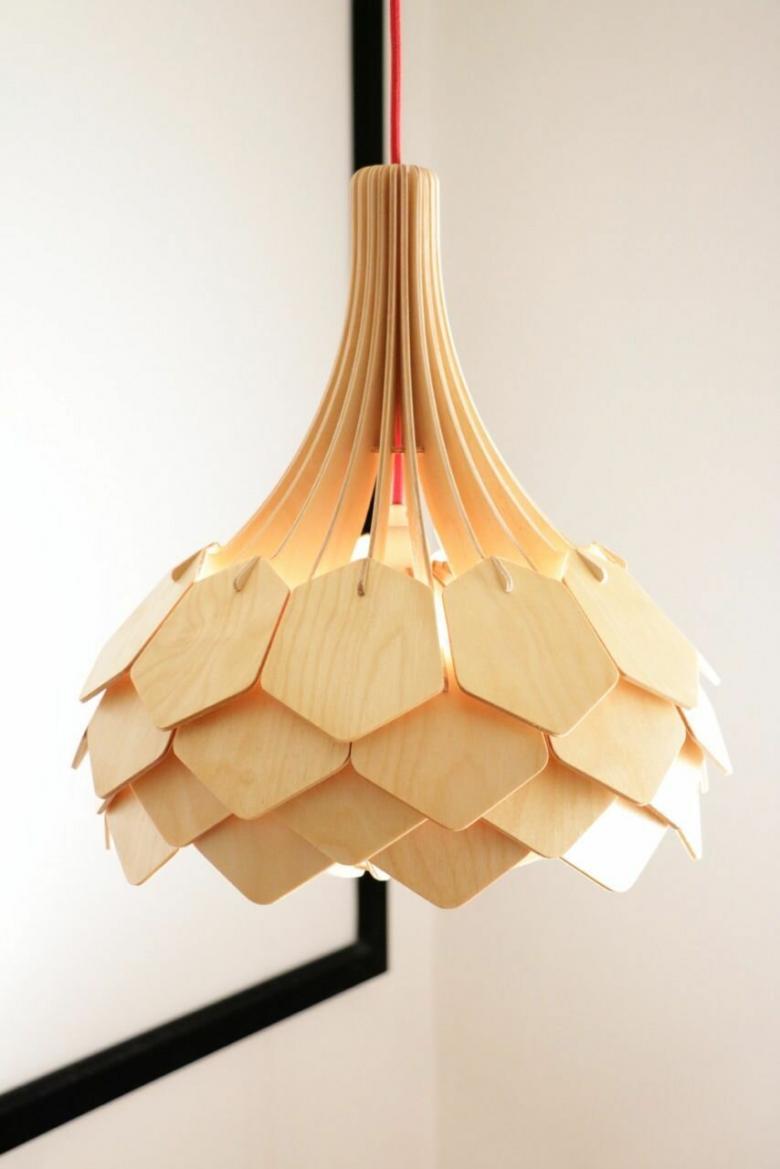
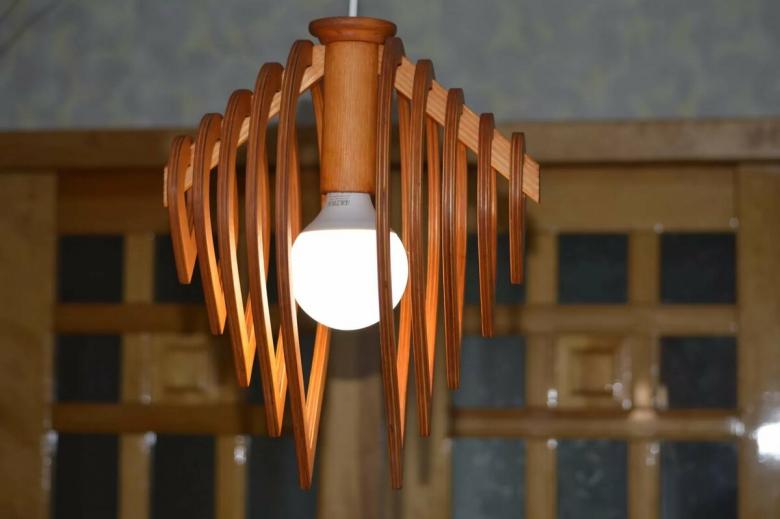
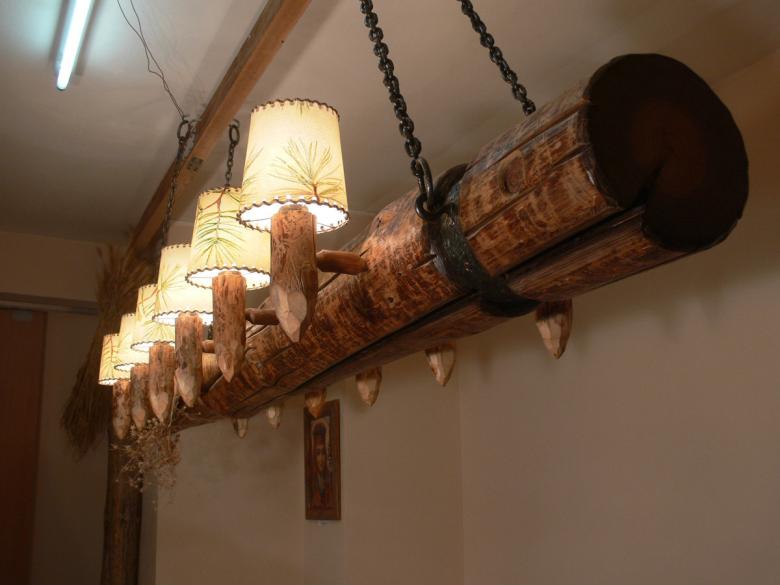
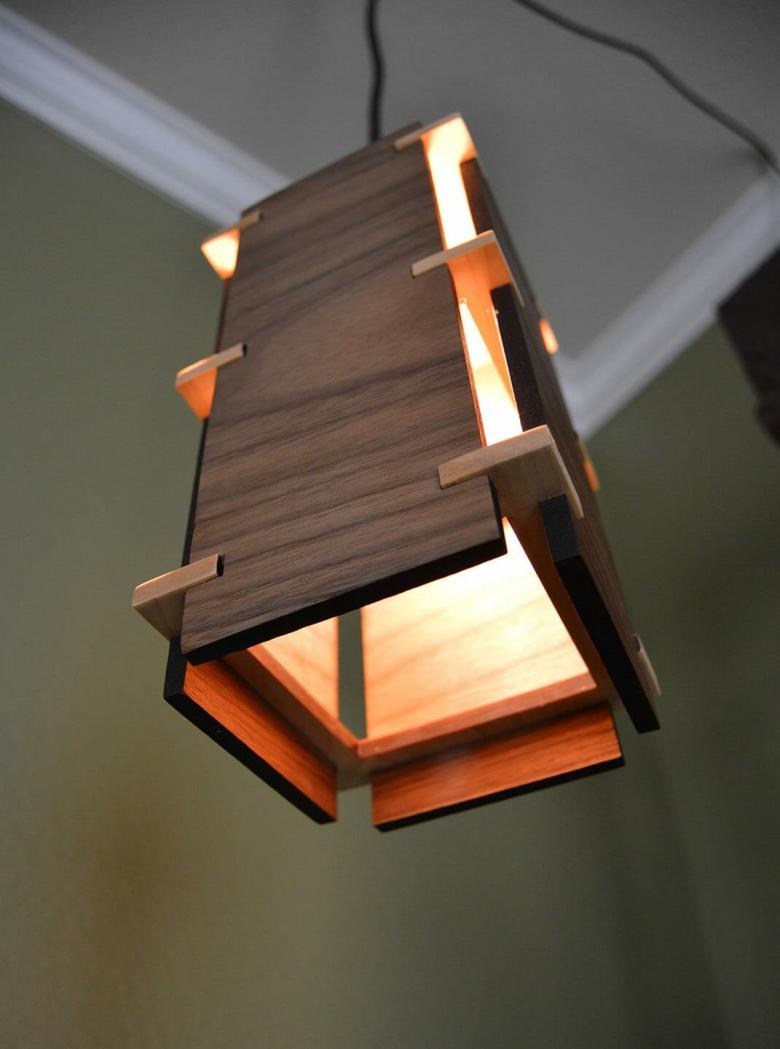
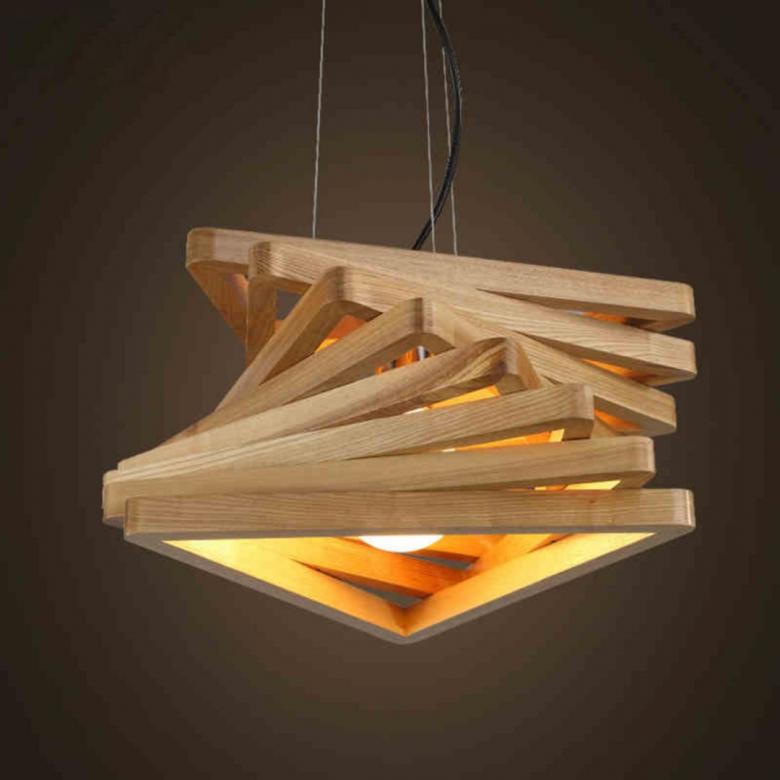
Naturally, those who are engaged in wood carving, it will not be difficult to cut the original forms from a wooden bar or using natural snags. But those who do not have such an opportunity, you can use roll veneer. From it you can make an original design, one of the variants of which we will consider below.
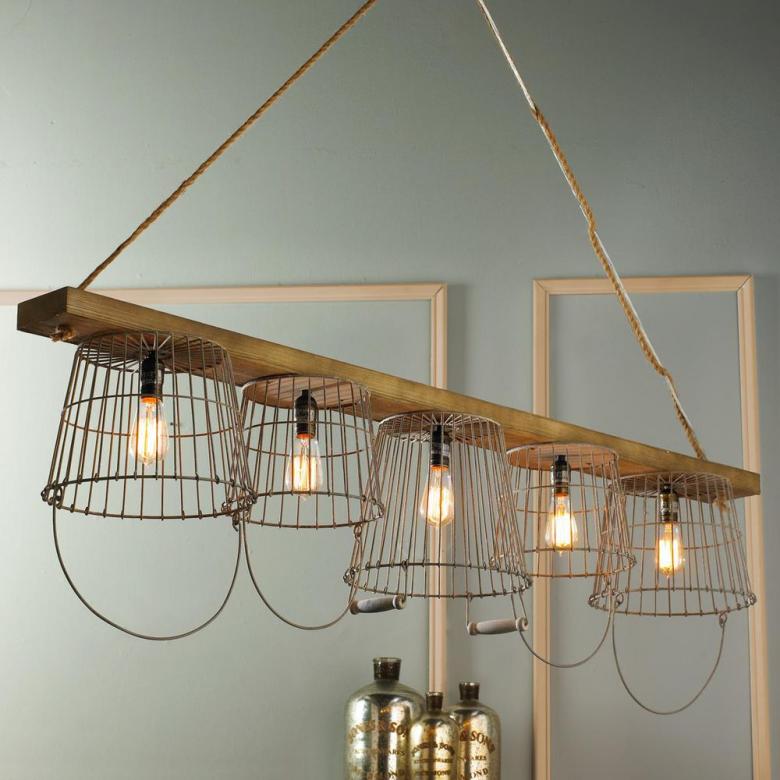
To make it you will need:
- Rolled veneer of small thickness.
- An iron.
- A ruler or tape measure.
- A simple pencil.
- Sharp scissors.
- Parchment paper.
- Adhesive of sufficient fixation, such as a glue gun.
- A special lamp pendant and light bulb.
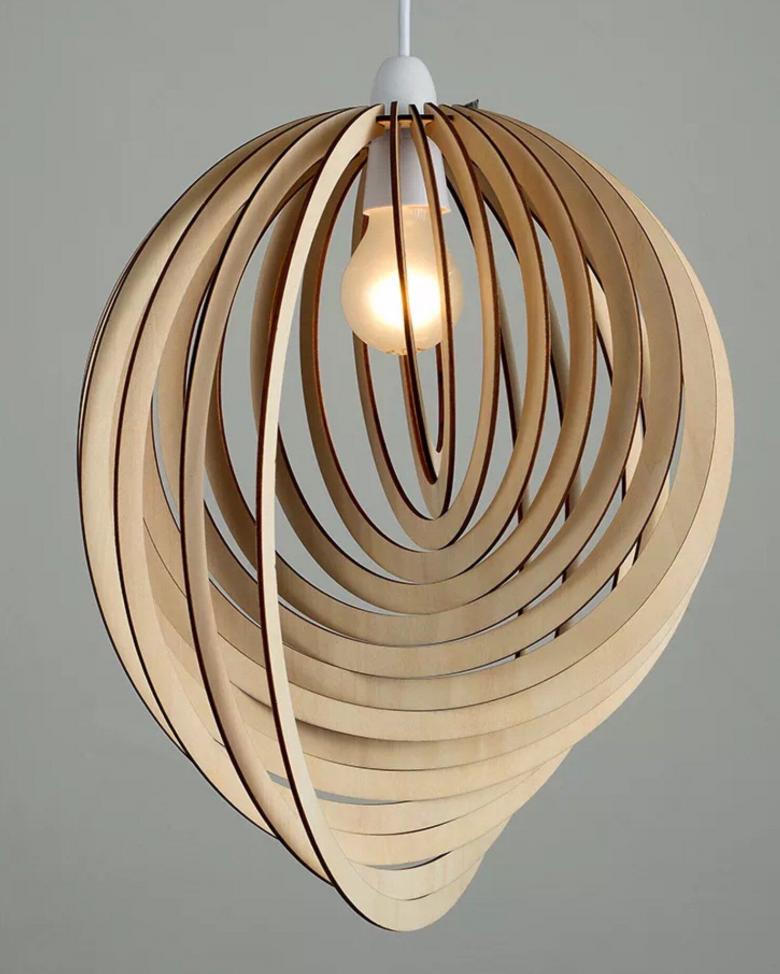
Step by step making:
- Cut the veneer into strips that can be 0.9...1 m long.
- Using an iron at medium intensity, iron the ribbons so they do not curl.
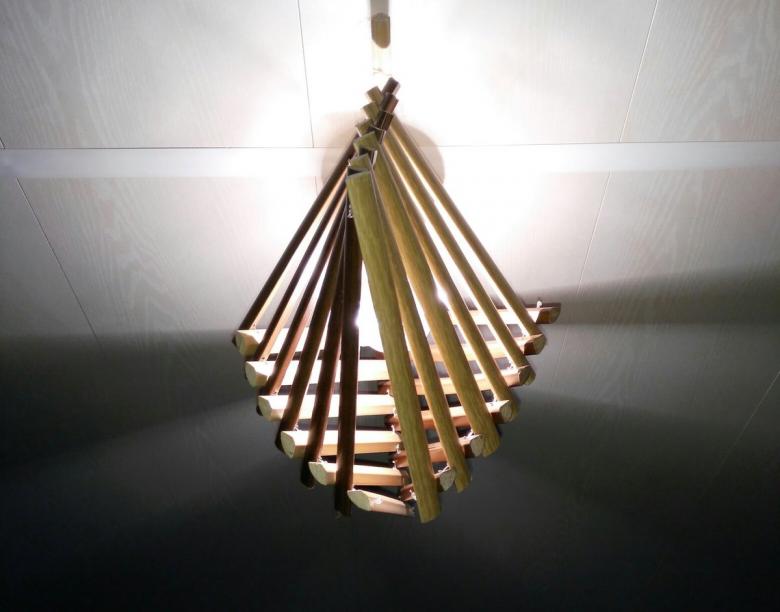
- From the strips fold a triangle, fix the elements with paper clips between them.
- Repeat the same size triangles 2 more times.
- Fold the triangles larger and put parts on top of each other, as shown in the diagram.
- Elements should be glued together using a glue gun.
- When the elements are stacked on top of each other, a hole is created in the upper part that is large enough for the cartridge and the retainer to fit through.
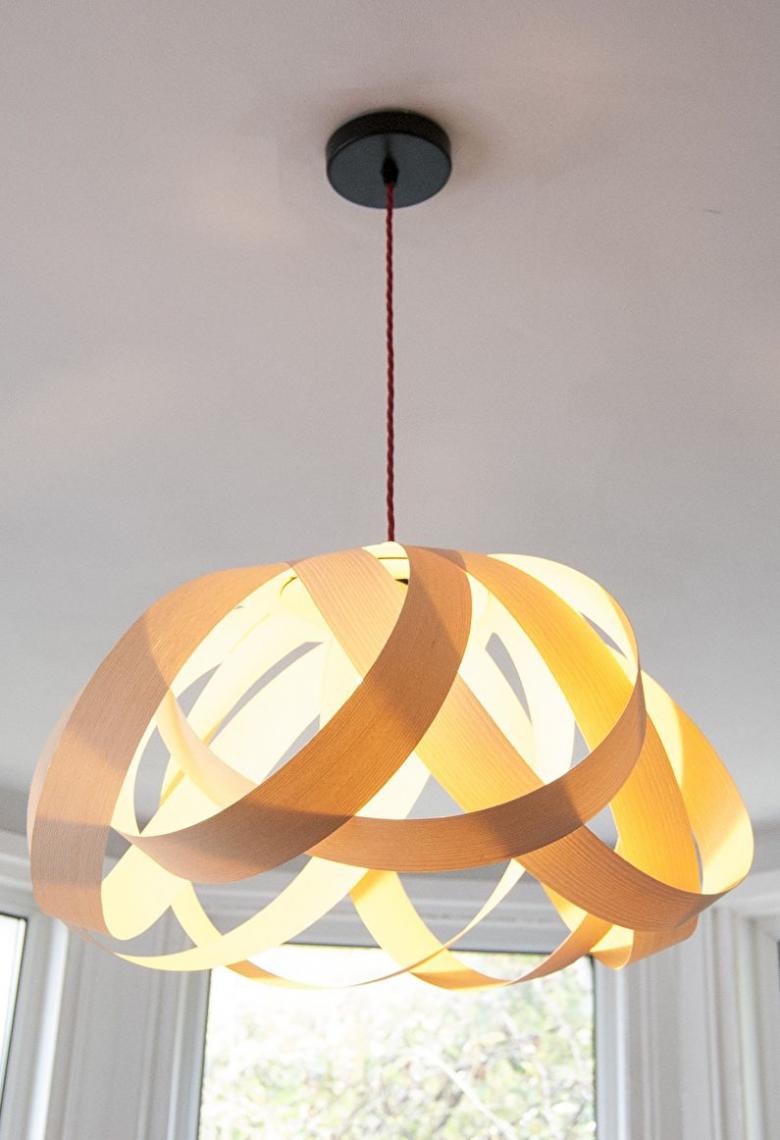
- As all the elements are glued together, they form a kind of bud of 6 triangular petals.
- Leave the staples to fix the glued elements until they are completely dry.
- At the top of the need to insert a cartridge. If it does not fit, draw a hole in the veneer, trim the excess and fix the element for the bulb.
- Then insert the hanger and fix it to the ceiling.
- Screw the bulb, and the chandelier is ready.
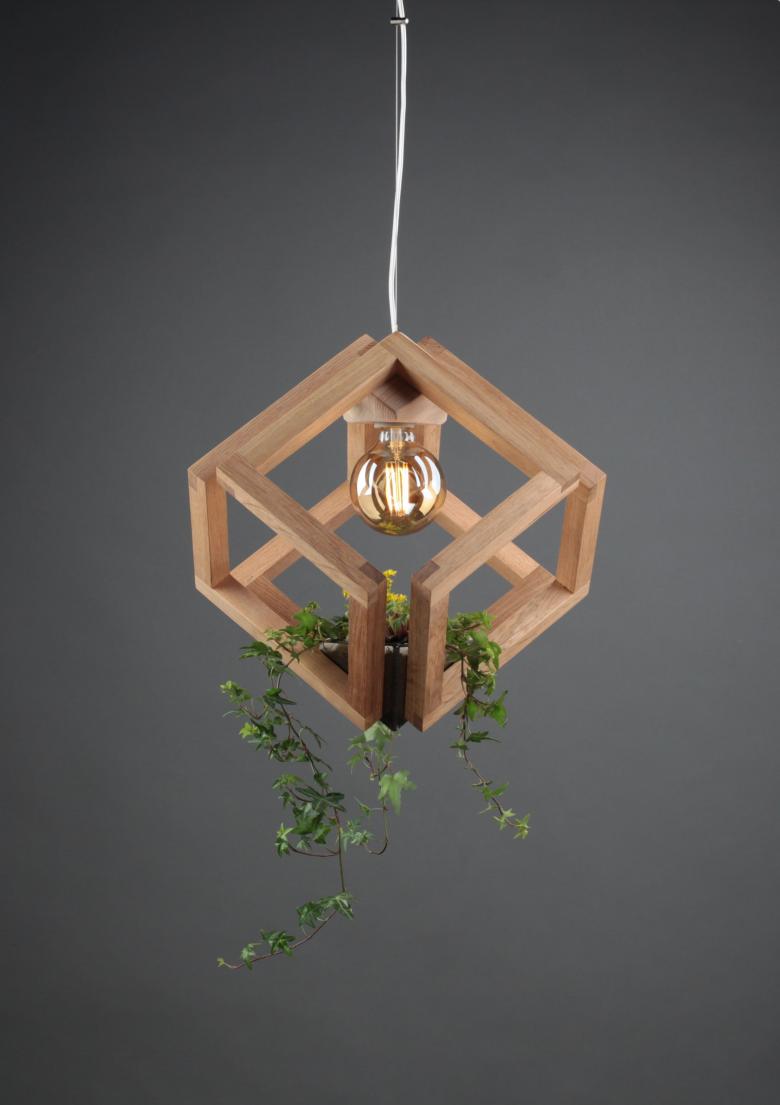
Such a chandelier made of wood with his own hands will fit perfectly into the interiors in the style of minimalism, art nouveau, art nouveau. If desired, it can be painted with acrylic paints, giving the desired shade.
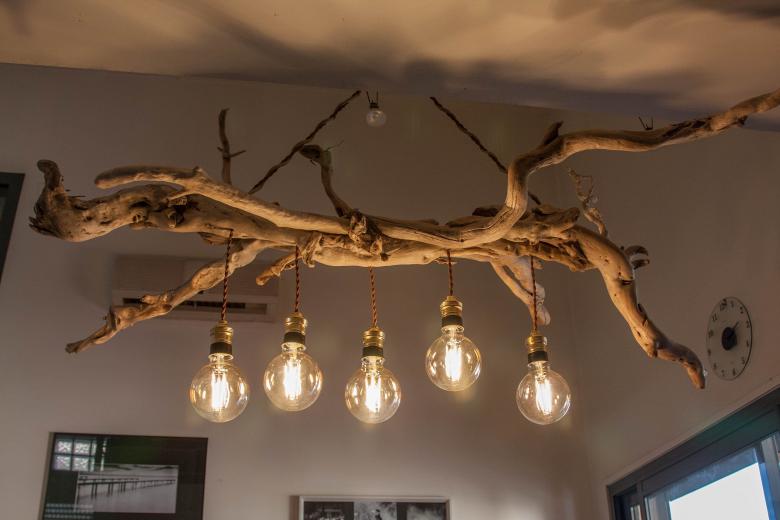
As can be seen from the description, there are a variety of ways to make a chandelier with their own hands. In order to implement many of them, you do not need special skills and abilities. Therefore, it is worth trying and experimenting.

