The Bird by hand - detailed master-classes of making crafts from porcelain, thread, origami and cotton disks
Any work that is done by hand - a positive effect on the development of creativity and motor skills. Therefore, adults and children are encouraged to spend time together for crafts. Now we are going to figure out how to make a bird with their own hands from hand-made materials for a contest or just to decorate the interior.
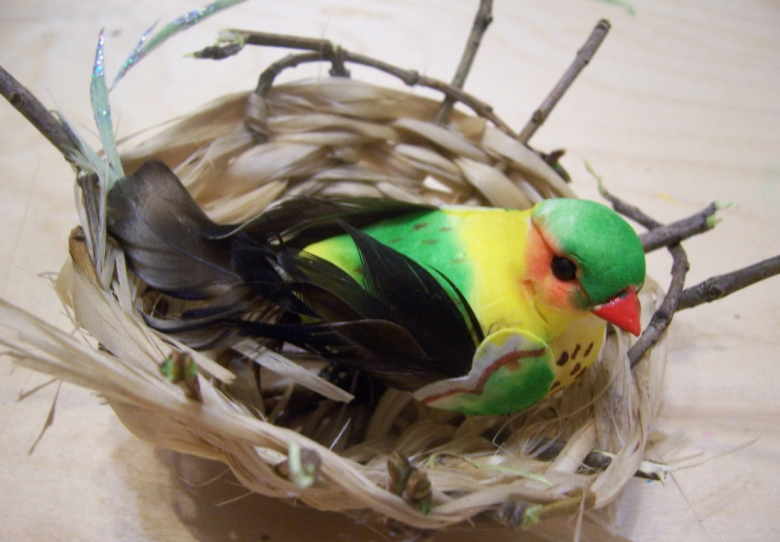
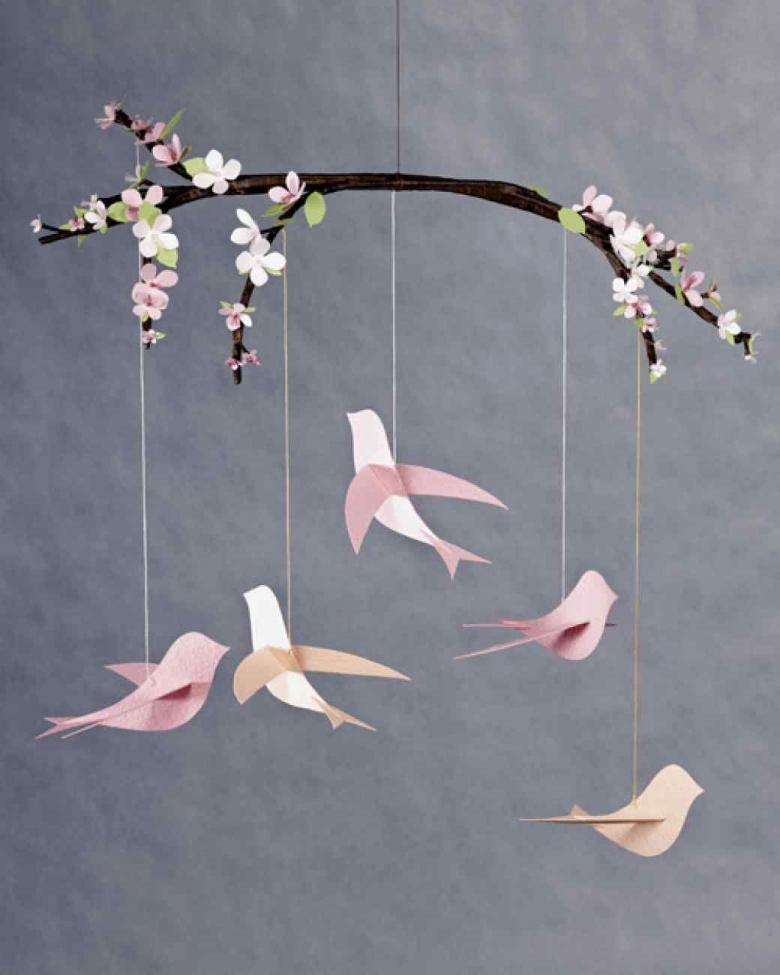
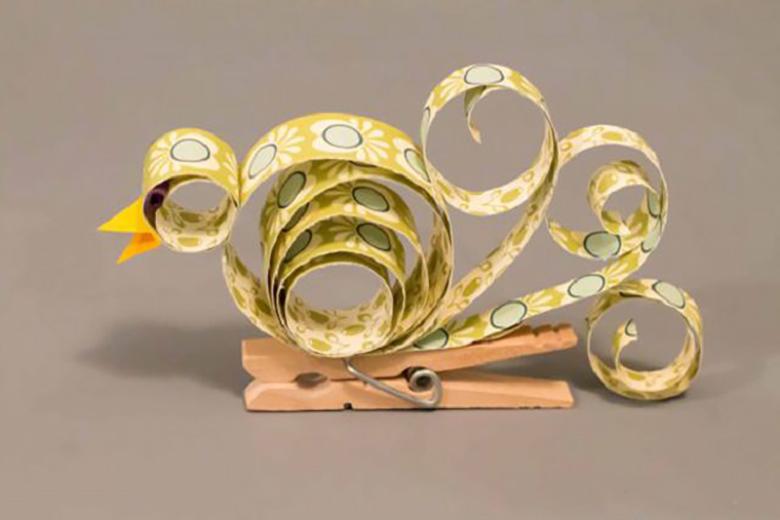
Making a bird out of paper
These are the materials that you will need to create a simple craft bird from paper:
- Cardboard paper.
- Scissors.
- Quilling paper or strips of colored paper.
- Paper glue.
- Markers and pencils.
- Template.
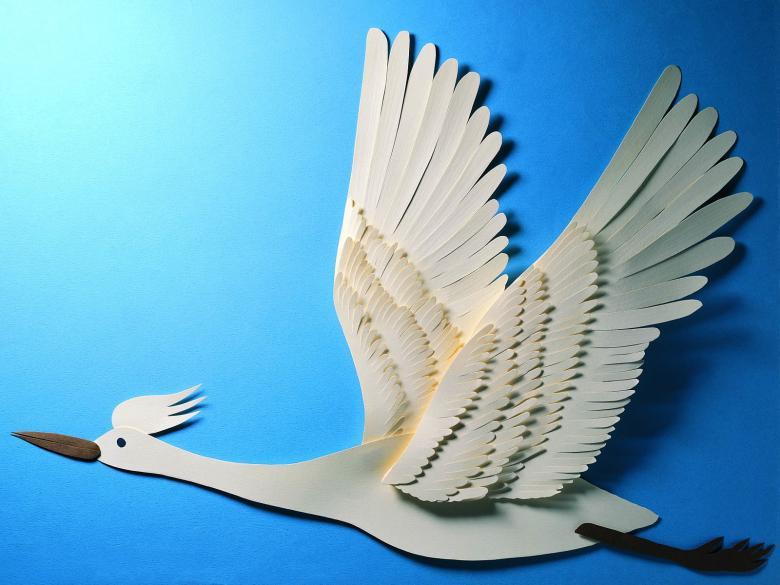
A brief instruction on how to make a bird from paper with your own hands:
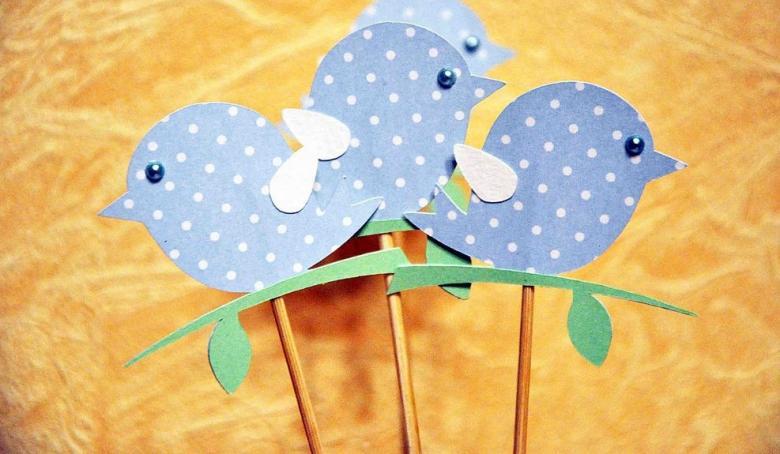
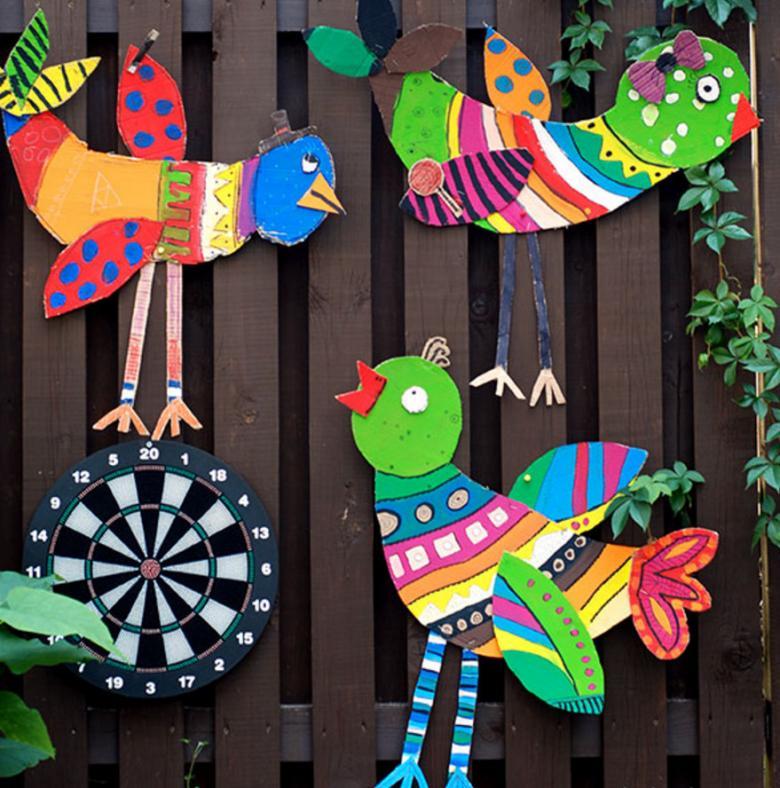
- According to a pre-printed template, you can make several versions of birds at once. To do this, the drawing is transferred to cardboard, and then cut out along the contour with ordinary scissors.
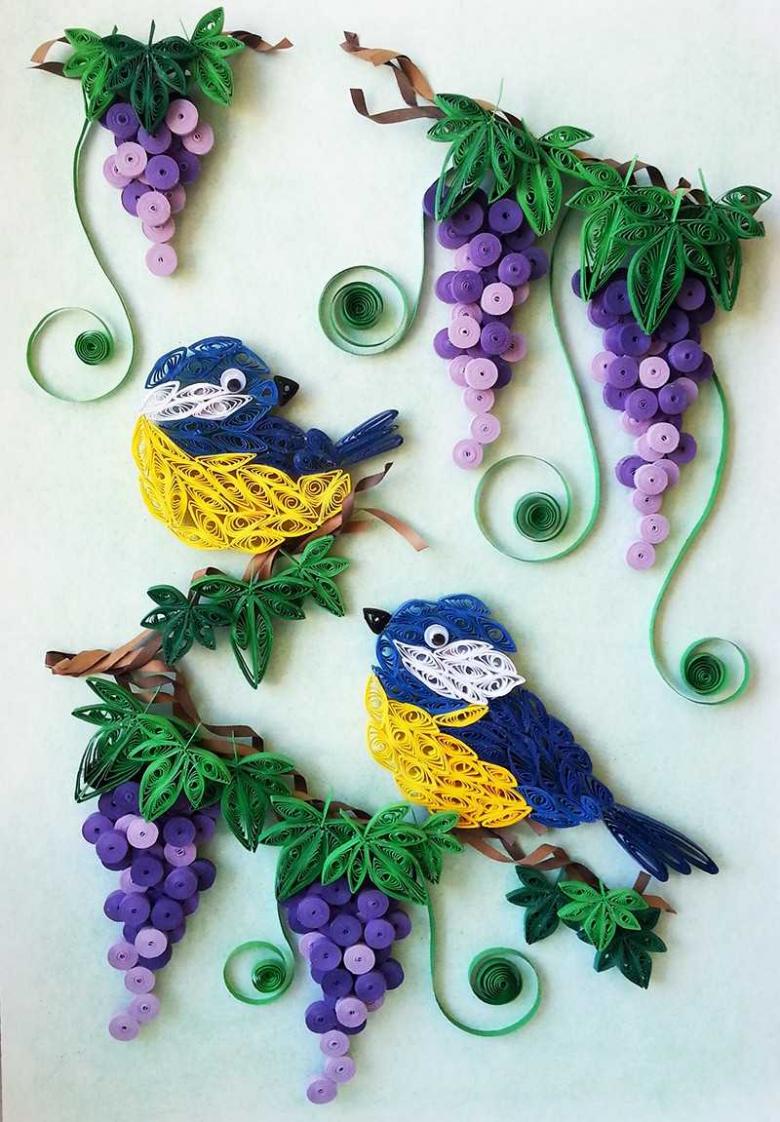
- Next, paper for quilling is taken, but any colored strips of 0.5 cm can be used.
- Then it is necessary to glue the very body of the bird from cardboard, also strips. This is done with the usual pencil glue.
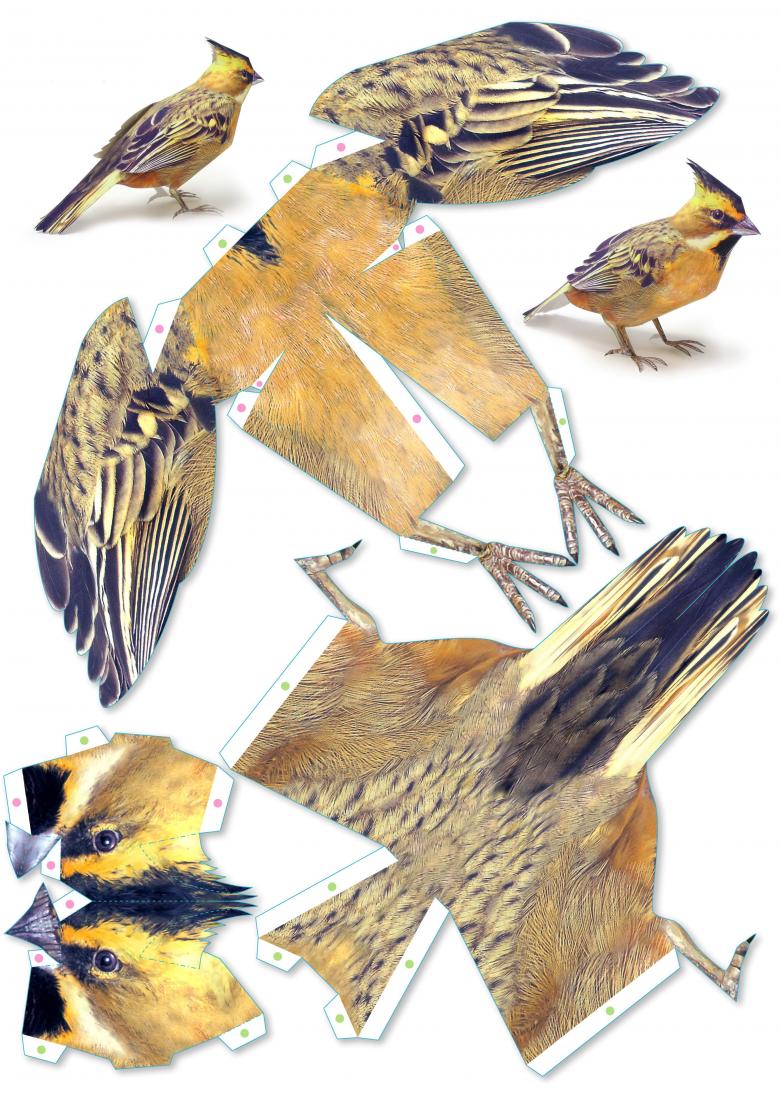
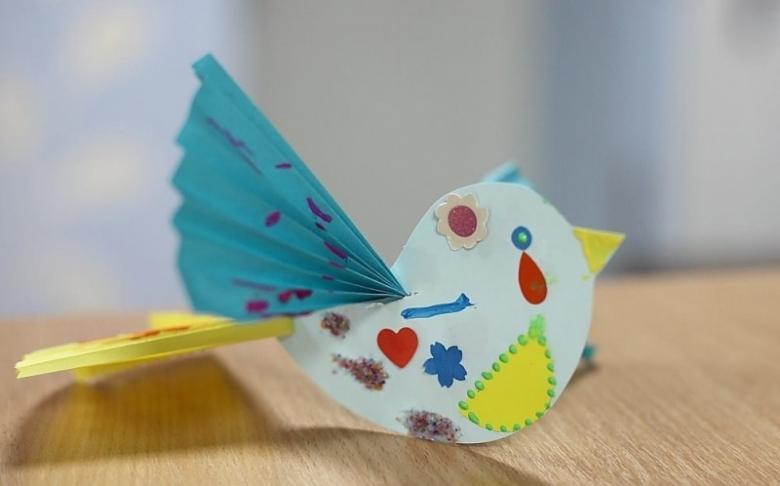
To make the handicraft look interesting, you can glue the strips (which act as wings) not all the way down. Then in any draught or wind, they will move. Use a marker to draw the details - eyes, dashes for the ears, etc.
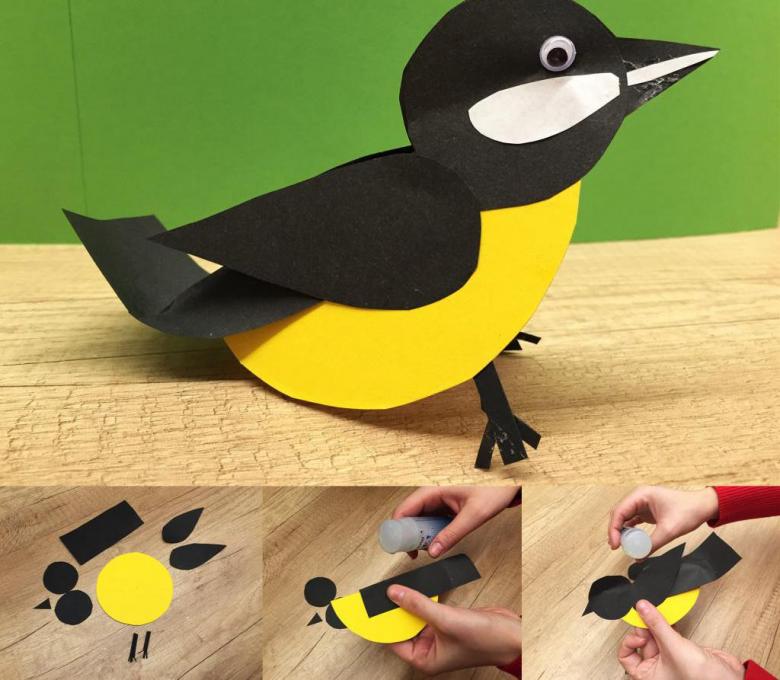
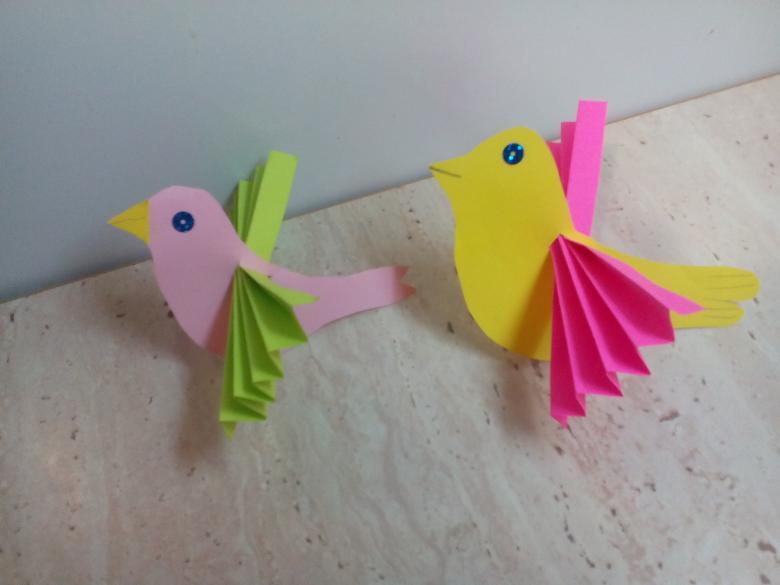
How to make a double-sided bird
This version of the work is suitable for the youngest masters, as there is virtually nothing to cut out. The creative process must necessarily take place under the supervision of parents. Brief instructions:
- To begin, the blanks are printed out. To do this, you will need a color printer.
- One bird consists of 3 main circles, which in diameter will decrease from the large.
- Then each piece is glued to each other, and then with the help of a ruler is folded in half.
- At the base of the bird you can glue wings of felt or even fabric.
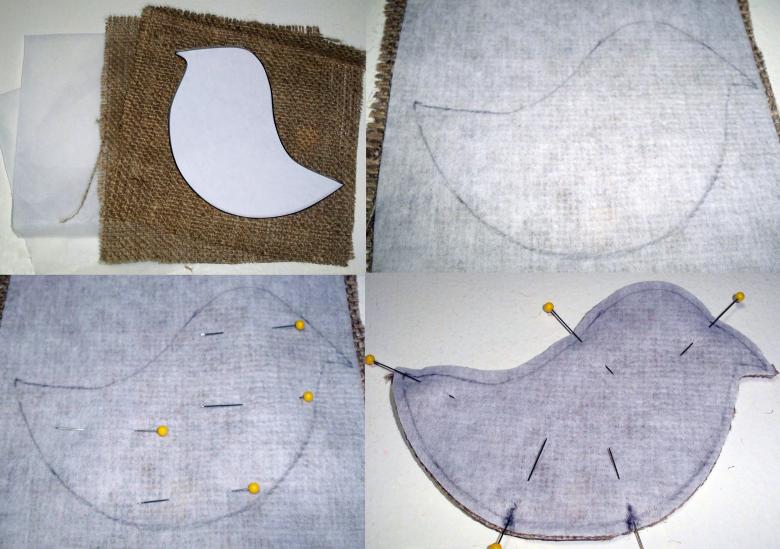
Then the eyes are drawn, separately you can glue a yellow beak. For such a handicraft takes no more than 10 minutes. From a number of such birds can make an entire garland.
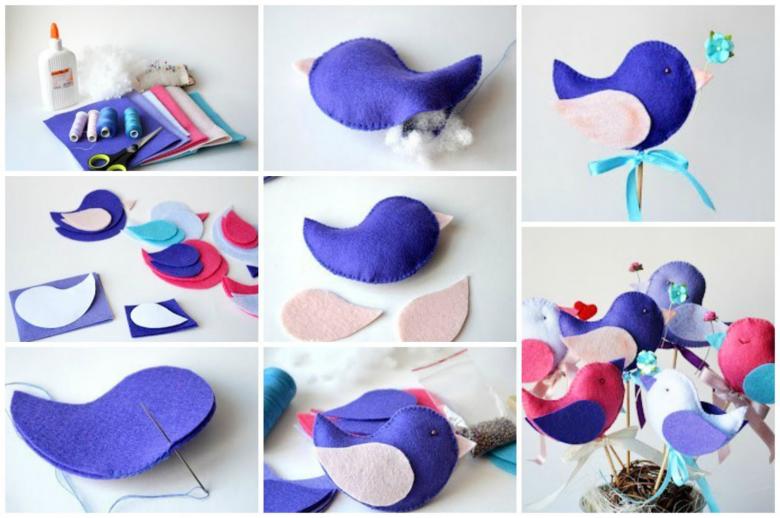
Bird - a Christmas toy
Some parents may still remember how many years ago there was a huge shortage. Christmas trees were hung with candy, fruit and products that could be made by hand. Today you can buy anything in the store, but the toys lack the interest and soulfulness.
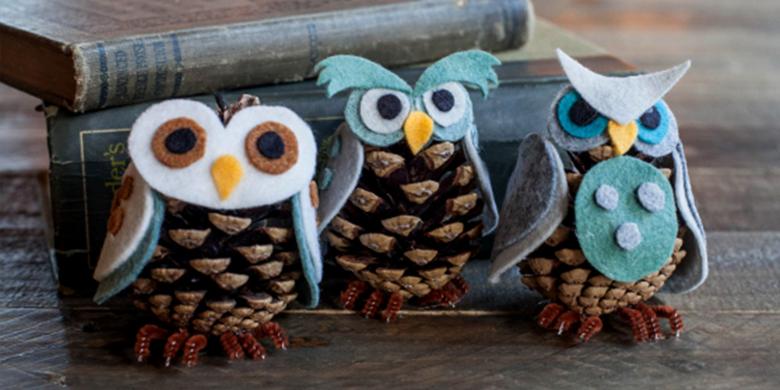
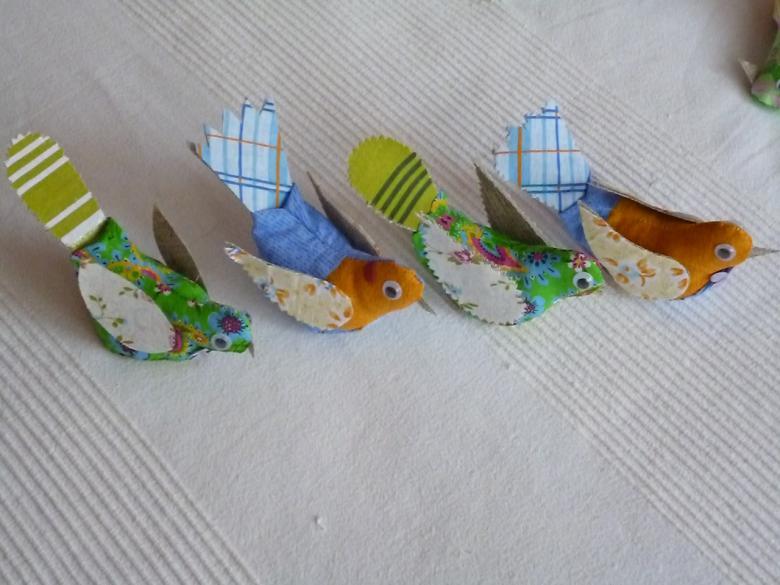
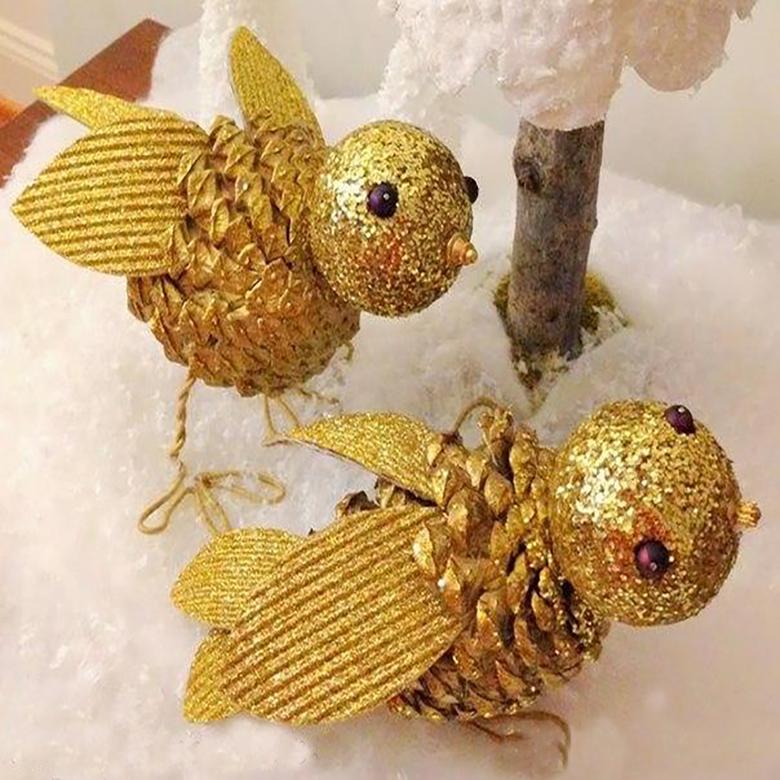
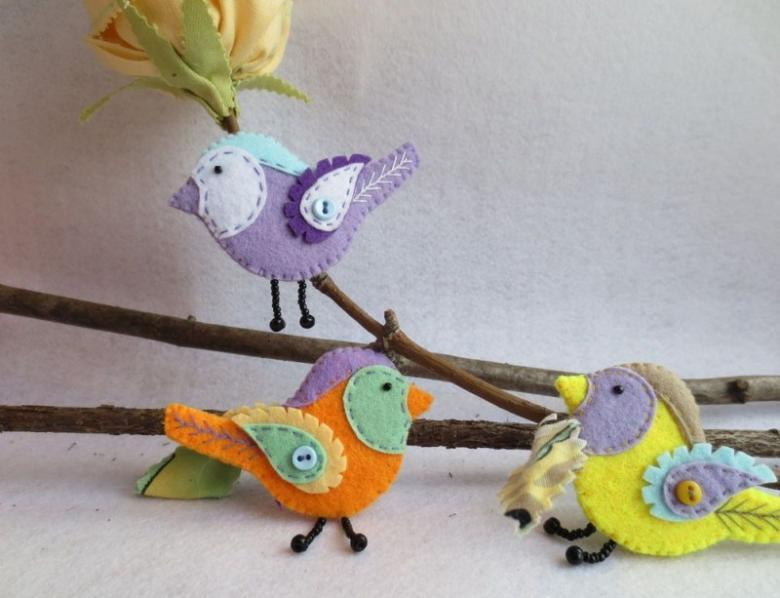
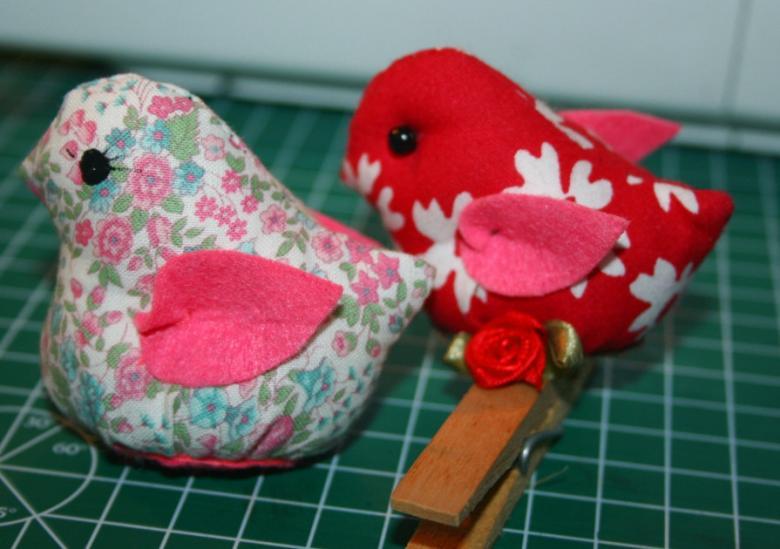
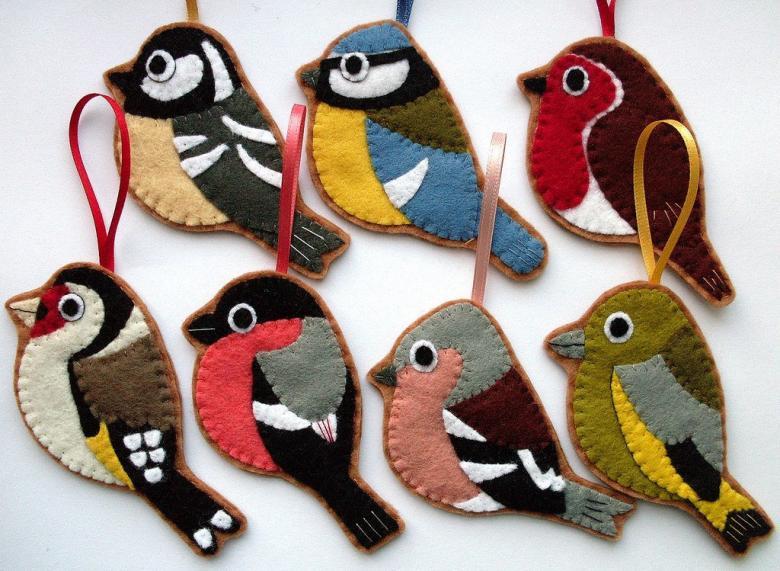
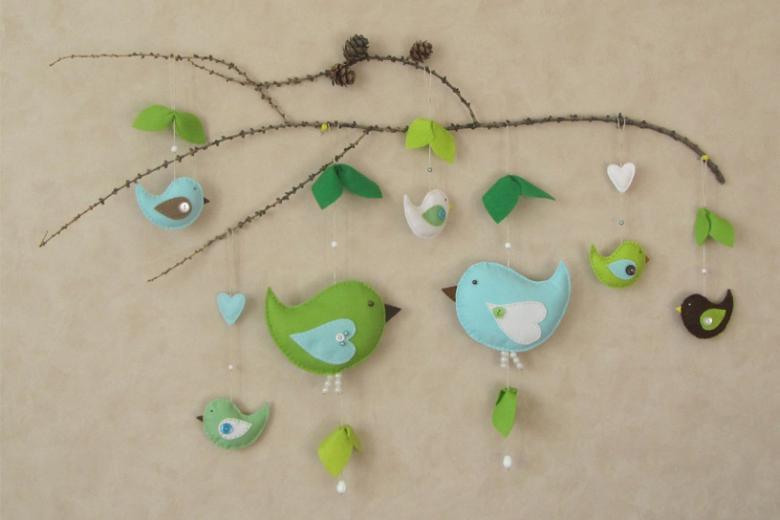
To plunge into childhood yourself, it is recommended to make with the kids Christmas tree toys in the form of birds from felt, or cones.
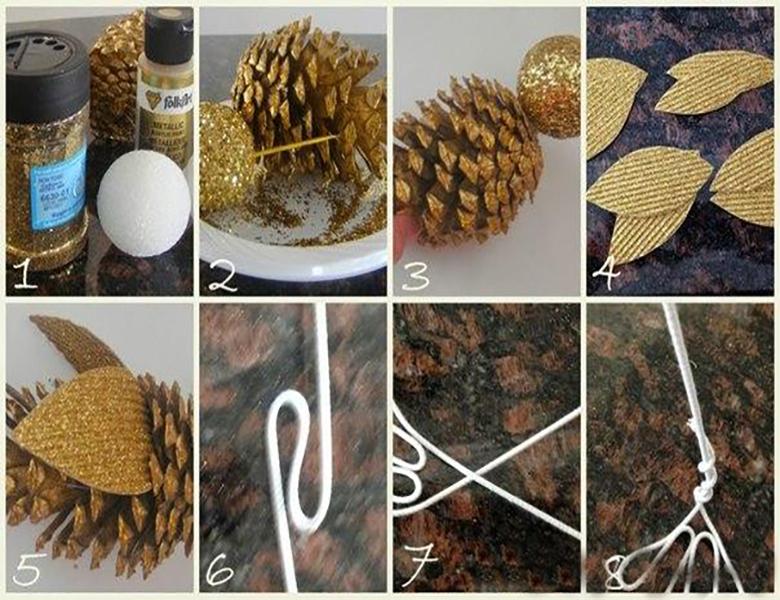
What you need:
- Several pieces of felt in different shades and colors. You can assemble the bird from leftovers, as it should be small in size.
- Next, find red wool threads.
- After that, you need to print out the pattern templates using a printer.
- The details are cut out, soap is transferred to the fabric.
- After that, trimming is done.
- Parts are neatly sewn together with threads.
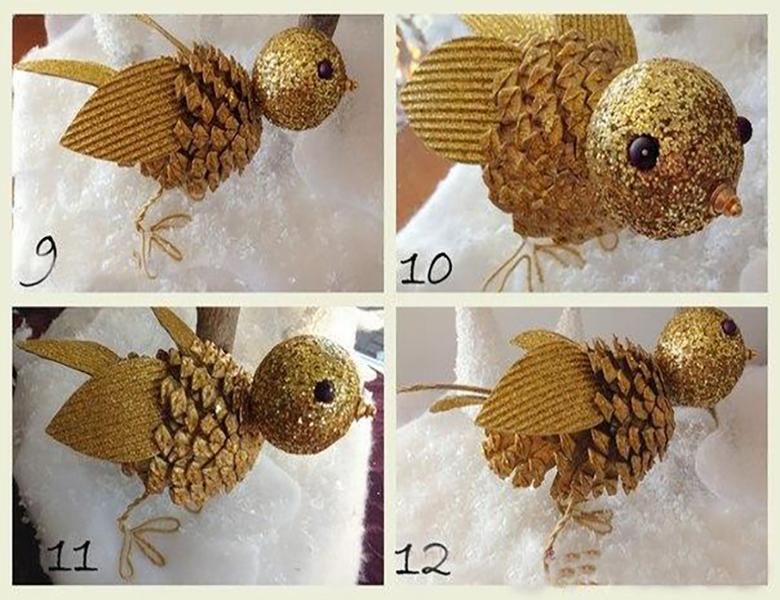
Such a toy can be used for many years, to make it look voluminous it is filled with padding or absorbent cotton. Using the same technology, you can make birds out of foaming paper with your own hands. This foamy material will withstand any load, even if it will be sewn with threads. It feels reminiscent of the felt itself.
Making a bird out of porcelain
If the use of ordinary polymer clay is bored, you can also plunge into childhood and teach children to make handicrafts from cold porcelain. Such an activity is suitable for schoolchildren who are interested in creating something unusual. The recipe for porcelain at home is very simple:
- First, you need to find any pan with a non-stick coating. It will not deteriorate in the course of work, it can be easily washed.
- Next, you need to find 1 cup of starch, add a tablespoon of cream to the mixture, then tuck everything in with PVA glue (1 cup) and 1 tbsp of glycerin (available at any drugstore).
- Everything is placed on a low heat and stirred until homogeneous.
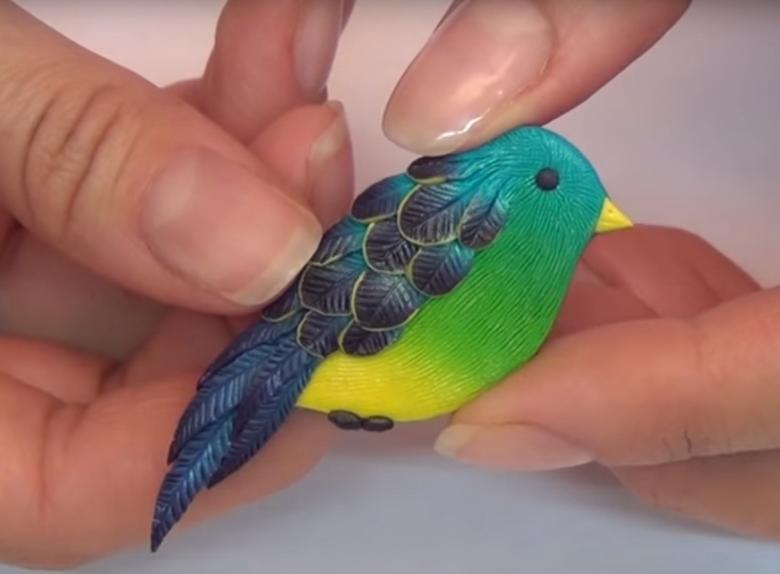
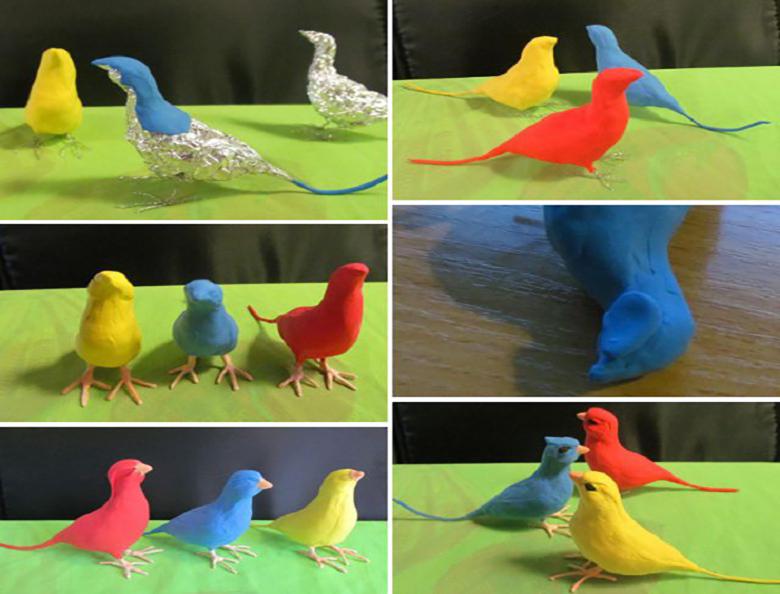
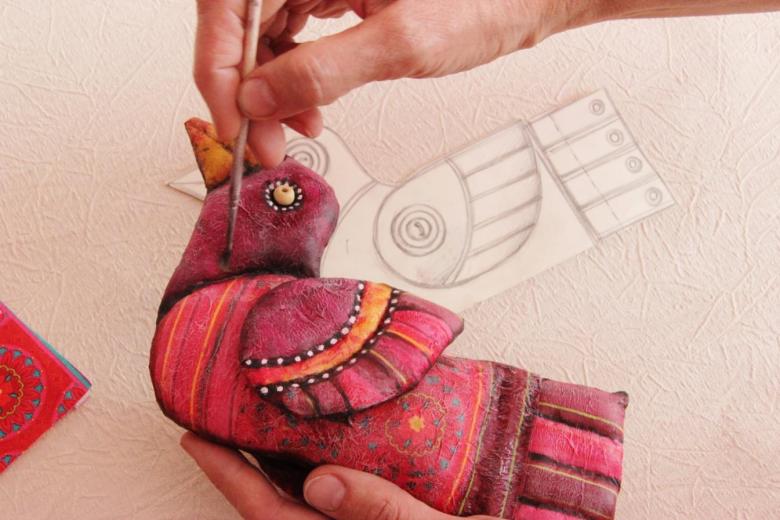
Then the mass is taken out, it is necessary to let it cool a little. After that, it is fully ready for modeling. It is better to work with gloves on. The bird is modeled as with ordinary clay, first the body is formed, then the head and the beak. After drying, you can carefully cut out the wings with a knife. Such a toy would look very expensive in any interior.
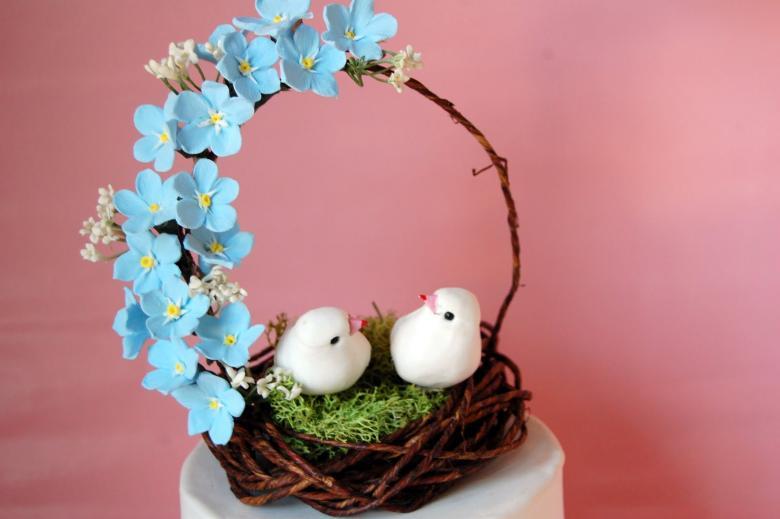
Alternative recipe
In many cases, masters get a mass that quickly gets covered with cracks. This often depends on the quality of starch and PVA glue. There is another option, which will help in cases where the mortar begins to crumble in the hands:
- Another spoonful of glycerin must be added.
- Then in the total mass add a few spoons of dissolved citric acid (not juice).
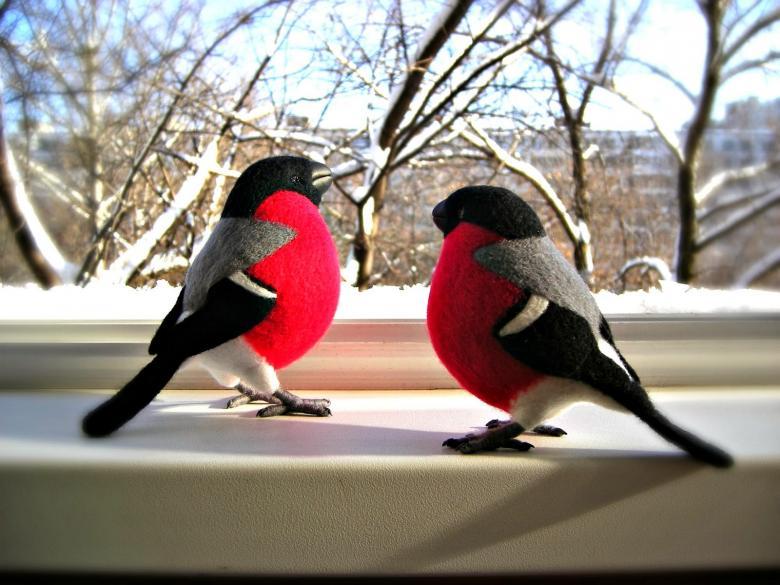
It is very difficult to paint porcelain afterwards, because you need a special glaze. However, by adding a little dissolved food coloring, you can create really beautiful objects.
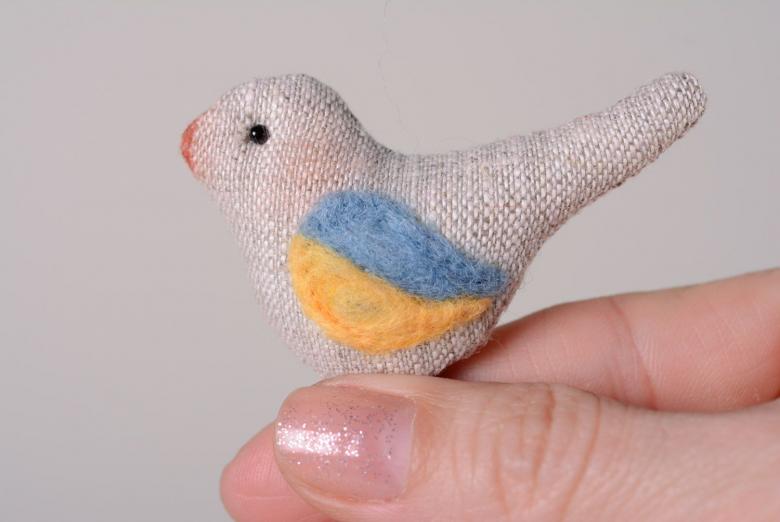
Making a bird out of thread
This option is suitable for the youngest, but you need to do it under the supervision of adults. A bird from threads with their own hands step by step:
- It is best to use ordinary woolen threads, they look more voluminous.
- You will also need a small amount of absorbent cotton or foam rubber.
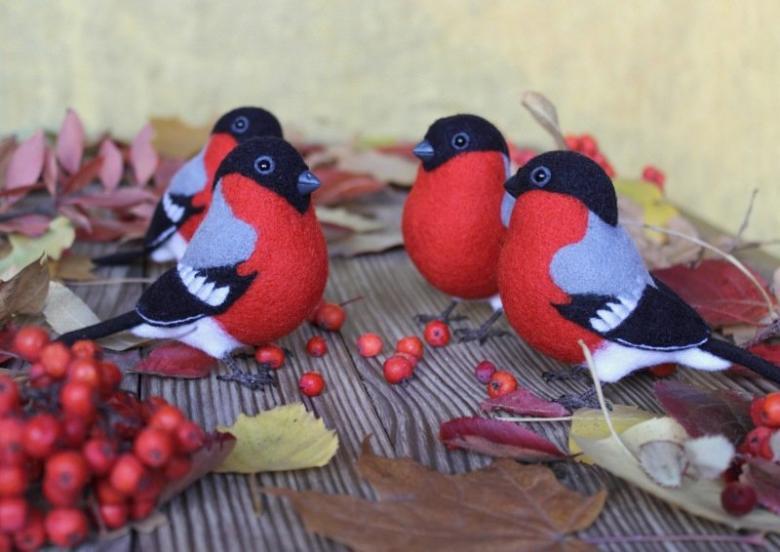
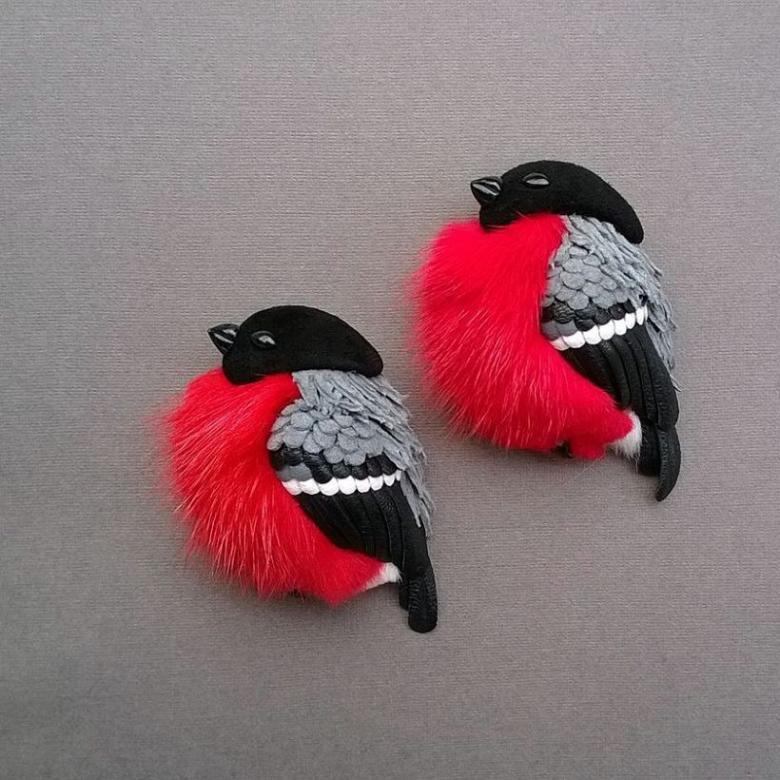
- To work you need 3 small skeins of different colors. For example, if it will be a bullfinch, you need white, black, and red.
- Then each color is wound on a piece of cardboard. Afterwards, it is cut so that you get the same threads.
- They are folded into a bundle, using knots to pull each other over.
- In the center is placed foam rubber for volume.
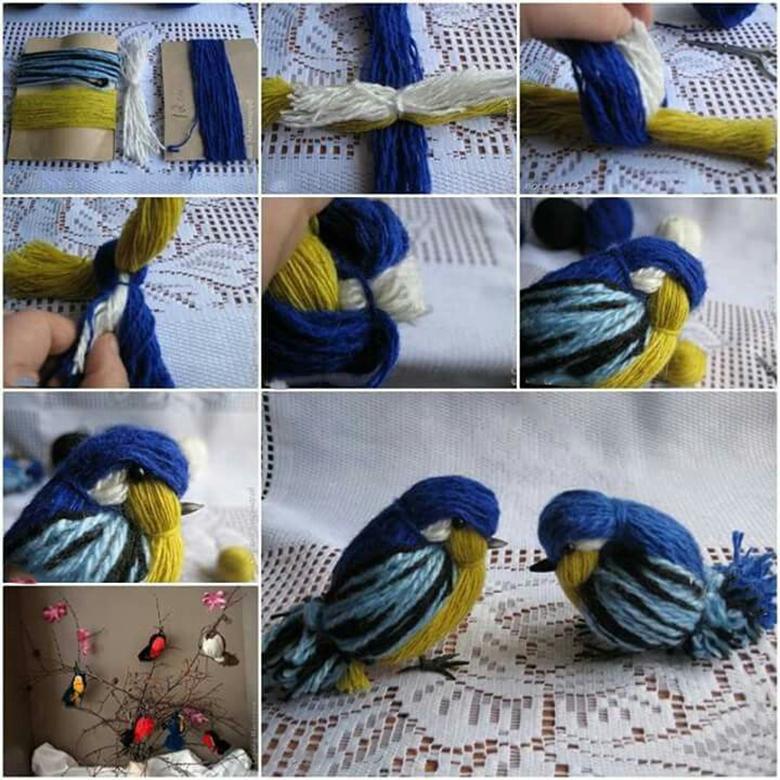
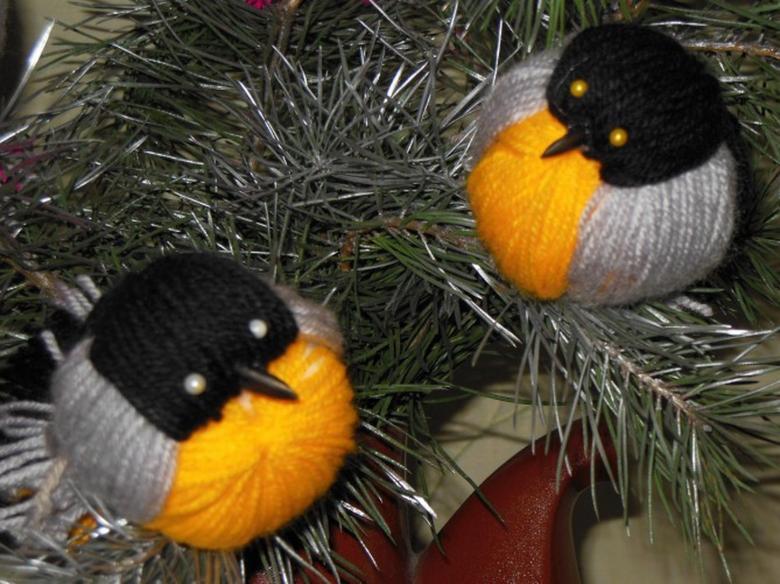
Such a bird can even be worn as a keychain.
Making origami bird
This is another option of how you can make a bird from paper with your own hands for children. The instructions are very simple:
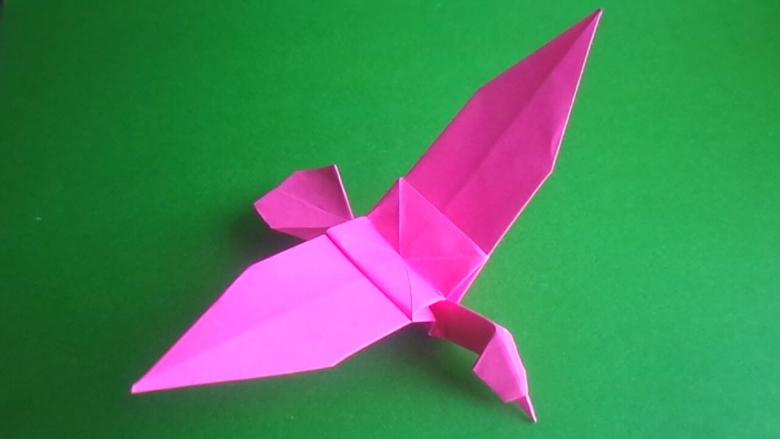
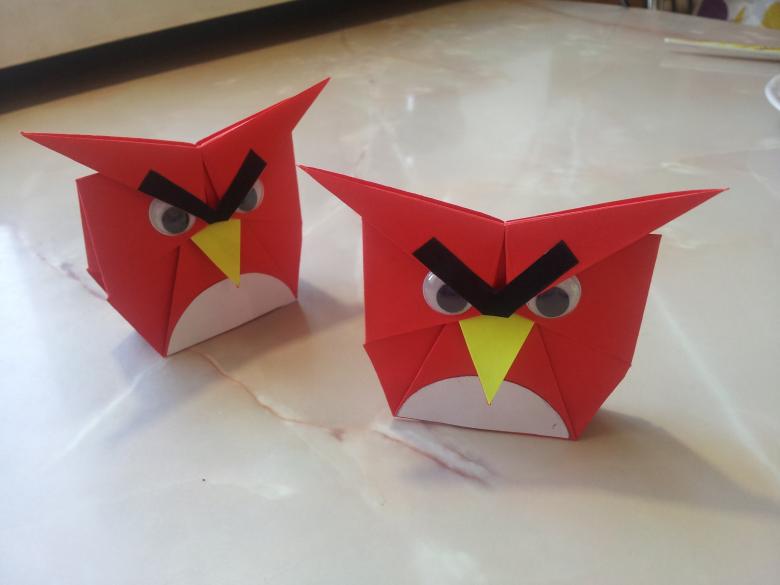
- To create a beautiful dove, you will only need a square sheet of paper and a black marker.
- First, the sheet is folded diagonally.
- Then the resulting triangle is folded in half.
- Then the top corners are bent up.
- Turning everything over, the bends are repeated on the other side.
- Further design unfolds as in the technique of the ship.
- Internal fold is formed.
- Corner bend upward again.
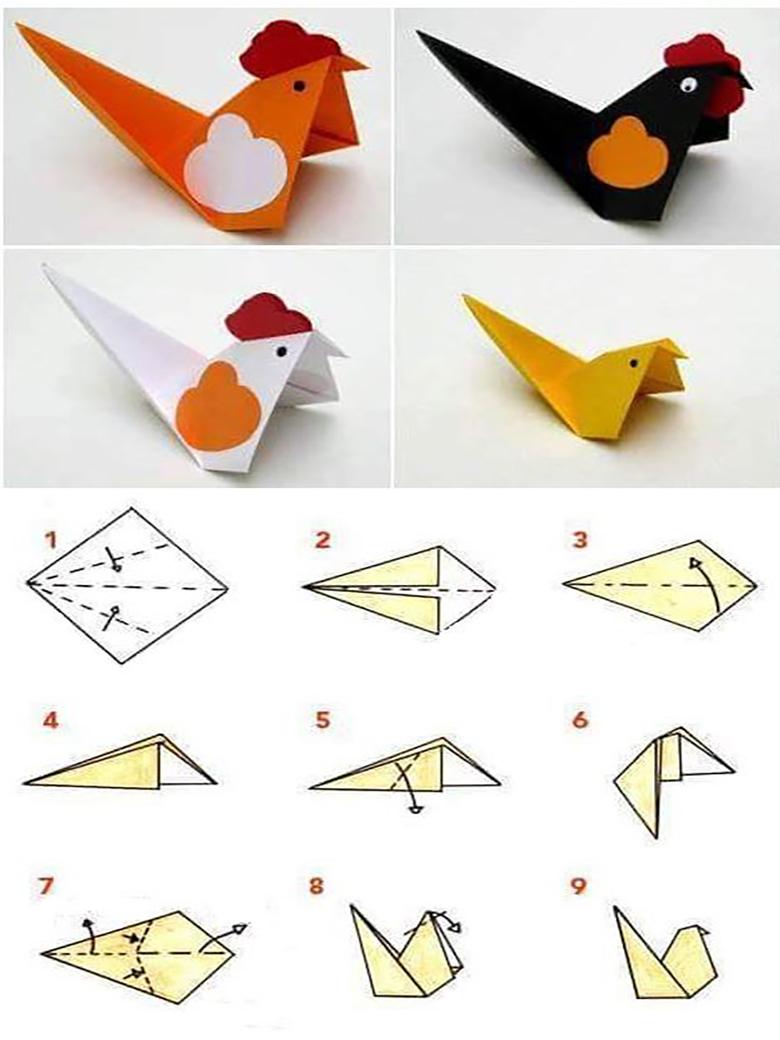
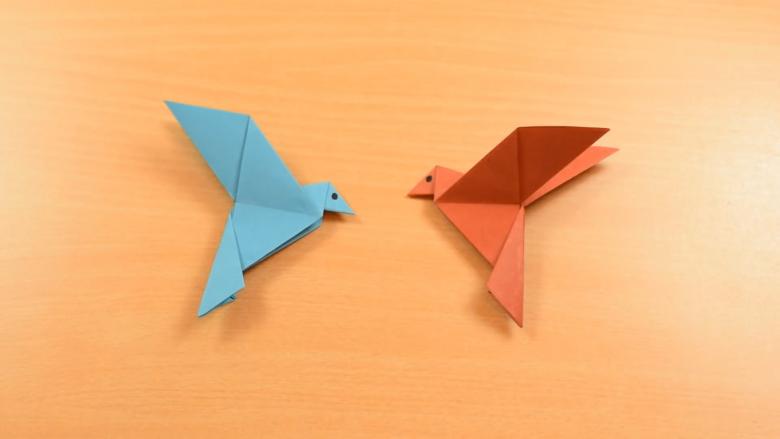
After that the construction is unfolded from the side, and the pigeon has a wing. The head in this scheme is not very similar to itself, but using a marker you can finish drawing the eyes and make the beak more pronounced.
Birds of absorbent cotton disks
This is one of the simple options that is suitable for the youngest. Here it is not necessary to print out anything, all the necessary materials are at hand. Here are simple instructions:
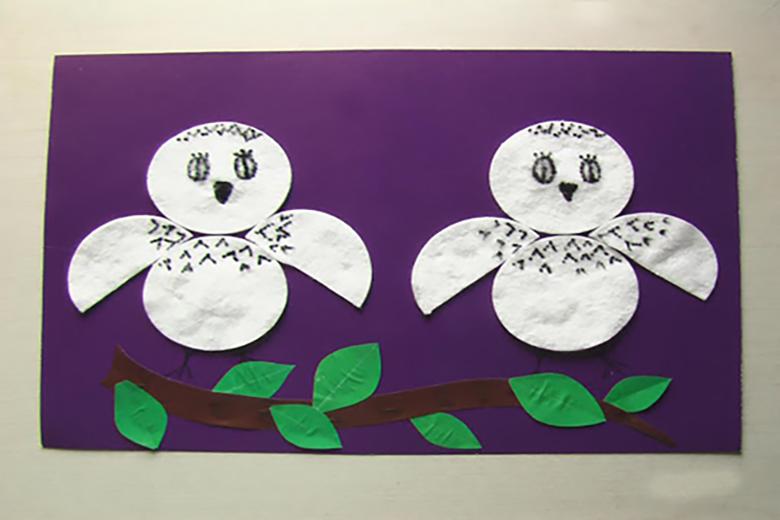
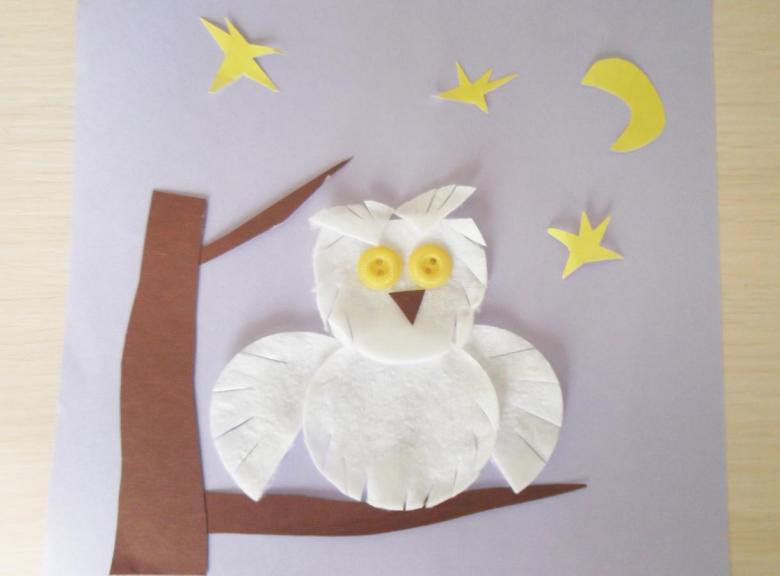
- First, a watercolor background is drawn on a thick sheet of paper. The sky and a twig from the tree are added.
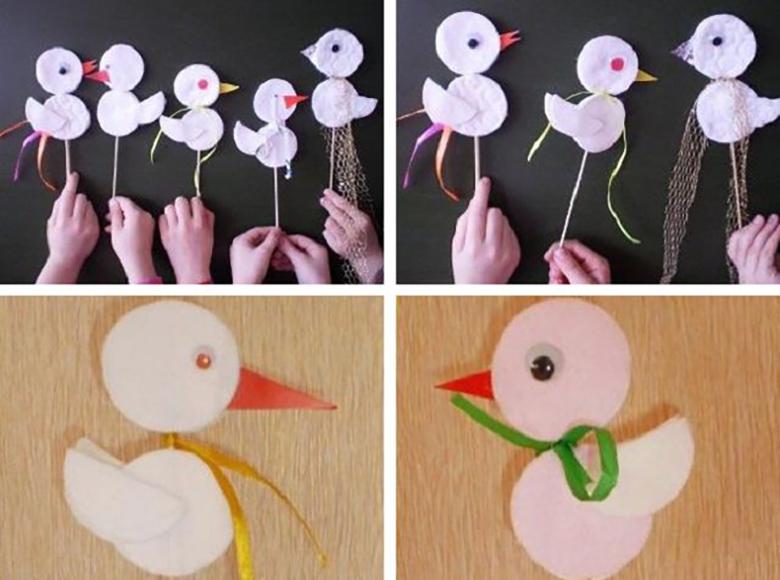
- After that, two cotton disks are taken, connected to each other on the sheet with glue. Next, another disk is taken, it is cut into two parts - these are the wings.
- After that, you can add eyes and a beak, which are also made from improvised materials.
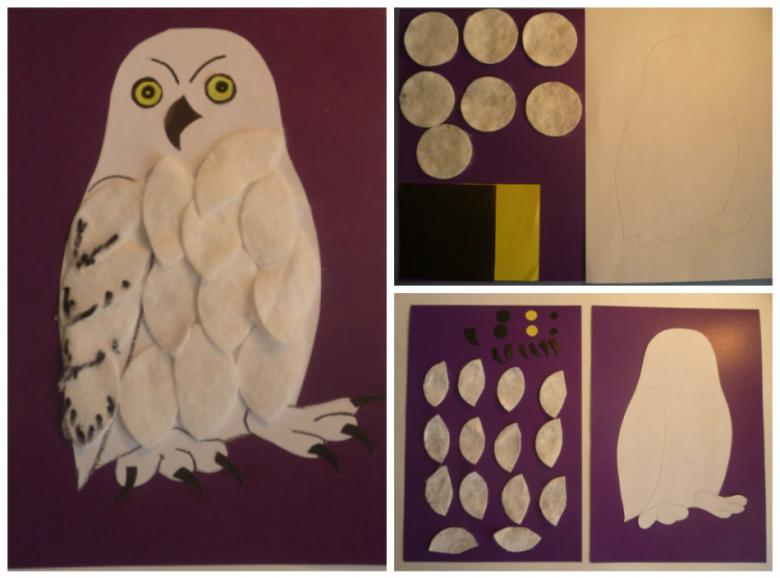
This cute work can be done even by a child of 2 years old. To glue the parts, it is desirable to use glue-pencil.
