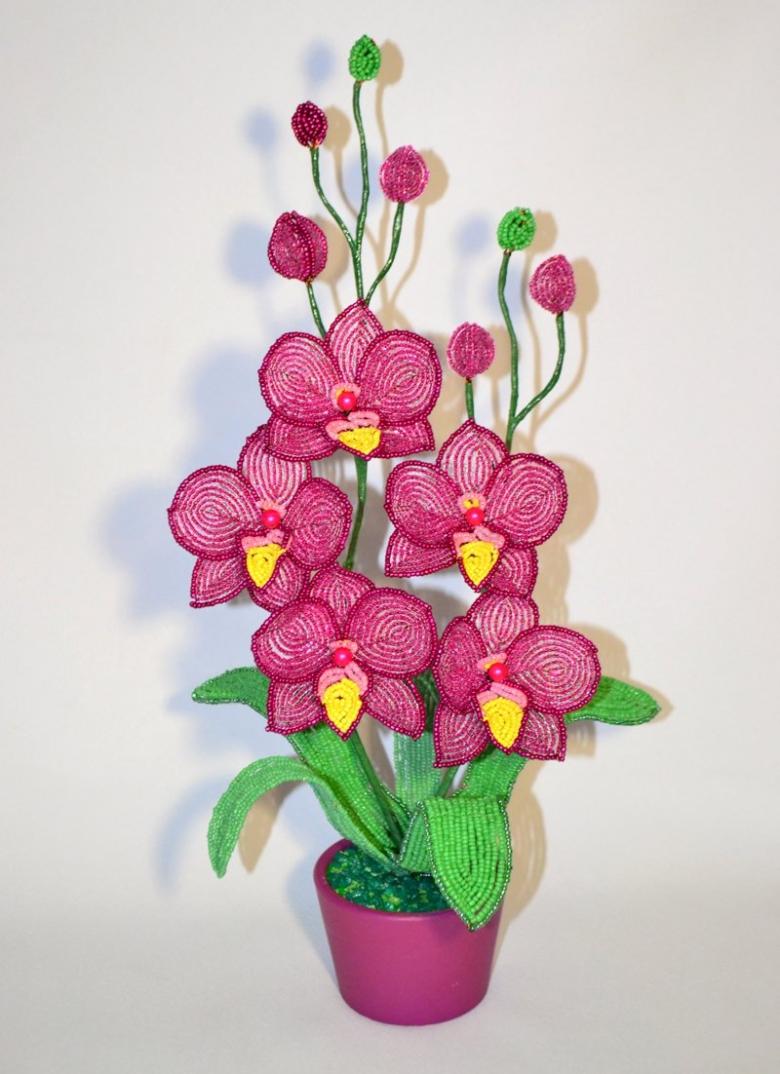
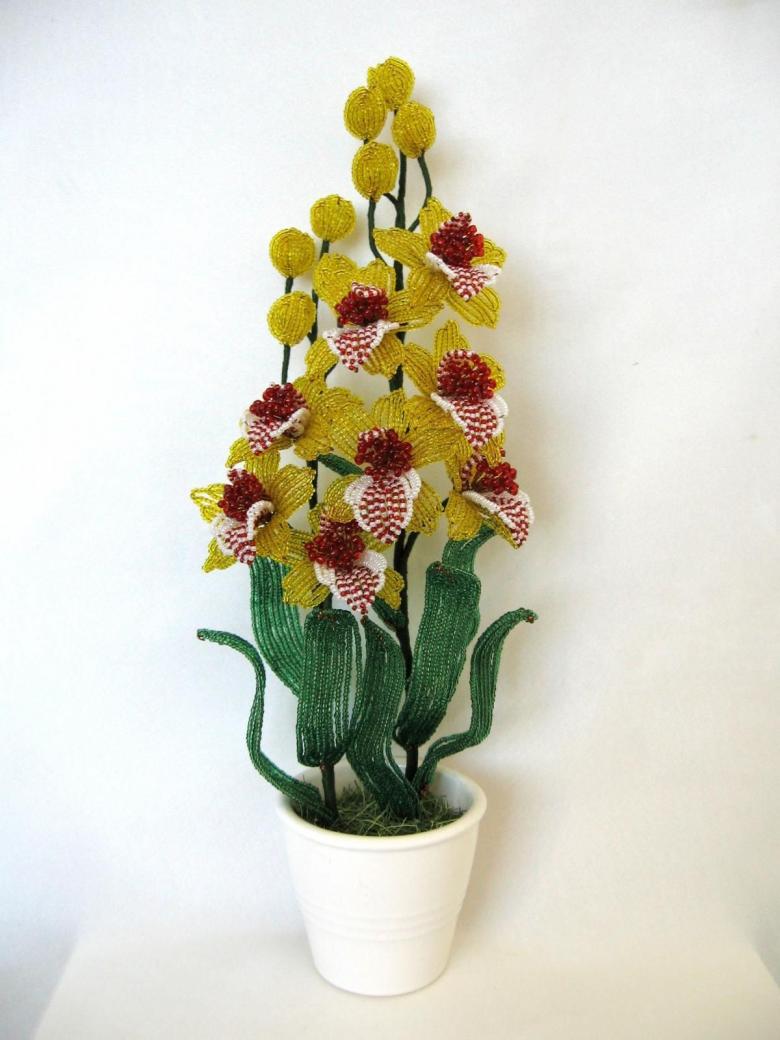
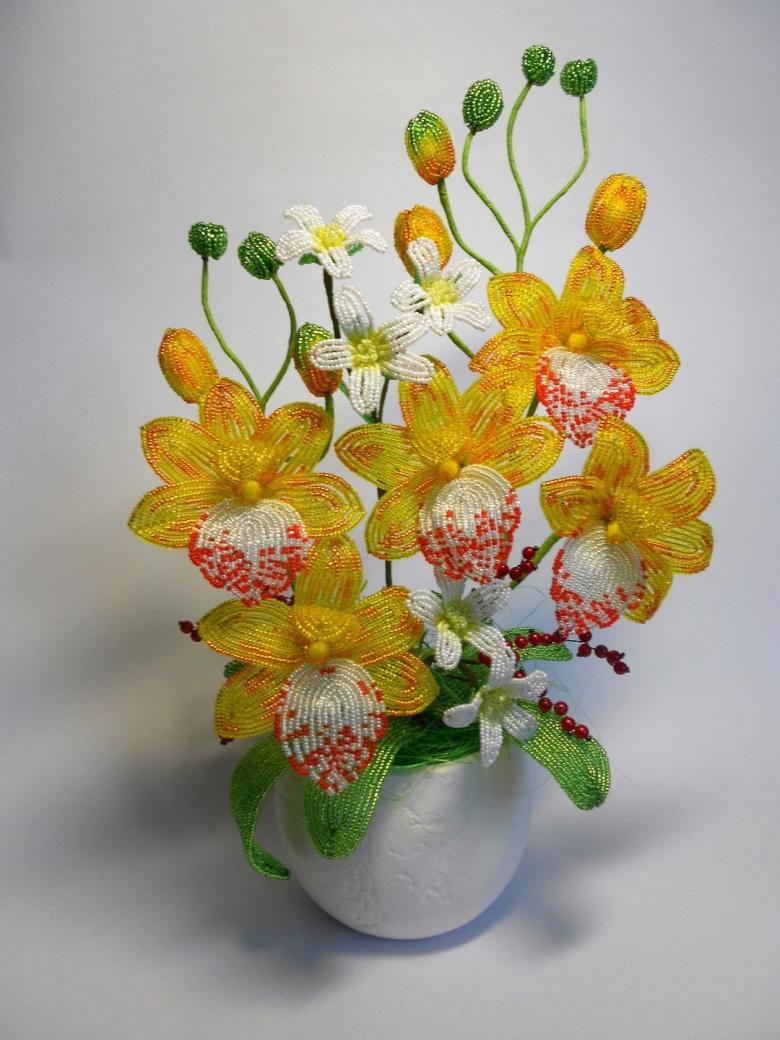
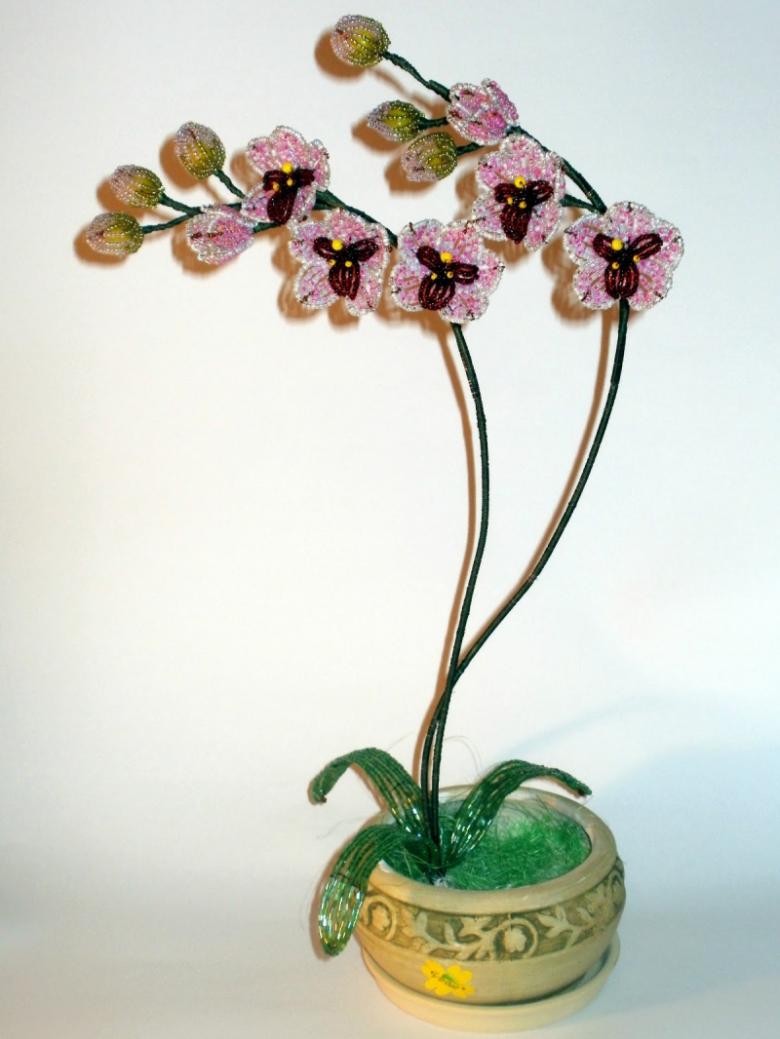
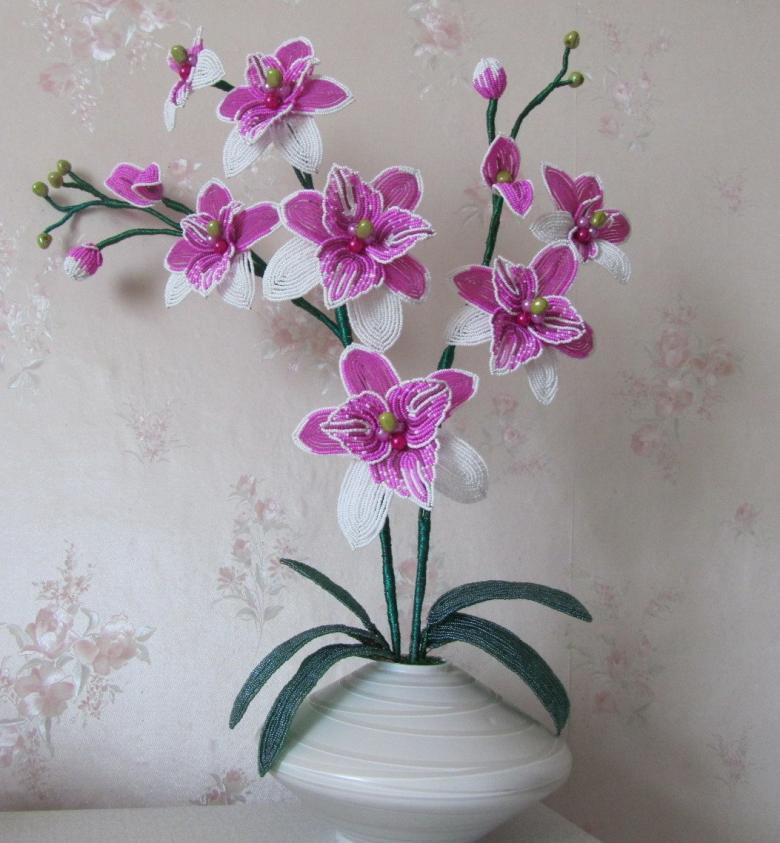
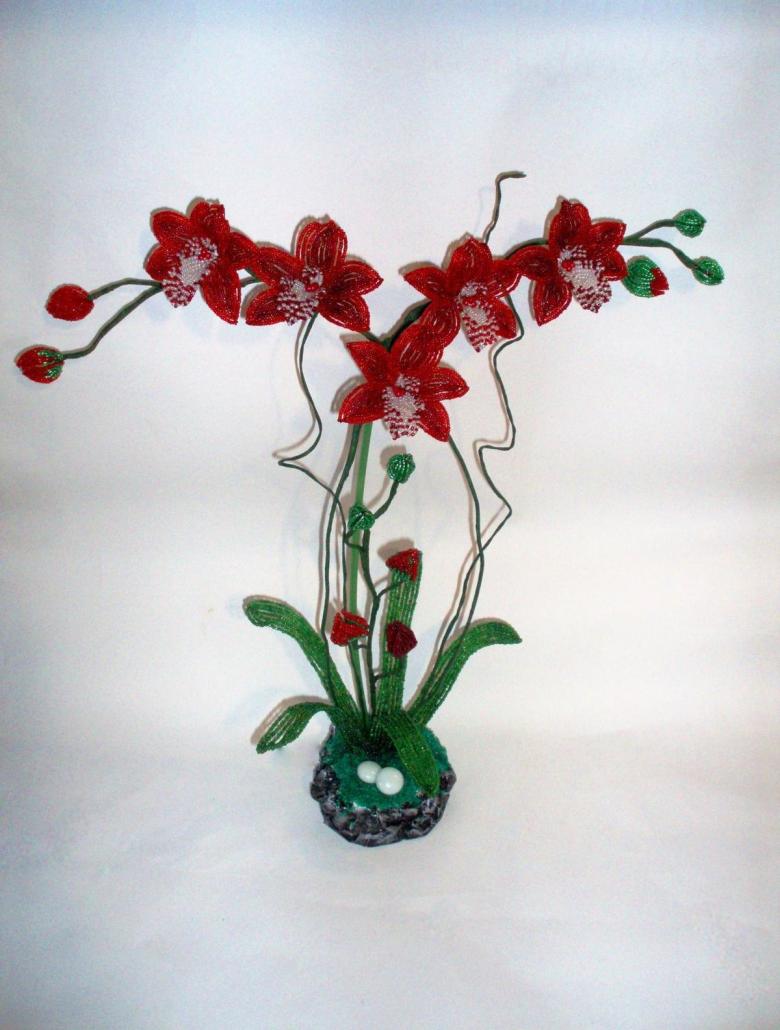
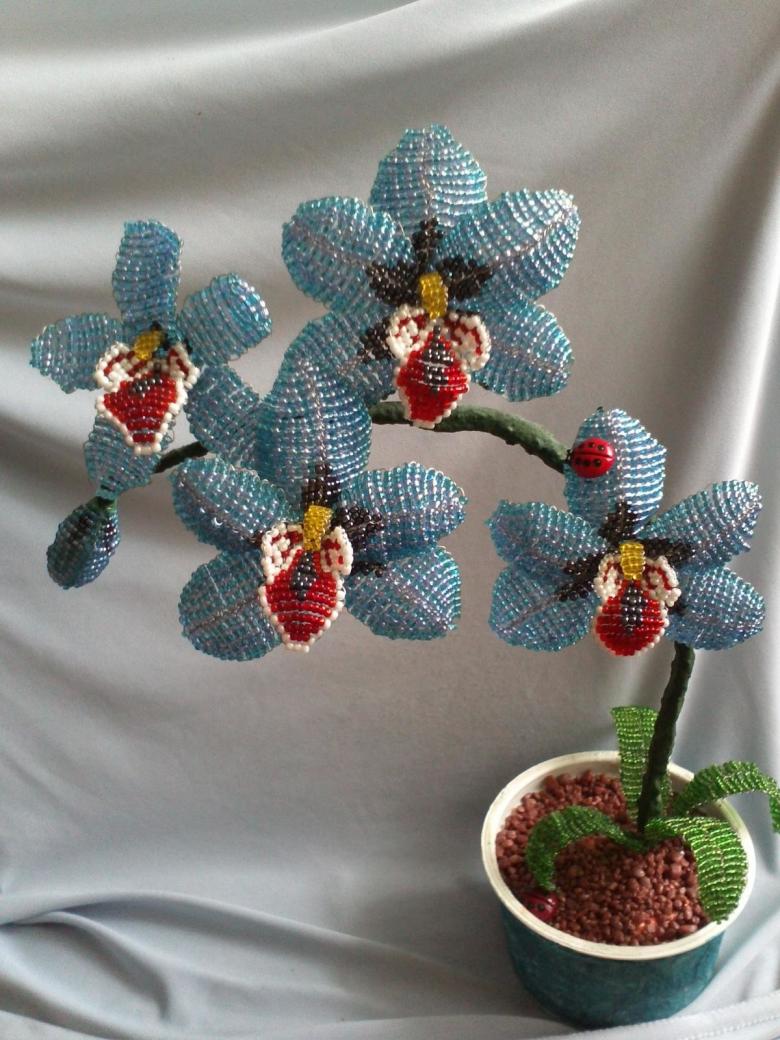
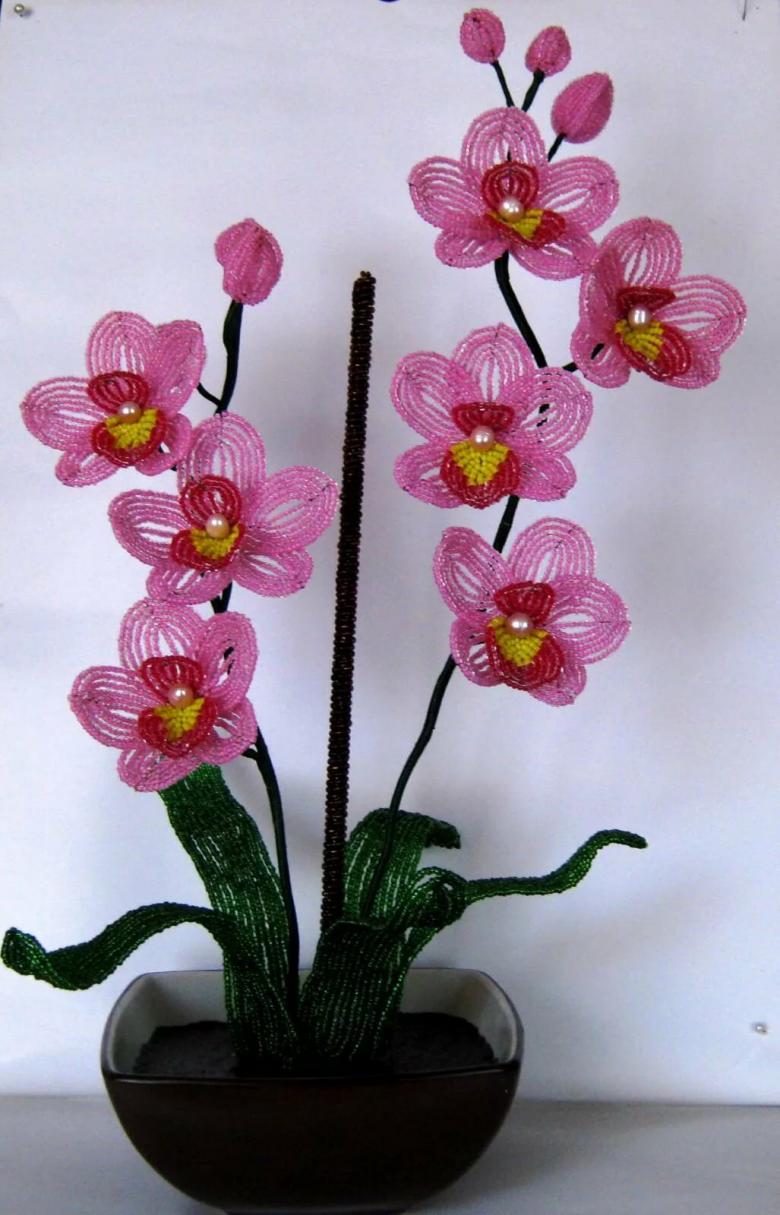
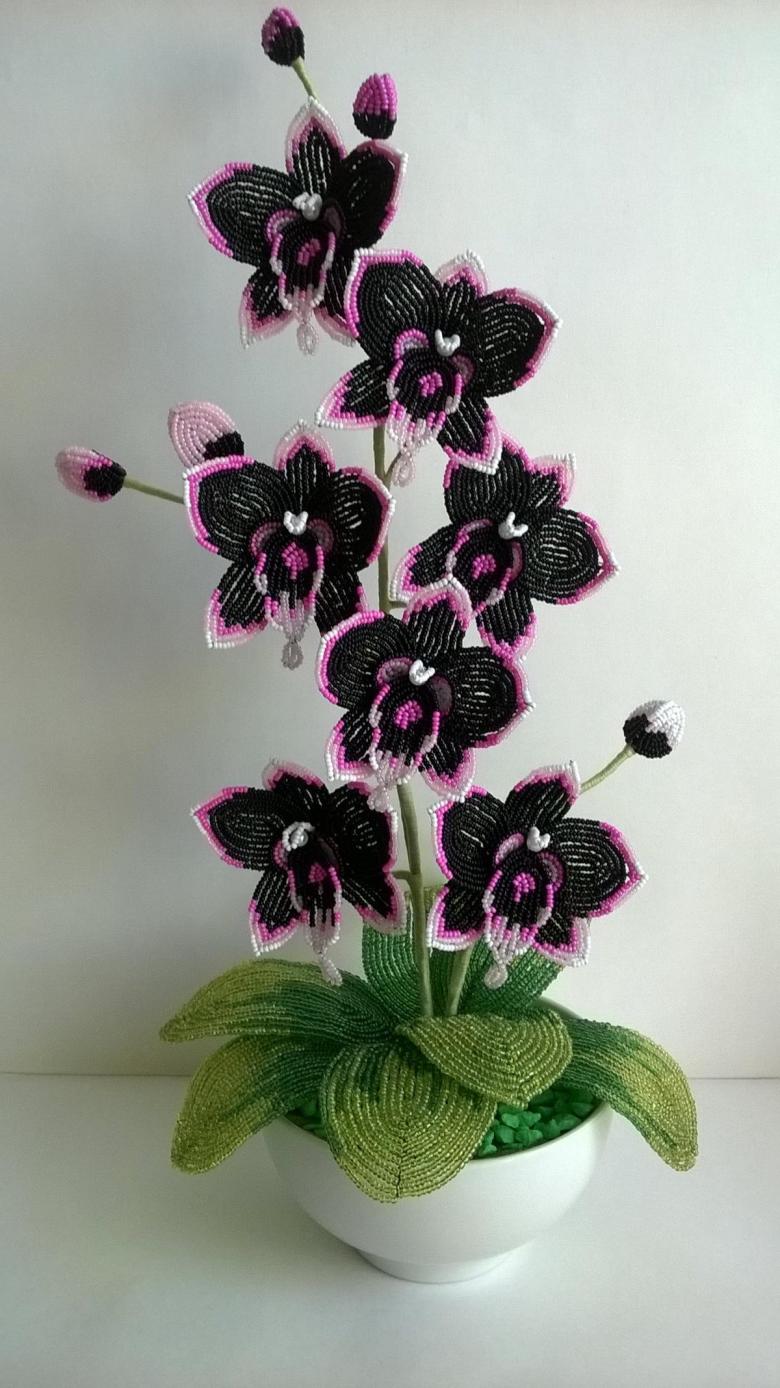
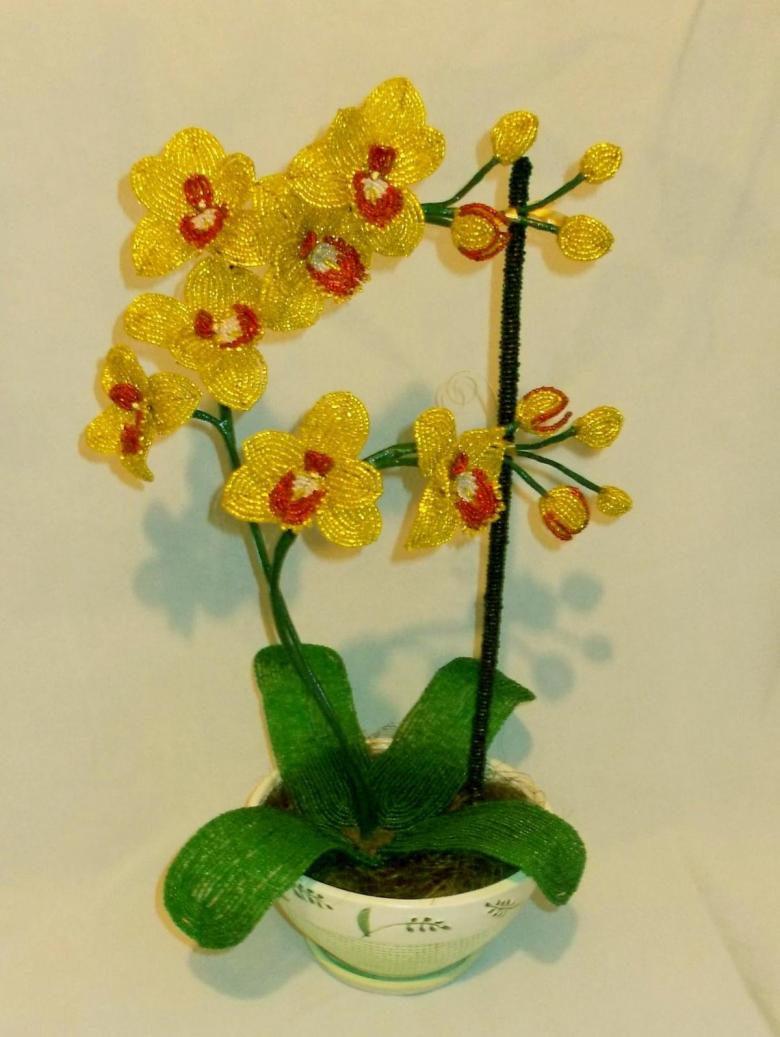
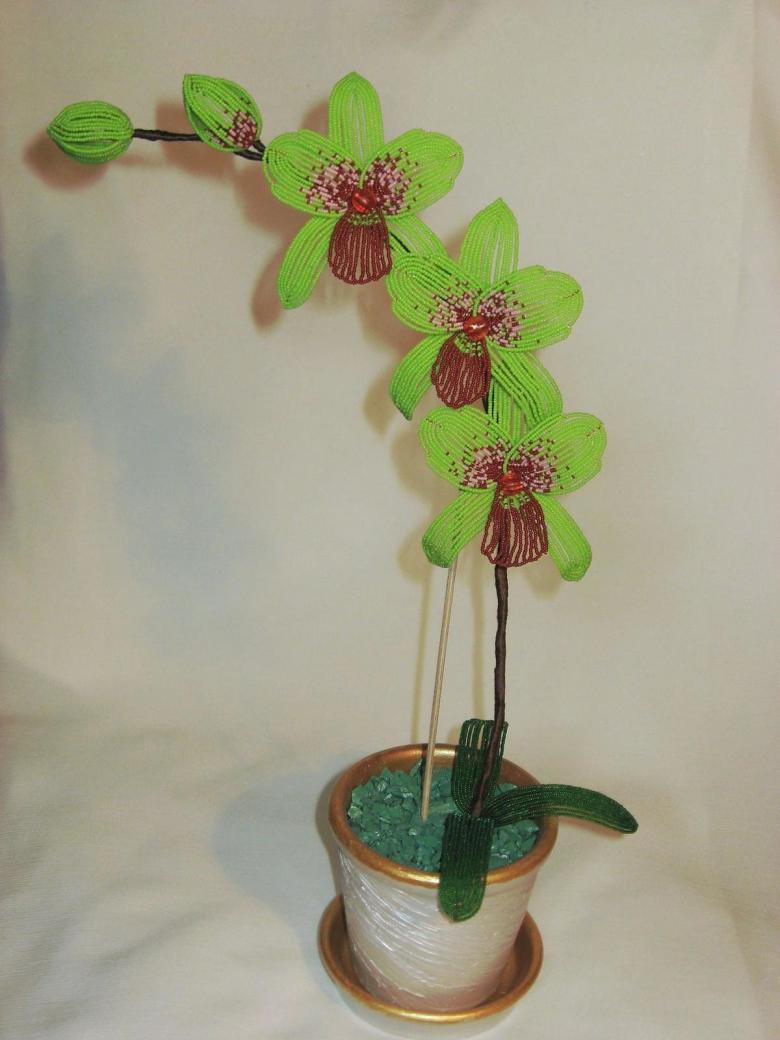
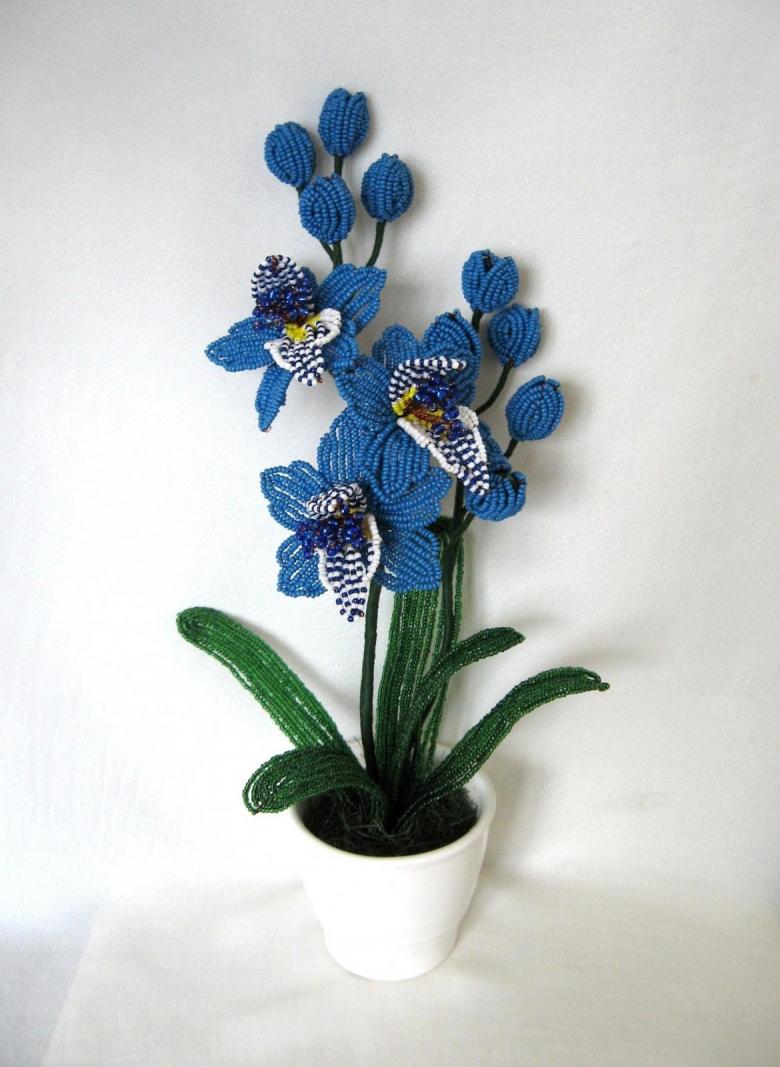
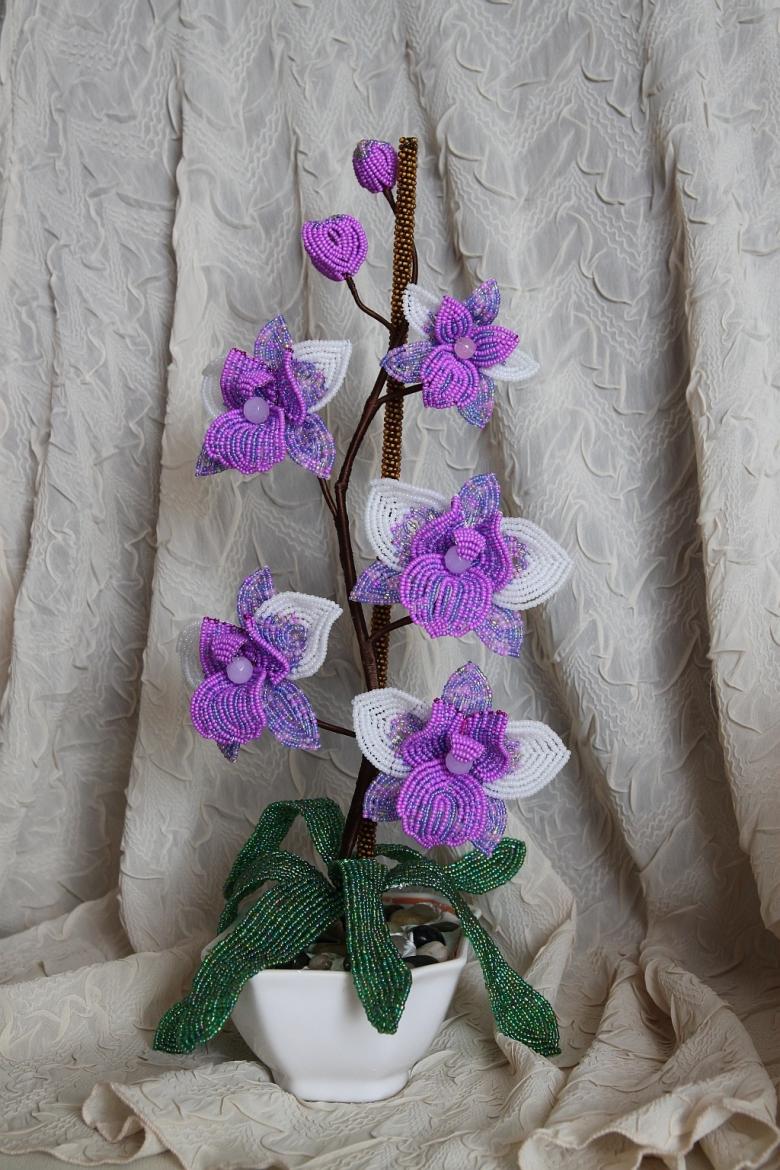
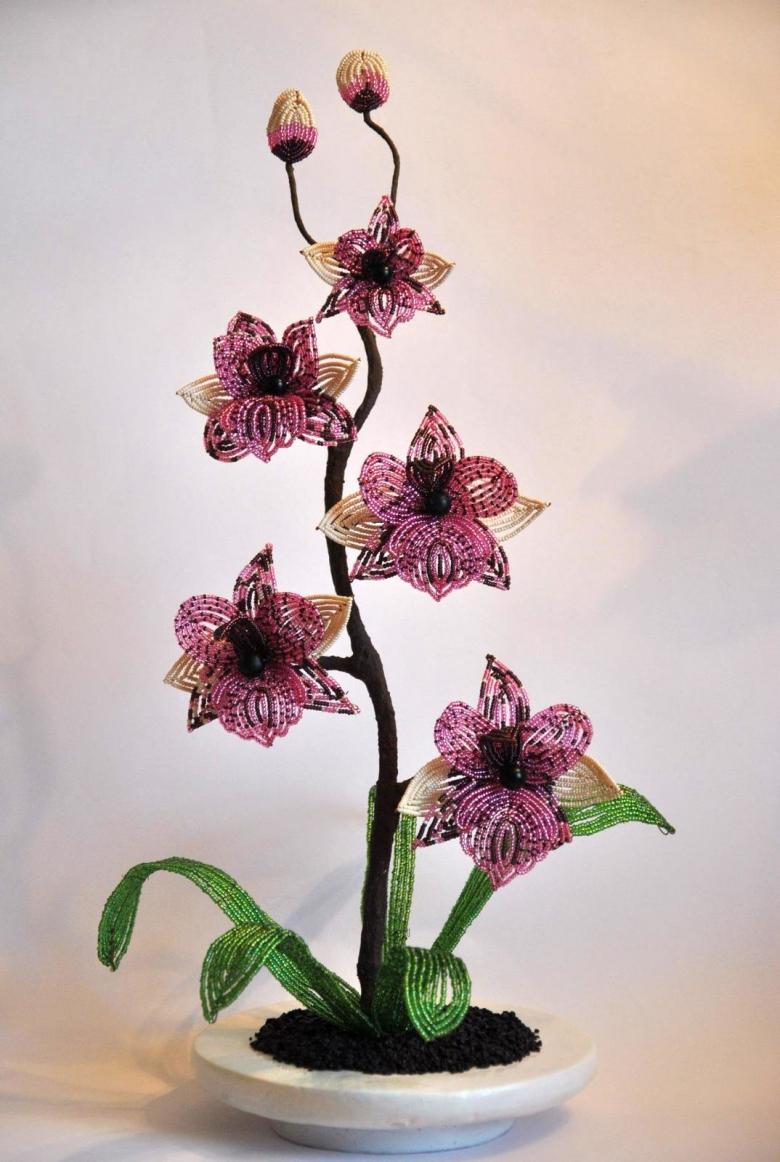
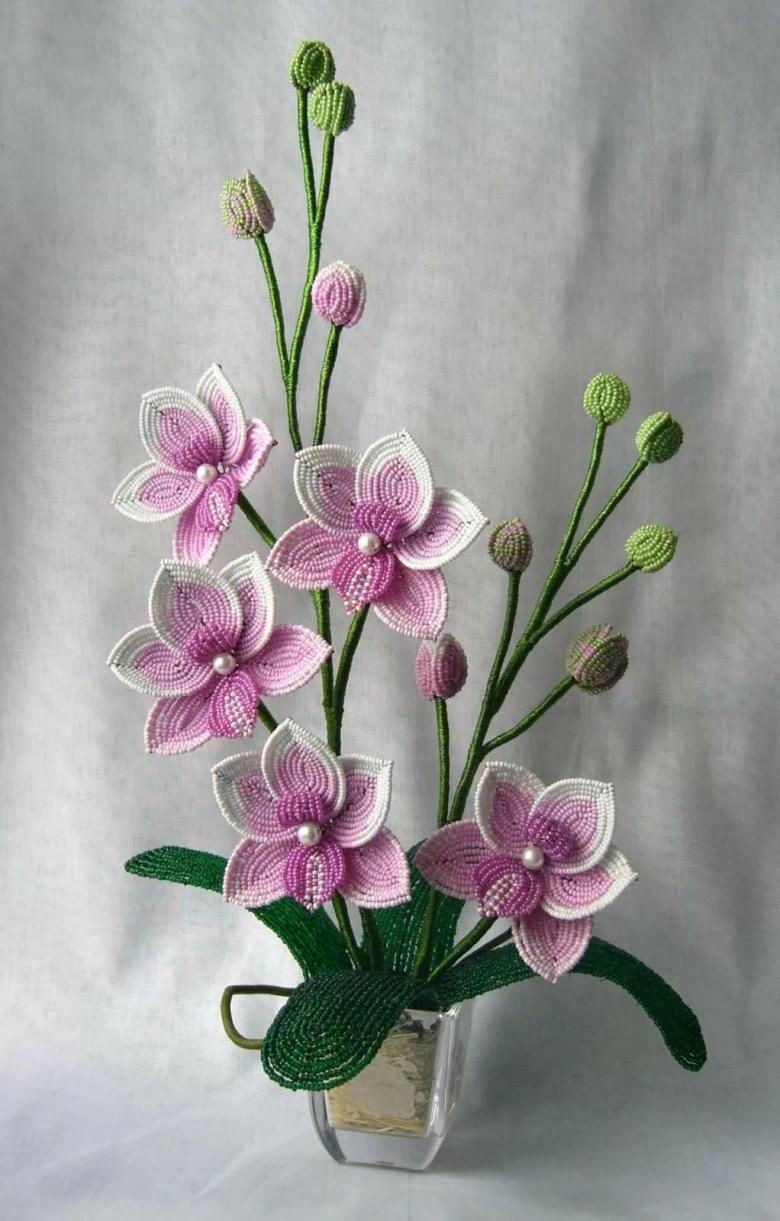
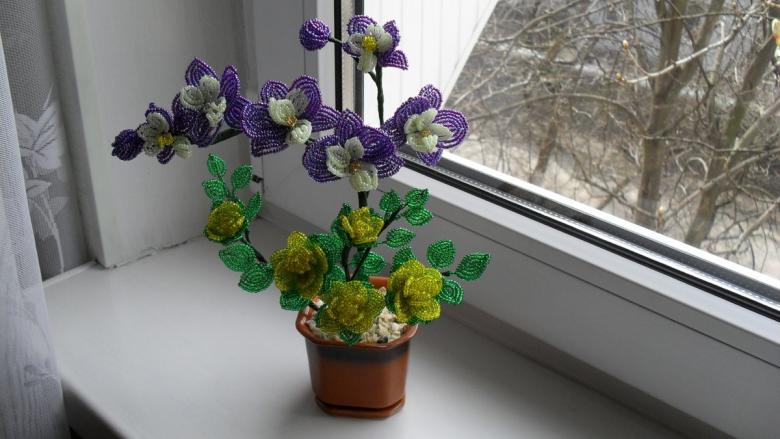
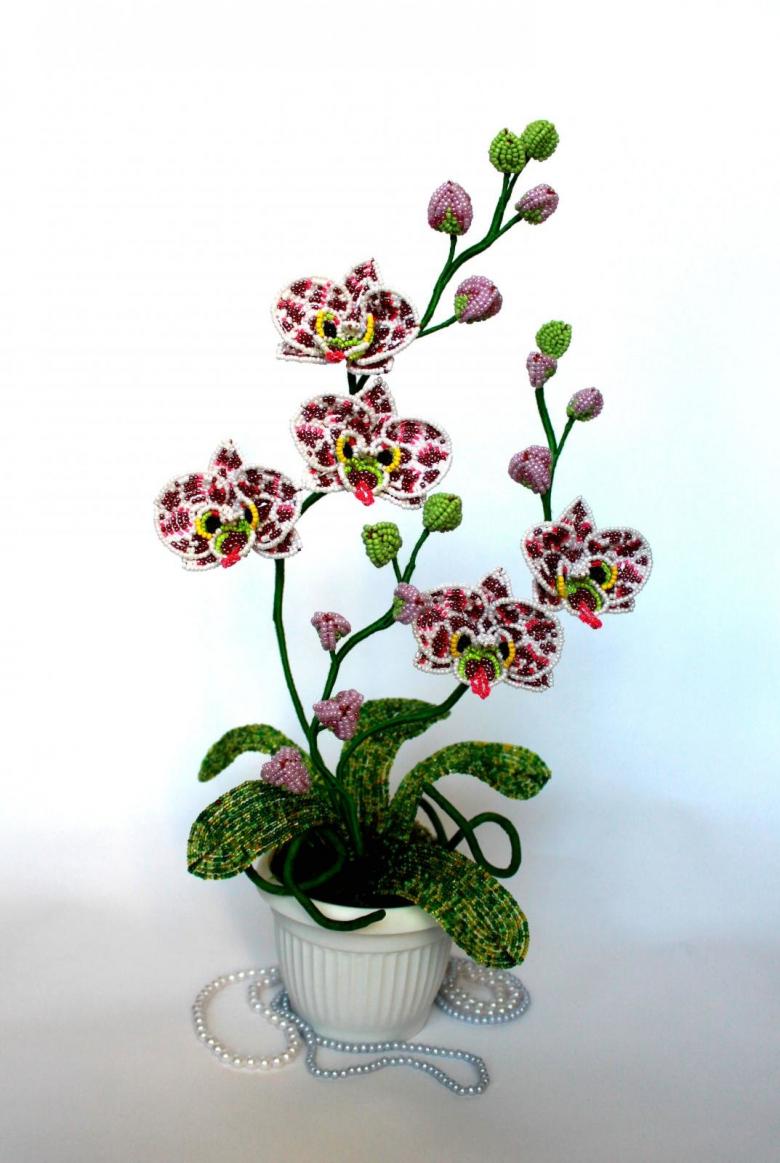
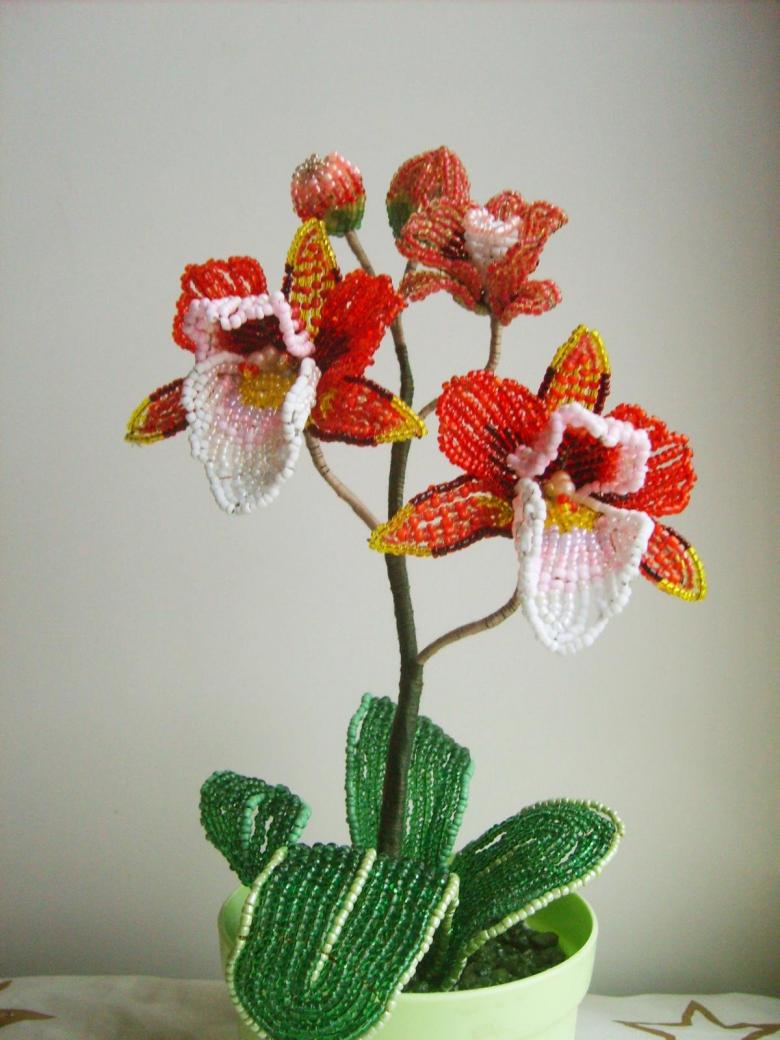
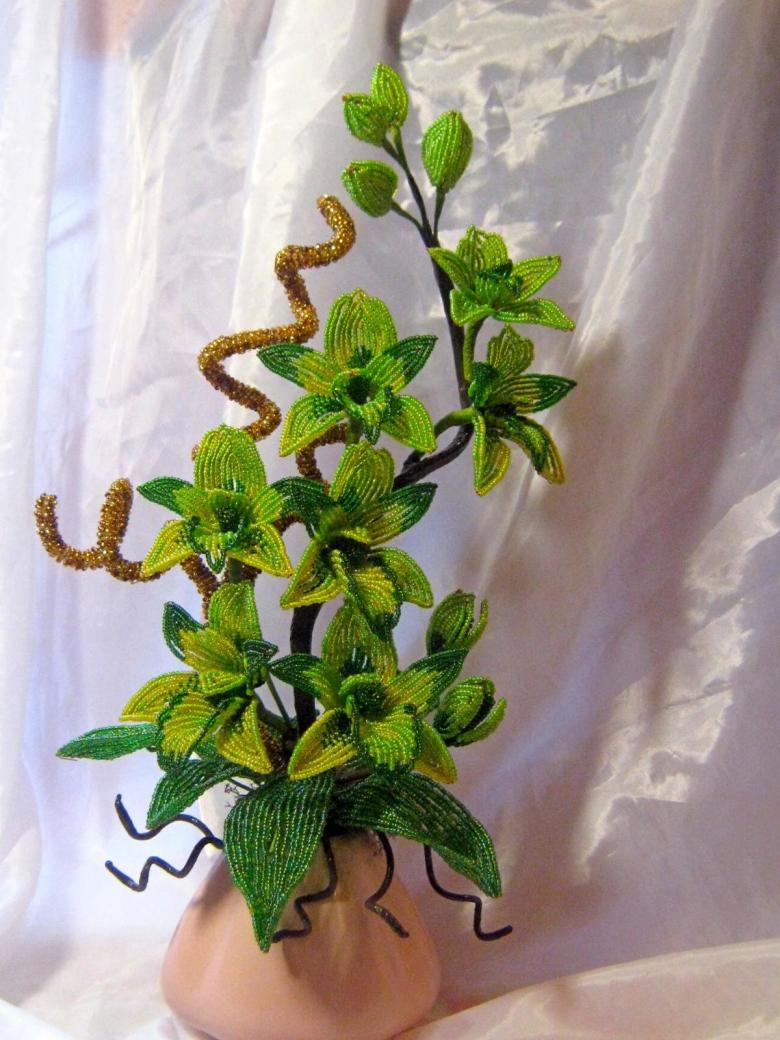
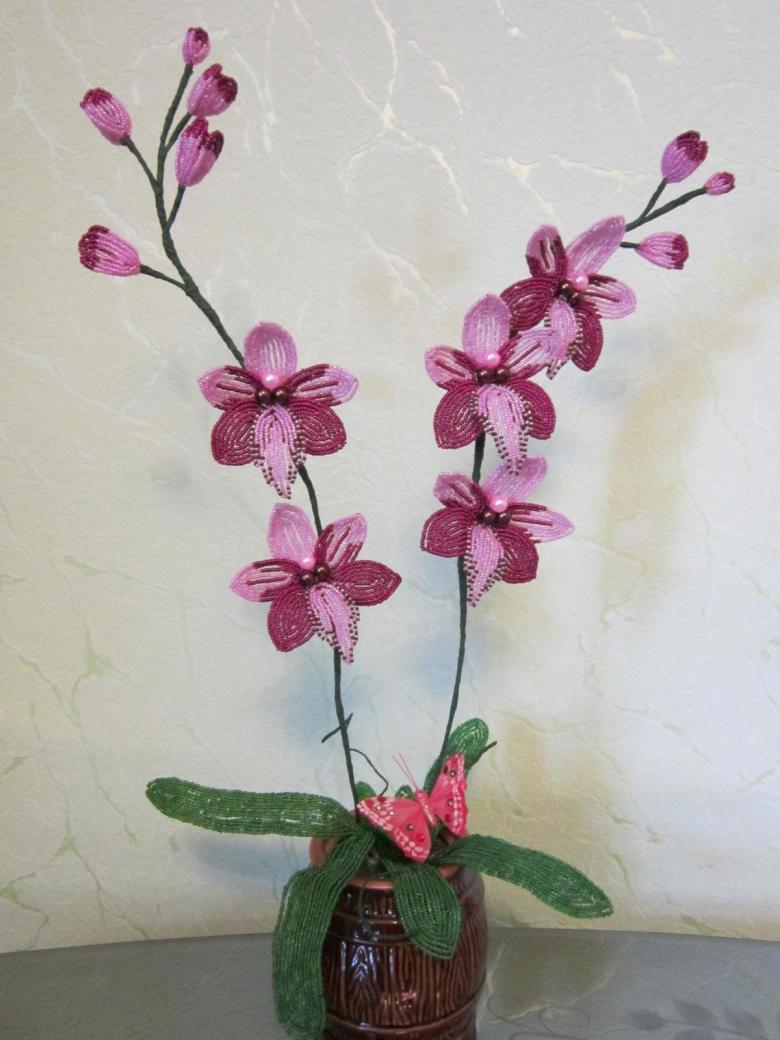
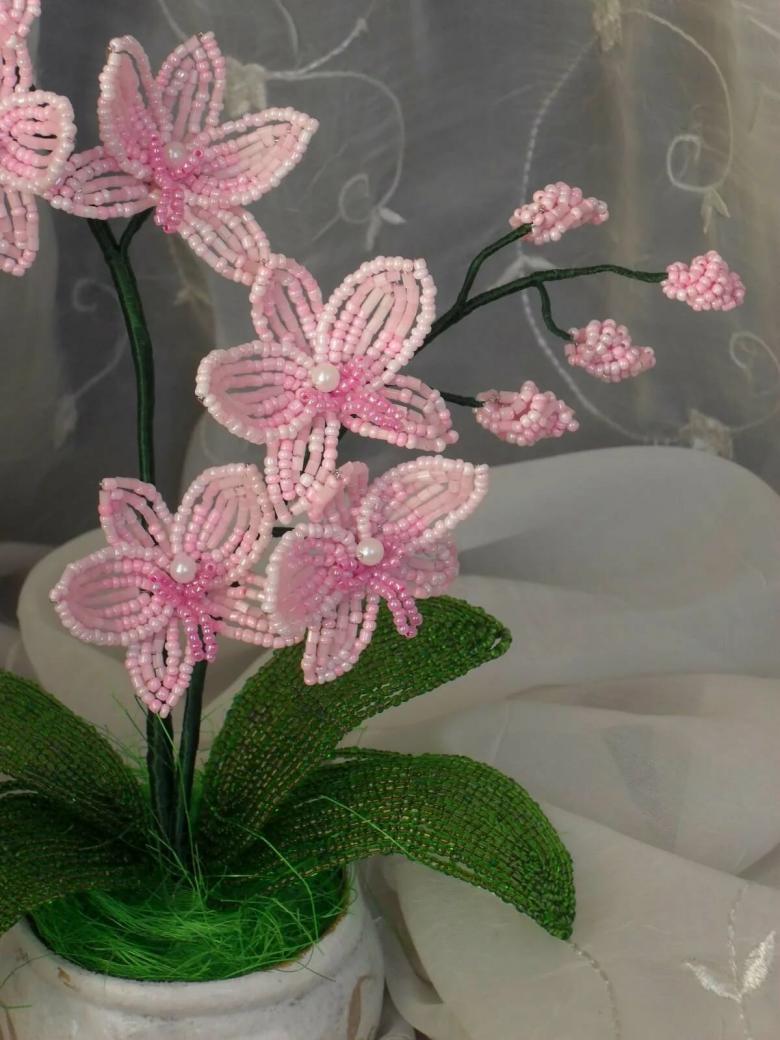
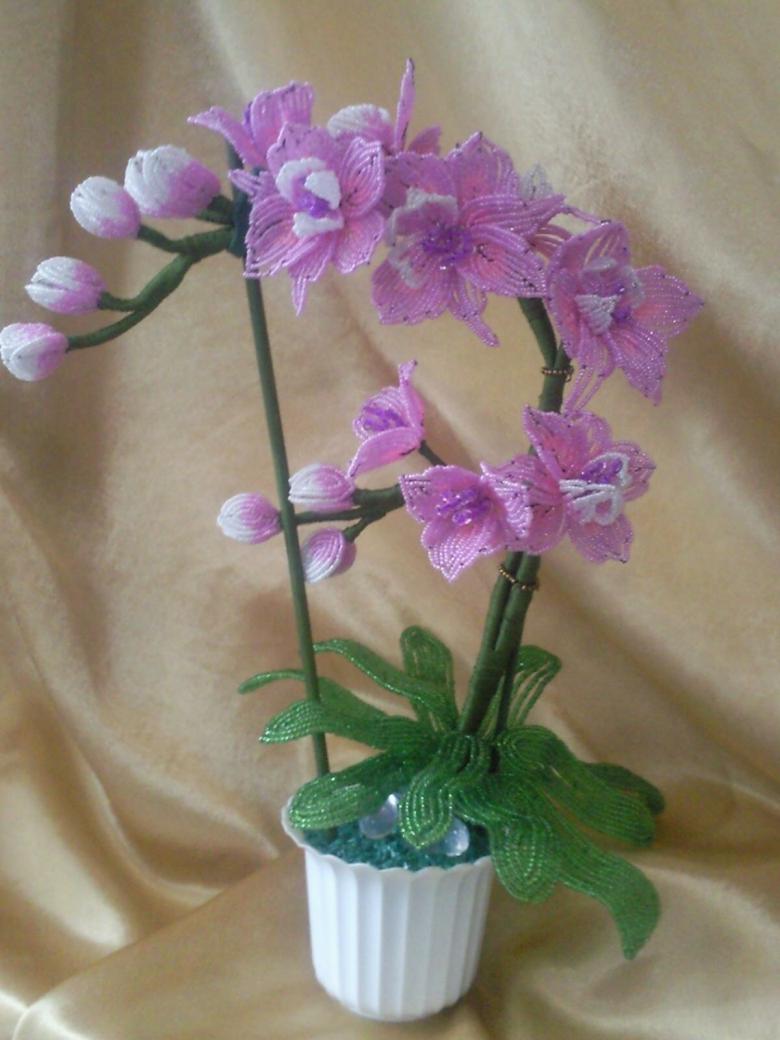
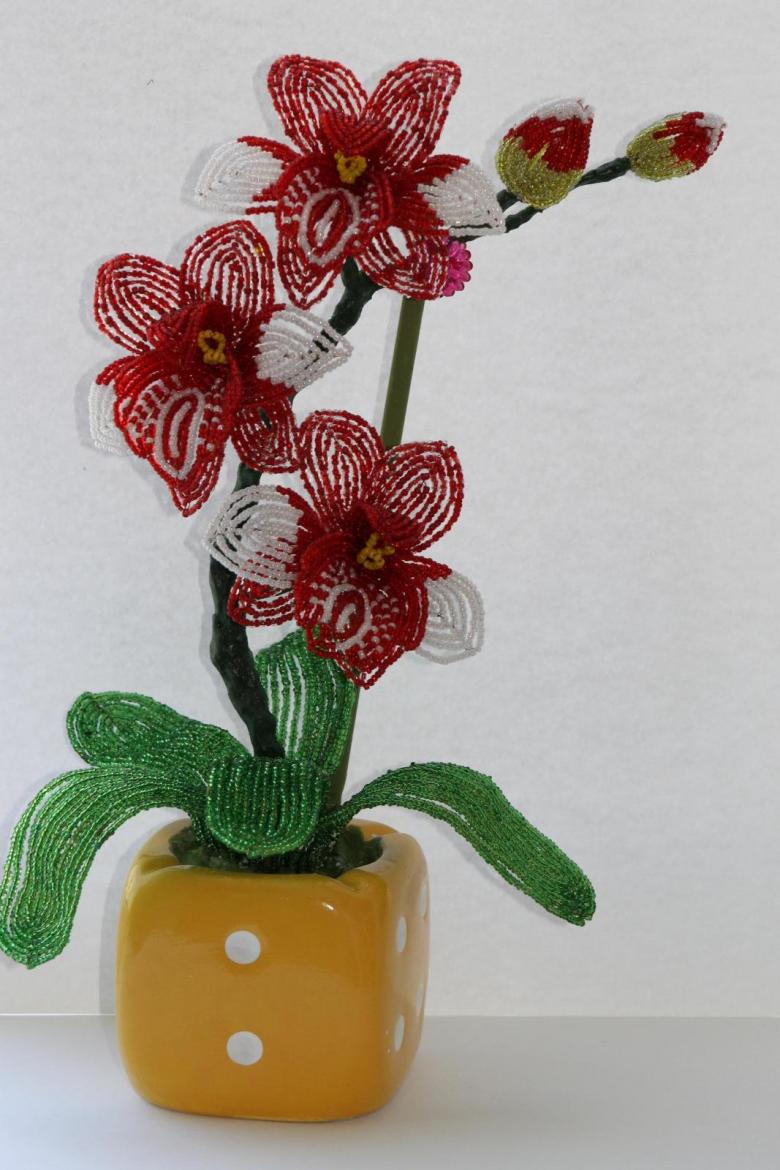
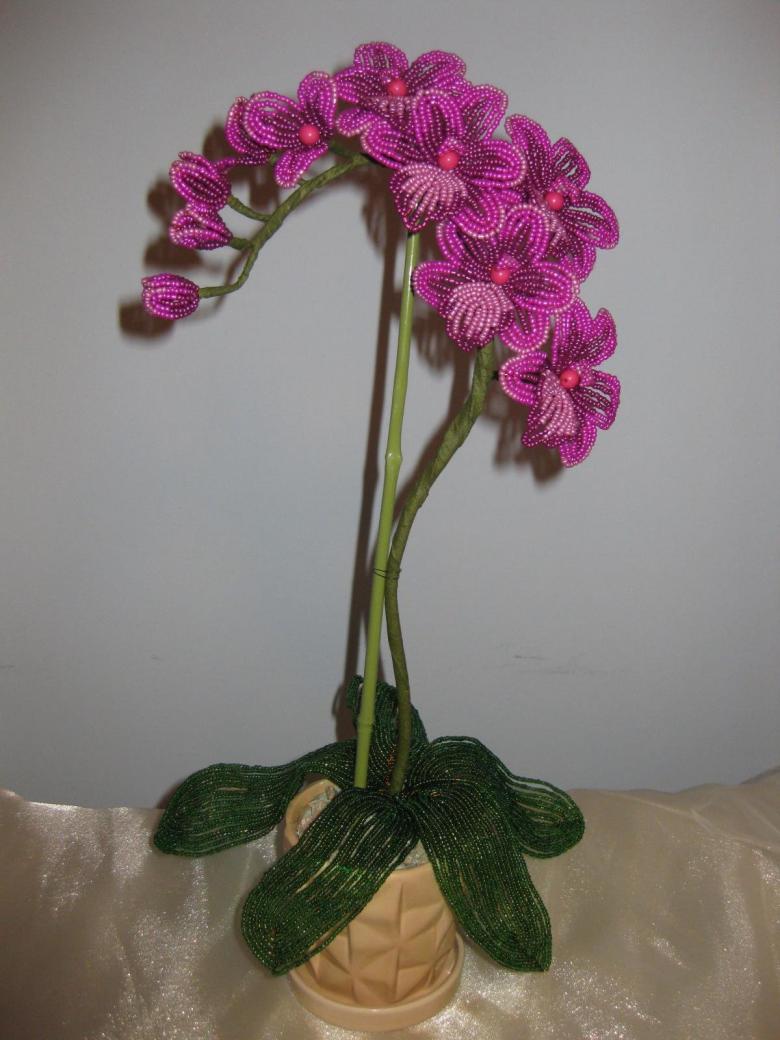
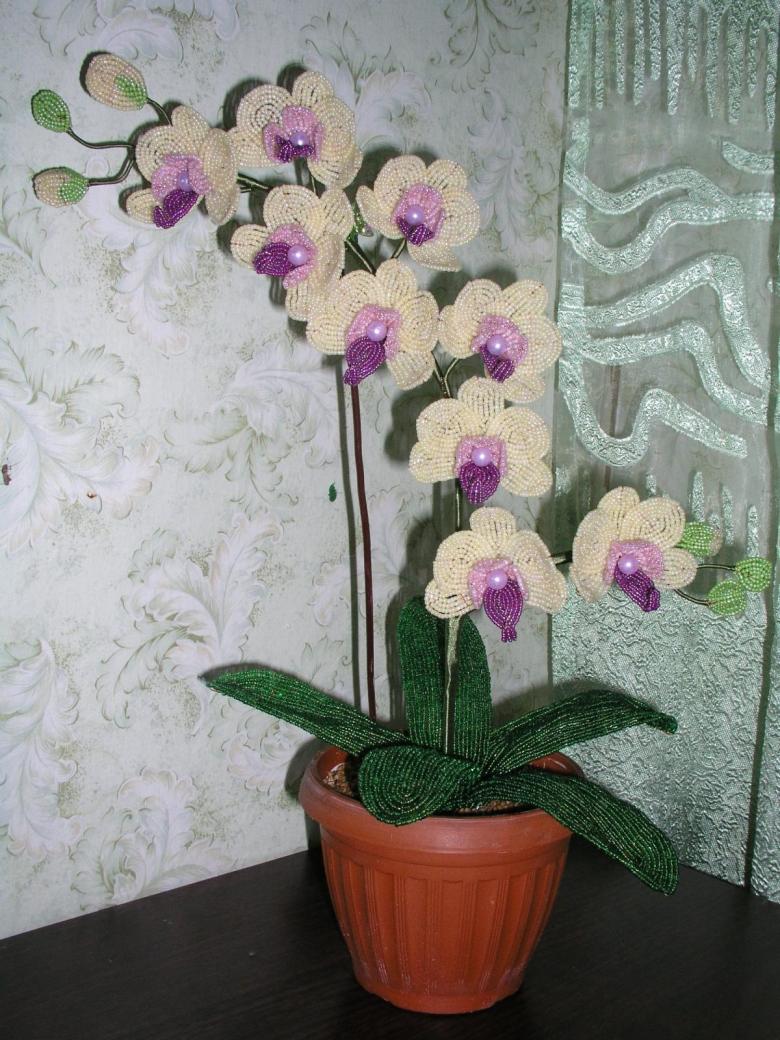
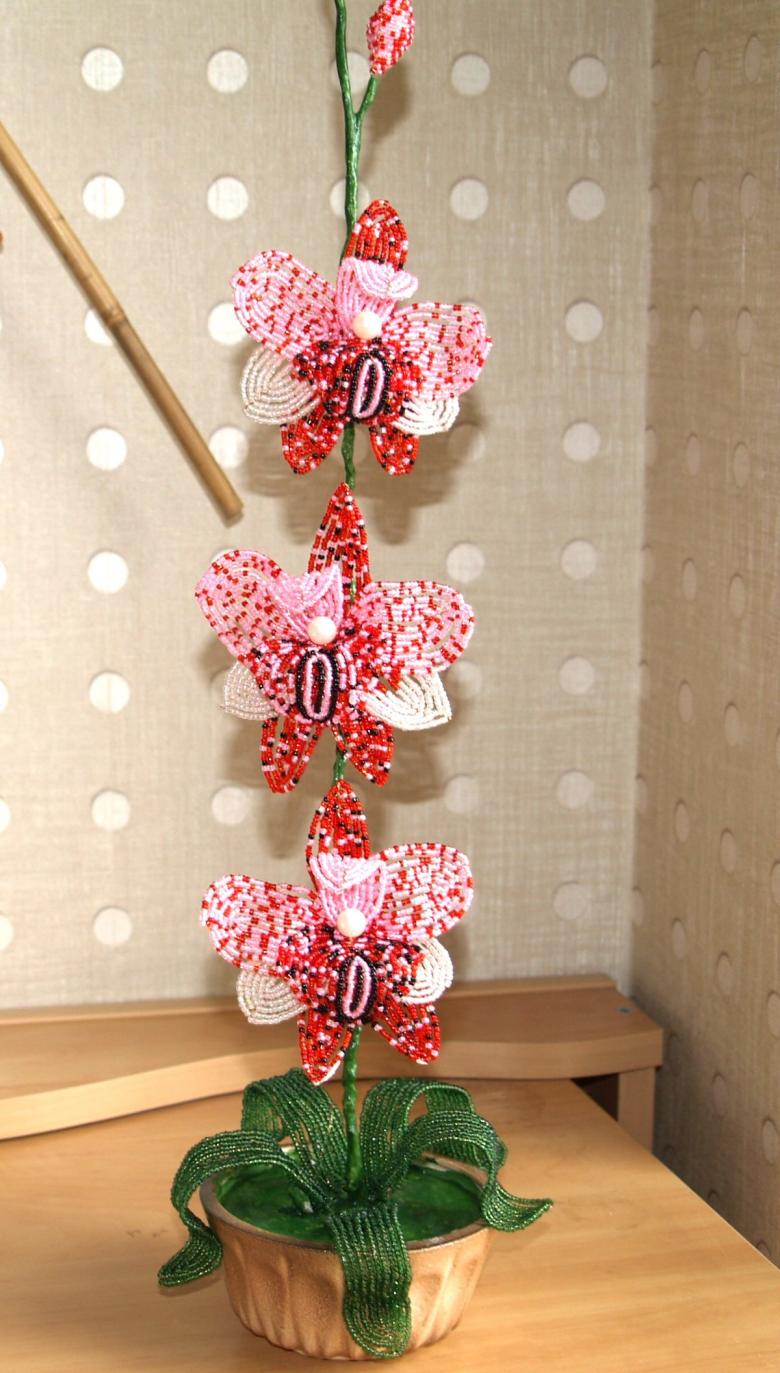
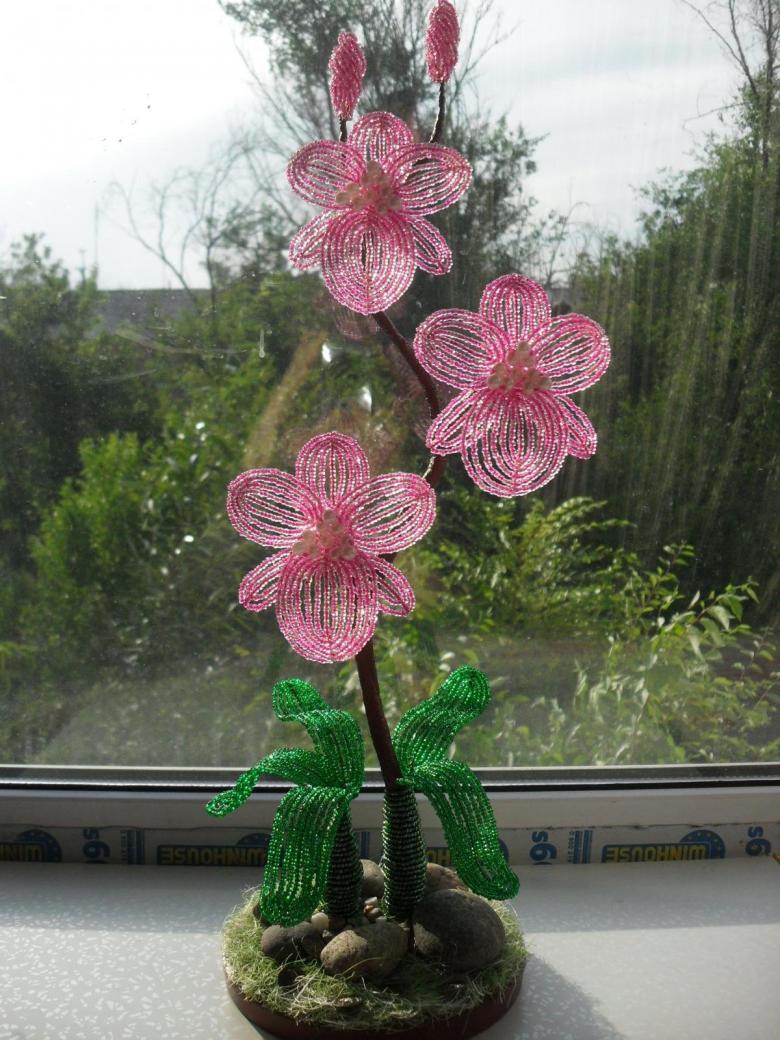
Orchid Beadwork - the best schemes and the most beautiful options for beginners
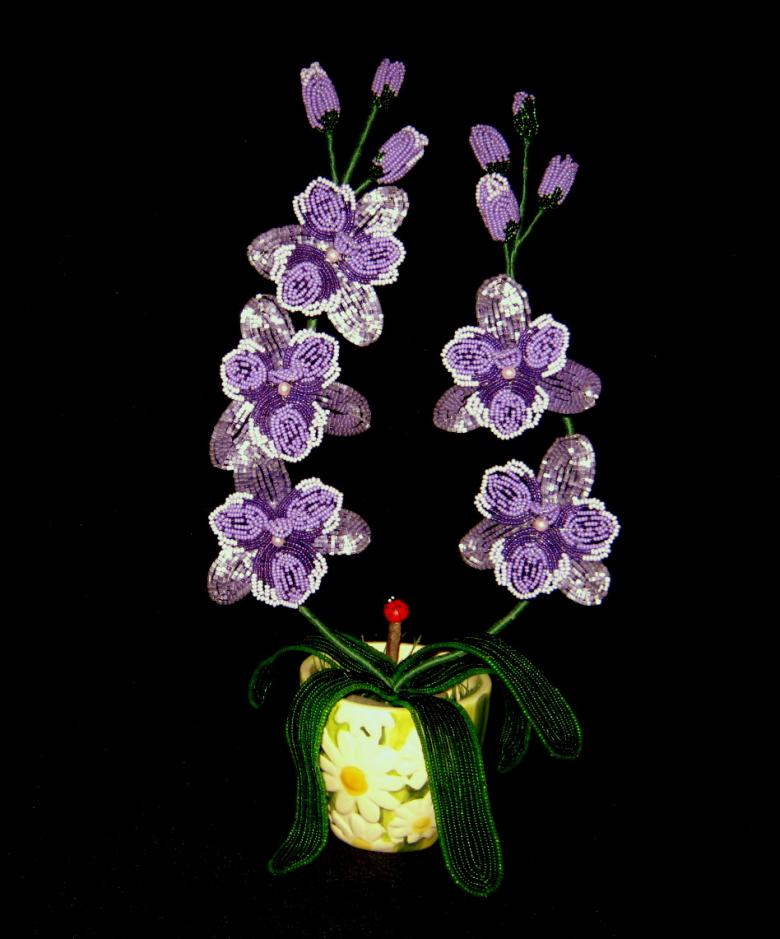
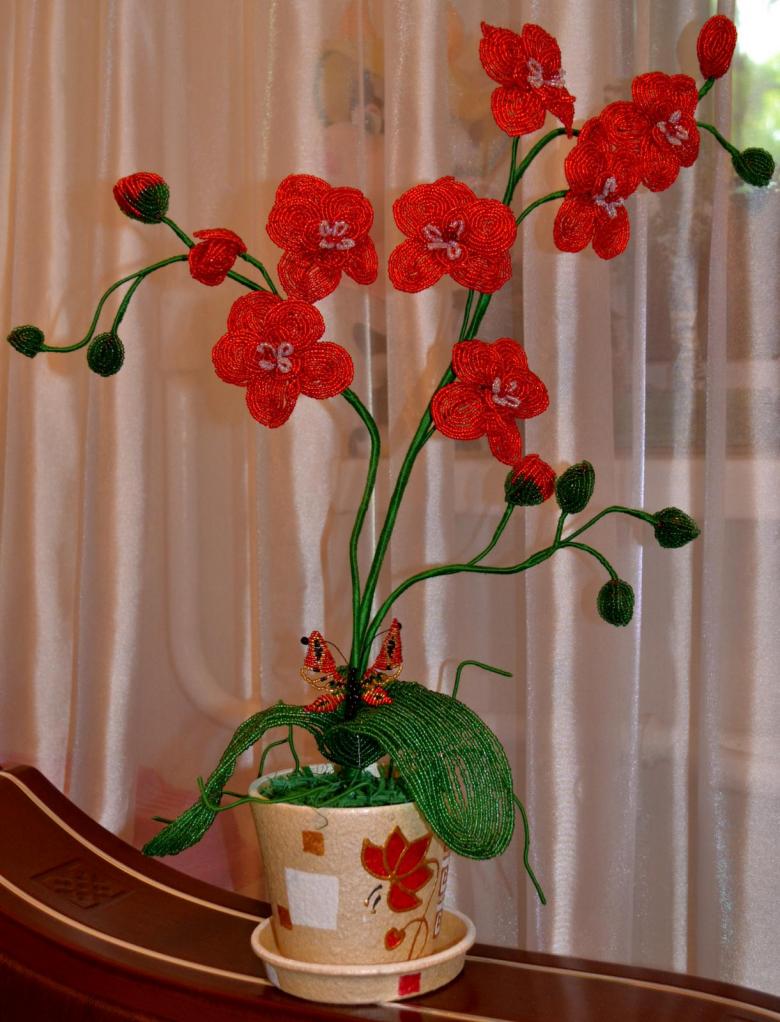
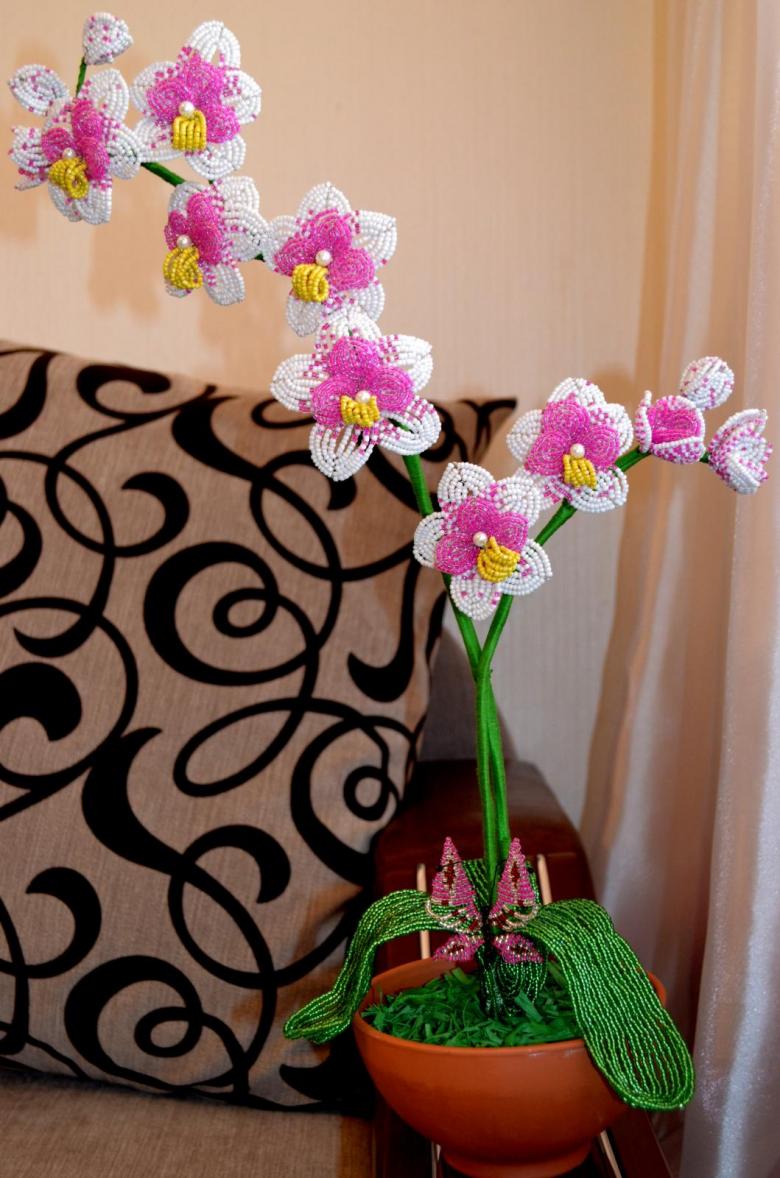
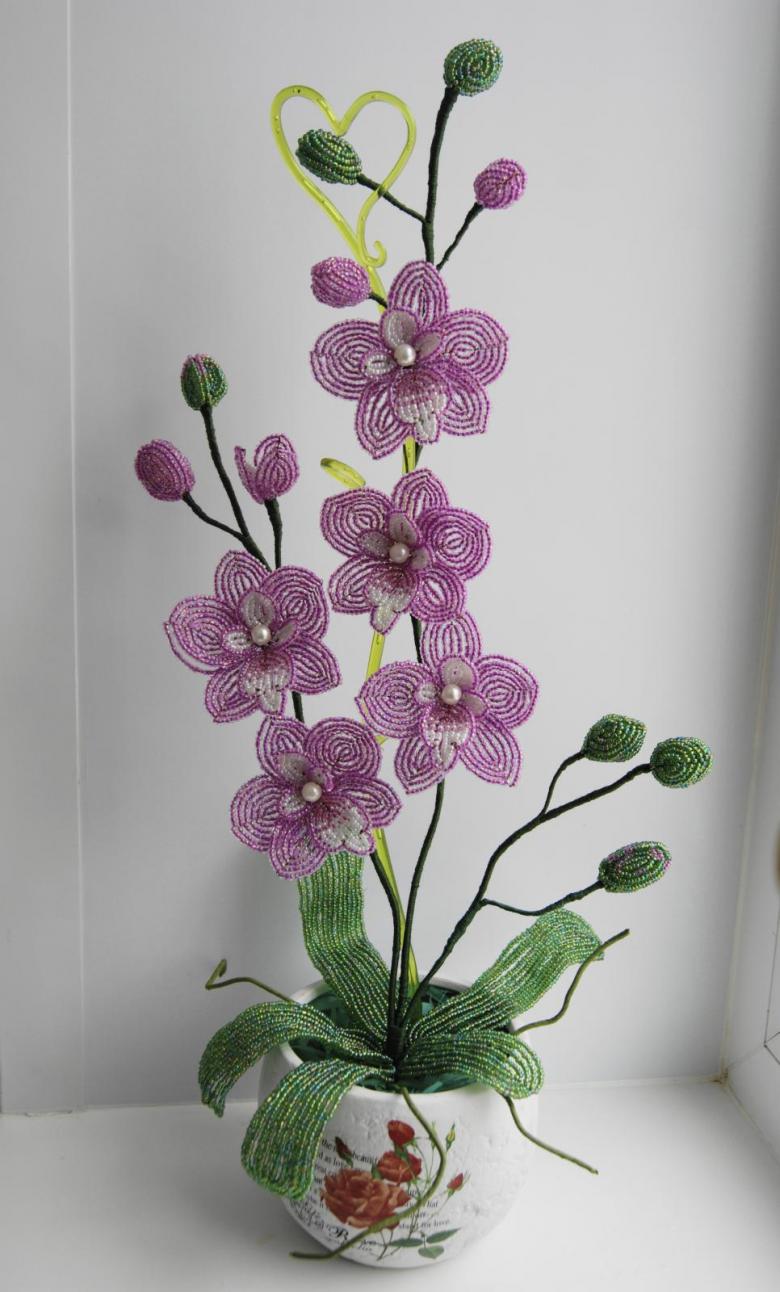
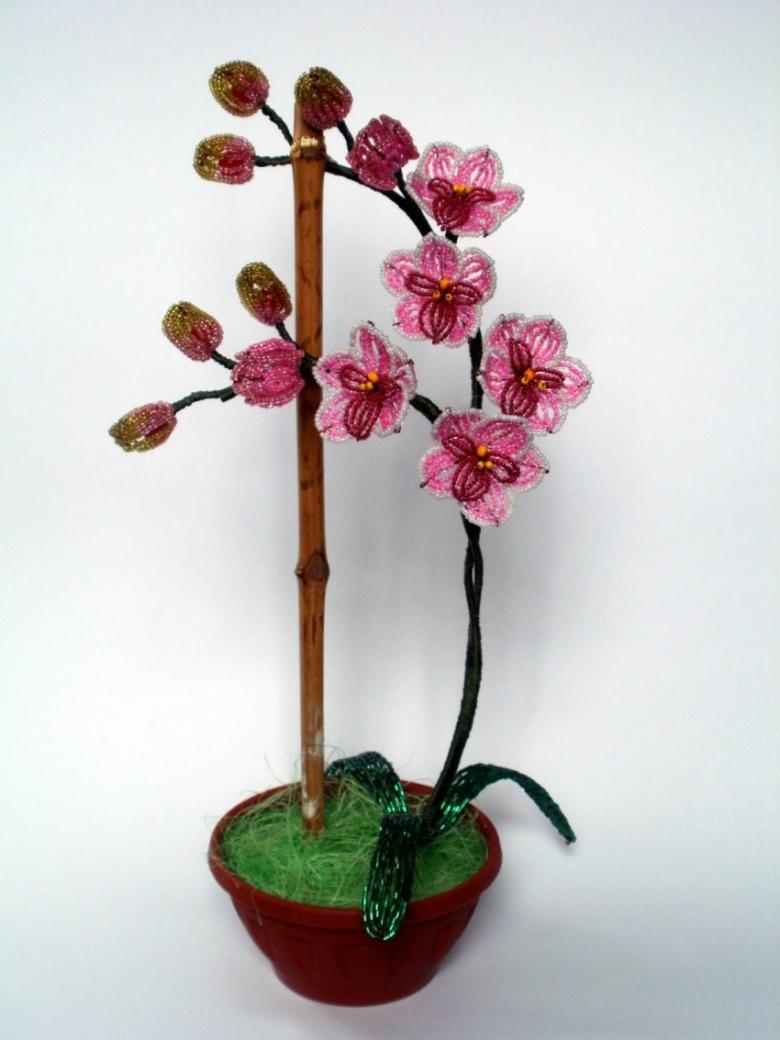
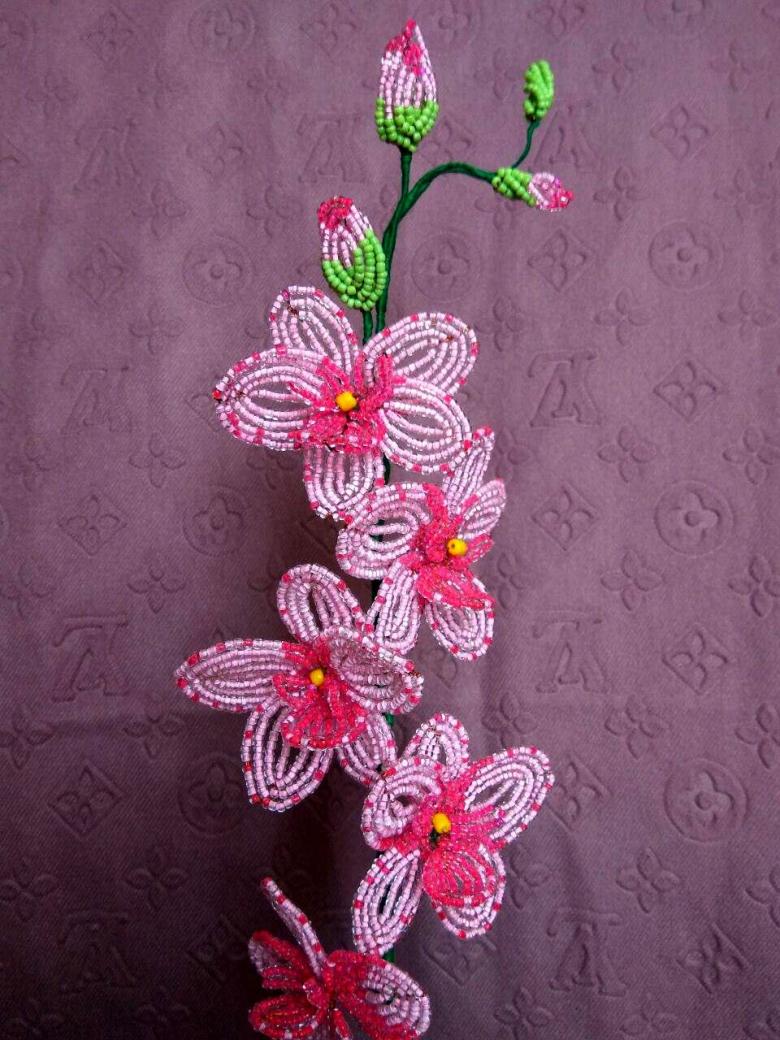
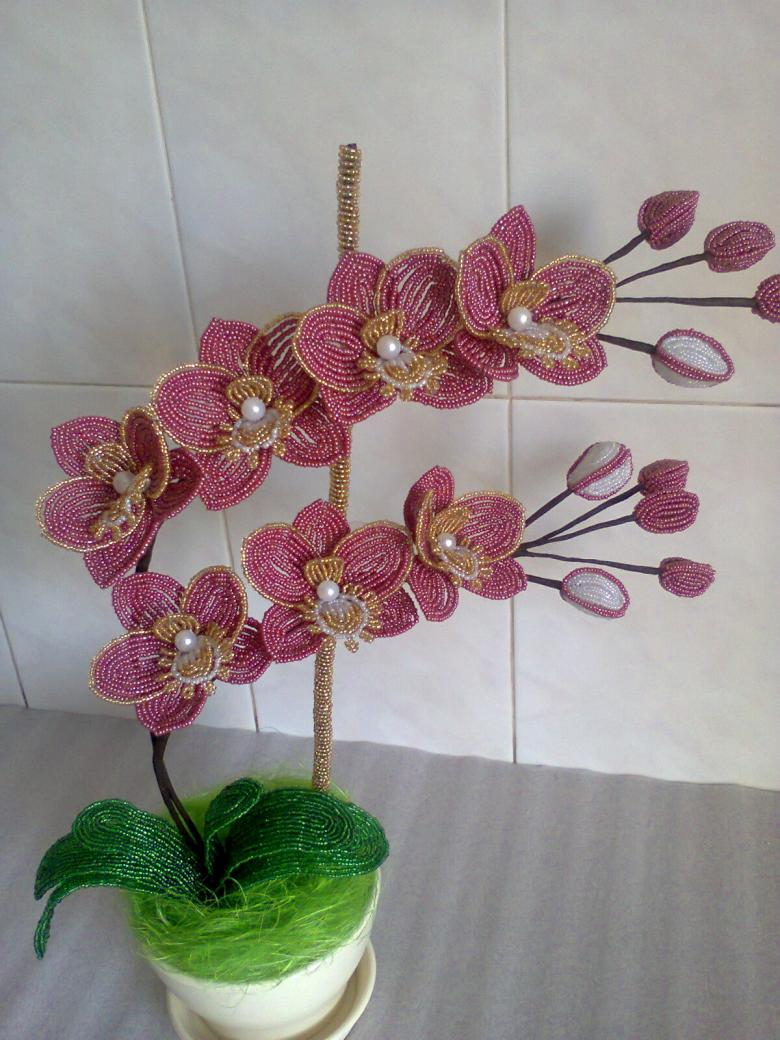
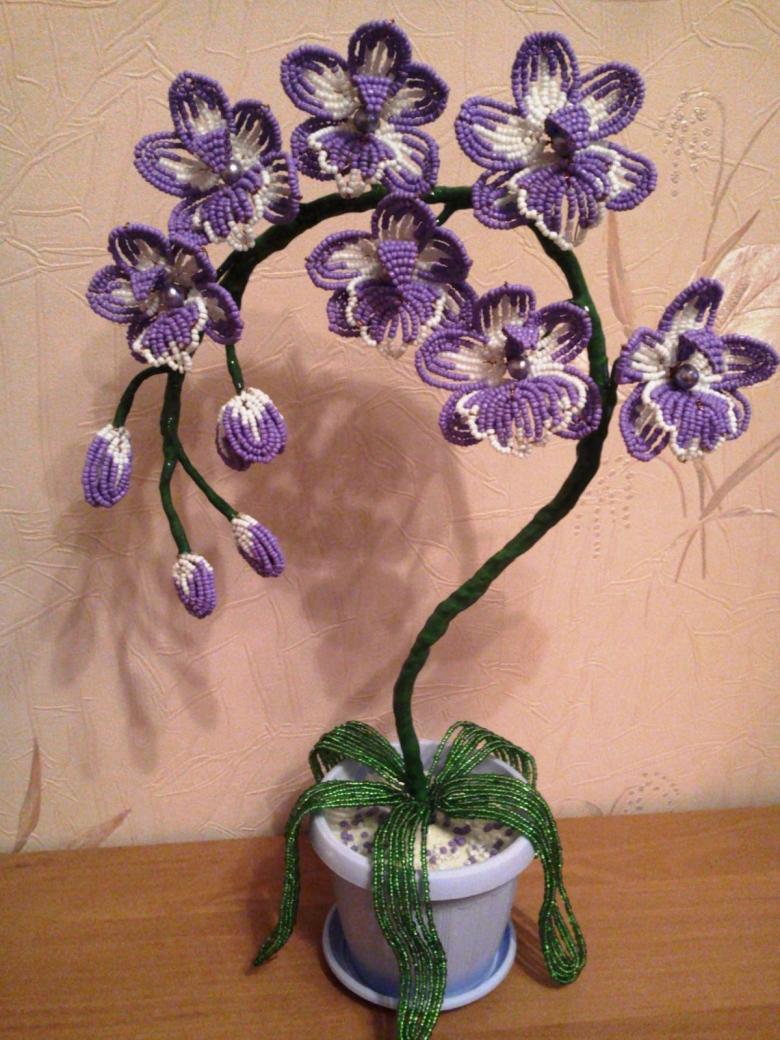
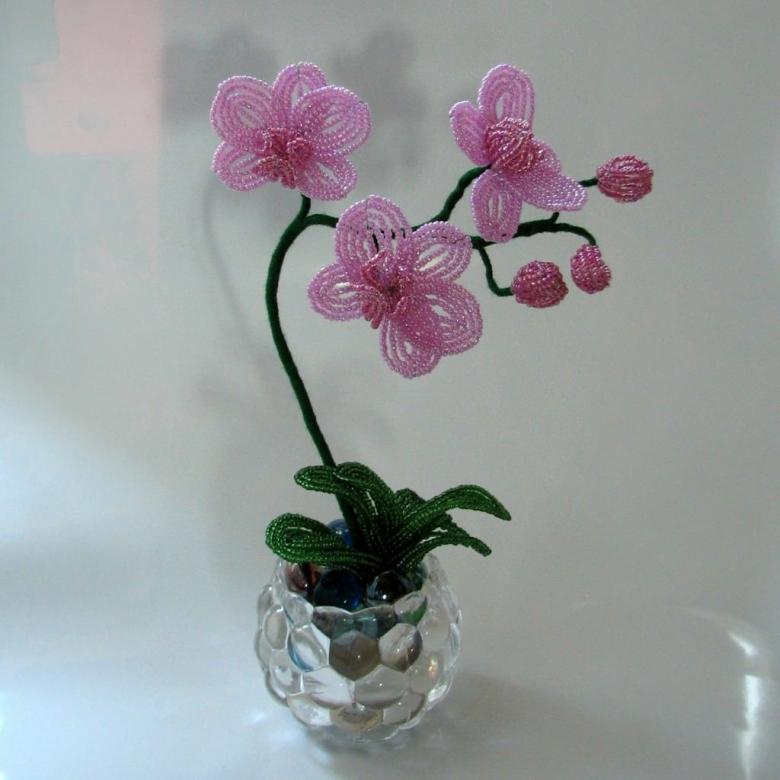
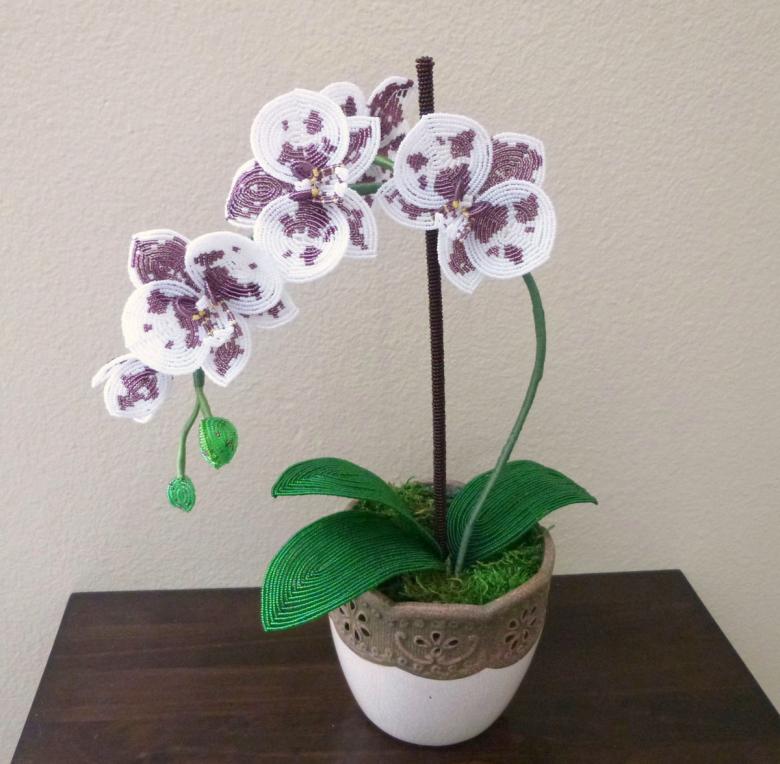
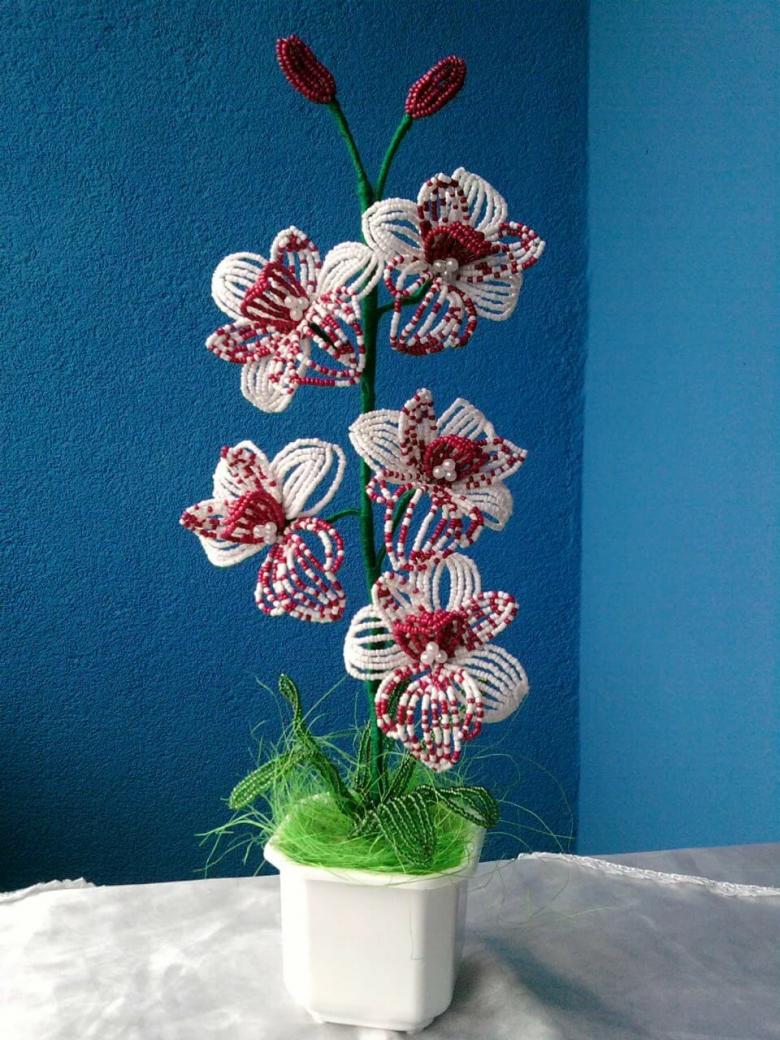
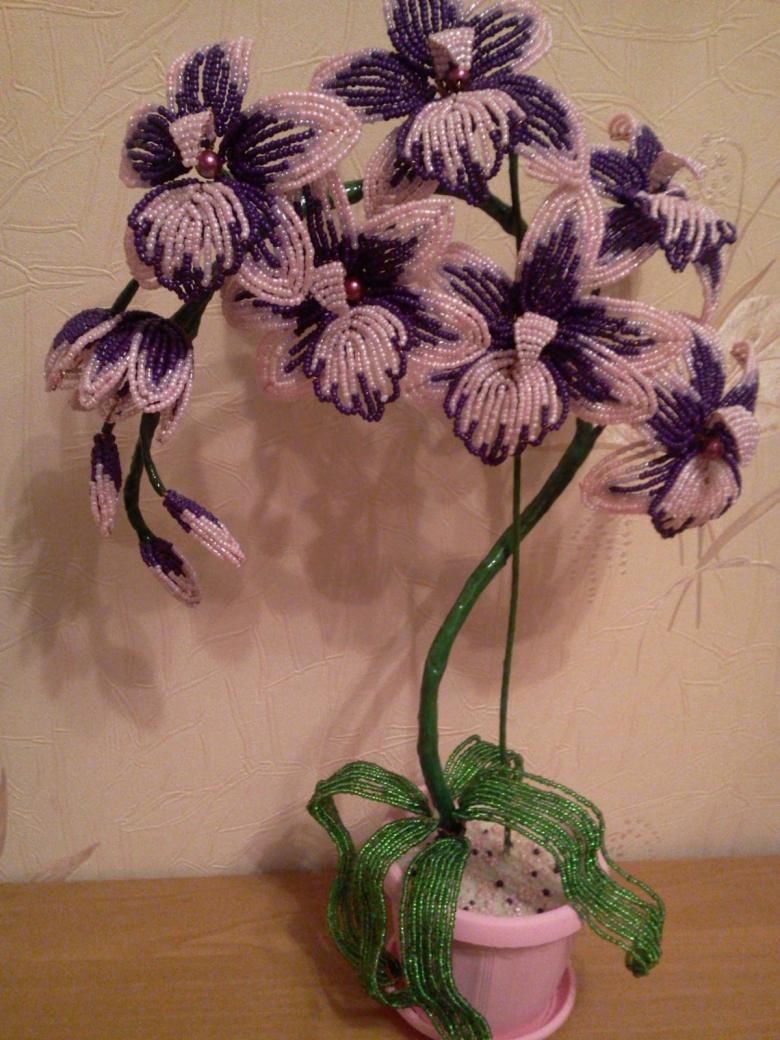
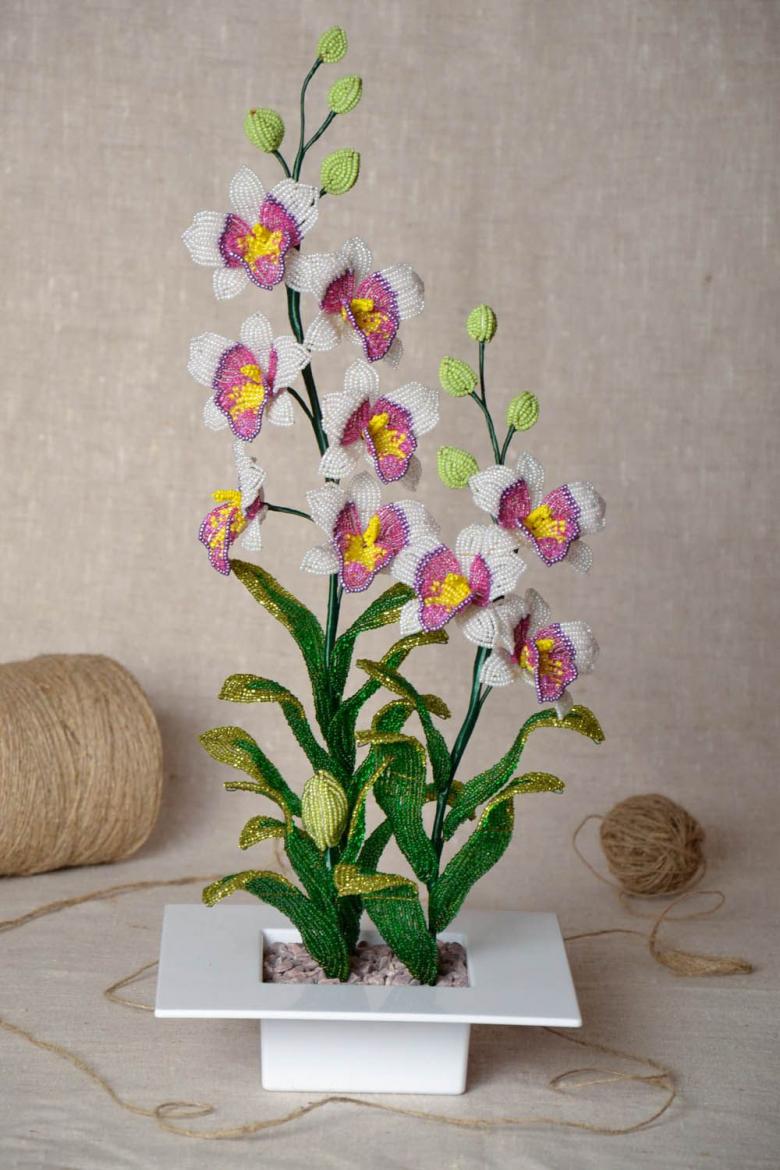
Natural flowers are great, but they have one small disadvantage, they can not please people with their blooming all year round. A great alternative is to make a flower out of beads.
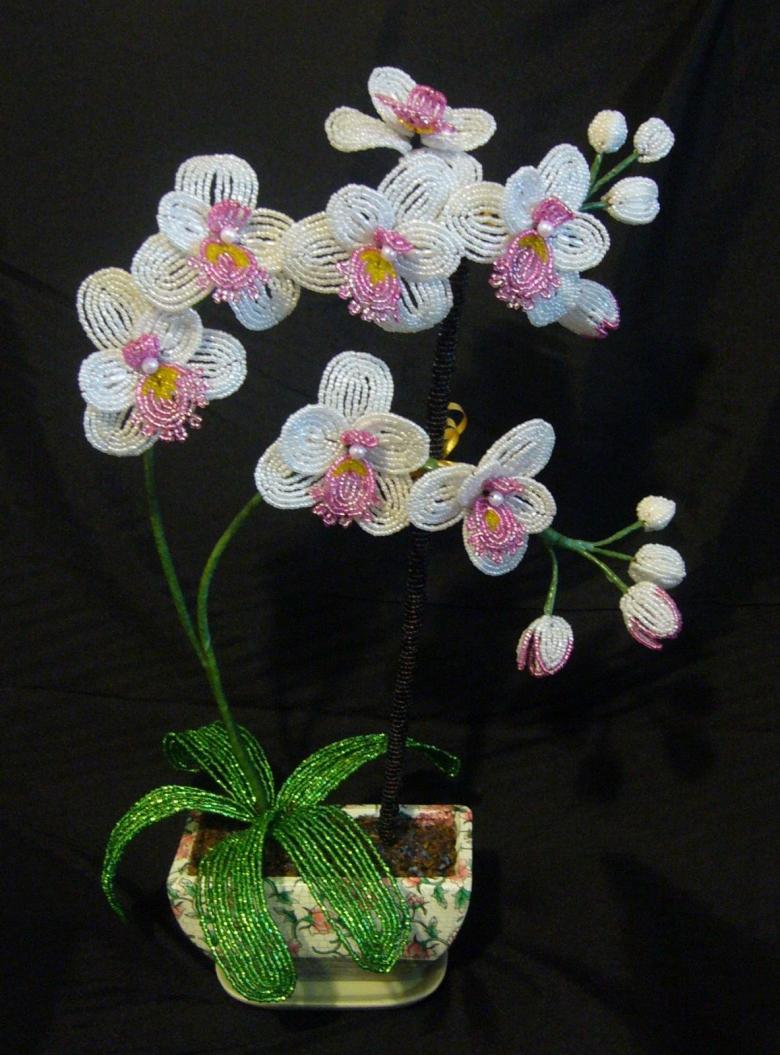
It does not require constant care and in principle is not fastidious. On the internet there are a large number of schemes of weaving flowers. In this article we will talk about the making of an orchid from beads with their own hands.
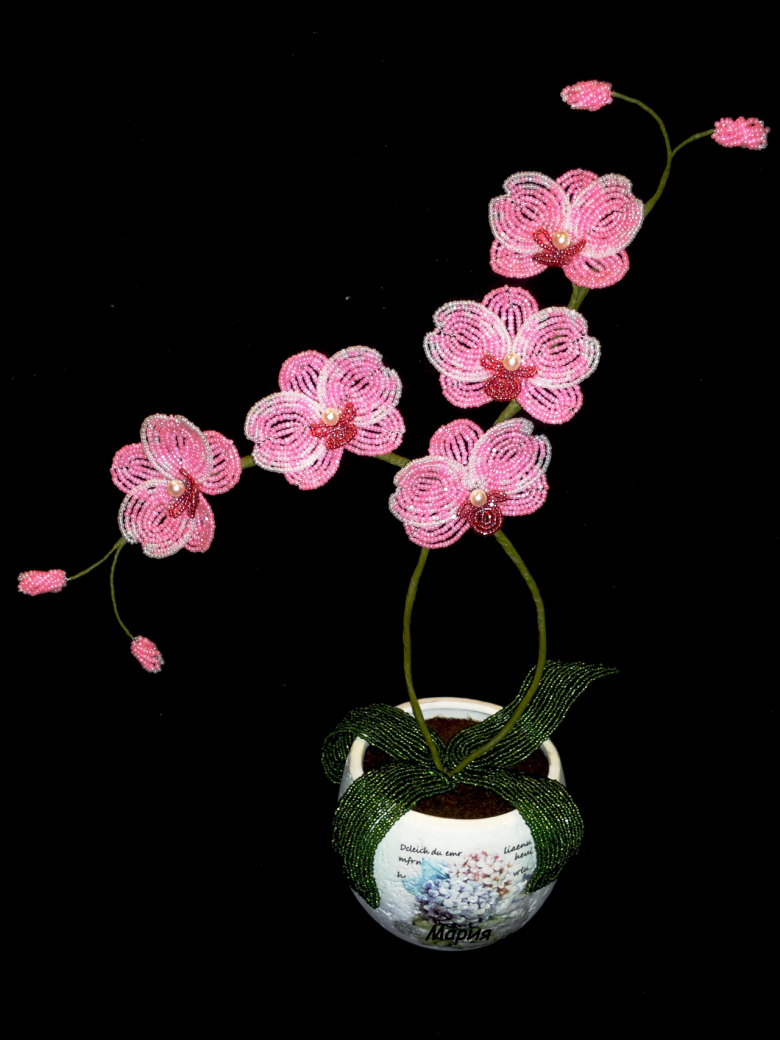
The composition of the plant
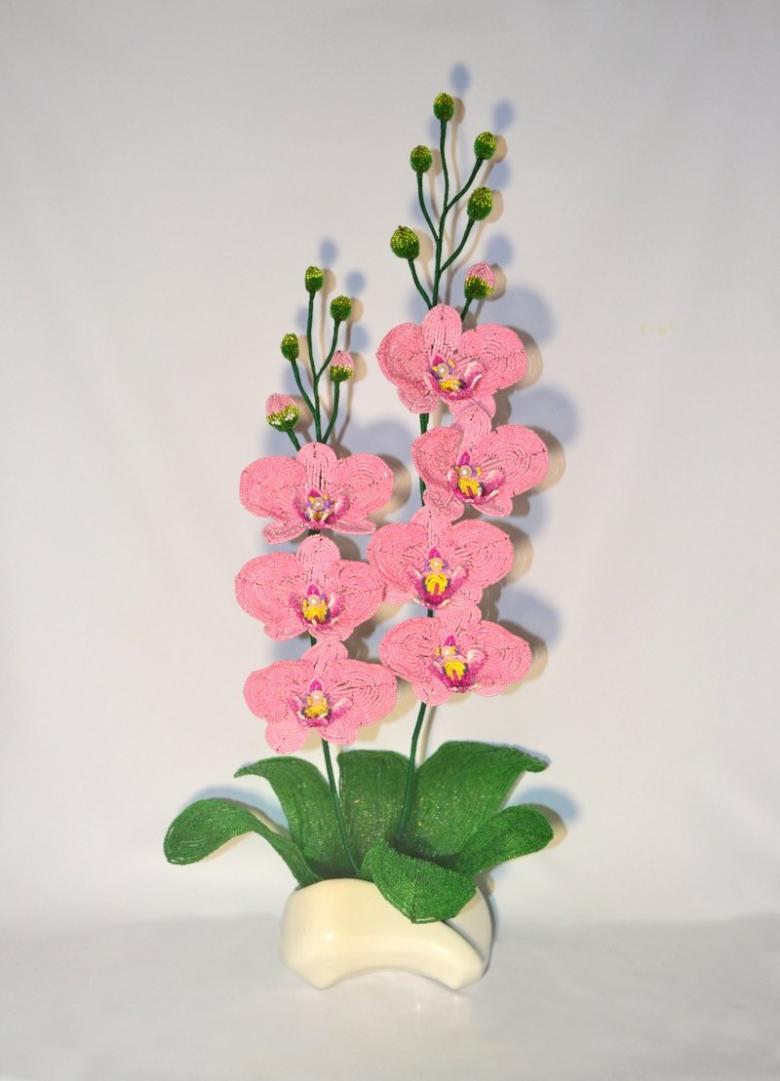
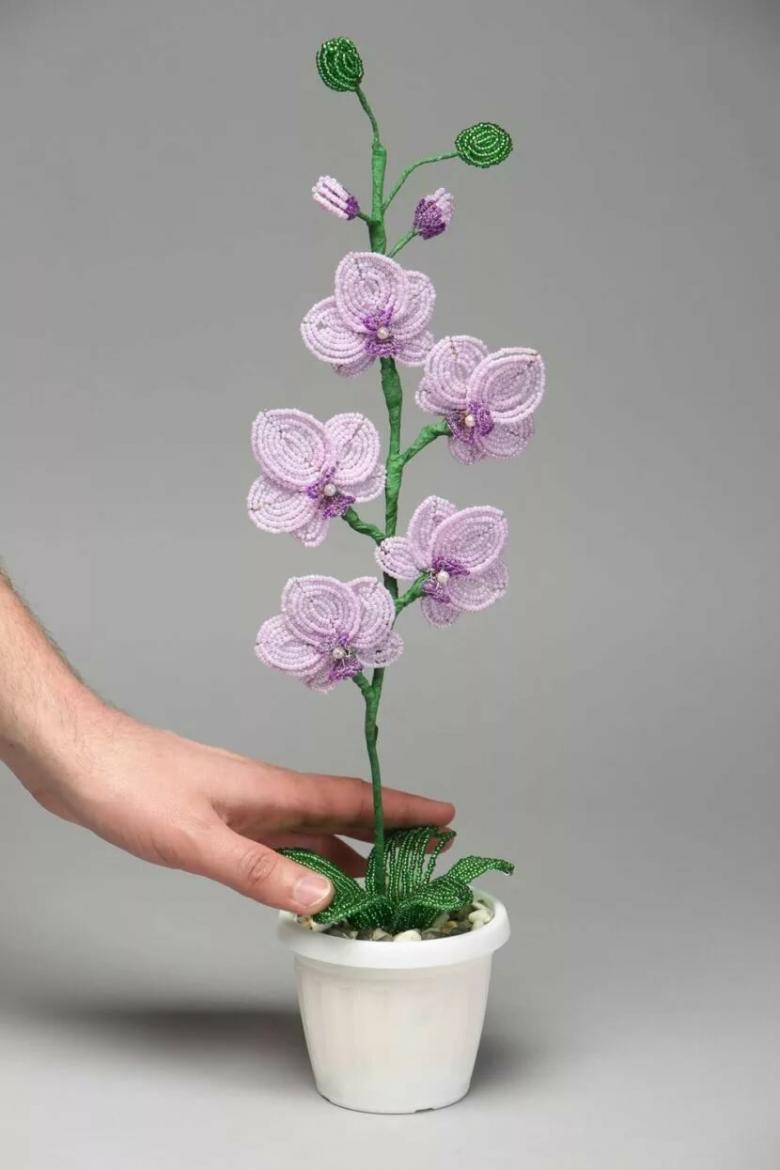
Orchid will decorate the interior of any house. It will take many different color shades to make it, for:
- Bud.
- Stamens.
- Petals.
- Leaves.
- The stem.
- Sepals.
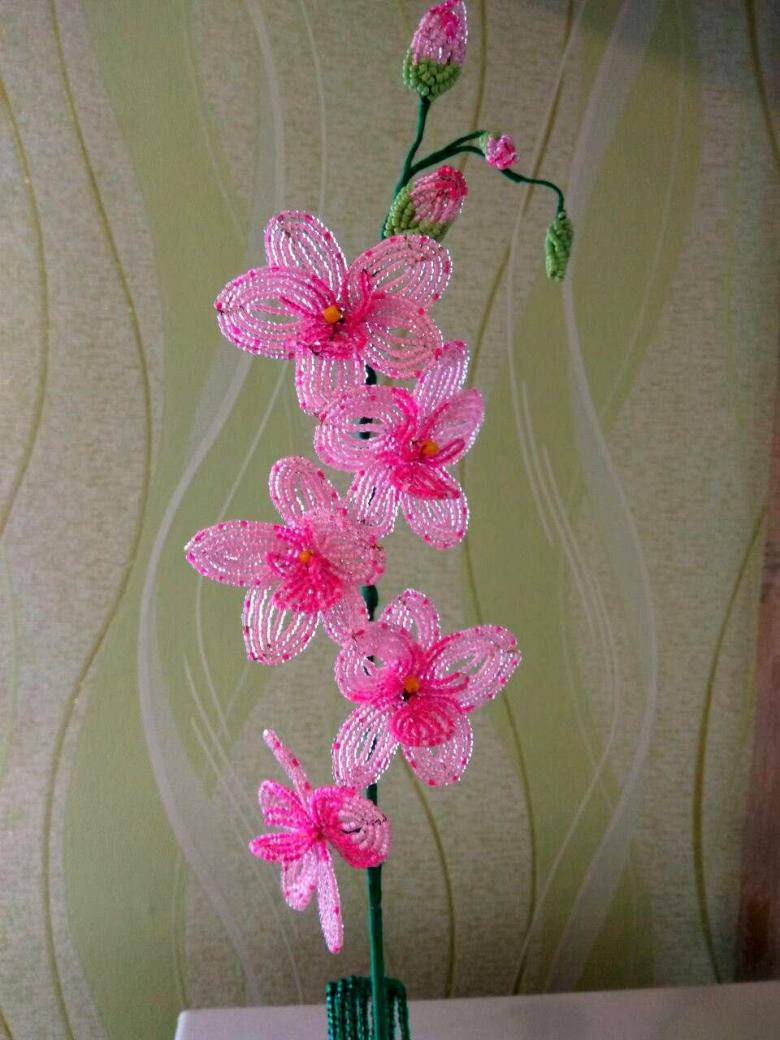
Materials for making an orchid
A standard set of materials necessary for weaving:
- Beads, different colors.
- Embellishments.
- String for beadwork.
- Needle beads.
- Common thread.
- Glue.
- Scissors.
- Pot.
- Alabaster or plaster.
It is worth remembering that a properly decorated place to work will greatly speed up the process.
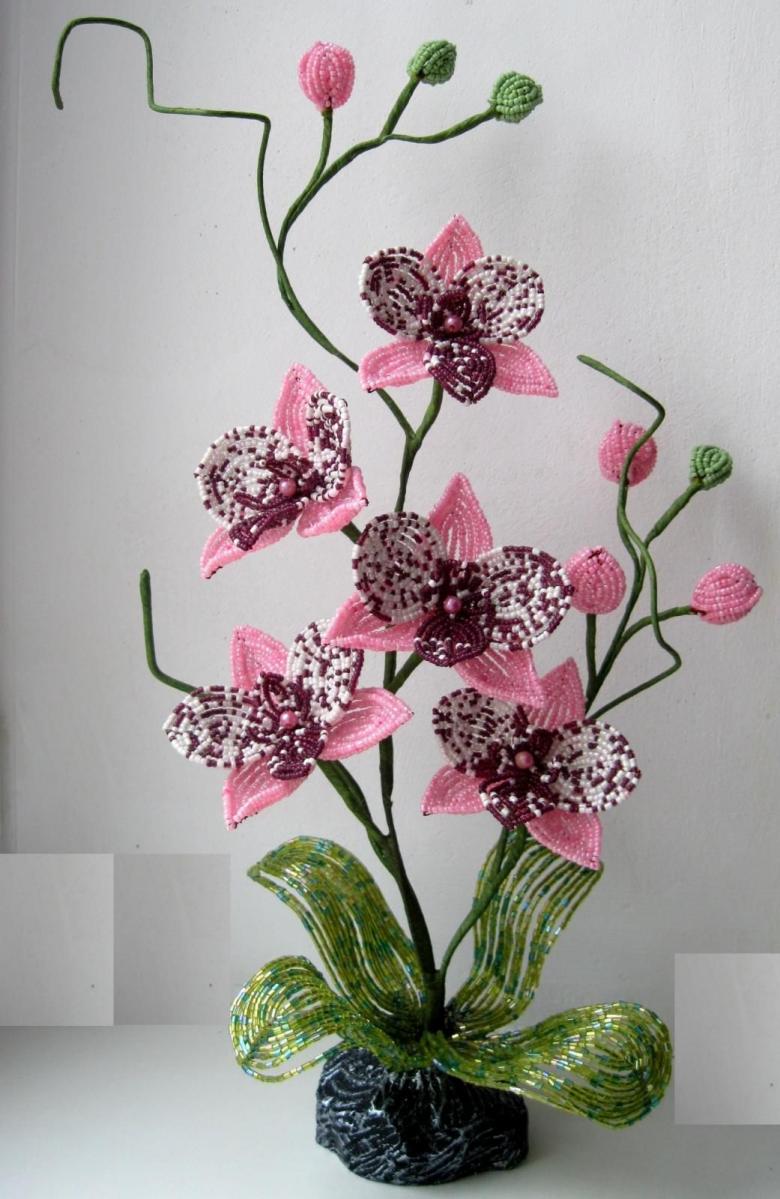
The meaning of colors
Before answering the question of how to make an orchid from beads, it is necessary to understand the meaning of a flower of a particular color:
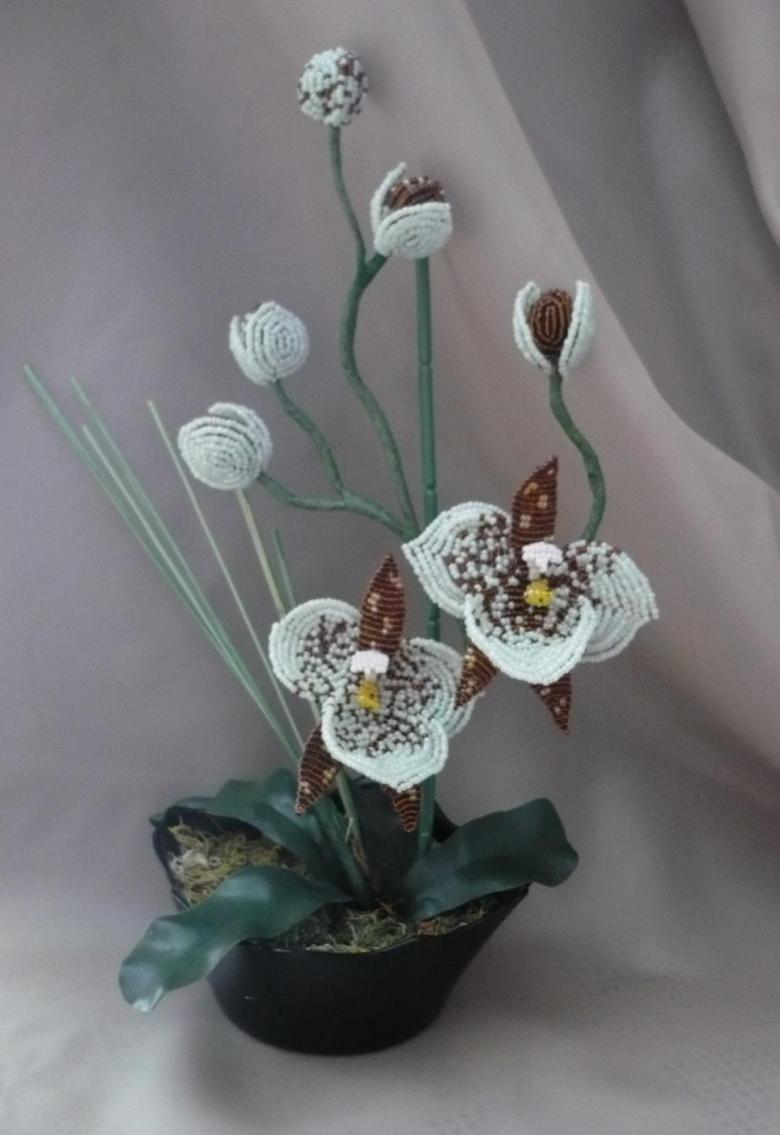
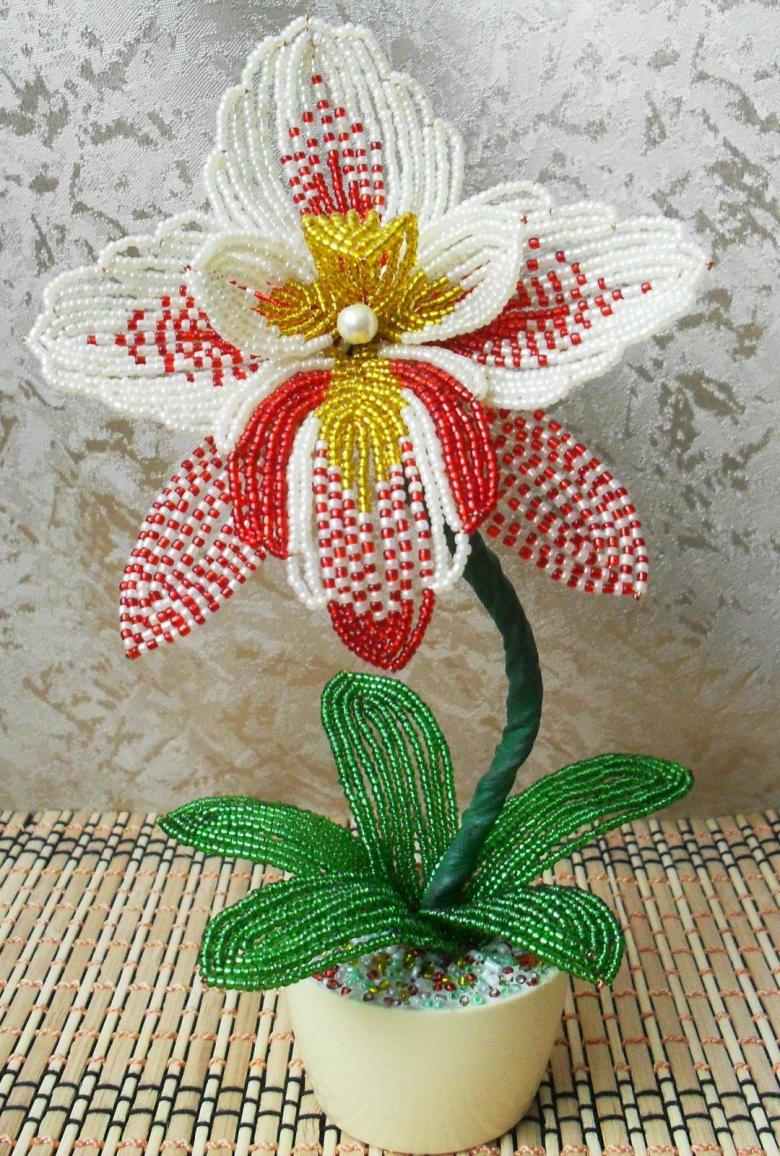
- White color symbolizes love.
- The red color awakens the desire to create.
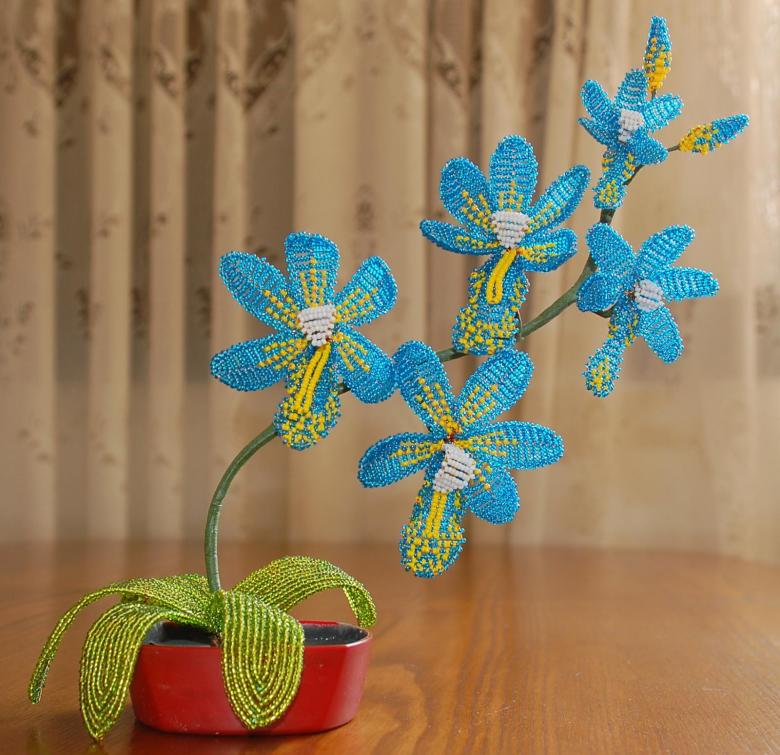
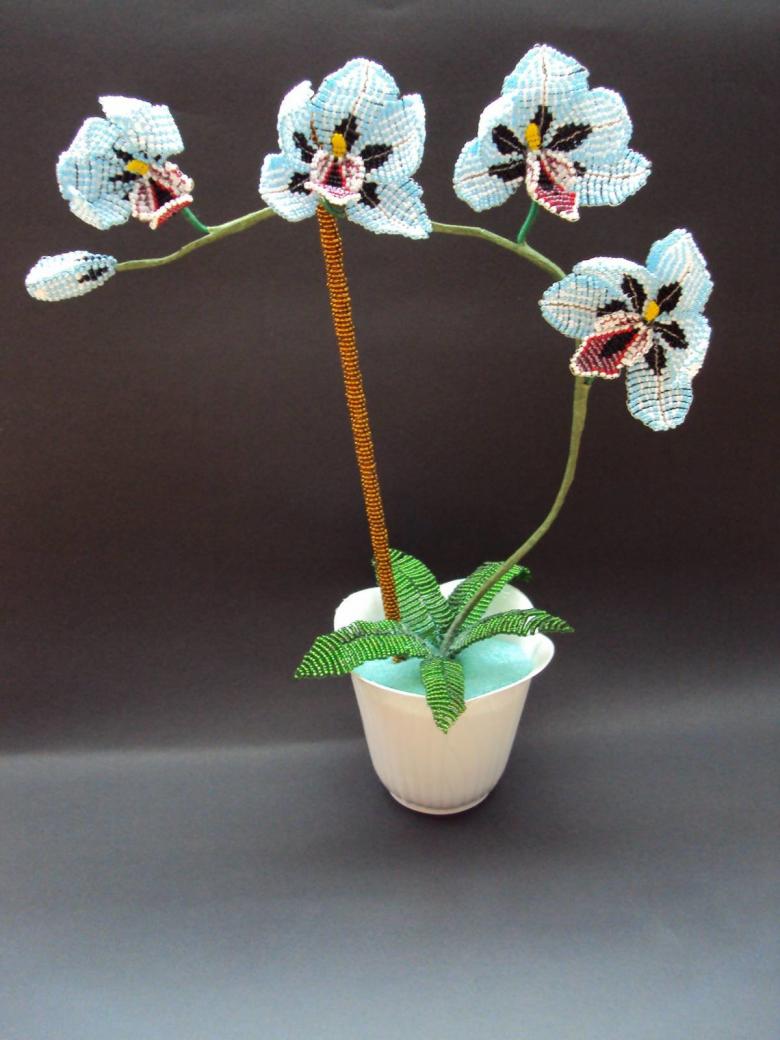
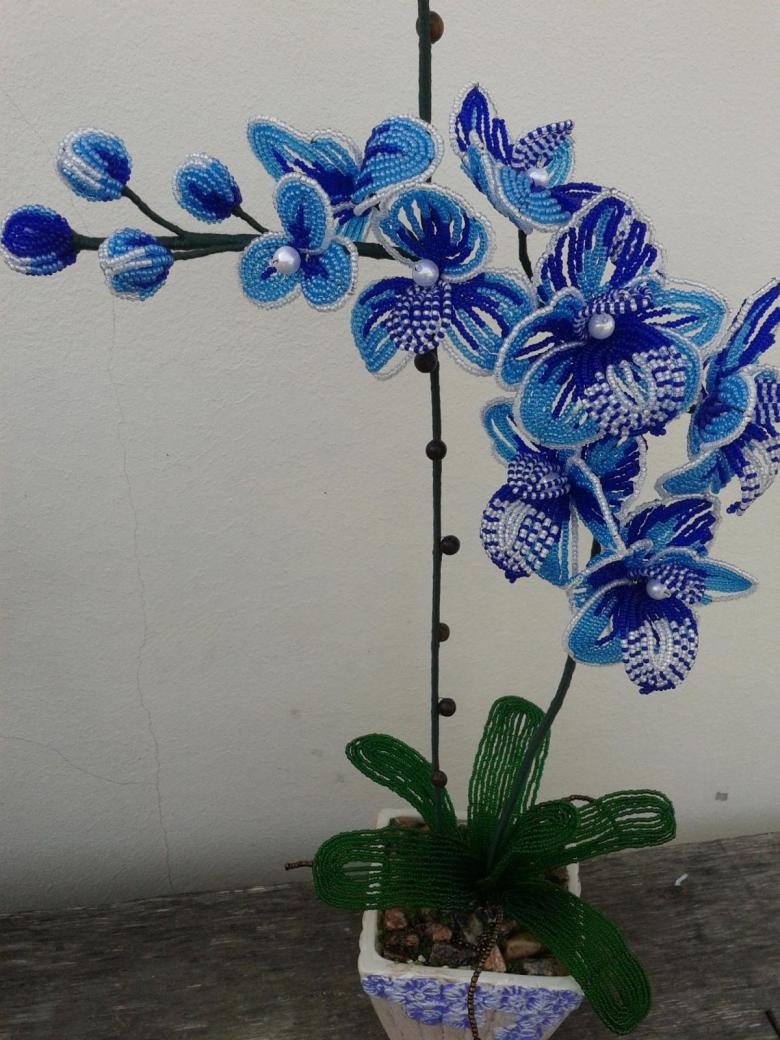
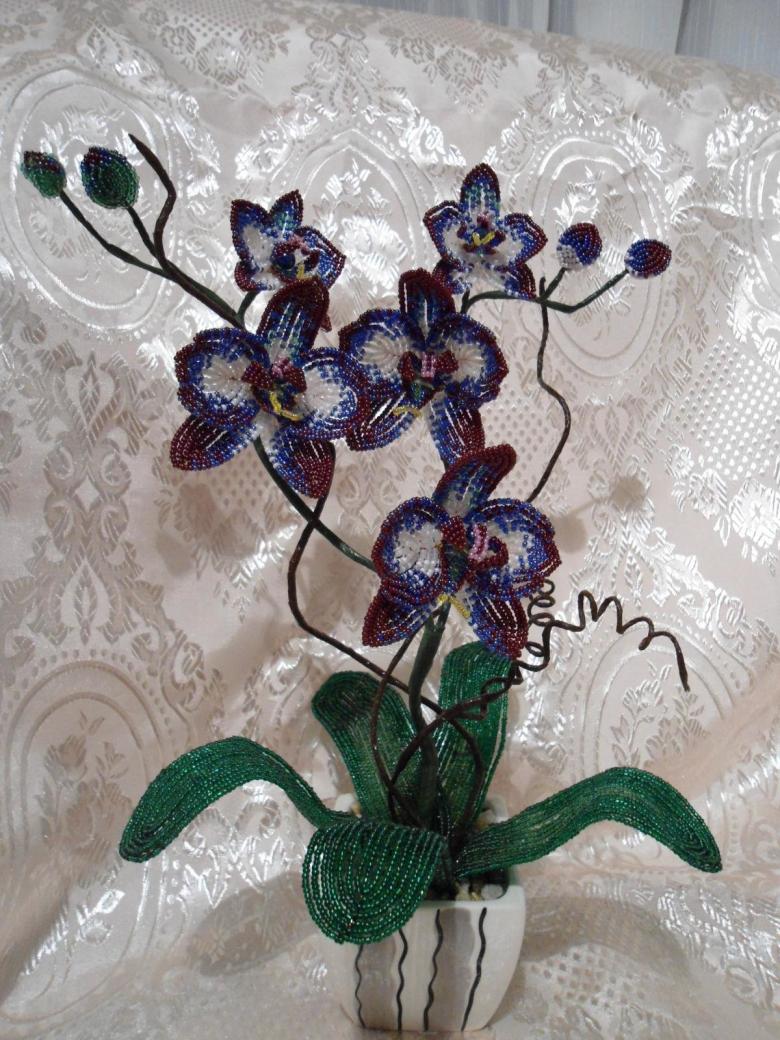
- A blue orchid means spiritual connection and friendship. It is the perfect gift for a parent.
- The yellow color gives joy.
Weaving
This section will be a step by step master class on weaving a beaded orchid.
Leaves
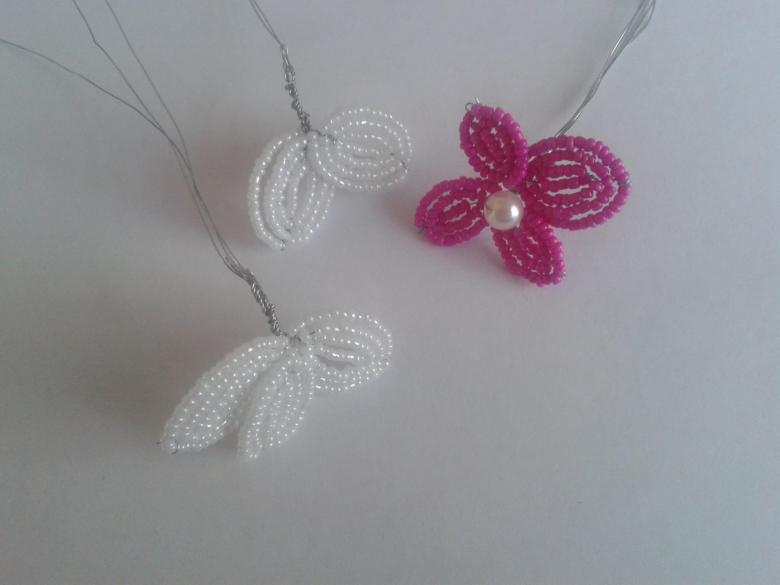
Need to weave 10 leaves: 4 small leaves, the length of which is 7 centimeters, 3 middle leaves of length 9 centimeters, 3 large leaves of length 9 centimeters. The increase is due to the addition of arcs.
- We take a wire of 20 centimeters, on one end a small ring is made.
- On a wire threaded 20, 25 and 30 beads of green.
- Then at the working end of the remaining beads are recruited. Of it are made revolutions around the main axis, a total of revolutions should turn out 6 pieces on each leaf.
- After making each turn, it is necessary to connect with a wire row to the main axis. The connecting wire should be smaller than the main one.
- After a turn and fixing the last row to the axis, the end of the remaining wire is hidden, and its surplus is cut off.
- The rest of the leaves are made in the same way.
Small bud
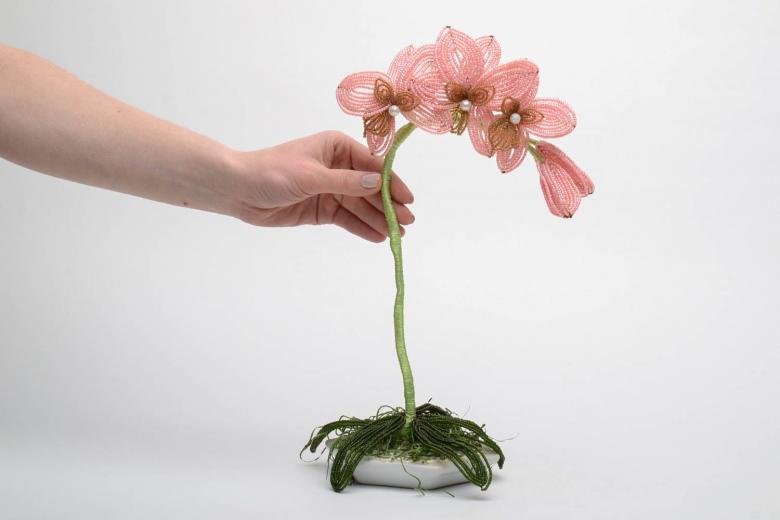
- A thin wire is taken, three green beads are put on it. The other end wraps the wire around to secure them. Then make two turns around from 10 and 18 beads.
- Similarly, the second petal is made.
- A bead is put on the wire of both petals and hidden in the middle between the petals.
- Need to weave two more buds.
Large bud
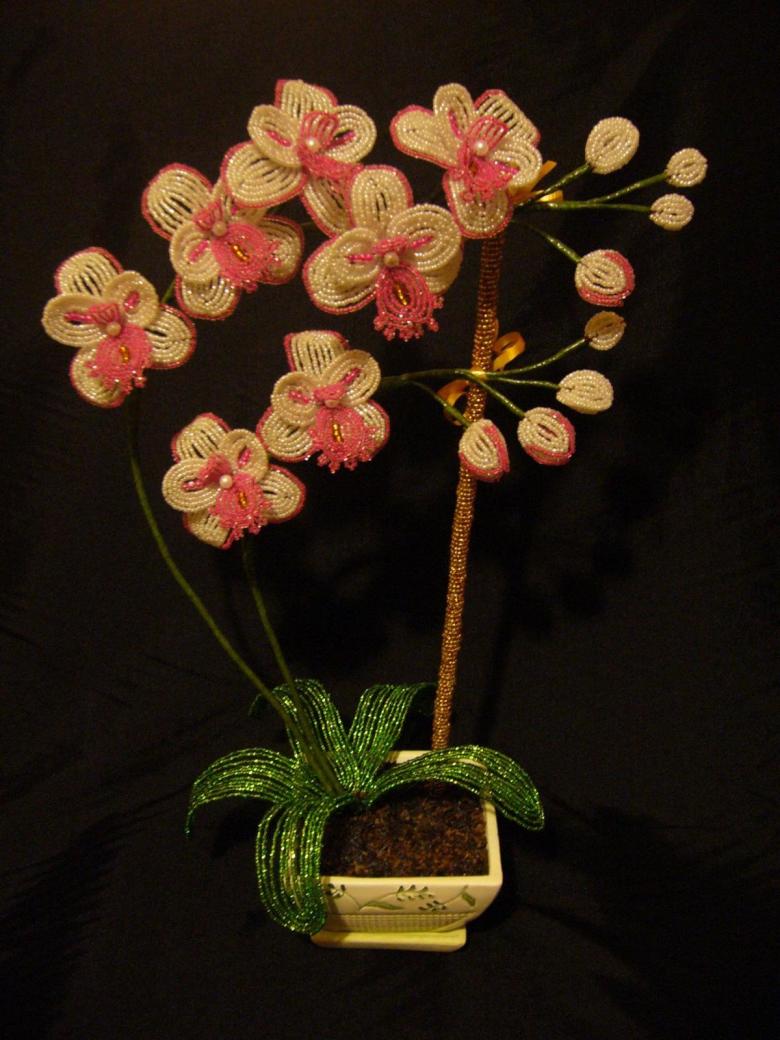
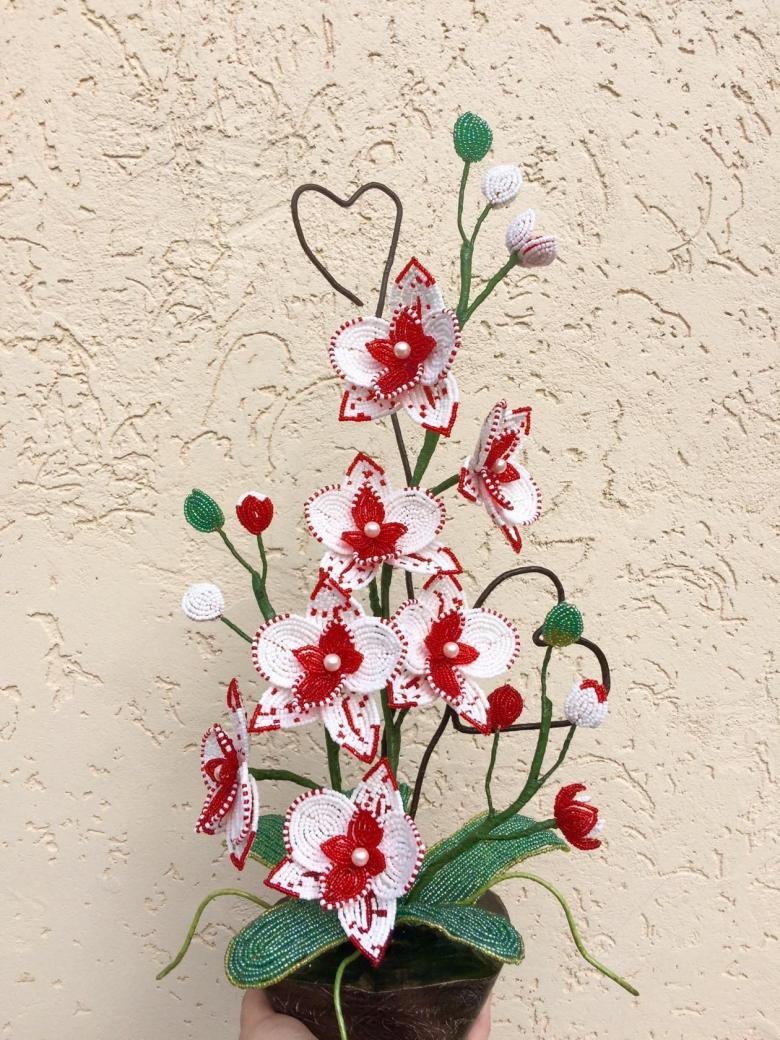
Large bud made of green, white and pink beads. Colors taken at random.
- According to the above algorithm, only not with two, but with three turns of petals are made. The proportion of different colors of beads is at the discretion of the master.
- From the upper end of the petals you need to leave 5-7 centimeters of wire and connect the petals to each other using them.
- On the resulting axis of 3 petals planted beads and closes the petals.
- Petals are twisted between each other.
- Need to weave two more of these buds.
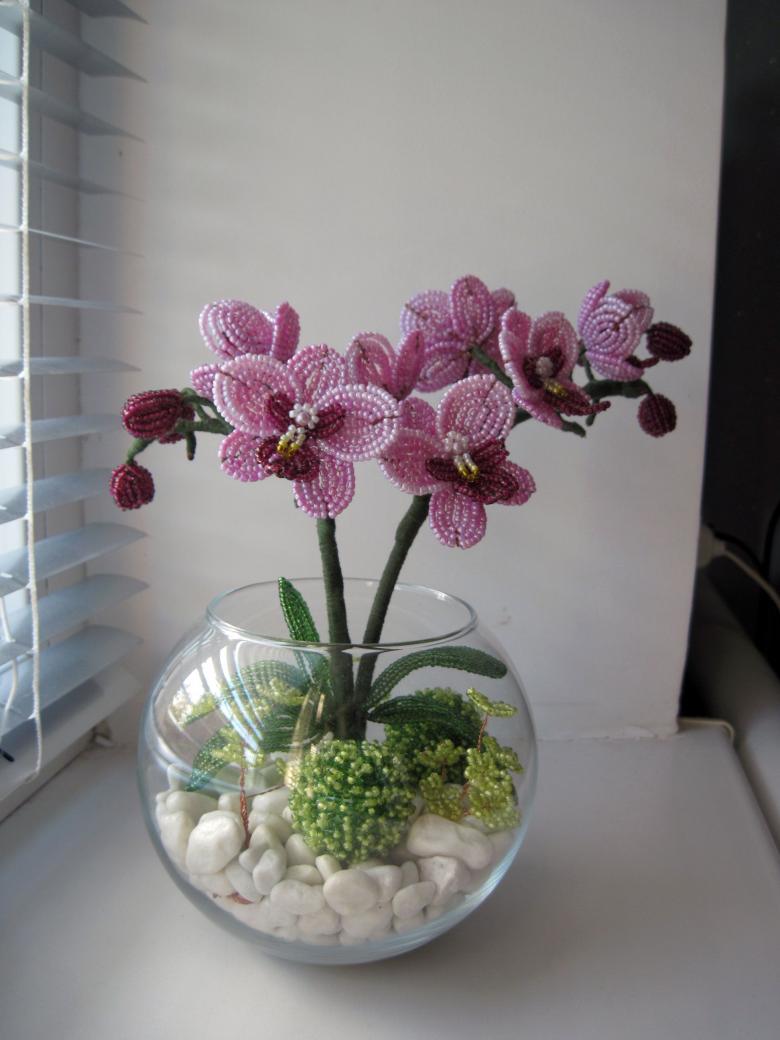
Stamen .
- On a wire planted a large bead and 26 beads of yellow.
- The ends of the wire must be wrapped around each other 3 times at the base of the bead.
- Then 5 beads are put on both ends.
- Then 21 beads are put on them and a loop is made. Pistil is ready.
- Put 4 yellow beads on the wire, make a round loop of them. Then you need to make one more turn around. Ear ready.
- Total need to make 7 pistils and 14 auricles.
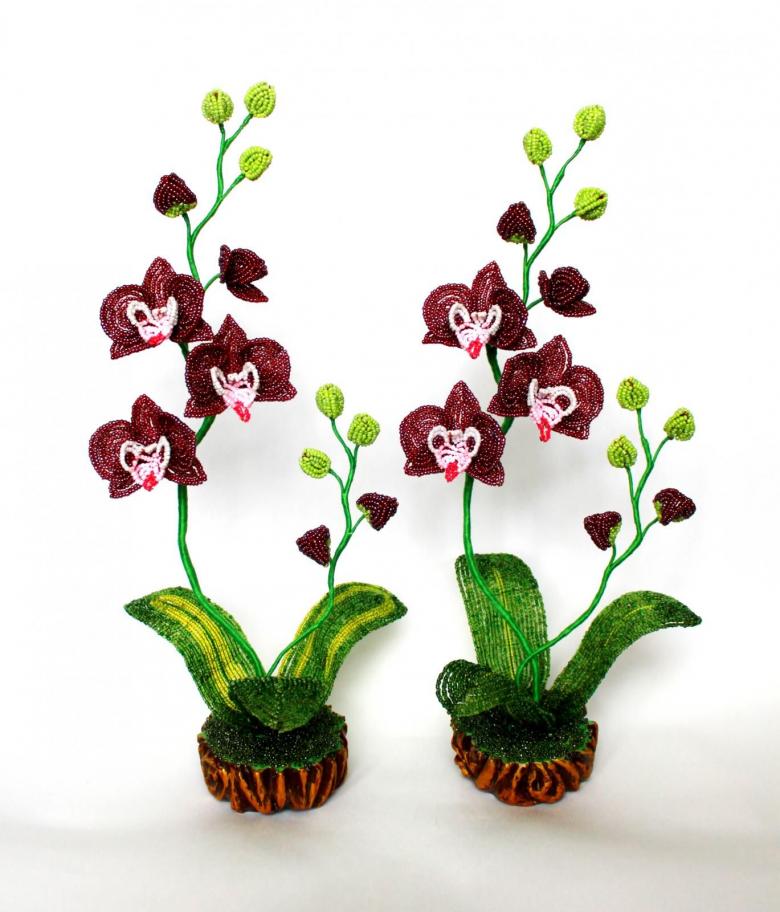
Flowers .
- On a wire threaded 6 white beads.
- Working thread is done one turn around the 17 white beads. Then another 4 turns with a constant increase in the number of beads. Excess wire is cut, the ends are hidden. Round leaf ready.
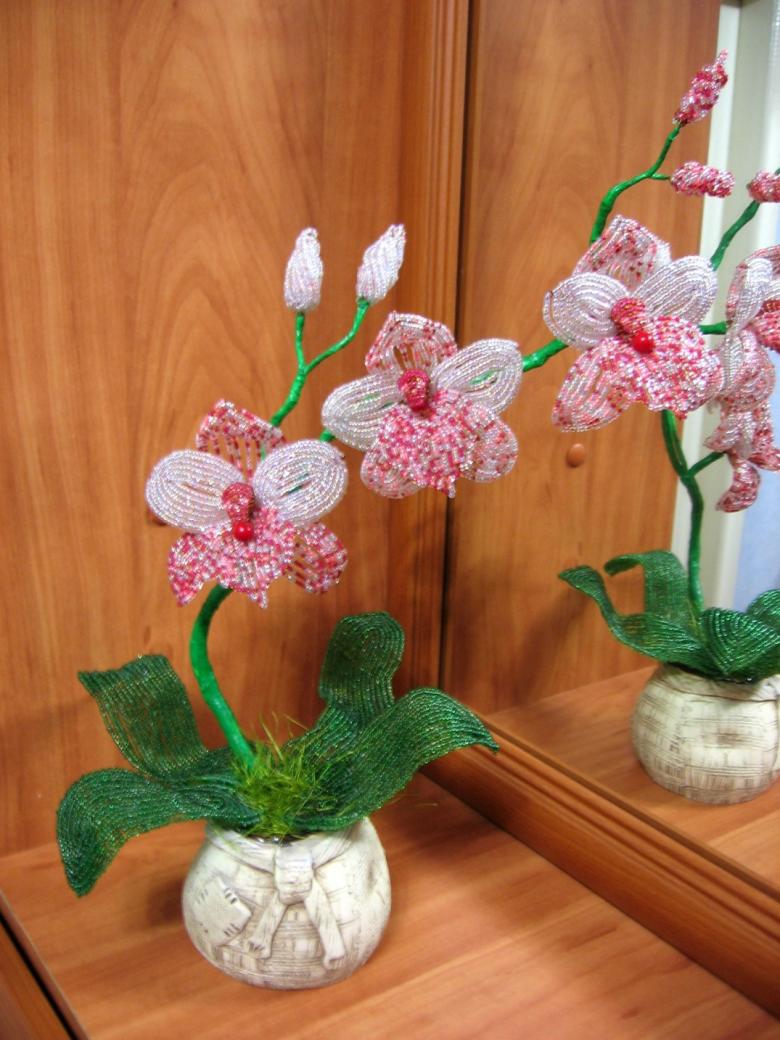
- At the base of 8 beads (you need to take beads in several shades of red and pink).
- The first turn of 23 beads is made. Then another 1 bead is put on the main end. Total need to make 4 such turns with a constant increase in the number of beads. These extra beads will make a sharp petal.
- To make the tongue you will need two shades of red. Three beads are placed on the wire. One turn of 7 beads is made. Then another 3 circles with more.
- The middle part is slightly pressed inside to give the shape of the petal.
- In total you need to make 7 tongues, 14 pointed and 21 round petals.
- Two round and two sharp petals are combined with a pair and connected to each other.
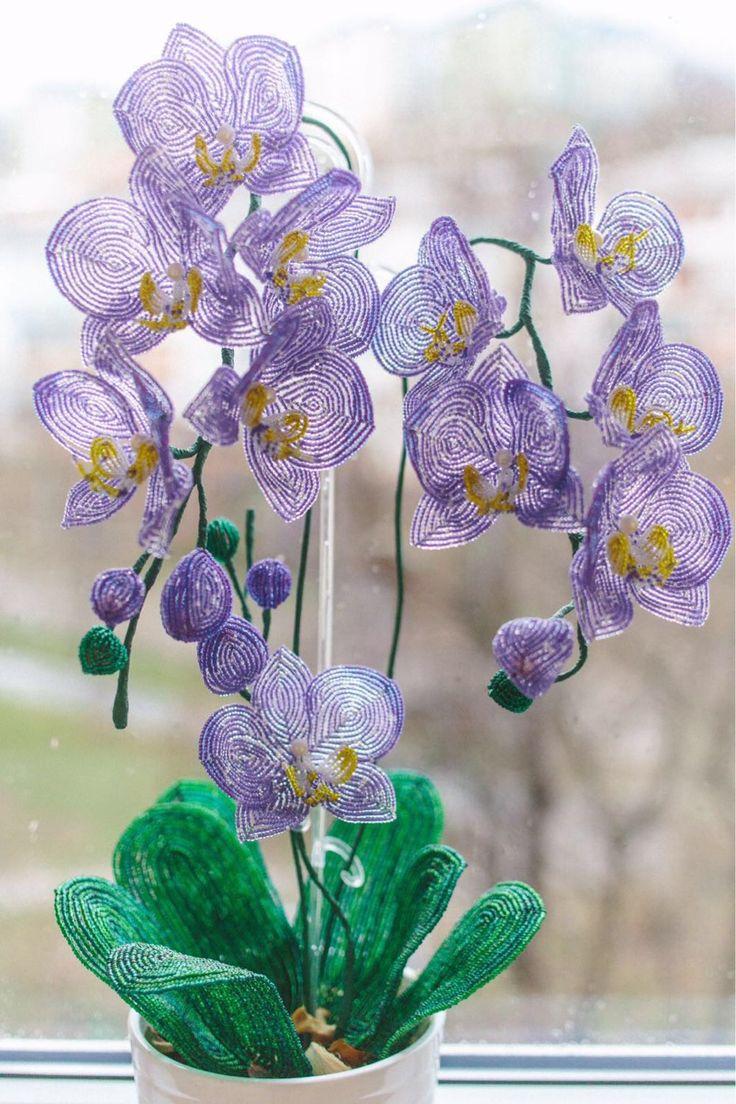
Assembling the flower
- Tongue and stamen are connected to each other. The bead should lie on top of the calyx.
- The sides of the stamen are attached to 2 ears.
- Above the stamen is fixed a round petal, and then below is attached to the prepared pair. All elements are aligned, the petals are slightly bent.
- The flower is assembled.
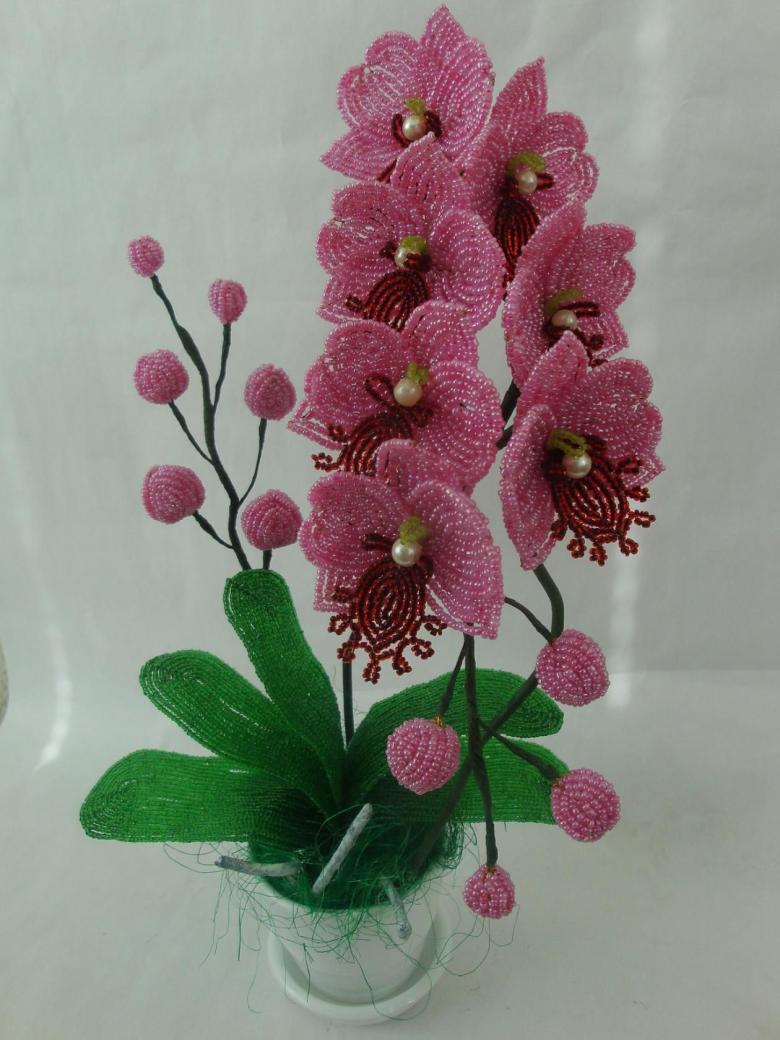
Assembling the branch
- Before you begin, the wire under all the elements should be wrapped with wire and green thread.
- On top of each branch is attached one small bud. A little lower the large buds are attached.
- Even lower, the flowers are attached to the branch.
- Almost at the base, the petals are divided into even parts, to each branch and joined together.
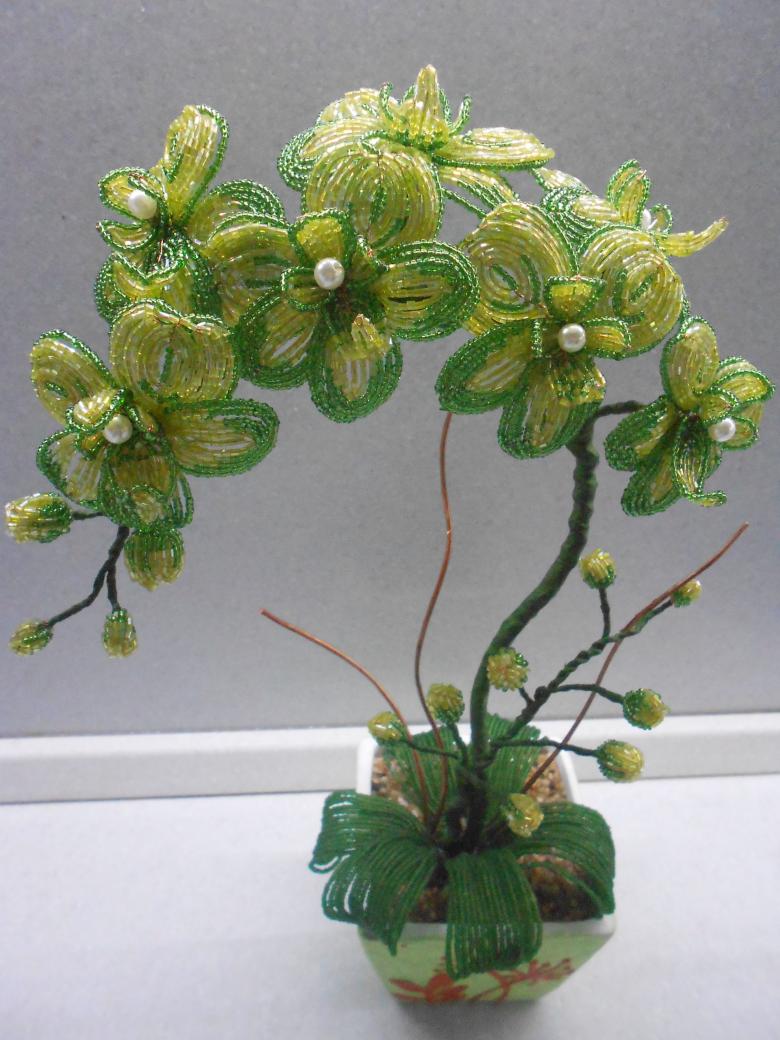
Soil for the orchid
- 0.7 liters of water is poured into a container.
- In the water, 0.25 kilograms of dry gypsum is poured. Stir the solution until the lumps disappear.
- Let the plaster stand for a couple of minutes.
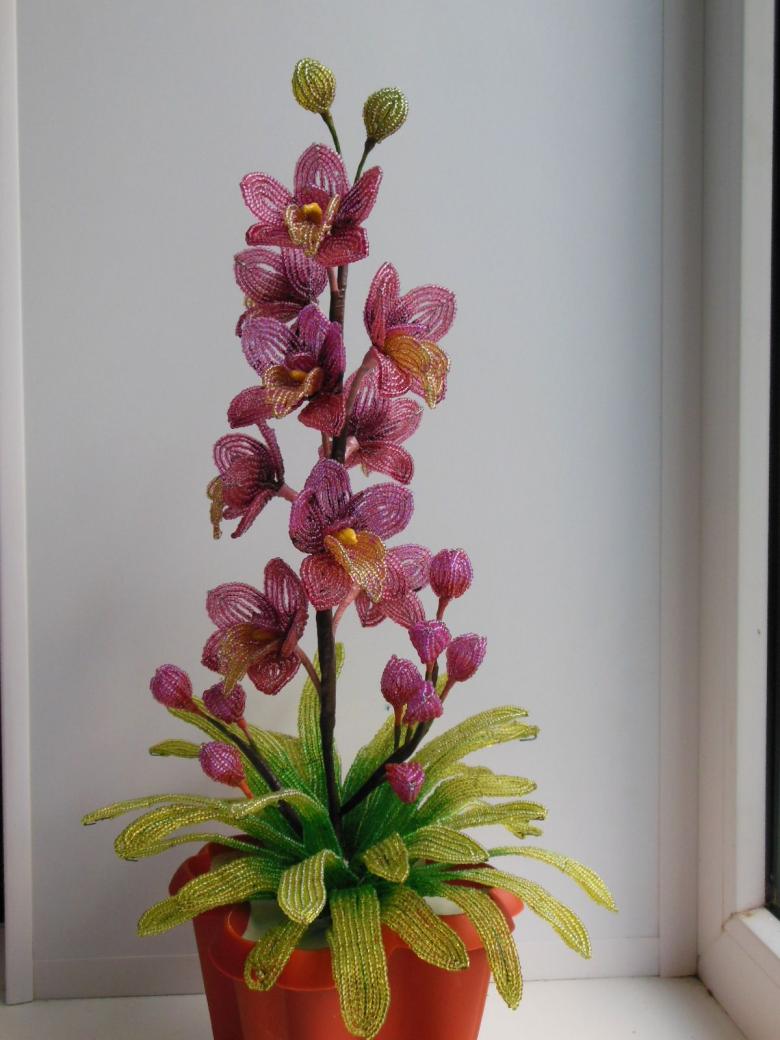
The prepared solution is poured into the pot, should be filled 2/3 of the capacity of the pot. Then the orchid is placed there, it is necessary to let the solution dry. To do this, the flower is attached so that it stands flat, leave it in this position for 24 hours.
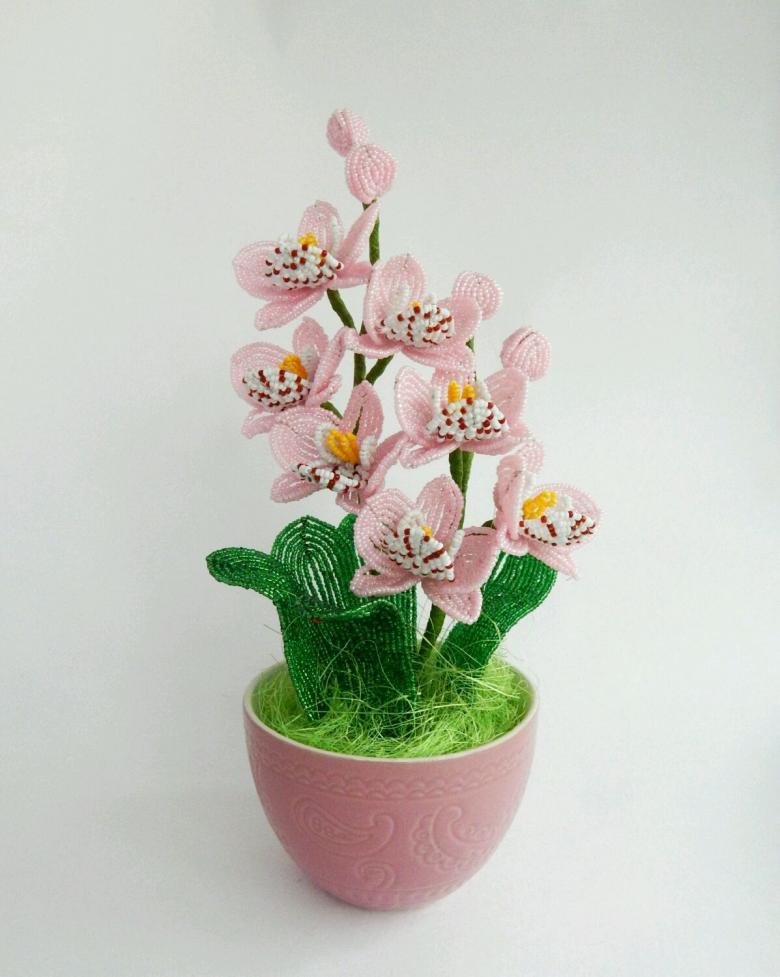
After the plaster has hardened, the flower should be beautifully arranged. Curve the petals of flowers slightly and straighten the leaves out. You can also decorate the plaster with pieces of bark, so that it is not visible.
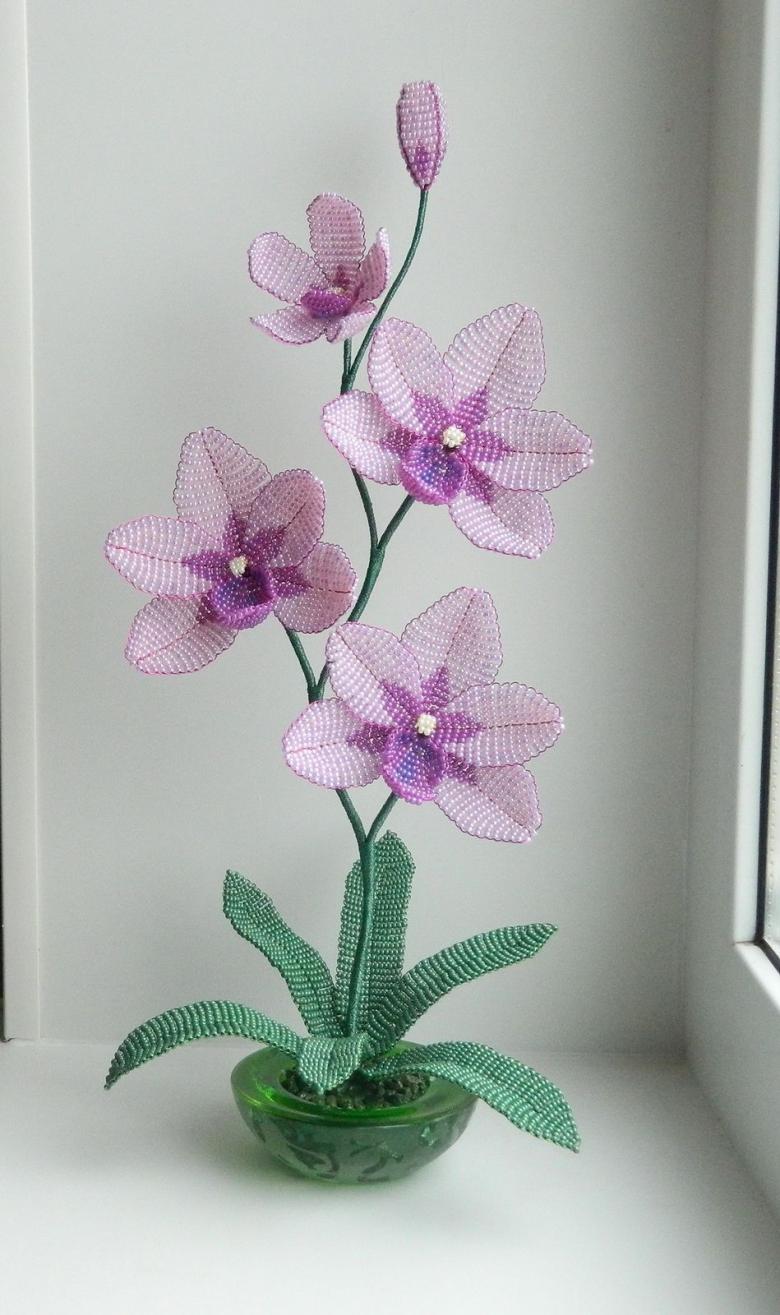
This was considered the usual technique of weaving orchids. It is still possible to make flowers using the mosaic weaving technique. However, this option is very difficult to perform and is not recommended for beginners.
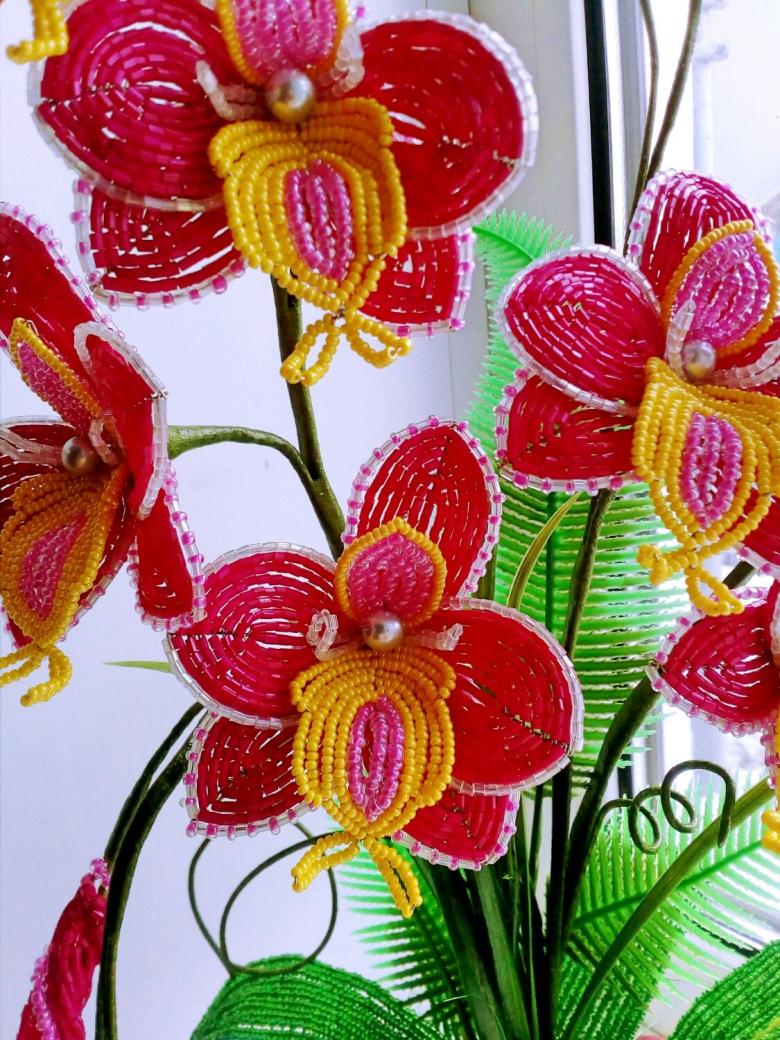
Weaving an orchid from beads is quite a time-consuming process, which requires a lot of time and effort. But the result is worth it, as a reward for their labors, the master will receive at home a flower that will delight him with its blossoms all year round.
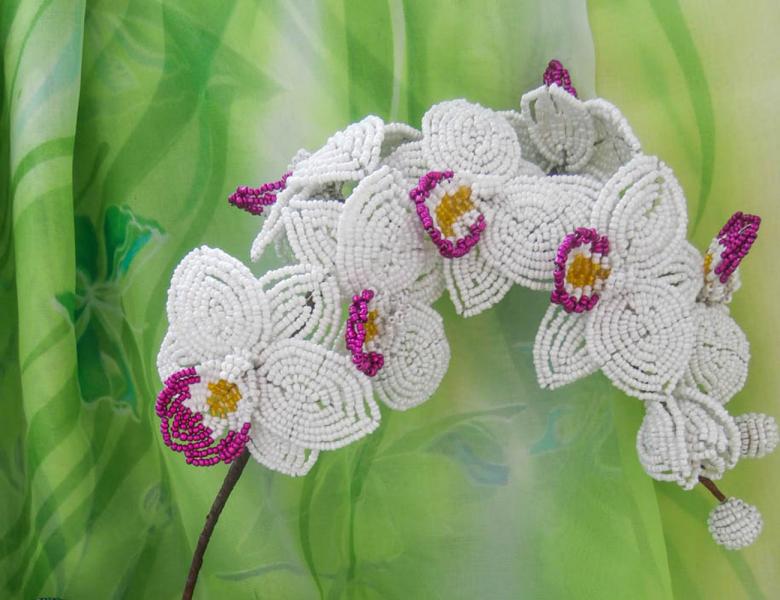
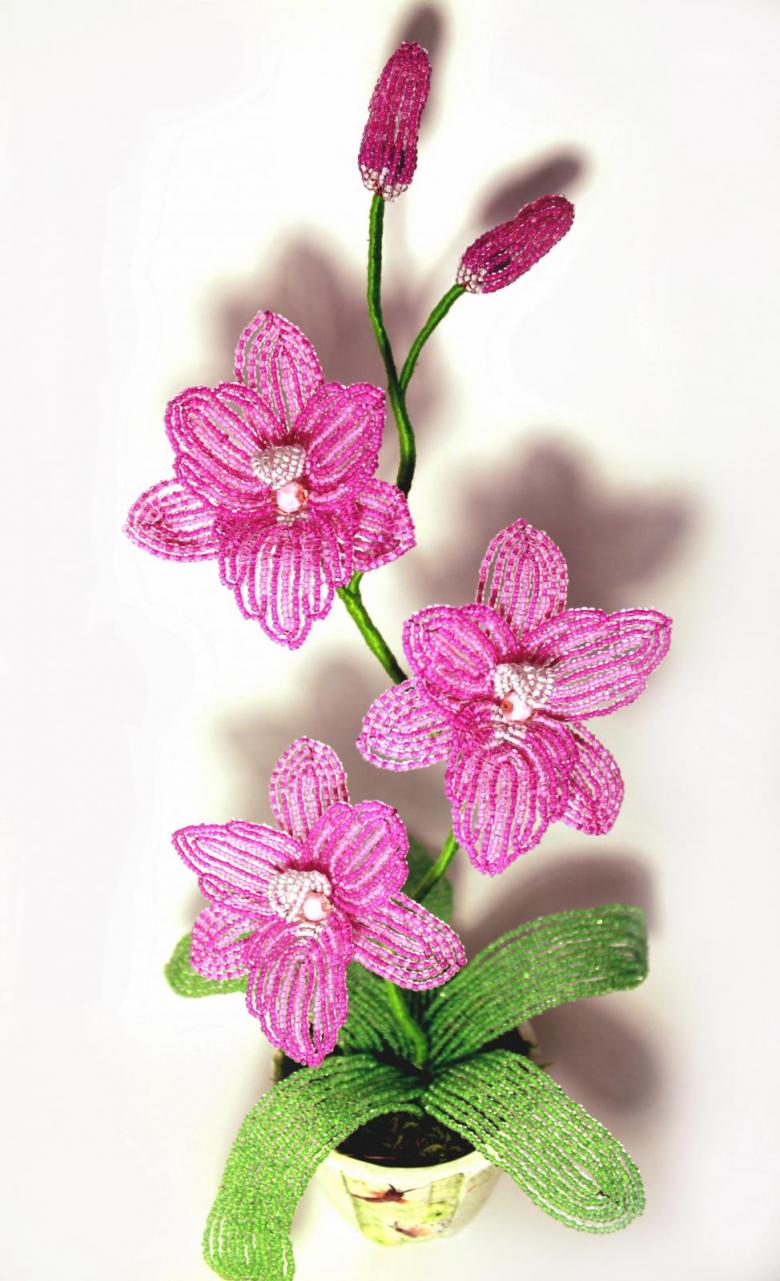
It is not necessary to copy the colors from others, you can experiment and come up with your own palette of shades, which will look not usual.

