Origami Frog: a step by step description of how to assemble a paper frog
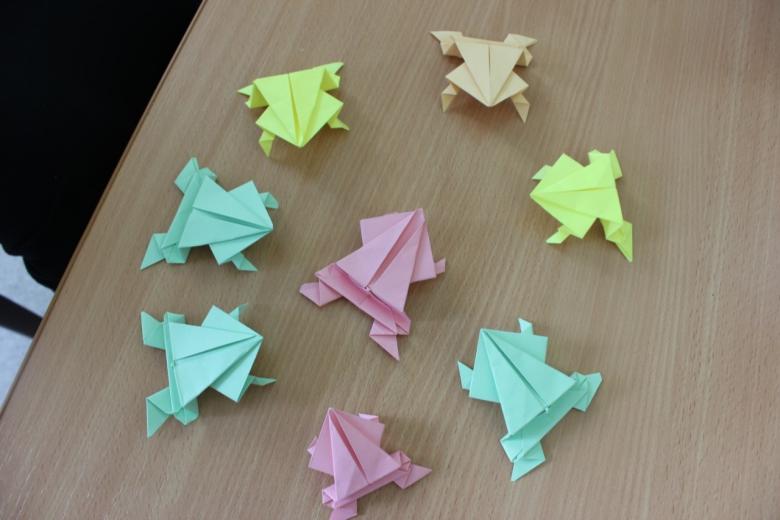
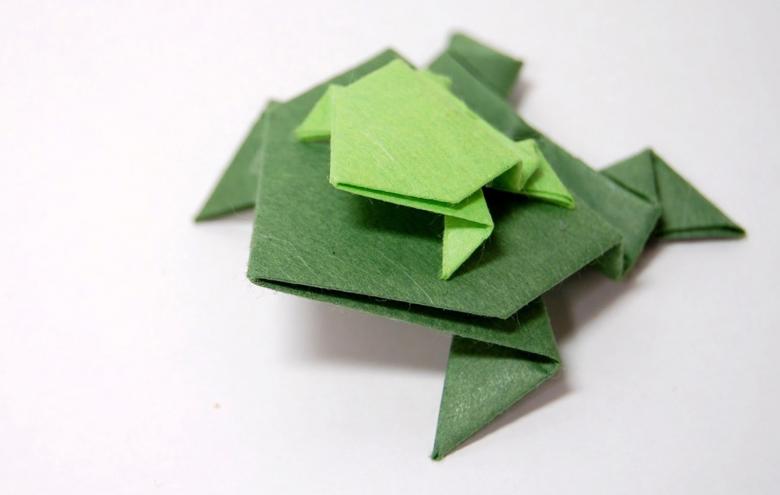
This ordinary, but, nevertheless, interesting amphibian is often the object of the game. Why? Maybe because of its hoppiness, which causes a genuine interest in children? Most likely, yes! Well, we'll toss you the idea of several options for making this toy with their own hands.
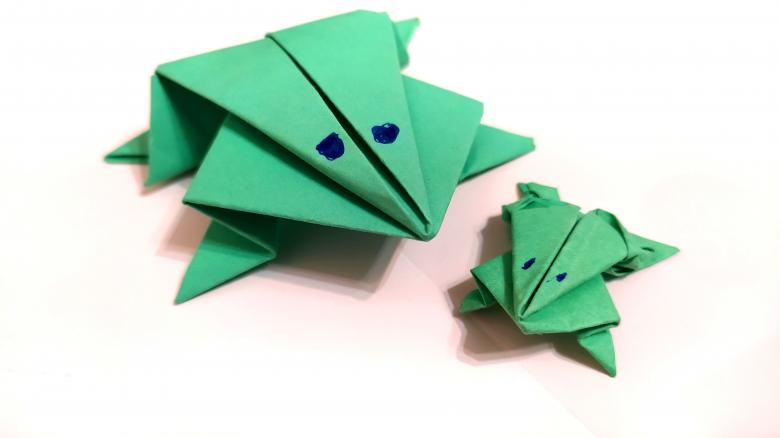
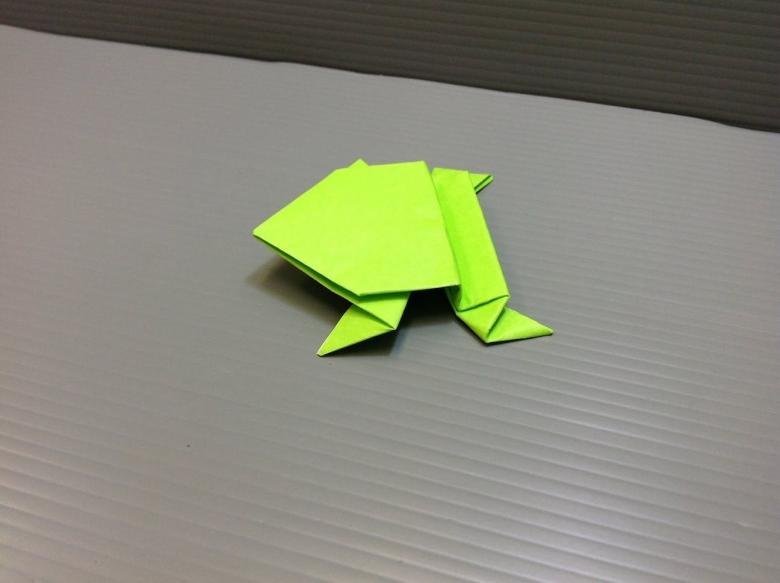
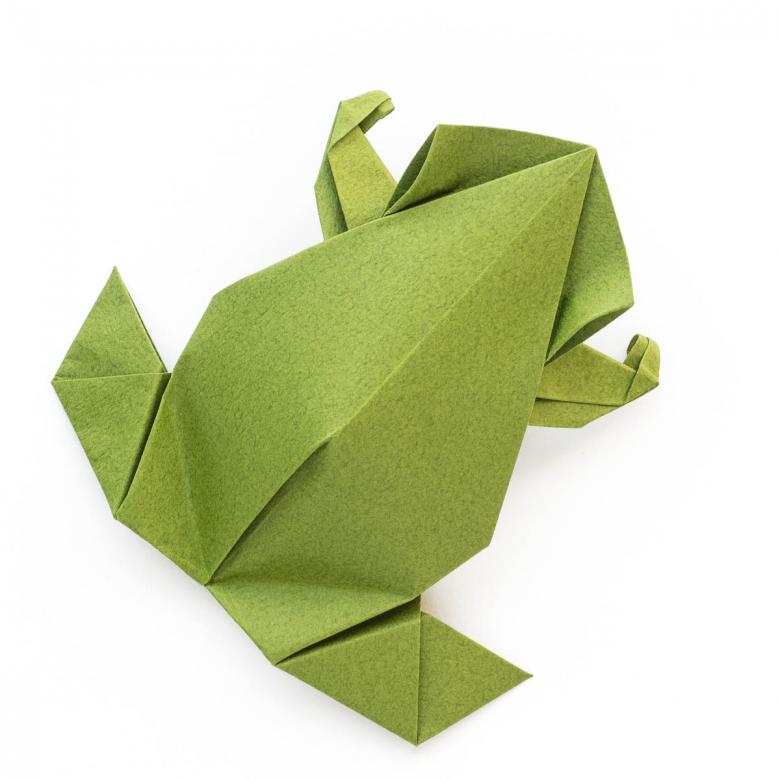
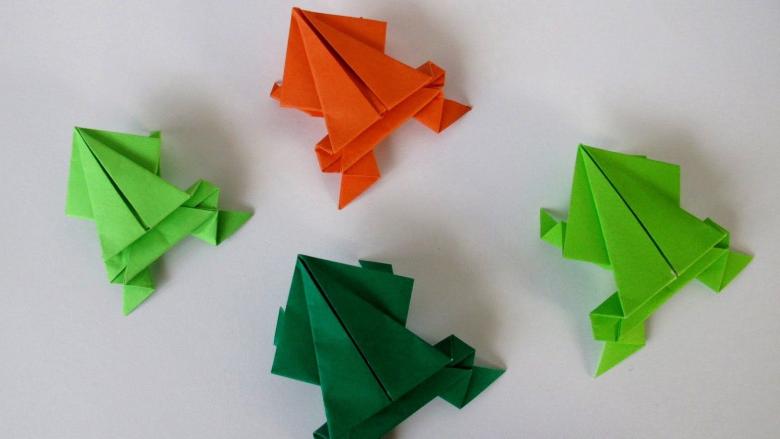
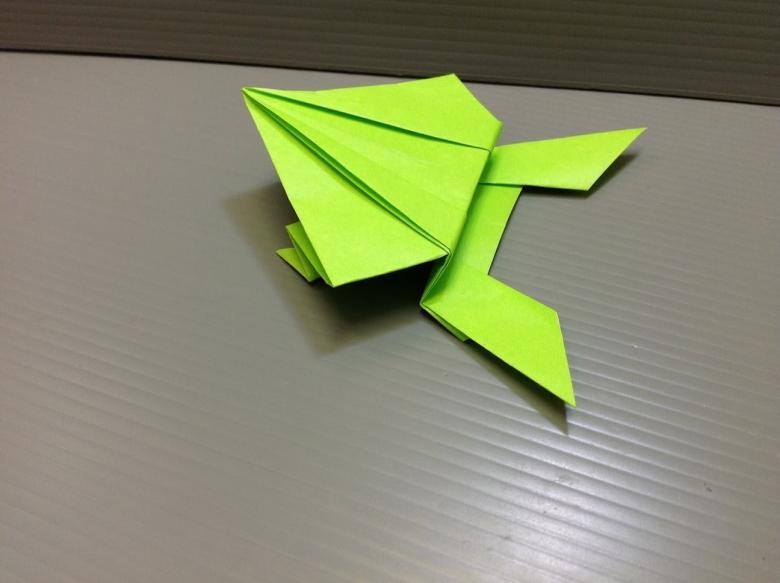
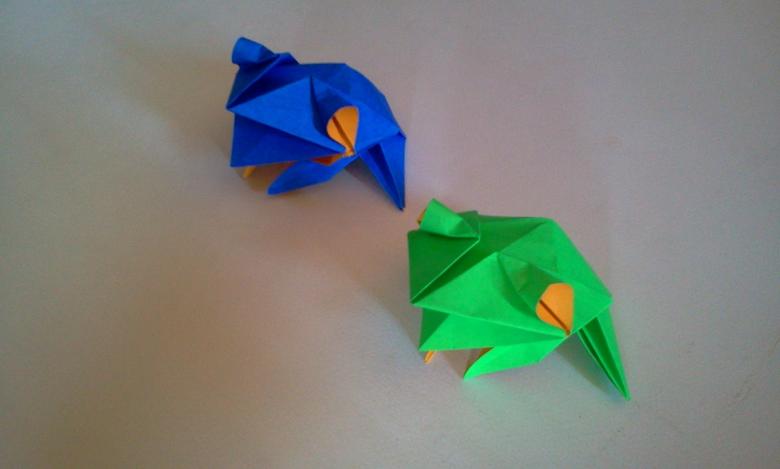
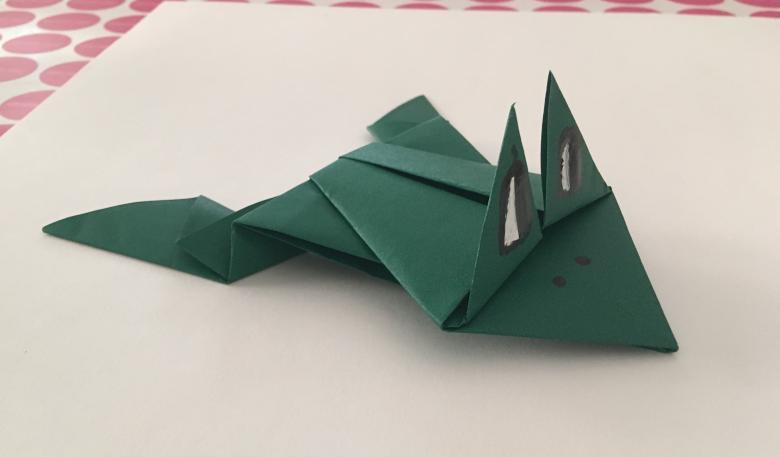
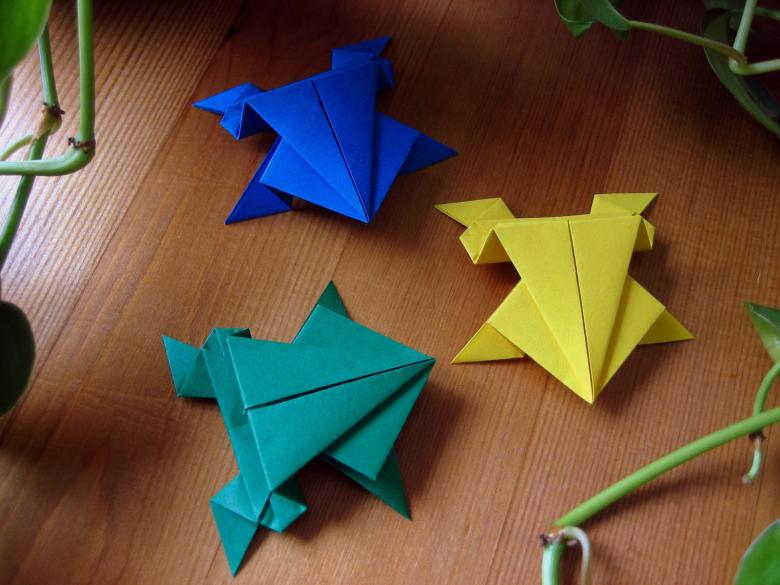
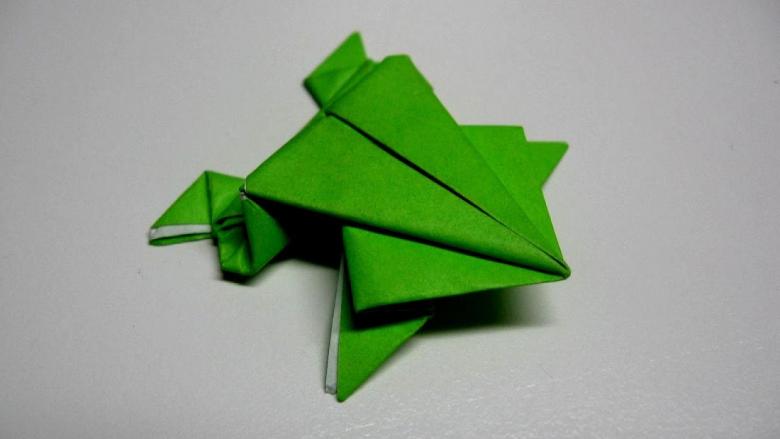
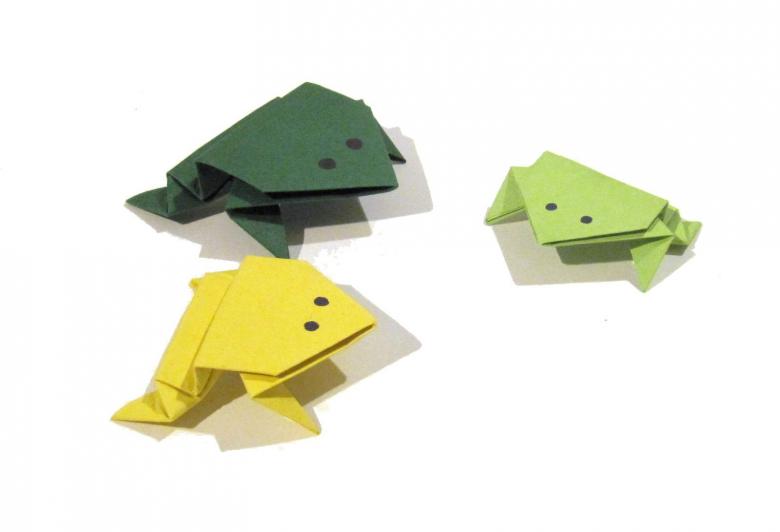
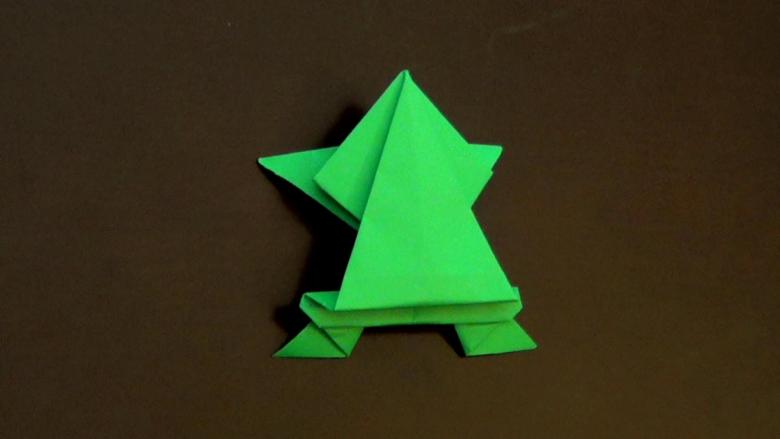
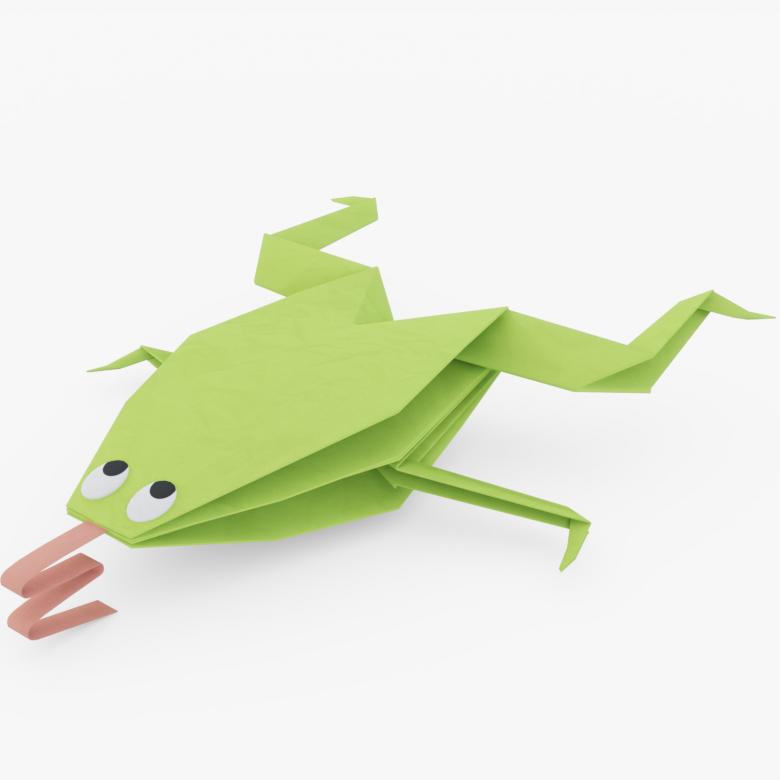
Jumping frog - origami simple way
Needed material:
- colored paper or cardboard (green);
- scissors;
- ruler;
- pencil;
- glue.
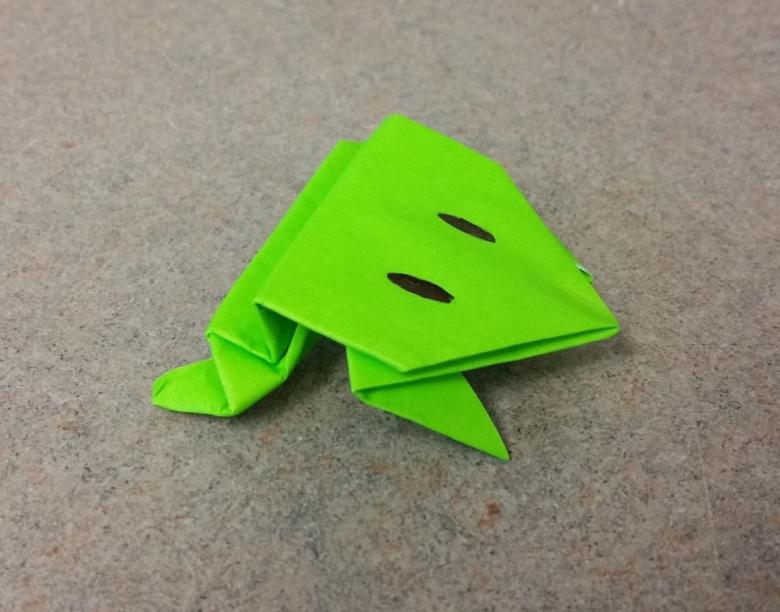
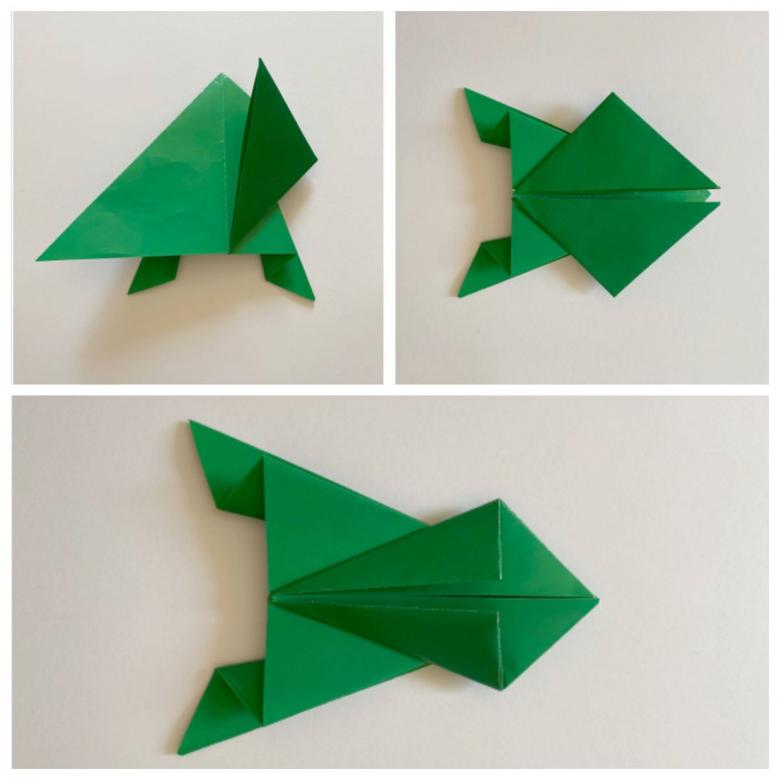
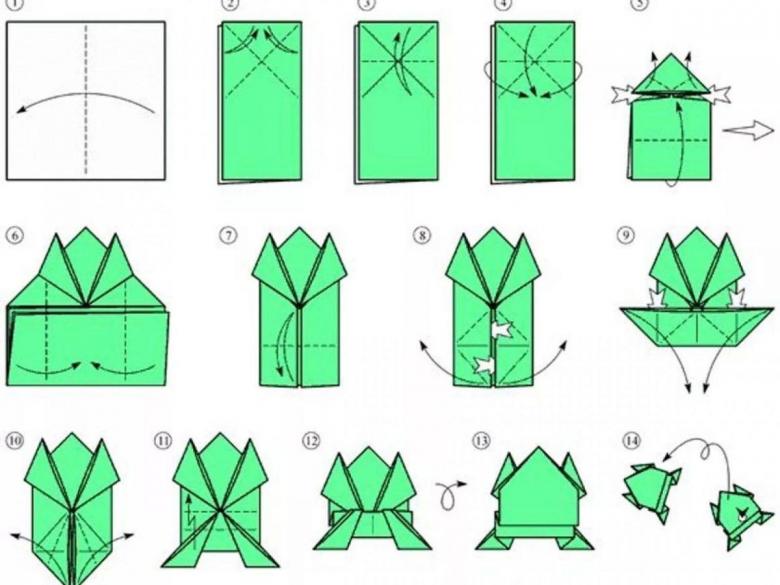
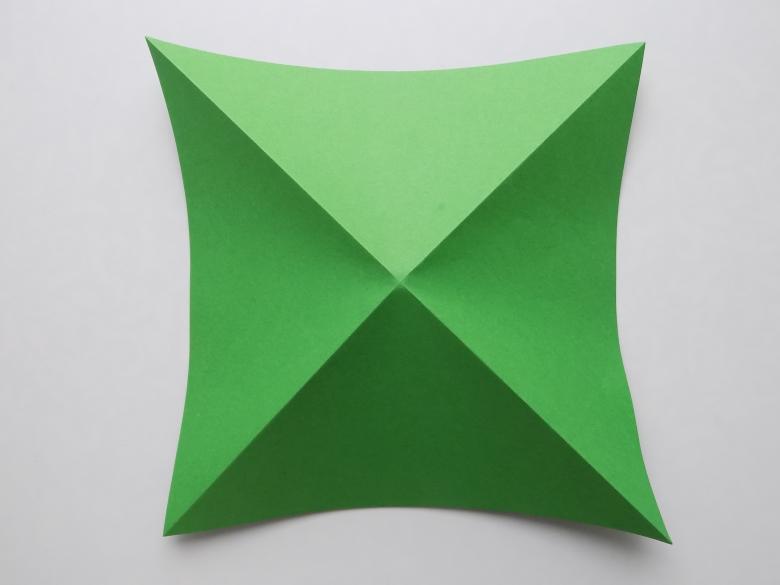
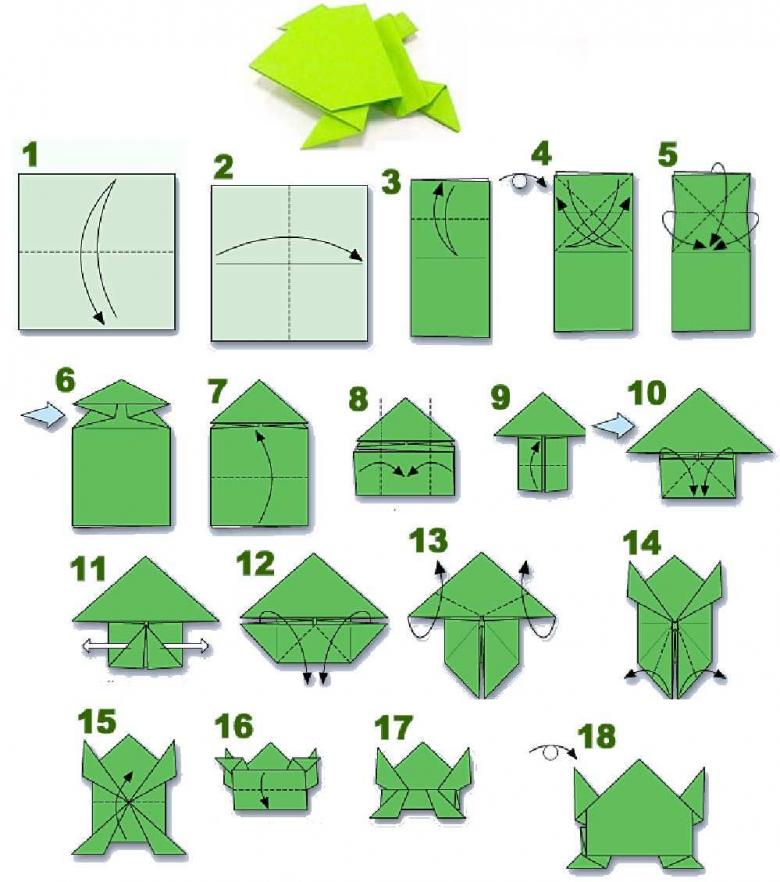
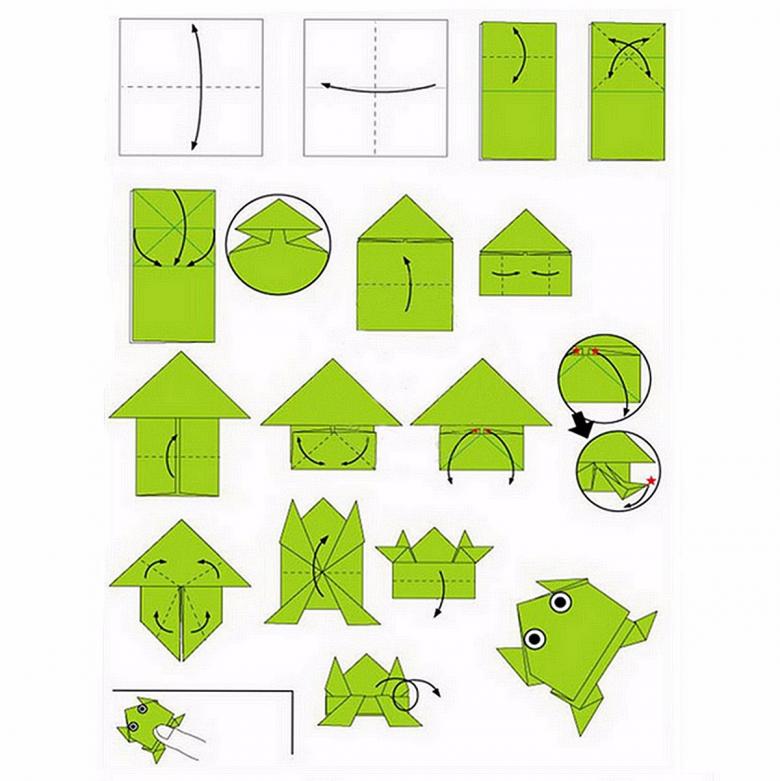
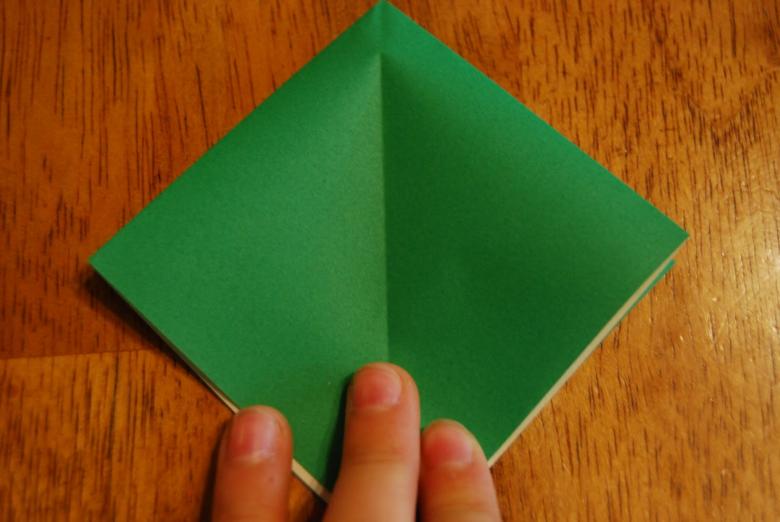
Lay the sheet on the table face down. Diagonally prograde the top left corner to the right so that both edges completely overlap.The line of the fold well pressed to lock.Now, the paper is unfolded and repeat the same procedure with the right corner of the sheet to the left. Visually, you should get a pattern-cross on the cross. Turn the workpiece facing side.
At the intersection of the cross perpendicularly fold a sheet, pushing it so that it protrudes outward slightly. Again turn, keeping your fingers on both sides of the bend center cross upwards. All the places where the folds of the paper well pressed.
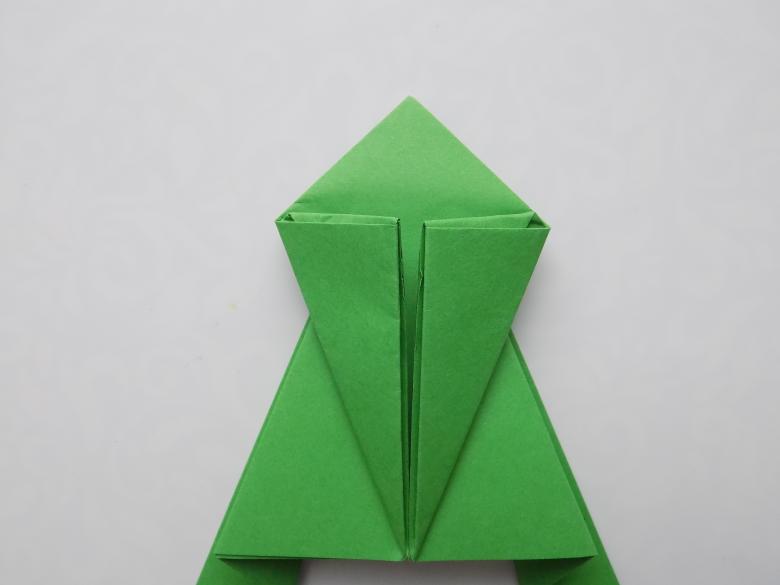
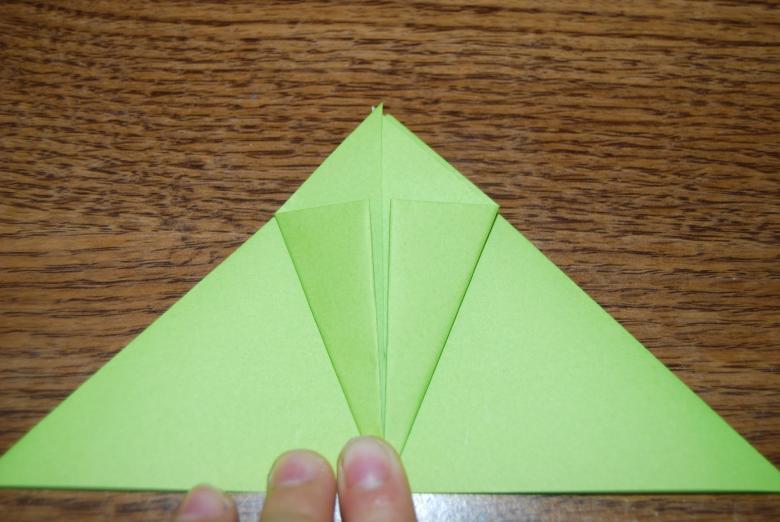
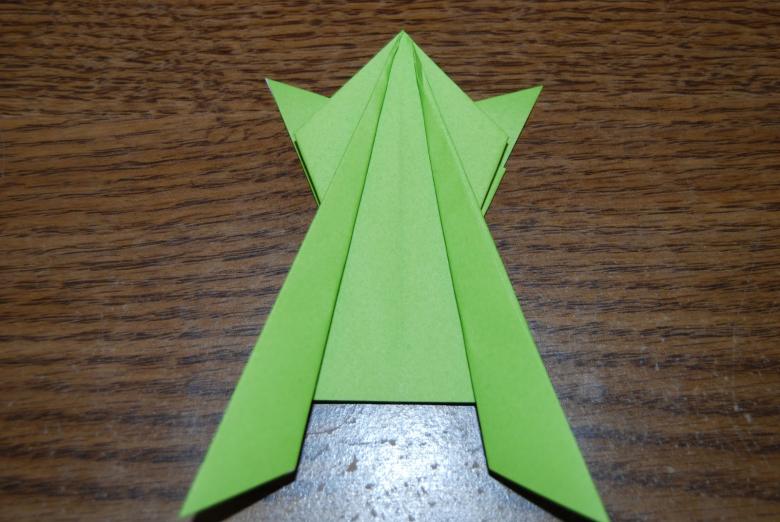
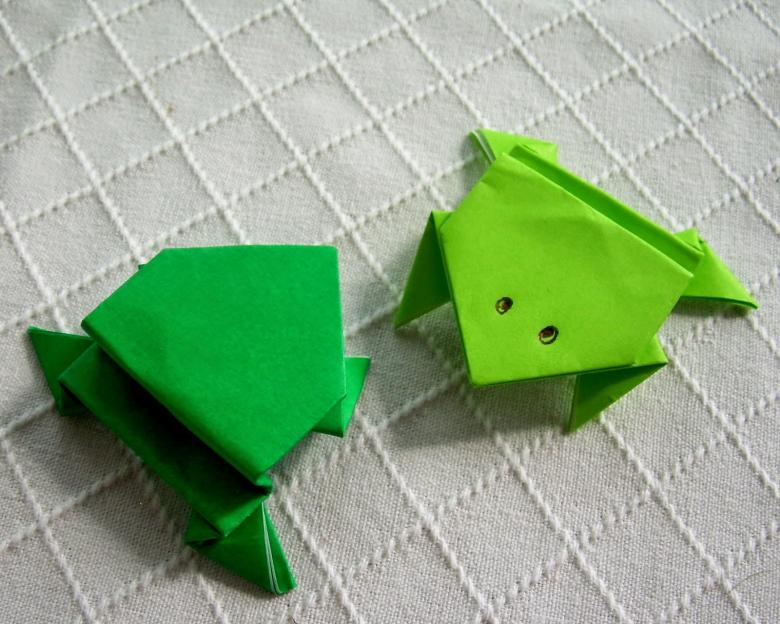
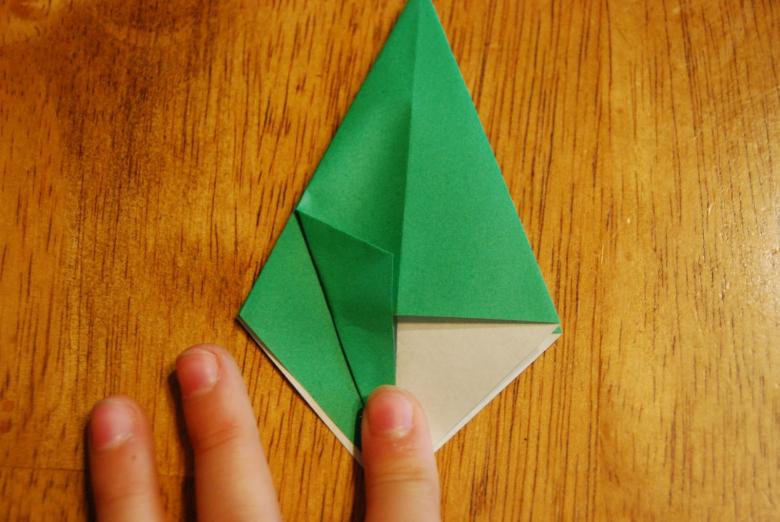
Turn over, the product looks like a double triangle.Side corners are bent up, their edges should coincide.Vigorously press the folds. Almost ready front legs of the future frog.Then, bend the right and left sides of the product towards each other.All the time press the folds to secure the finished toy.Step back from the bottom of 4 cm, draw a line and fold the product up the line. Well pierce.
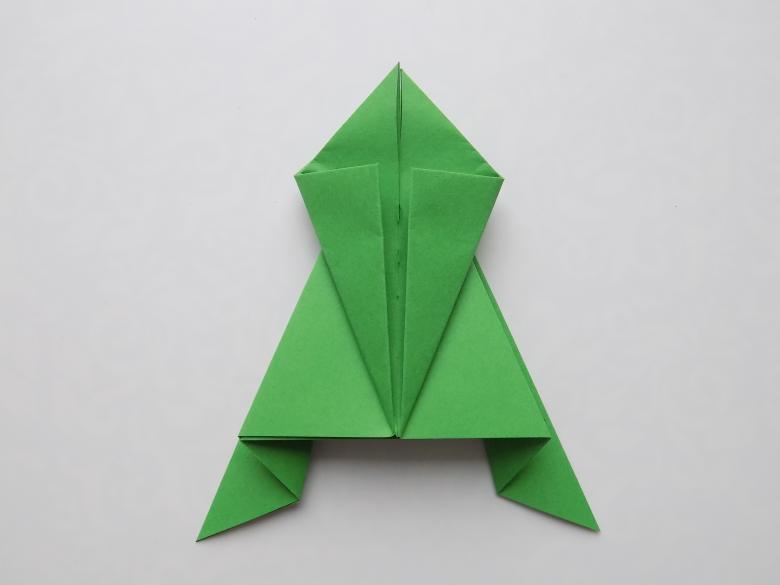
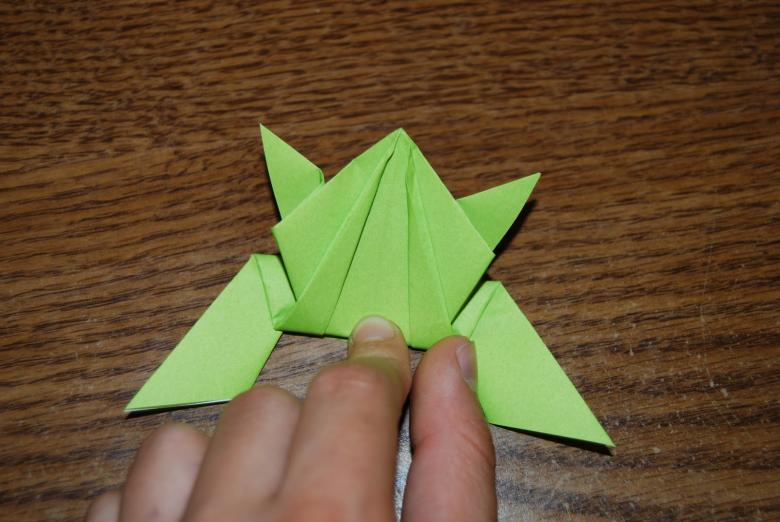
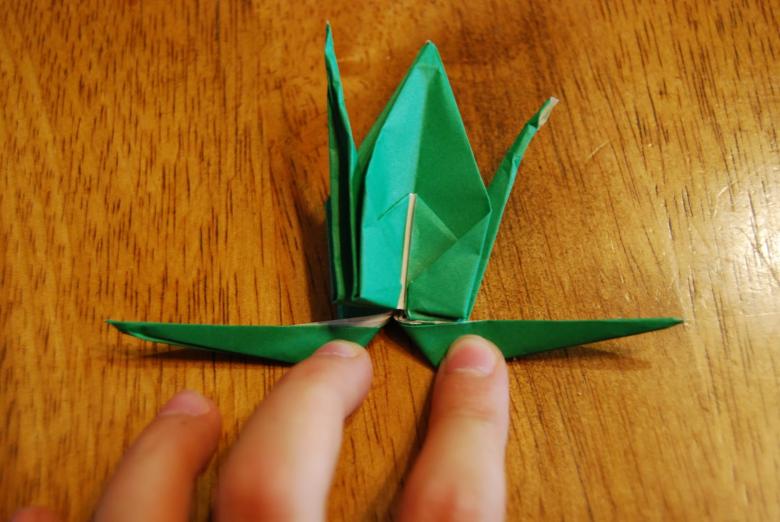
At the bottom edge of the legs of the frog unscrew the paper back. Fold again the rest of the paper so as to obtain an accordion. Press all the bent parts of the product.
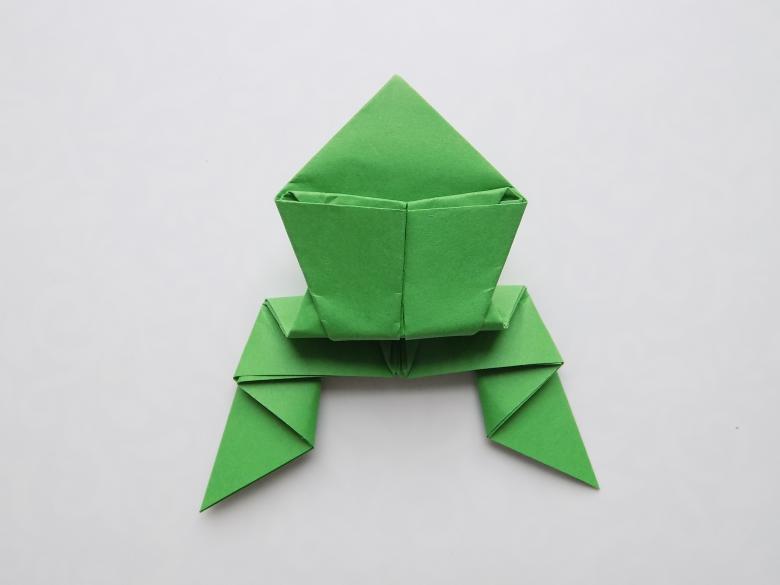
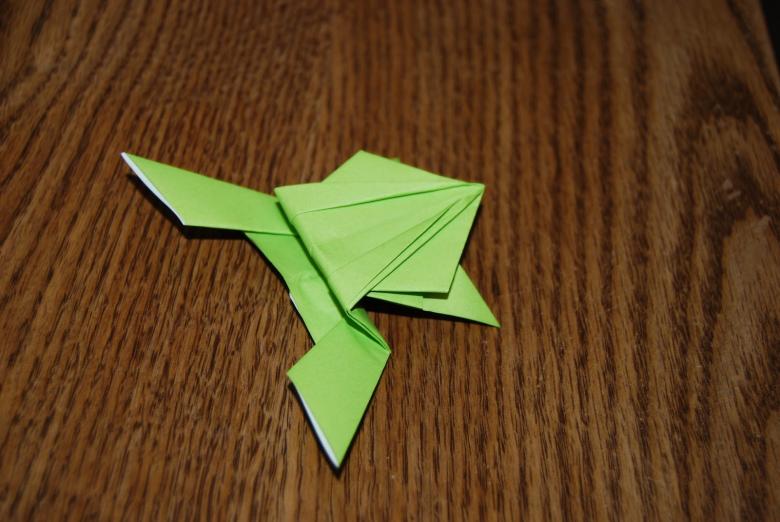
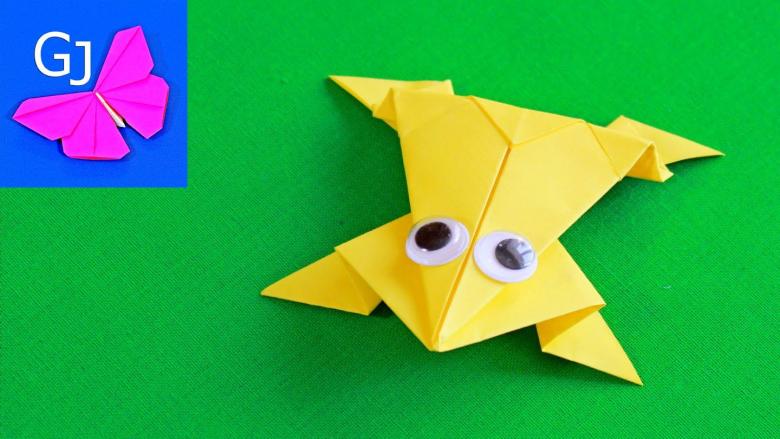
Turn over and slightly straighten the legs. The finishing touch: glue her tongue and make eyes. Tongue can be used a small piece of colored paper in red. For eyes can be used and colored paper and very small buttons, beads.Stavlyaet frog on a flat and solid surface. All, the frog is ready and can delight the kids with its beauty and activity!
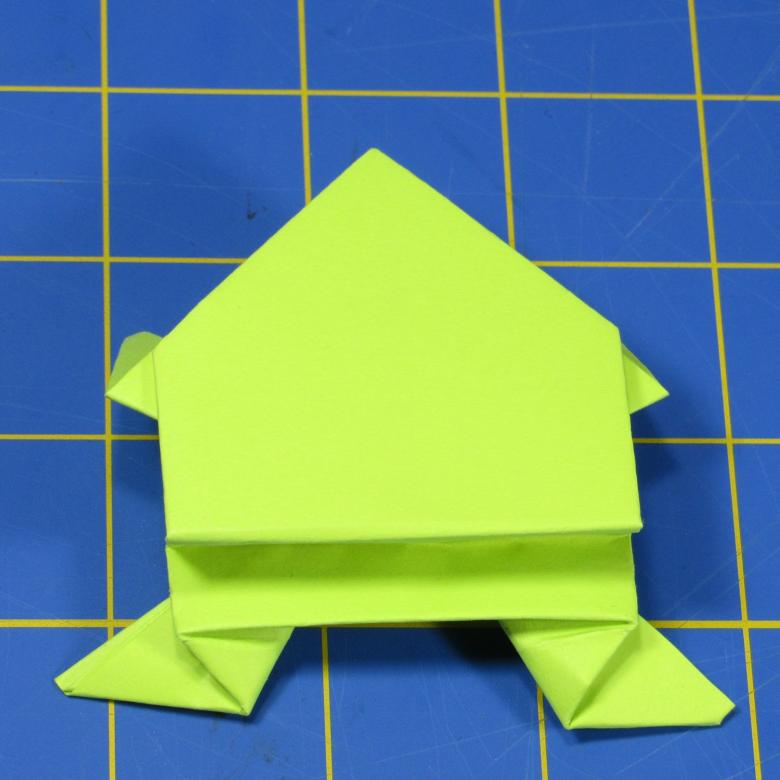
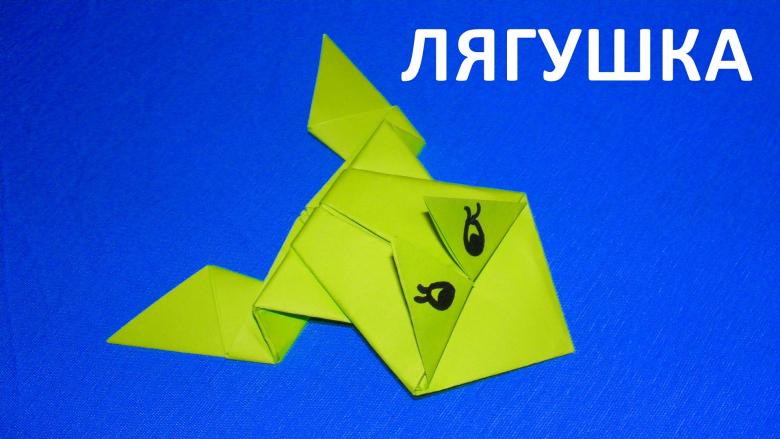
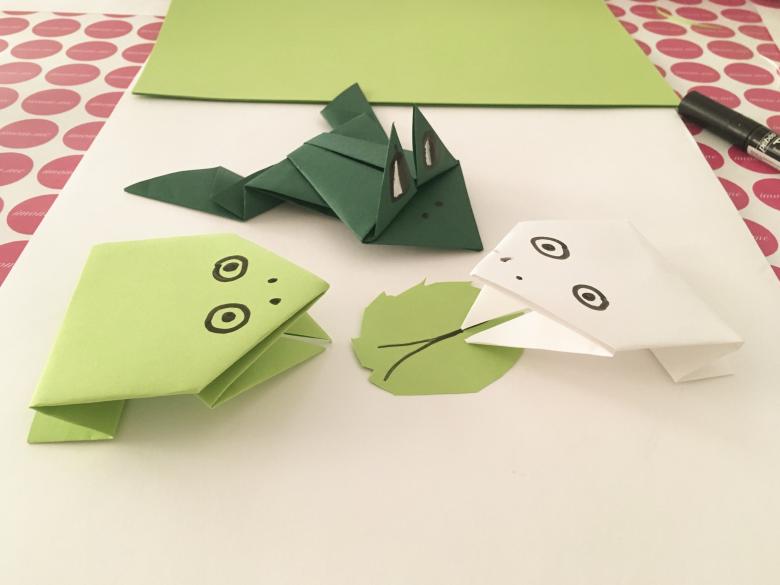
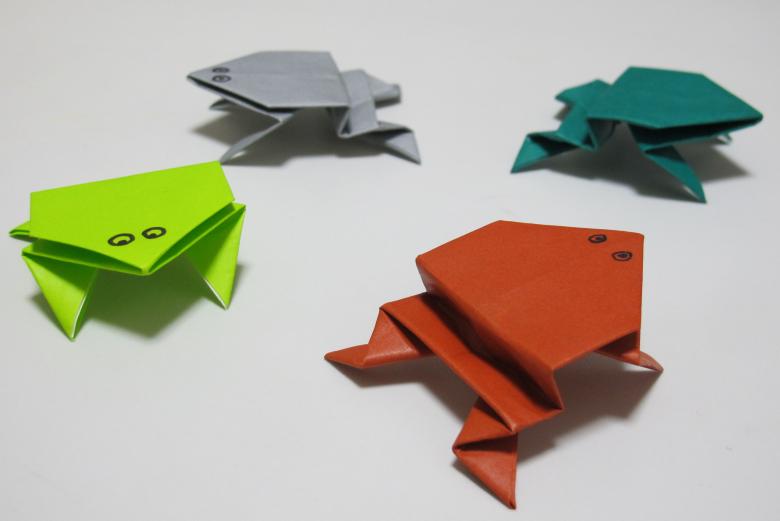
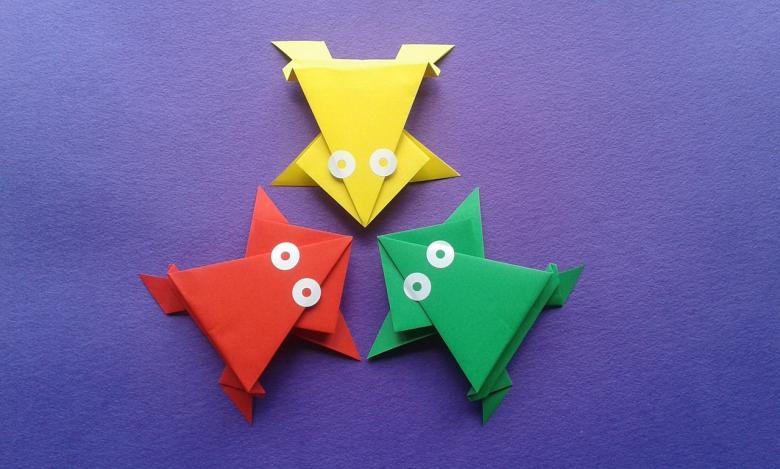
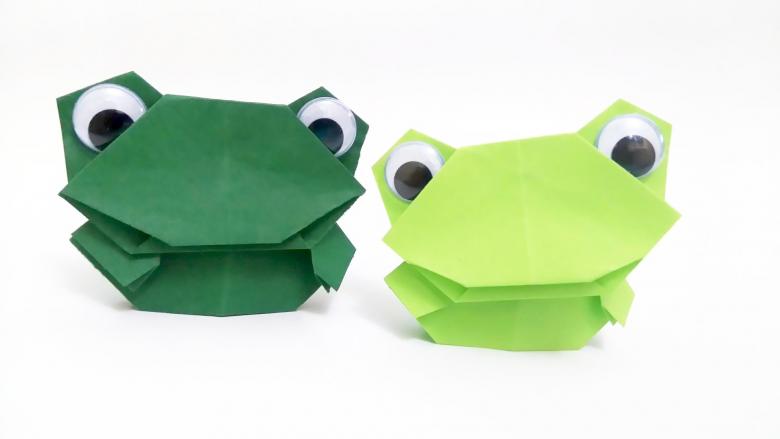
Origami Jumping Frog with Open Mouth
Materials required:
- colored paper (green, red, yellow);
- scissors;
- glue-pencil;
- black felt-tip pen.
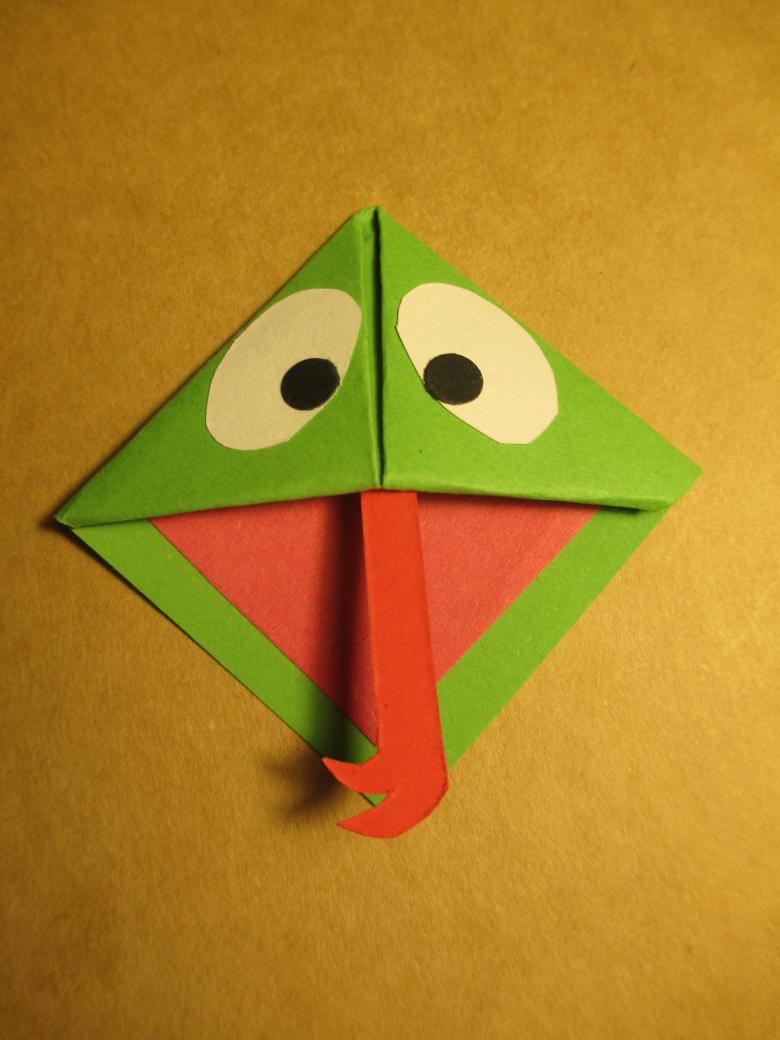
This way you can make a figure in six simple steps:
- Cut a square with the size of the sides of 21 cm of yellow paper.
- Fold a cross on a cross, first from one edge, then the other. Folds well fix.
- Unfold on the back, bring the left and right edges to the center of the paper. Well pierce the folds.
- Turn over and do the same with the opposite edges of the product, guiding them into the middle.
- Again turn and bend all the corners to the center. Firmly press down, and then slightly straighten the bent corners.
- Turn once again on the other side.
- From the center of the edge of the product unscrew to the upper corners.
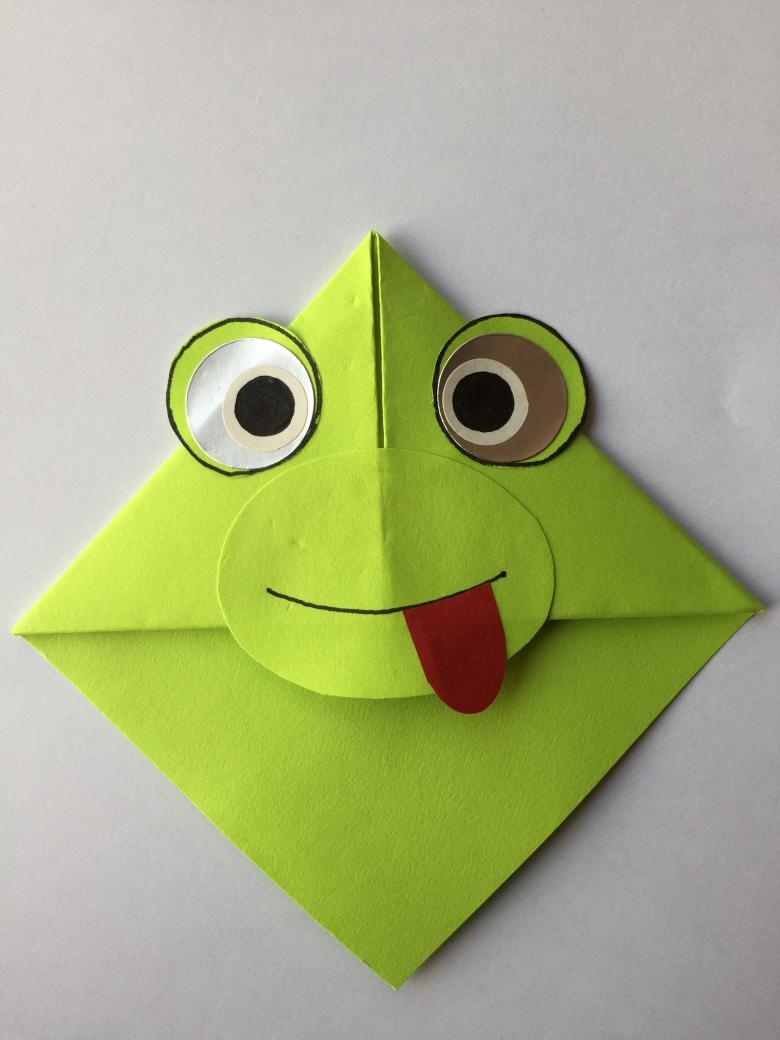
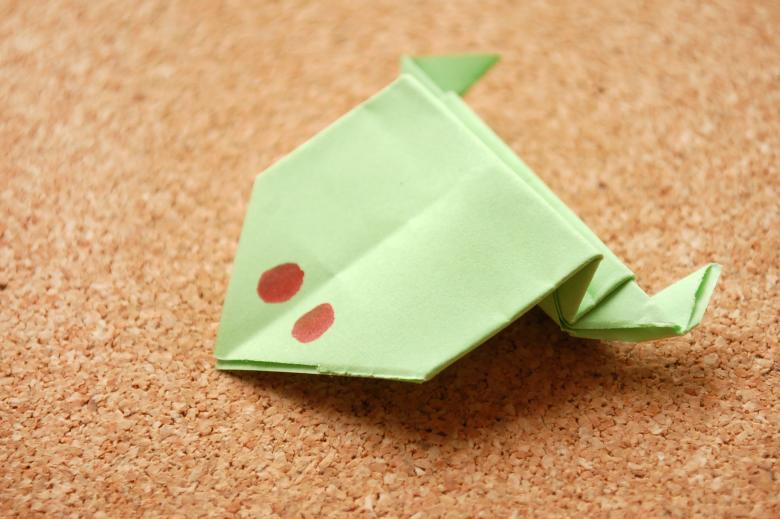
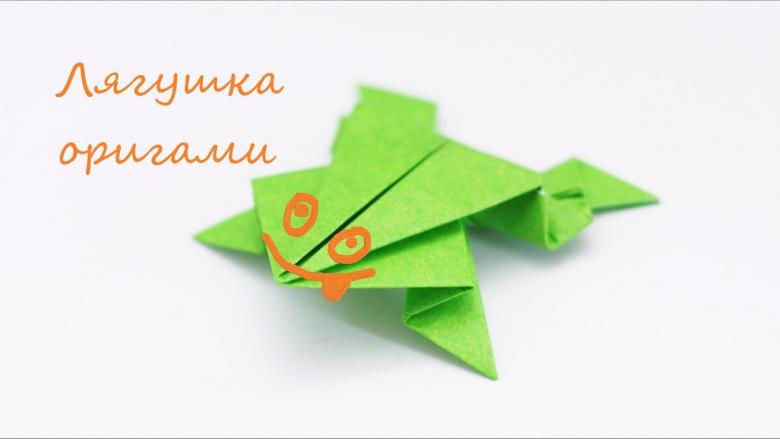
In the middle of the figure will have a hole-slit. The product is folded in half in the opposite direction from the hole, the place of refraction on both sides curve slightly outward. This will be the mouth of the frog.Next, you need to fix the figure. Unscrew the finished product first to one side and glue the two triangular sides. Tighten and press down well. Do the same with the other side. Give the glue well "take".
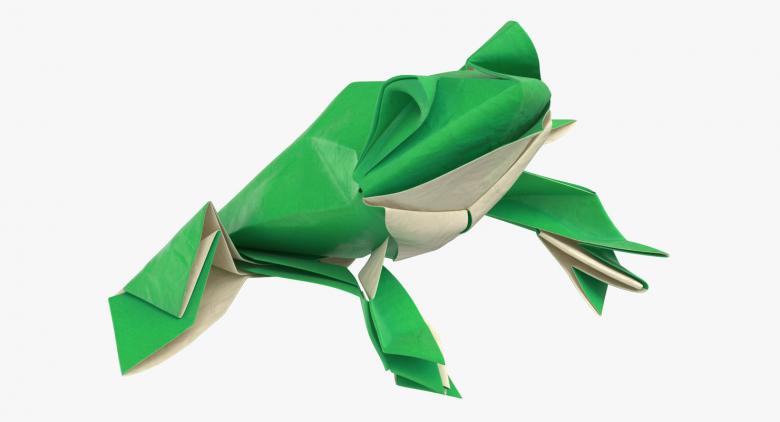
Toy attached eyes and tongue. Take small circles of white and glue them to the top corners. Polish marker dot pupils.On the bottom corners draw paws frog.Now, the tongue. For him cut a narrow strip of red paper length 20-21 cm. Wind this strip on a thin pencil or pen, leaving the end of 2-3 cm. Hold it for a few seconds to fix it, gently unwind and release. The tongue itself will twist slightly.
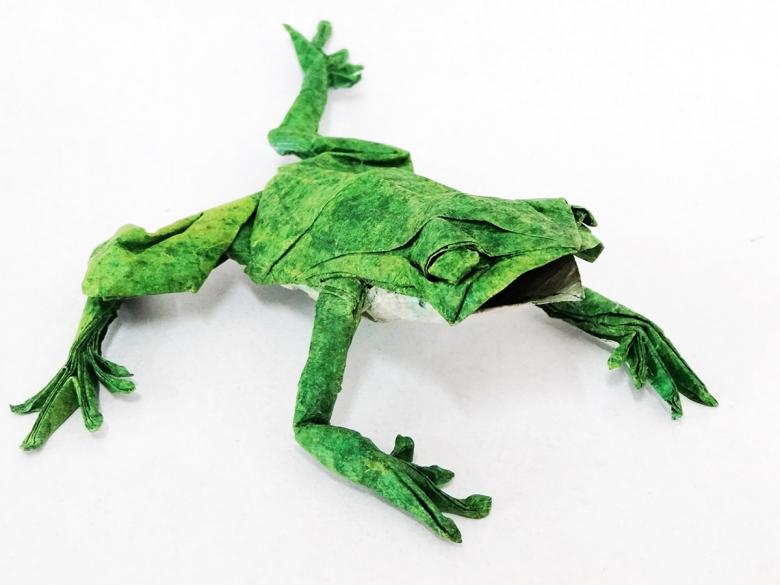
Apply glue to the remaining length, first folding it in half. Attach it so that the tongue remains on the underside of the figure. On top of the tongue on the upper side of the mouth, put two small points-nostrils.Remarkable, bright toy ready!
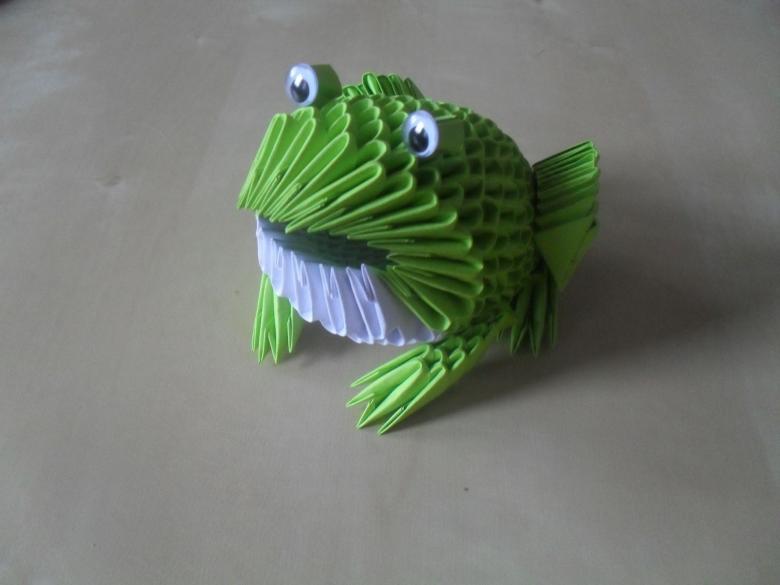
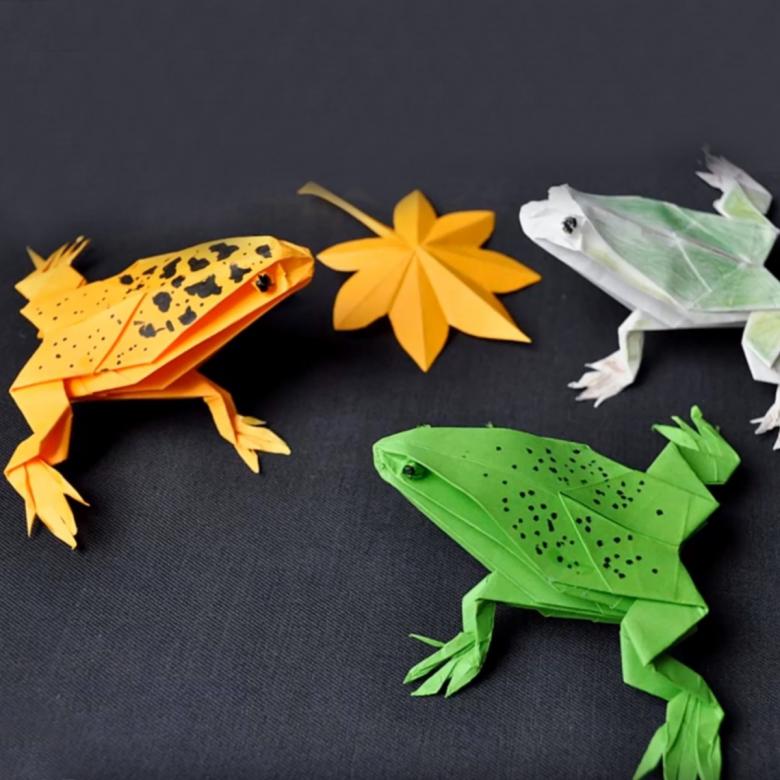
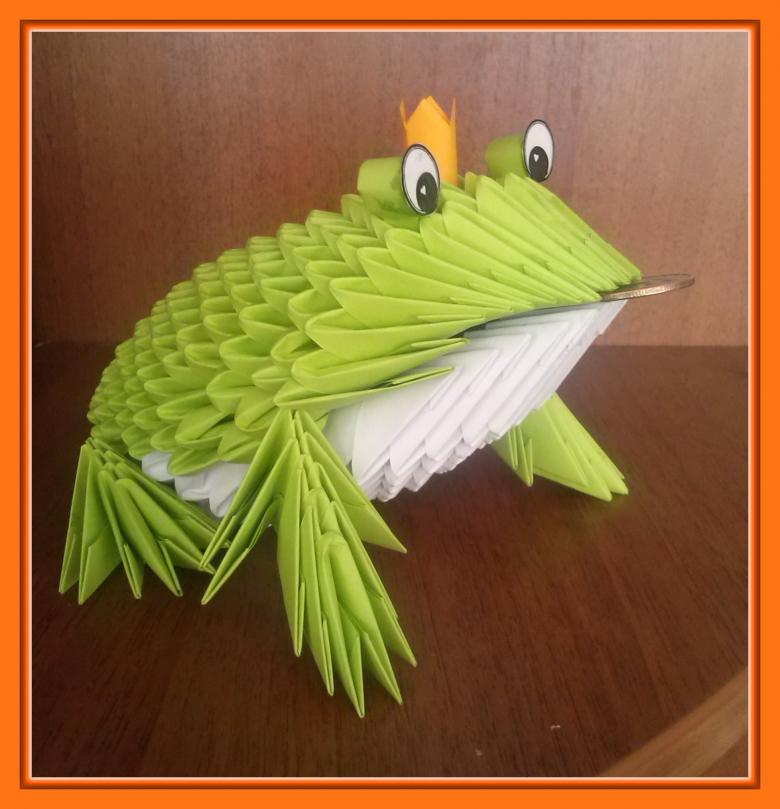
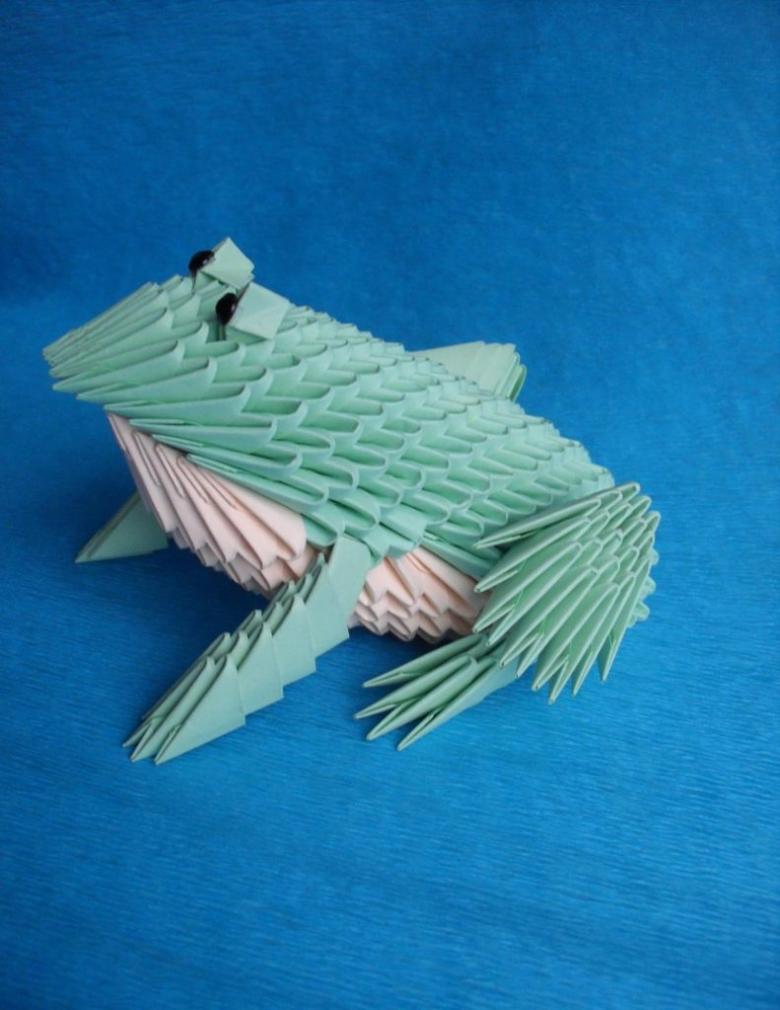
Modular origami frog
Modular origami is a complicated way of making crafts, but because the most attractive.
Preparing the material and making parts
Necessary:
- green and white sheets of A4 paper;
- glue;
- toothpick
- scissors.
Need to make 349 modules of green and 95 pieces of white.
From one sheet of paper you get 32 modules, so you need 11 green and 3 white sheets.
- Take the paper, fold it in half, well pressed.
- Fold the edges of the sheet to the center, turn over.
- Both bottom corners are bent, lift the edges up.
- Then, fold it and get the first modular blank.
- The same way to make the remaining 443 pieces.
Parts-products of the future of the frog ready.
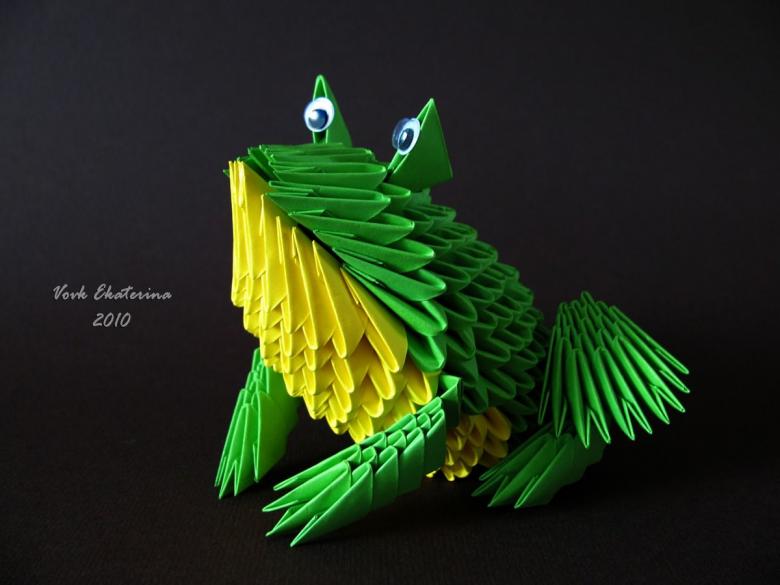
Assembling .
Leaves the most laborious and difficult stage.
Assemble a chain of green blocks by inserting the corners of the details one into another in the pockets:
- The first row - 7 parts,
- The second - 8 parts. Marginal pockets are left free.
- 9 modules-third row;
- 10 modules - fourth;
- 11 modules-fifth;
- 12 modules-sixth;
- 13 modules - seventh.
These first 7 rows will be the back of the frog.
Next:
- Row 8-12 green modules and 2 white modules that go around the edge.
- 2 white (from the edge) and 13 green - the ninth row;
- 4 white (around the edges) and 12 green.
The finished construction is set aside for now.
Prepare an abdomen crafts from the next chain of parts:
- 5 white blanks - the first row;
- 4 pieces - the second.
Connect the two chains: put on top of each other the pockets of the abdomen and back of the product.
To each edge of the abdomen put on 2 white modules, a total of 10 blanks will come out. Then, go 11 green. The back of the frog slightly curved.
This was the eleventh row.
Row 12 - 10 green and 12 white pieces.
Further assembly of the abdomen and back will take place separately. At the same time, each subsequent row is reduced by 1 module, leaving the outermost pockets free.
- Row 13 - 9 green, 8 white parts;
- Row 14 - 8 green, 7 white;
- Row 15 - at the extreme corners of row 14 and the free corner of row 13 put 9 green blanks (on the back) and 8 white (on the abdomen).
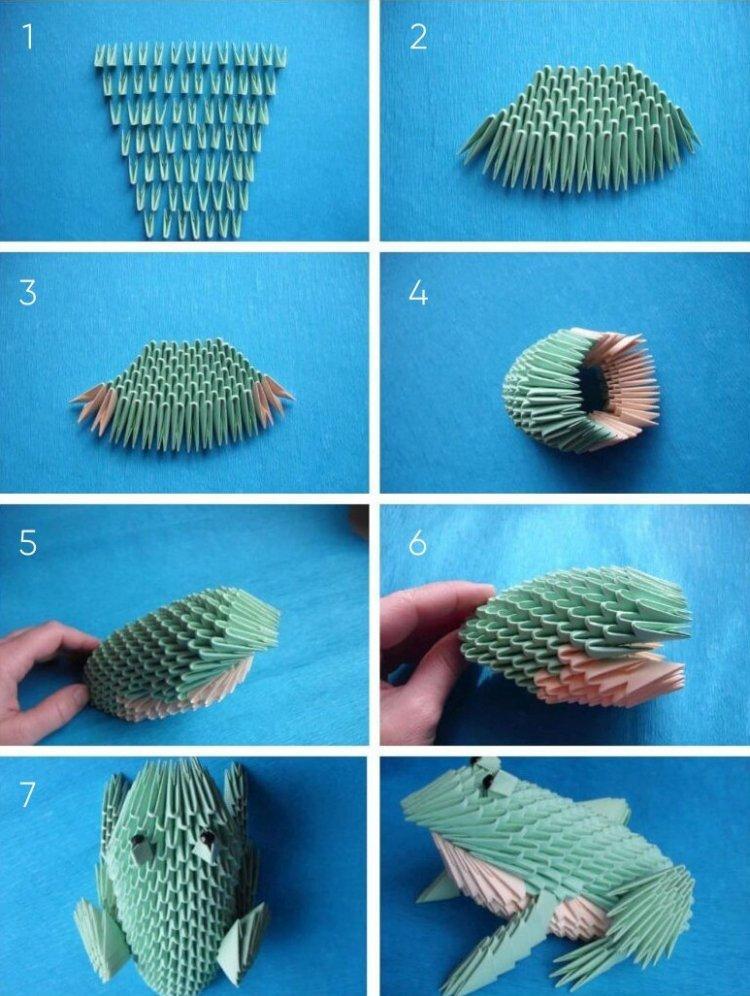
On the sixteenth row connected both parts of the craft:
- 11 green, 6 white blanks - row 17;
- 10 green, 7 white -18th row;
- 11 green, 6 white -19th row;
- 10 green, 7 white -20 row.
Finished assembling the body.
Now the head of the model. For this dopolyutsya green and white parts.
White:
- 21 row -6 modules
- 22 row -5 modules
- 23 row -4 modules
- 24 row -3 modules
Green:
- 21 row -9 modules
- 22 row -8 modules
- 23 row -7 modules
- 24 row - 6 modules
- 25 row - 5 modules
- 26 row - 4 modules
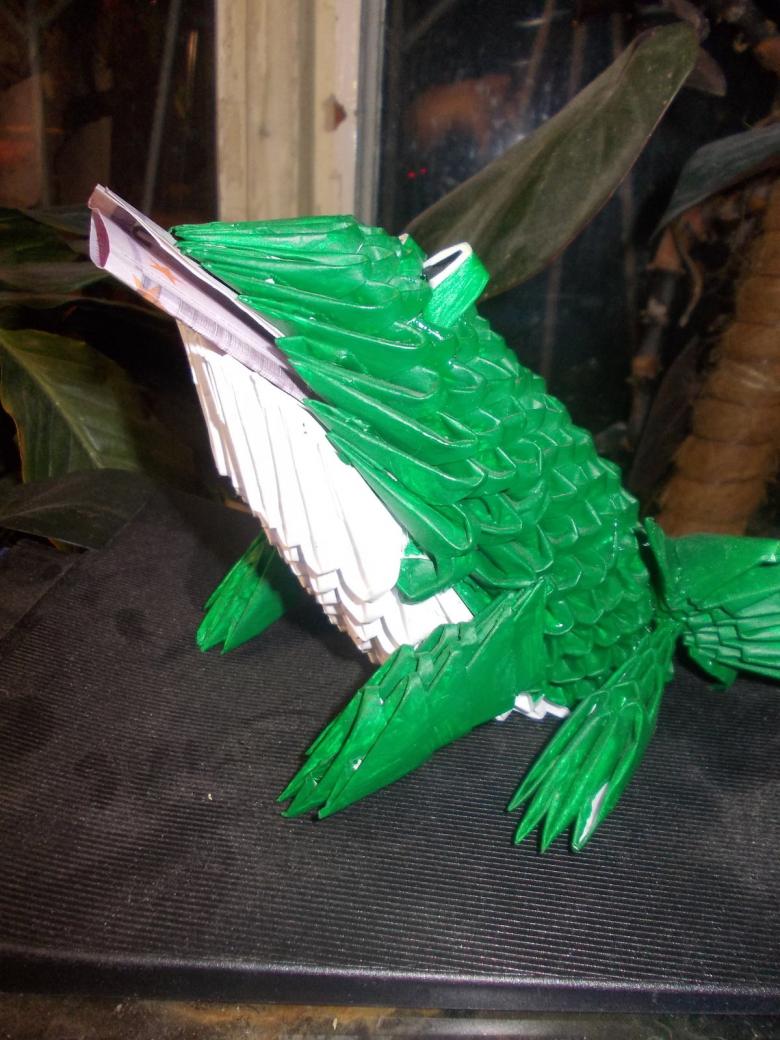
The resulting rows are brought together to form a head.
Assemble the thighs and legs of the frog, which are collected in separate parts.
- 3 modules-1 row
- 4 modules-2 row
- 5 modules-3 row
- 4 modules-4 row
- 3 modules-5 row
Tibiae of hind legs:
- 1 module-1 row
- 2 modules-2 row
- 1 module-3 row
Assemble 7 rows, alternating 1 and 2 modules.
Forelimbs- in duplicate:
- 1 row- 2 modules
- 2 row- 1 module
- Row 3- 2 modules.
They are collected 8 rows, alternating 1 and 2 modules.
To connect the extremities with the torso, insert a module into each of the previously made blank, leaving one corner of the module free.
Finish the assembly of the entire body.
Tibia hind legs are glued for better fixation. Depending on what the angle of the model, randomly choose a place pasting.
In the 16th row, where the connection was the abdomen and back, glue the front limbs.
Using a toothpick, glue the thighs of the product.
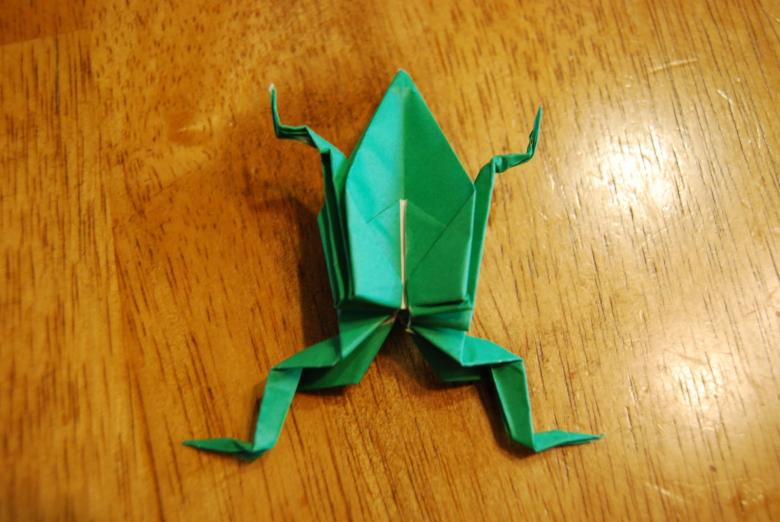
With a toothpick to glue, if desired, you can glue the connection points of the back, abdomen and extremities, to give the finished product stability and strength.
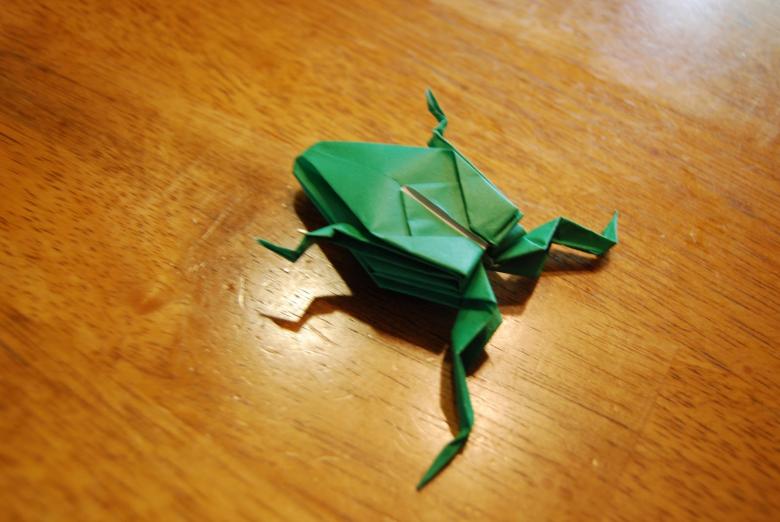
The last step - the eyes. Used for them, 1 module each, to the edge of which glued drawn pupils with eyelashes.
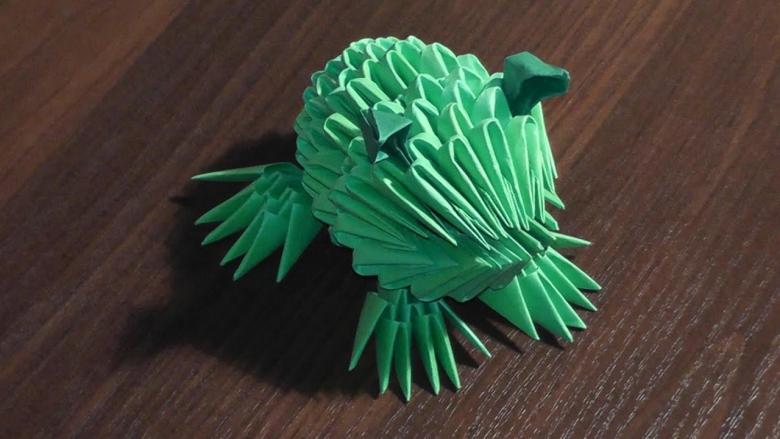
3D modular frog ready!

