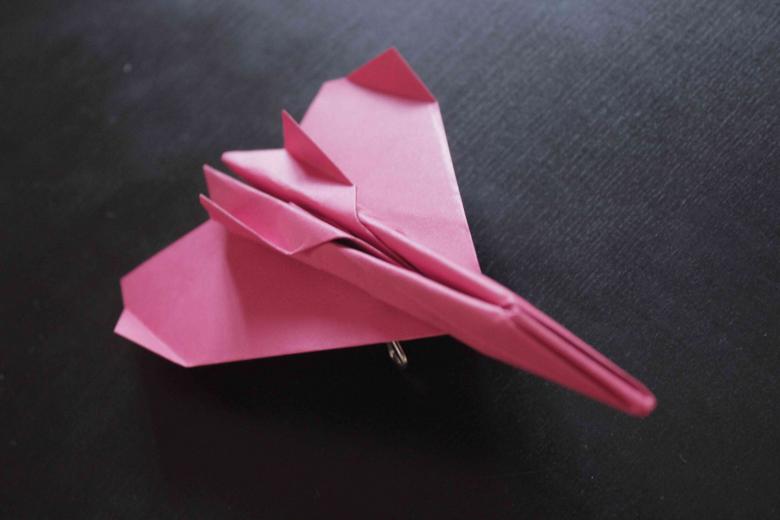
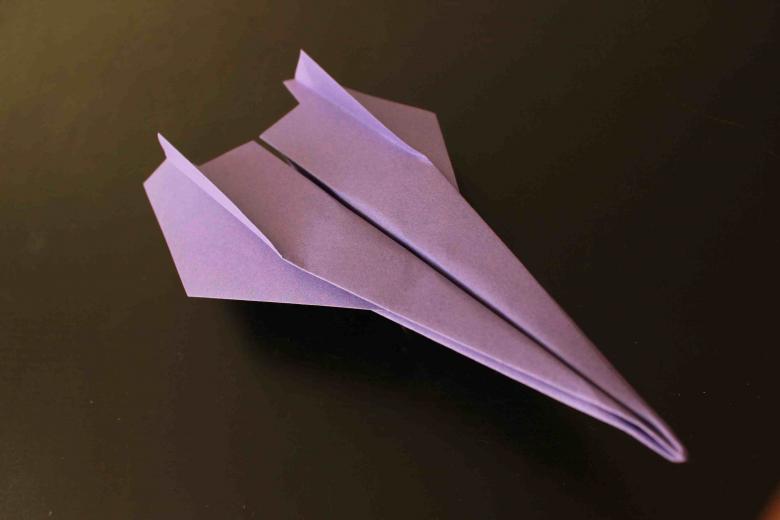
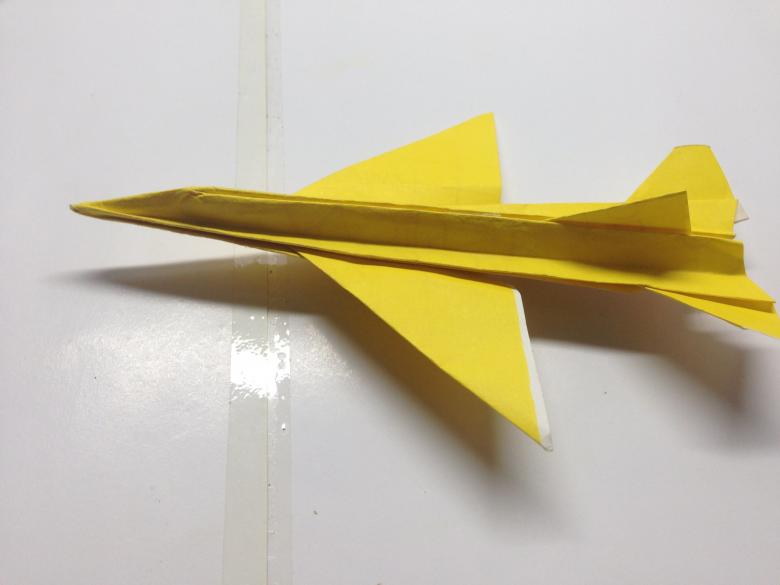
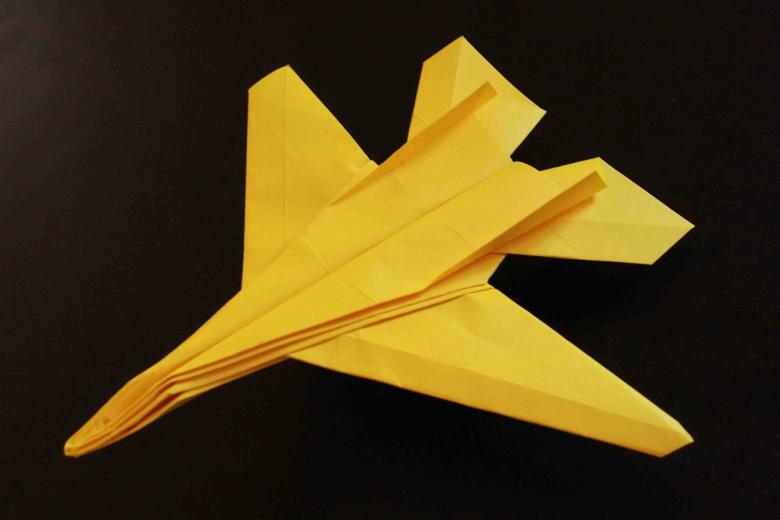
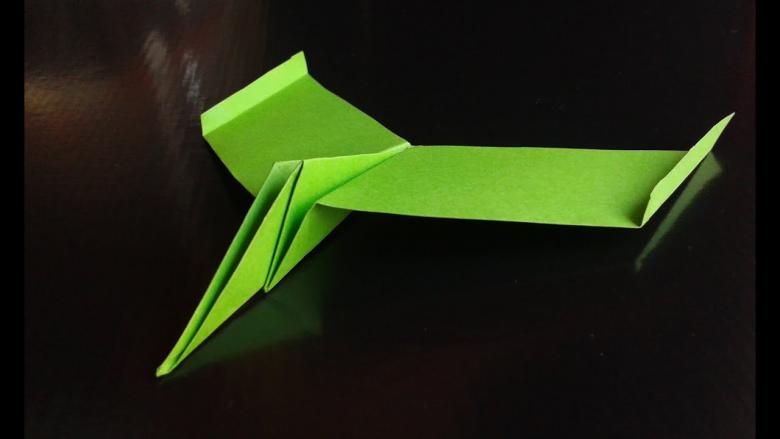
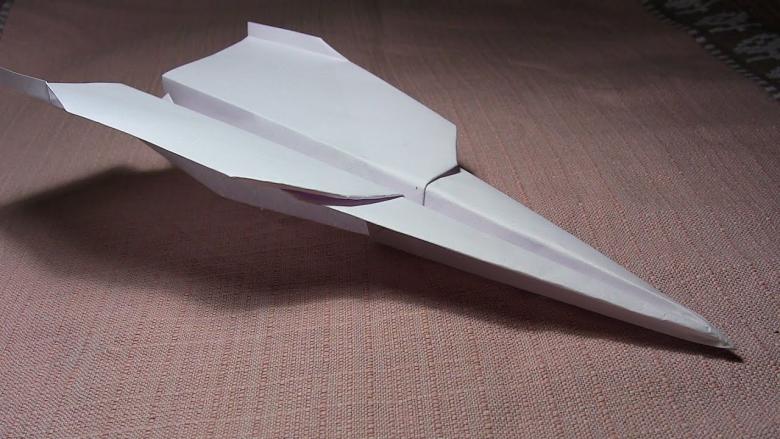
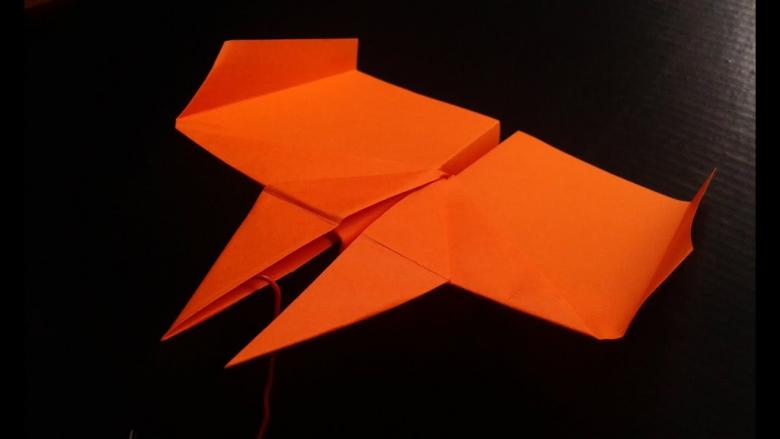
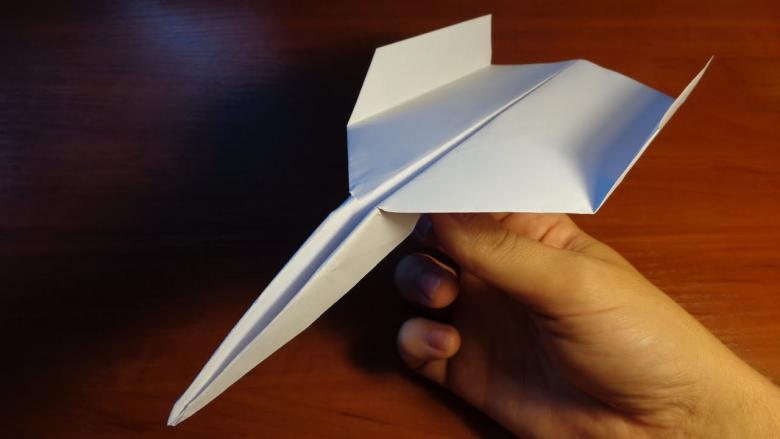
How to make origami airplane of paper that flies far - schemes and step-by-step instructions, photos of work
In our days has gained popularity again origami - the Japanese art of folding paper figures. This creativity helps to pass the time, relax, relieve stress on the head. The most popular are flying paper airplanes. With their help, you can compete, send love notes, to calm the baby.
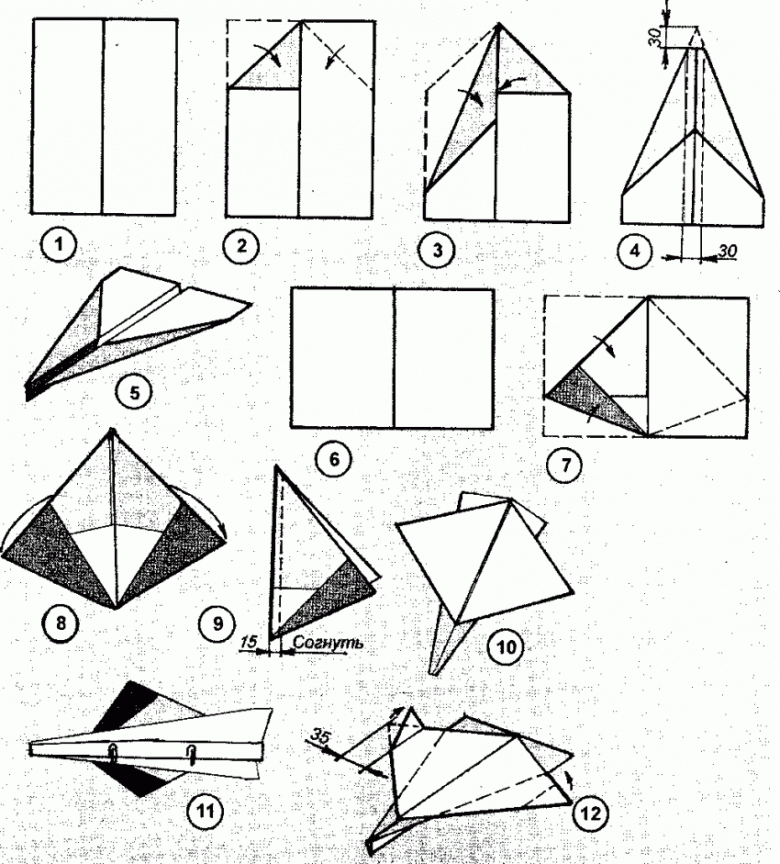
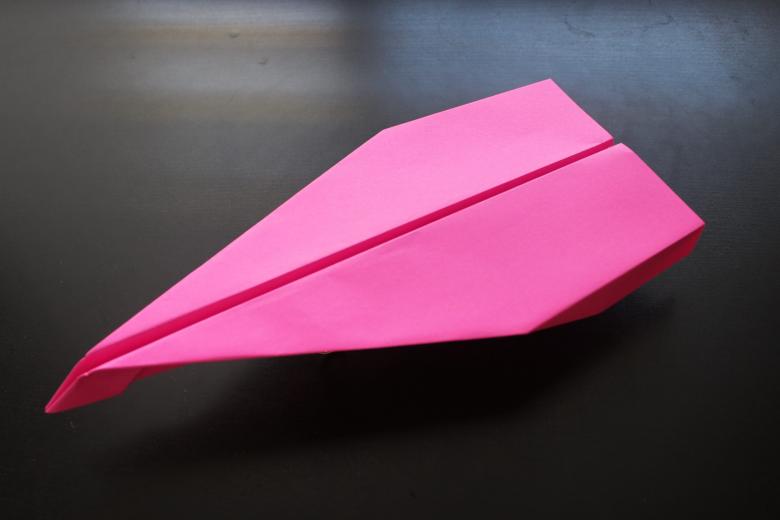
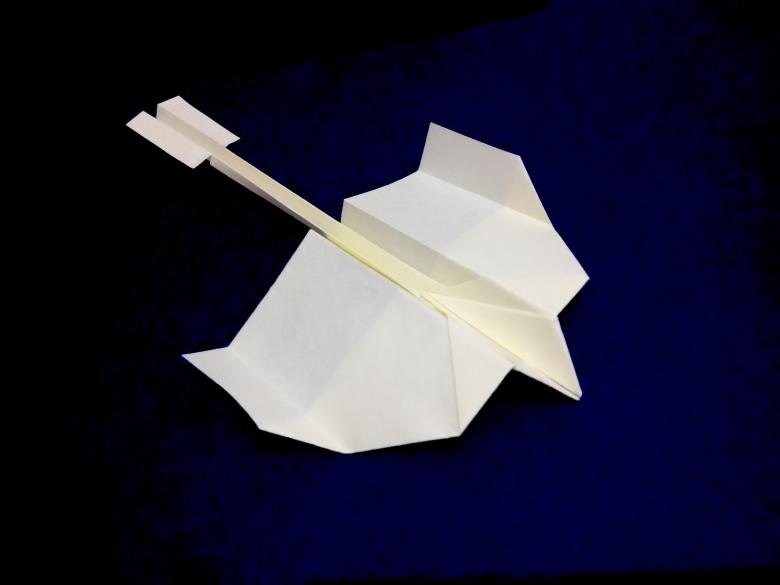
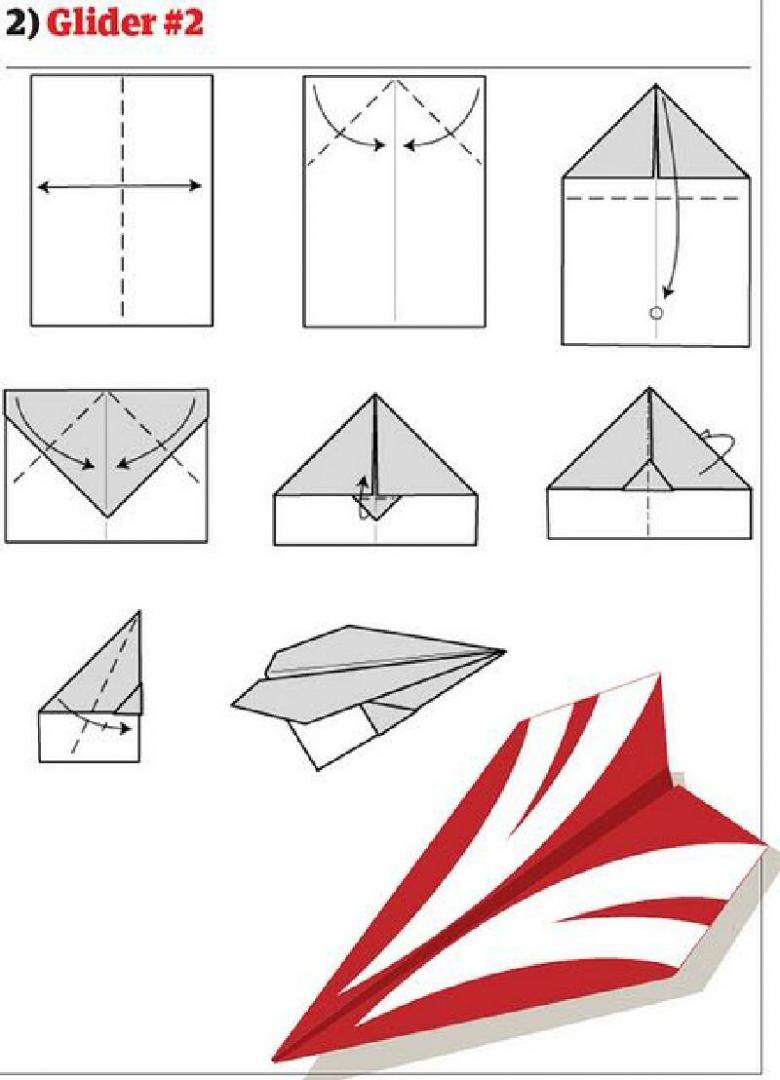
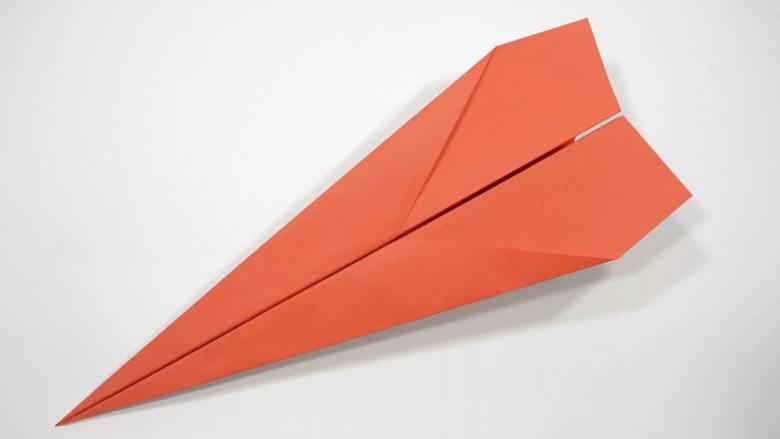
A simple airplane
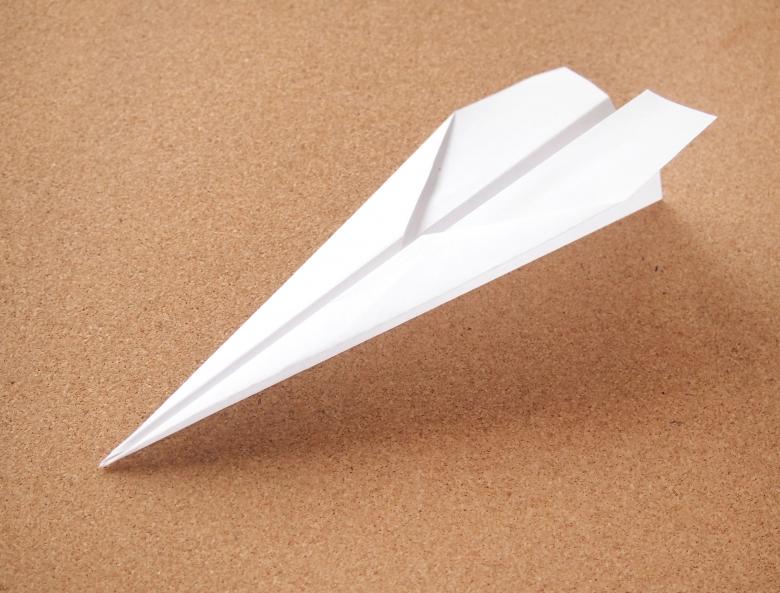
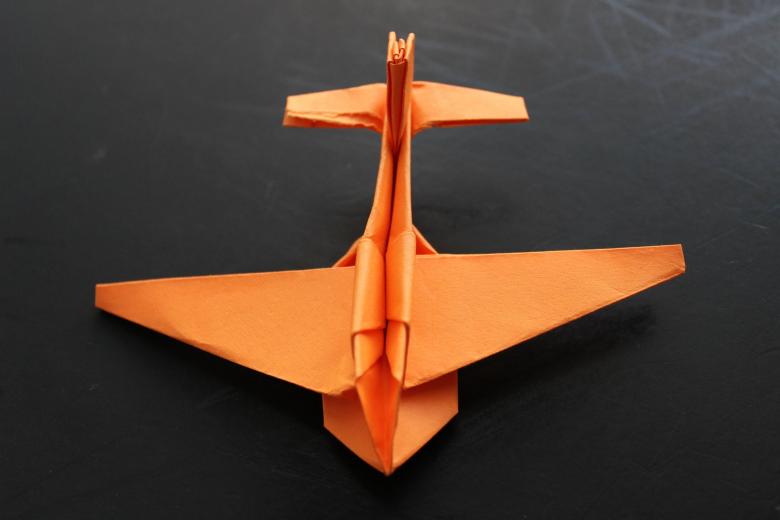
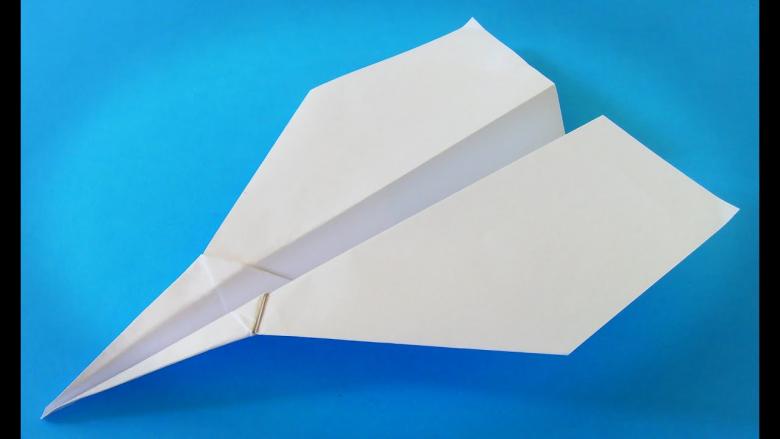
To make a simple origami "Airplane", which is far and flies well, you need a sheet of office, tracing, notebook or newsprint paper. Creates such a handicraft pretty soon. Moreover, it will be appropriate to carry out a series of experiments with different textures and sizes.
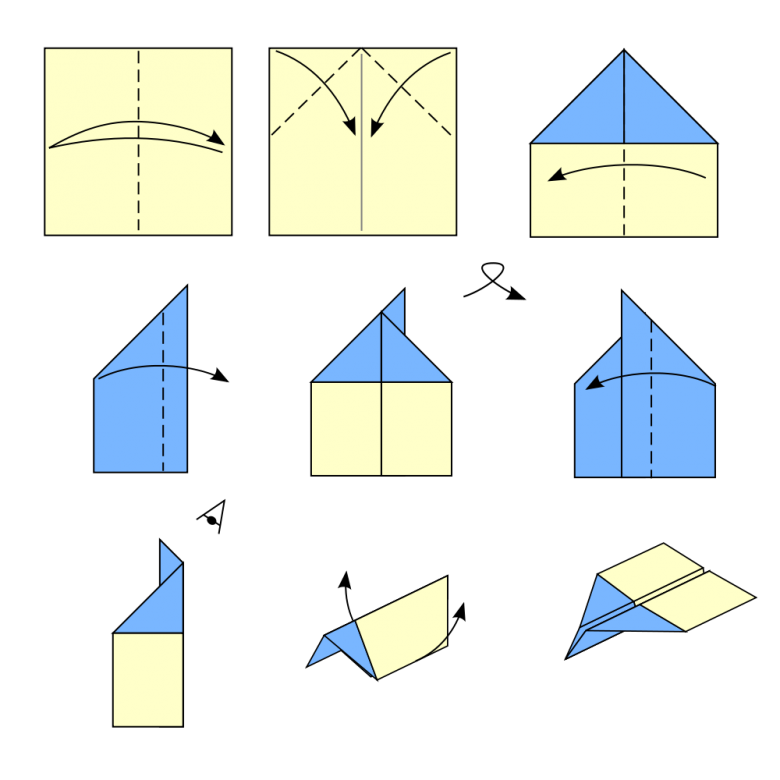
Before you start, you should familiarize yourself with the basic rule of classical origami: folding the figures should strive for accuracy and sharpness of the folds, as well as ideal smoothness of the surfaces.
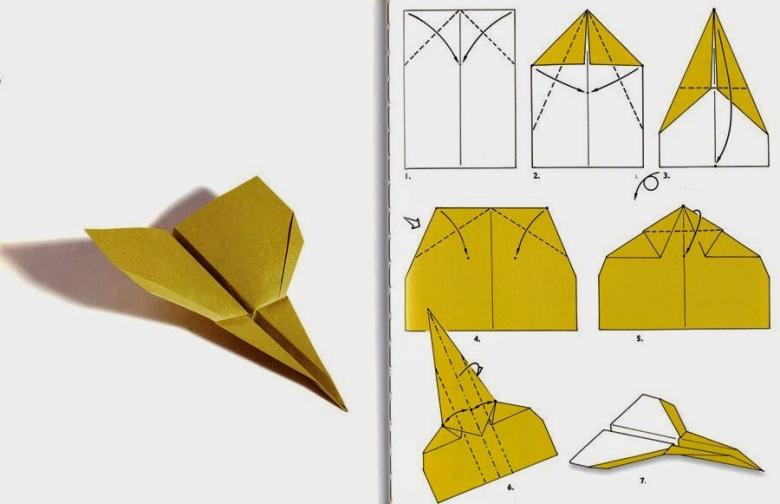
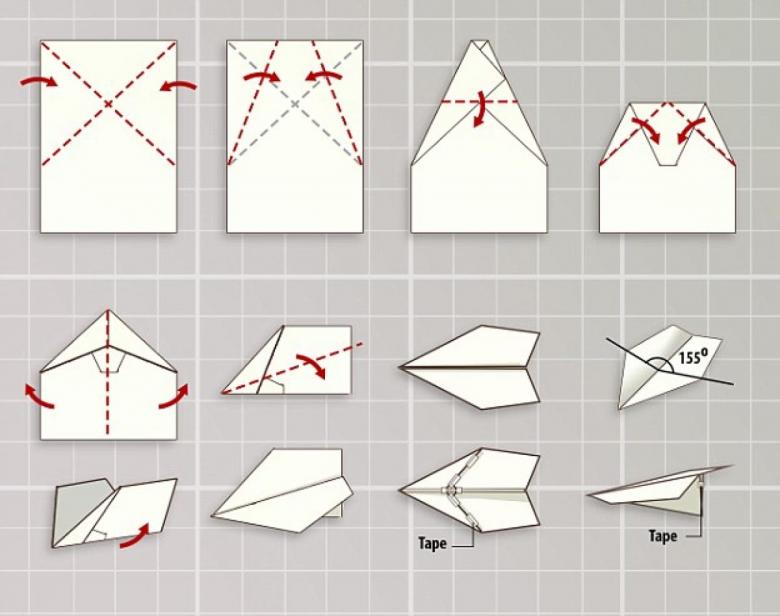
Instructions:
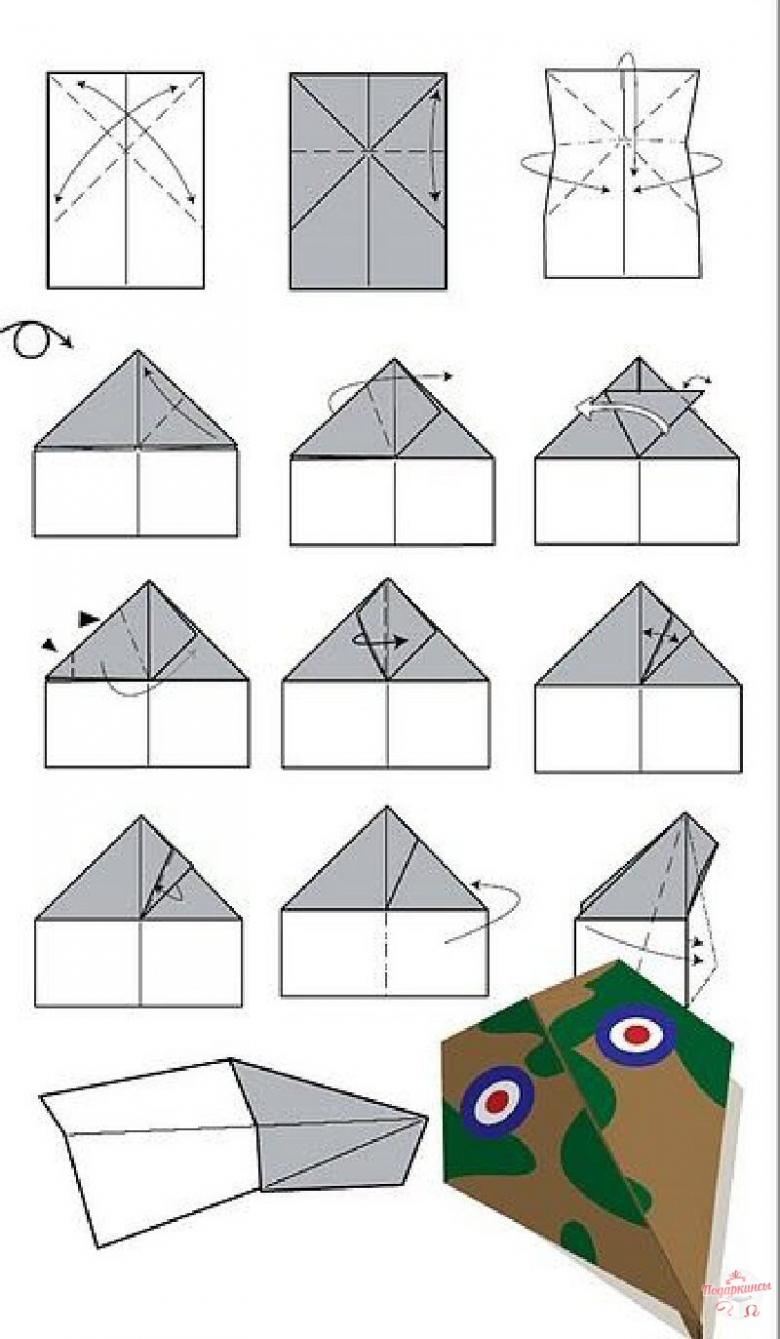
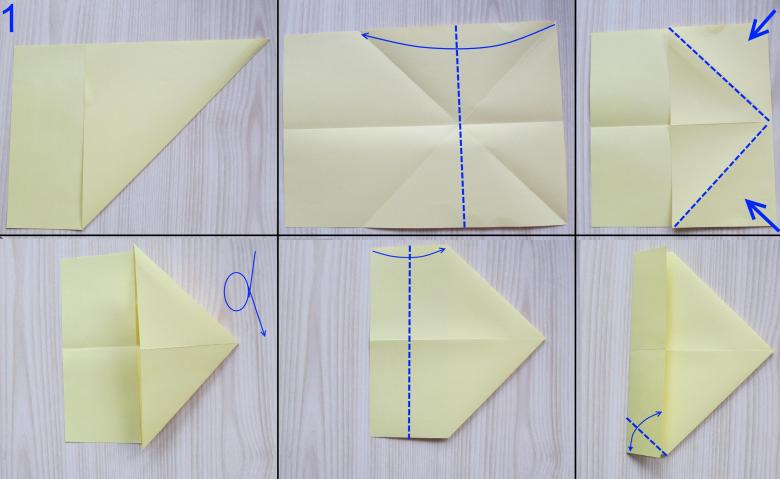
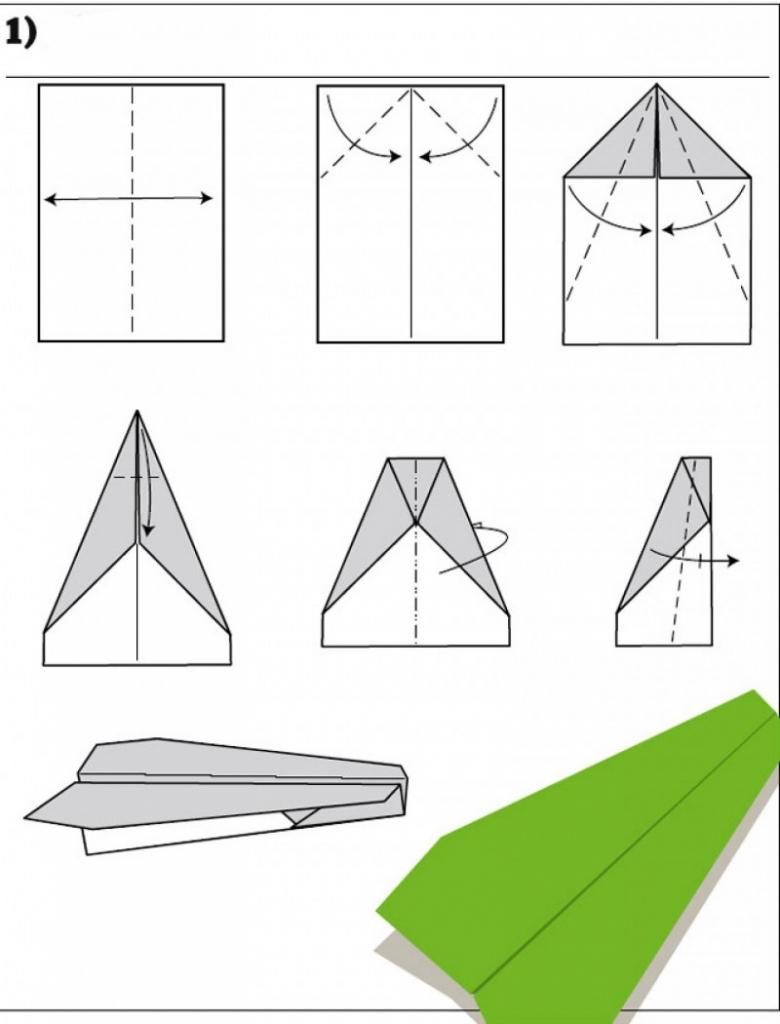
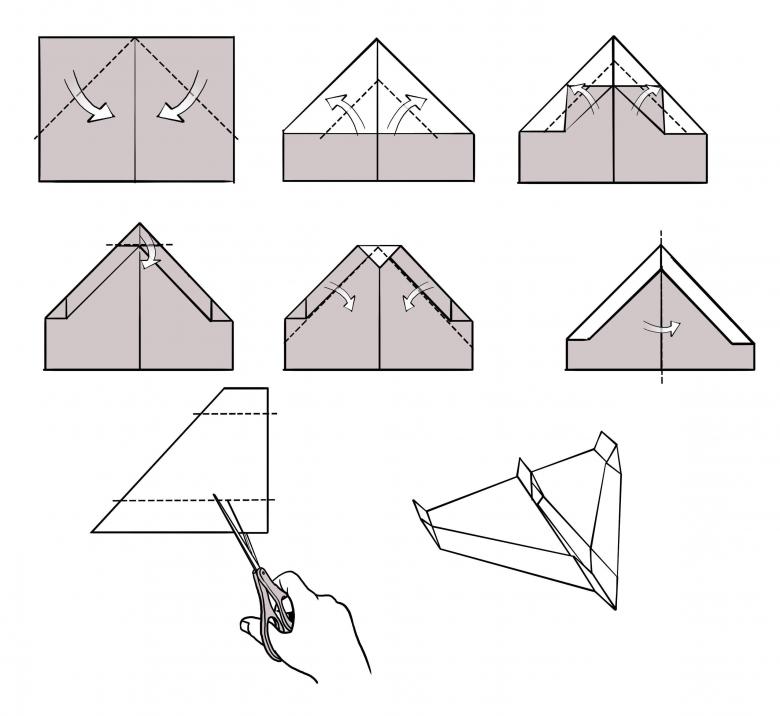
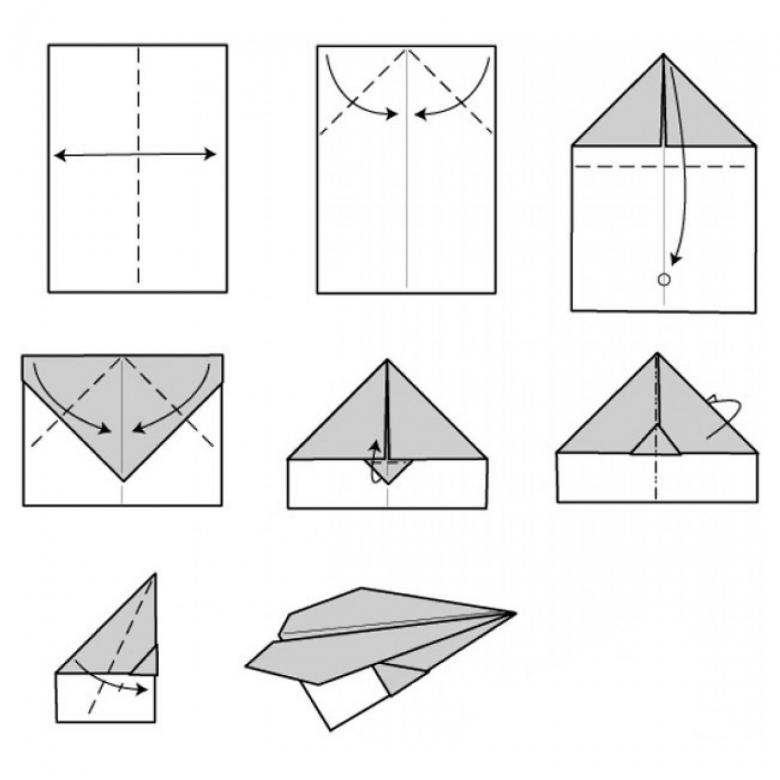
- Fold the sheet in half along the larger side.
- Put a blank "house" and spread the edge outward.
- Bring 2 corners to the centerline of the fold and fold them into triangles. You should get a figure, resembling a house with a roof.
- Lower corners of the roof to fold so that the edges were in the center, adjacent to each other.
- Fold the layout, focusing on the fold obtained in step 1. Fix the folds.
- Make the wings. To do this, symmetrically on both sides omit the upper ribs close to the axial fold.
- Spread the wings at right angles to the body. Aircraft ready!

Model with a beak
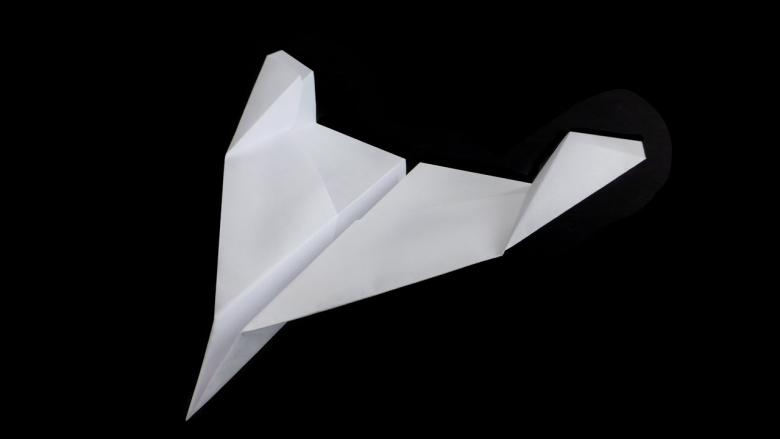
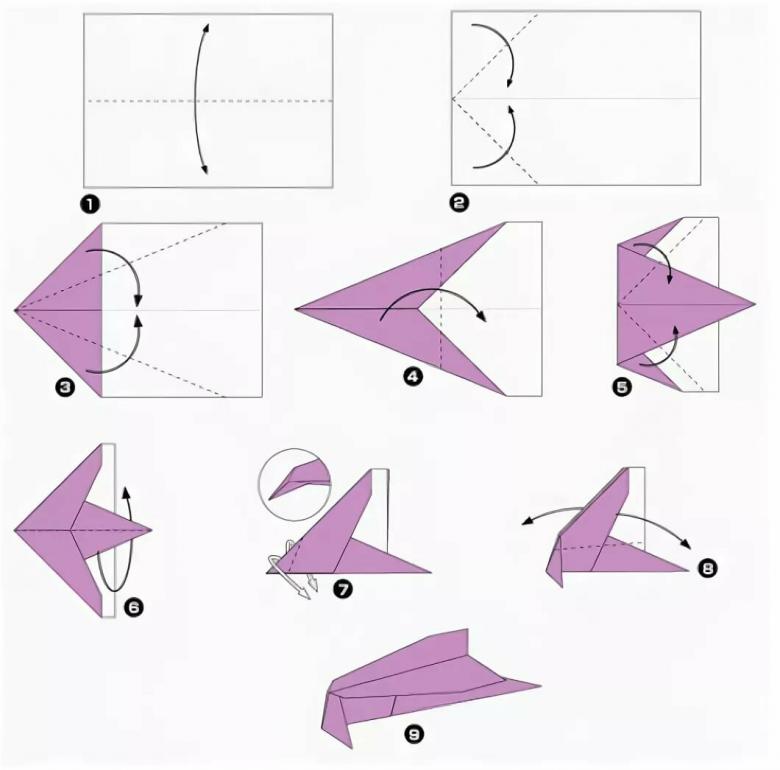
Unfold A4 sheet along the long edge and mark the middle. Bend corners to the center: once first, then the second. You should get a blank, similar to the workpiece for the simplest model of the aircraft. Fold it in half. The sharp end should be slightly beyond the straight base.
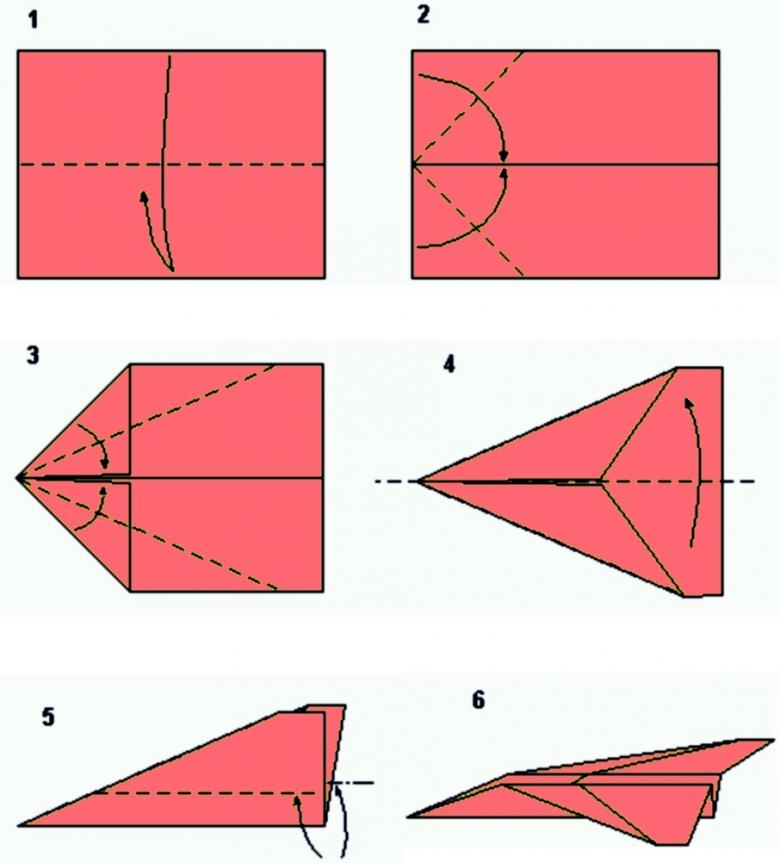
Bend the corners of the resulting trapezoid again so they meet right sides together exactly in the middle. Fold the layout in half flat inside, bend down the head, beak and unfold the wings. Armed with markers, you can paint the finished craft, turning the plane into a hawk.
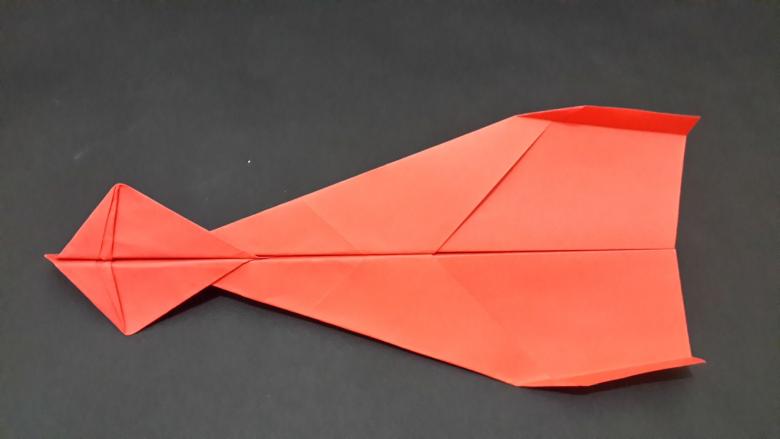
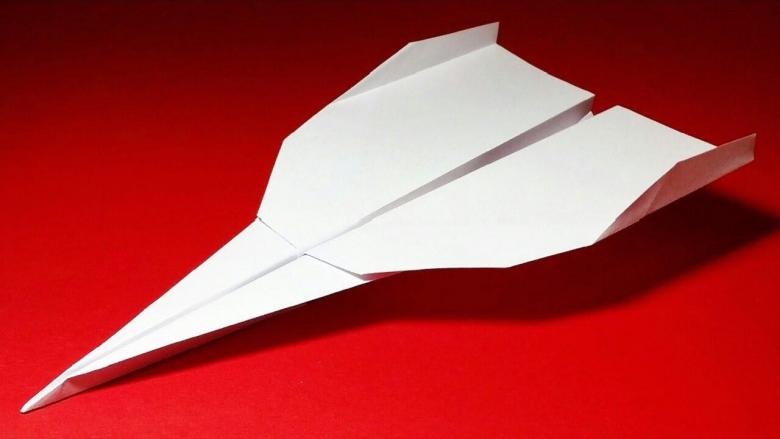
Wide plane
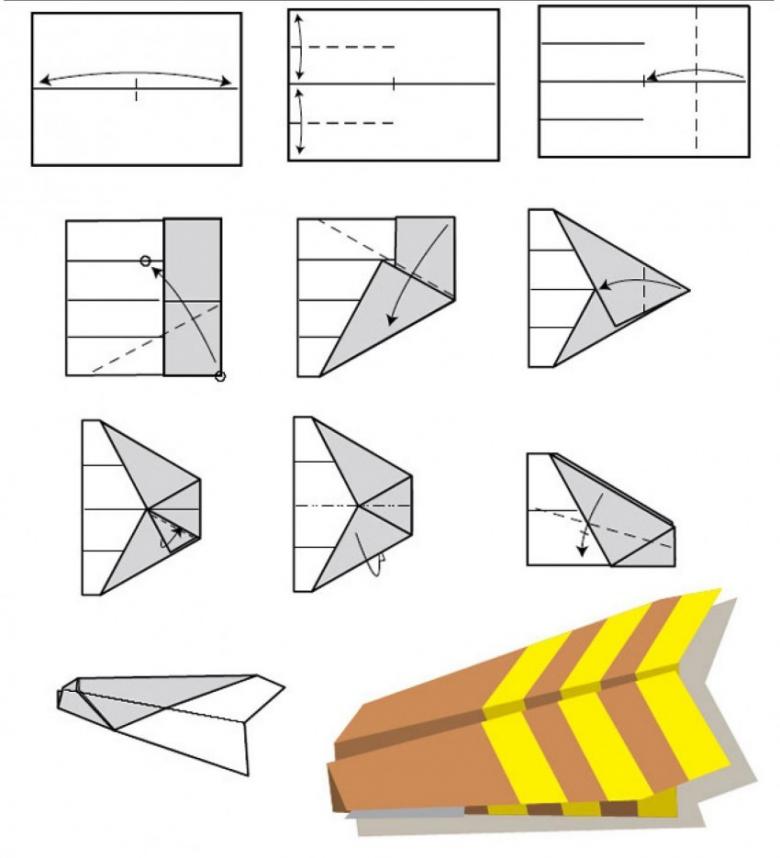
Place a sheet of paper in front of you - the short side should be upright. Mark the central horizontal axis. On one side of the mark both quarters, the second - fold in half vertically.
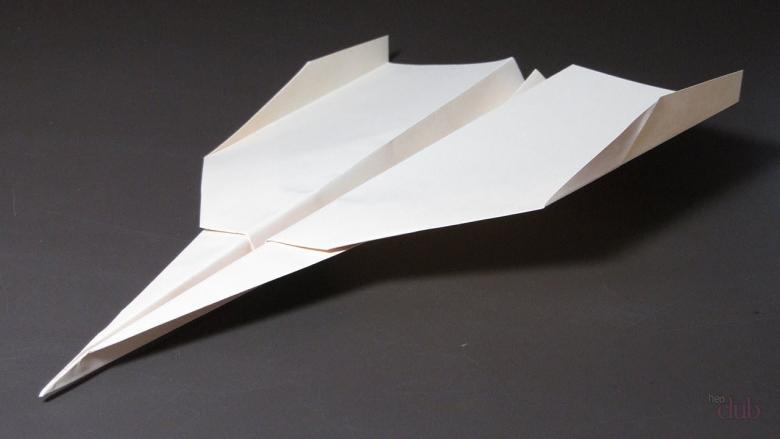
Located at the bottom of the right corner to lift up to the first marking. The upper right corner of the lower - it should meet diagonally with the lower part. Wrap the sharp "nose" to the center and fold in his sticking out edge of the upper wing. Remains to fold the layout in half, unfold the wings, paint, drawing the stylish stripes.
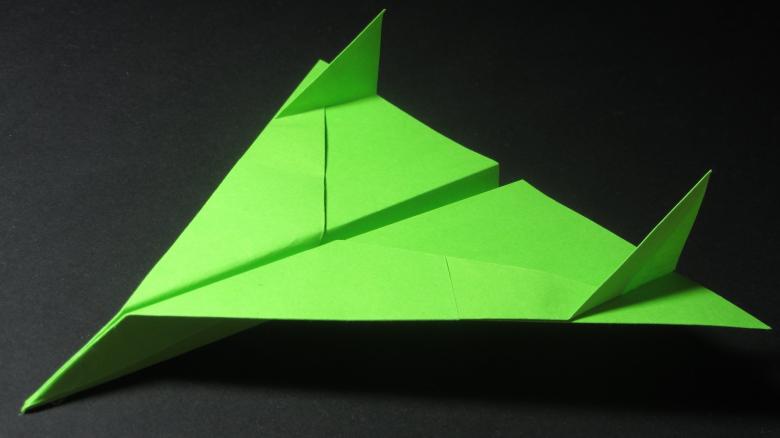
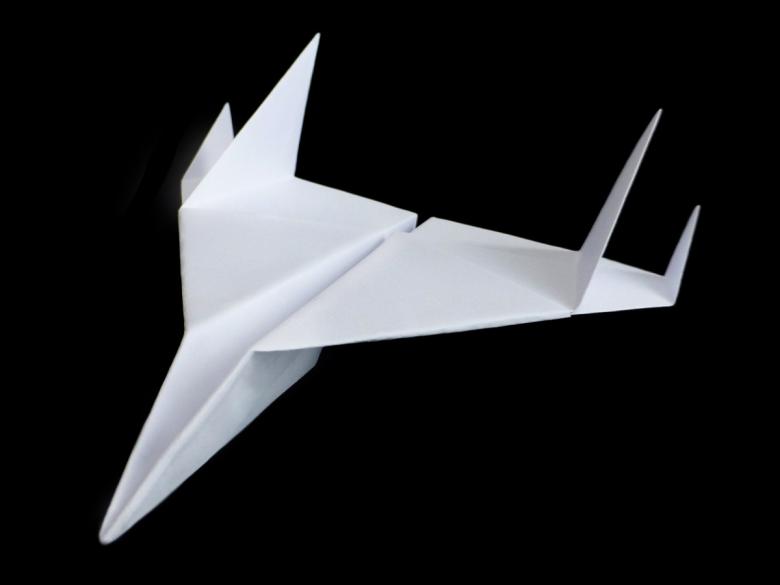
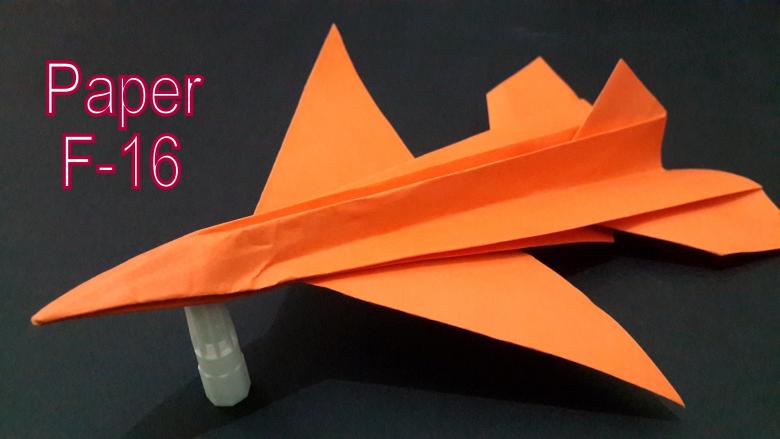
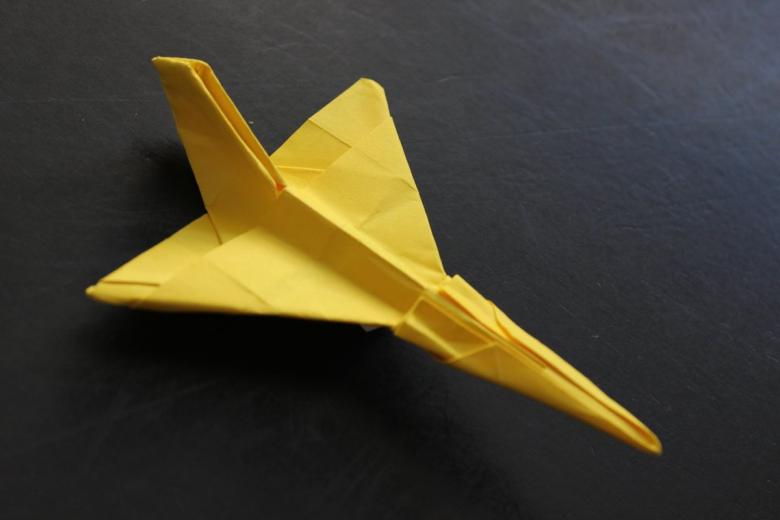
Jet model
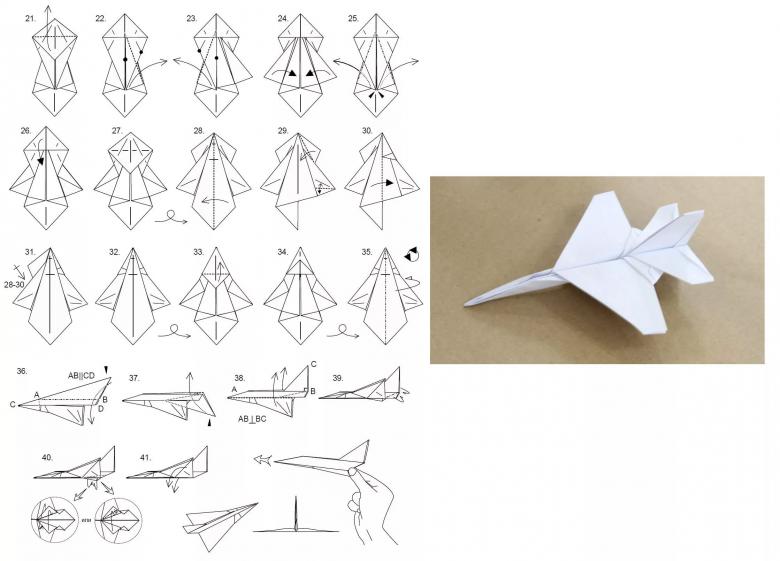
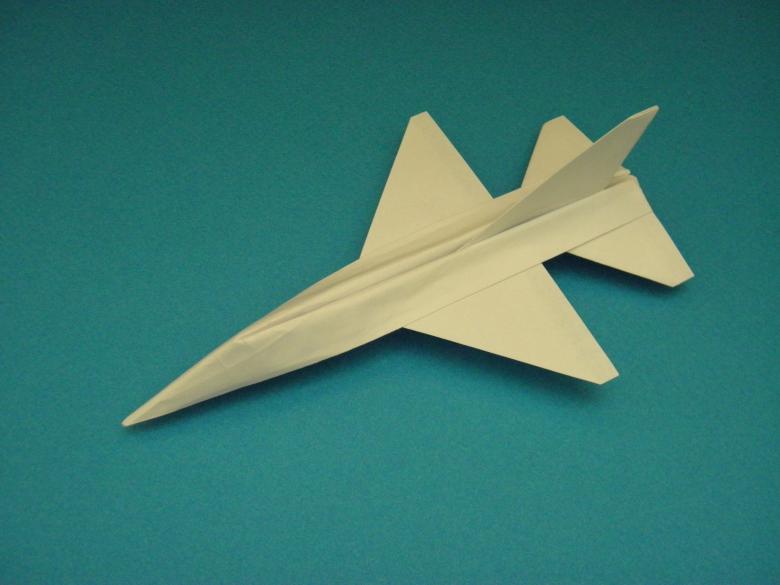
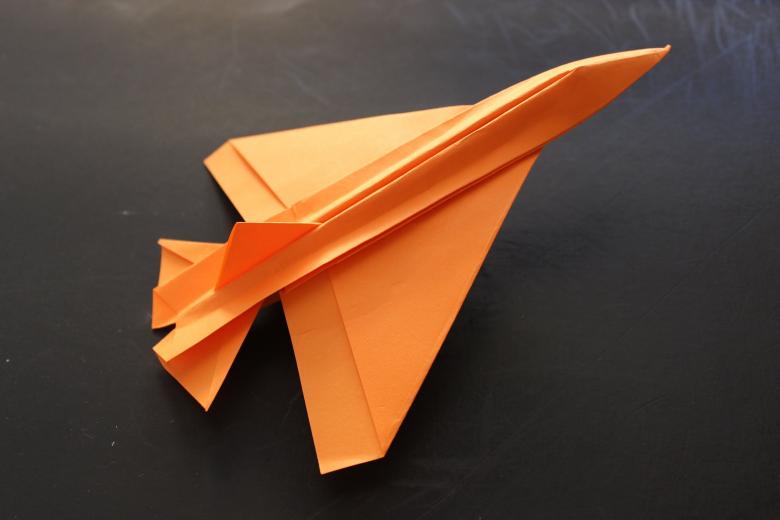
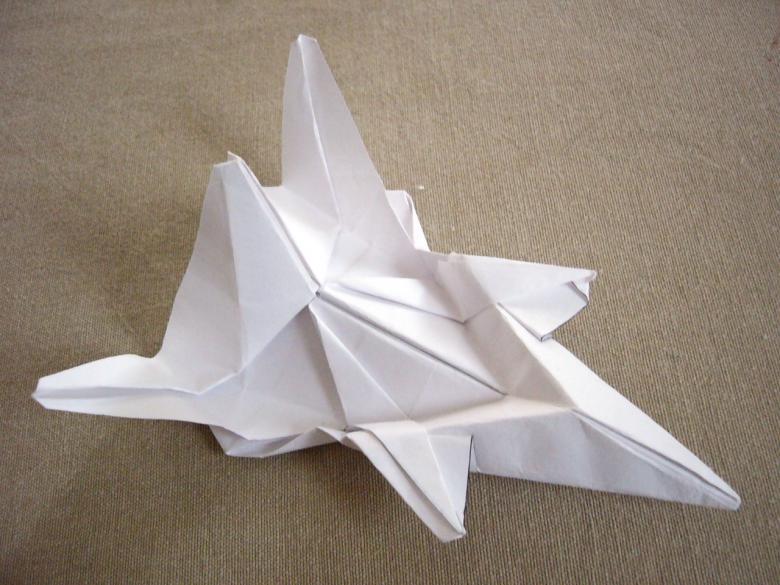
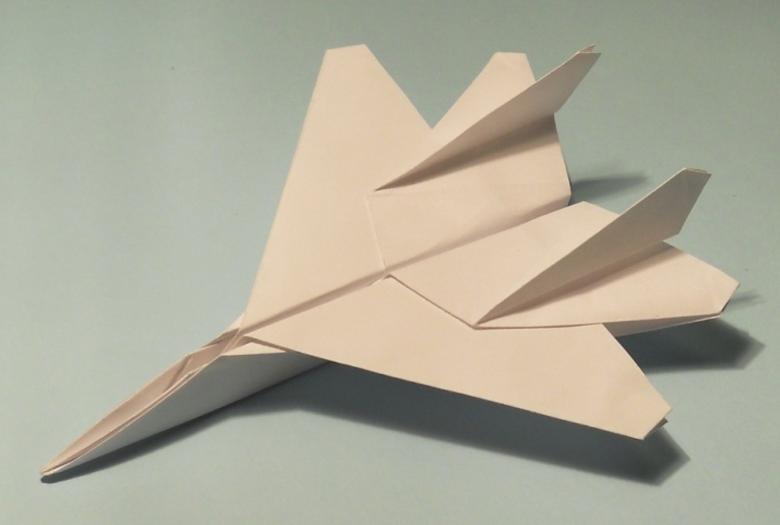
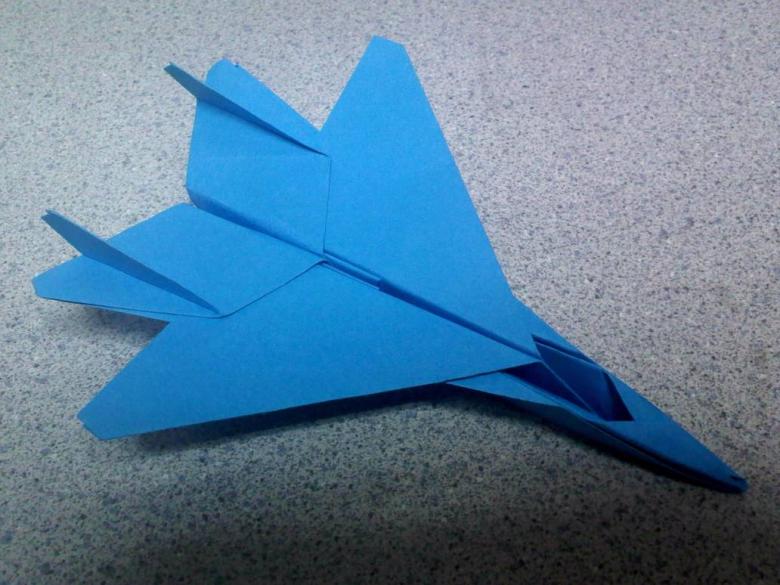
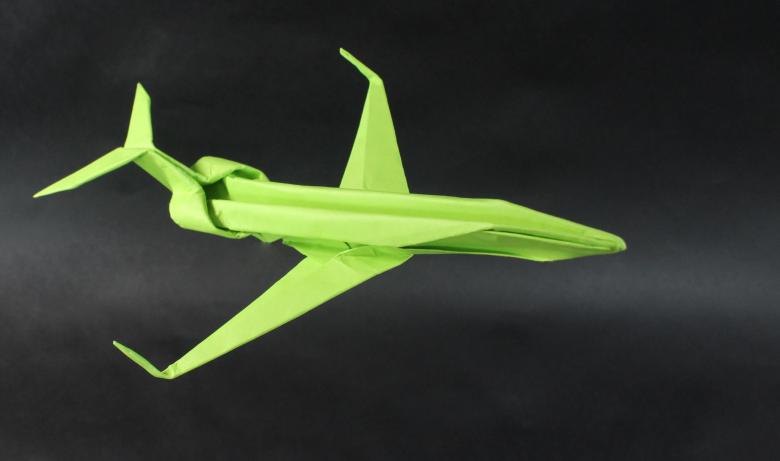
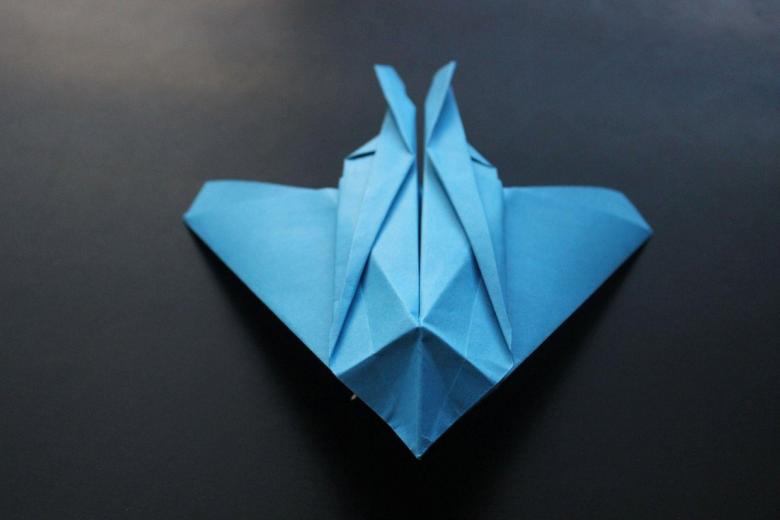
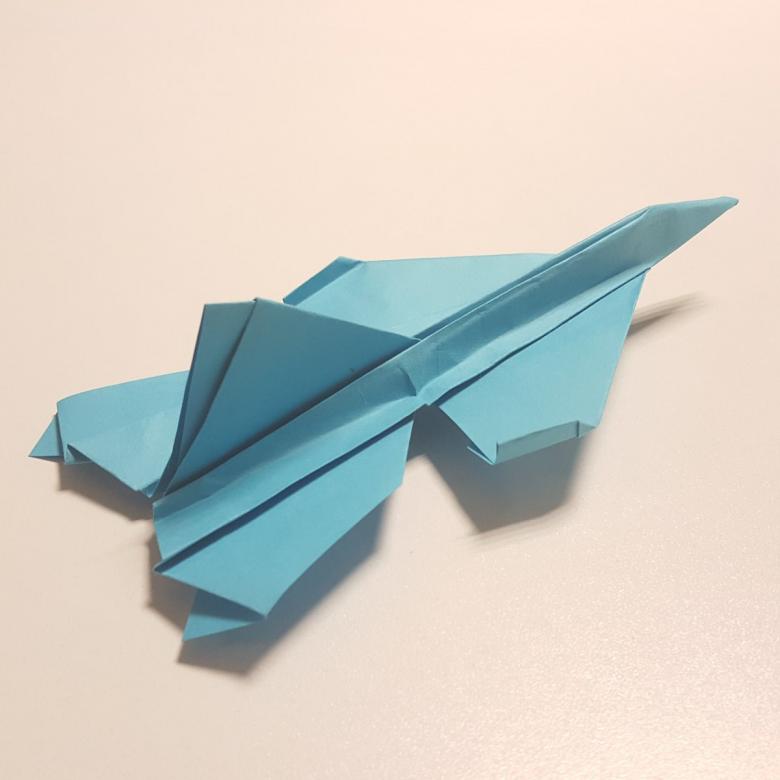
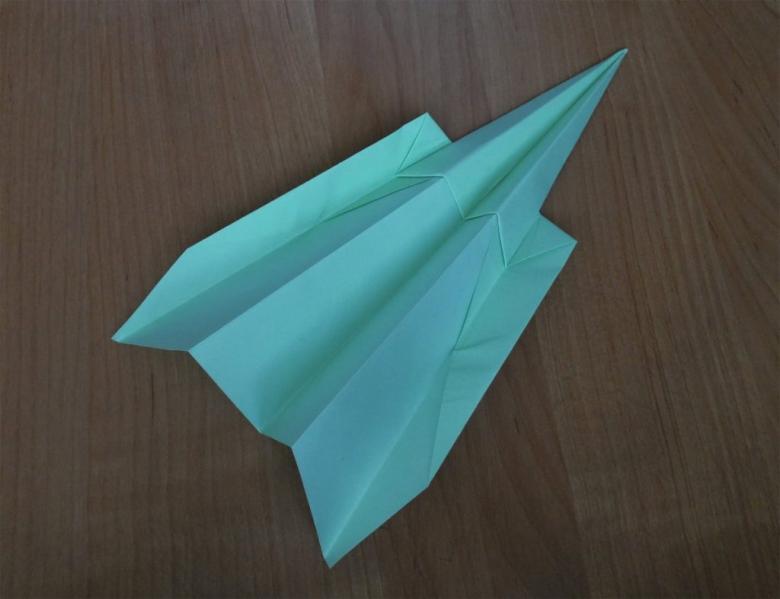
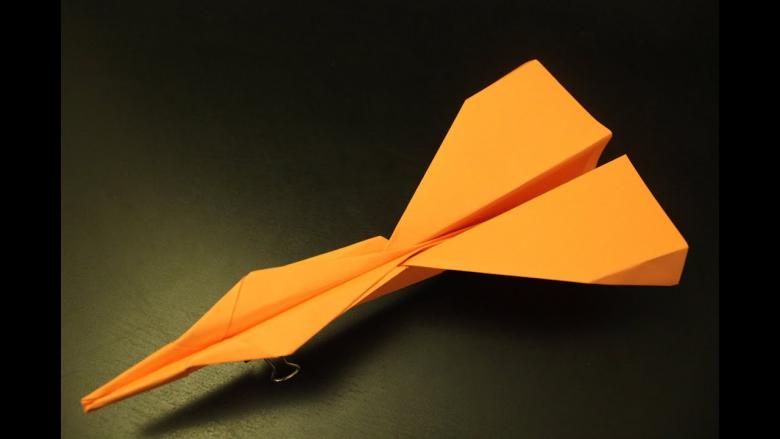
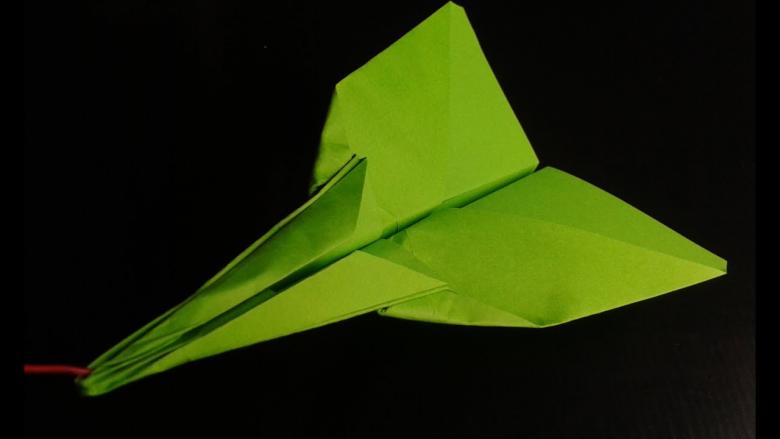
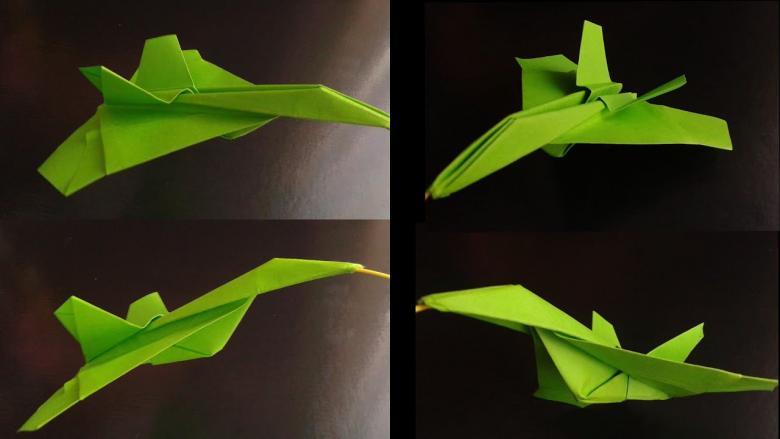
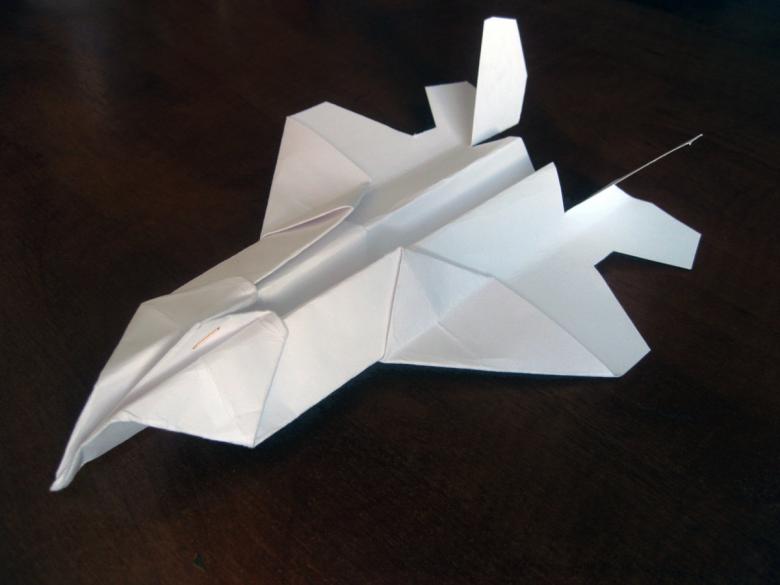
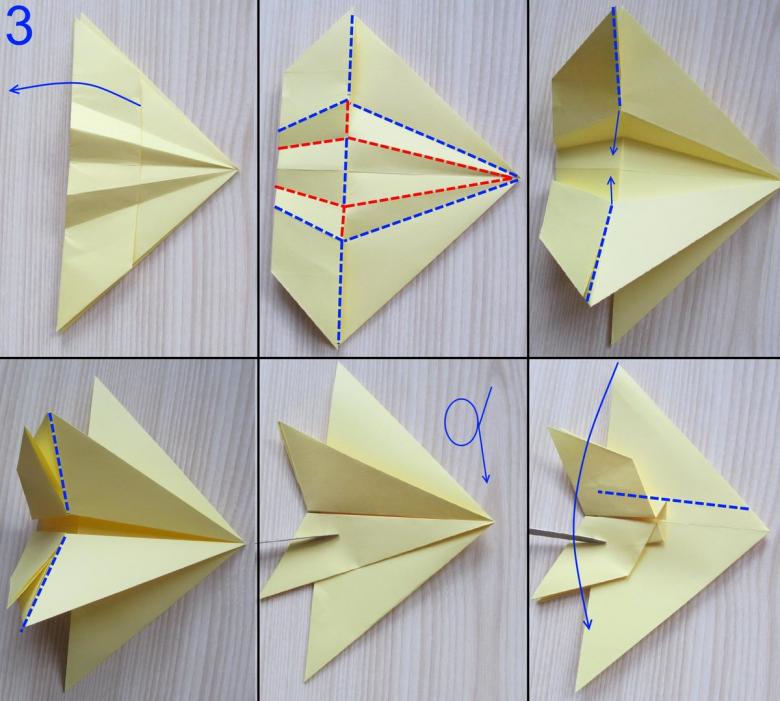
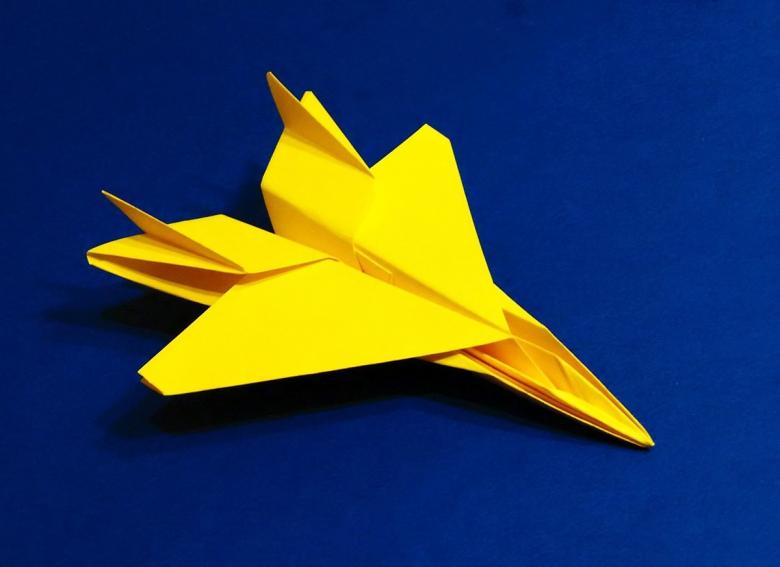
This origami "Airplane" of paper is different more complicated execution. First you need to make a template with a variety of folds, marking the edges of the flying device. To create a model of a jet glider you need a square piece of special paper produced specifically for the lessons of this Japanese art.
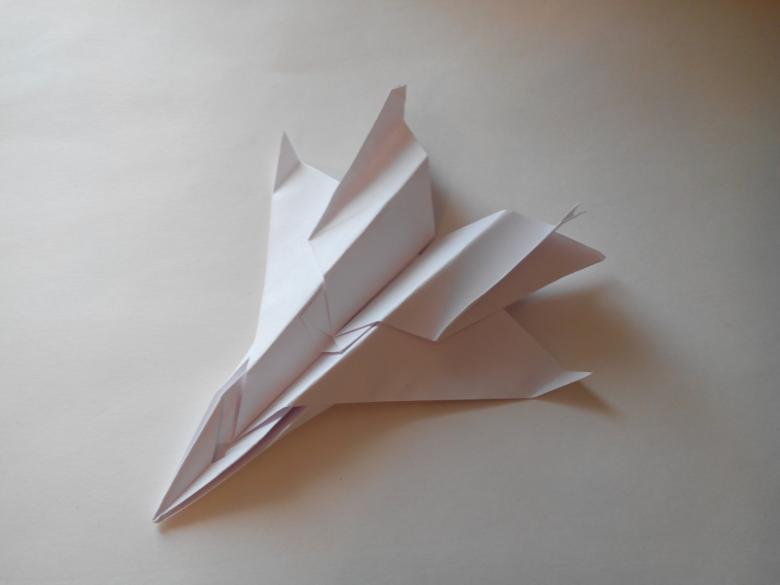
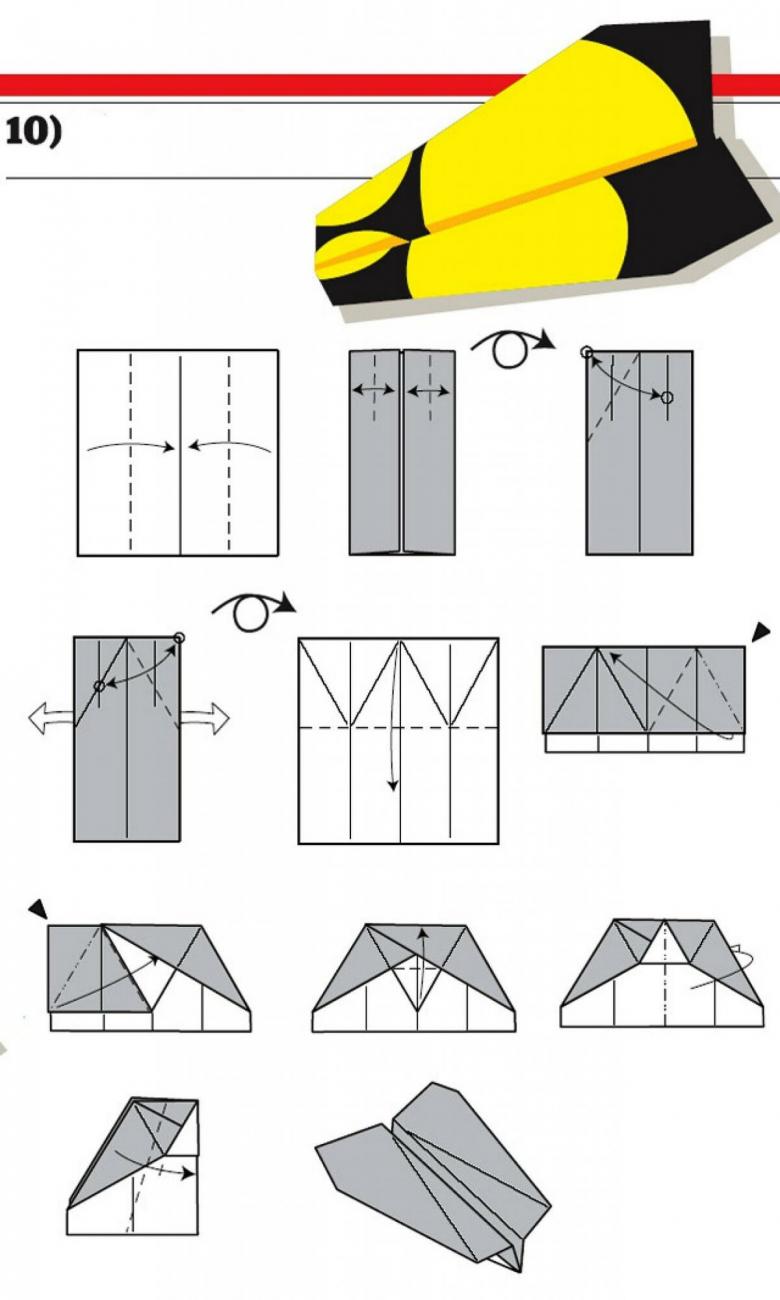
Here is the "airplane" origami paper, step by step instructions:
- Make a middle deep fold - a double fold. To do this, the paper square must be folded, unfolded and folded again in the opposite direction.
- Parallel sides to the center of the simple folds. You should get the layout, divided into four identical rectangular elements.
- Make a double cross fold. Fold the sides to the axis. On the unfolded template mark 16 identical squares. Turn the workpiece and fold it diagonally.
- Set the diagonal in a vertical position, the left corner of the quadrilateral to the center and fold, forming a triangle.
- Impose another corner fold on the left segment. You should get the second half of the quadrilateral. Together with the first they form a trapezoid. If you don't want to make a mistake in this and subsequent steps, you should carefully study the photos and videos illustrating this version of the airliner.
- After the construction of the wings and tail, the product will be ready.
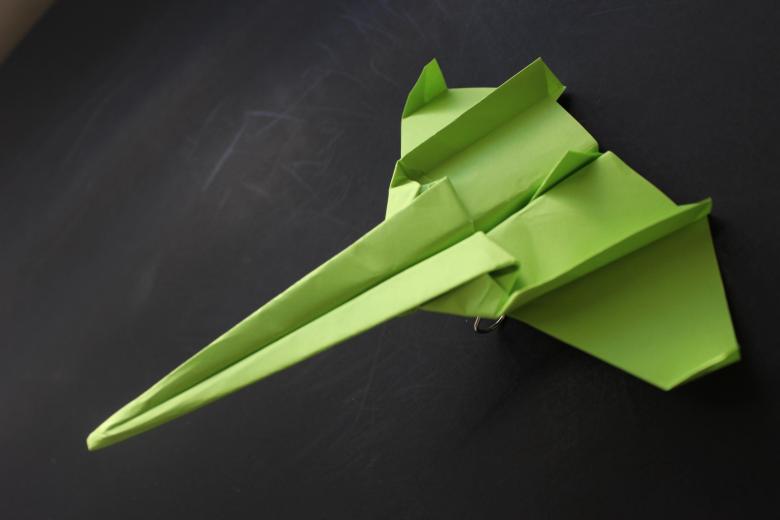
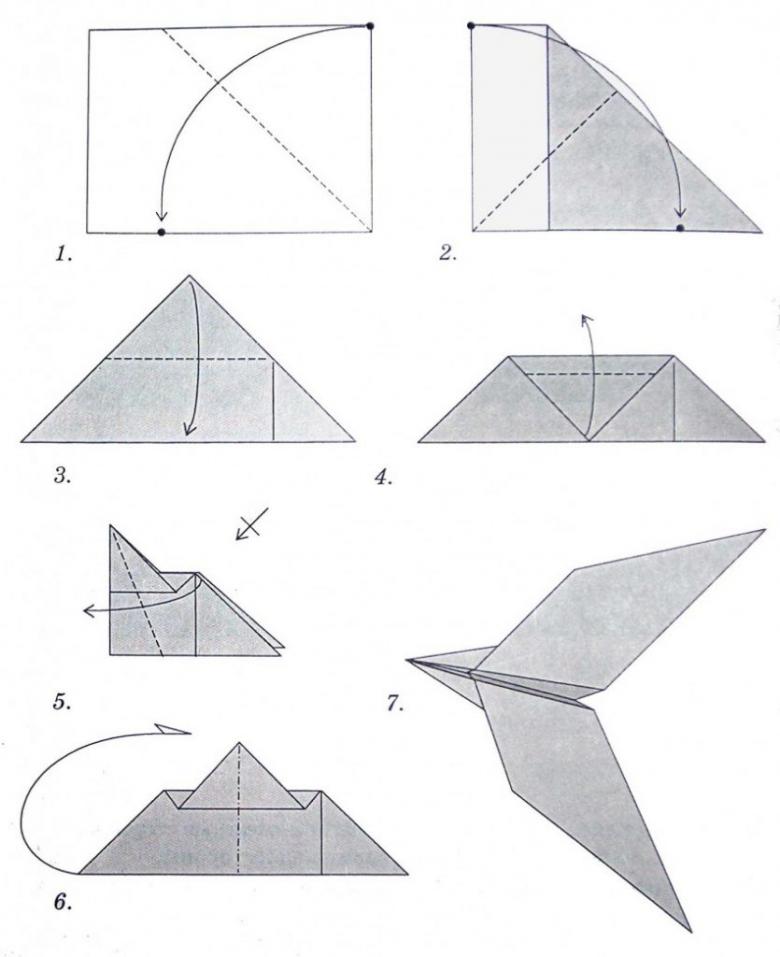
Airplane "Swallow"
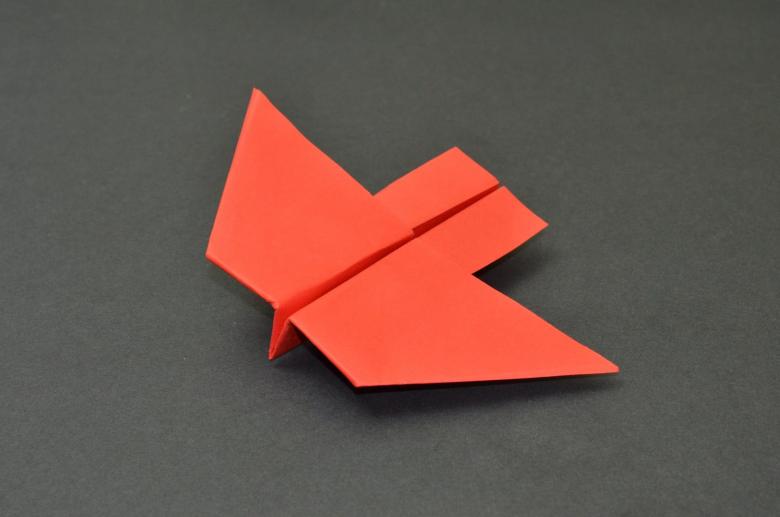
Rectangle of paper with wide side facing you and fold diagonally. Bend one of the corners so that the base coincides with the base of the future triangle. The top of the triangular template bend down and then, after about 10 mm, bend upwards. Fold the layout in half so that the flat part was inside, and spread the wings. The "swallow" is ready to fly!
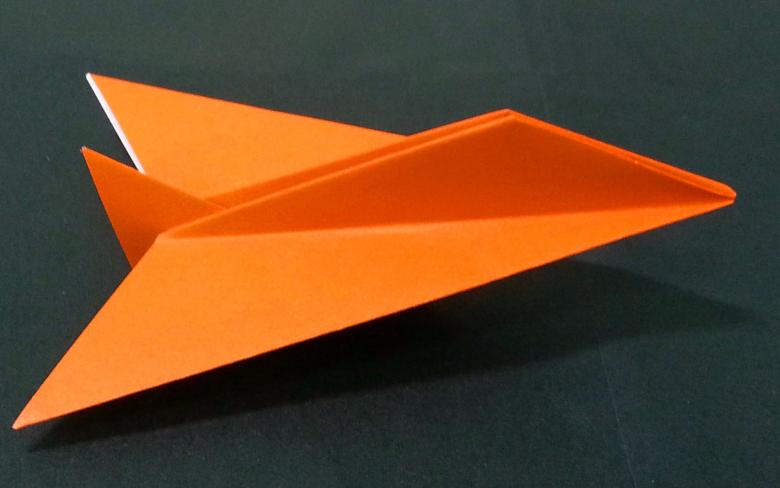
Model with reinforced nose part
The advantage of this paper airplane is the absence of a sharp nose. It is this part that most often suffers a collision with obstacles. To make a similar glider, you need:
- Unfold A4 paper long side facing you and bend the top corners to the center. The resulting "house" fold in half.
- The upper corners of the rectangle bend down, but a little slope - the lower edges should converge, and their divergence at the top should not exceed 10 - 12 mm.
- Press these edges with the top "house" and carefully iron the fold.
- Fold the workpiece in half and bend the wings.
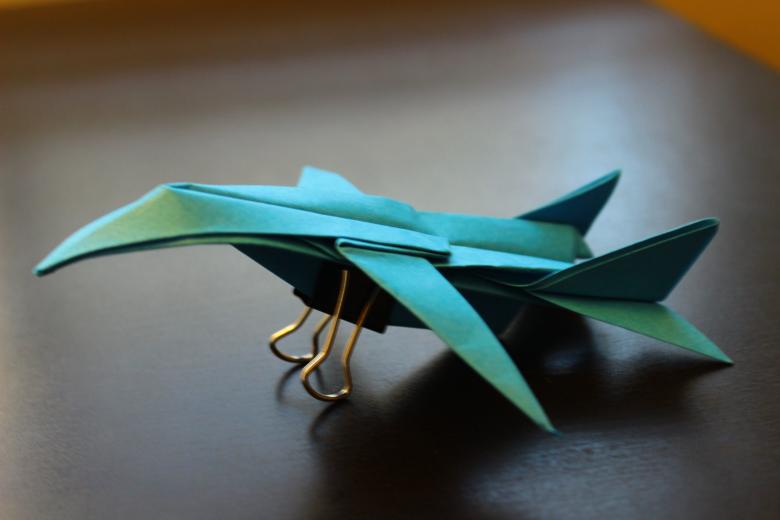
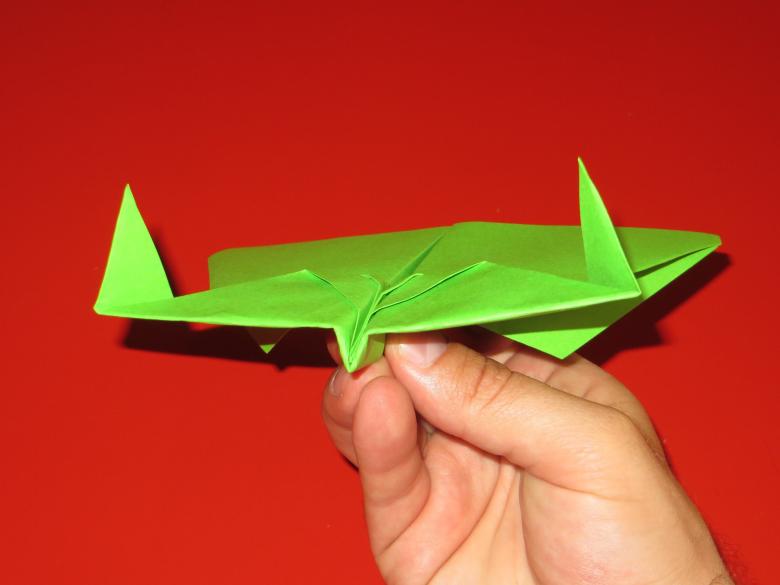
Airplane with "ears"
The main difference between this model is the labor intensity and complexity of construction. But it looks much more spectacular than simple airliners. To fold such an airplane yourself, you need:
- Unfold a sheet of A4 with the narrow side facing you.
- Wrap the corners of the "house".
- Turn the layout, and again twist the corners to the central axis. This is the key difference. In the standard scheme both bends are made in a row on one side.
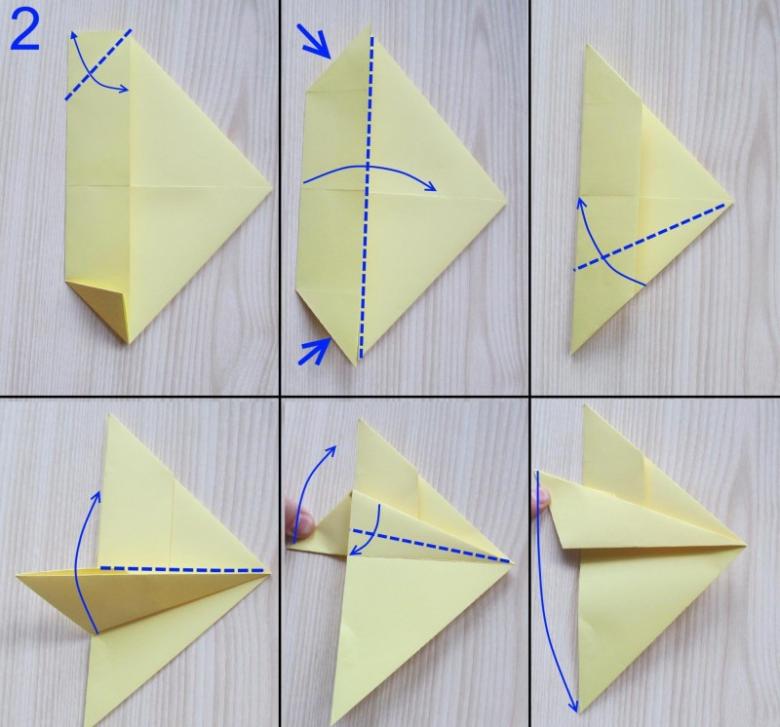
- Spread the top of a narrow triangular element in the diamond and fold it in half down.
- Bend the corner back "accordion", fold the figure in half and form the wings.
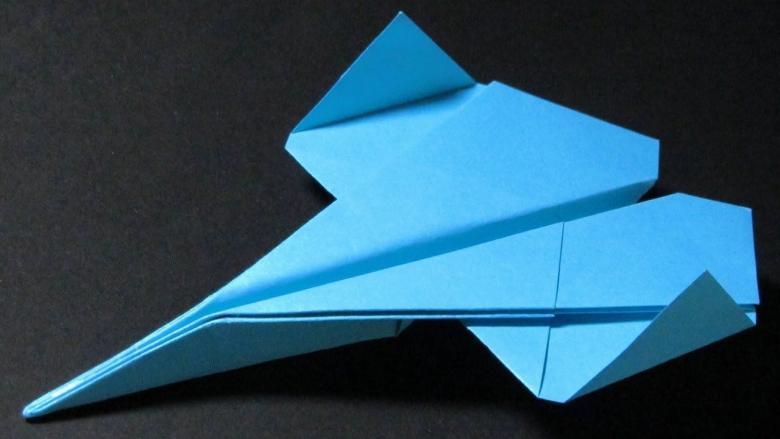
If you make such a glider of colored paper, it will look even more beautiful due to the color transition in the nose.
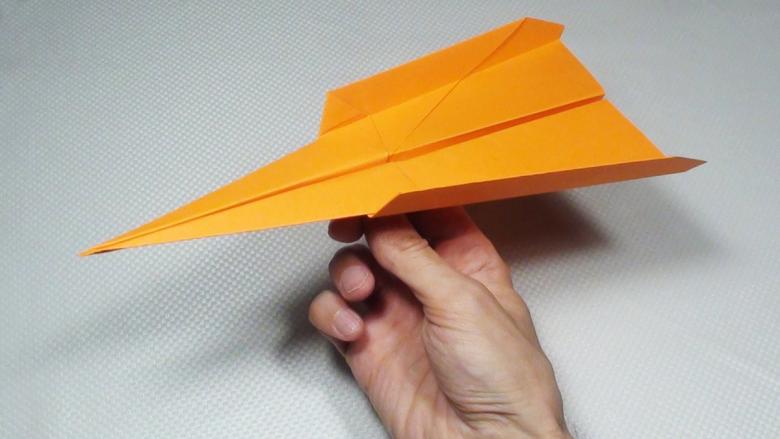
Model with bent wings
A4 paper should be unfolded so that the wide side is in the foreground. Bend the corners to the middle twice. Fold the layout in half so that the narrow corner of the triangular element is 2 mm beyond its footing.
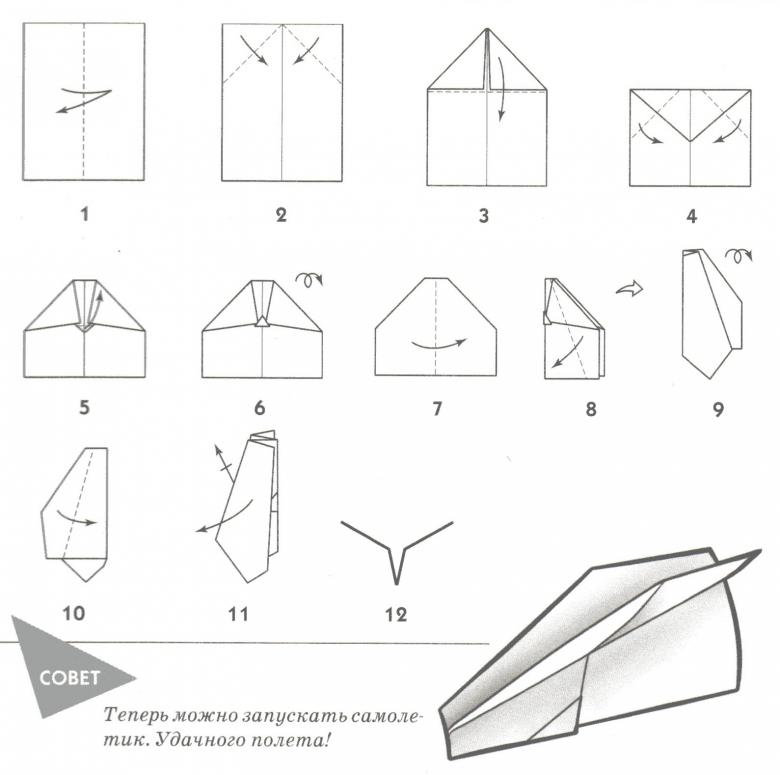
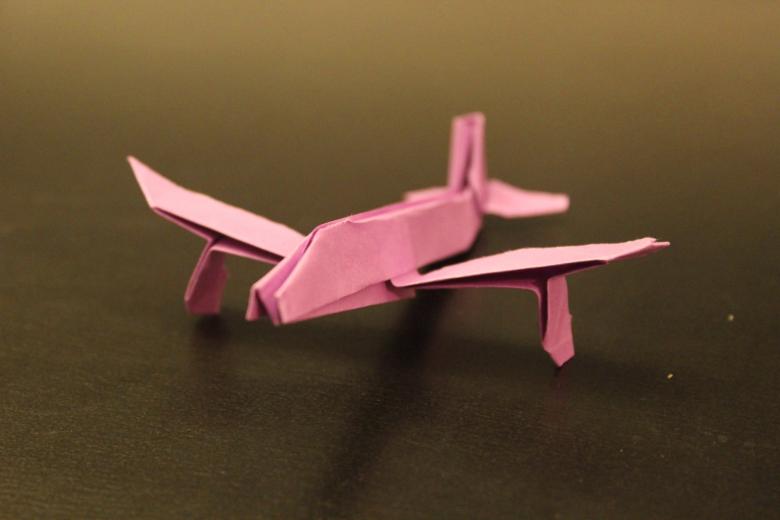
Turn the hexagon so that the flat side was on top. Bend the corners to the center again. You should get a figure with seven corners. Wrap the top down and turn the same narrow bottom nose. Fold the workpiece in half, straighten the wings and bend perpendicular to the top edge.
Creating paper figures of airplanes - one of the most enjoyable ways of pastime. Such activities can develop spatial imagination and fine motor skills. Therefore it is very useful to involve a child.

