How to make shelves for shoes with your own hands and from improvised materials - useful tips, drawings and photo ideas
Shoe rack - an indispensable attribute of the hallway, which allows you to limit the spread of dust and dirt, brought by street shoes. Buying such a furniture product will cost a decent amount, as a result, it is advisable to learn how to make shoe shelves with your own hands.
Advantages of shelves for shoes
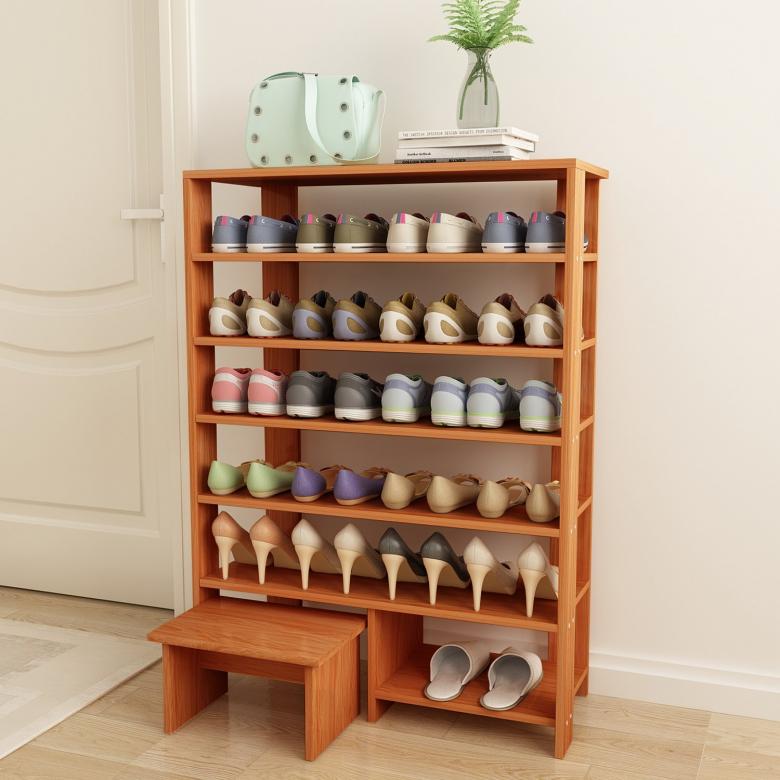
Shoe stands and shelves allow:
- avoid shoes losing their shape;
- Achieve even drying;
- arrange the vestibule space in the most reasonable way;
- ensure the convenience of movement in the corridor room;
- without delay to pick up the right shoes.
Varieties of shoe racks
Before you decide to master a shelf for shoes in the hallway with your own hands, it is recommended to get acquainted with the existing types of shoe stands. Depending on the material of manufacture, this furniture is divided into products:
- wooden;
- metal;
- plastic;
- glass;
- textile;
- Polyvinylchloride (PVC pipes).
All varieties have both advantages and disadvantages. In this case, to own to create such stands for shoes, you must be an experienced craftsman. Beginners will be on the power of shelves from:
- cardboard;
- plywood;
- CHIPBOARD;
- cloth.
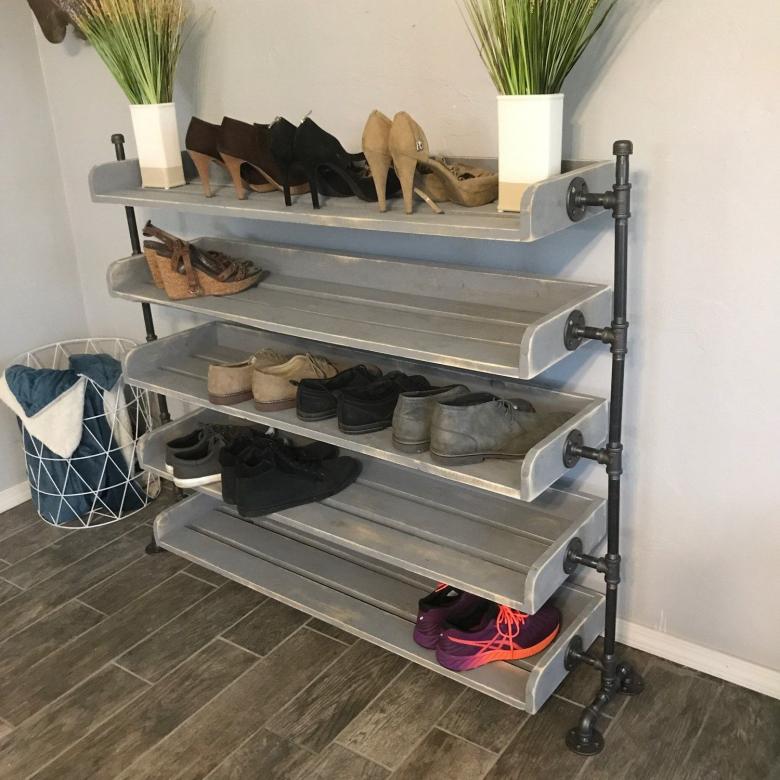
By their design, shoe racks can be of the following types:
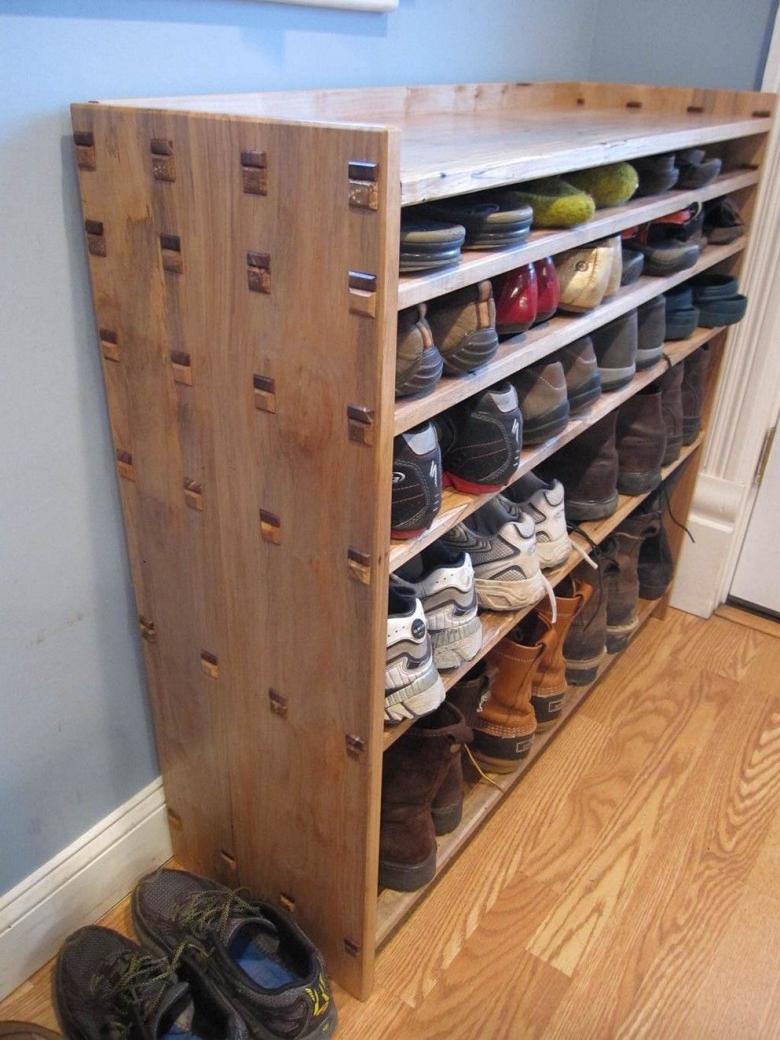
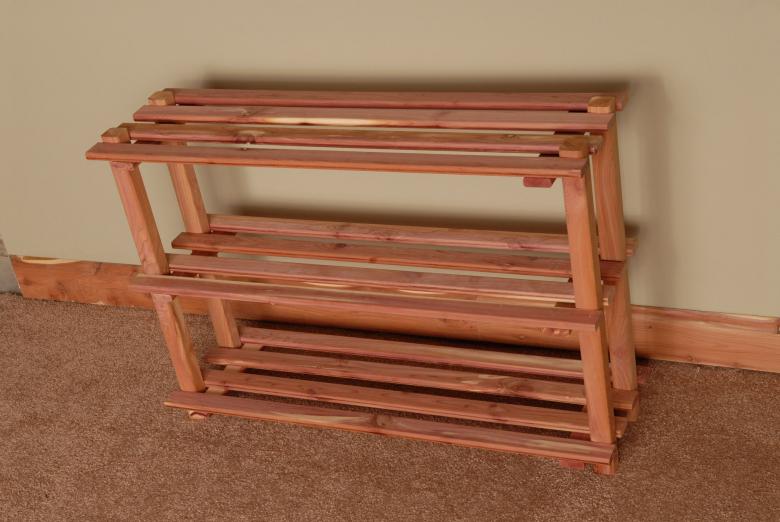
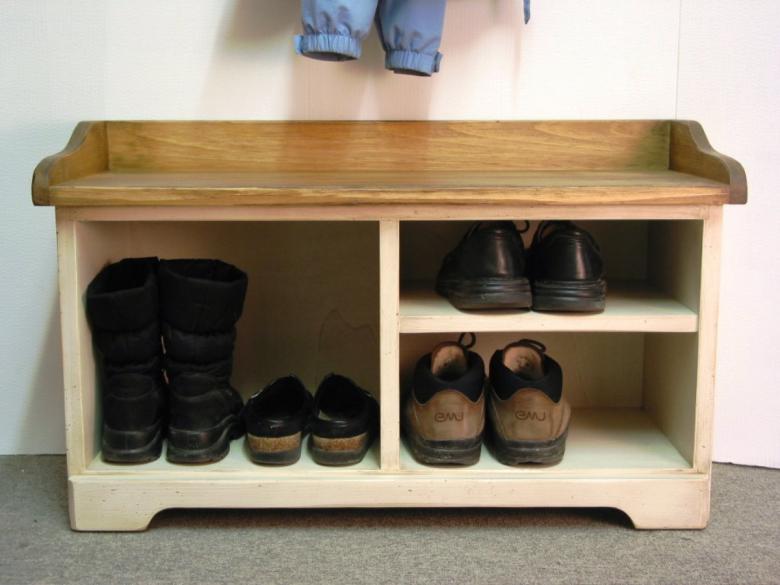
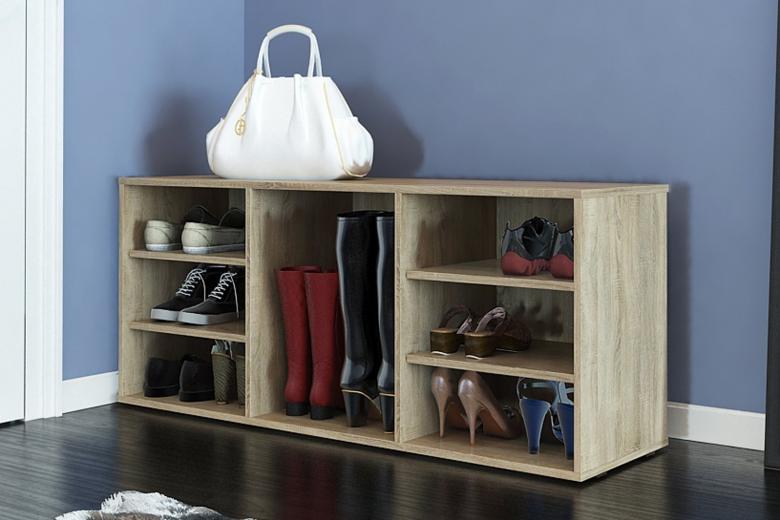
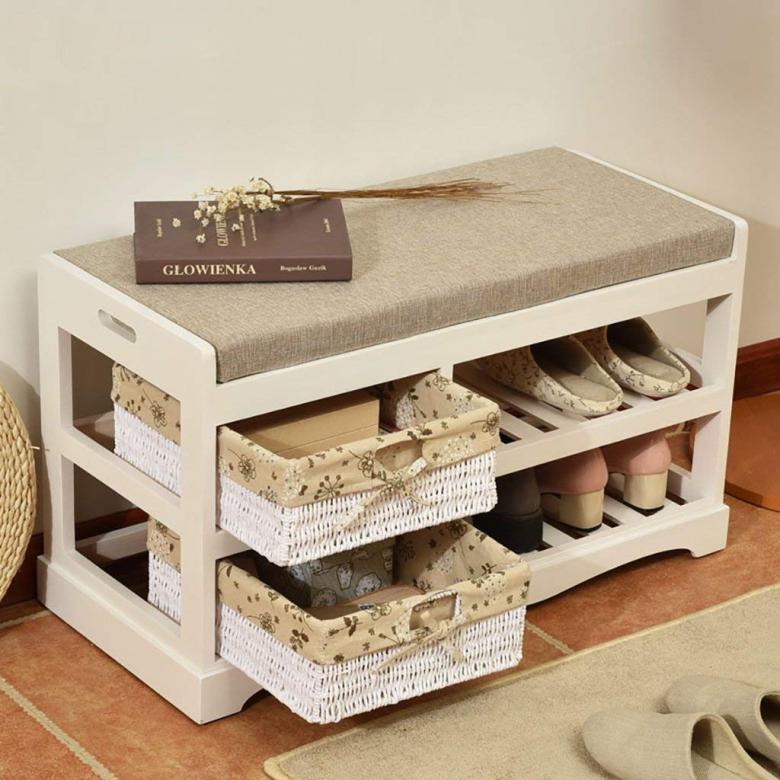
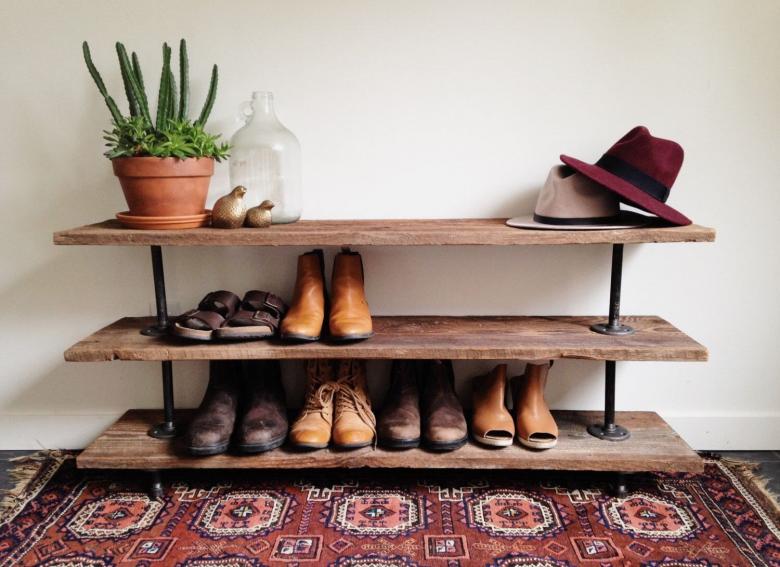
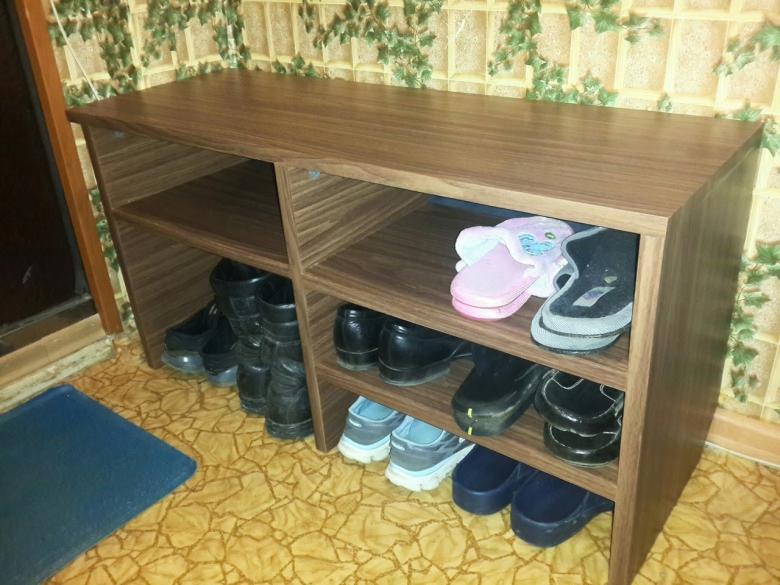
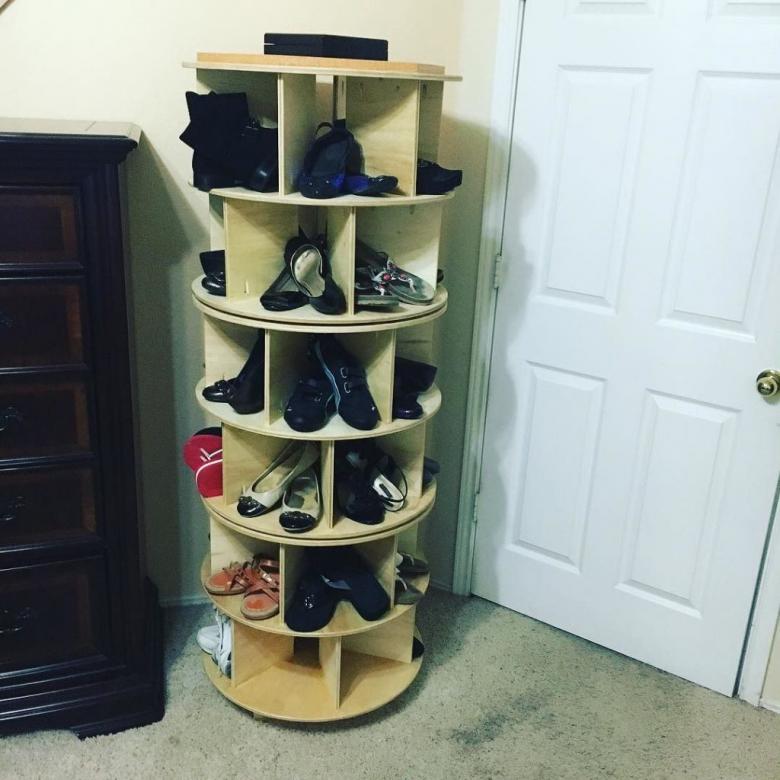
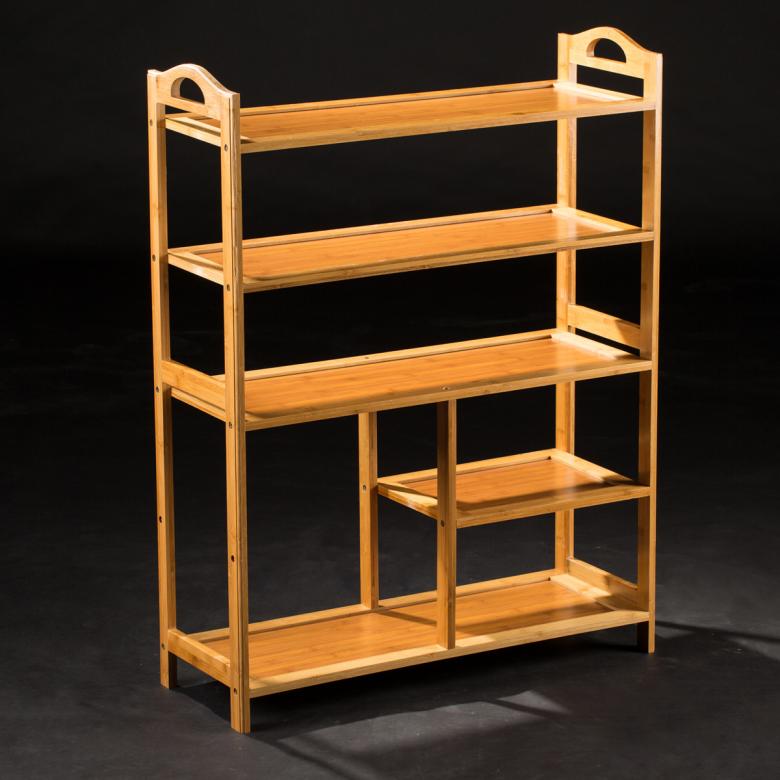
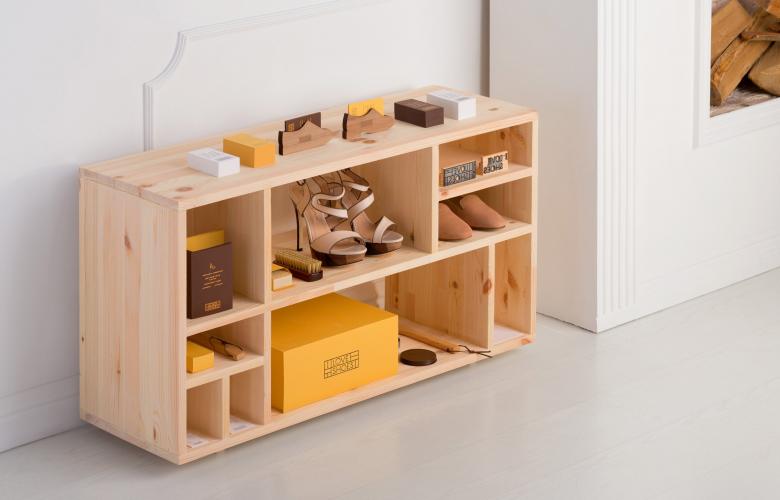
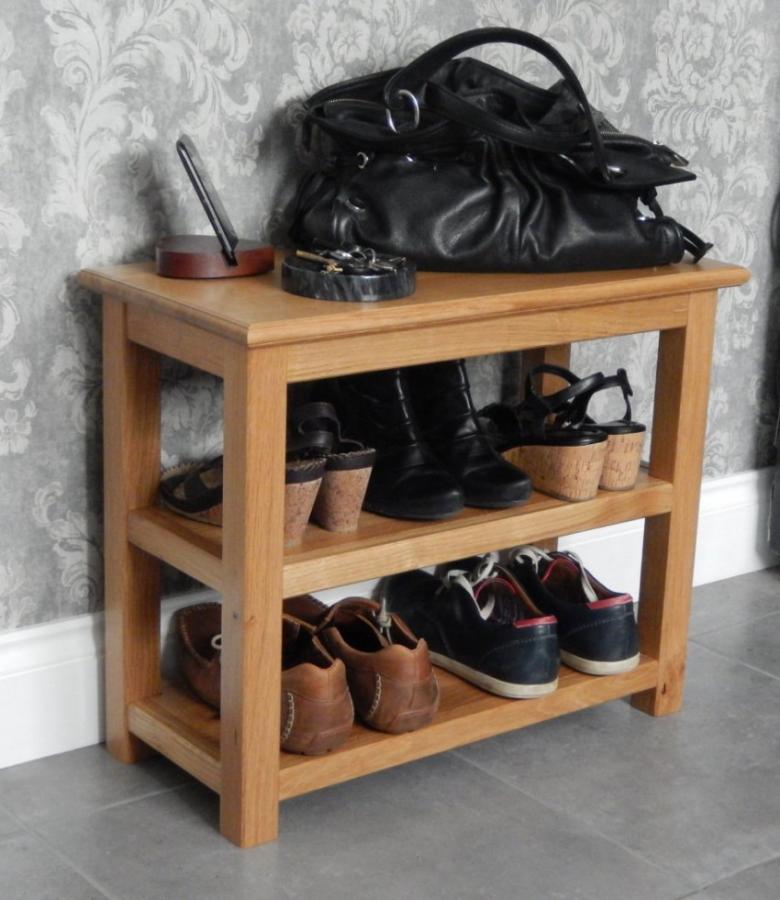
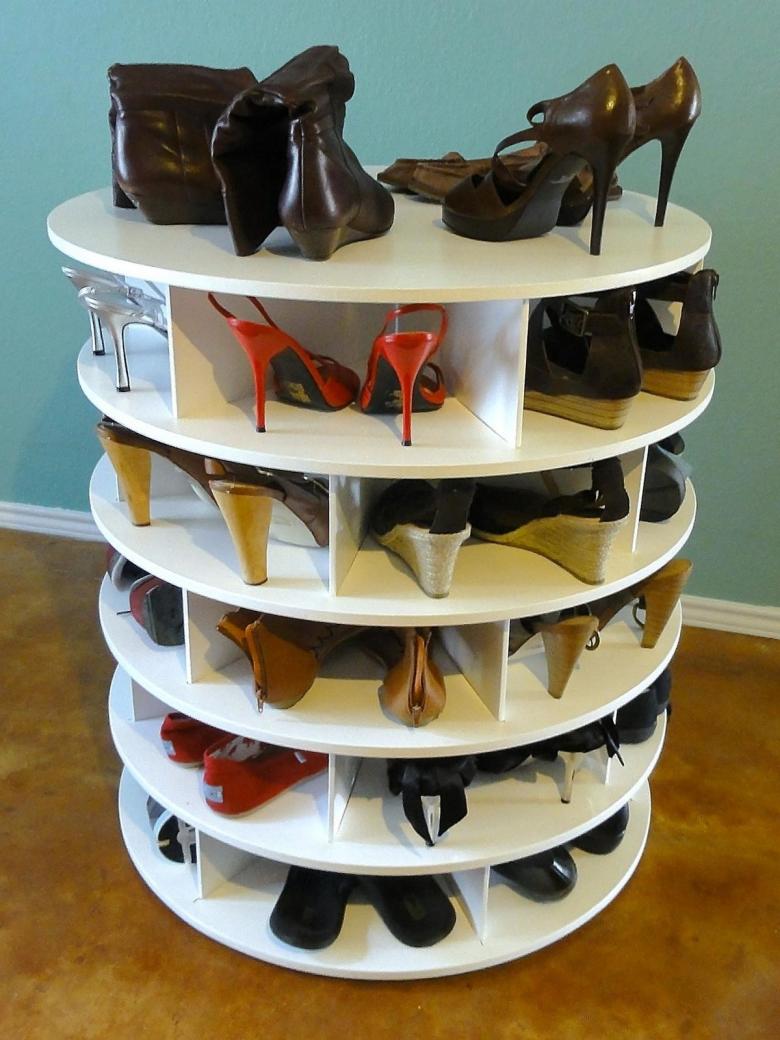
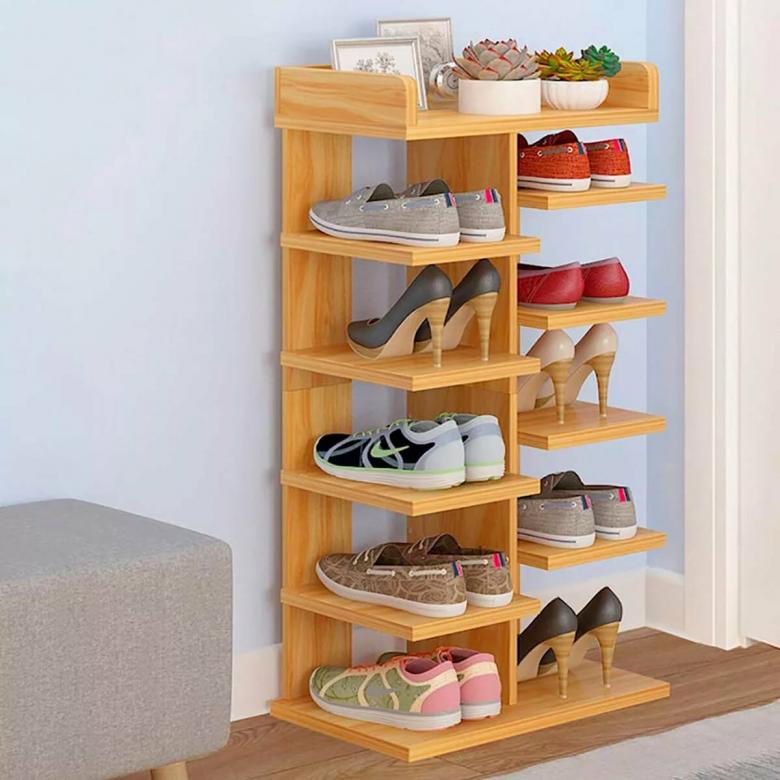
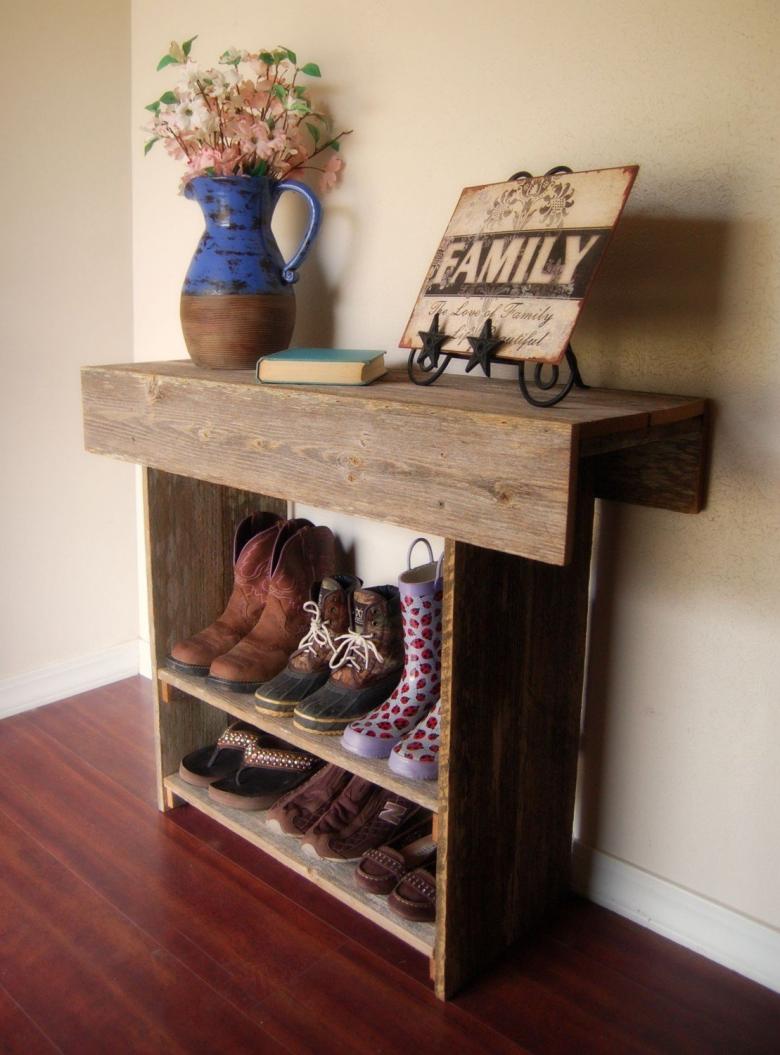
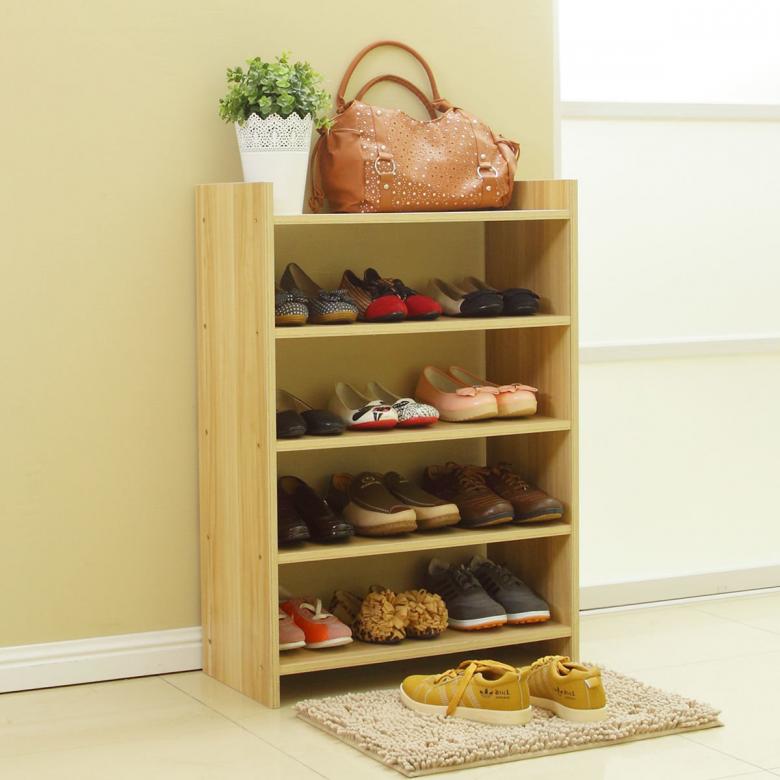
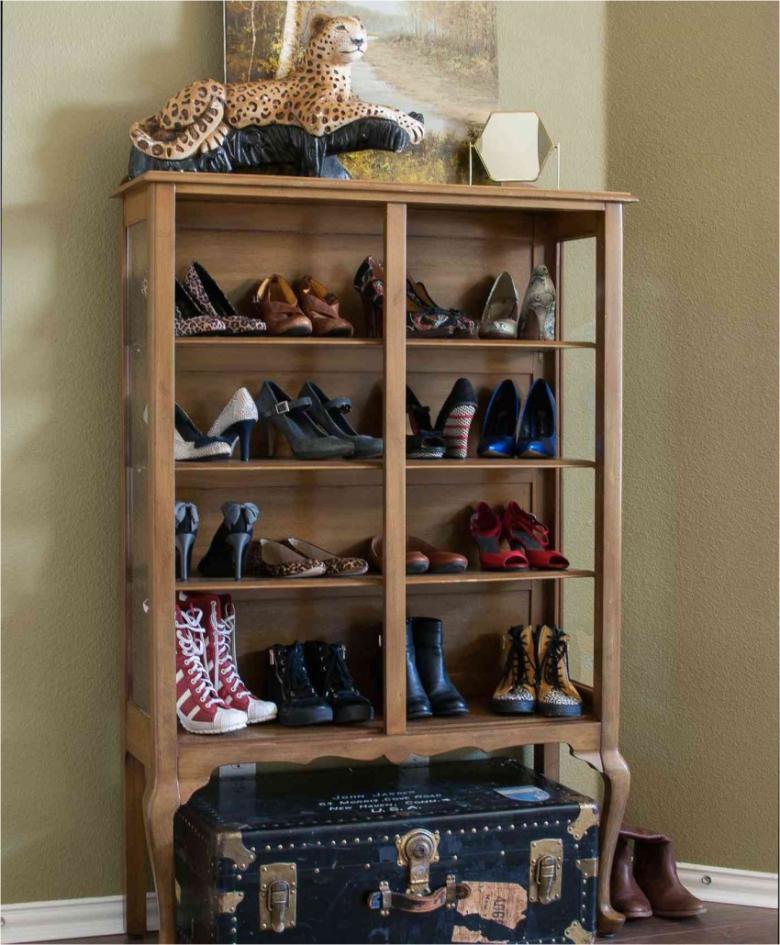
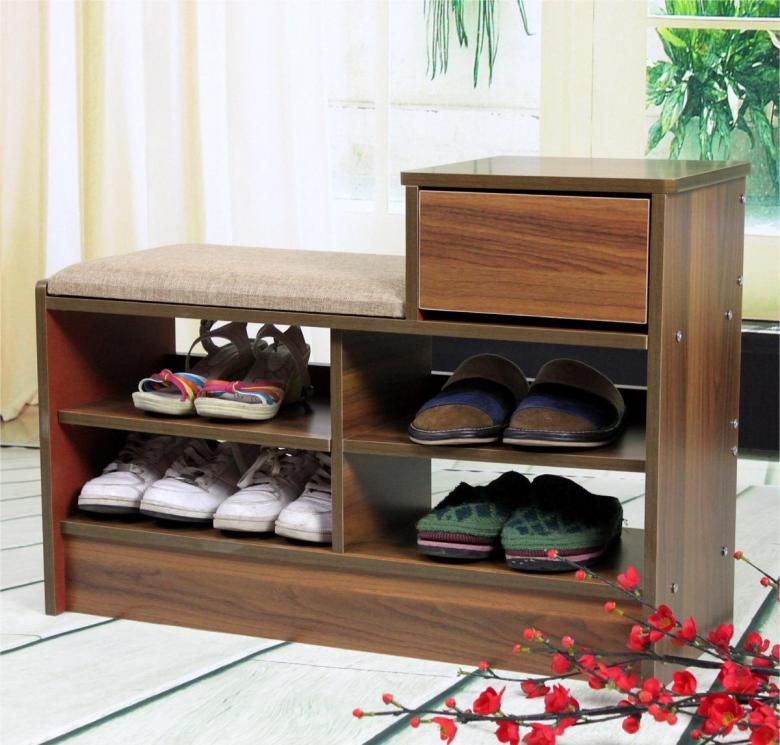
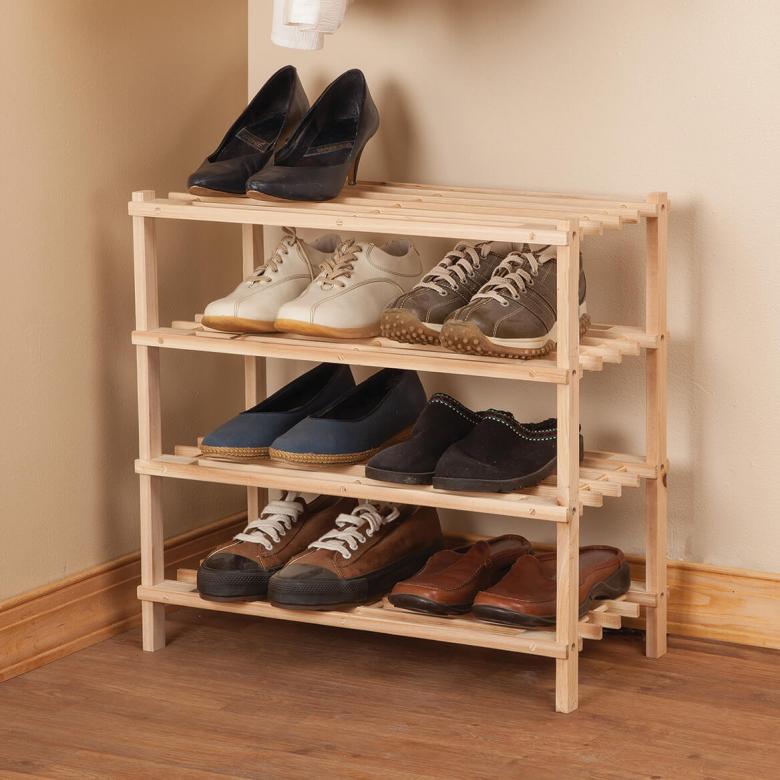
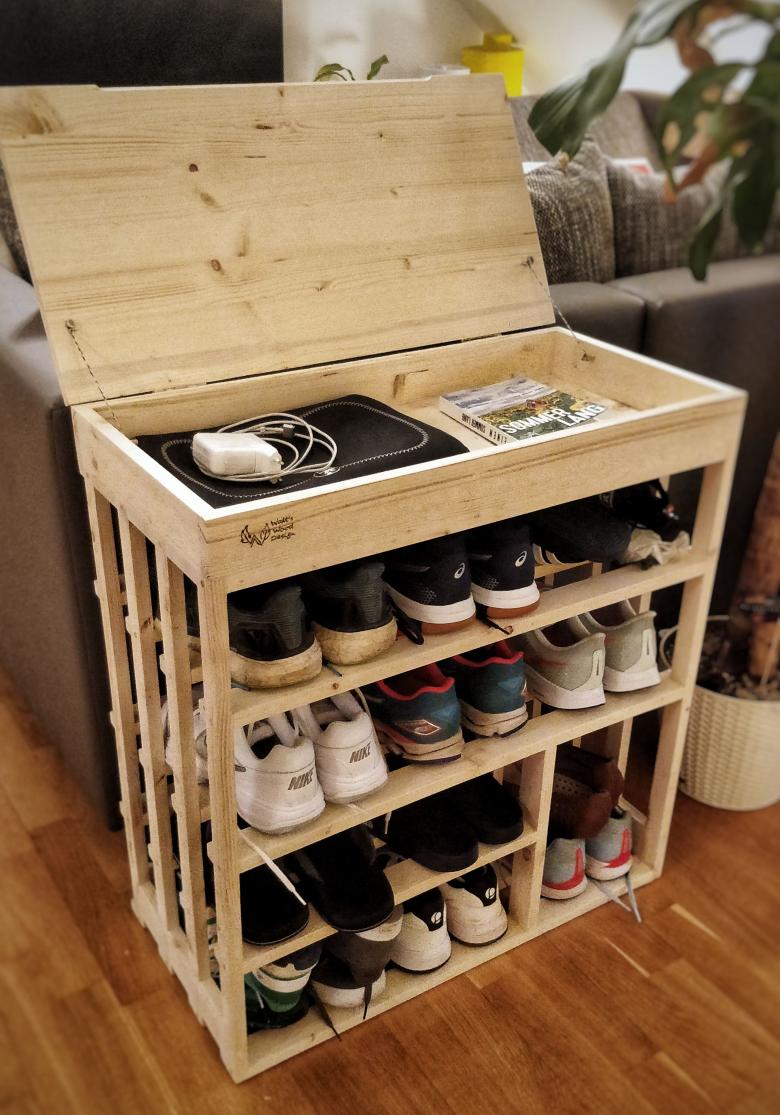
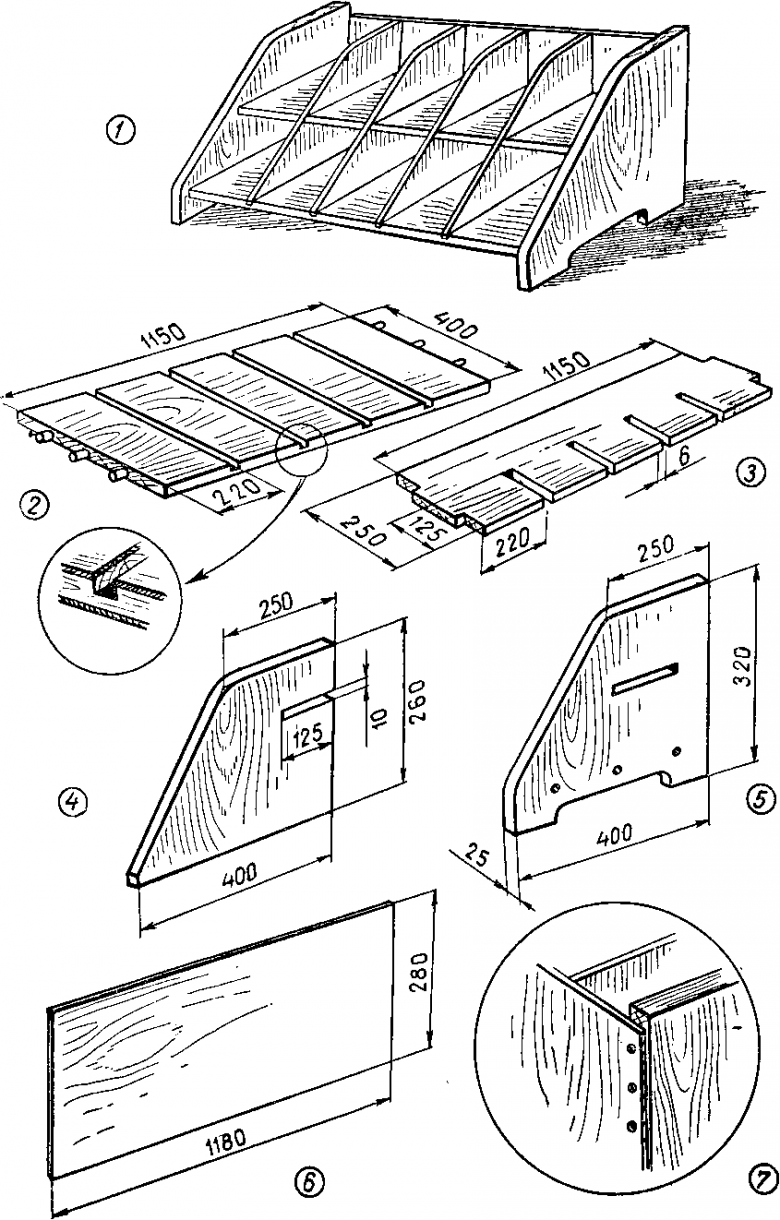
- Open shelving. Stationary product, divided by partitions into separate compartments. Its advantages - low cost, good ventilation, the possibility of using the top cover to place trinkets. The disadvantage - the contents are open to others' eyes.
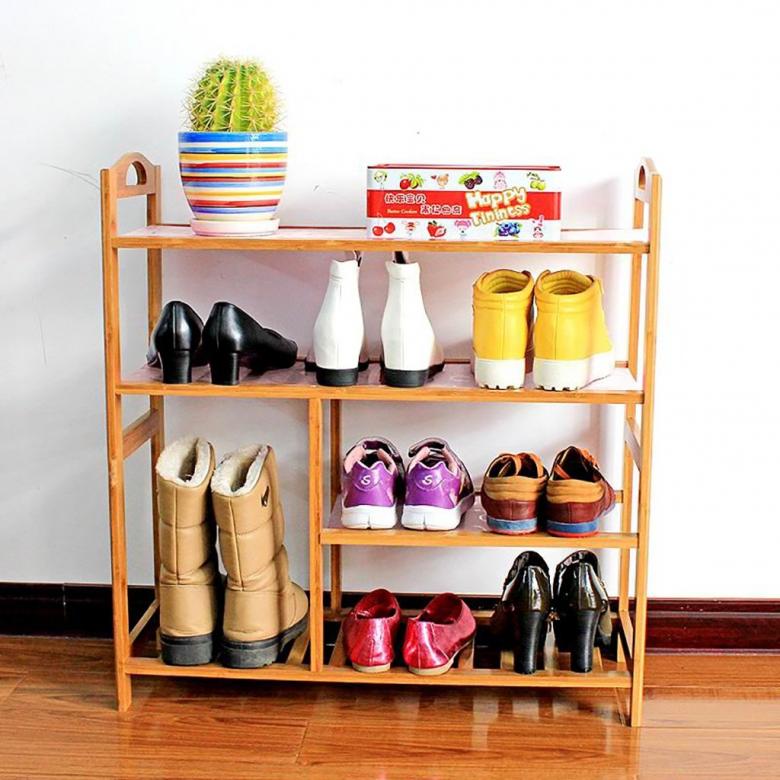
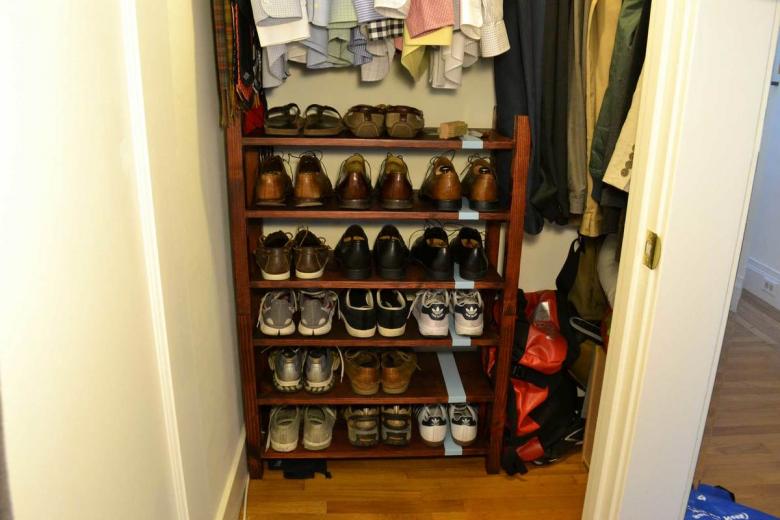
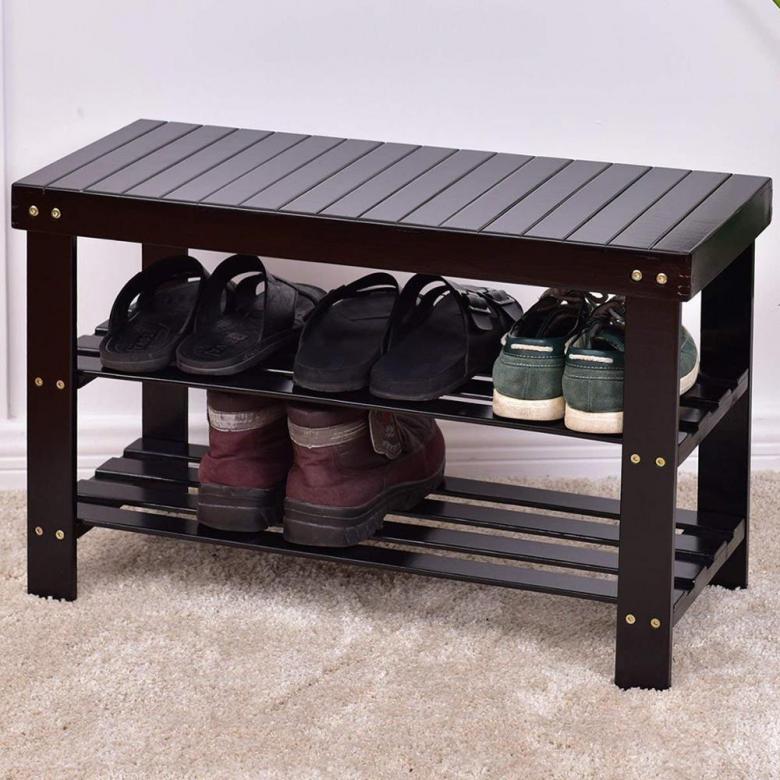
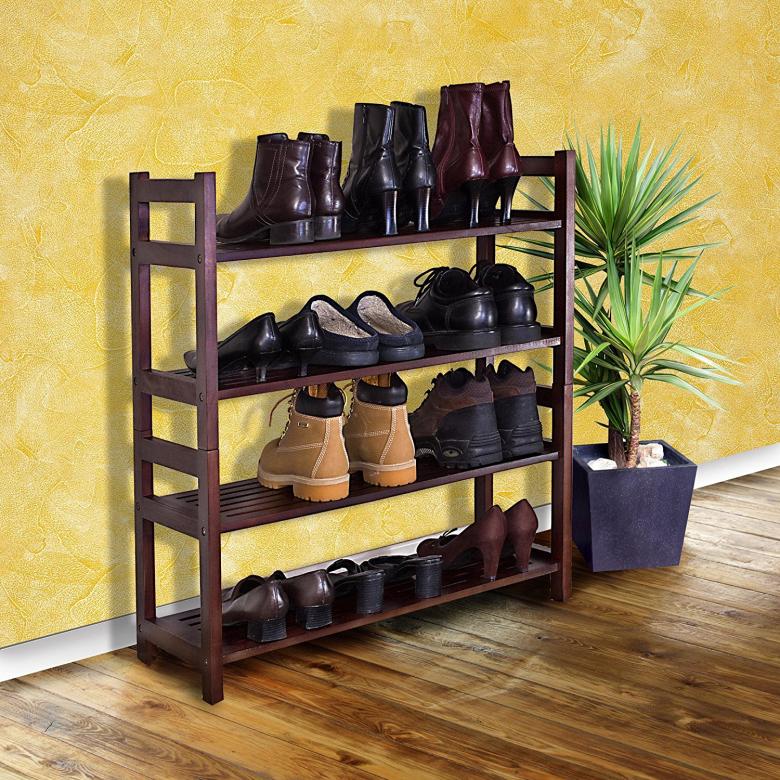
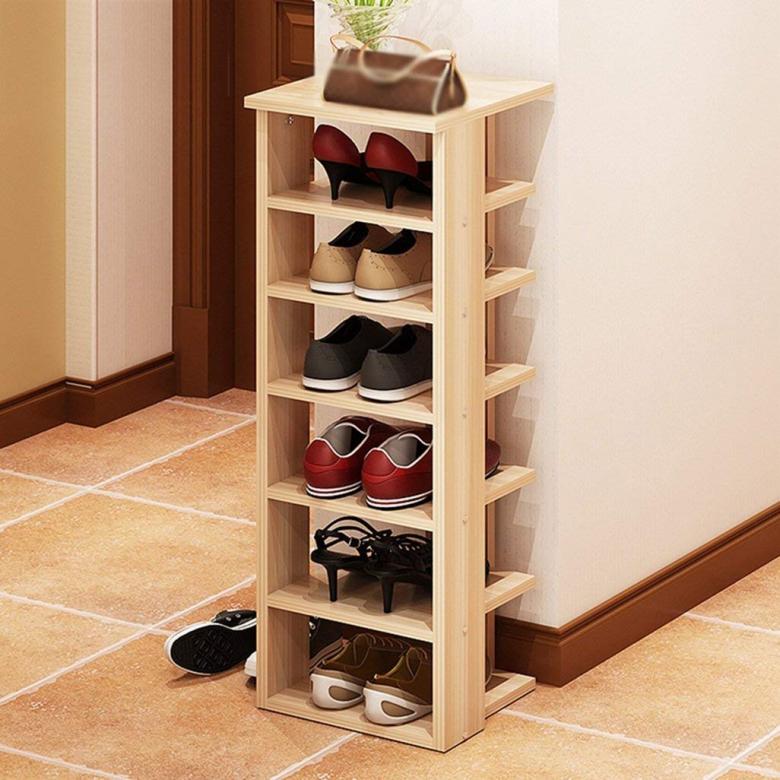
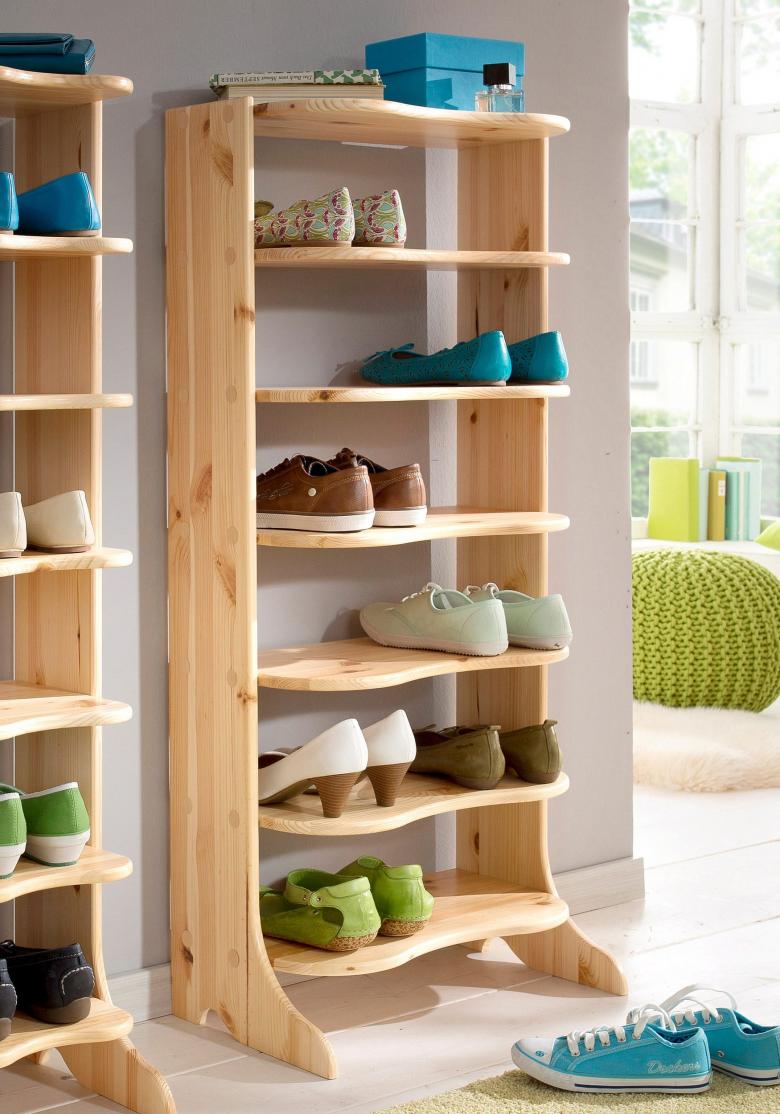
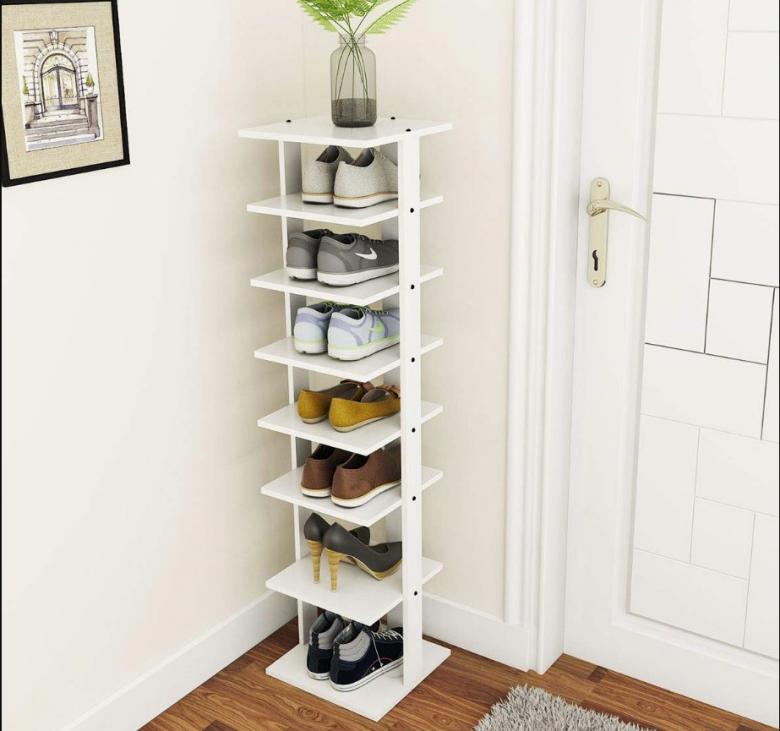
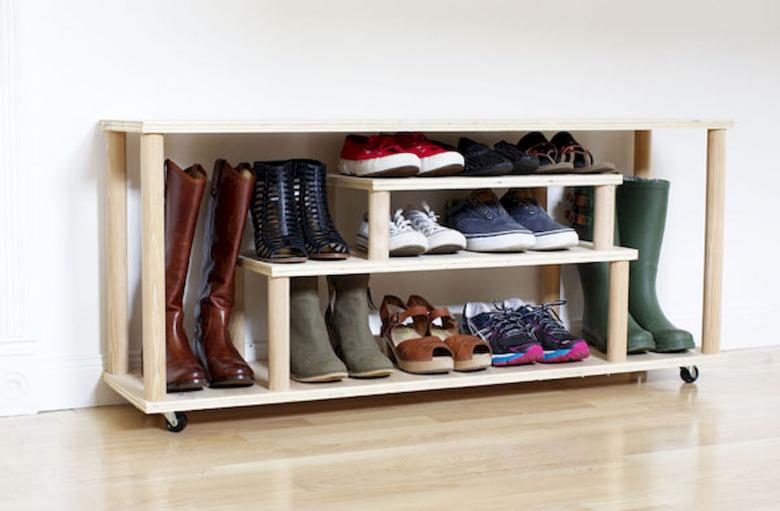
- Stand. Design of 2 - 4 shelves, the height of which depends on the type of shoes.
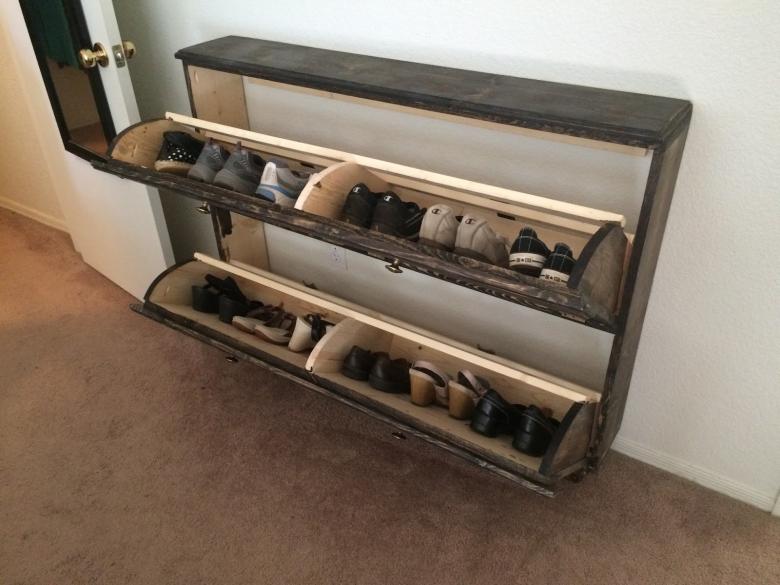
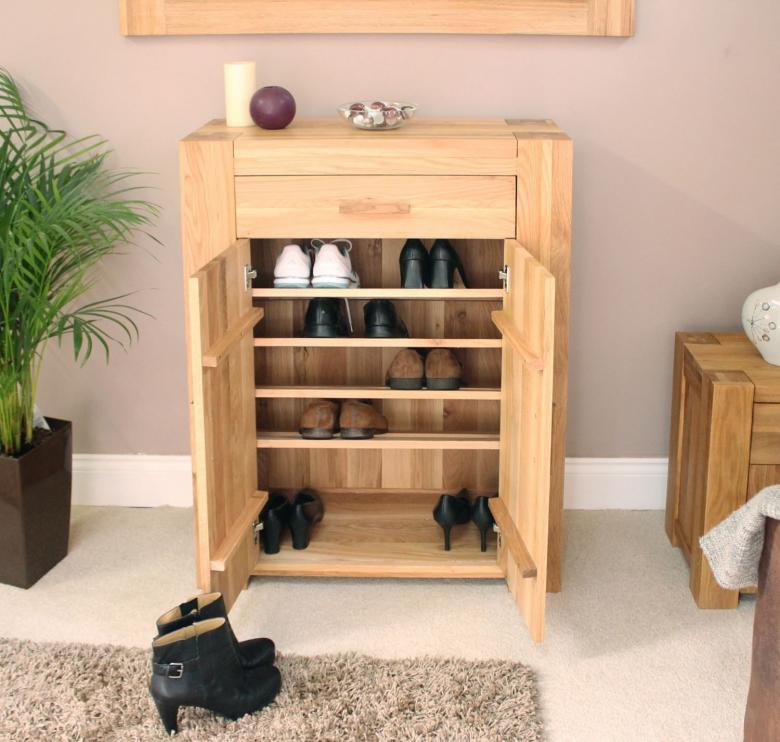
- Closed cabinet. Can be 3 kinds - classic, Bona closet and Slim closet.
- Cabinet. Characterized by functionality, reliability, durability and resistance to stress.
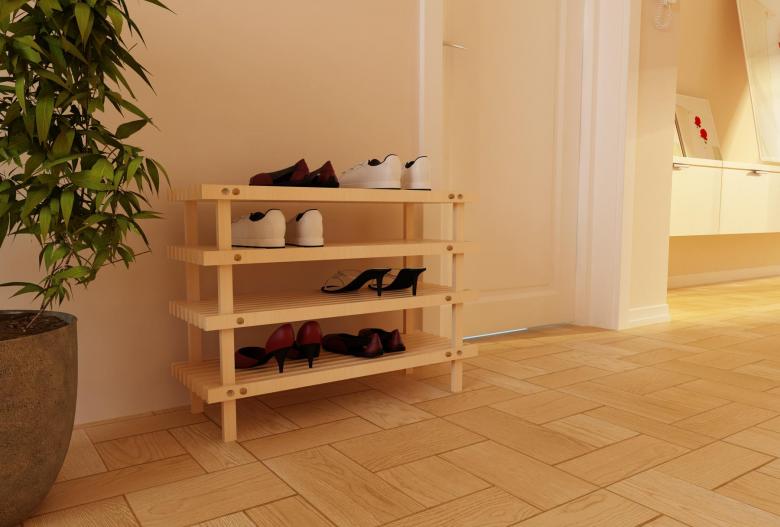
Popular ideas
After getting acquainted with the types of shoe stands, you can move on to the study of those options of homemade shoe stands, which are most popular with the population.
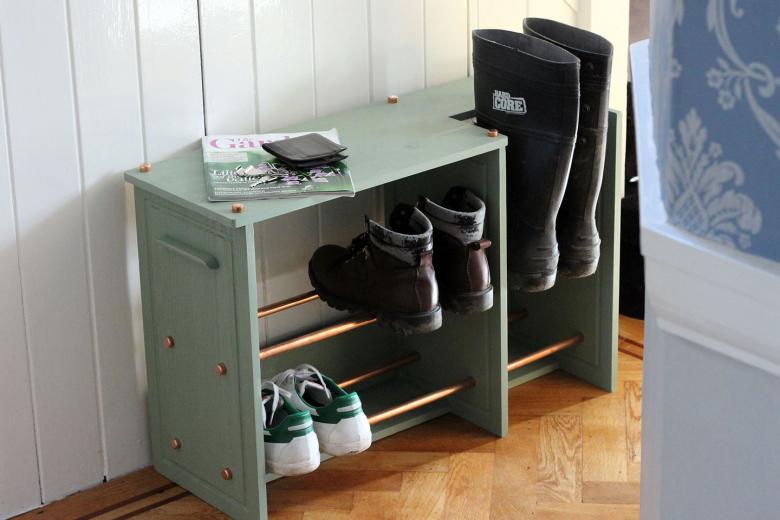
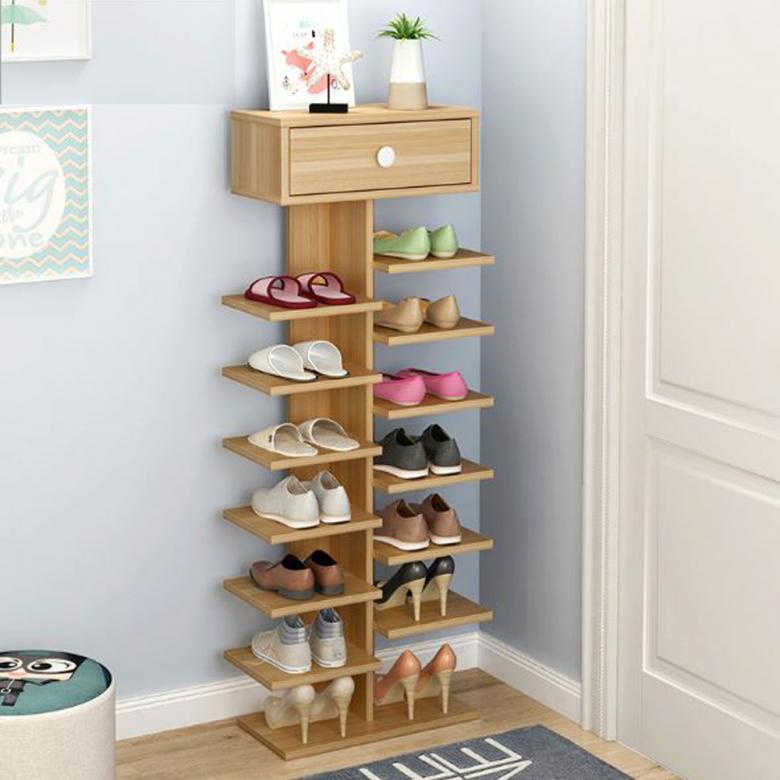
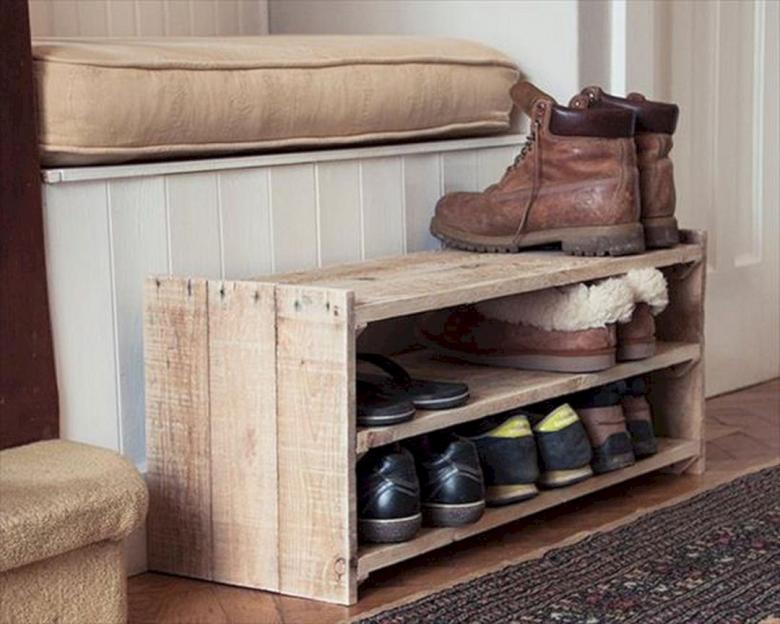
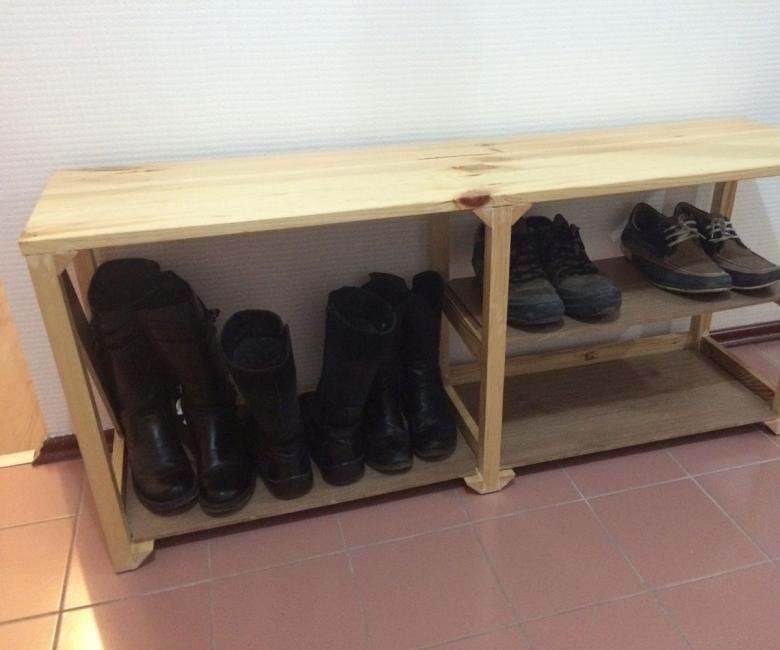
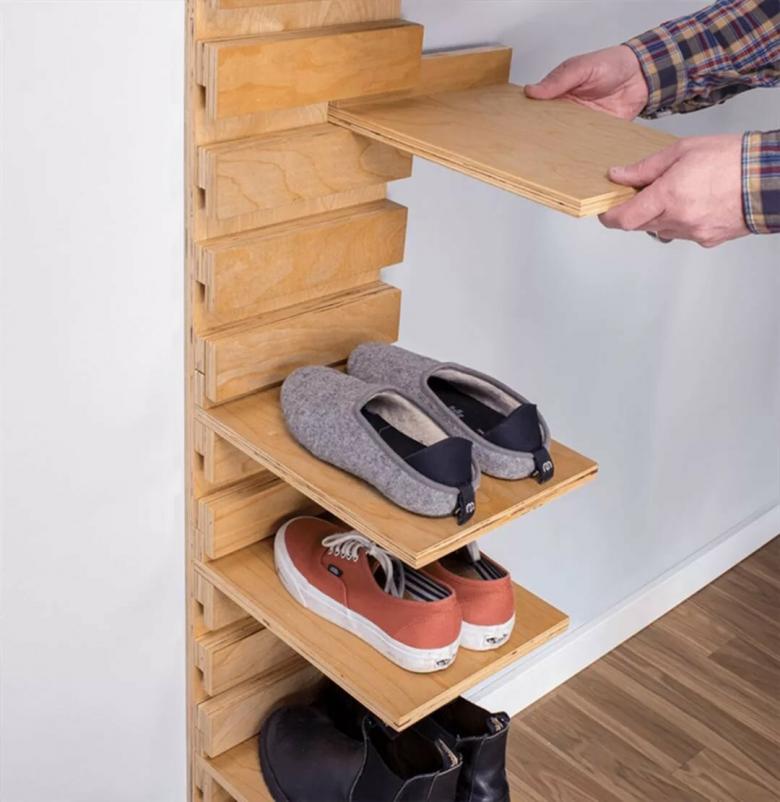
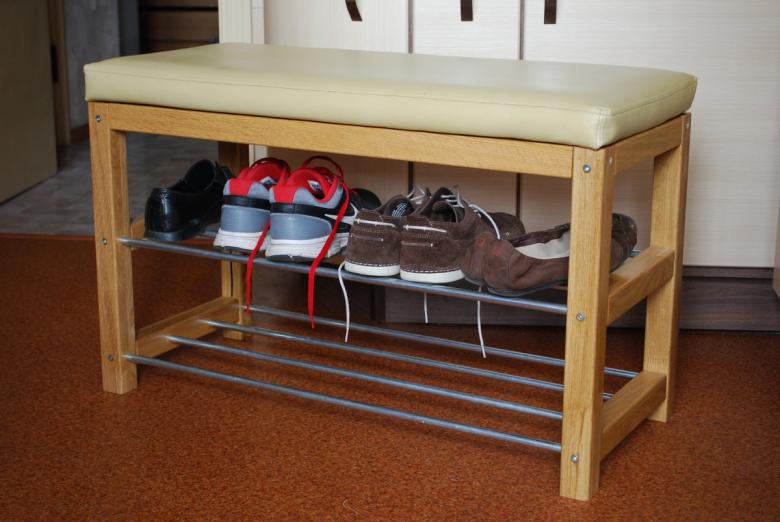
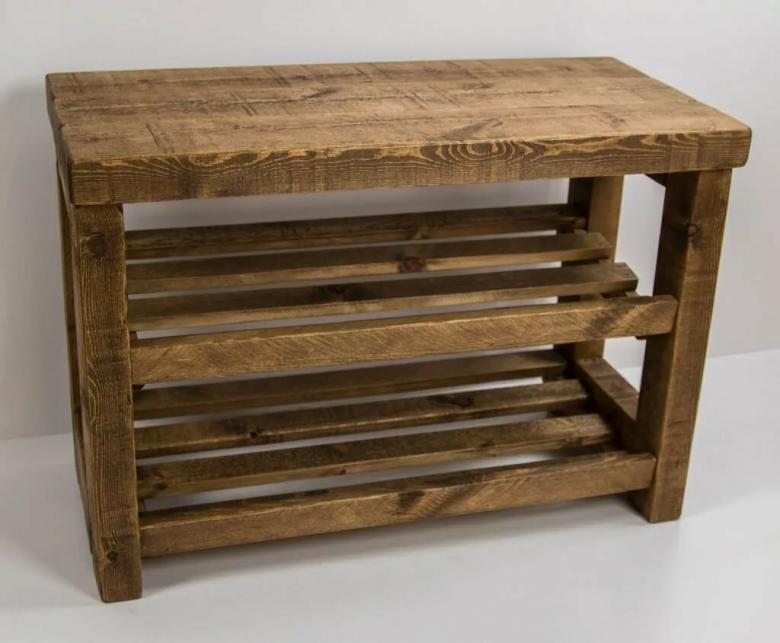
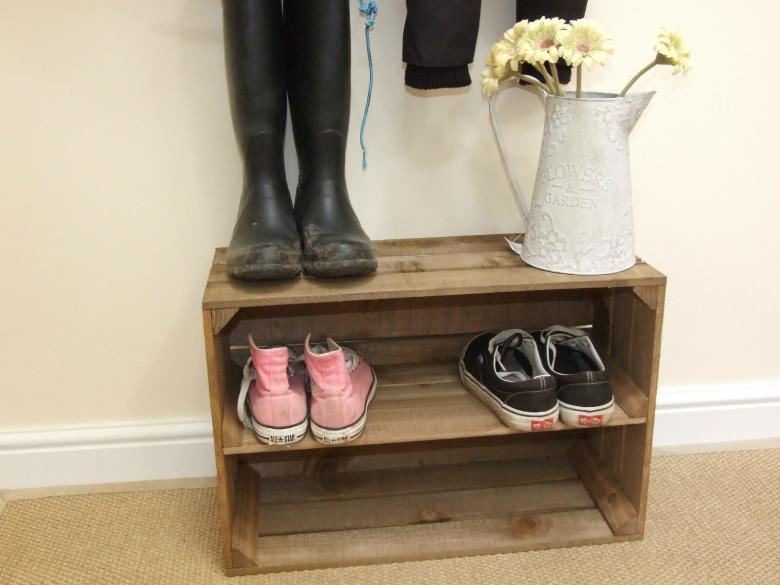
Wooden bollard
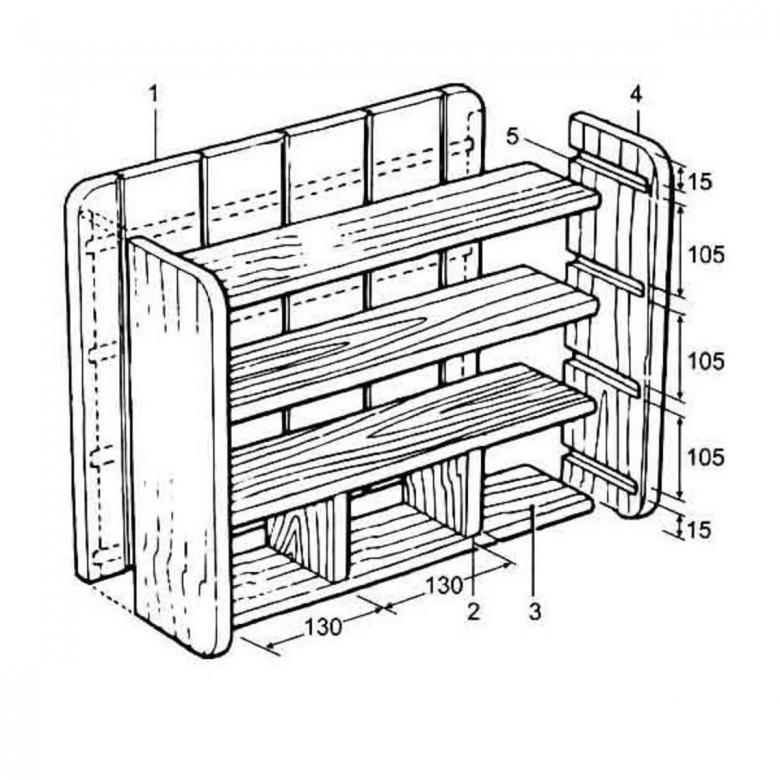
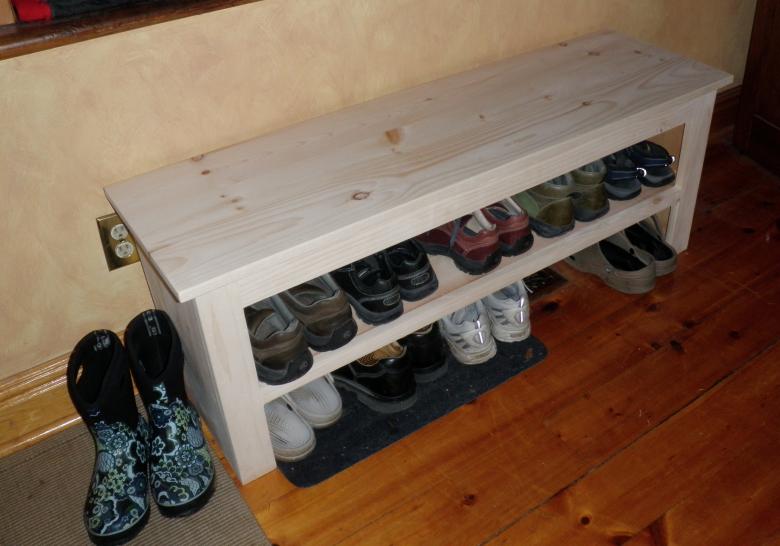
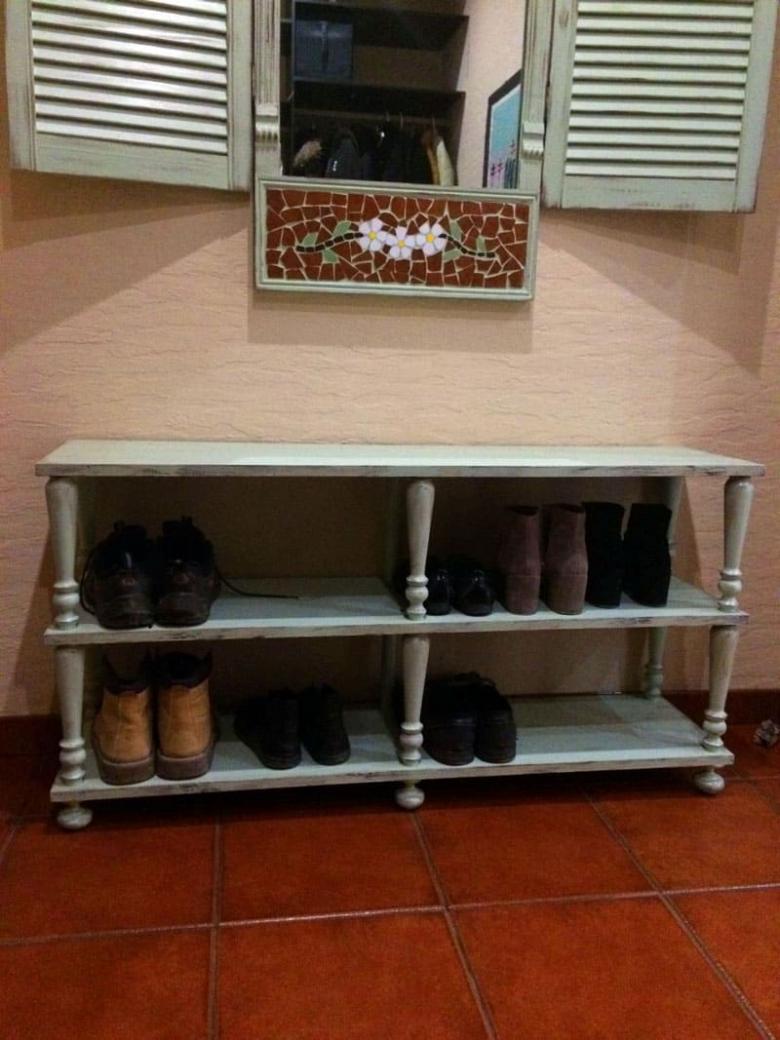
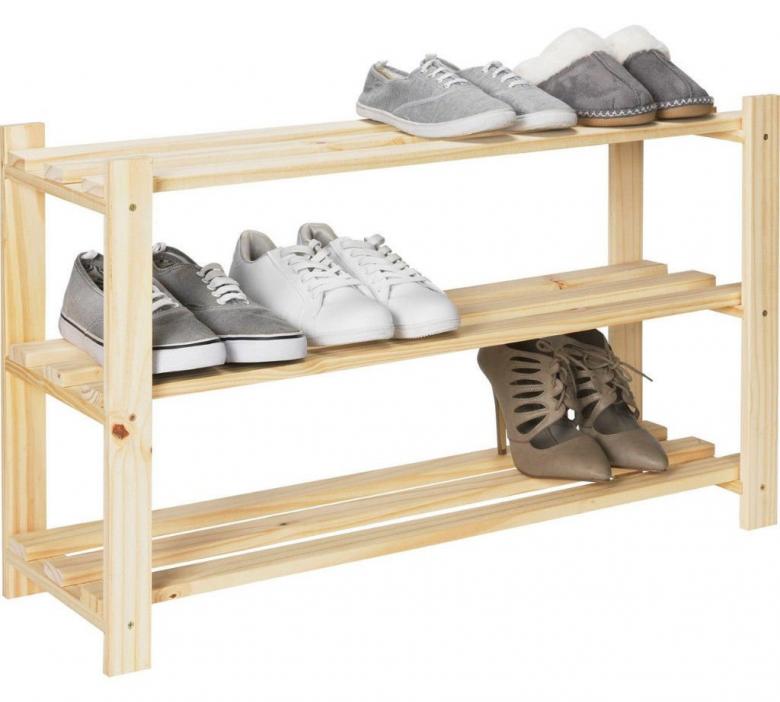
The advantage of a wooden bollard is the simplicity of making it. The design consists of 4 boards, connected with furniture screws, and thin slats, fastened to the front. It is recommended to paint or varnish the finished product.
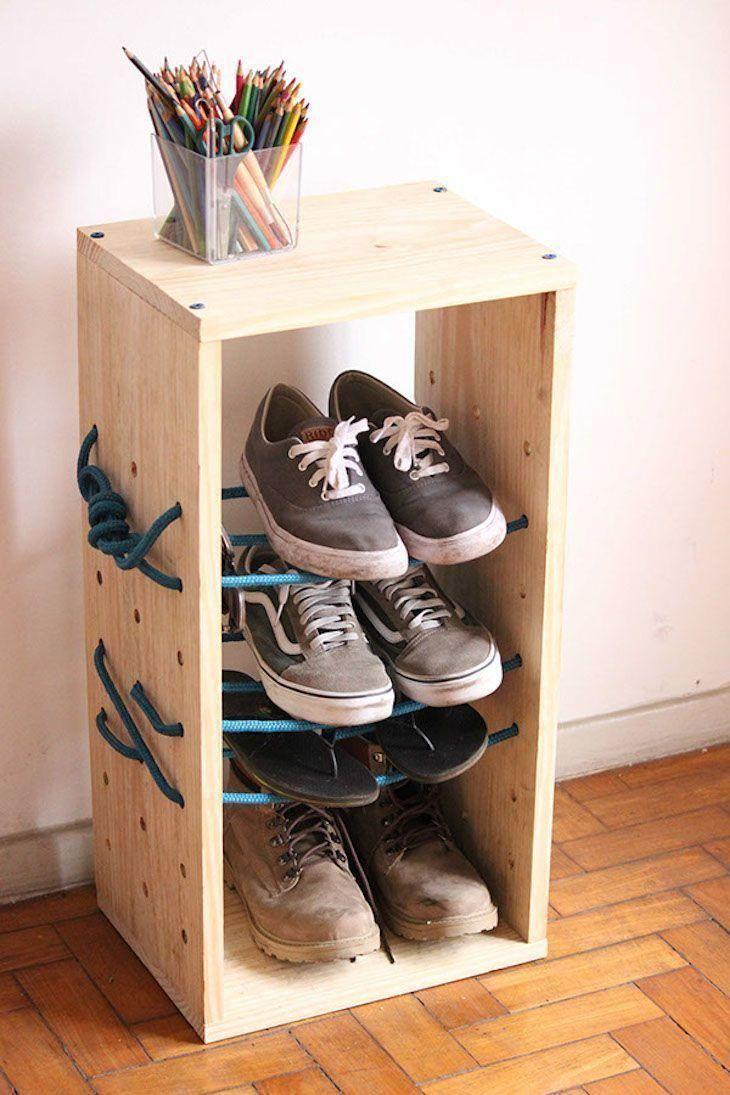
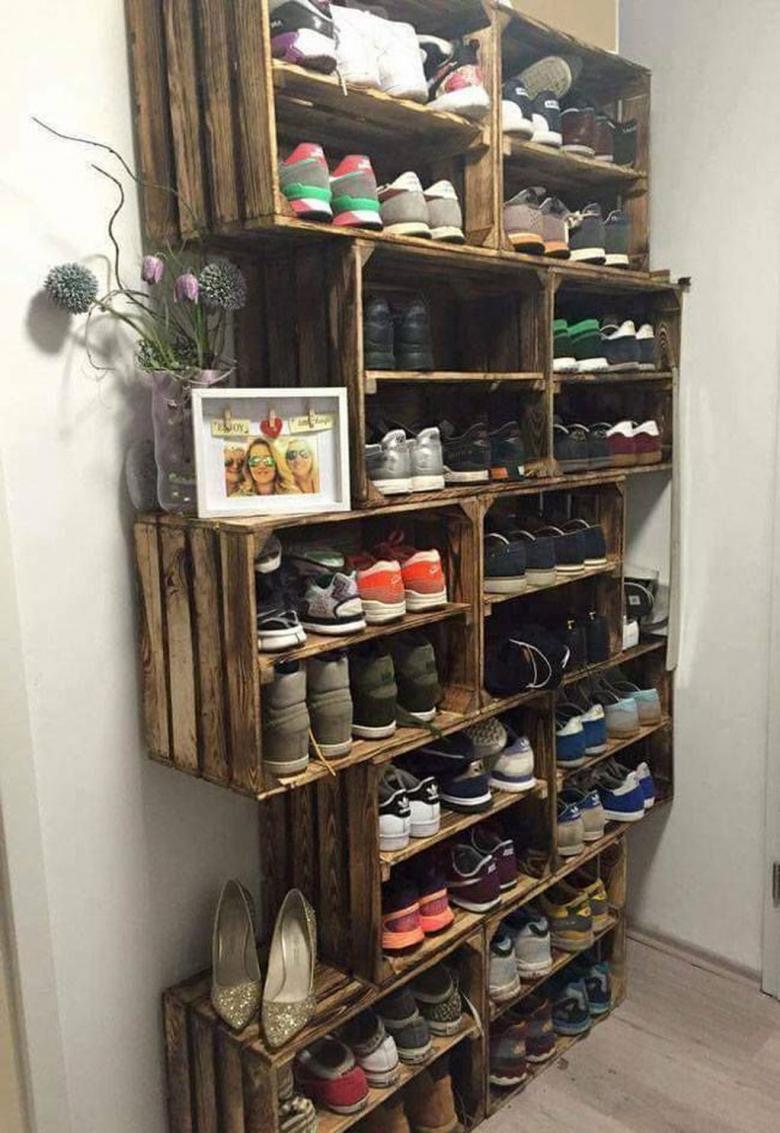
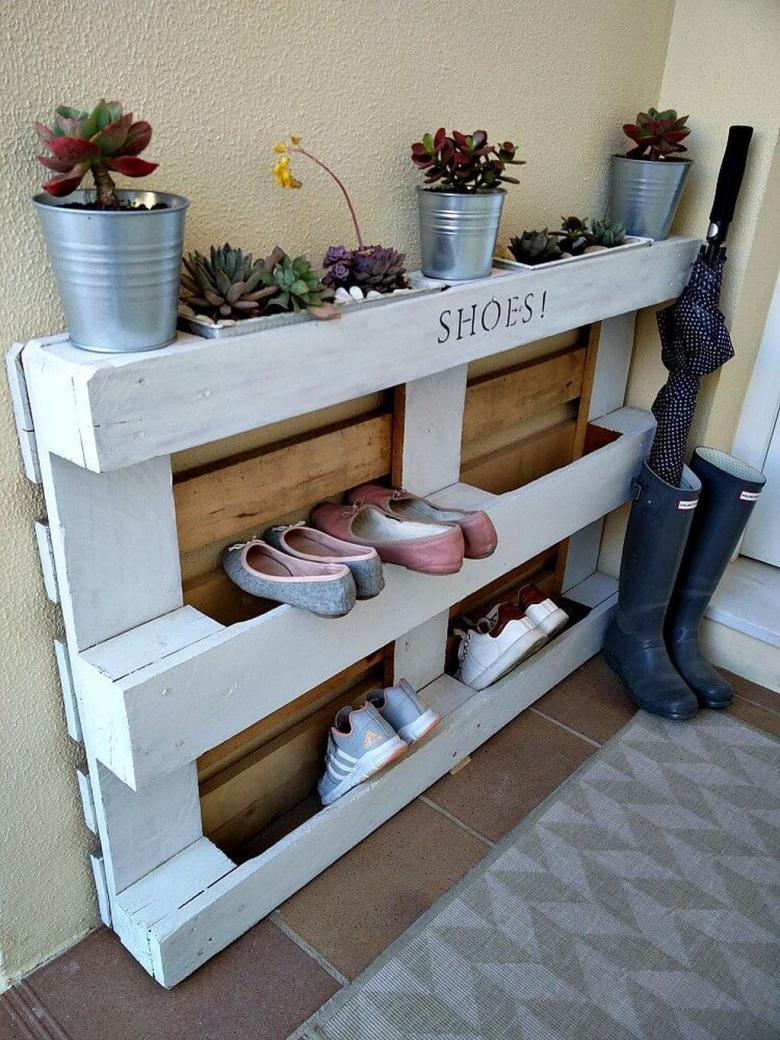
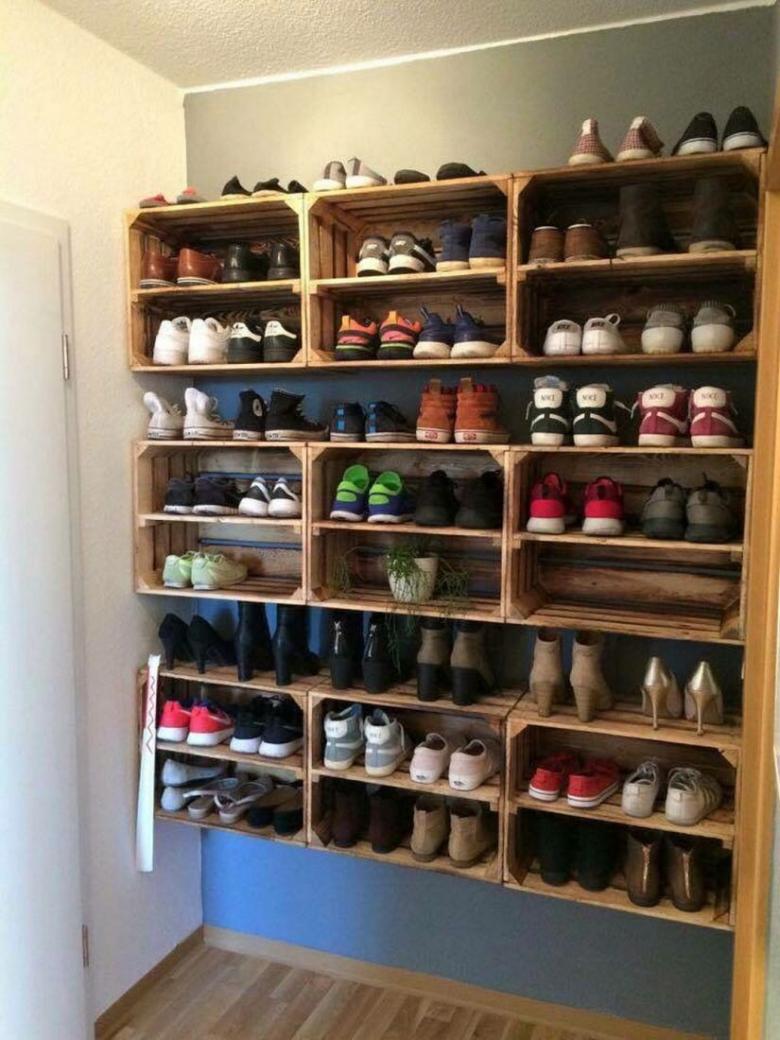
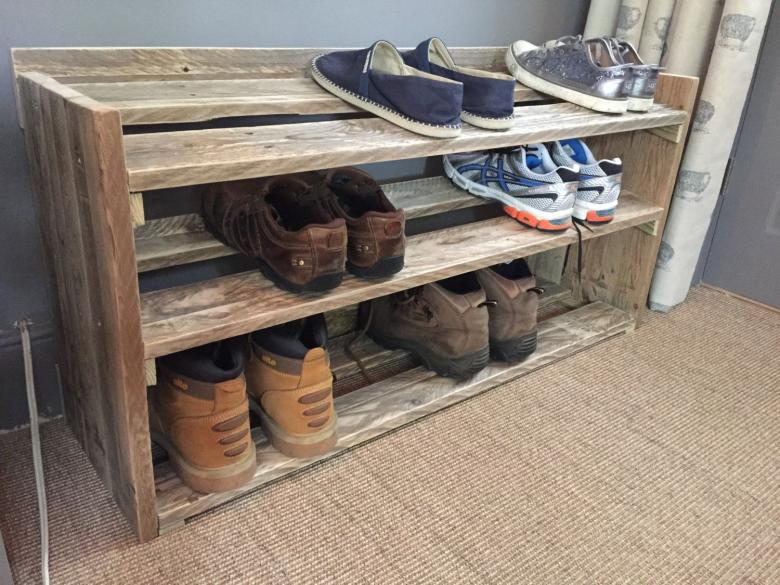
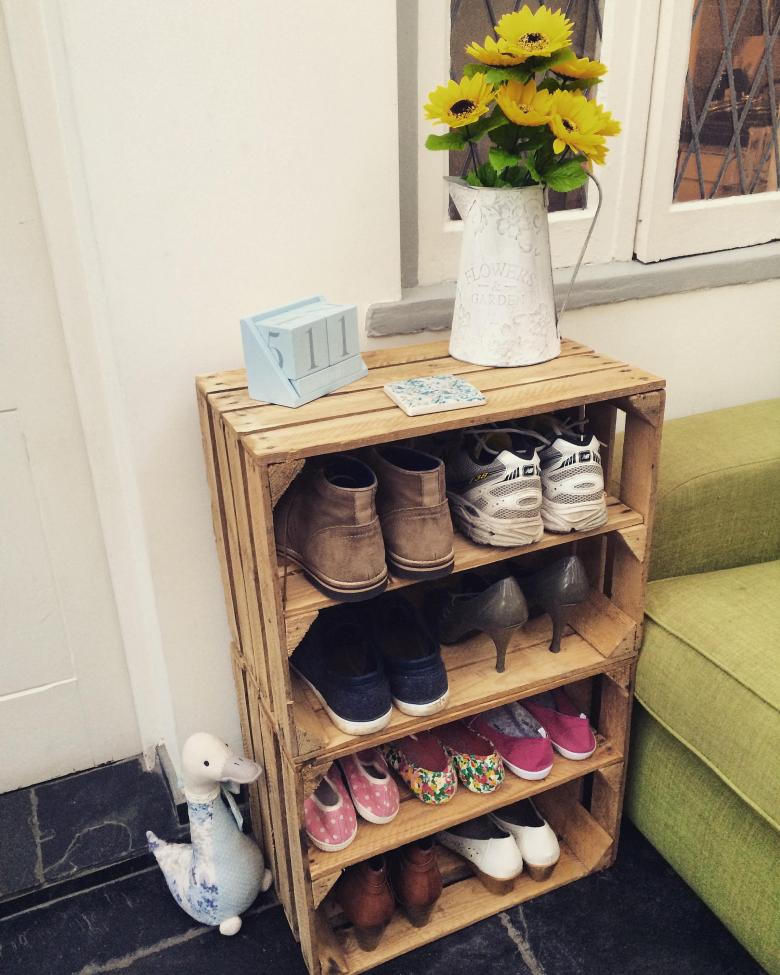
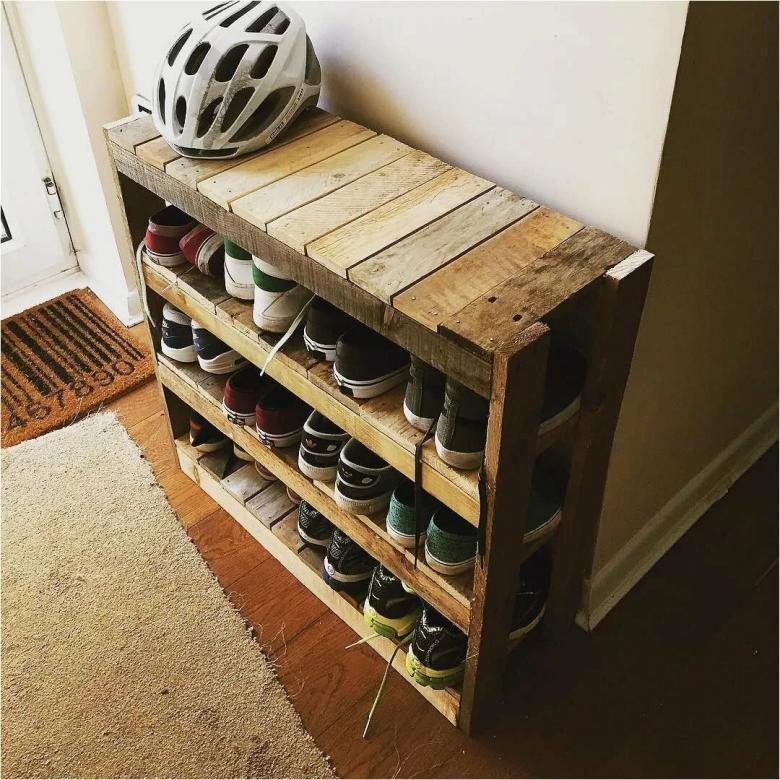
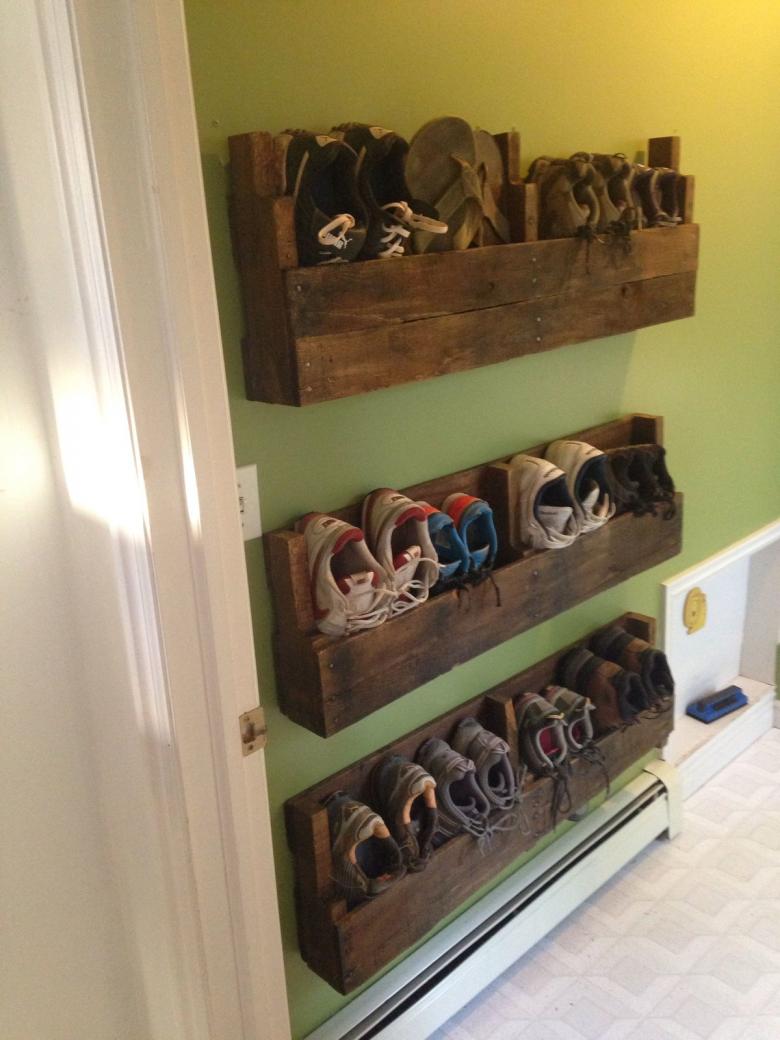
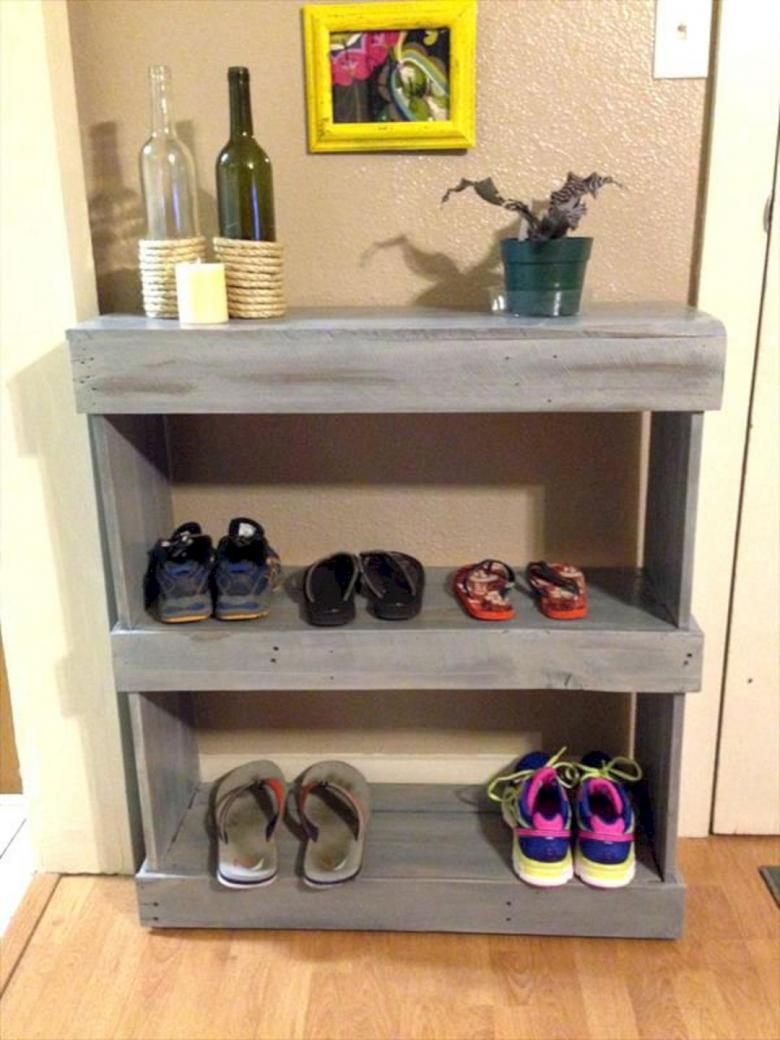
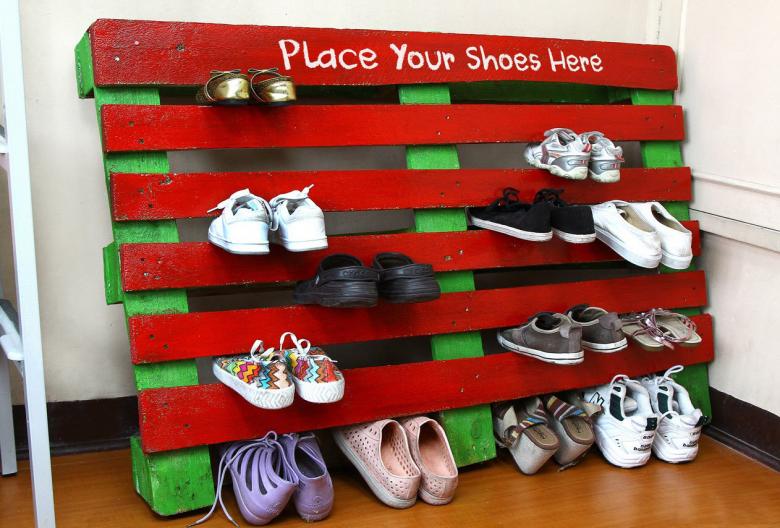
Stand made of pallets
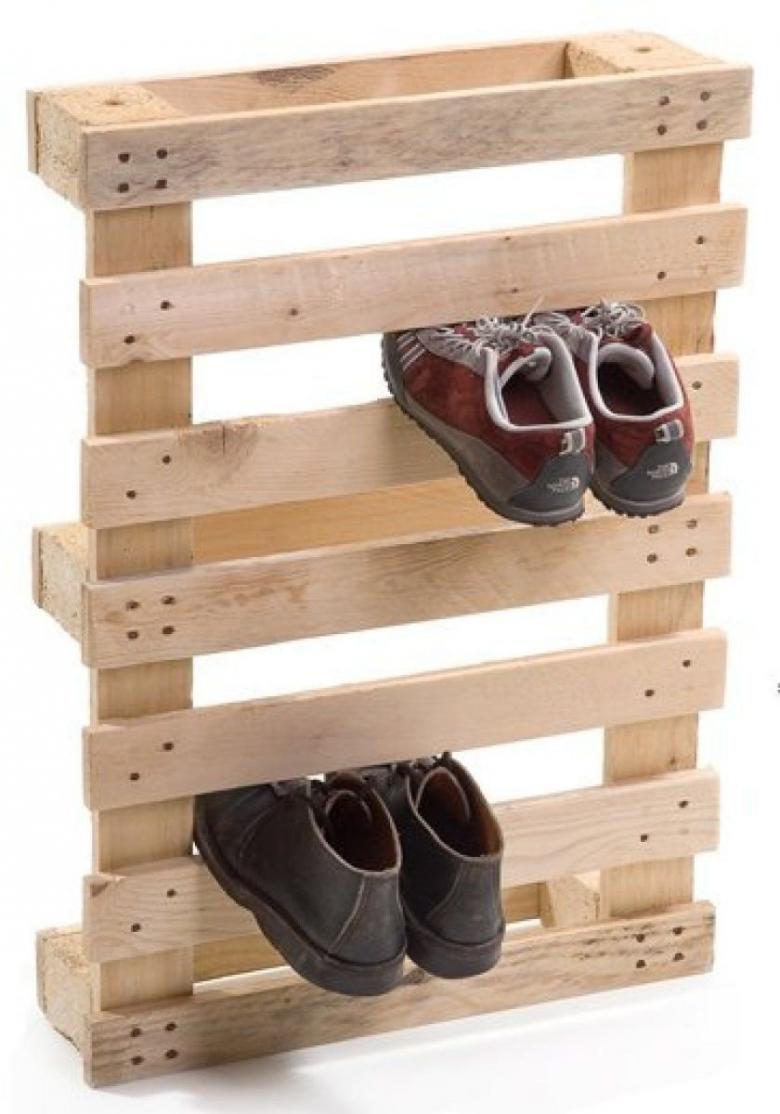
The versatility of pallets has made them a favorite material of folk craftsmen. They are also suitable for creating shoe stands. To make such furniture, you need:
- disassemble a couple of pallets;
- Saw slats to the required parameters, grind;
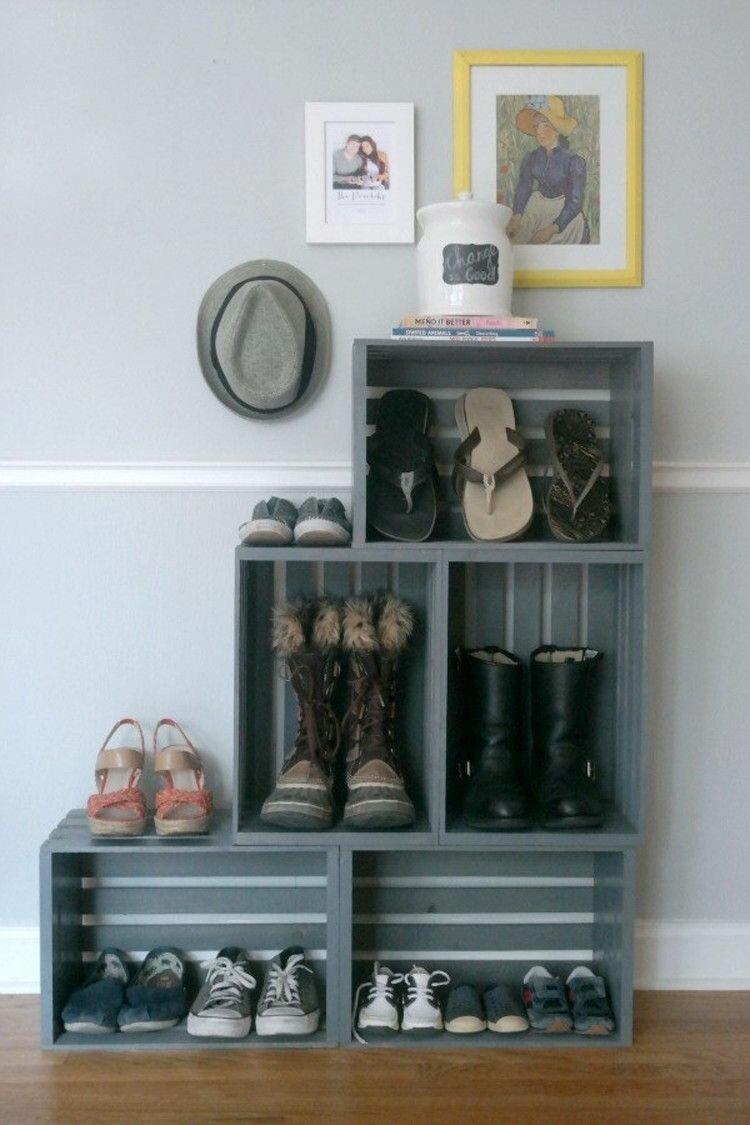
- assemble several "mini-trays" at the rate of one product per pair of shoes;
- to treat the made boxes with antiseptic, varnish or acrylic paint;
- To install "mini-pallets" on one another.
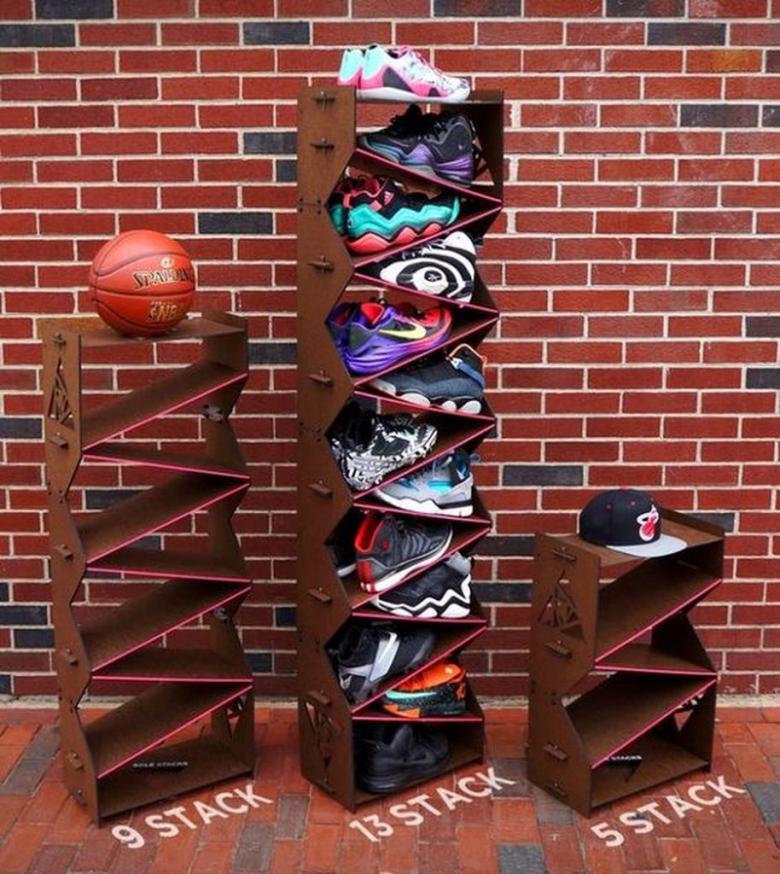
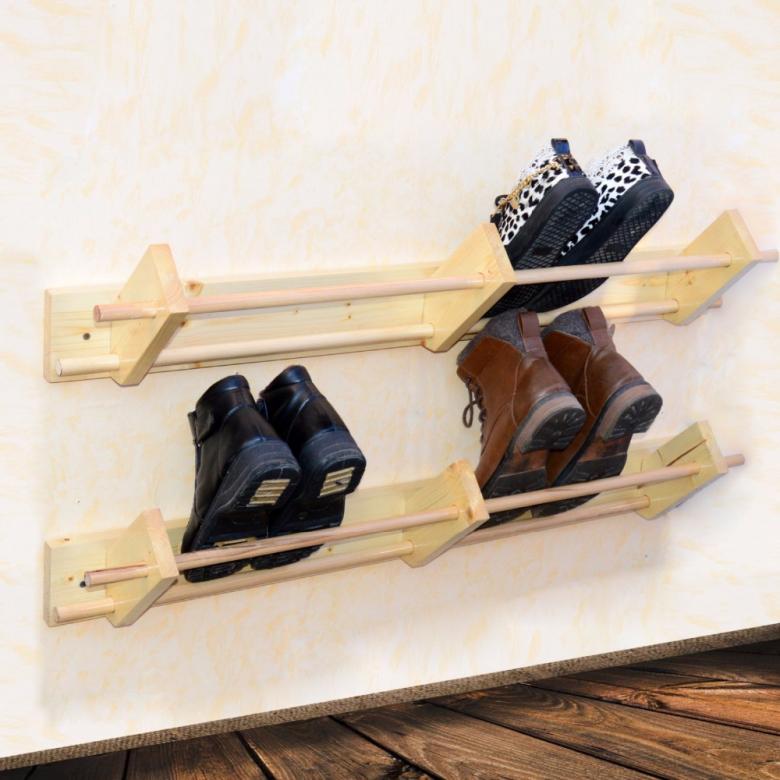
Model "Stairs".
This model of shoe cabinet externally resembles a ladder, hence the name. Its advantages:
- compactness;
- originality.
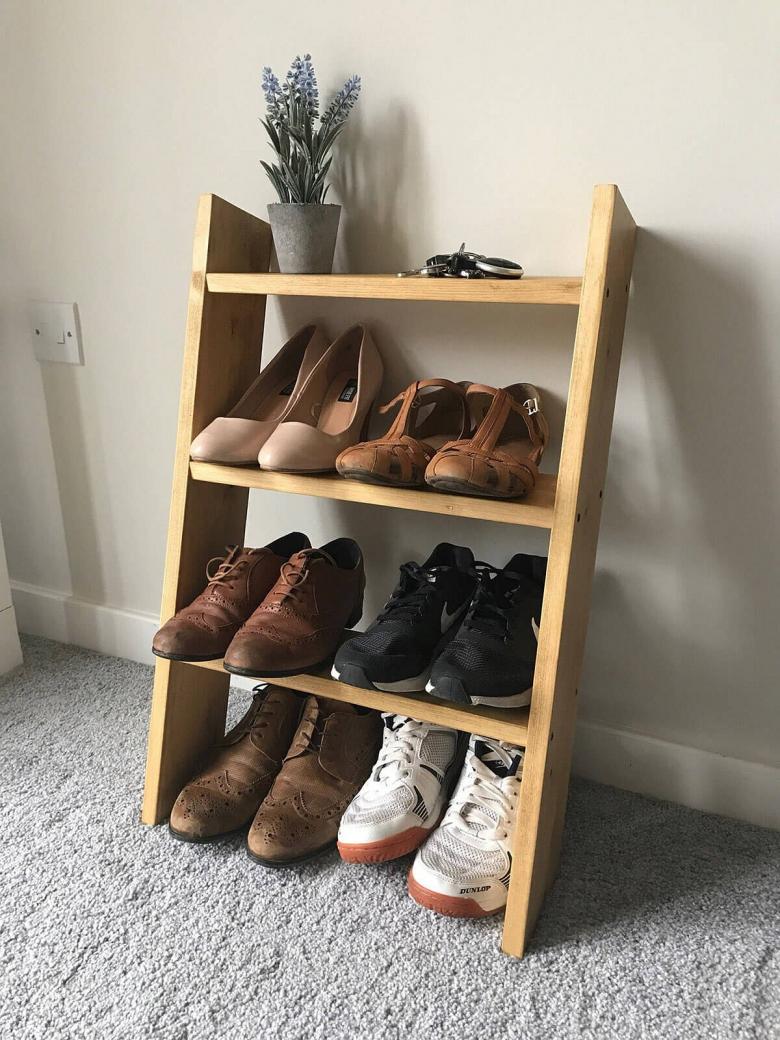
To make a similar stand, it is equally acceptable to use a factory-made and homemade ladder. In the manufacture it is important to trace the slope of the steps, otherwise the shoes can stain the wall.
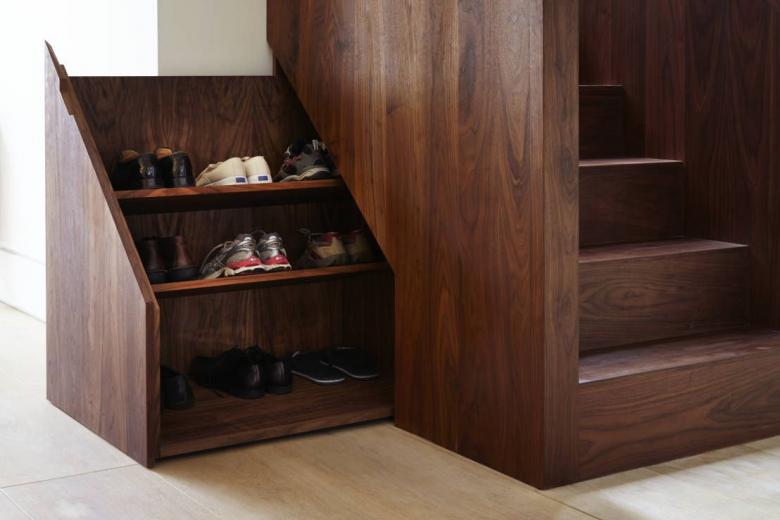
Shoe ladder from a profile pipe
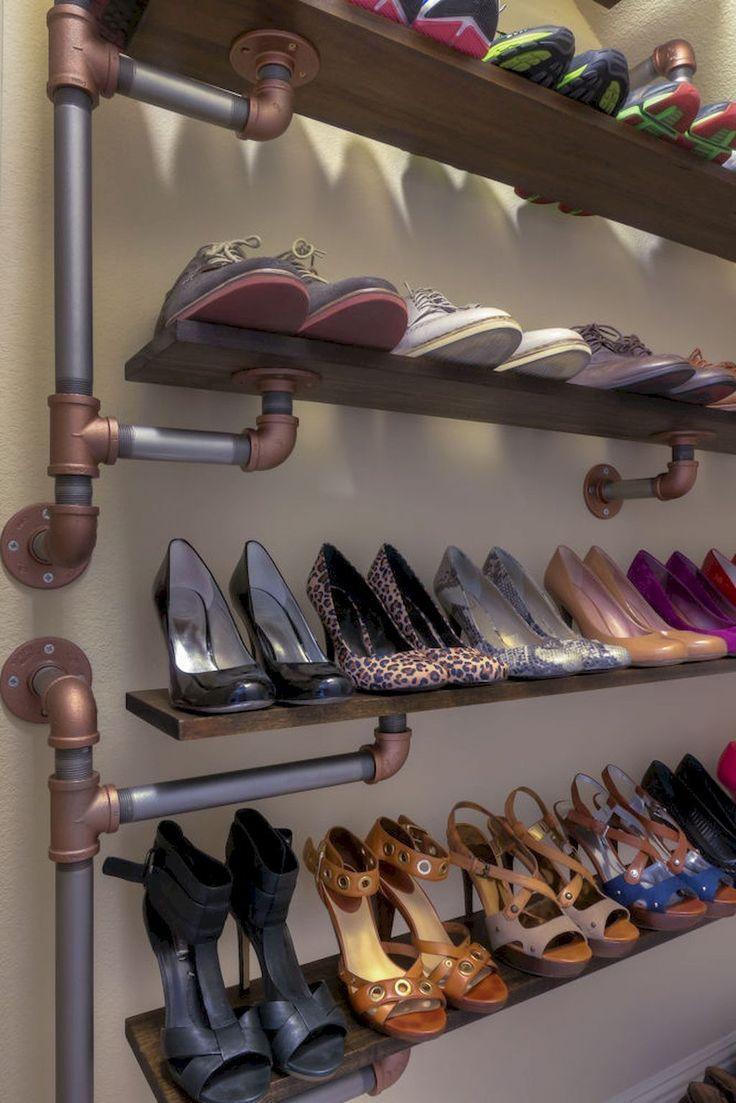
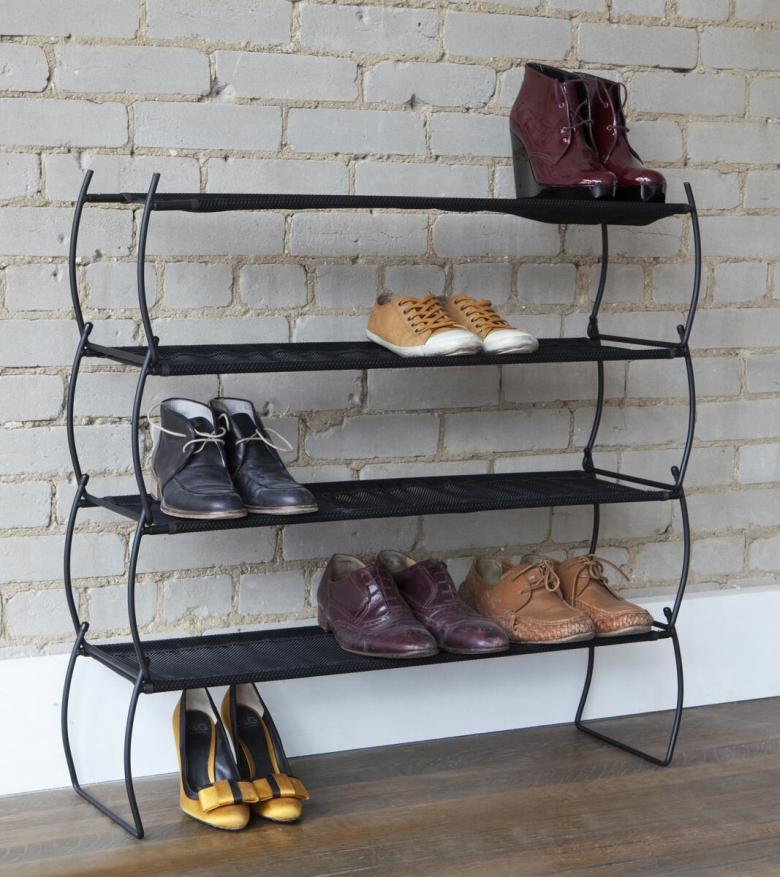
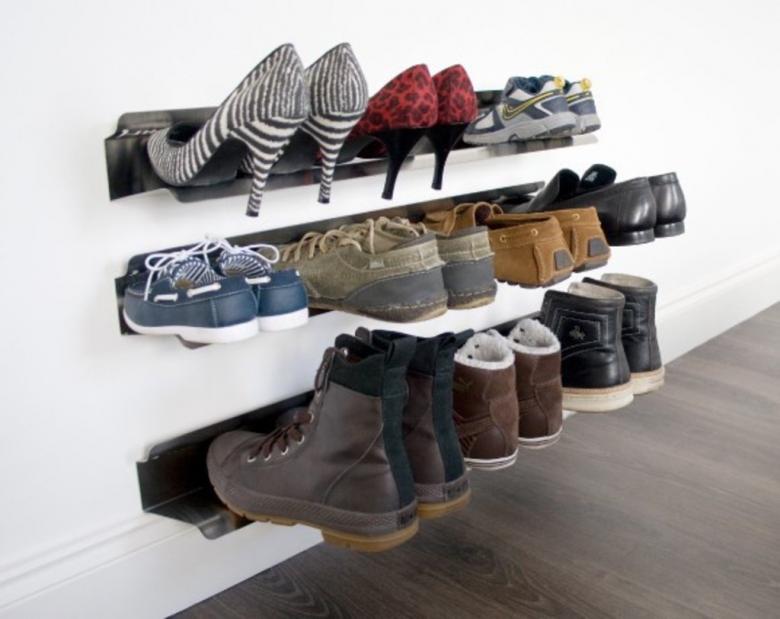
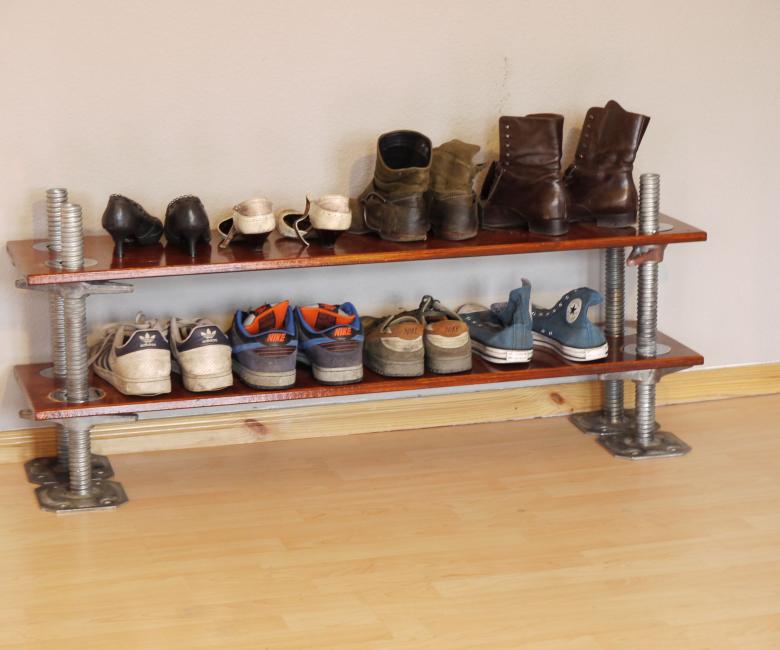
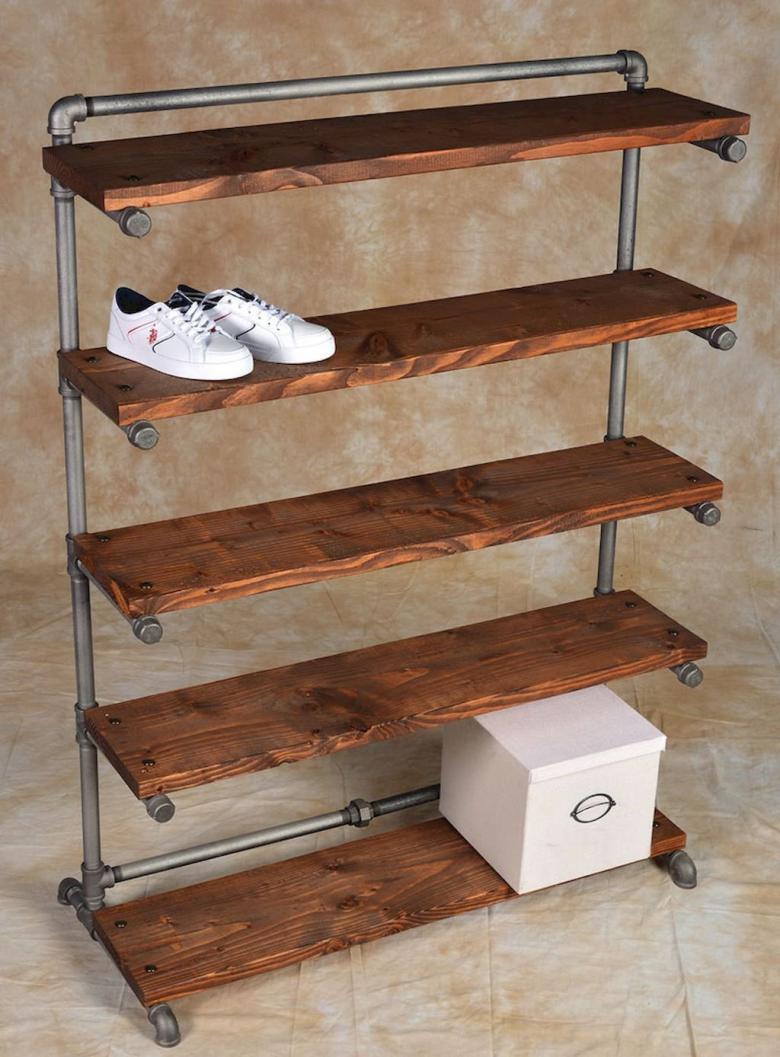
The metal model is characterized by the labor-intensive creation. A shelf for shoes from profile pipe with their own hands to make up only a person who has the skill of welding works. Despite this, such a product has many advantages:
- small dimensions;
- aesthetics;
- durability;
- good ventilation;
- ergonomics;
- resistance to mechanical stress.
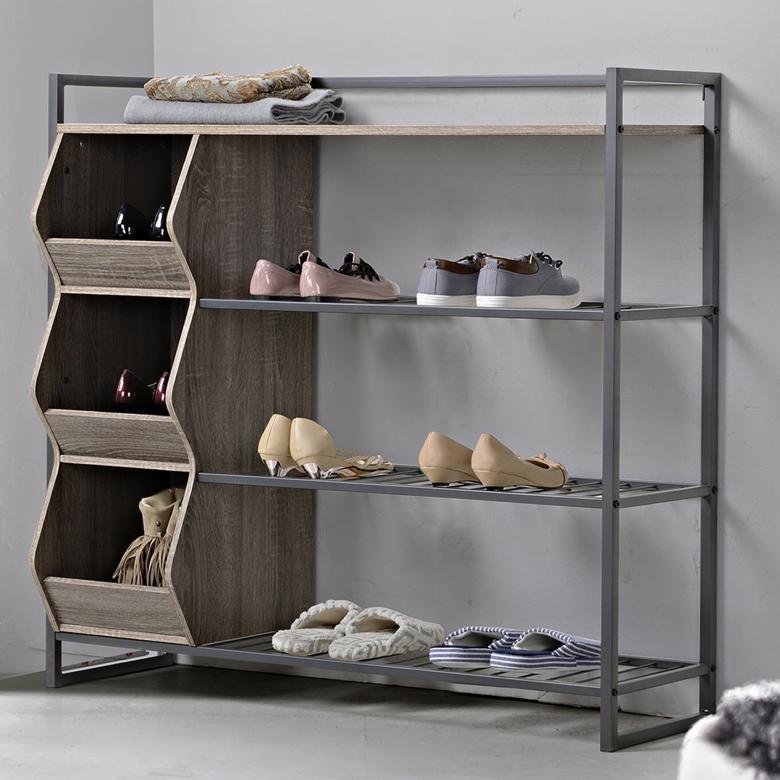
PVC pipe shelf
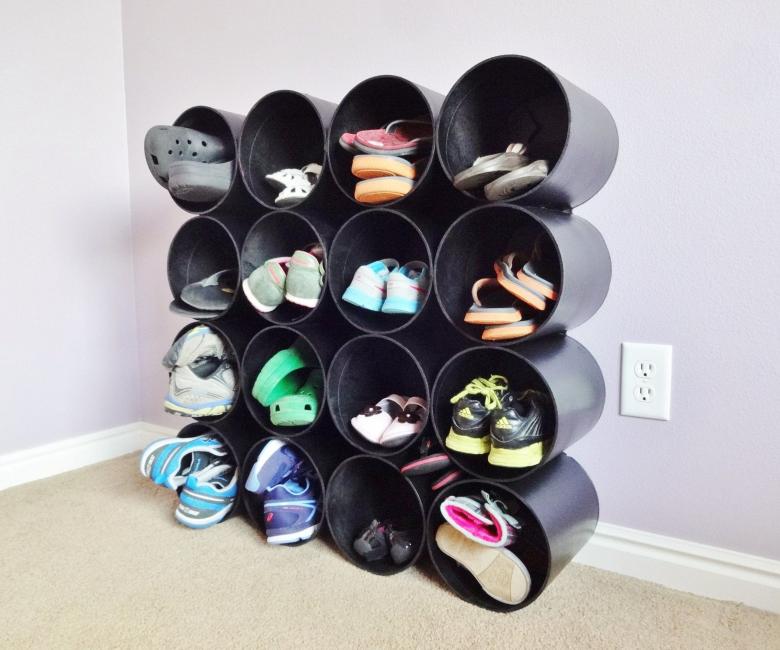
To create a PVC stand, you need to stock up on PVC pipes. The required diameter is 300 mm, the optimal length is considered 250 cm. The prepared material should be cut into ten pieces of length 250 and 300 mm respectively.
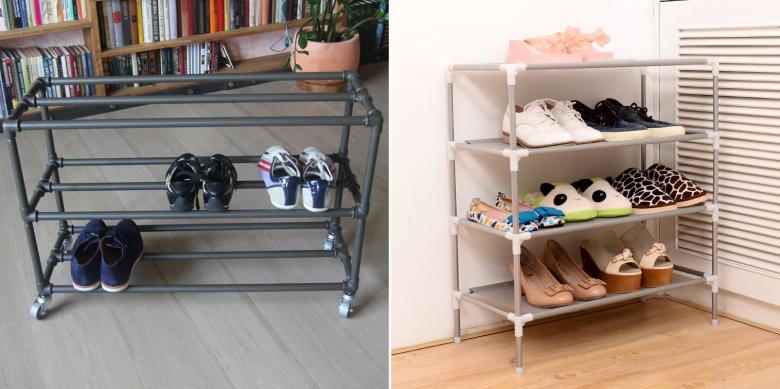
The next step should be to wallpaper each piece. After that, it is necessary to create the basis of the shelf from the 4 pieces, and on top glue the required number of pipes (their number depends on the desired capacity of the structure). When the glue dries, the shelf can be used.
Model "Closet"
Some people may have doubts about the idea of independent creation of such a shoe cabinet, because this case is very time-consuming. In reality, everything is not so gloomy. First, you should check the availability of the necessary materials and tools. You will need to buy chipboard, fittings and fasteners. It is also necessary to check whether the household has:
- screwdriver;
- screwdriver;
- a set of bits;
- an awl and a drill bit;
- corners.
The manufacturing process consists of a series of steps:
- Assembling the frame.
- Installing the internal parts.
- Assembling the back wall.
- Fixing the opening mechanism.
- Installation of the galoshes.
- Installing the fronts and remaining fittings.
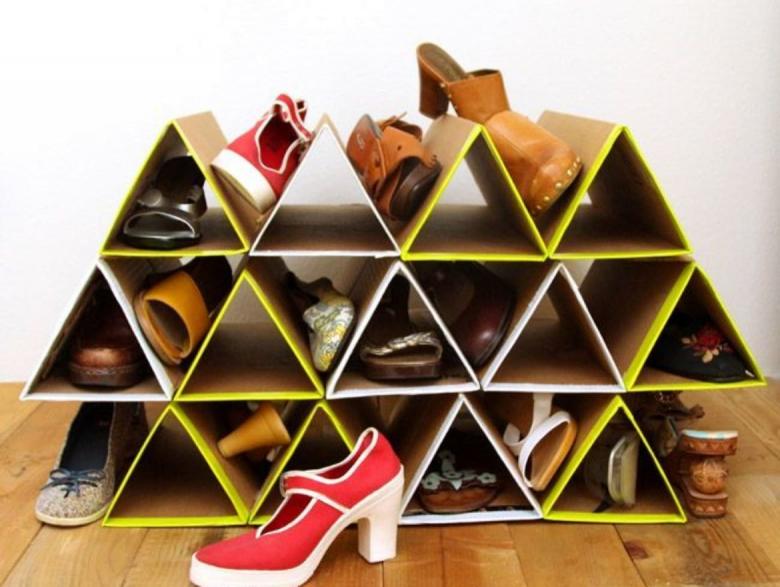
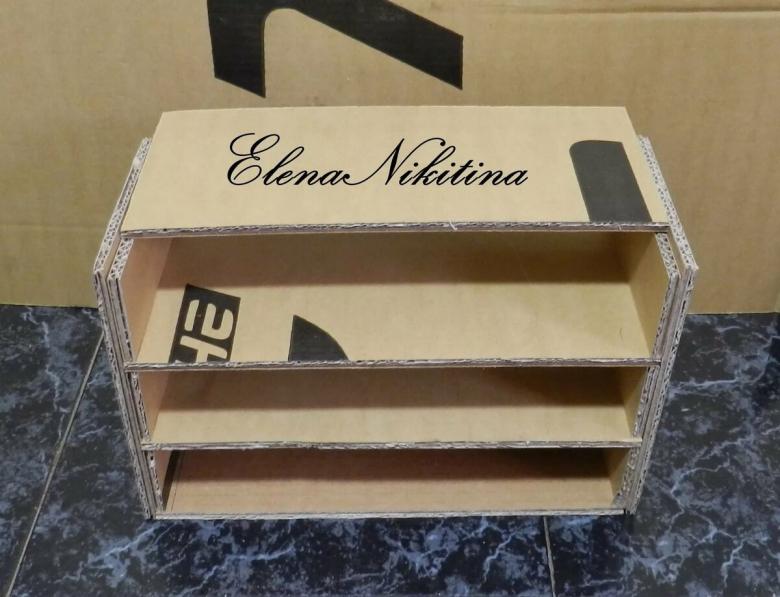
Cardboard shelf
To create a shoe shelf from cardboard, you need a box of suitable size. It is cut into two parts, pre-gluing the bottom. Using another box, reinforce all the walls. Next, cut out the shelves and fix them in the case. The finished product is decorated with decorative paper or film.
Master class
Below will be presented an instruction on how to make a shelf for shoes with their own hands from wood.
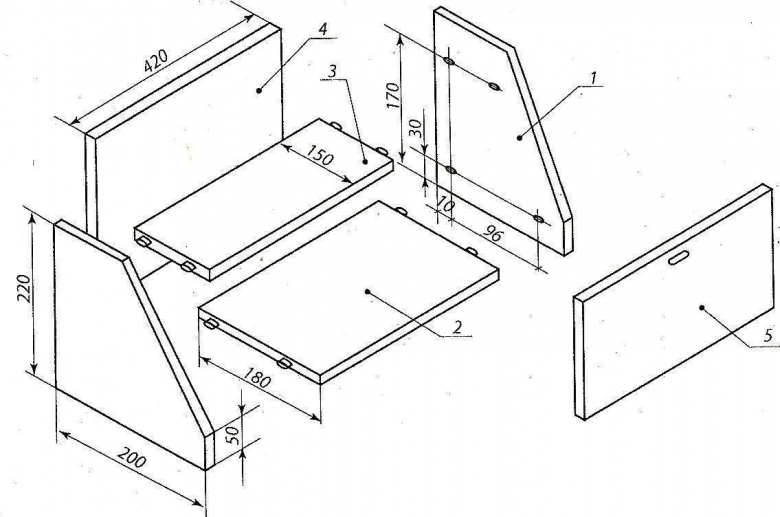
Preparation of the drawing
The first thing to do is to decide on the dimensions and design. The tier structure depends on the number of people who will presumably use it. It is also worth taking into account how many shoes a person has.
The width of the shoe shelf is selected with reference to the available space in the hallway or the size of the rest of the furniture. As for the design solution of the shoe rack, it is important that it corresponds to the design style of the vestibule.
Preparing the material
The species of wood does not matter. The recommended thickness of the boards is 1.5 - 2 cm. After the question with the material is solved, it is necessary, using a saw or jigsaw, to cut out the details of the shelf according to the prepared drawing. Then it is necessary to grind all the workpieces carefully.
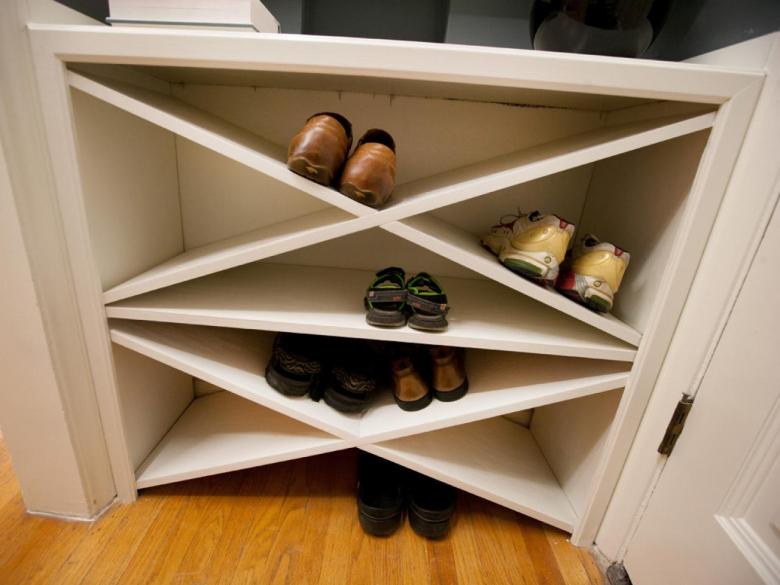
Painting the elements
Before you start the paint work, you should make sure that the planned artistic finish is complete. The chosen color must be in harmony with the overall style of the corridor. Therefore, it is best to use the same paint as for the hanger. A stain may serve as an alternative. Coating with varnish is also acceptable.
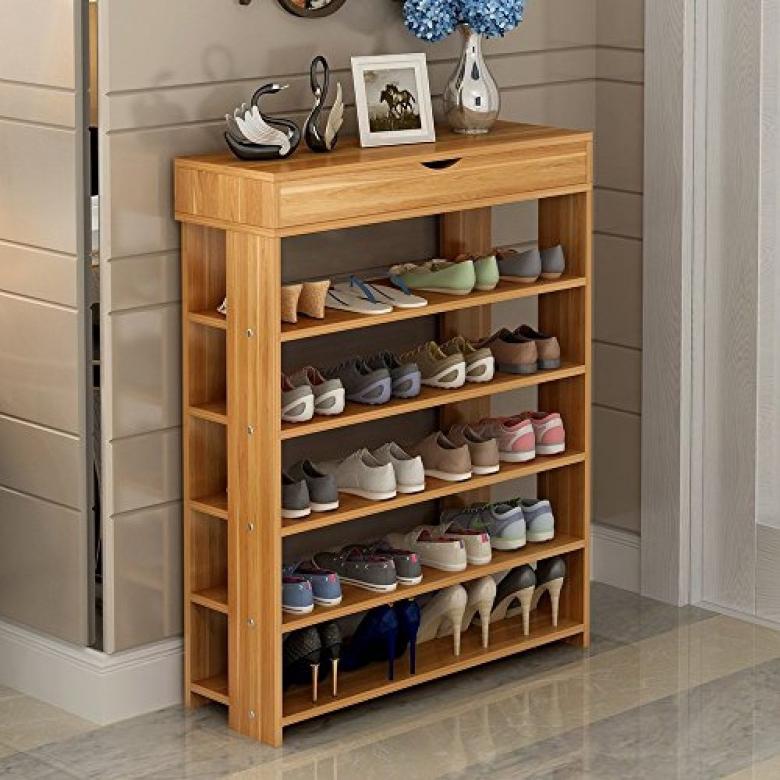
Preliminary preparation for installation
Before you start assembling the construction, you need to make all the necessary holes in the points of connection of parts.
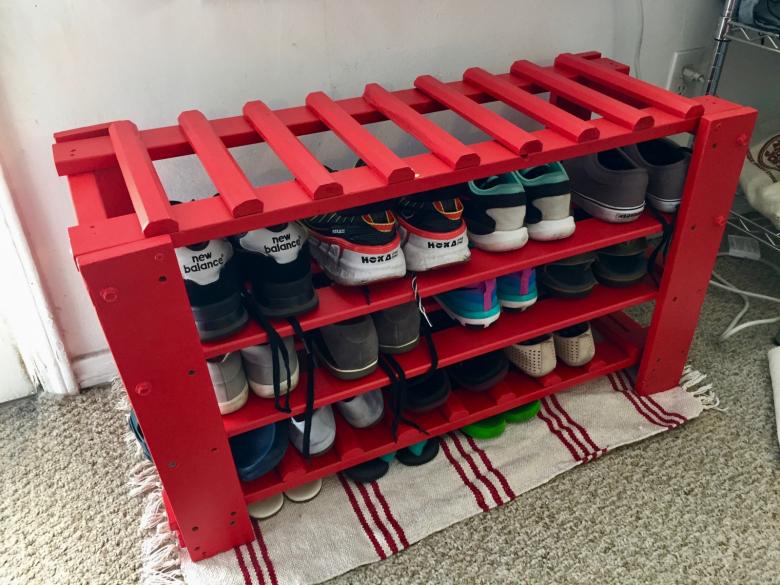
Assembling the shelf
First the supporting elements are mounted. Then the shelves of the first tier are installed. After they are aligned, proceed to the assembly of the last floor of the shoe cabinet. The finished product is put in the planned corner of the hallway.
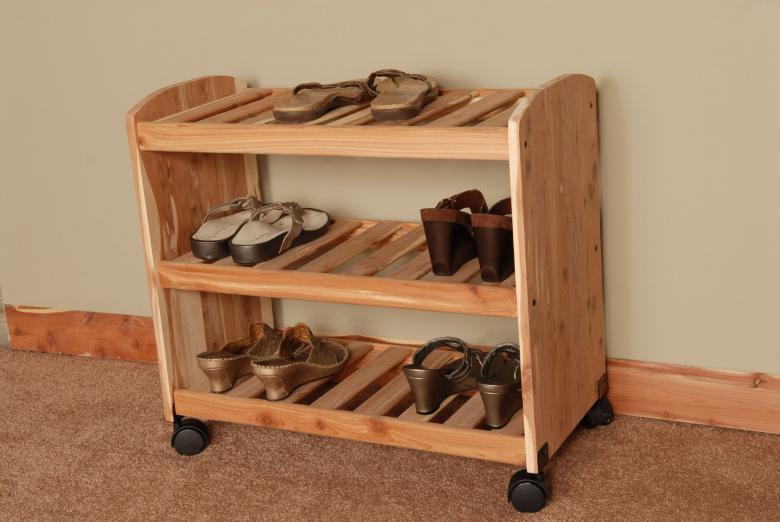
Self-made shoe cabinet at home is quite possible. And it will not take much time and require a minimum amount of expense.

