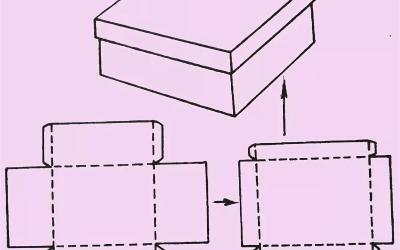
Handmade Hat - 81 handmade photos with description how to make a hat
A beautiful, elegant hat is an important element of any style and closet. The most interesting thing is that such an accessory can be quite created by hand, without much cost and shopping. For example, a cowboy or ladies hat made of fabric, felt or leather is quite realistic to create at home.
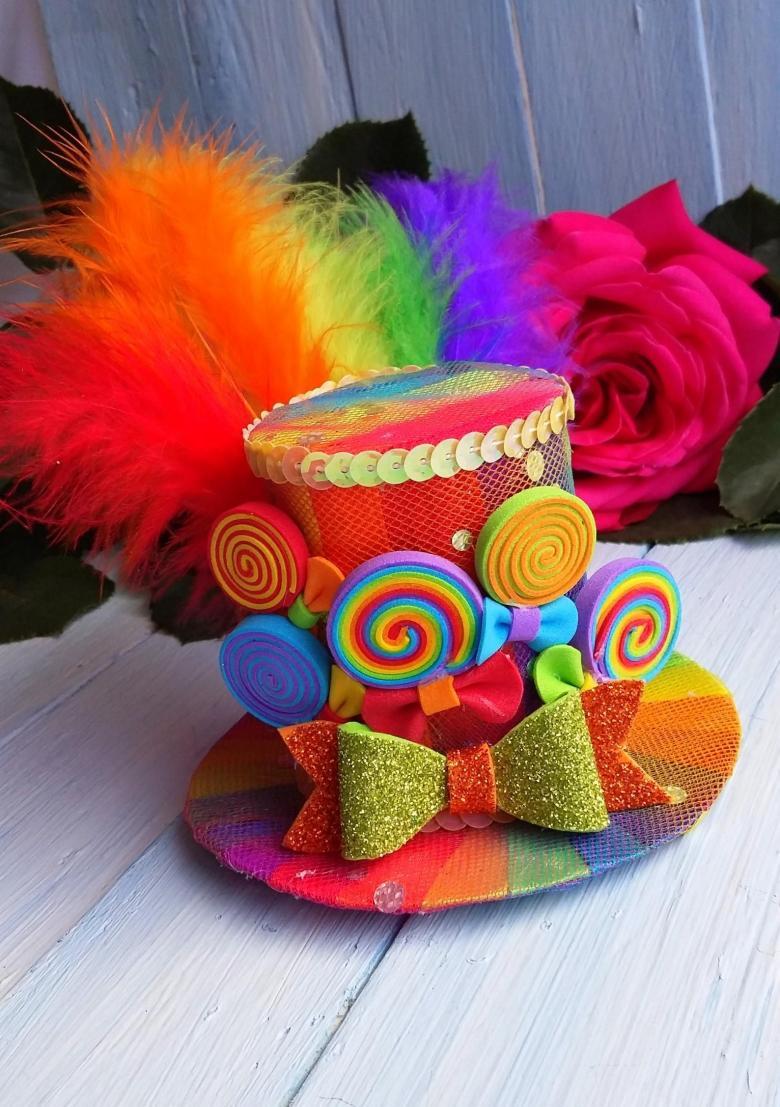
Consider the options and methods of how to make a hat from paper with your own hands at home. This is an interesting and exciting process, it may even inspire someone to open their own workshop.
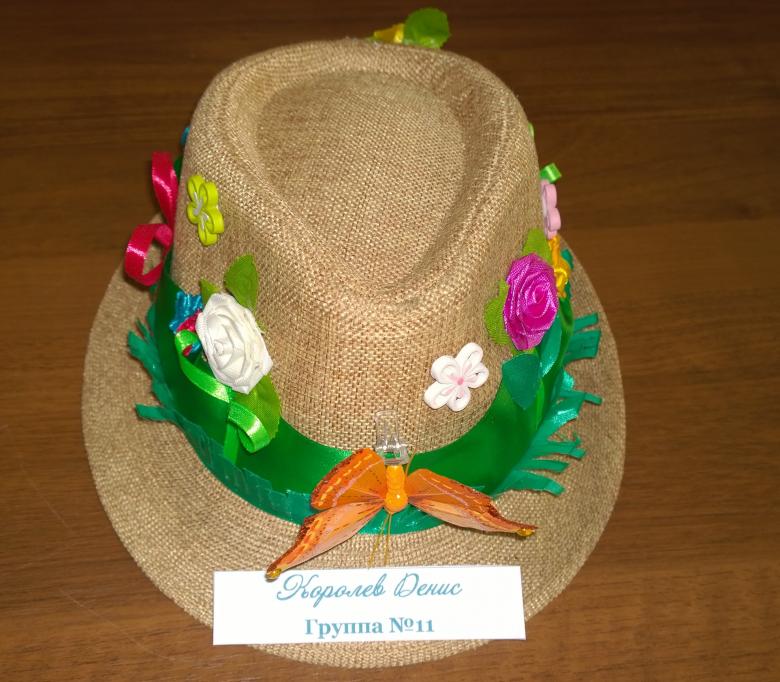
Varieties of hats
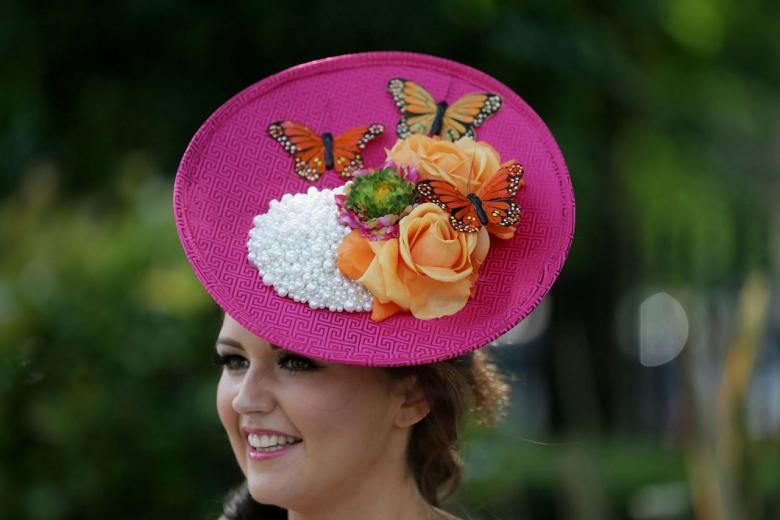
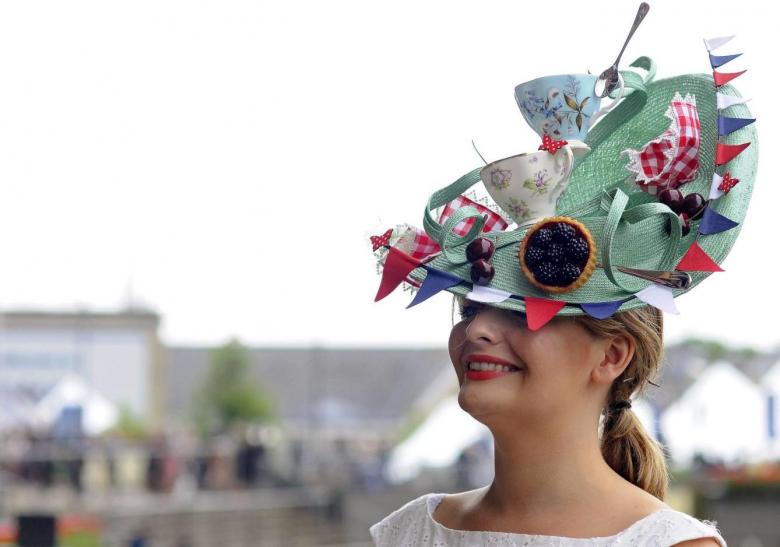
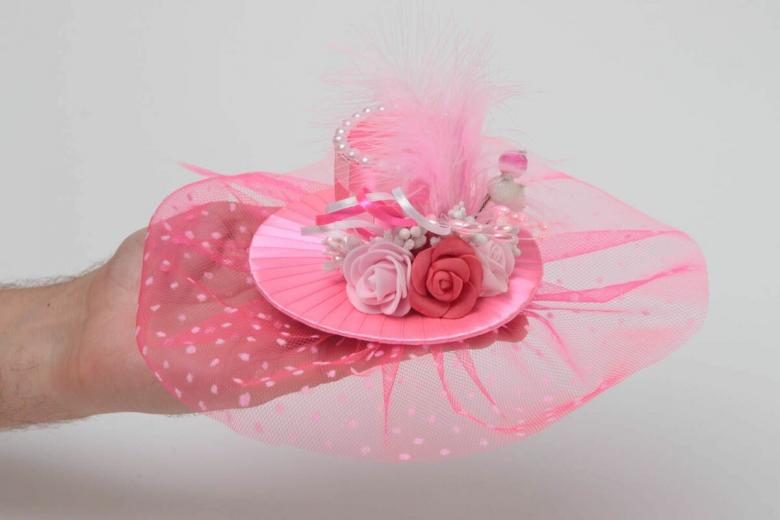
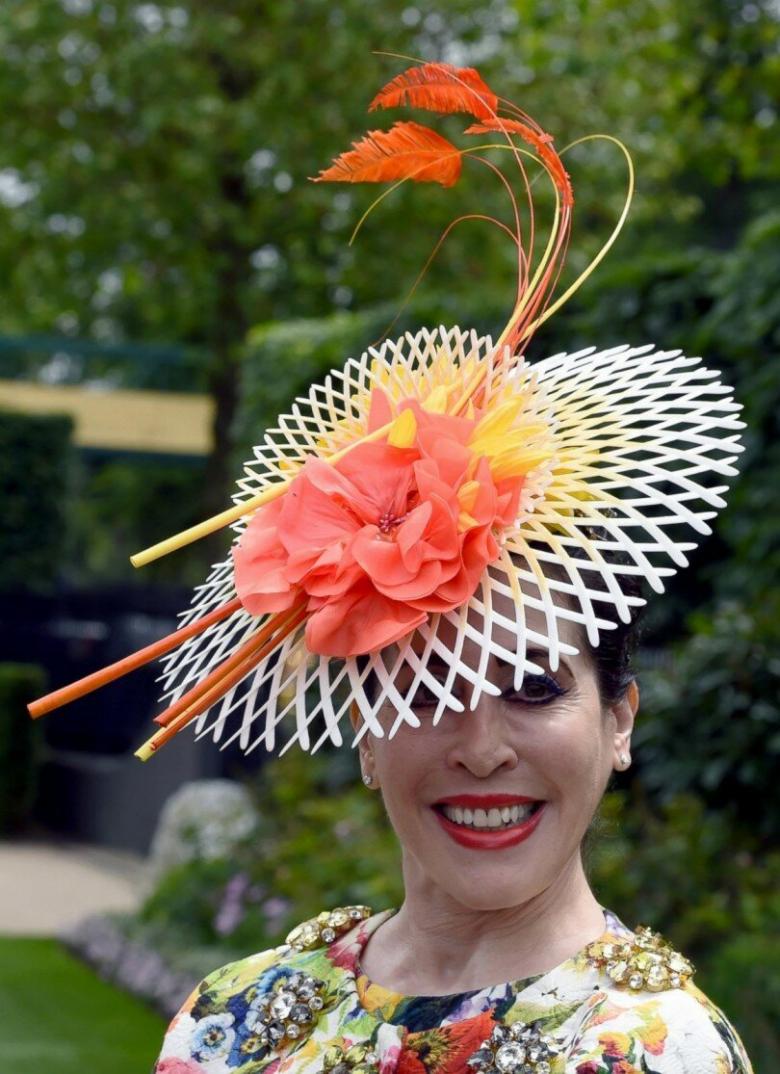
There is a huge variety of hats of all types and styles. Each style has its own set of tools, embellishments, material and fabrication techniques. The main touch is the "highlight" of the image, it can be a feather, a fringe, a border of silk ribbon or lace, beads or pearls. The imagination of the master is not limited by anything, even fruits and toys can be an element of the hat.
Romantic
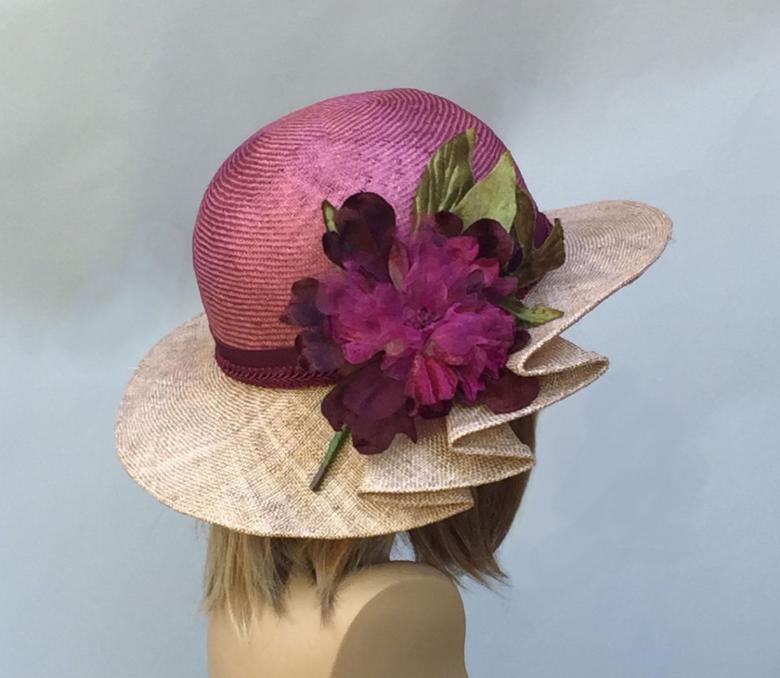
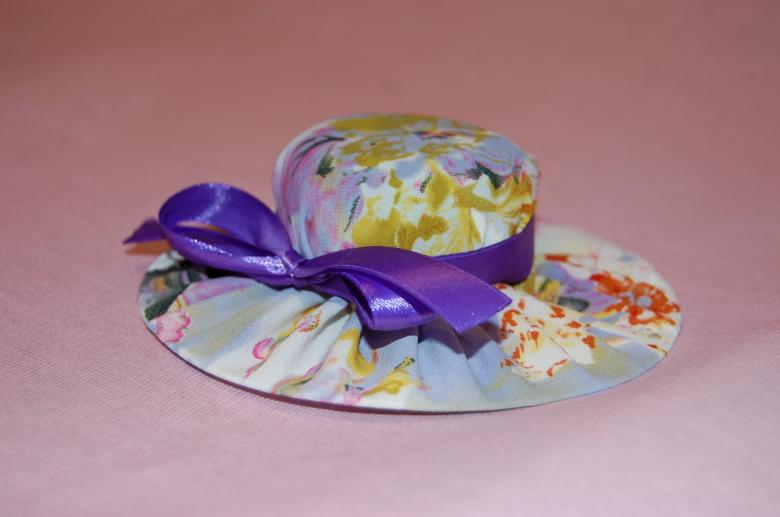
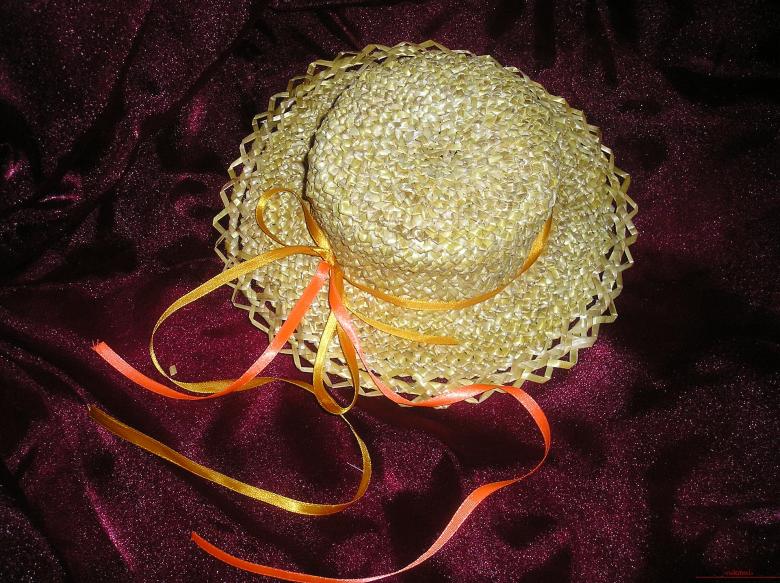
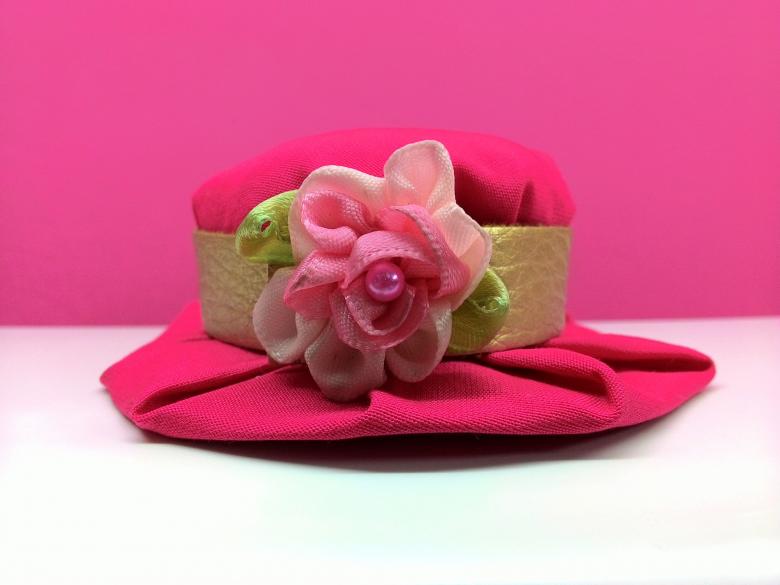
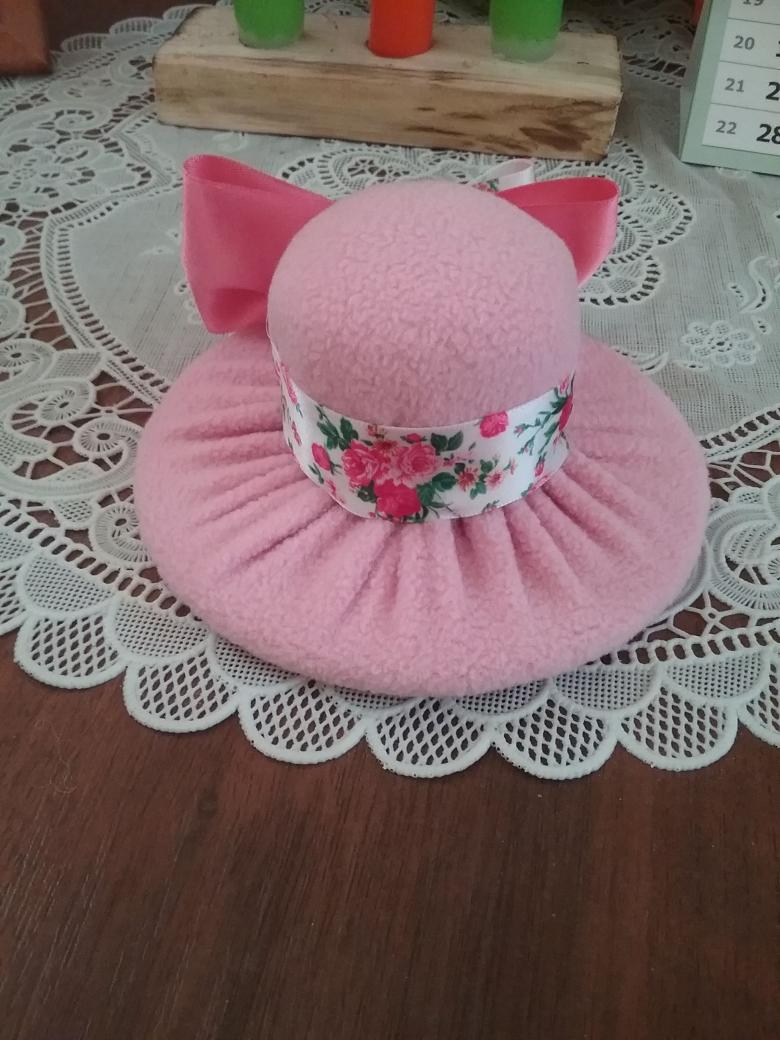
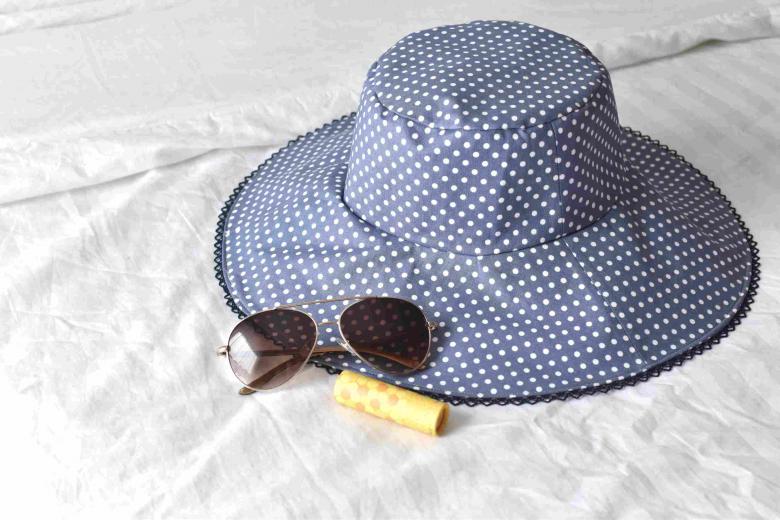
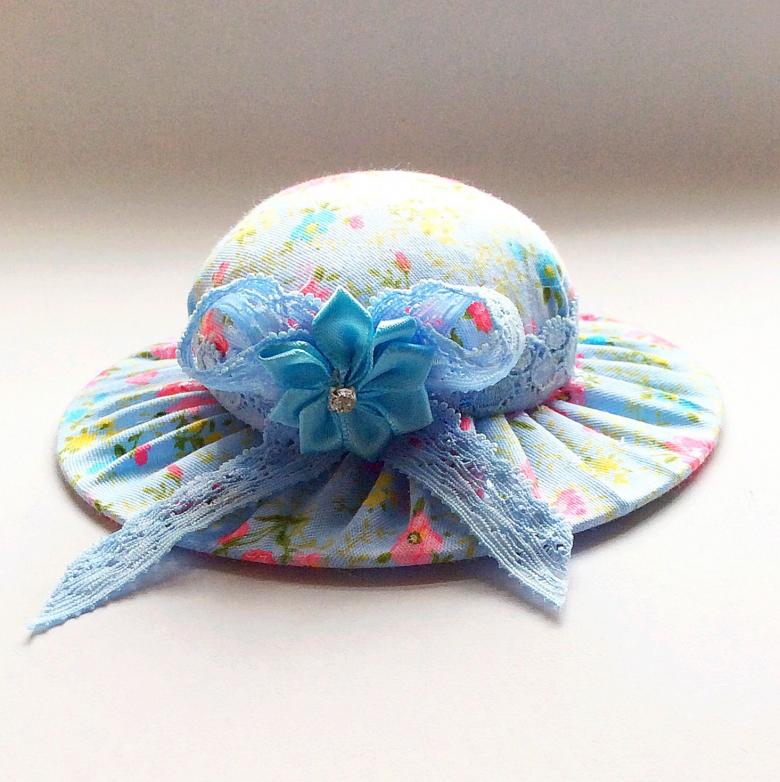
A straw hat, with a ribbon on the crown is a classic of the genre. You can also think of a hat made of silk or linen, create a real masterpiece with flowers and brooches. A romantic hat is always beautiful, airy and exquisite.
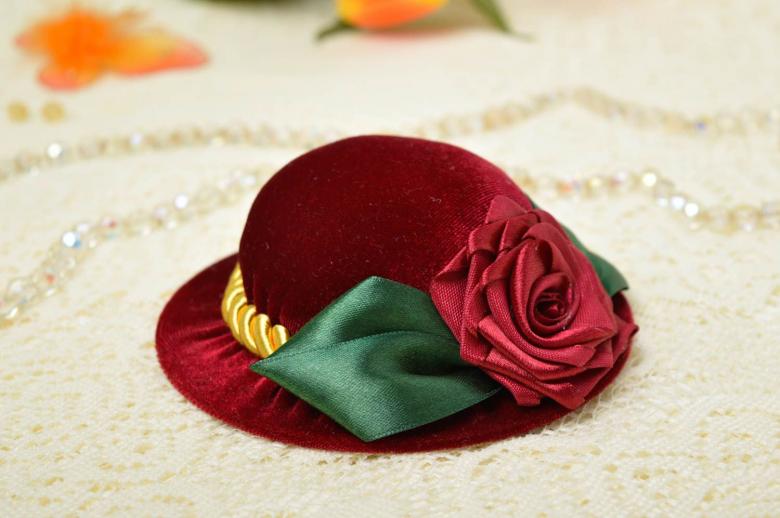
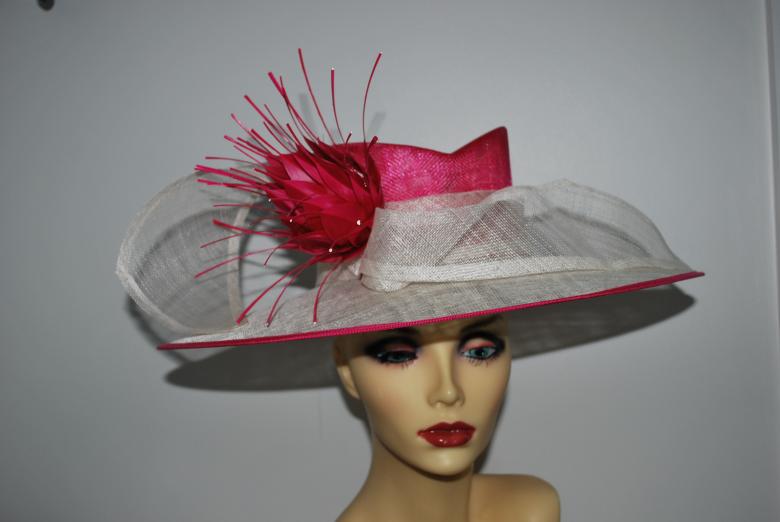
Elegant delicate silhouettes, wide fields, soft shades of fabric, charming flowers or other details make the image simply stunningly attractive. To make such a hat is not difficult, it successfully combines with dresses and long skirts.
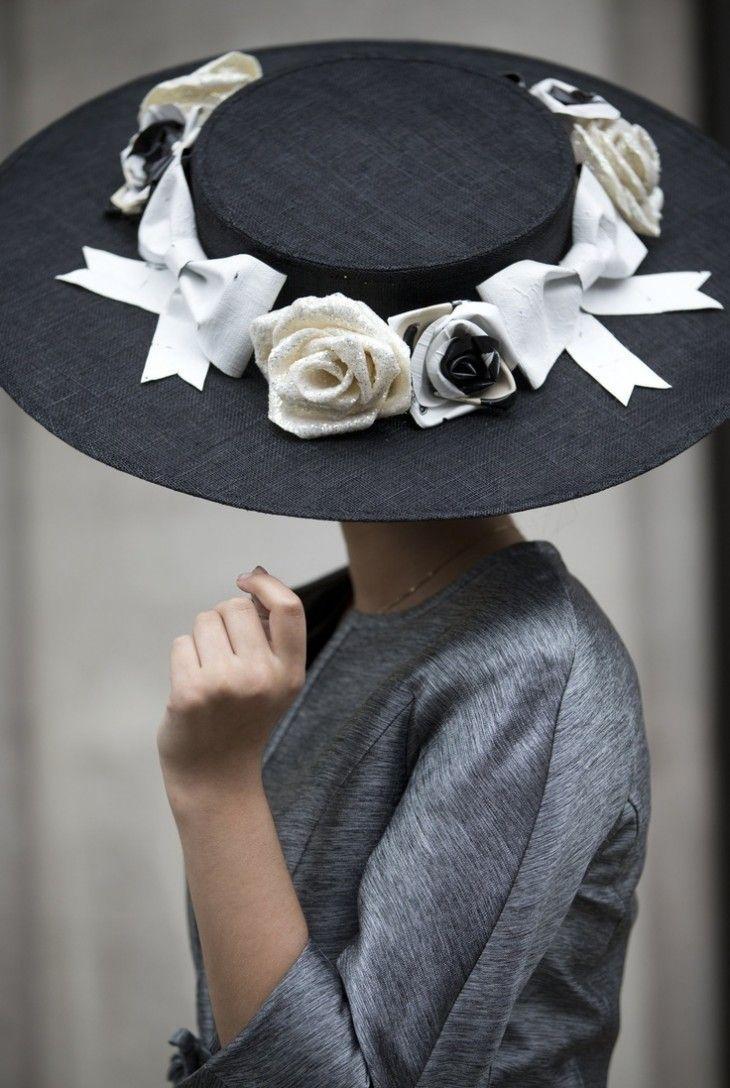
Cowboy and hunter's
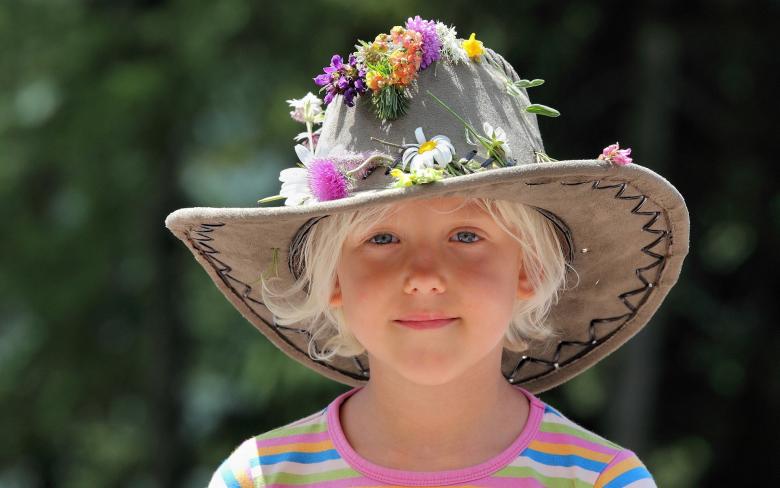
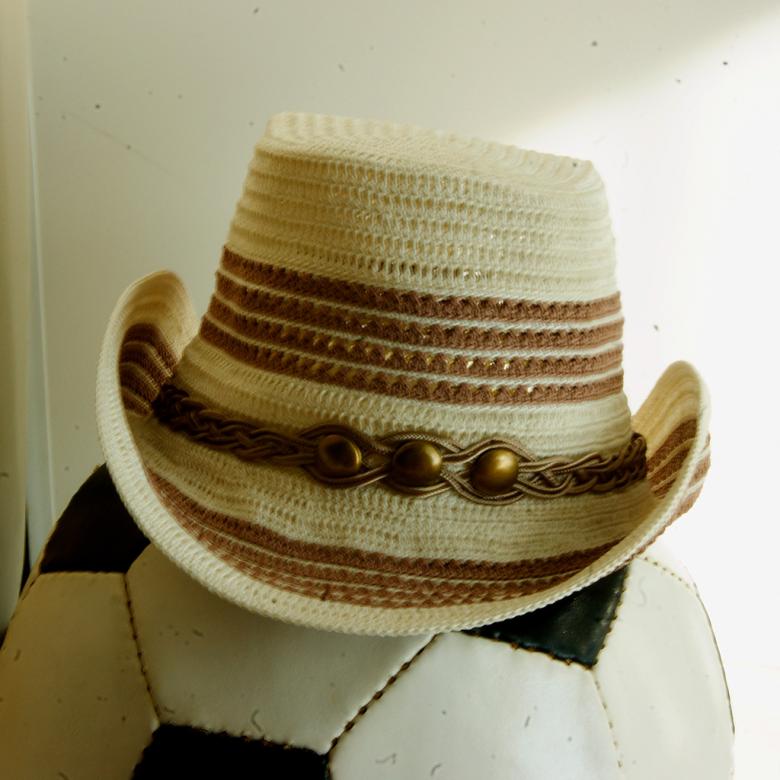
For lovers of "wild" nature trips, hiking and fishing, a cowboy hat made of leather or felt will certainly be a necessary accessory. It is stylish and practical, an excellent protection from the sun and wind. And suitable for such a piece not only for men - a woman in a cowboy hat looks very effective.
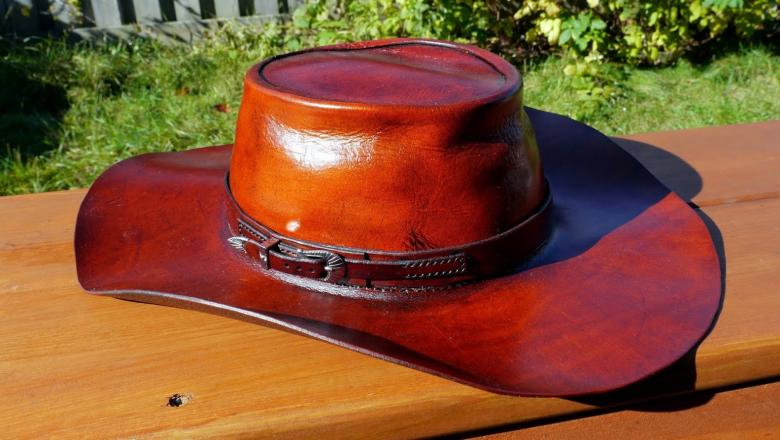
For a business image
City image also often includes hats of different styles. For a business suit, for a formal reception, wedding or meetings, you can create a modest and elegant hat with short brim or without brim. It will emphasize the severity and elegance of the owner, making the image complete and harmonious.
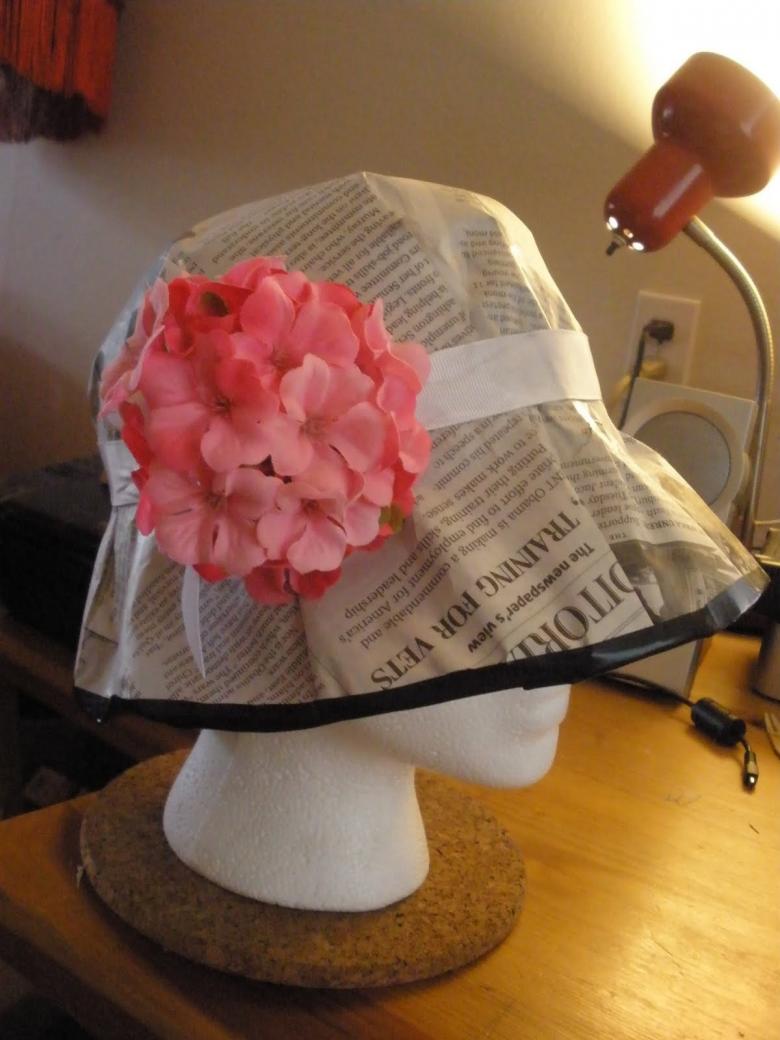
Military hats
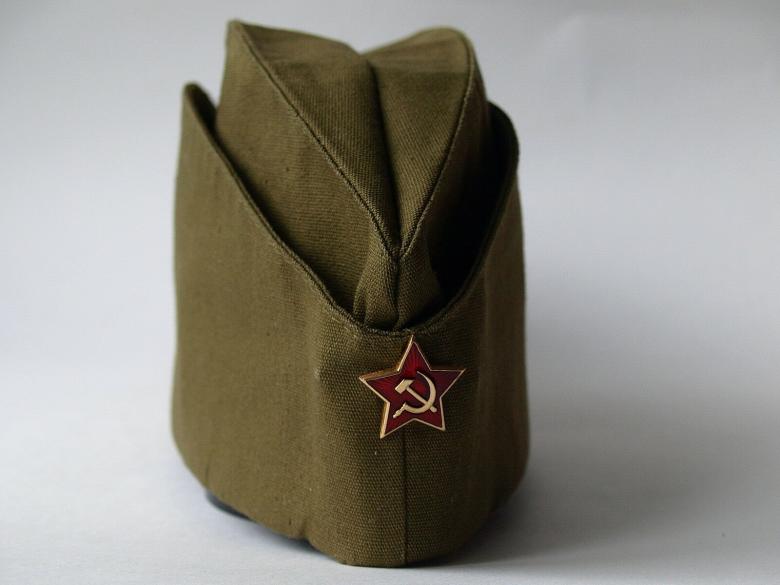
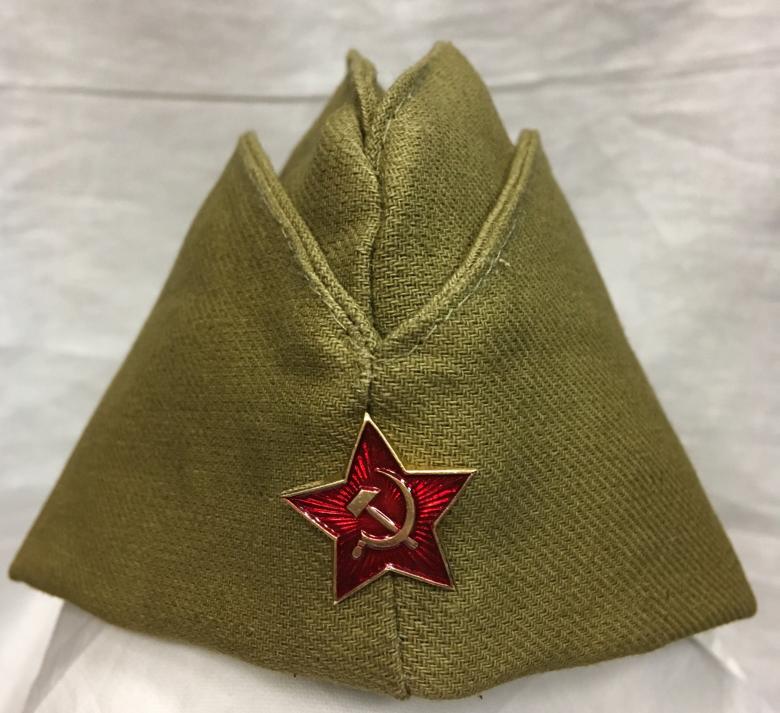
Pilot cap, tank top or cap - even these options can be created by your own hands. They will be useful at the parade, for a military performance or on Victory Day.
Carnival and masquerade hats
Perhaps the most original solution would be to make a hat with your own hands for kindergarten. For example, your child wants to be a pirate, and your daughter wants to be a princess. Why not take cardboard and ribbons, construct an original headdress?
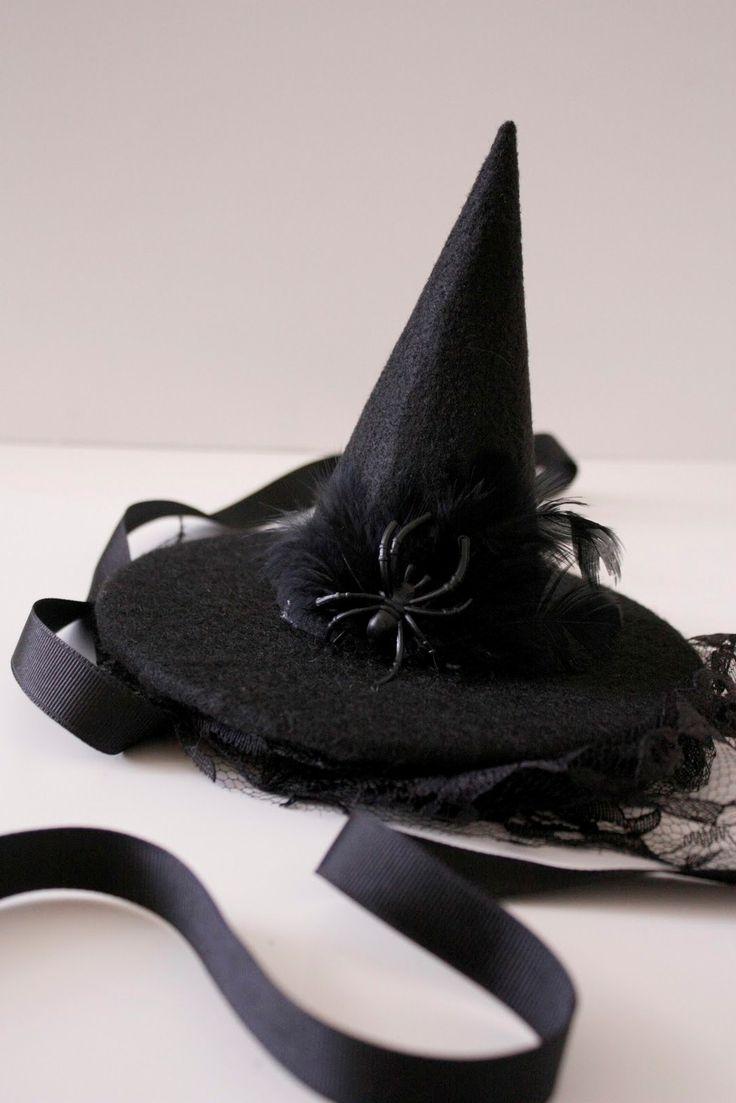
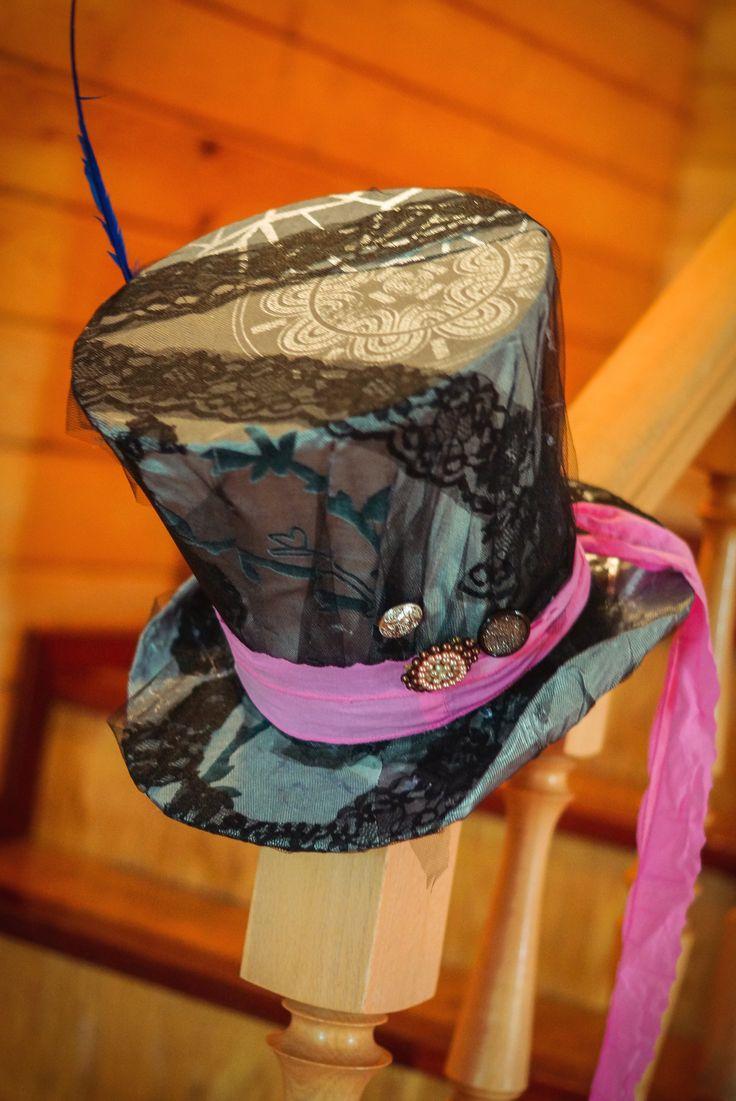
Recall at least the magic hat, which distributed the little wizards to the faculties of Hogwarts. Such a fabulous game accessory will definitely come in handy for games at the party.
Materials and tools
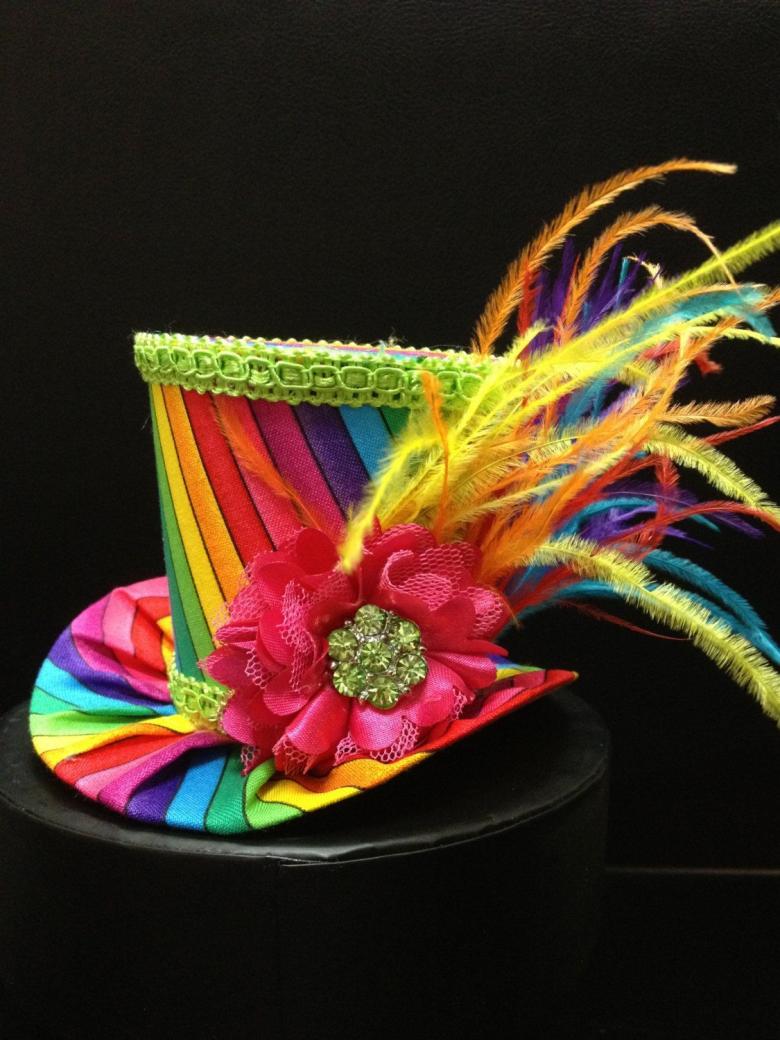
To create hats, you can take a variety of resources, and often you can do with improvised materials. Sometimes it is worthwhile to look into a store and choose some specific accessory. In general, it is worth having the following set of handy and useful tools:
- scissors, a razor, a model knife;
- a set of curved templates and rulers;
- colored paper, cardboard;
- fabrics of all types, leather, felt or linen;
- starch or starching agent;
- paints and glue for fabric and paper (PVA, silicate glue);
- a jar for the base and drying hats;
- Decorations: ribbons, beads, rhinestones, glass beads, any decorative details.
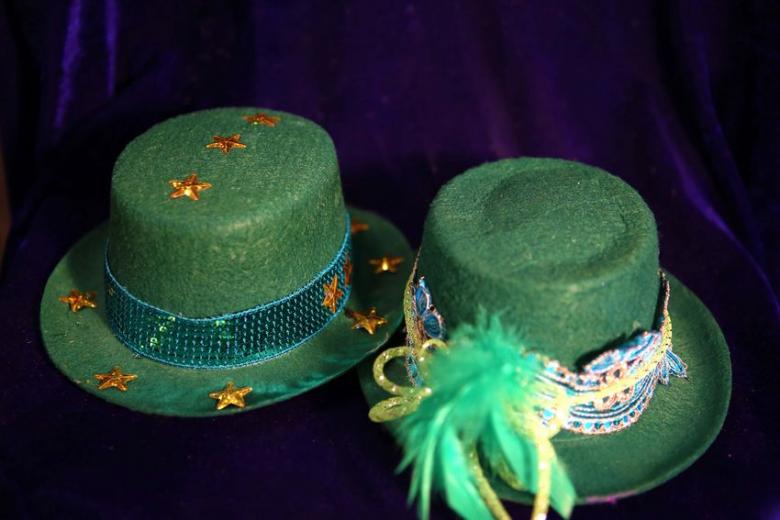
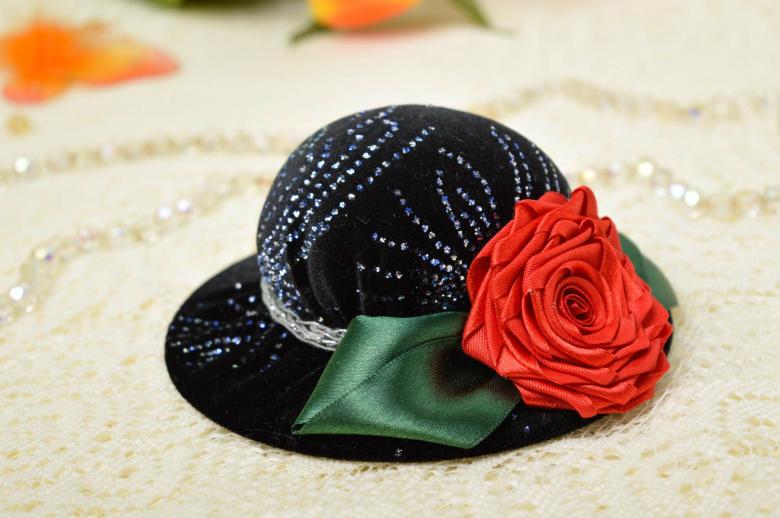
Tip: To create a stylish accessory it is desirable not to mix dissimilar parts, it is better to take the fabric and jewelry in the same style, color - it looks exquisite.
Methods of making a hat
Use the simple recommendations to practice and make simple models. For example, you can easily create a romantic or pirate hat, as well as a military cap for Victory Day.
Simple Pilot Hat
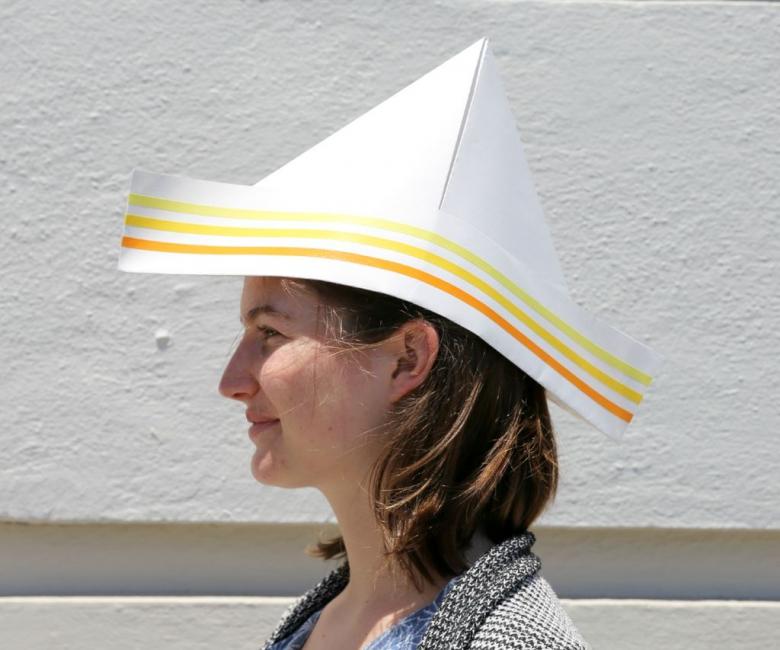
To make a simple Pilot for the Victory Day parade, you will need a minimum of time and materials. A simple algorithm allows you to quickly build a hat:
- Take two sheets of paper, fold them horizontally on top of each other.
- Fold the top edges by 2-3 cm.
- Fold the right and left edges so they touch.
- The remainder of the sheet fold up.
- Fix the top of the sides.
- Fold up the bottom of the sheet that was left.
- The product must be straightened - and the cap is ready.
Tip: Don't wear paper hats in the rain or in strong winds - they will suffer from humidity and lose their shape.
Pirate hat
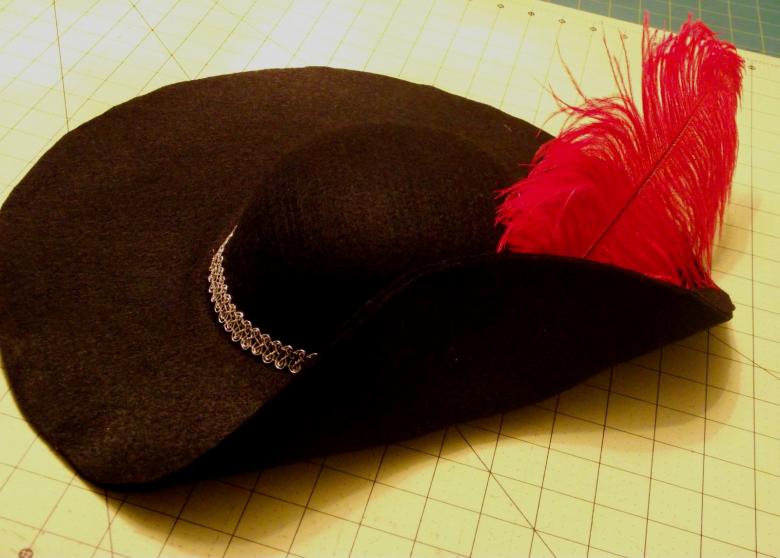
If the kid has to go to a carnival, a pirate hat with their own hands created at home will come in handy. Inspiration after watching the movie "Pirates of the Caribbean" often helps to make a real triangle.
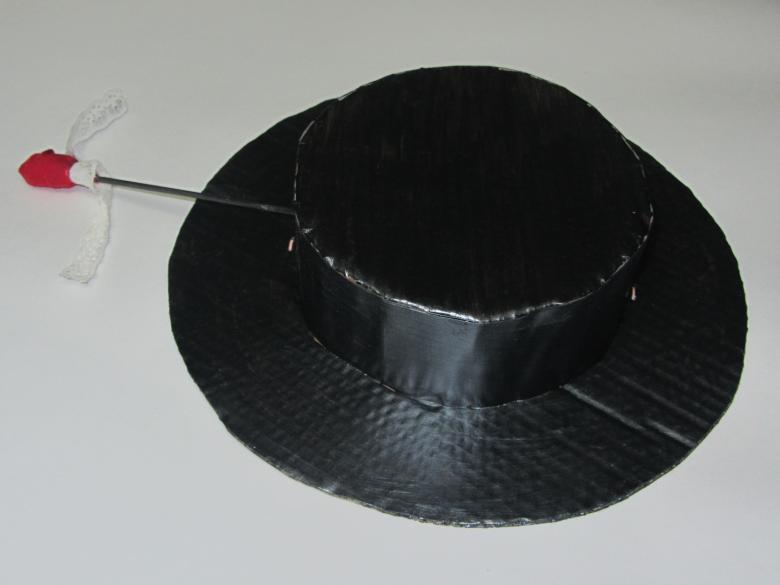
The sea robber's hat is traditionally made of black material and decorated with a skull and bones - the trademark of pirates. Make the product can be made of paper or fabric, felt. Time requires very little.
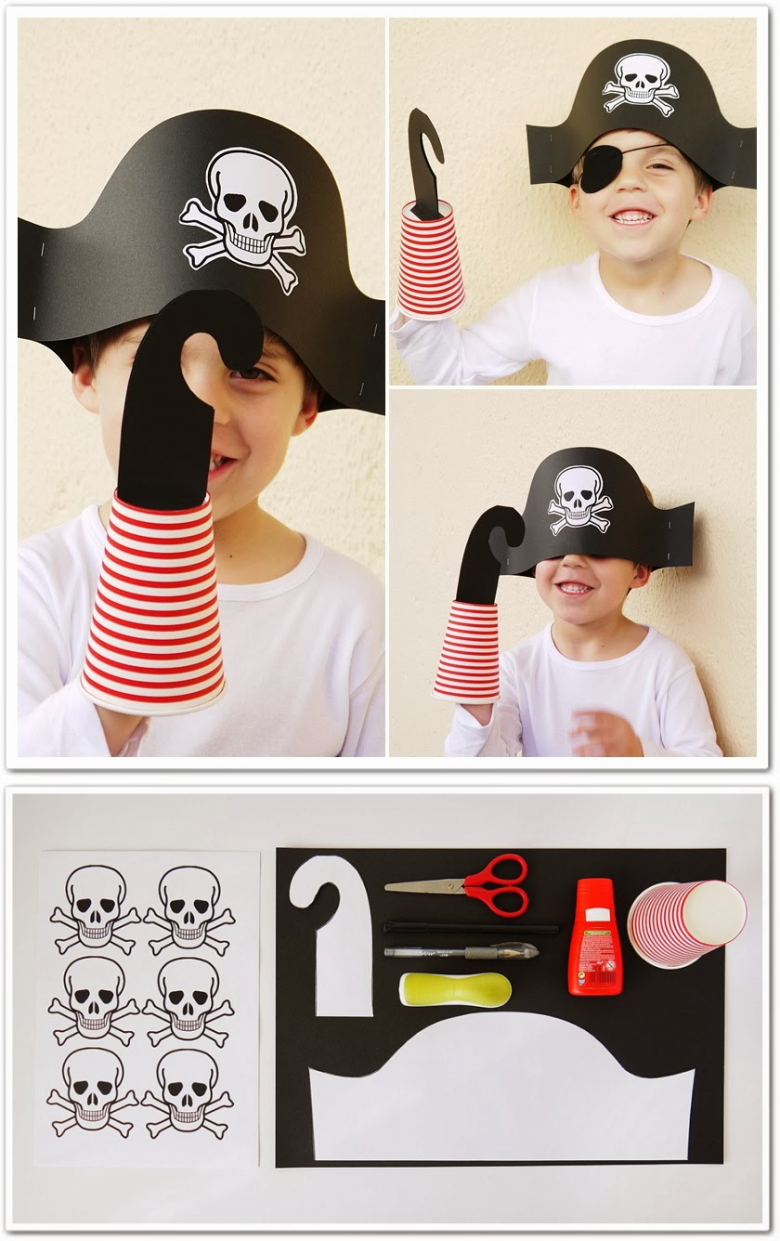
Instructions for making a pirate's triangle out of felt:
- Take a solid color material, take measurements from the head of the child.
- Determine the height of the triangle.
- Draw a circle - the inner part of the field, it should be wider than the height.
- Make a fabric of 2 parts - the face and the wrong side.
- Sew the fields, make incisions on the edge to a depth of 1 cm.
- Turn the product inside out and iron to retain its shape.
- Sew on the machine all the parts.
- Close the edges with gold braid.
- Attach a skull and bones in the center of the margins.
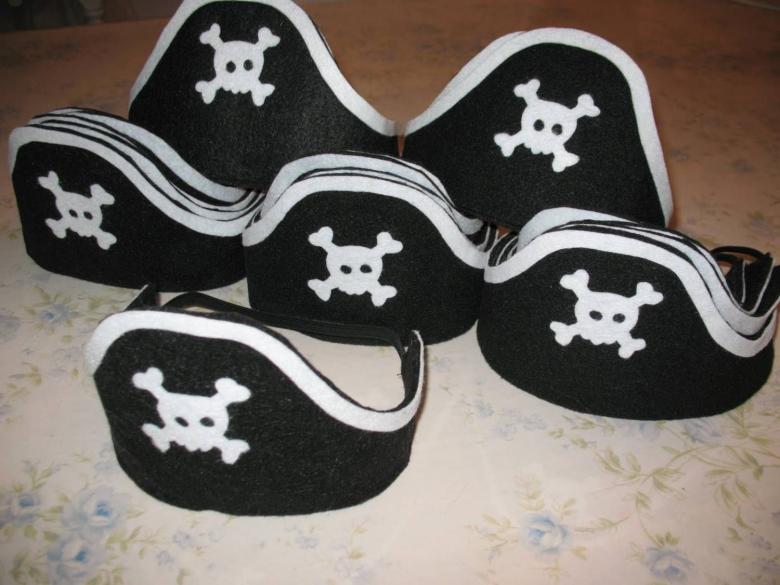
Tip: To keep the hat flatter, you can fit the fabric to the rim to the size of the child's head.
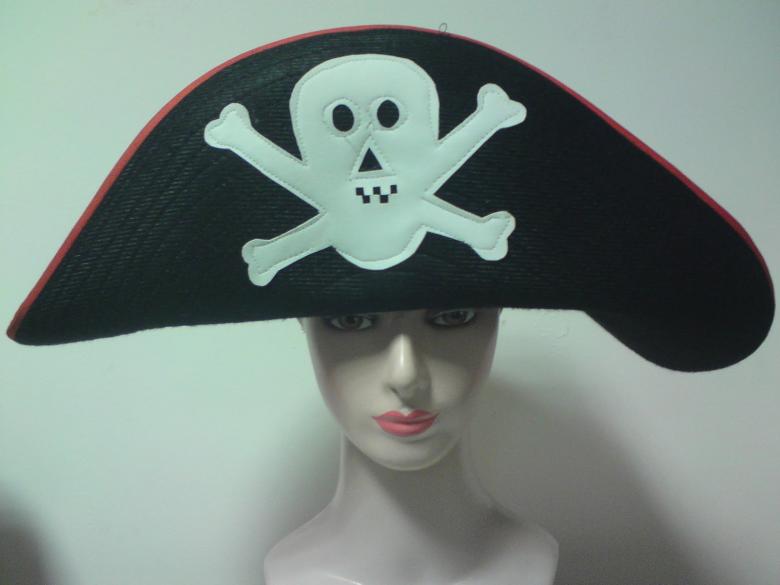
Make a pirate hat out of cardboard is even easier. Need a thick piece of Watman or office paper, also need glue, pen and scissors. Make patterns according to a similar scheme and glue parts, do not forget about the decoration - it can be drawn by hand felt-tip pen.
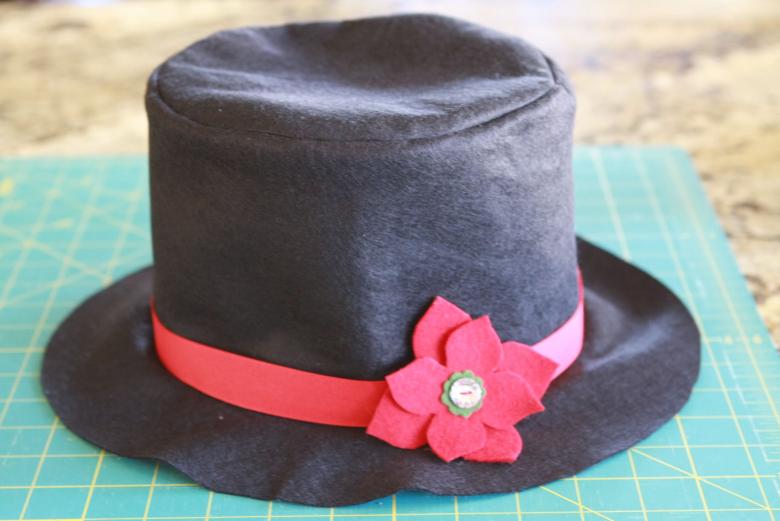
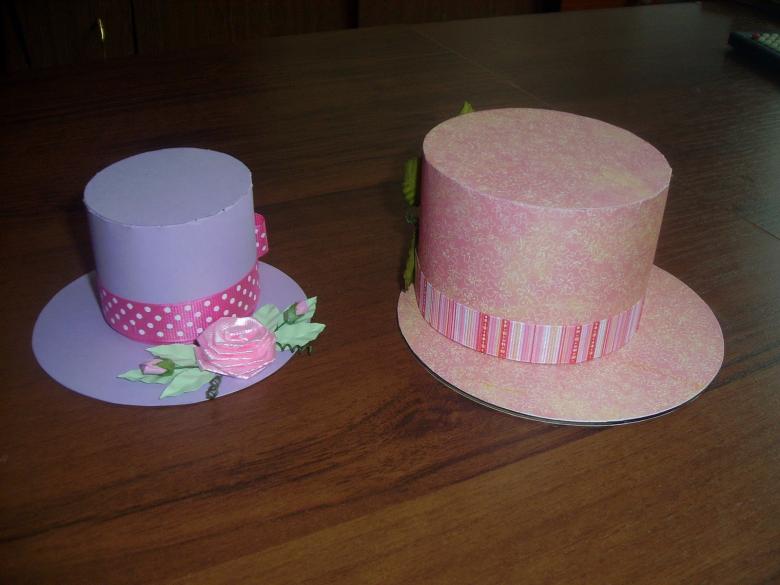
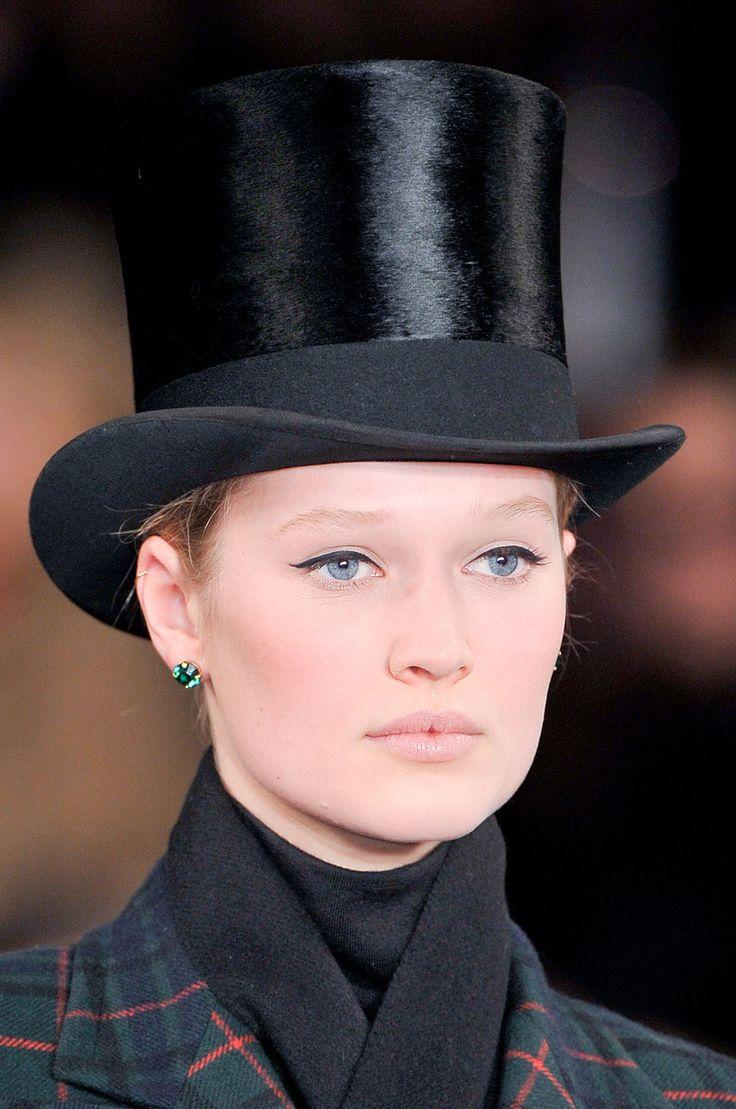
Cylinder from cardboard
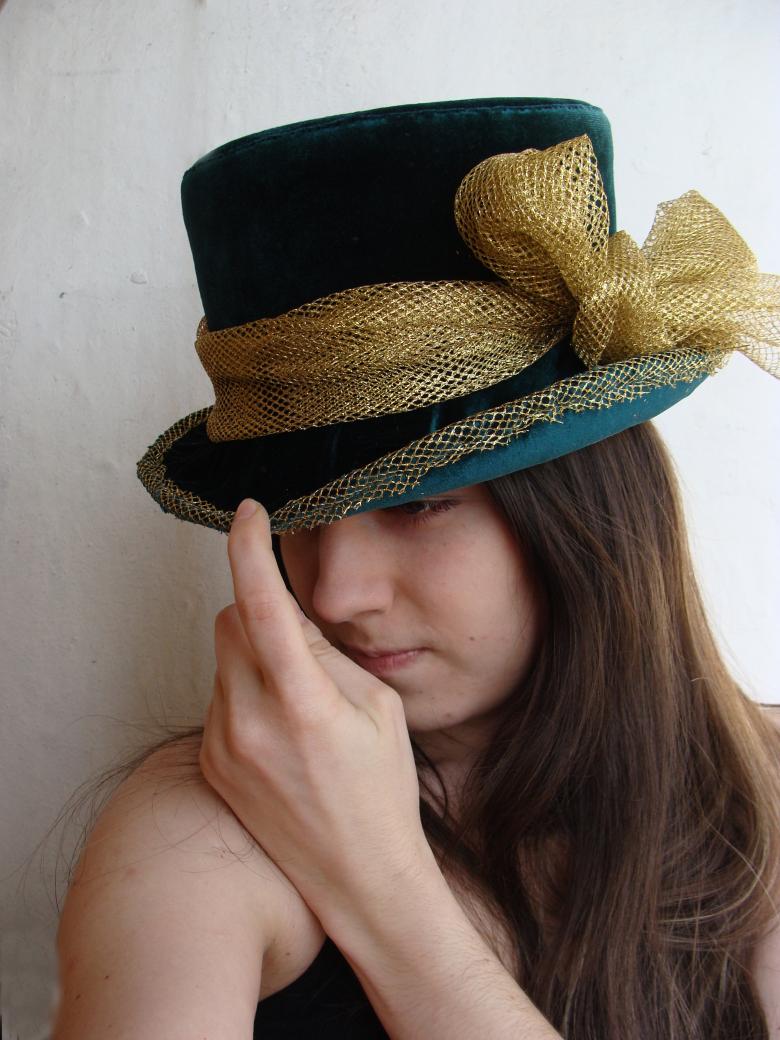
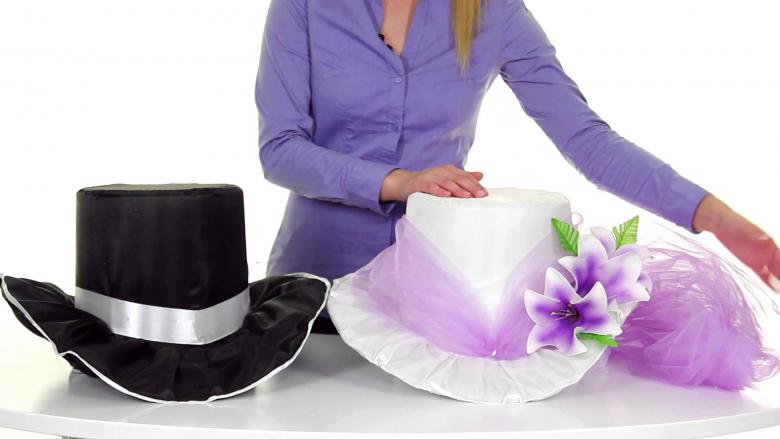
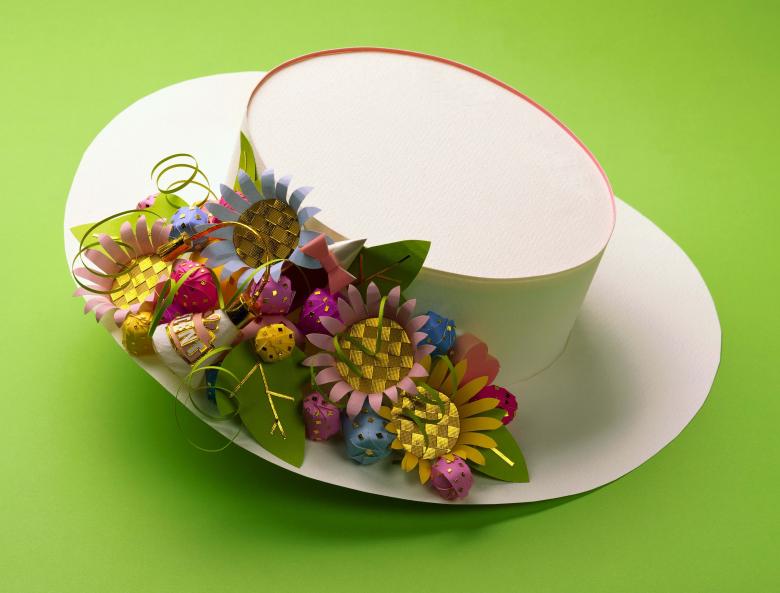
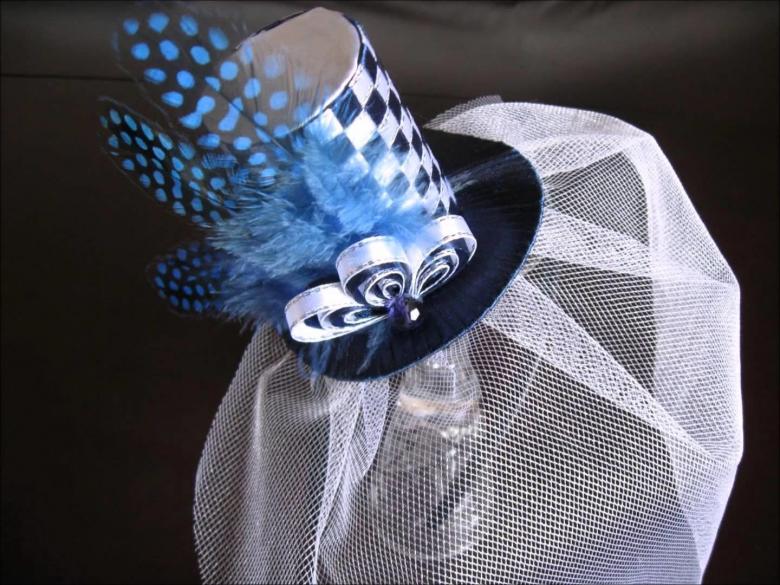
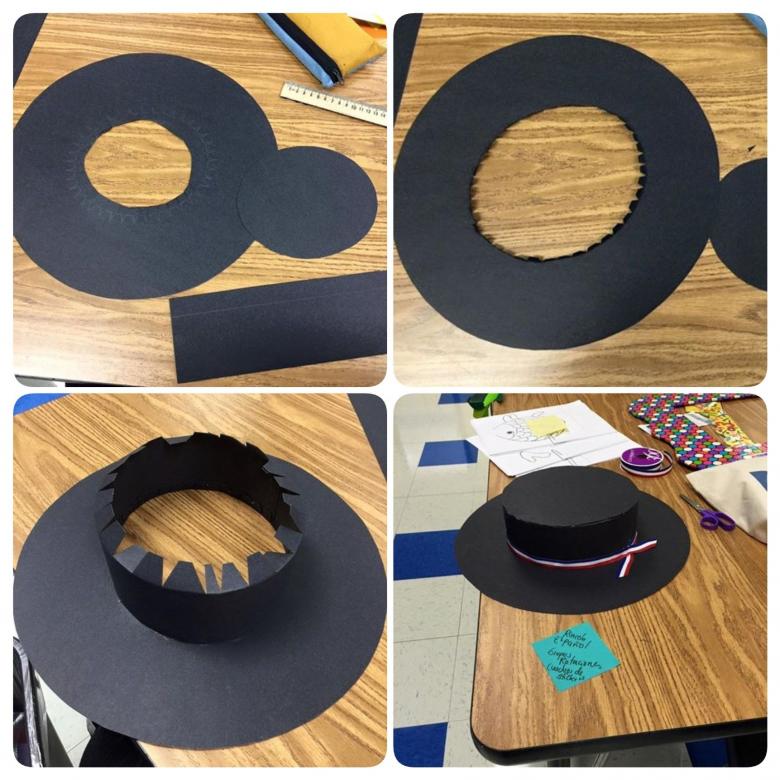
You can also create an interesting model - a wizard cylinder. For it you will need thick colored cardboard, a compass, scissors, glue, eraser and ribbons for decoration.
Work algorithm:
- Take a sheet of cardboard, draw a circle, in diameter proportional to the size of the hat. From the center make another circle with a larger diameter.
- Make a similar circle on the second sheet, but smaller by 25%.
- A total of 2 large circles and 3 small.
- Cut a large circle, make a fringe around the edge. Bend inward and set aside.
- Cut a small circle, then the smallest. Make a fringe and bend it.
- Then cut out the walls for the cylinder, they should be the same size as the small circle and have an extra 1 cm for gluing.
- Sheet with three circles smooth out, smear with glue, lift up.
- On the finished cylinder put a circle and pressed to glue.
- Then glue a small circle on top of the cylinder.
- Tie a ribbon on the crown, tie a bow.
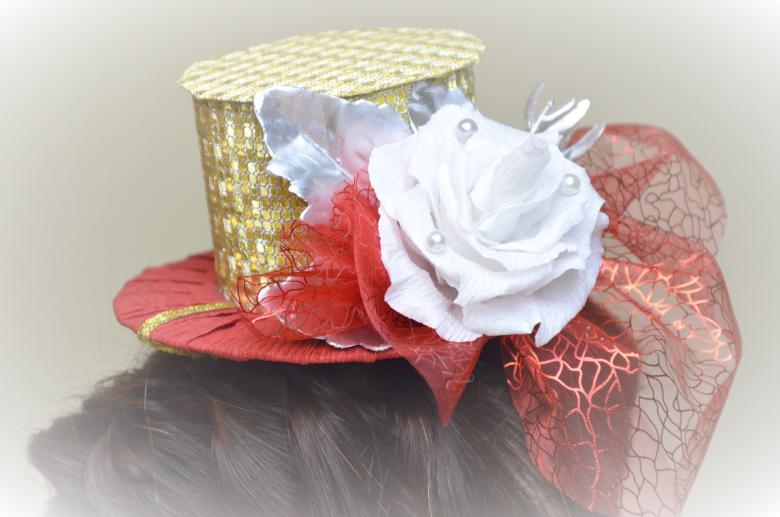
The cylinder is ready. You can add other details to taste - sequins, butterfly or stars.
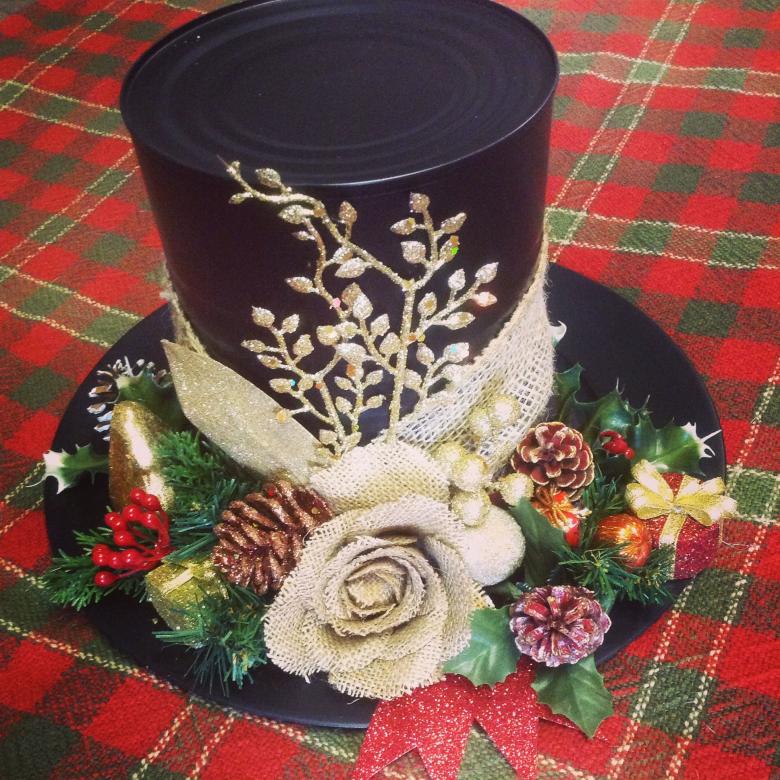
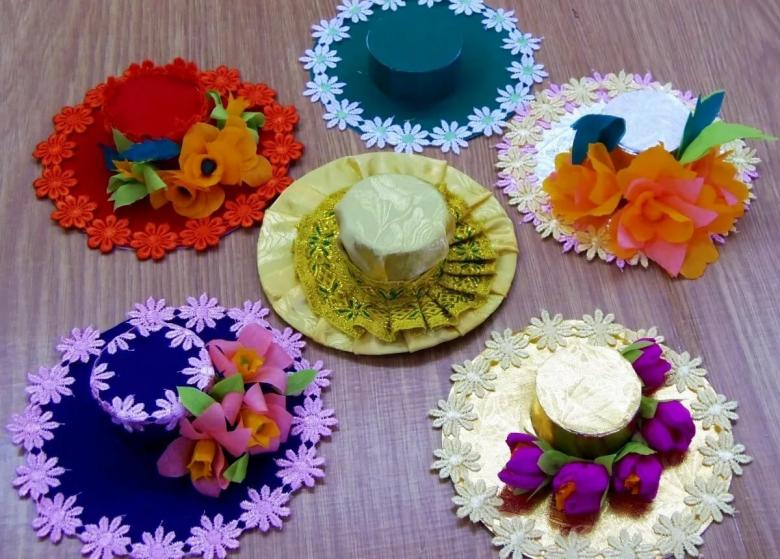
Photo gallery of handmade hats
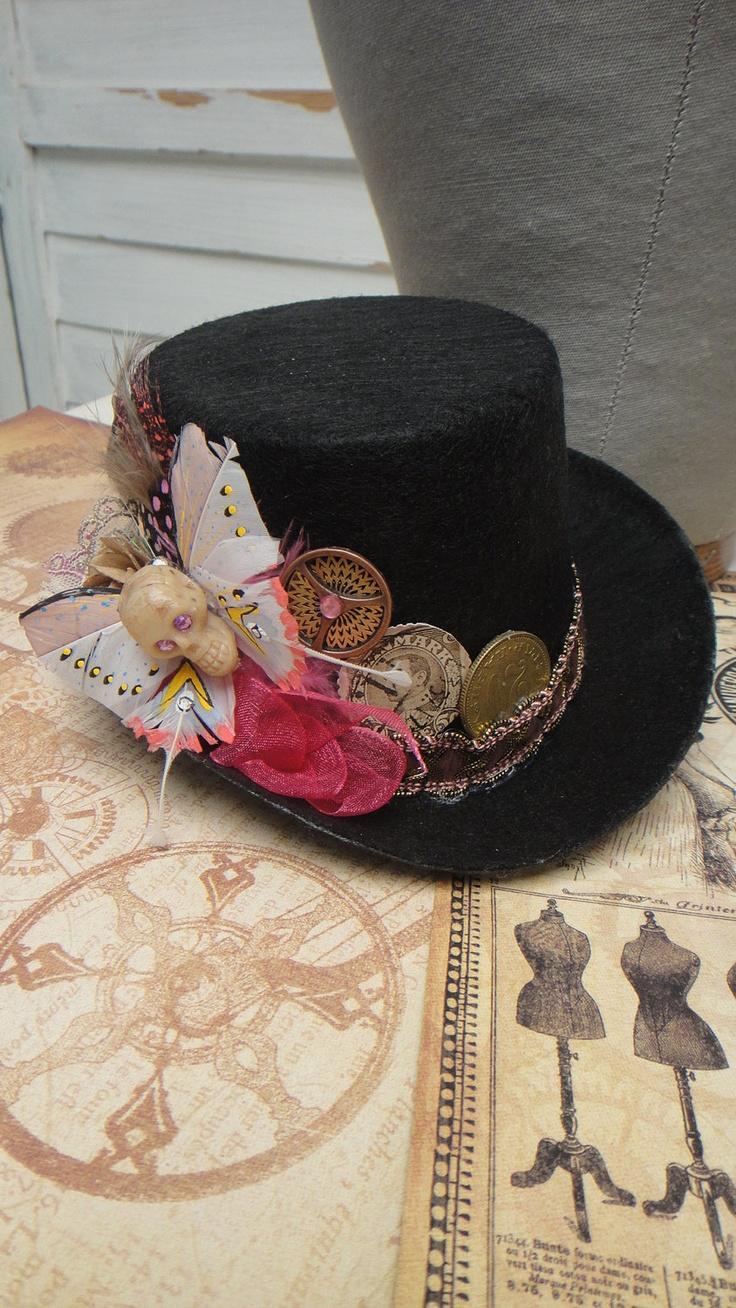
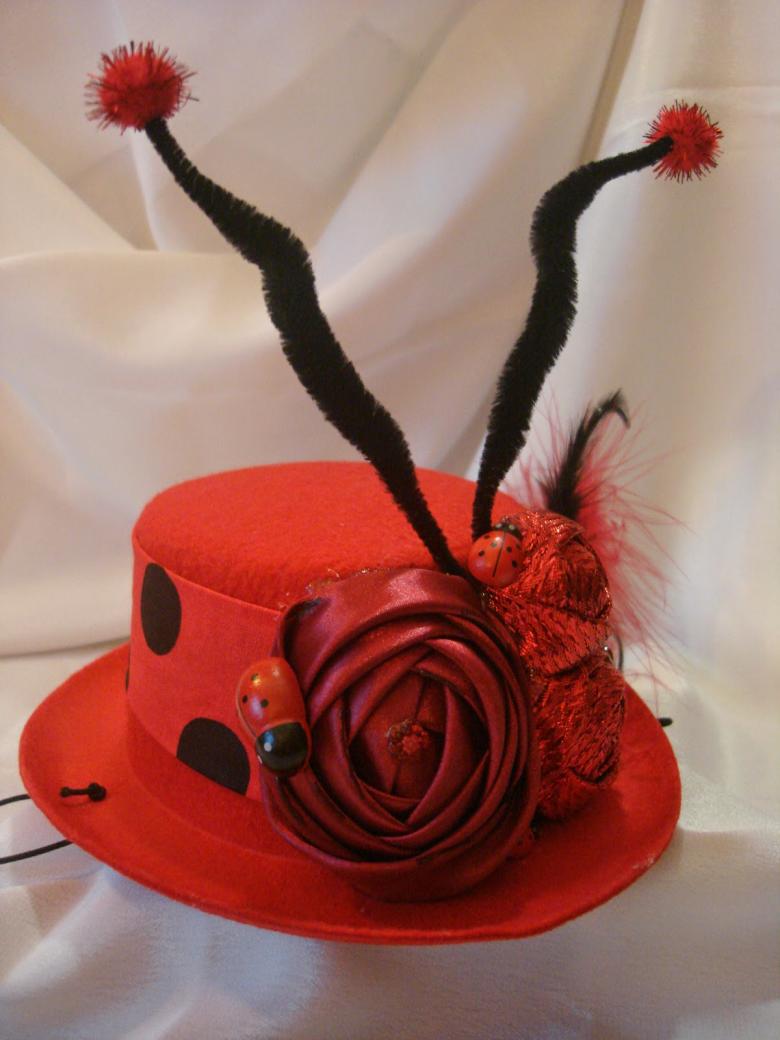
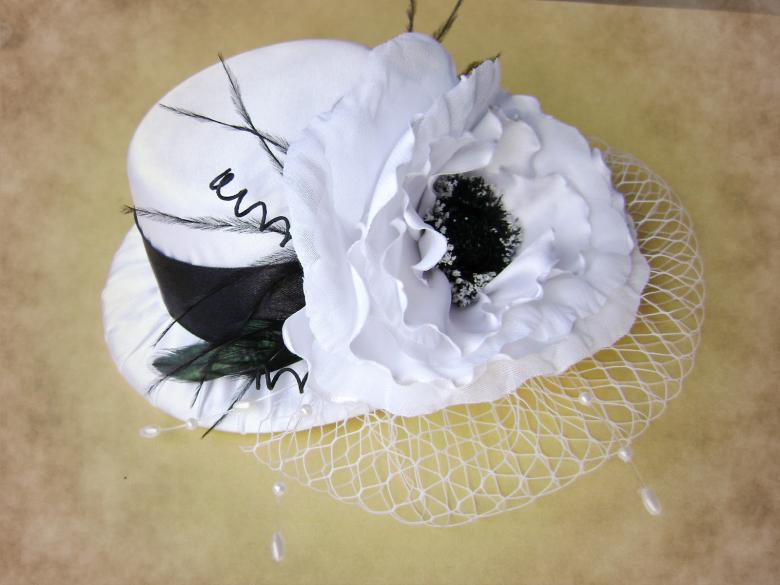
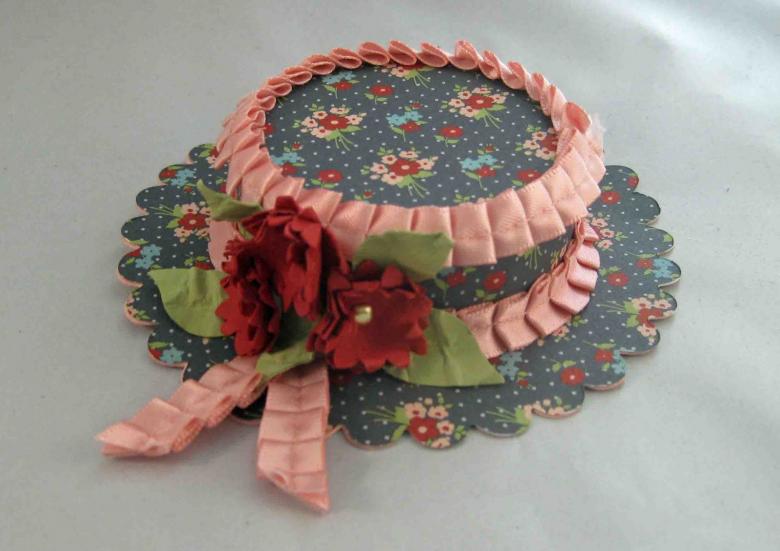
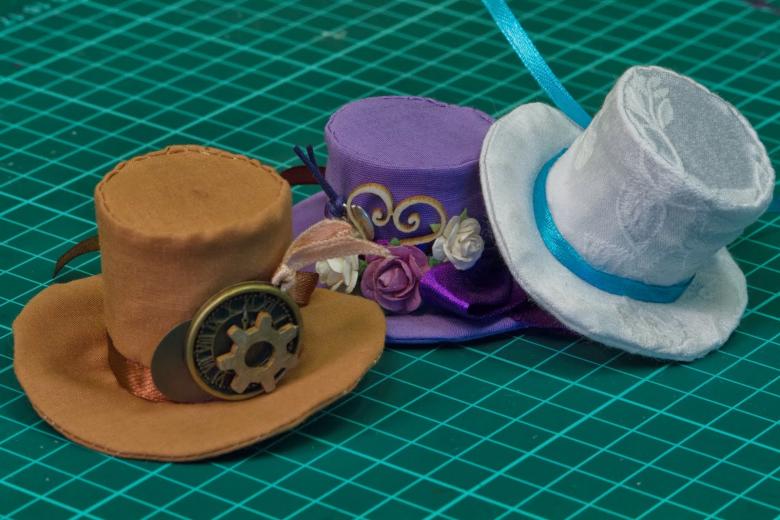
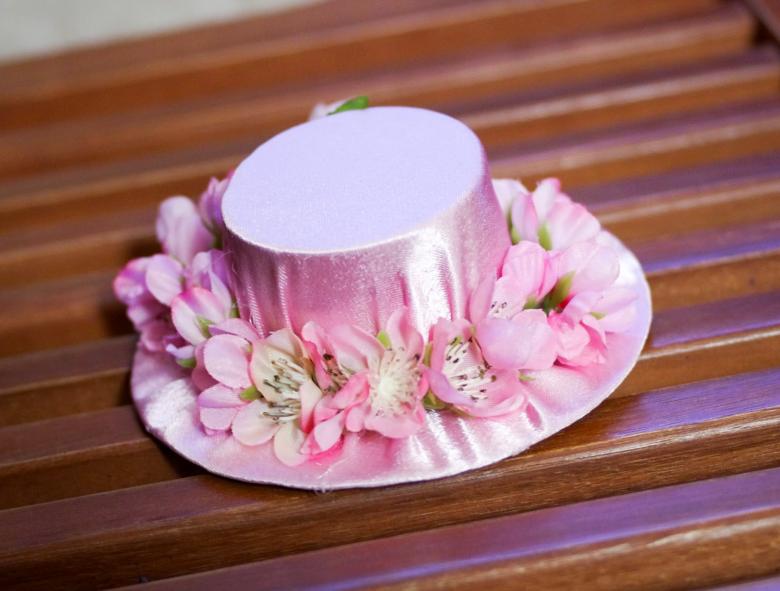
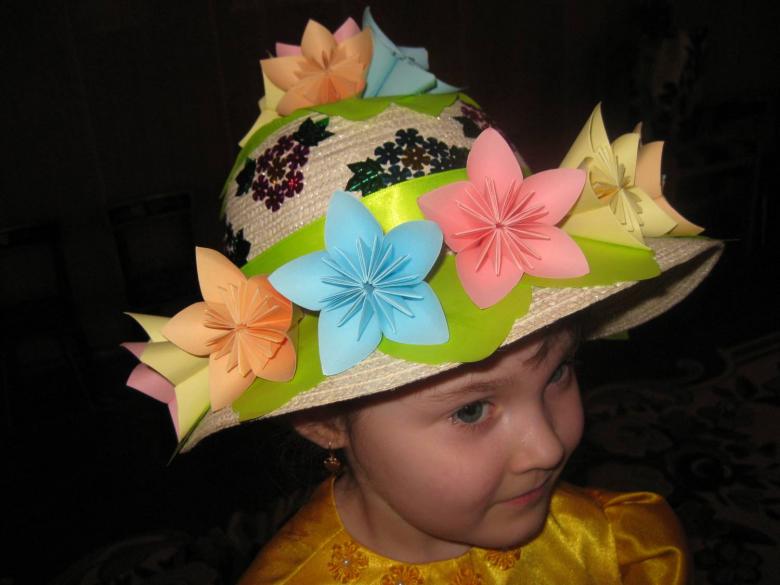
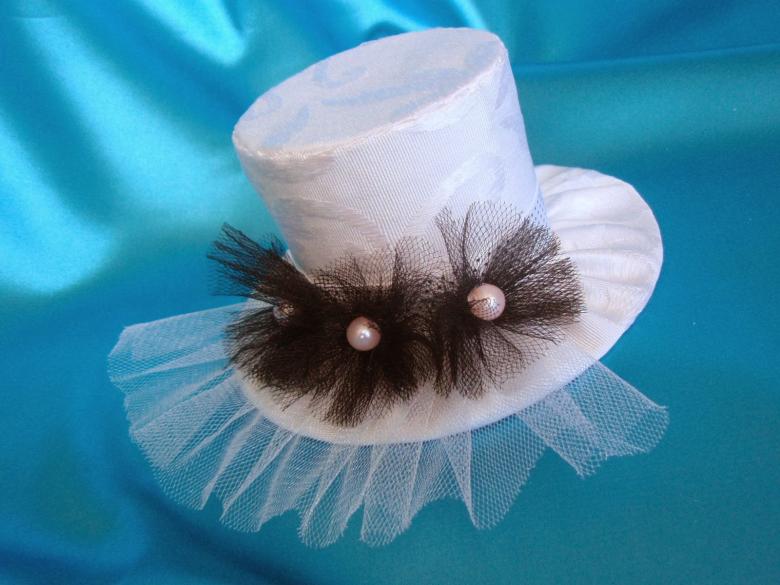
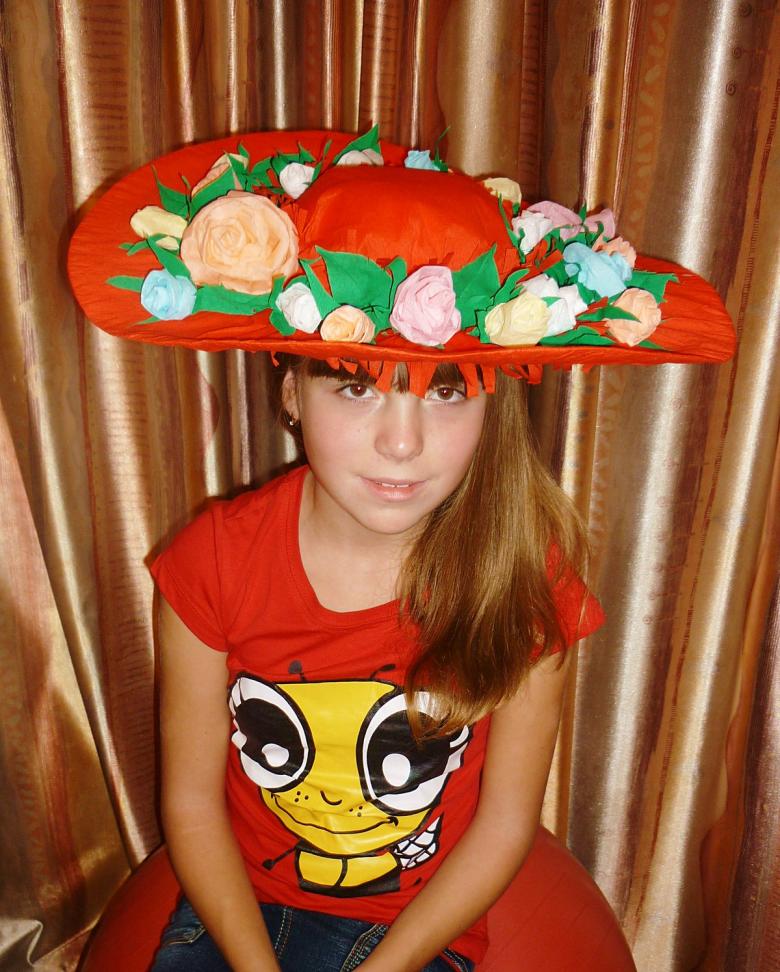
The choice of fittings, cut options - it all depends on the taste of the creator. You can be inspired by different models of hats, which are presented in photo-collections on the sites of handmade women. It is also not unreasonable to read a selection of examples on the website of workshops and other hat makers.
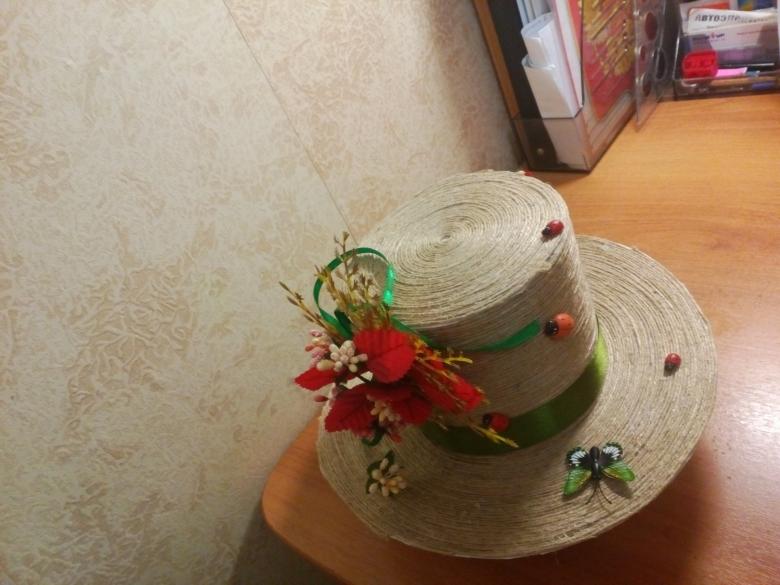
As you build skill, you can begin to make more complex versions of hats, experimenting and creating real works of art.

