How to make a handmade stand for school, kindergarten, garage: easy step-by-step master classes
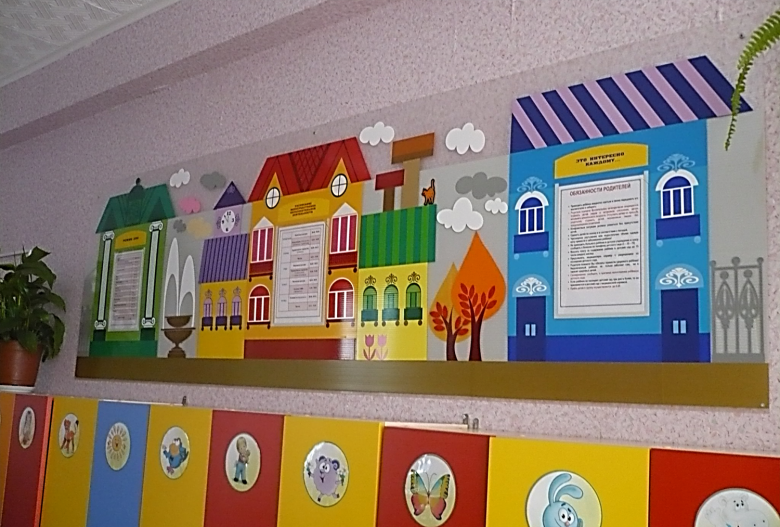
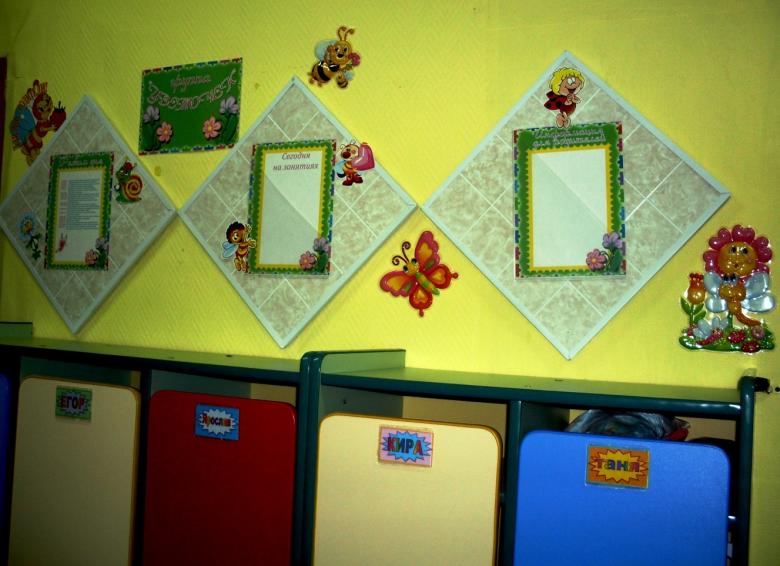
Stands, information boards have long been in use. They can be seen in educational institutions (from kindergartens to universities), stores, health care facilities, enterprises.

Almost all of the stands have a similar purpose - to convey information in a concise and comprehensible form, but there are also special types, such as a stand for checking generators or for storing tools. This article will discuss options for making stands with their own hands for various needs.
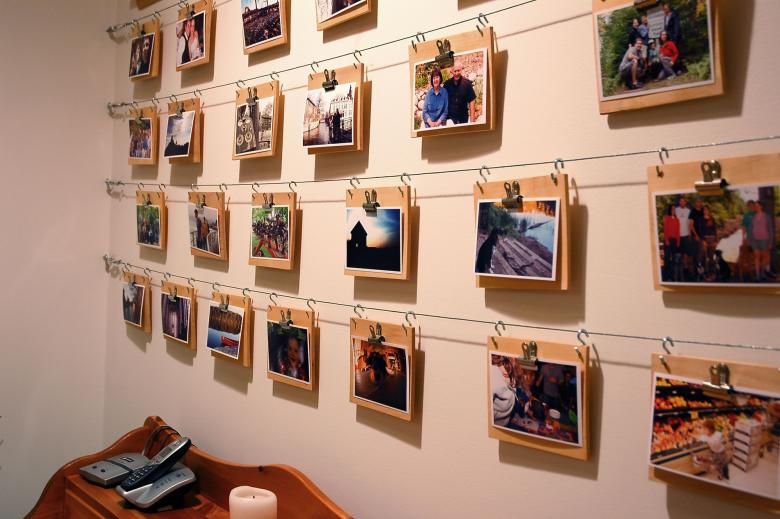
Stand for school from a student
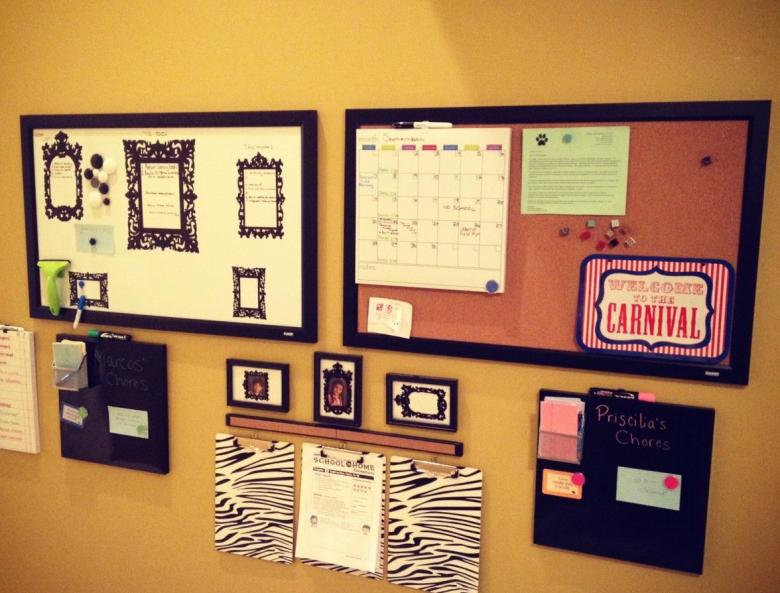
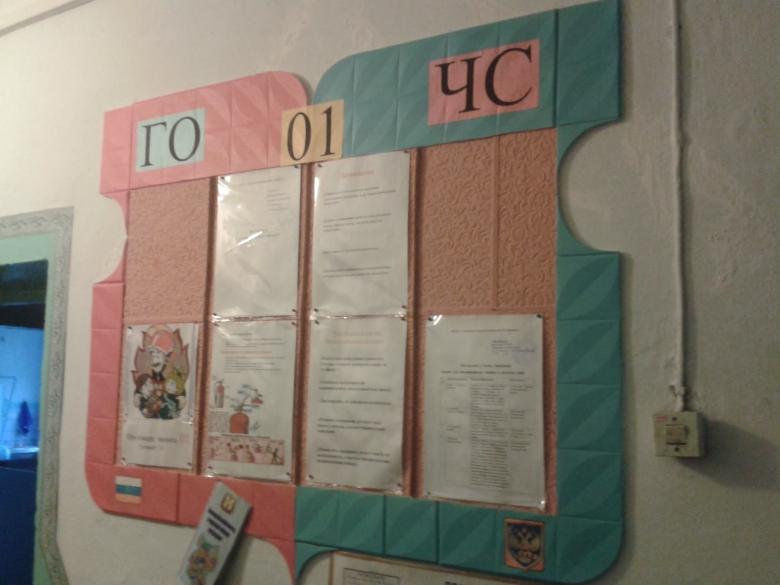
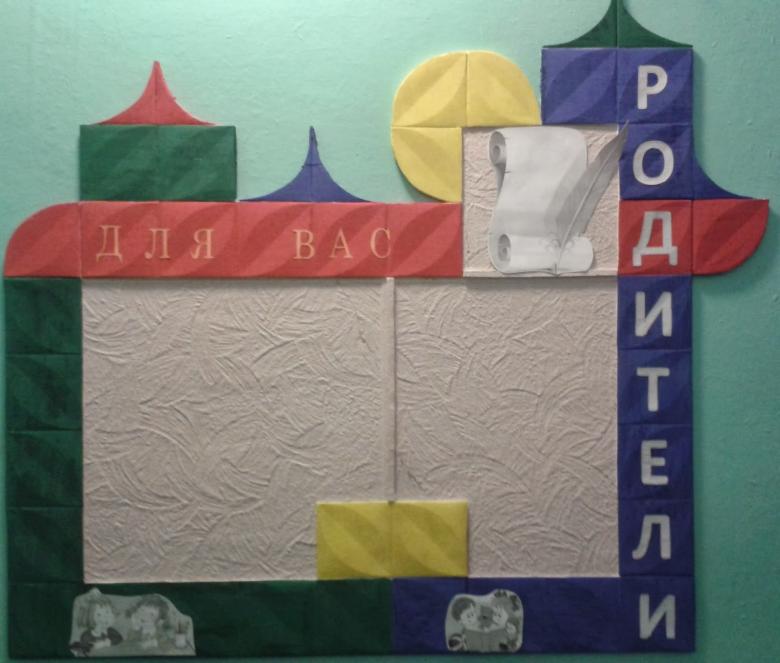
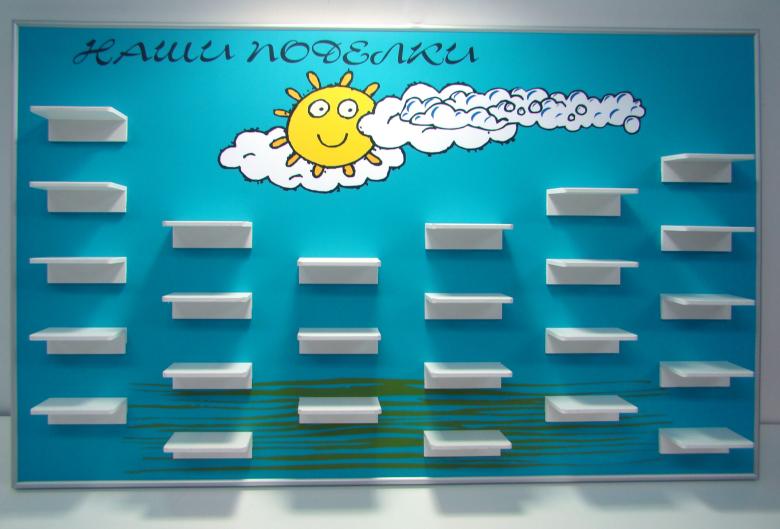
An information stand - an obligatory attribute of the school, which can be made with your own hands. For the basis, a sheet of plywood, PVC or cork material will do. The dimensions of the future stand are transferred to it, then a workpiece is cut out according to measurements.

The elements are glued together with joinery or any suitable glue. Attachments are set on the reverse side. After the glue dries, the base is painted or decorated with paper or fabric.

For pockets in which the sheets are placed, you can use simple transparent files, but most aesthetically look pockets of Plexiglas. It is important to distribute the pockets correctly over the stand area so that there is not too much free space on one side.

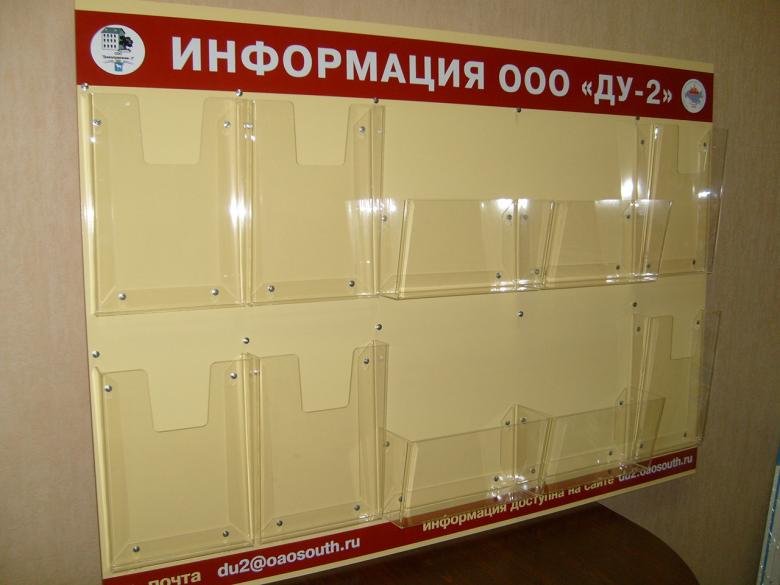
Plexiglass pockets
To make your stand look presentable, you need to spend a little more time on your work by using Plexiglas.
- Mark out the length and width of the pocket, taking as a basis the size of a sheet of A4, adding to them 15cm on each side.
- Cut out the workpiece, cutting off one of the corners for convenience (so the sheet will be easy to get).
- Strips of the same material, up to 10 mm wide, length according to the size of the pocket glued to the blank on each side, except for the side with the cut corner, which will create the space between the pocket and the stand.
- Attach the finished pocket with the stand clearly on the marks, to avoid distortion.
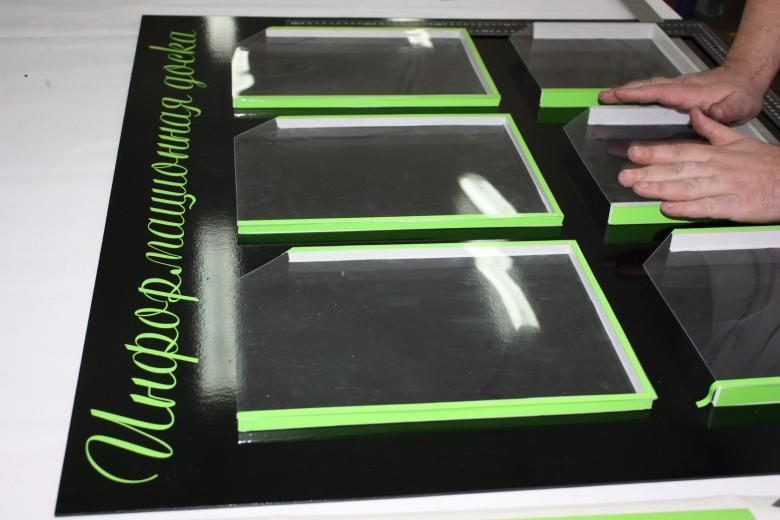
Stencils with letters are used for the title of the stand, which will make it more noticeable.
Stand for checking alternators
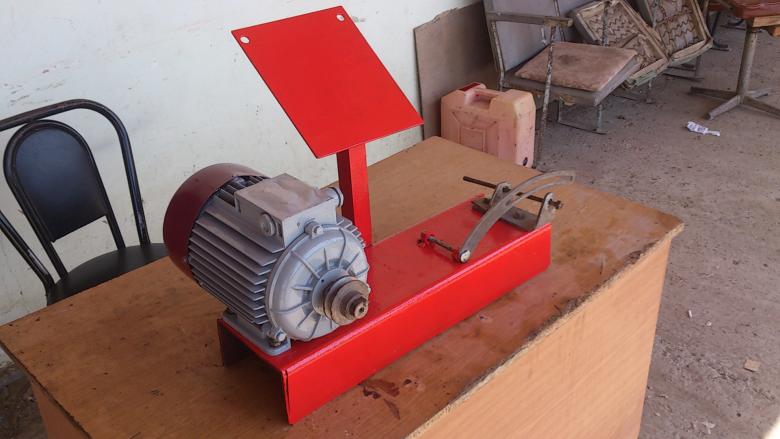
A test bench designed for troubleshooting alternators. To assemble such a stand will need to connect in a given order:
- Voltmeter
- Off toggle switch
- Ammeter
- Battery
- Rheostat
- Generator
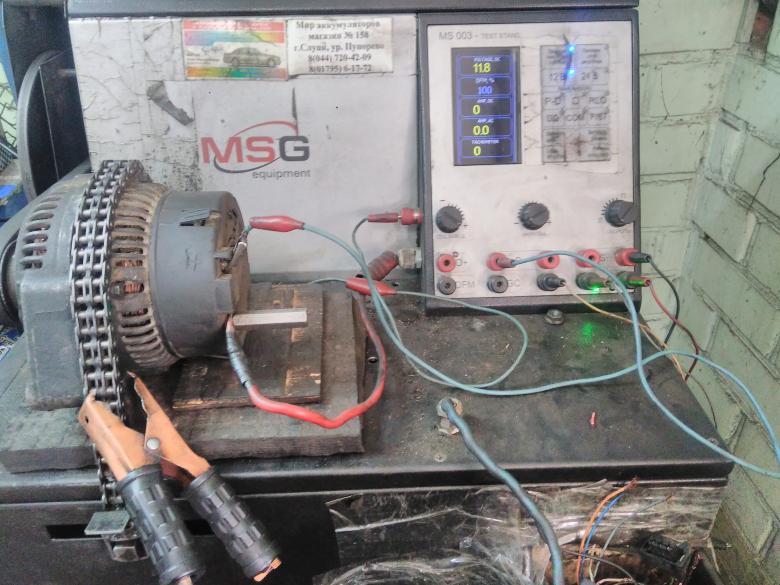
Working principle
Electric motor is connected, voltage up to 14V (at the output of the generator) is regulated. The rotor operates at a frequency of up to 5000 revolutions. The generator runs for 2 minutes, after which the current output is measured. The generator needs to be repaired if its output power is less than 44A.
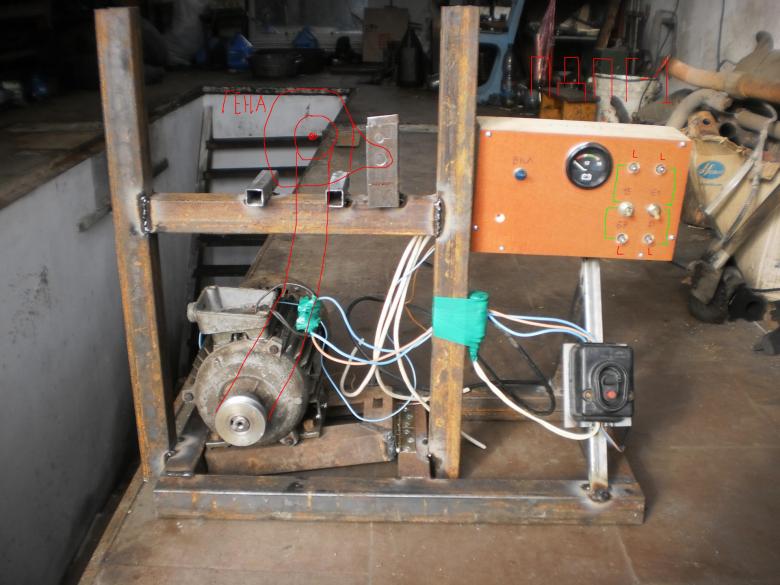
Such a stand is more suitable for training, as it has errors in operation. Modern professional versions cope with this work much better.
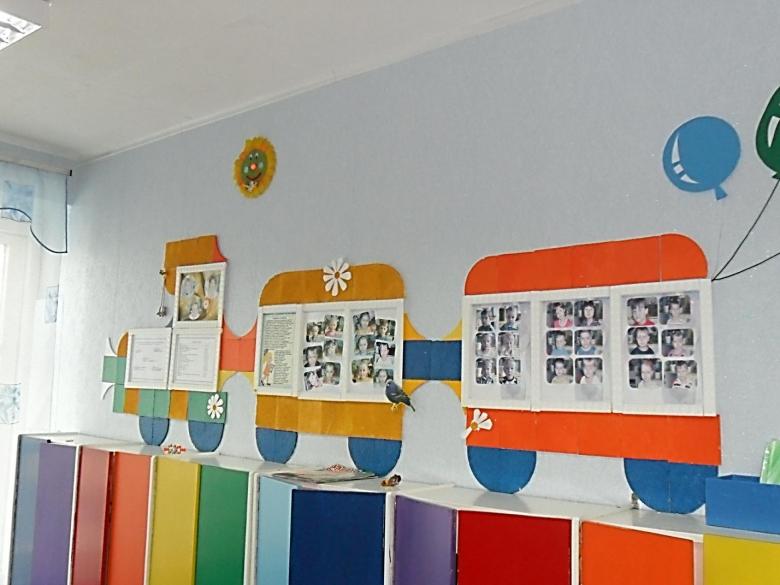
Stand for February 23 in the kindergarten with his hands
Stands for the Defender of the Fatherland Day are popular in preschool institutions. To create them, you can use a variety of materials, but the main attention here is given to its filling.

What to put on the holiday stand
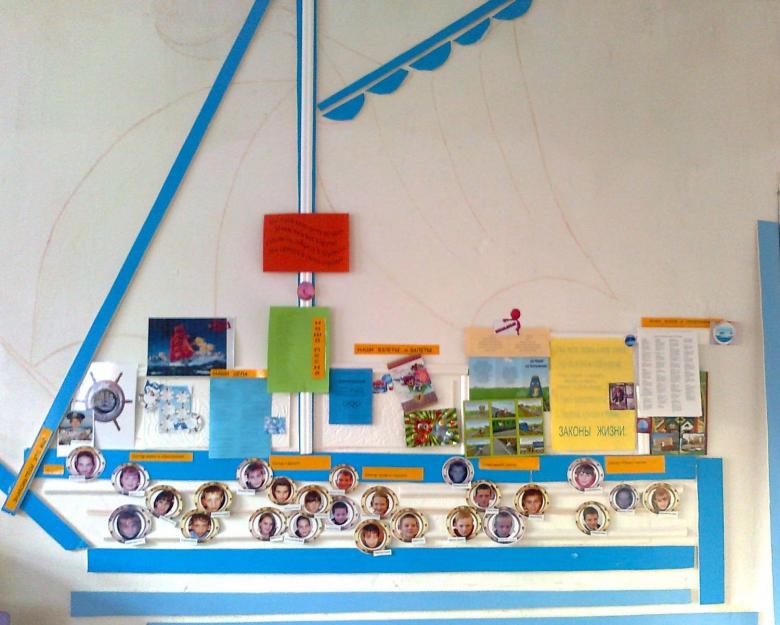
First of all, it is necessary to choose a background. Of the materials used are paint, colored paper, fabric. The background color can be khaki (camouflage), bright colors (red, orange), colors of the national flag will do. To fill it, it is possible and necessary to involve the imagination of the students - their drawings, crafts on military themes will fit very well into the overall picture.

The image of warships, airplanes, tanks, crafts in the form of soldiers made of paper will help fill the space without leaving gaps in it. Such a stand should show children how much the profession of the defender of the Motherland is responsible.

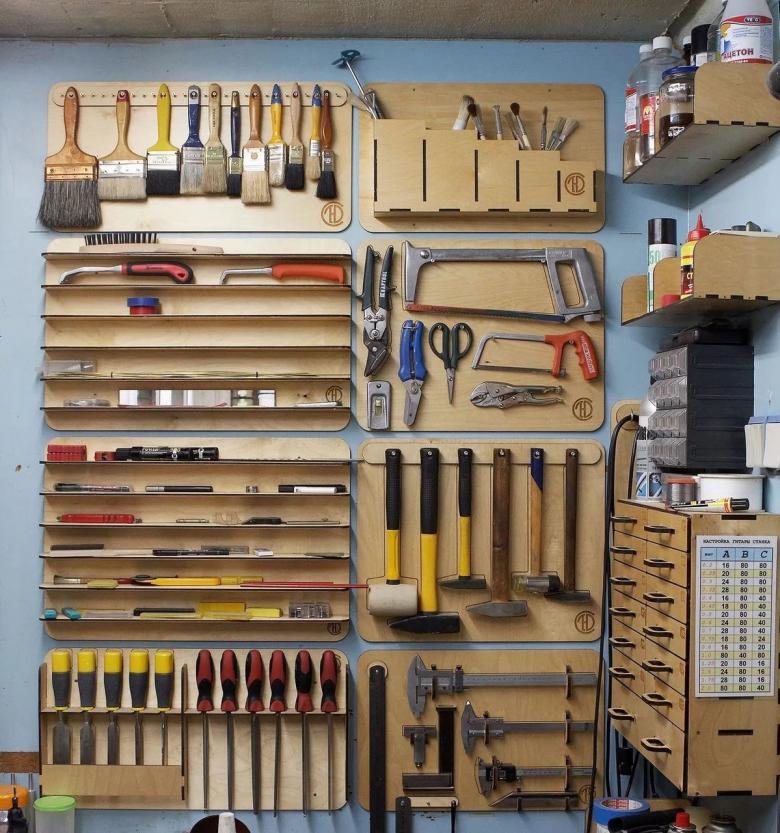
Wall-mounted tool stand
Practical and multifunctional tool stand is great for the garage. With it the search for the right tools will not take much time and effort, and its appearance will be a matter of pride to the owner.
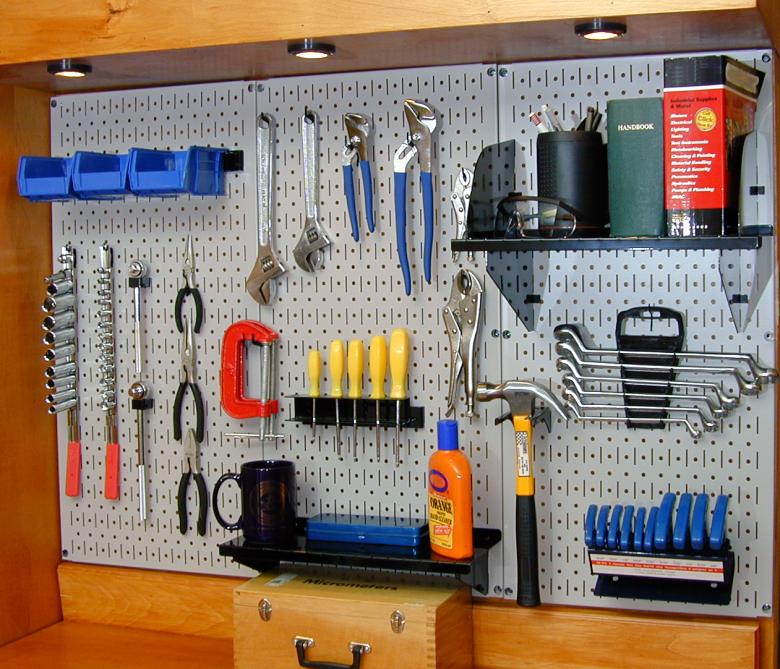
A shelf rack
A rack is a simple and effective way to store the most often used tools. There are different kinds of stands:
- Stationary
- Collapsible
- Mobile
- Retractable
- Suspended .
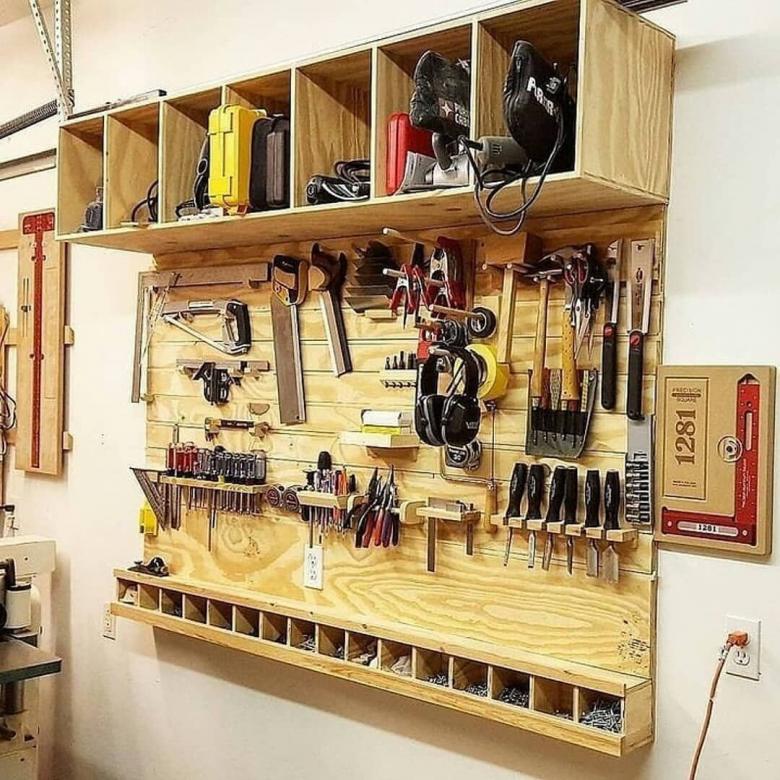
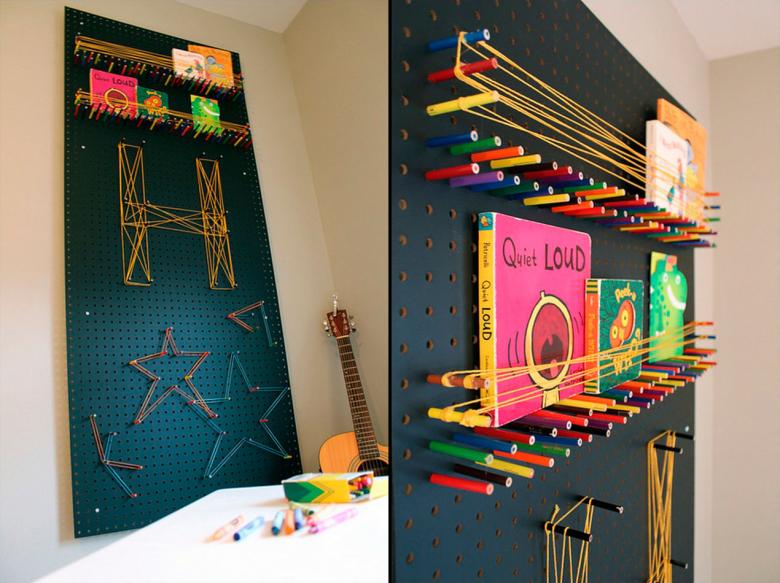
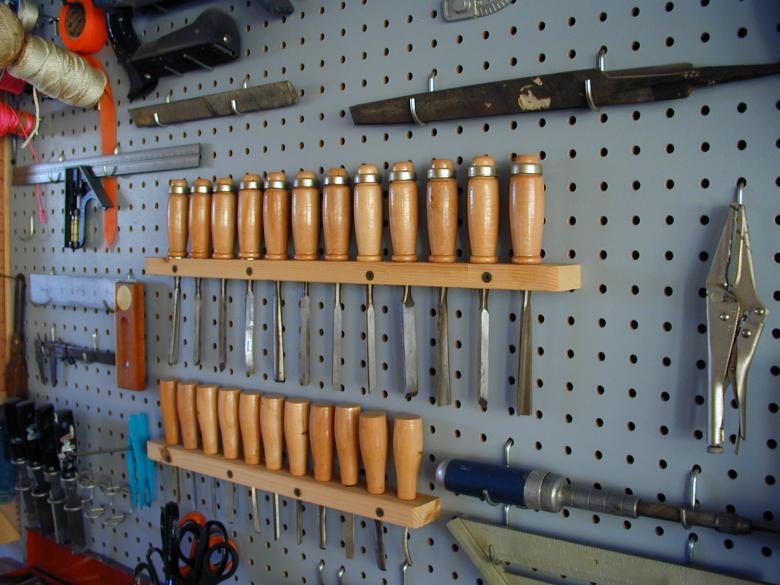
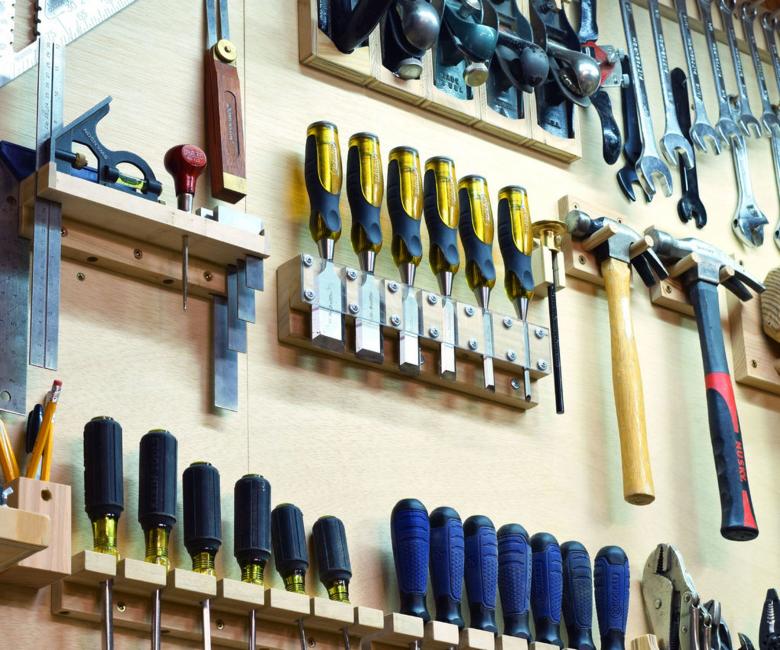
The most commonly used materials are wood or plywood. To store screwdrivers and open-end wrenches, the drill creates holes at the same height, spacing them equidistant to fit all the tools. To store larger tools (hammer, pliers, hacksaw) hooks are suitable.
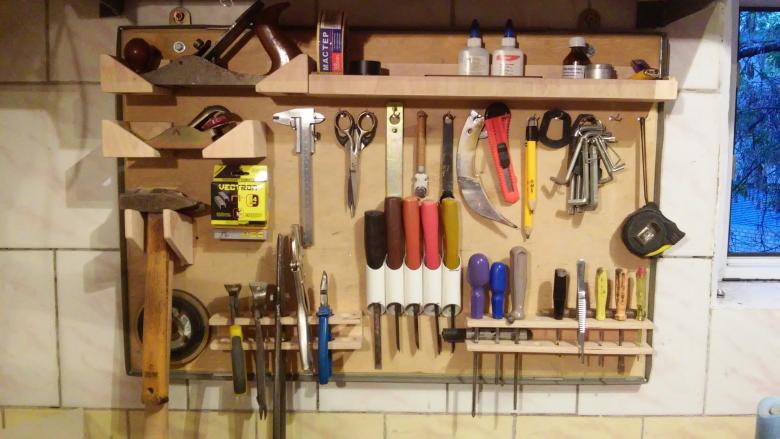
After marking, the workpiece for the stand is cut out with a hacksaw. Its processing of roughness is performed with a grinder and sandpaper. Then mounts are installed on the back of the workpiece, and the workpiece is covered with paint.
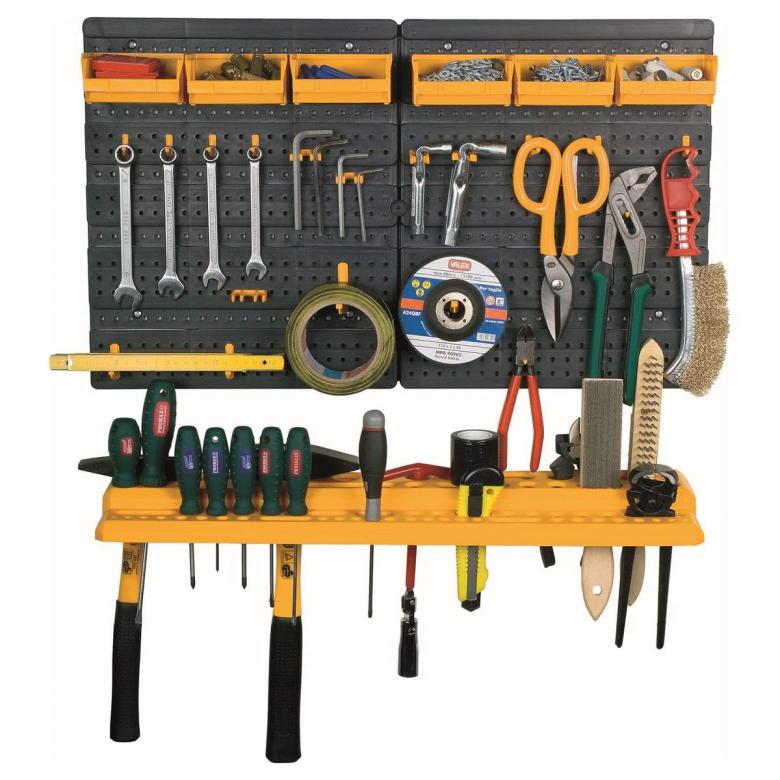
It is very important to observe safety precautions, to work with gloves and goggles, mask. This will prevent dust from getting into the eyes and lungs, save your hands from wounds.
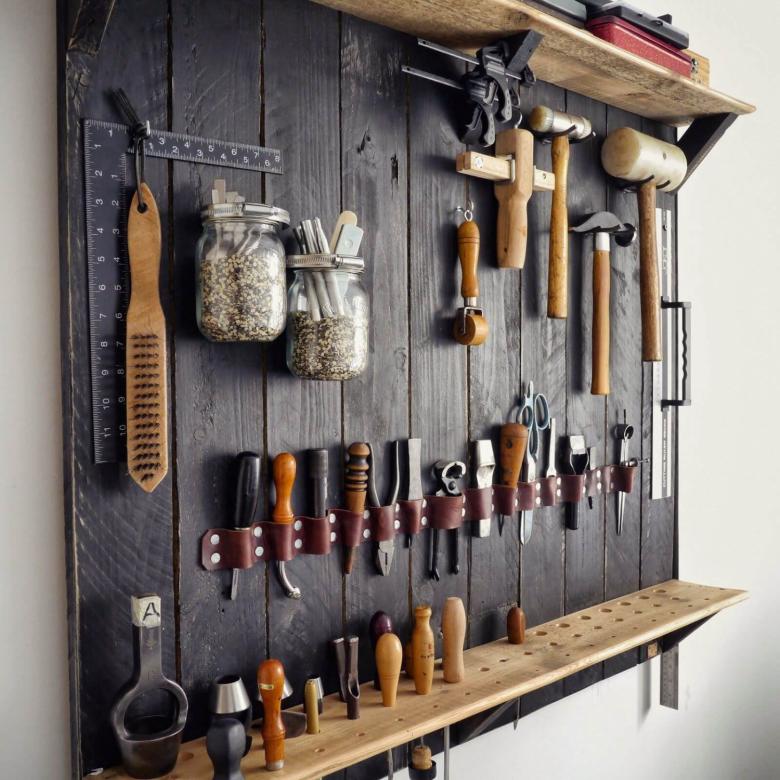
Shelves are good for storing jars of nails and screws, not large power tools. Magnetic tapes, perforated sheets also do a good job of storing tools and have a nice appearance.
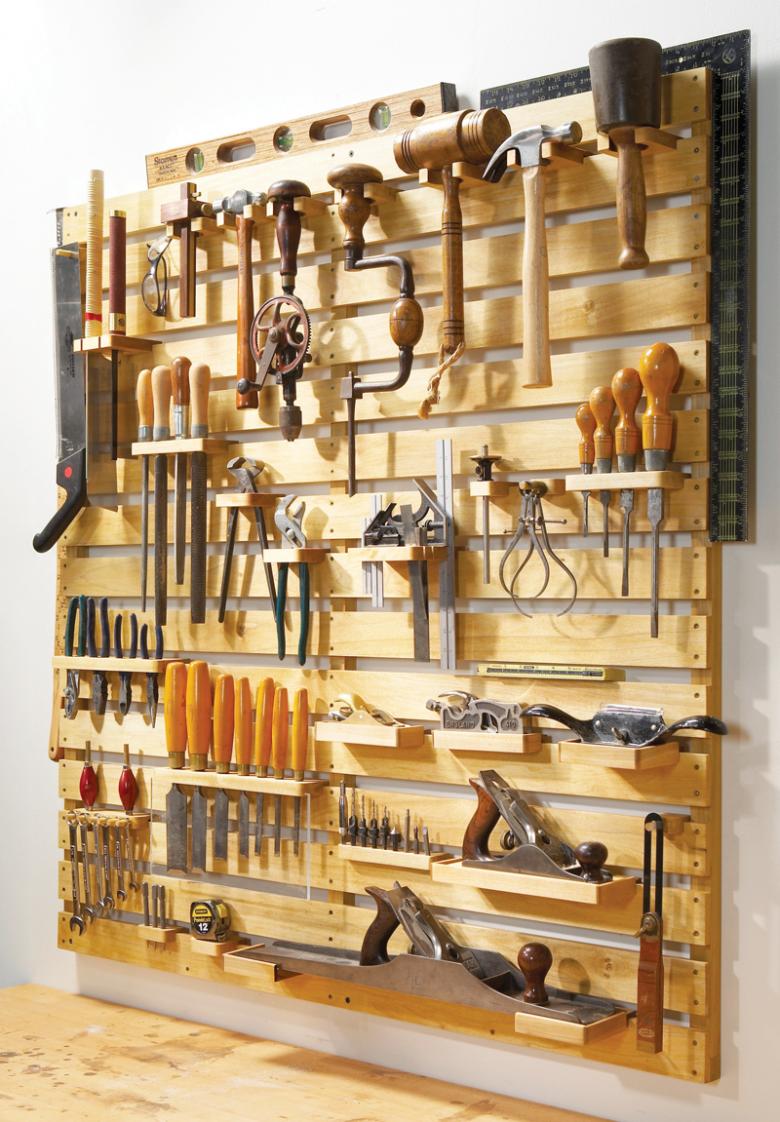
Magnetic tape fastened with glue, screws, used to store both small tools and relatively large items (wrenches, screwdrivers)
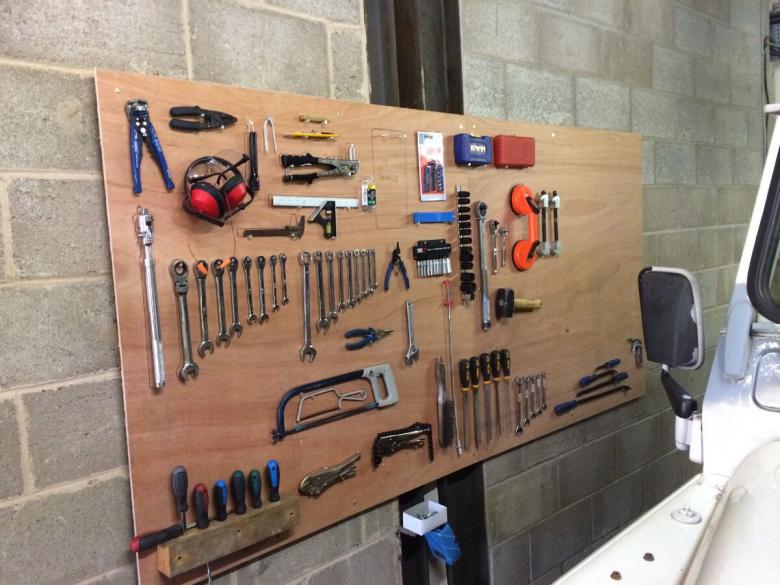
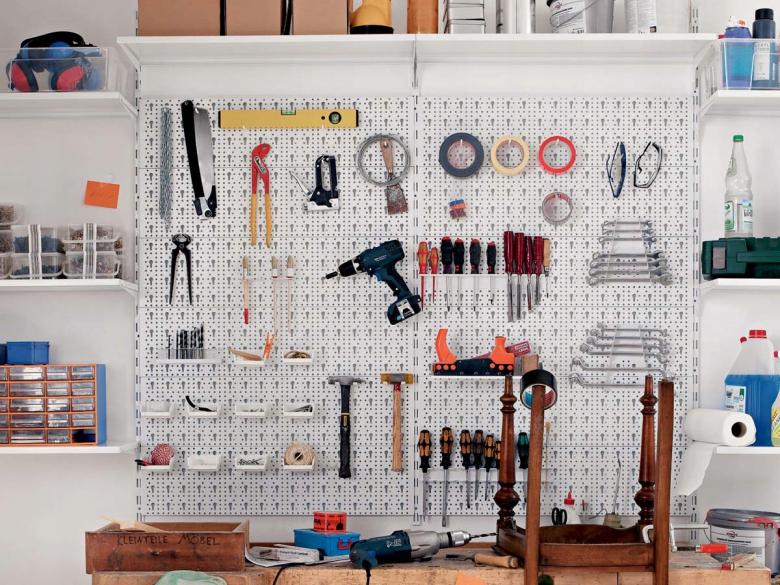
Perforated sheets with hooks are suitable for home and professional workshops. A large number of tools can be placed on them in an absolutely arbitrary order, which makes such sheets versatile in application. An additional plus is the ease of attachment (with screws, brackets).
Plastic containers are used to place both the smallest items (washers, screws, nuts, buttons) and to store keys, screwdrivers, drills. Such containers can be purchased in a store, or you can use improvised means.
Plastic bottles, oil cans (after pre-cleaning) will do for the role of containers. To do this, you need to cut off the top of them and fasten them to the stand with nails, screws, wire.
Glass containers are less applicable in this case, as they are more difficult to fix, there is a risk of breaking. Containers can be numbered or signed with a marker.
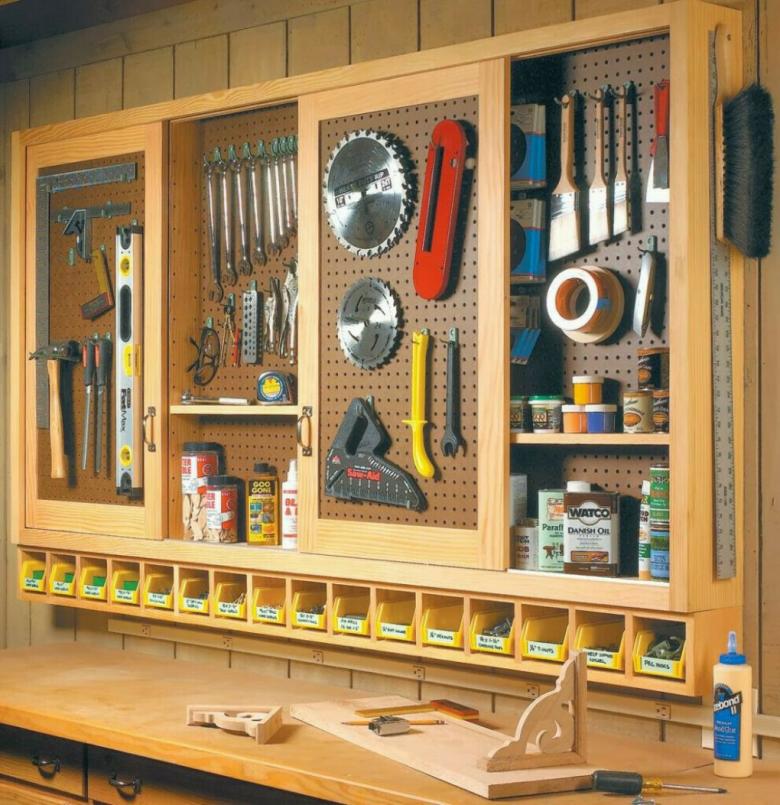
Stands are used for different purposes and have their own functionality. It all depends on the purpose of the stand, the availability of materials, time and imagination of the master.
