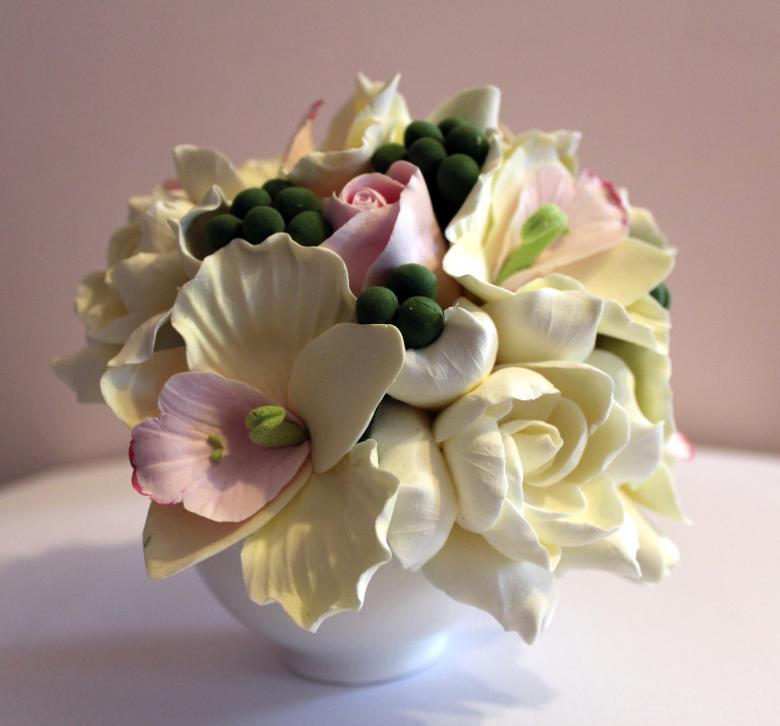
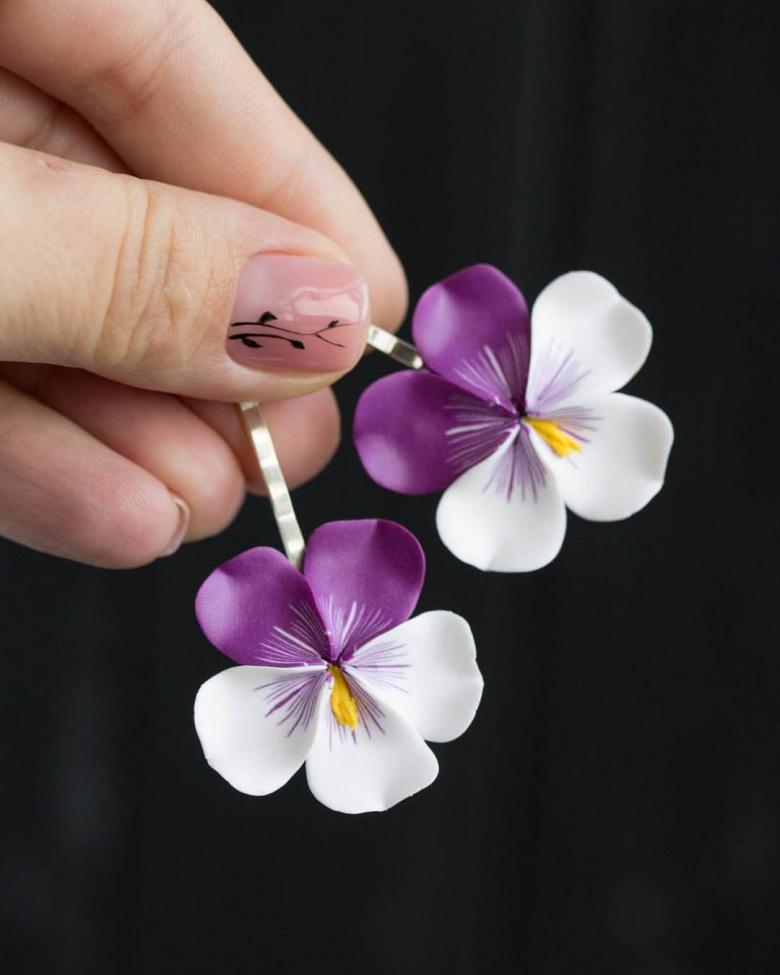
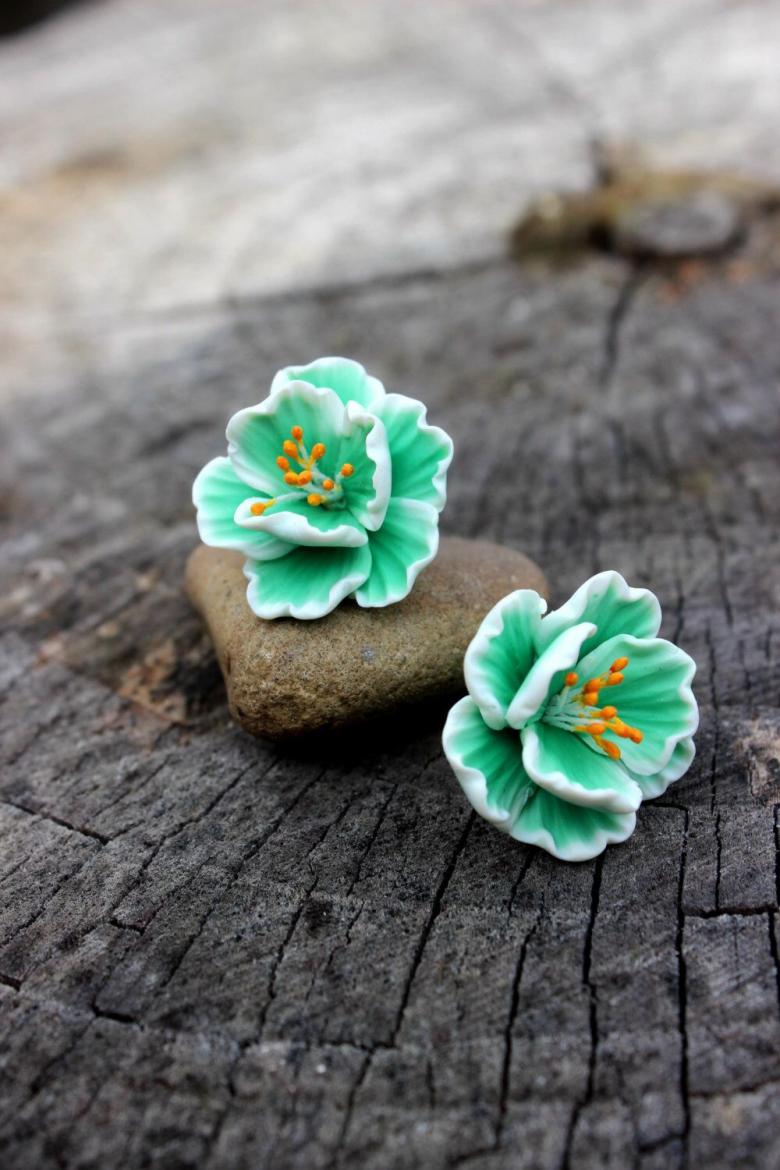
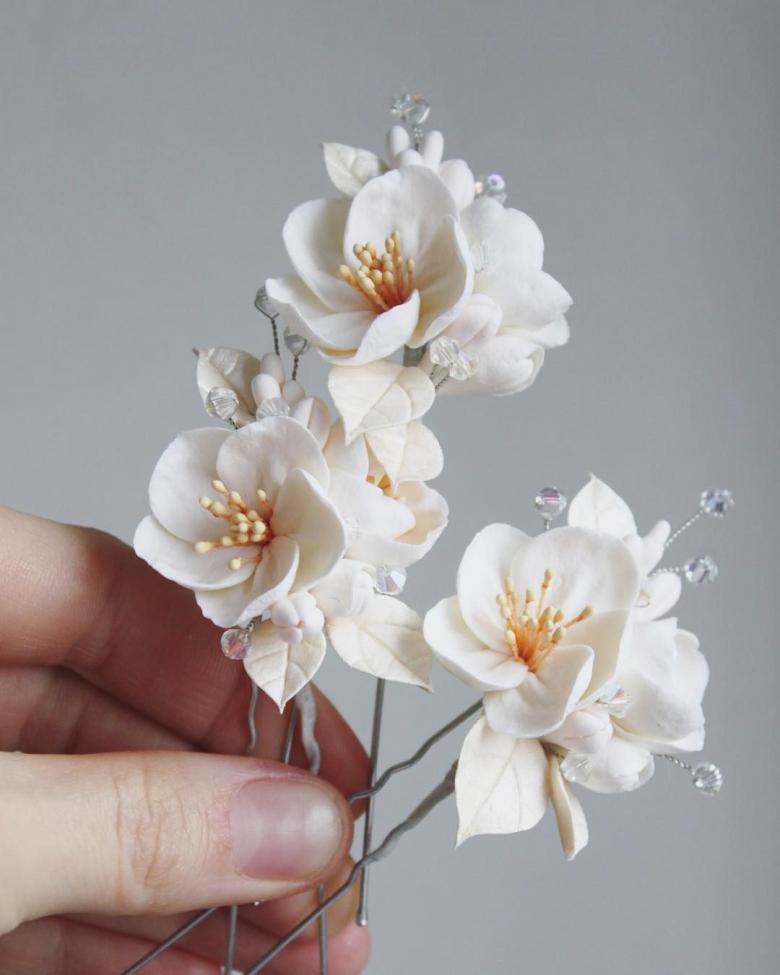
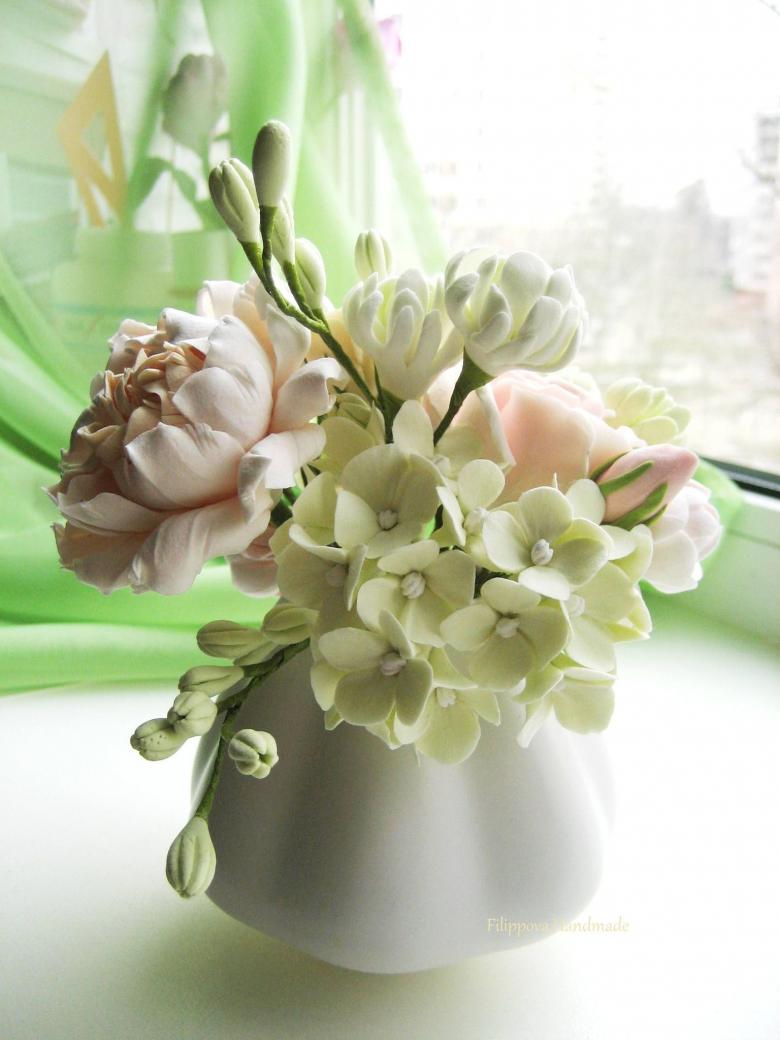
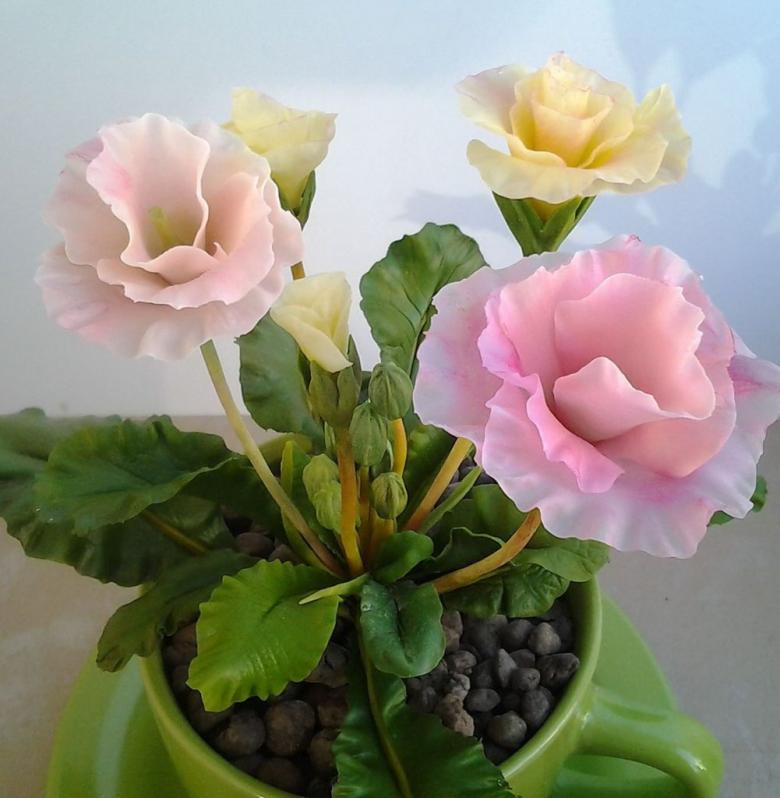
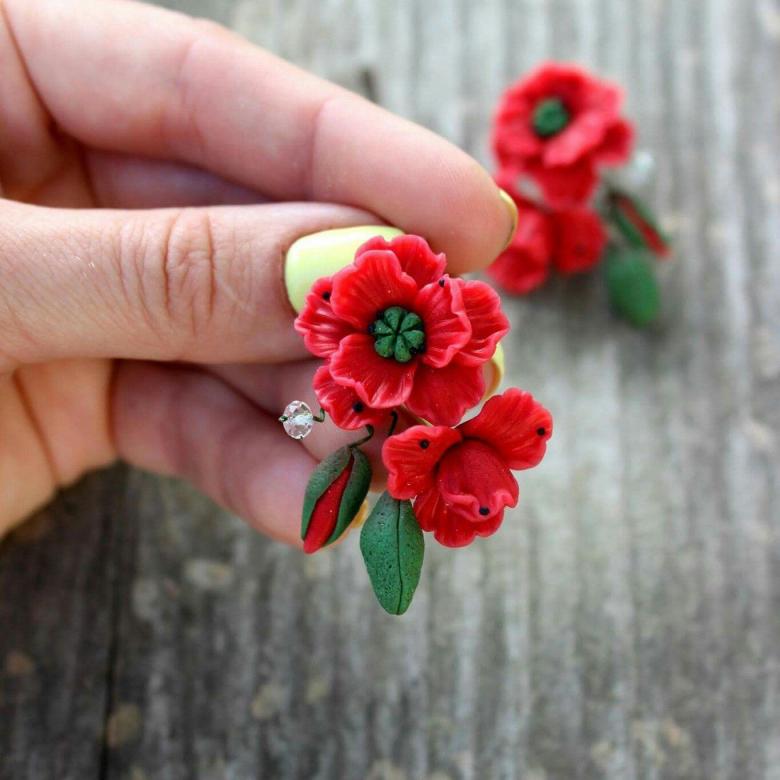
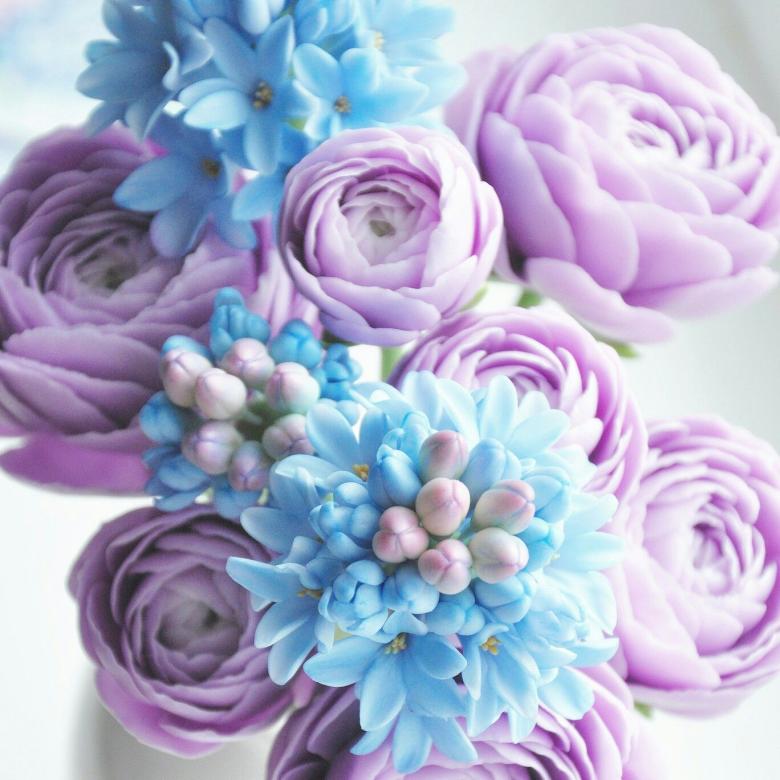
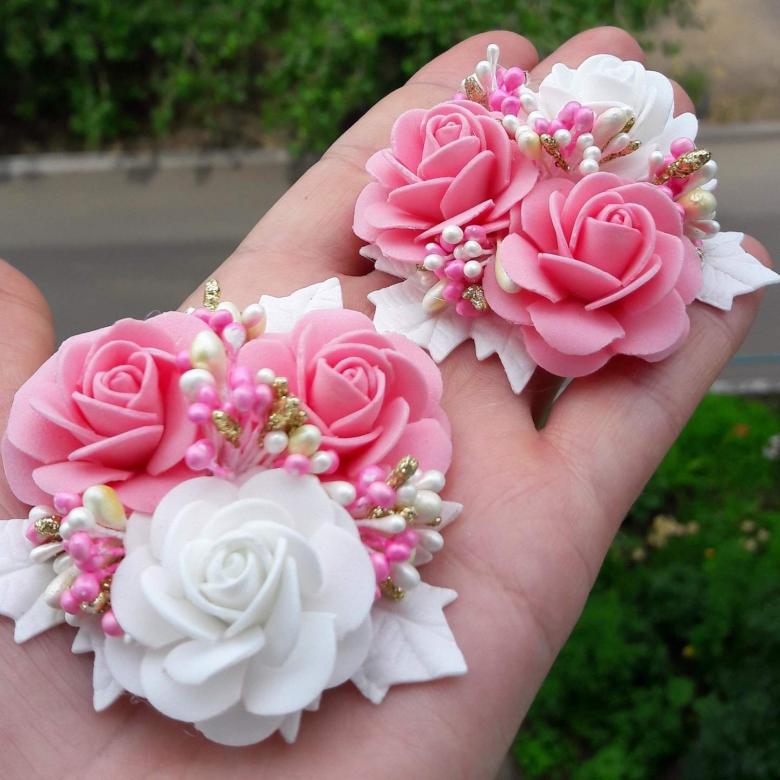
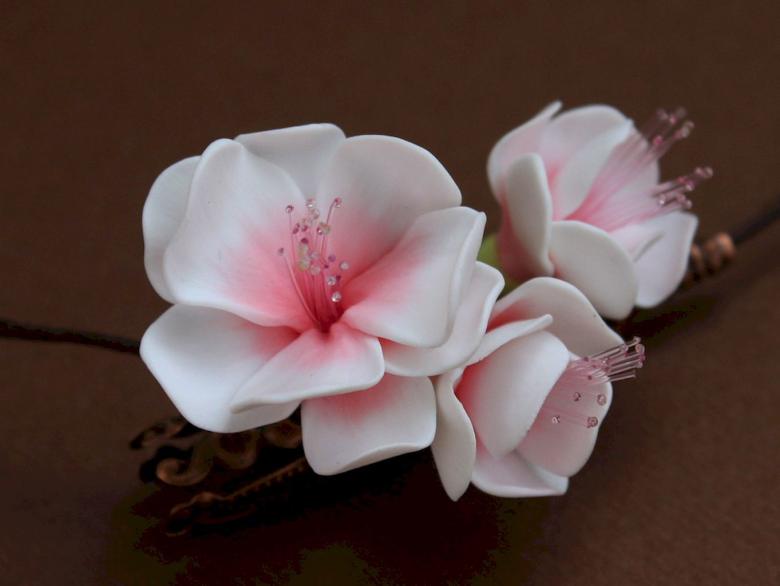
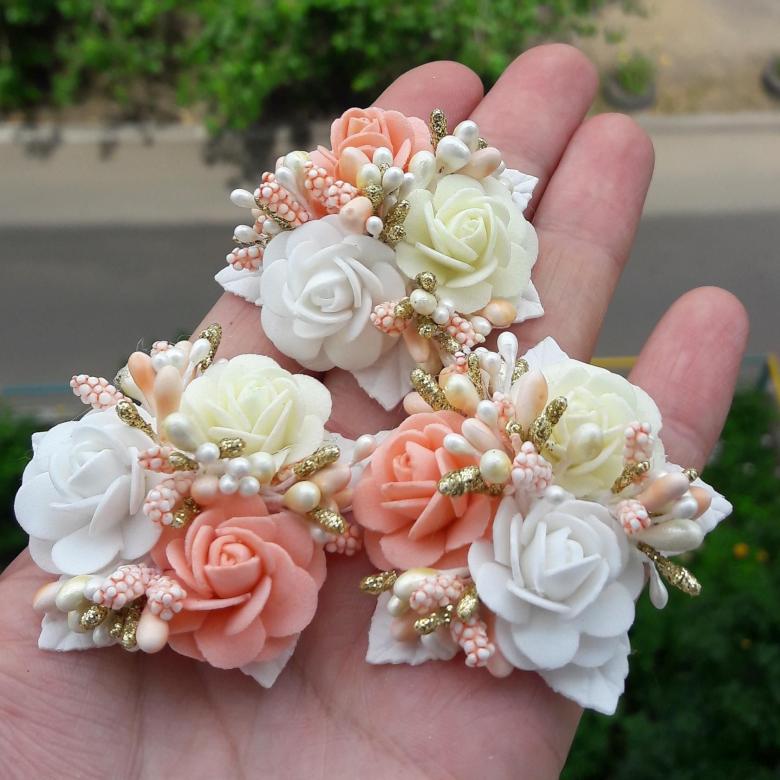
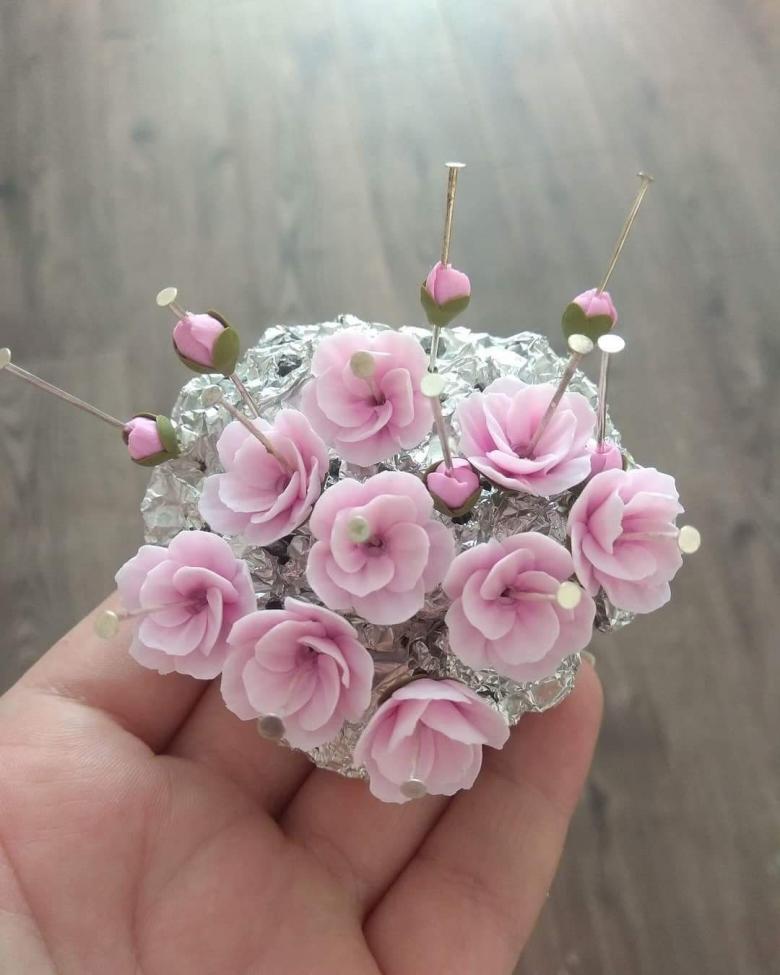
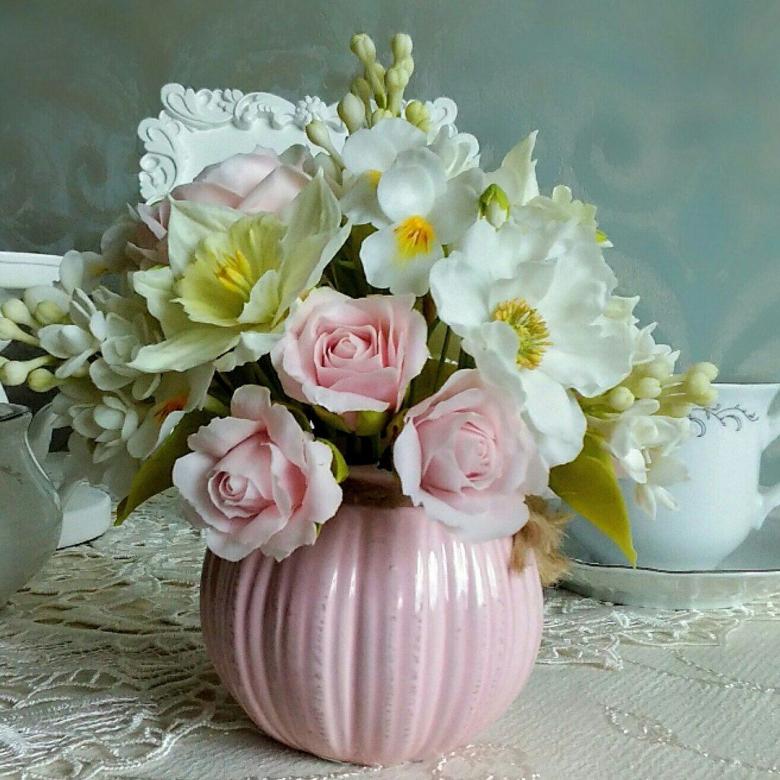
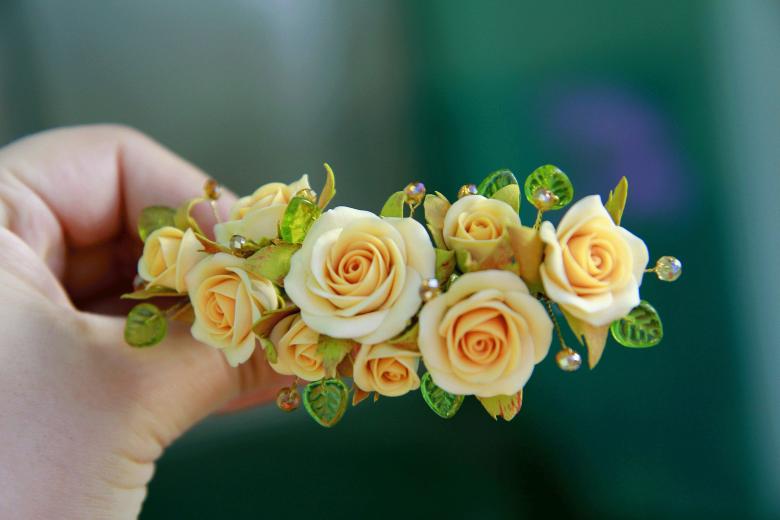
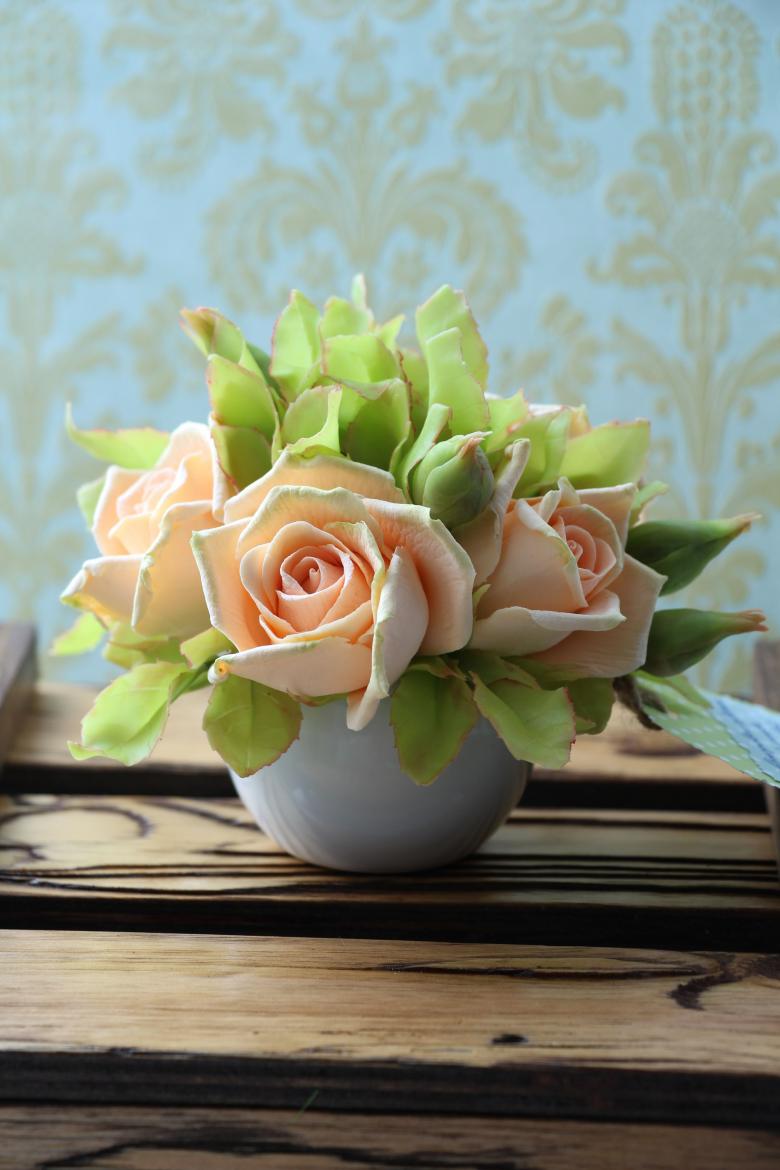
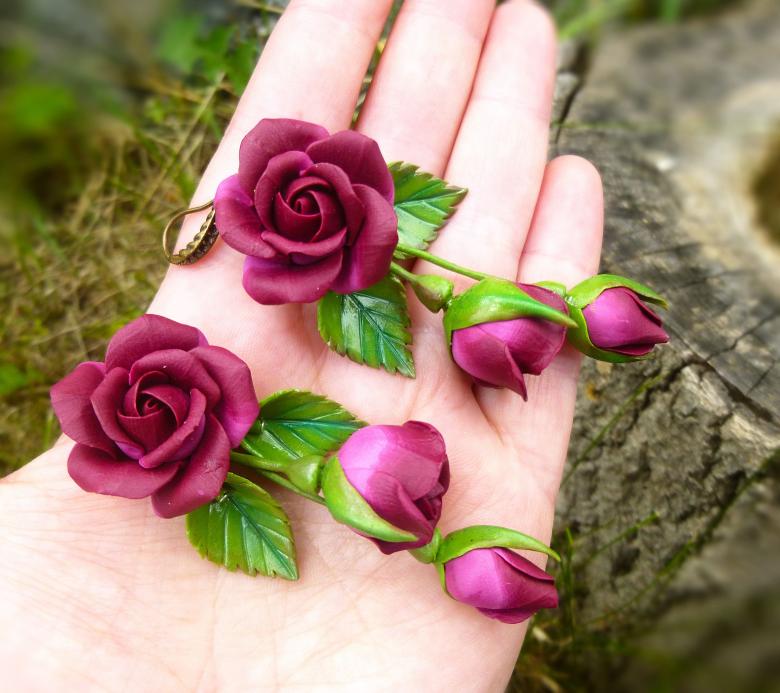
Polymer Clay Flowers - step by step instructions how to make polymer flowers
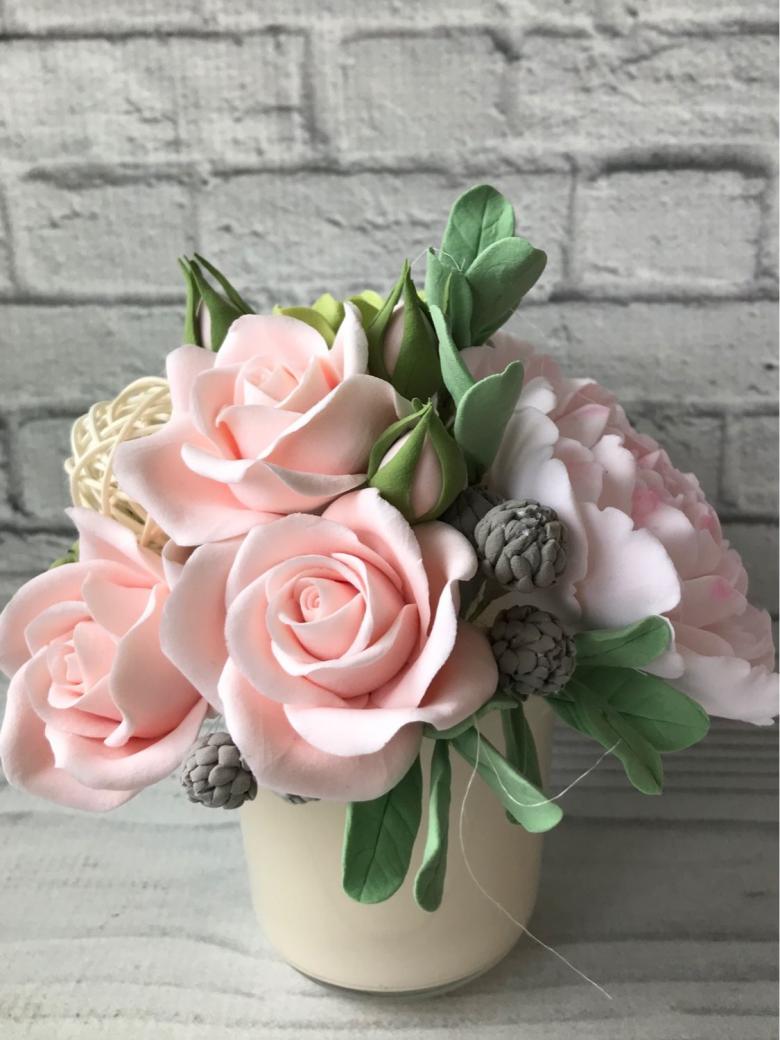
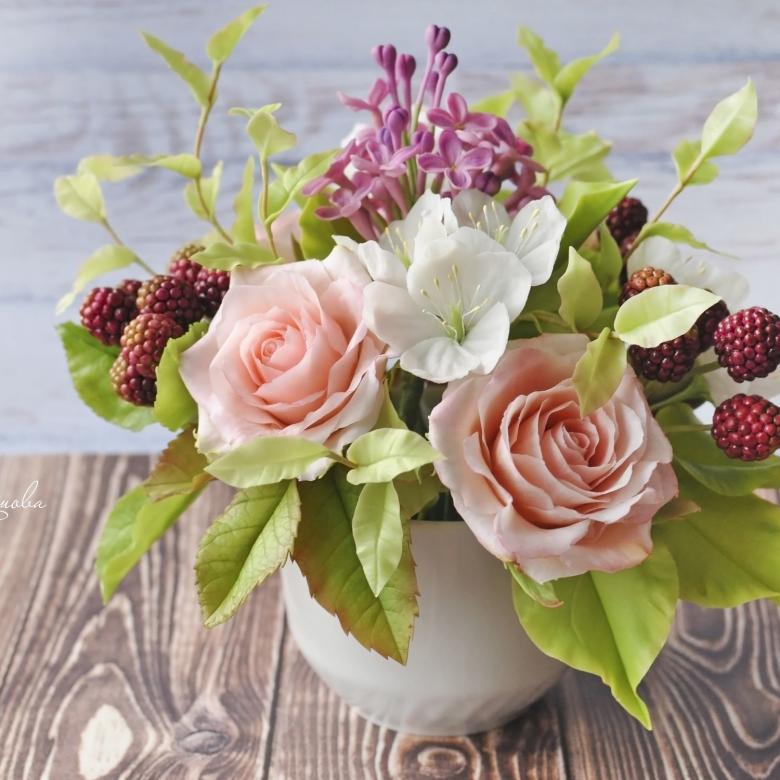
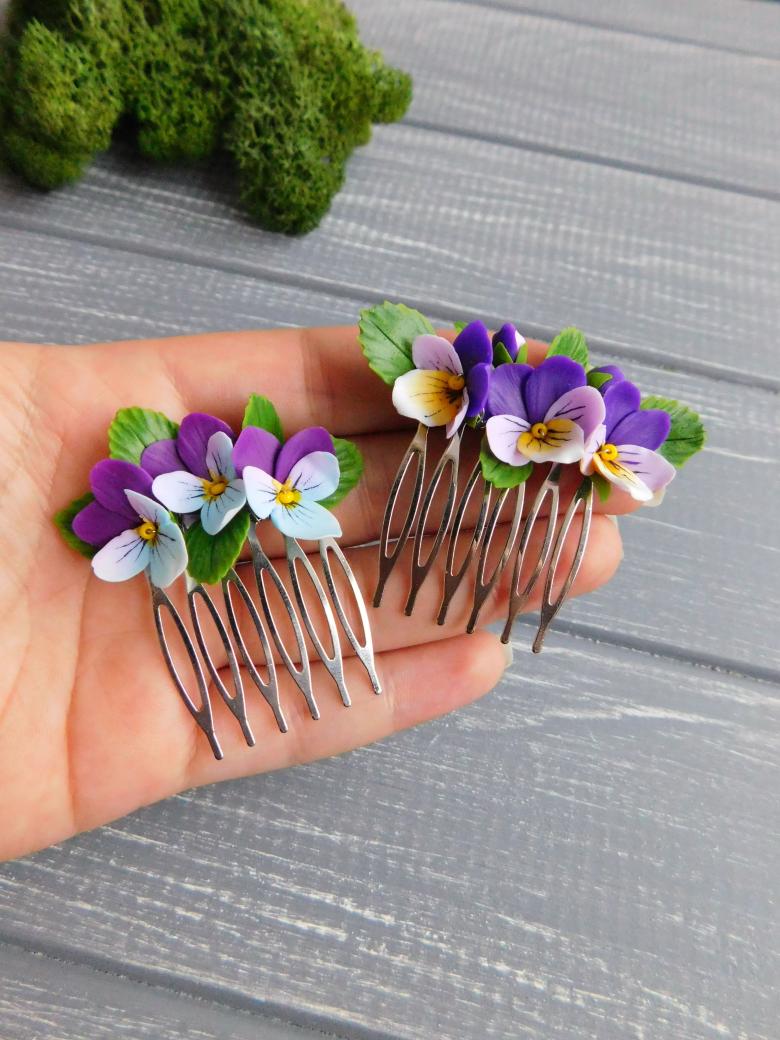
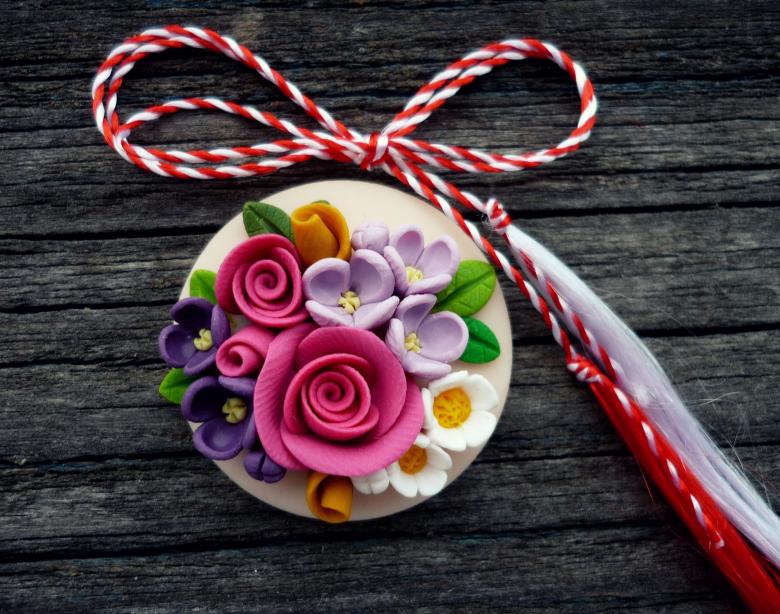
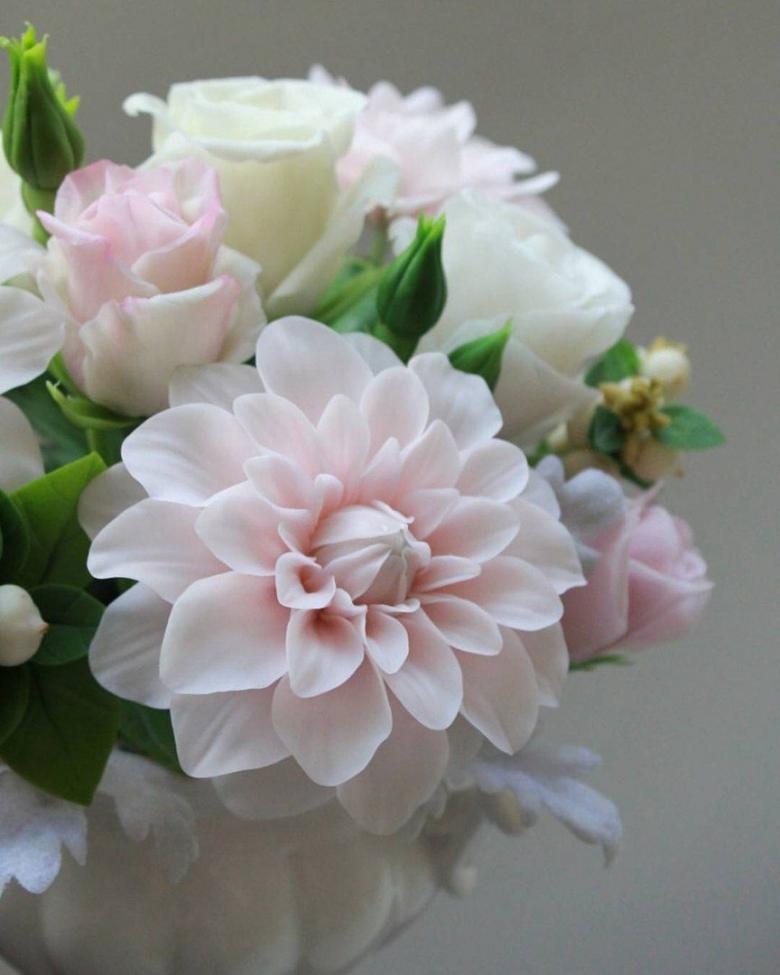
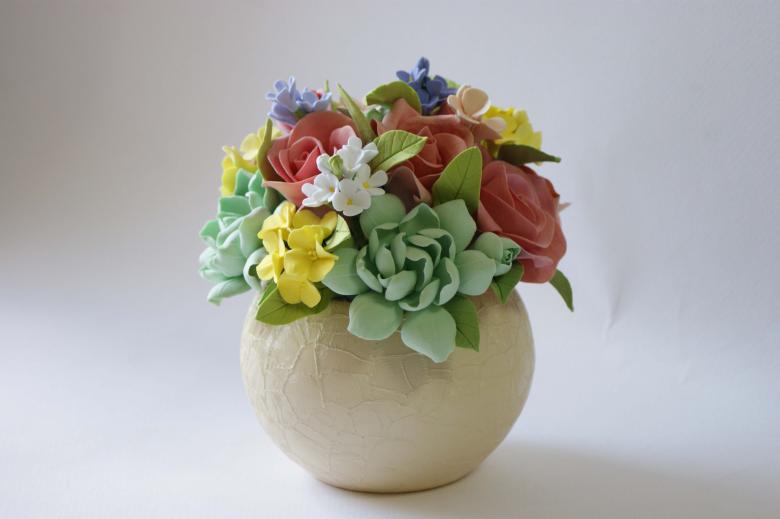
Who at least once saw the sale of polymer clay products was amazed by their naturalness and beauty. Of course, you can admire and spend money to buy ready-made things, or you can make a masterpiece yourself. Let's break down how to make flowers from polymer clay and what you will need for this.
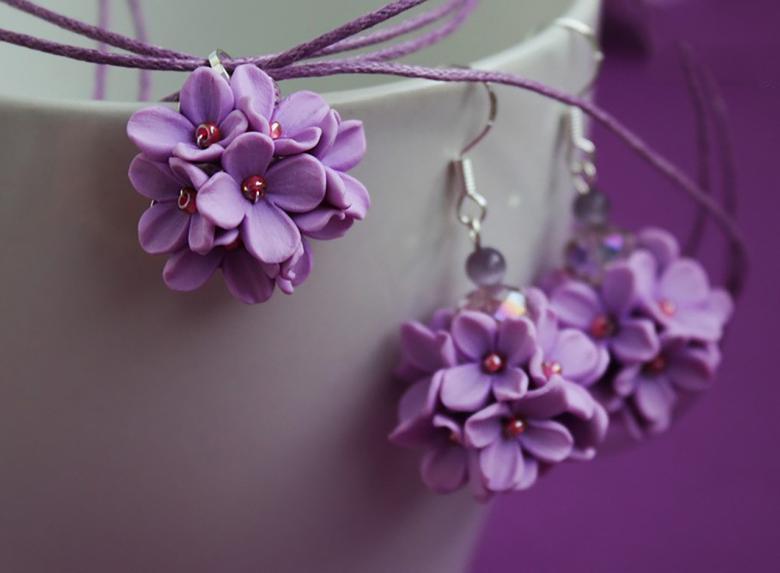
Polymer clay
It is a plastic material, designed for modeling. It is easier to work with than pottery, so even novice "sculptors" can sculpt from it. Manufacturers use PVC as the basis of the composition, and for "hardening" it adds plasticizers (due to them, the finished figure holds a solid form).
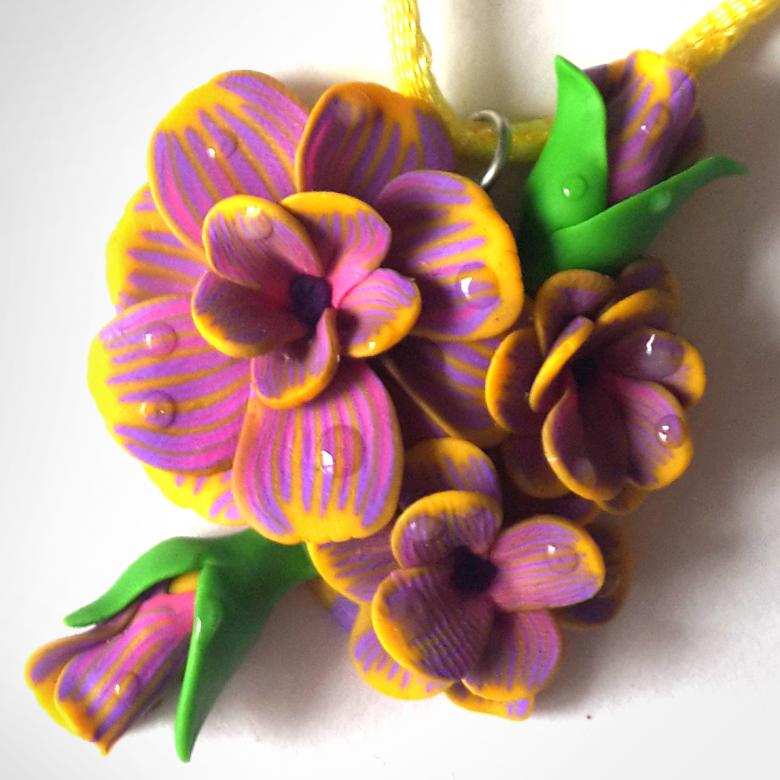
Ready-made
On sale you will find many brands of clay manufacturers: from classic to advanced. Note that the material can be baked or self-curing, colored or white: here you have to be guided by your own capabilities and wishes.
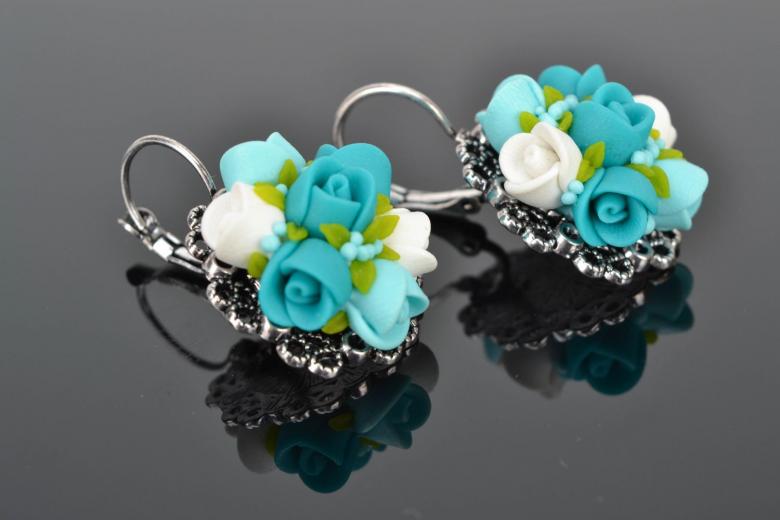
Doing it yourself
You can prepare clay with your own hands. It will, of course, be inferior in quality to purchased clay. But if this is your first experience of molding, and you are not sure of the outcome of the venture, but eager to try, then this option is suitable and will not affect the budget. So, you will need:
- starch - 100g;
- PVA glue - 100g;
- lemon juice - 2 tablespoons;
- Hand cream - 1 tsp;
- Liquid baby oil - 2 tsp.
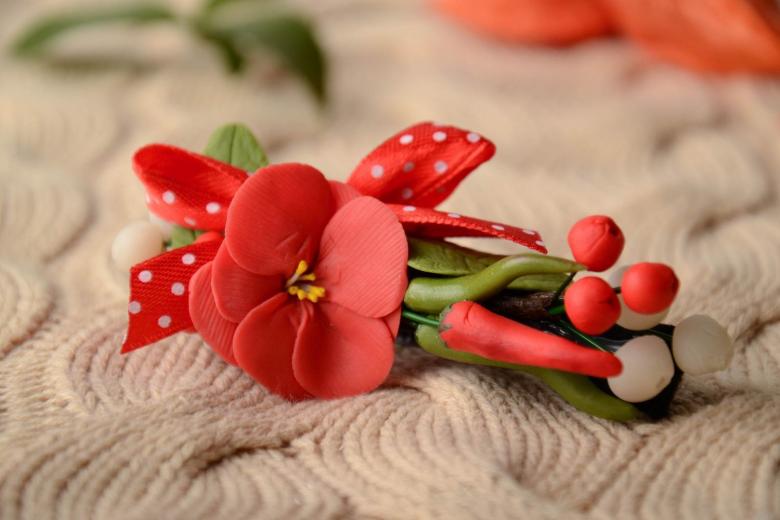
Proceed to combine the ingredients: you need to thoroughly stir the components in a container with a spatula and put it on a water bath. Constantly stirring, bring the mass to a pulp, remove from the fire, stir again and cool. Ready clay is stored in a cellophane bag in a cool place.
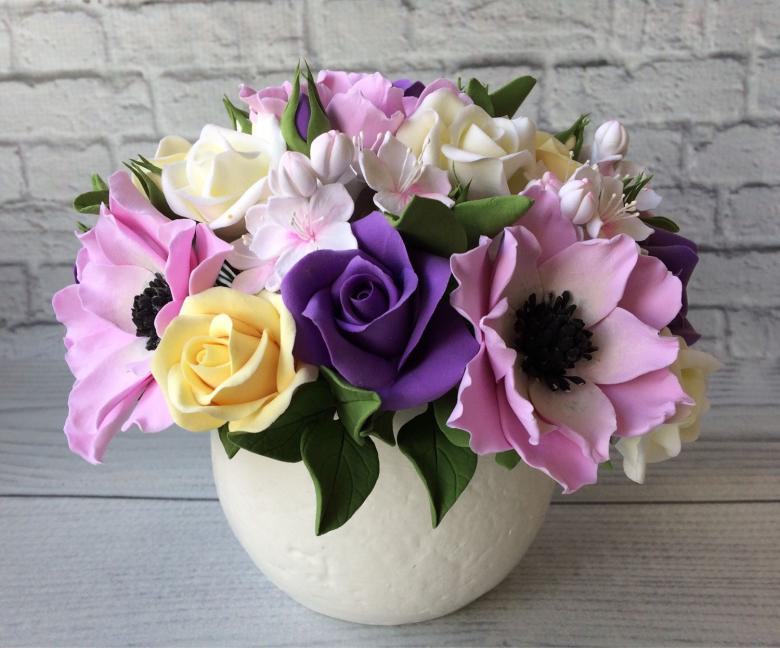
How to work with clay
Despite its simplicity, the material requires delicate handling:
- store it in a tightly closed bag;
- Use as much clay as you need for your day job;
- When the clay mass dries, add a little hand cream;
- Clay with gloves on and keep your work area clean;
- Follow baking instructions strictly.
Stages of work
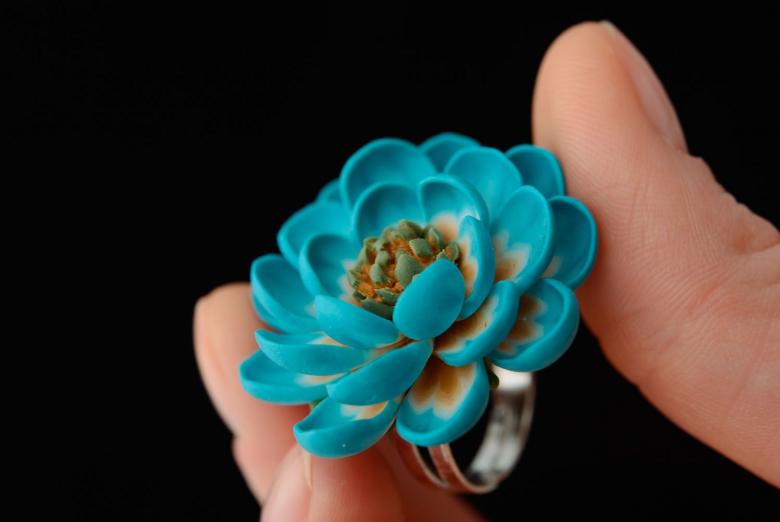
In order to get a good result, it is important to observe all the stages of molding:
- Knead the mass, form the figure;
- Bake it in the oven at the recommended temperature;
- Degrease the piece after it has cooled;
- If there are irregularities, grind with an abrasive;
- Coat the product with a special varnish.
Tools Needed
You'll need a workspace with good lighting. Equip it with a work surface of glass or plastic. Since you are a beginner there is no need to buy tools for complex shapes, so stock up on the essentials:
- an acrylic rolling pin;
- A box cutter;
- needles, spokes;
- glue (for joining parts);
- sandpaper, cloth (for polishing), protective varnish;
- extruder (syringe with different nozzles);
- gloves.
Creating flowers
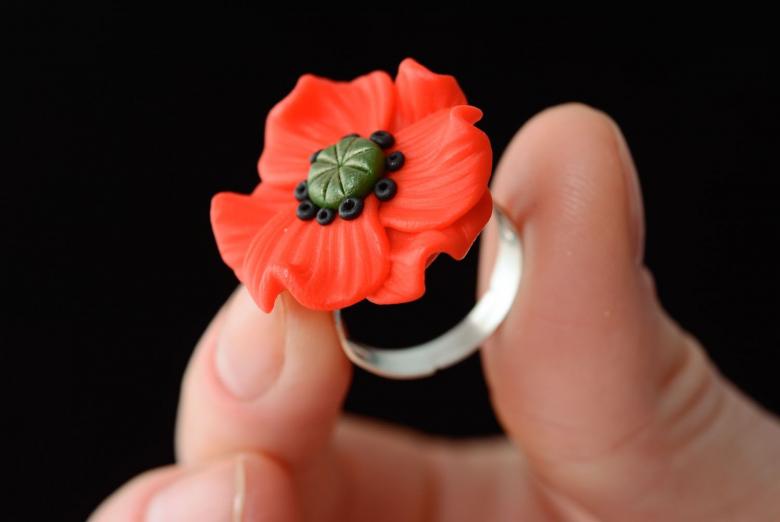
Everything is ready, let's proceed to the creative part. Since we do not have much experience working with the plastic mass, let's begin with a master class on creating flowers from polymer clay.
Callas
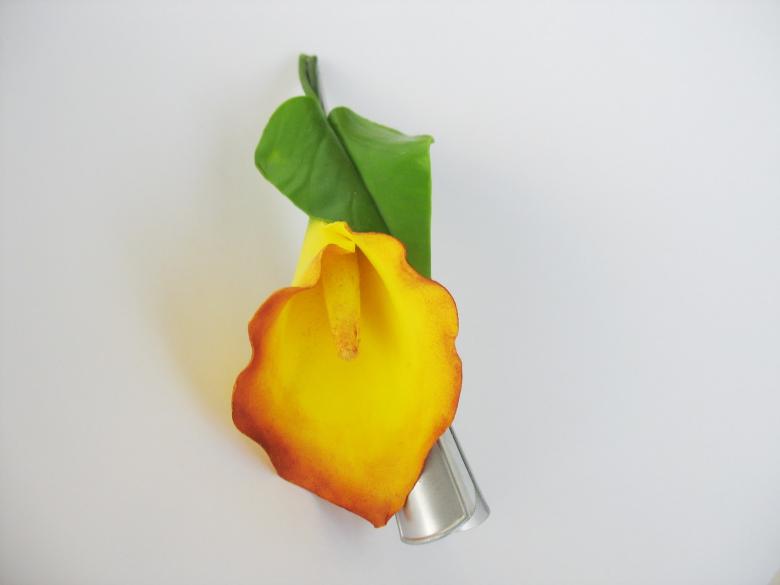
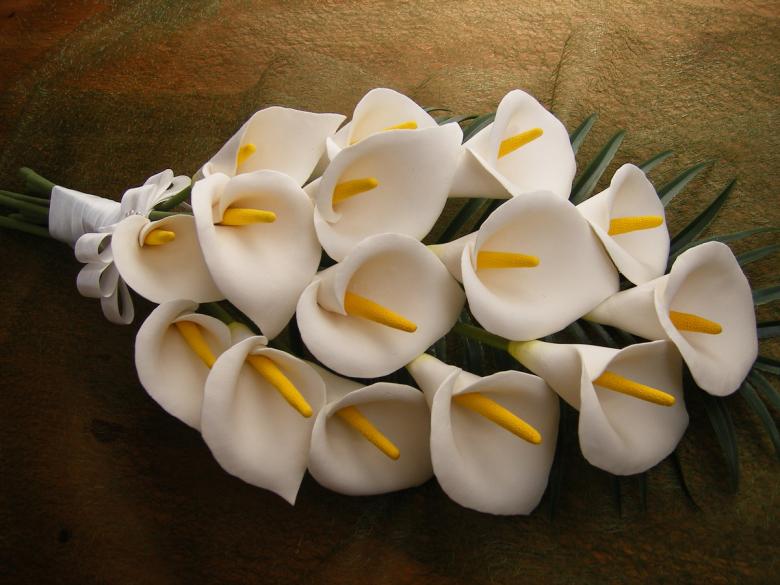
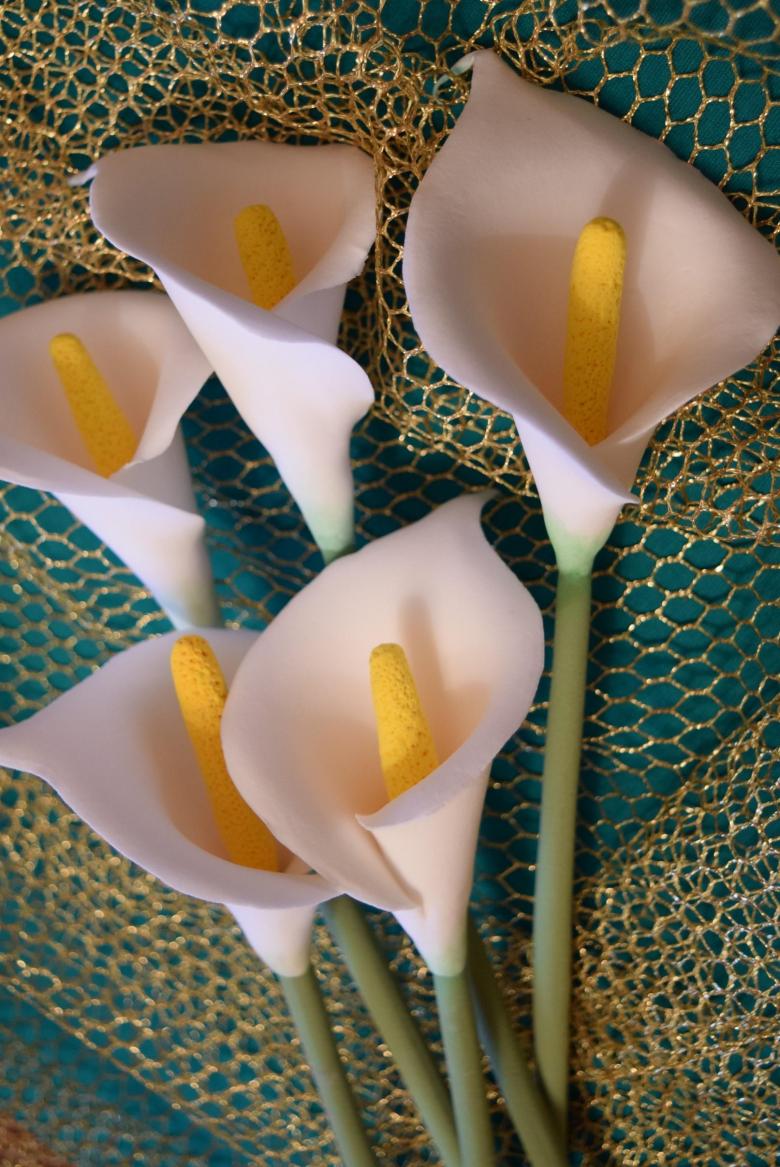
Molding calla lilies is a great way to instill confidence in the beginner in his abilities. Form two different colored small bars of clay. Twist them together in a spiral, make a ball out of the mass and knead until the colors are mixed.
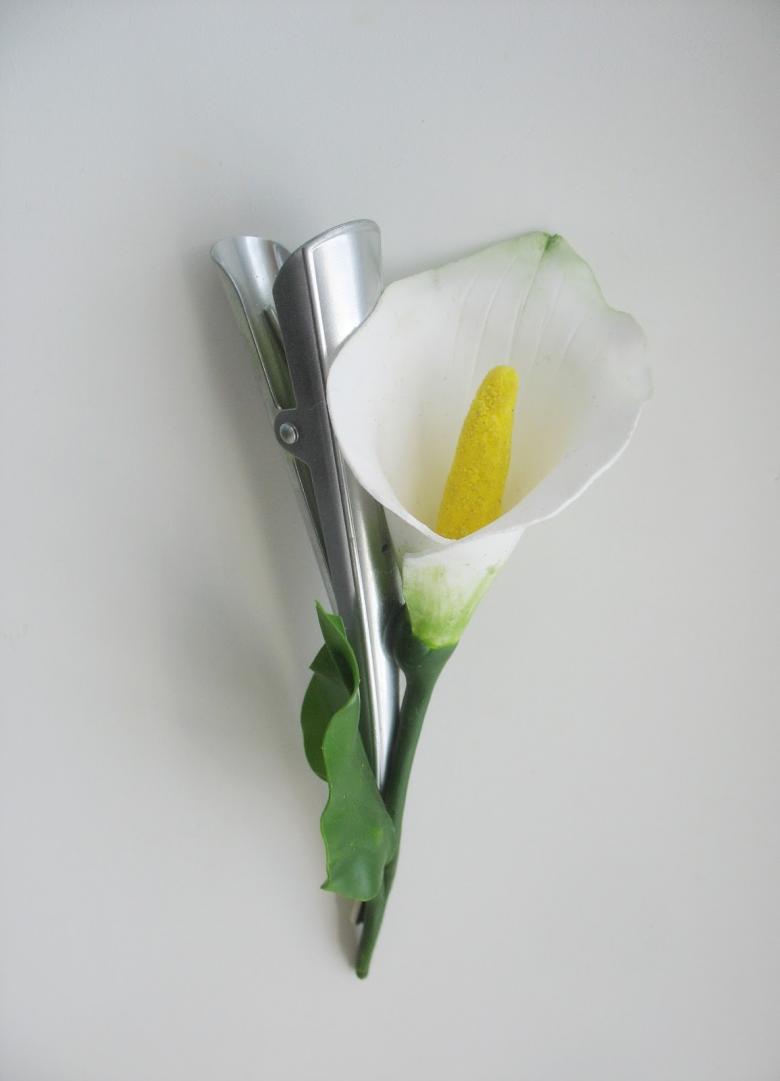
Divide it in half with a knife and make a petal from each part. To do this, roll out the material with a rolling pin, pull out one edge with your fingers and pinch it, and wrap the other one in a "cummerbund" style. You can form shallow grooves on the petals with a needle, and decorate the core with a bead.
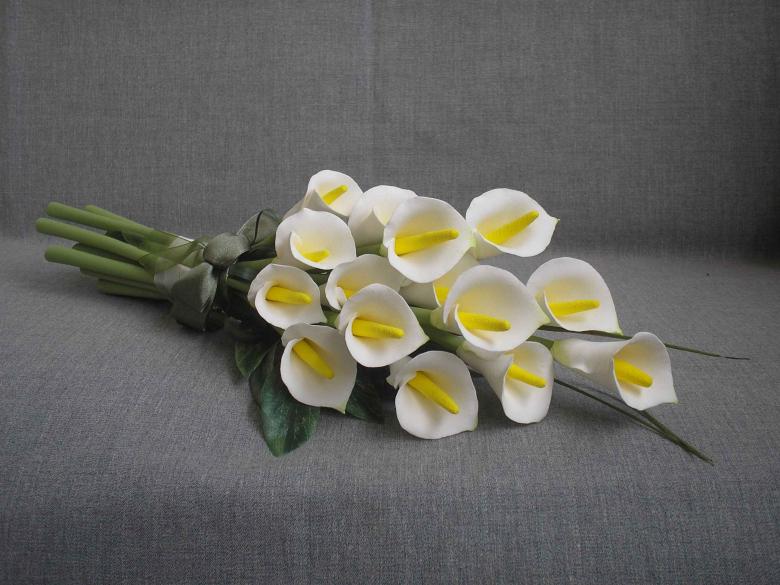
If you make several flowers and glue them to the blanks of the stems (they can be purchased at any store for creativity), you will get a delicate bouquet. Decorate it with ribbon, give it to your mother or girlfriend and get ready to receive words of admiration and gratitude.
Lily
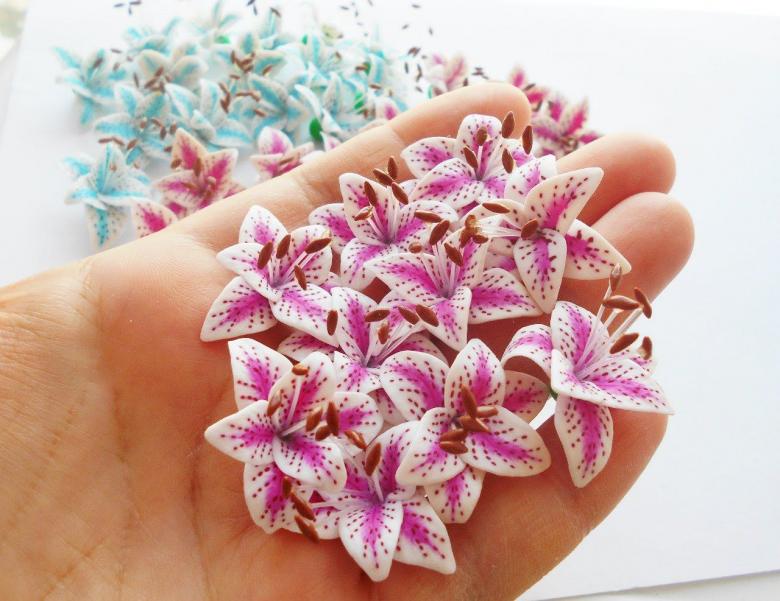
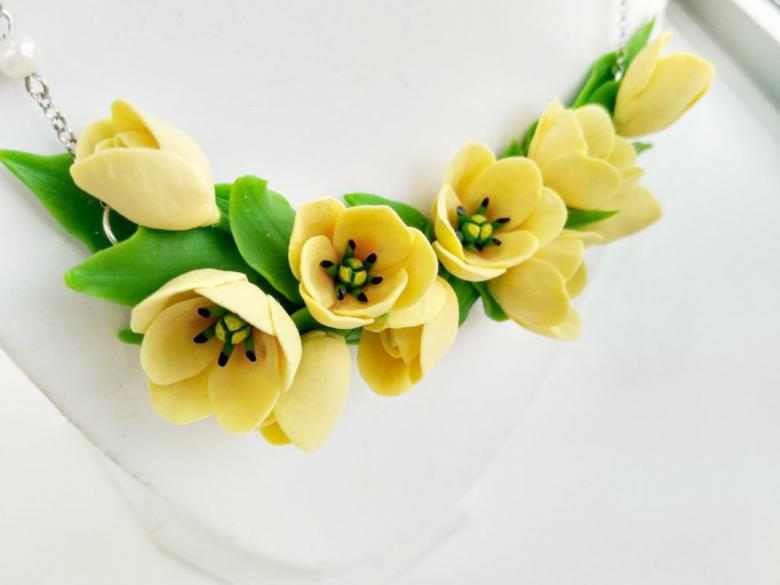
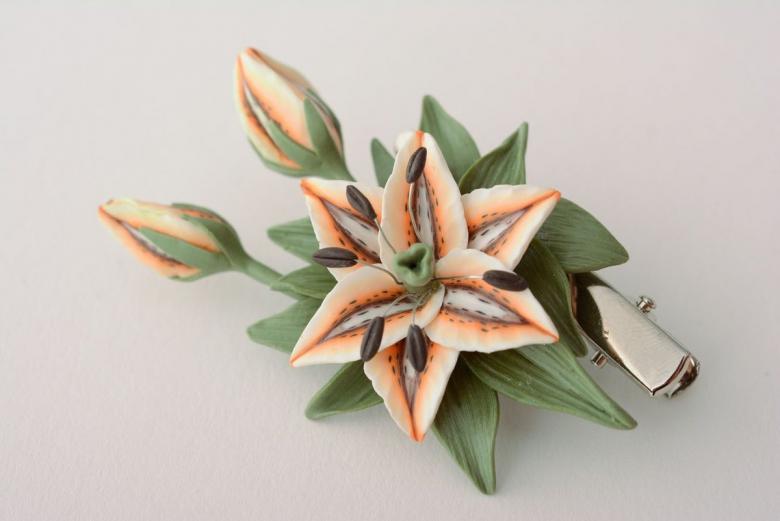
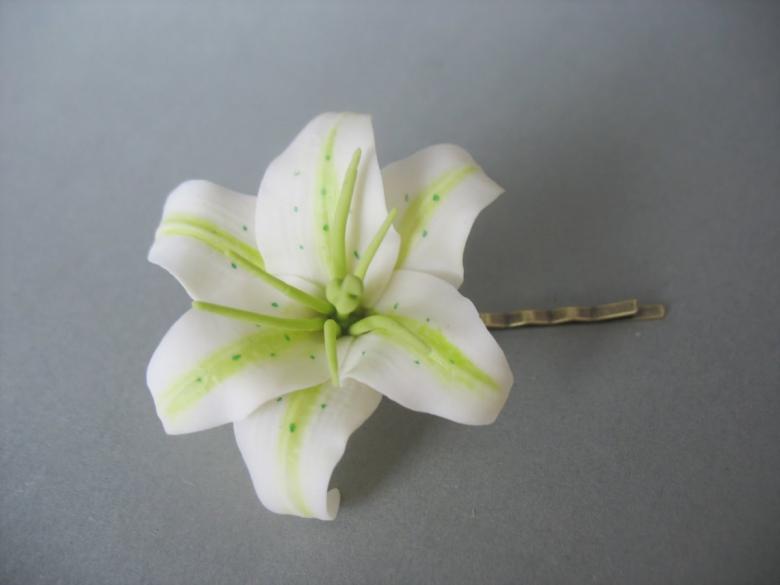
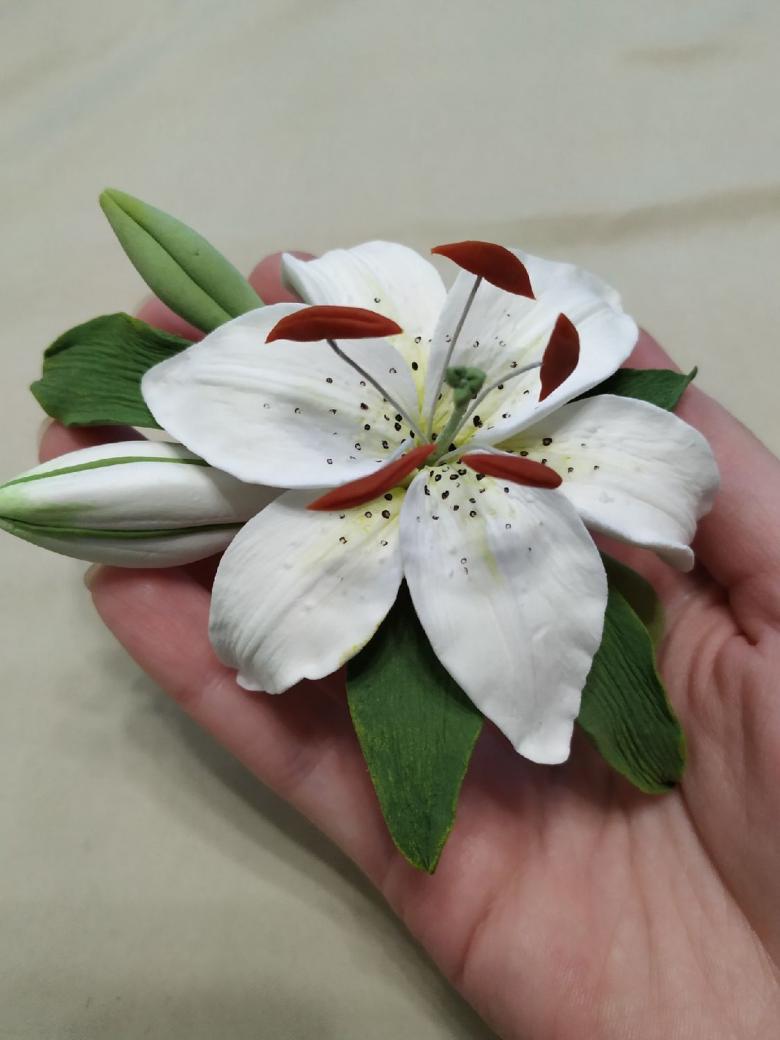
It's time to move on to creating more complex flowers. Tip: Before sculpting look at a photo of the flower you like, so it will be easier to implement the ideas. Cut a piece of clay and roll it out. Mark up the future leaves: three large (along the edges) and three smaller ones in the middle.
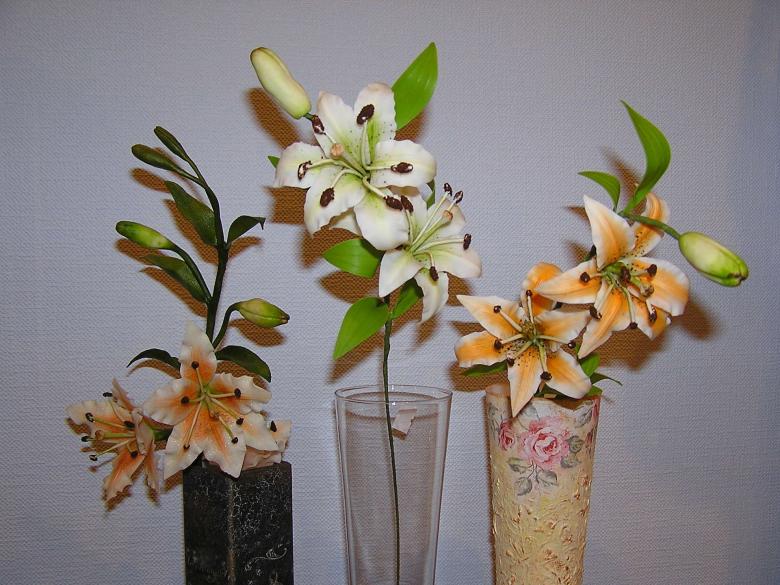
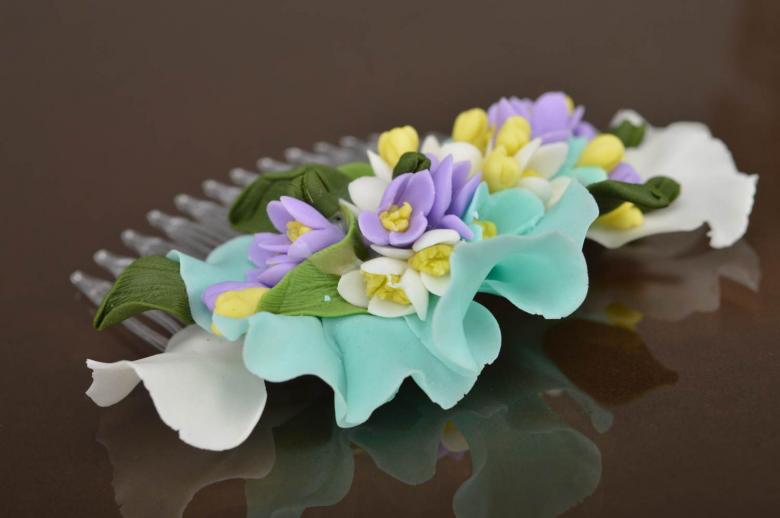
Cut out the petals and shape them, apply the veins with a needle or toothpick. To decorate the core, you will need to make a pistil and stamens: cut small strips from the mass and give them the desired shape. Start assembling the lily: on a straightened staple, fix the core of the flower, consistently attach the petals, starting with the small ones. The finished product can be glued to a hairpin or brooch.
Rose
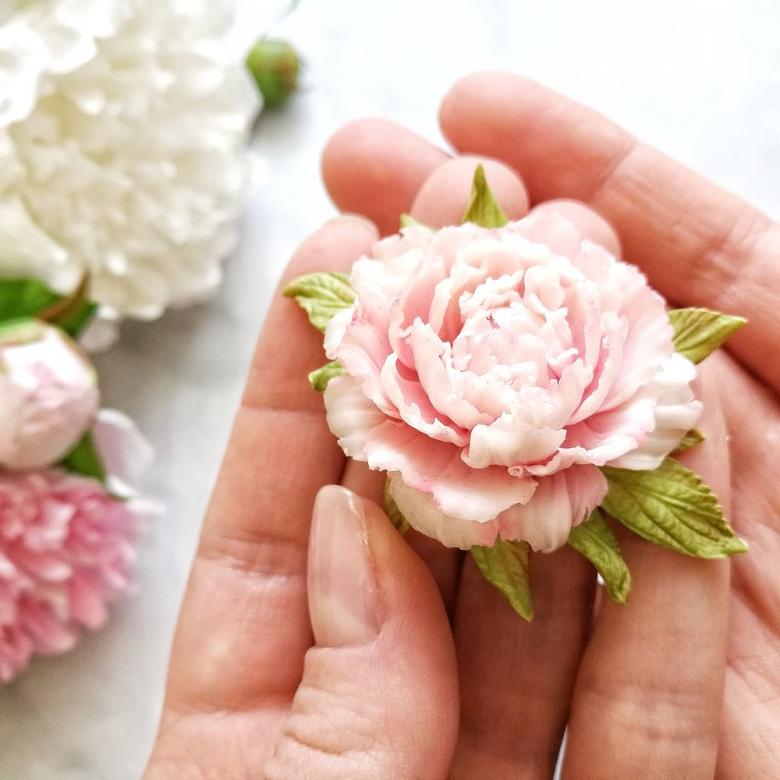
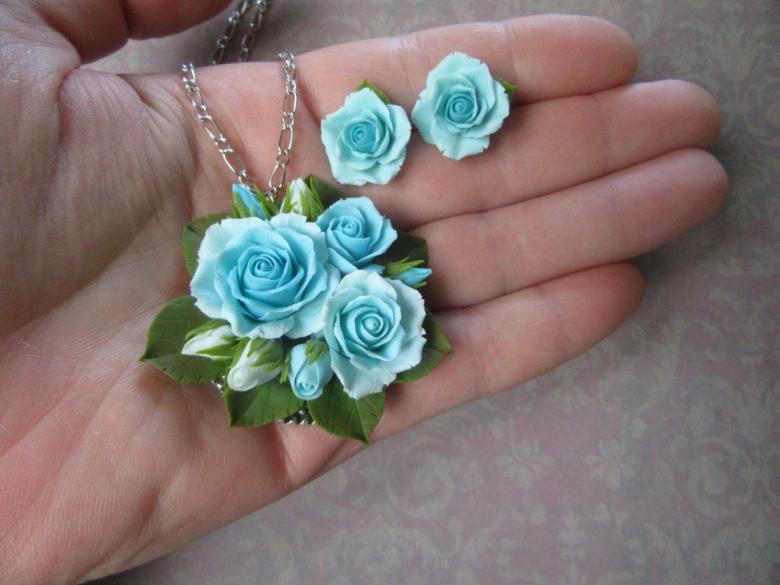
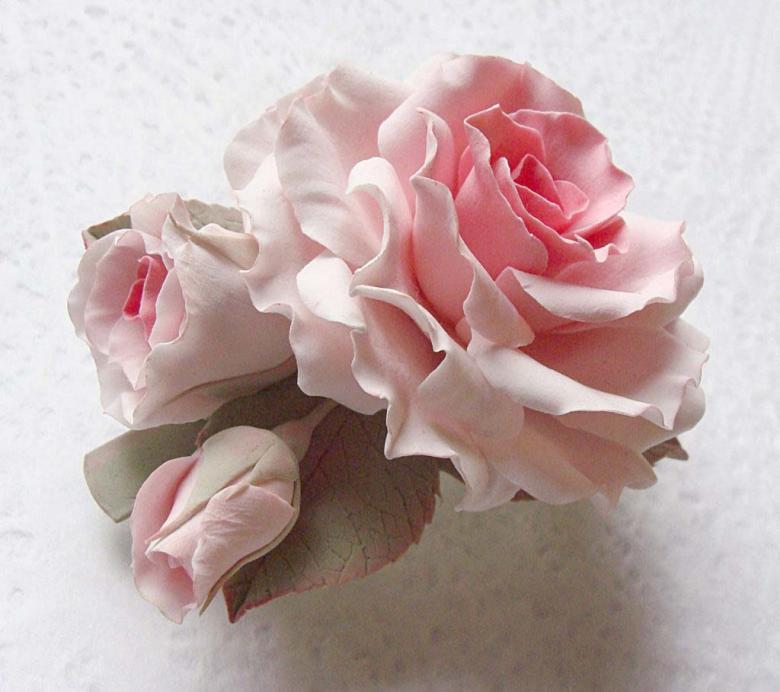
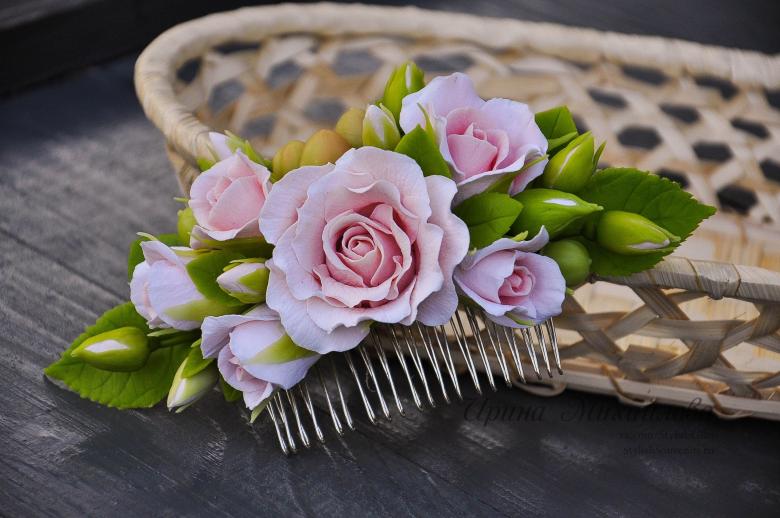
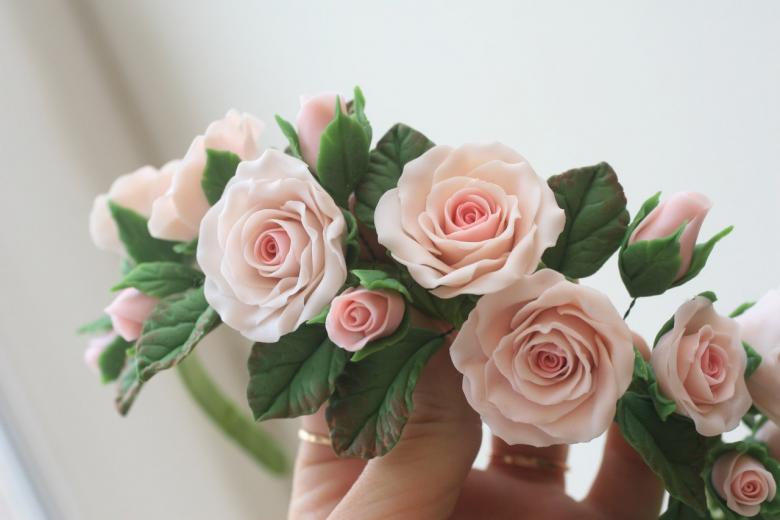
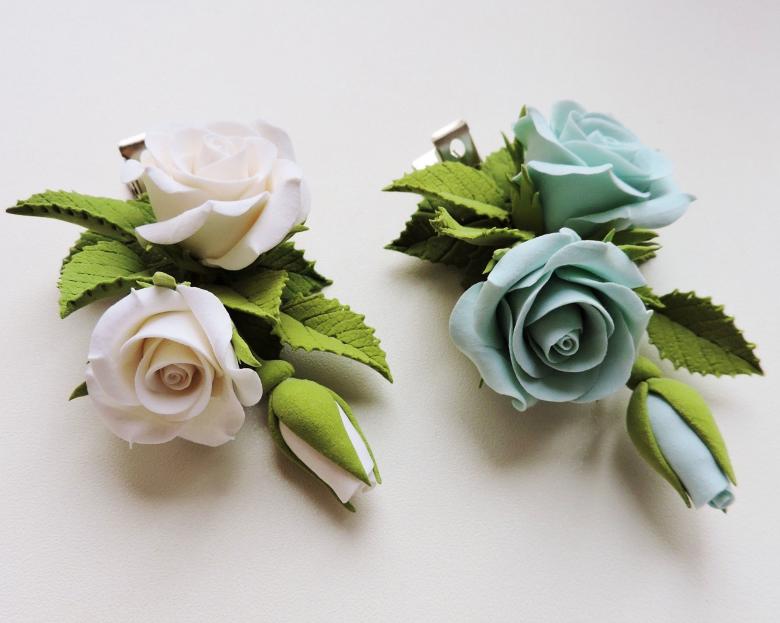
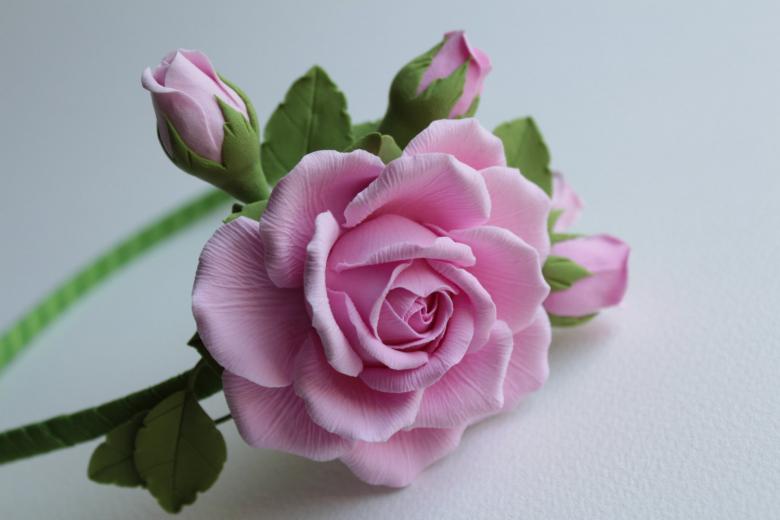
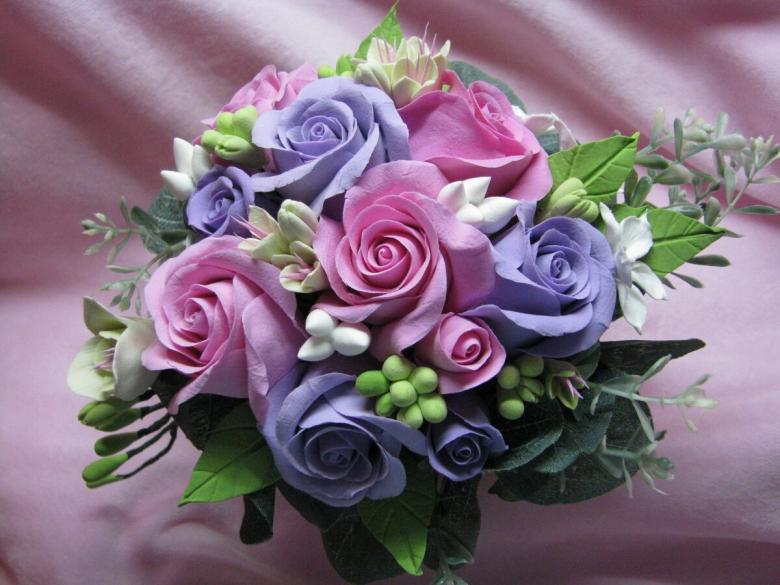
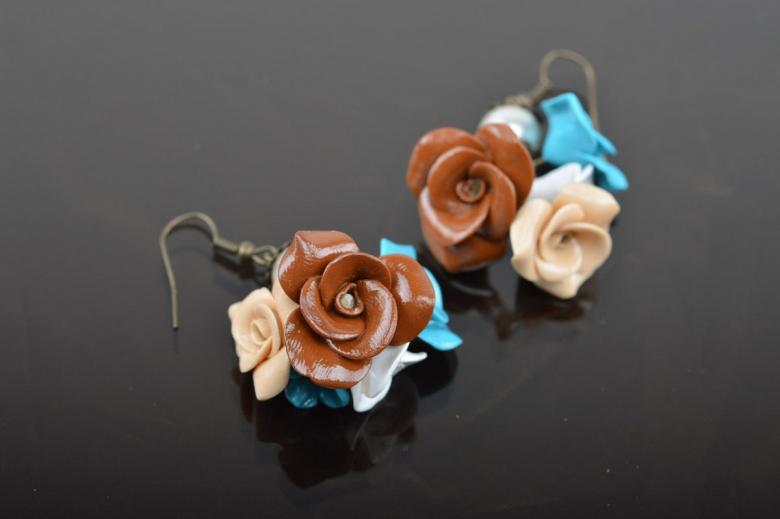
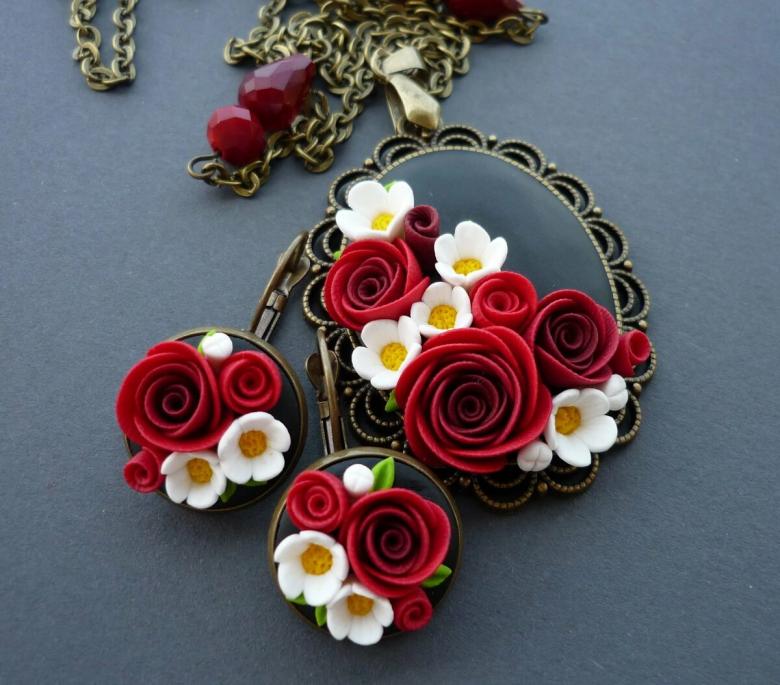
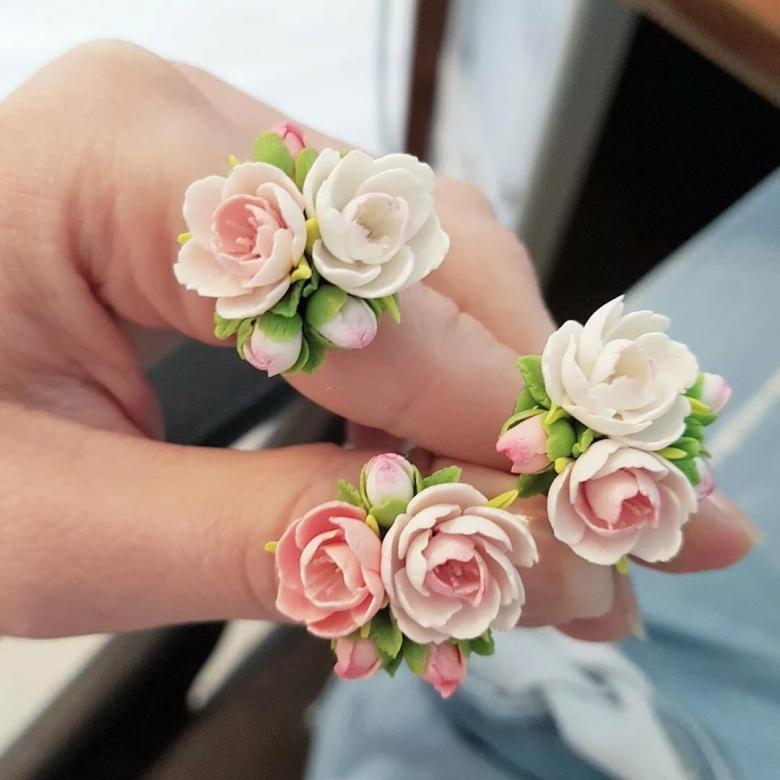
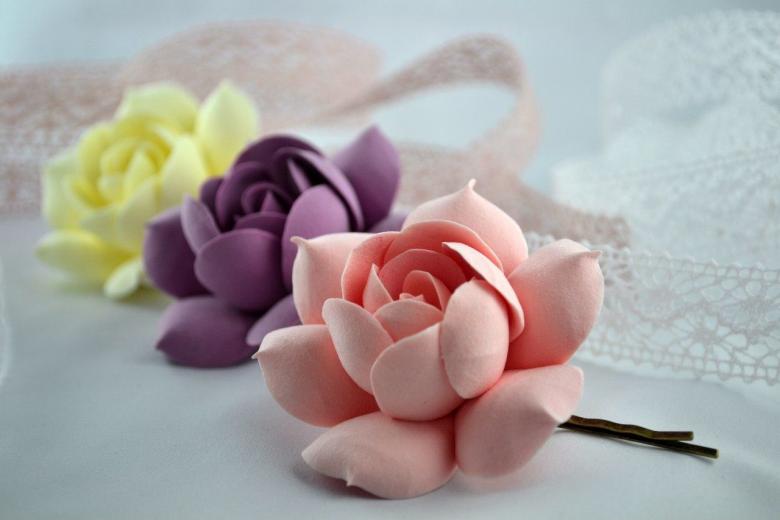
Making roses seems difficult only at first glance: having trained yourself, you can create bouquets and decorate photo frames, make magnets for the fridge and earrings. So, we make 9 balls of clay of different diameters.
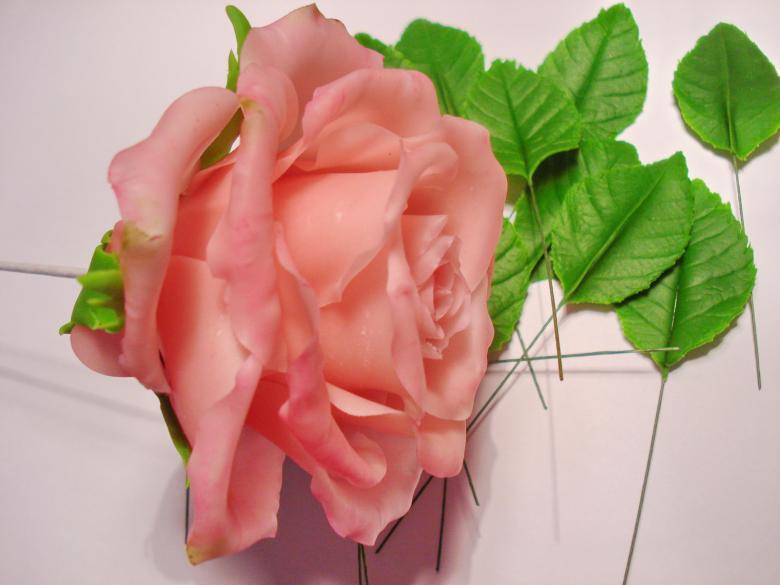
We shape the petals: flatten the mass with your fingers, making the base tighter and the edge thinner.
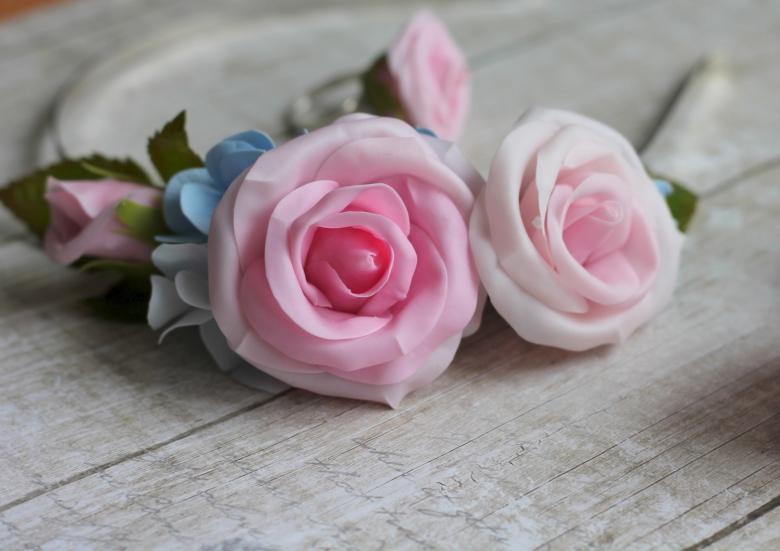
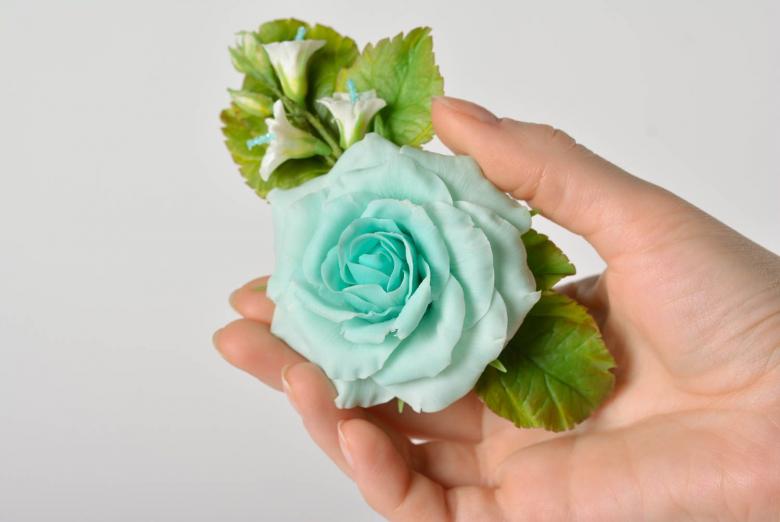
Put the rose together: we twist the core of the bud into a tube, and start placing the remaining petals on it, from the smallest to the largest. Your first rose is ready.
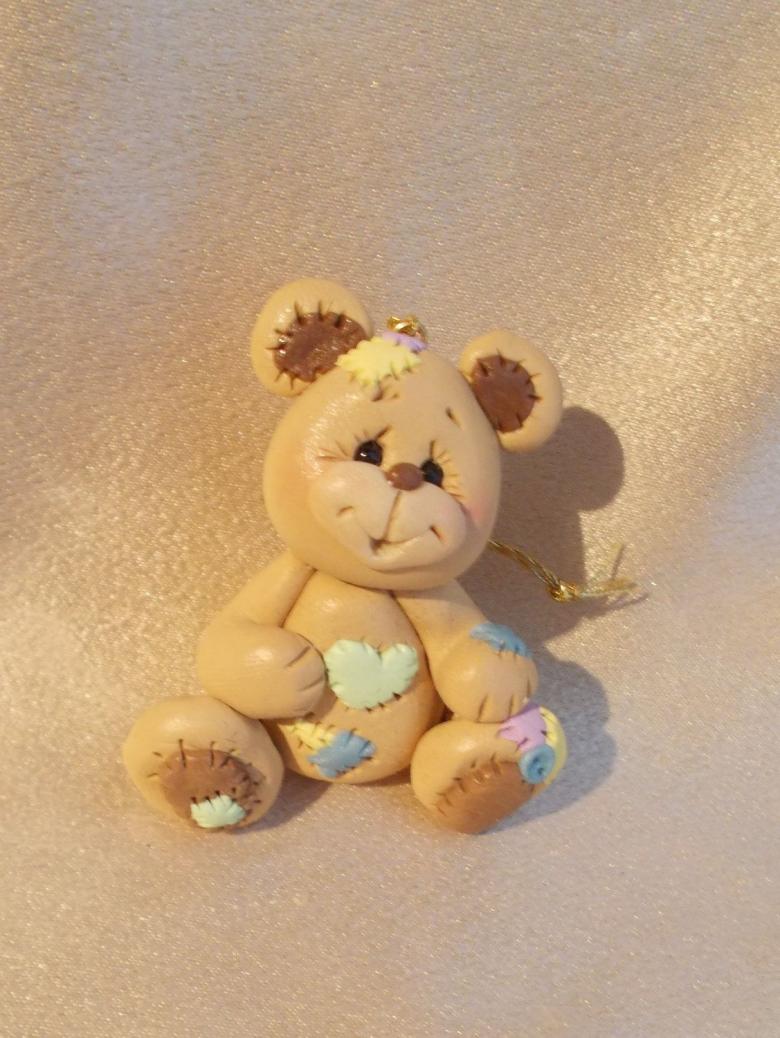
Teddy Bear .
With flowers everything is done, now move on to the manufacture of figures. In order to make the bear, we need a metal mold. Use it to press the figure on the rolled out plate of brown clay. On the bottom half of the muzzle, attach a mass of white - this is the base of the mouth.
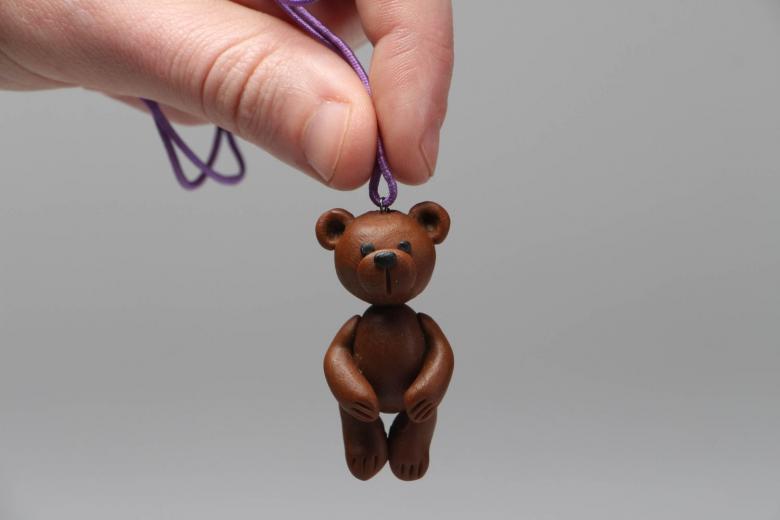
From the bottom of the ball in the middle press through a toothpick. Make a triangle (nose) and fix it in the middle of a white blank. For the eyes we need a pair of black balls of mass. We will have a teddy bear girl.

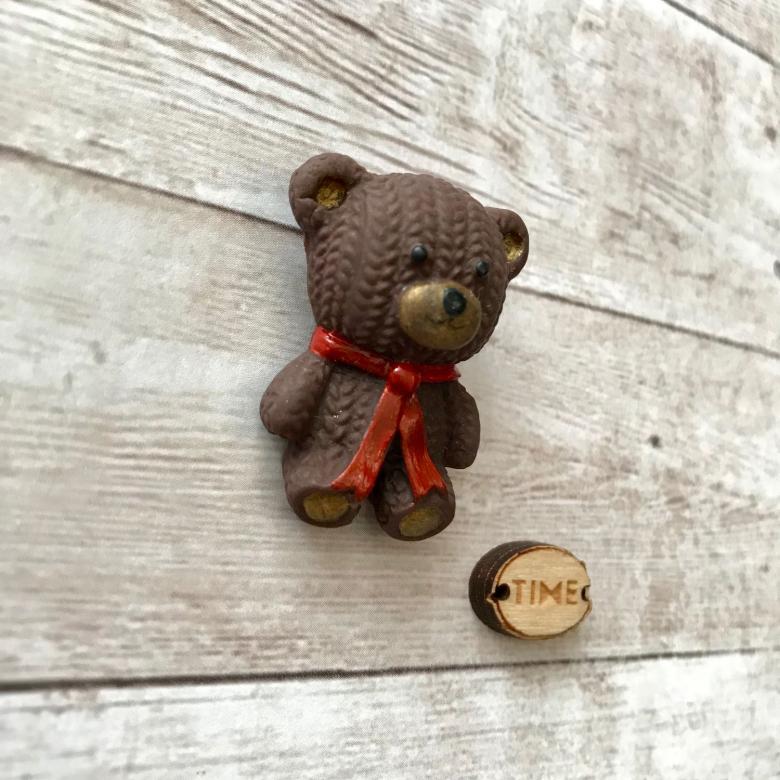
For this, make a bow from the pink clay and fix it under the ear. From the same material, make two round buttons and with a toothpick form two holes on each, fix it on the body of the figure. Glue a magnet to the finished product: the souvenir is ready.
Useful tips
In order for the work to bring pleasure, read the tips for beginners to create flowers from polymer clay
- When baking, insulate the figure with a culinary sleeve, because the fouling that will settle on the walls of the oven is toxic;
- You can paint the mass in two ways: put a few drops of acrylic paint on a piece of clay and knead it well, or paint the finished product with a brush;
- Be sure to ventilate the room after baking;
- Do not remove the flower immediately after baking, wait until it cools in the oven;
- Store the bag with polymer clay in a cellophane bag in a cool place.
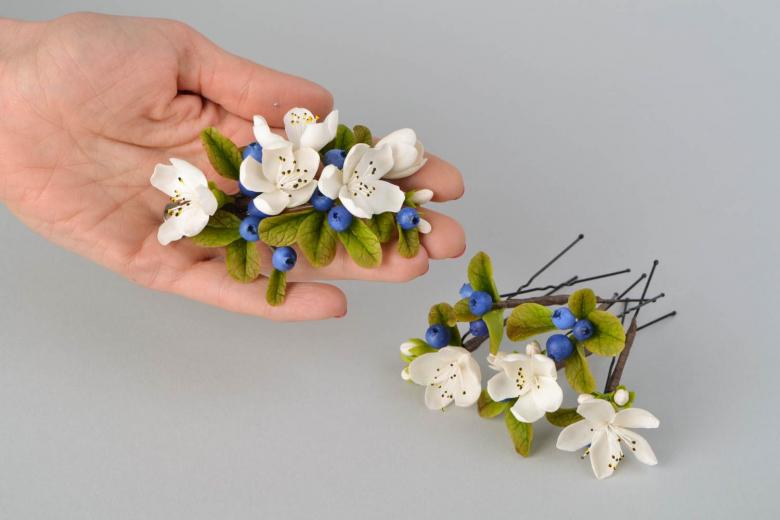
And finally, do not take immediately for the difficult things: experiment with simple forms, master the technology of working with plastic material. When everything becomes a success, you can think about selling the finished product, and from the category of hobbies your hobby could well pass into the category of business.

