Polymer clay crafts for beginners: description of the material and its use for creating jewelry
These days, it is fashionable to engage in any kind of creativity. Modeling with polymer clay is the most popular among modern needleworkers, as it does not require the use of complex tools and skills. Make handmade souvenirs from plastic can both adults and children. Such activities can bring a lot of positive emotions and become a source of additional income.
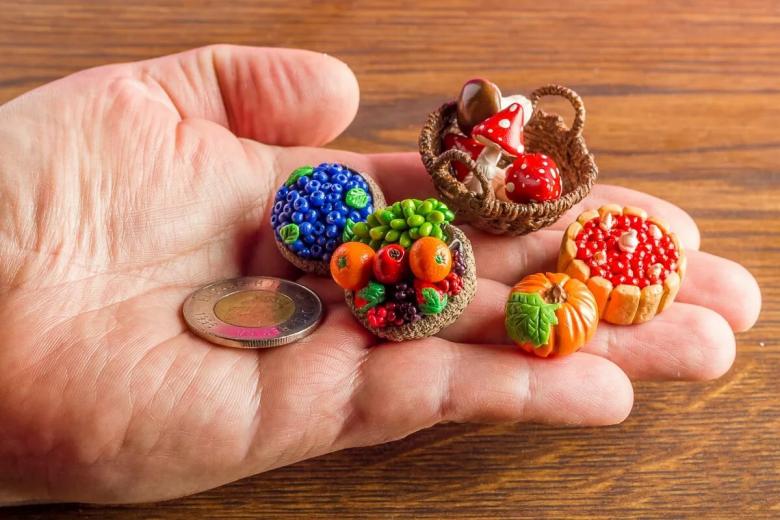
Polymer clay: features of the material
Before making plastic clay crafts with your own hands, you need to understand what this material is. By plastic we mean a polyvinyl chloride substance designed for molding. Features:
- Versatility.
- Plasticity.
- Durability.
- Ability to harden.
- Aesthetics.
- Safety.
It is worth noting that some compositions harden in the air, others require baking in an oven at a temperature of 110 - 130 degrees. The former are more suitable for children - such plastic lasts longer. The latter are recommended for use by adults - the crafts of fired clay are inherently fragile.
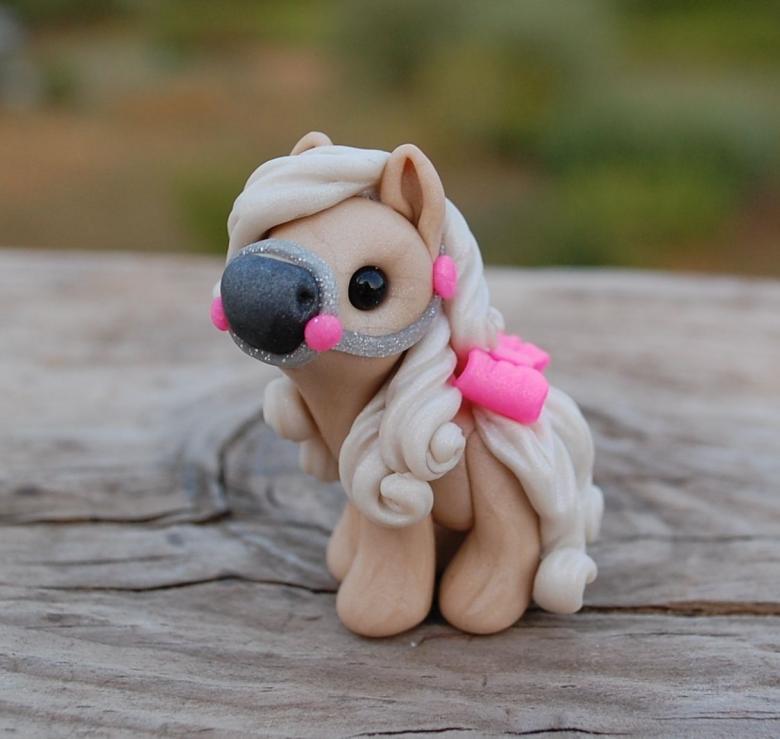
Types of polymer clay
Polymer plastic is available under different brands. The most popular today are such brands as:
- Keraplast. Plus - fast drying. Cons - sticky to hands, the need for additional coloring.
- Deco. Pros - ease of use, a rich palette.
- Darwi. Plus - less sticking to the hands. Minus - the rapidity of hardening.
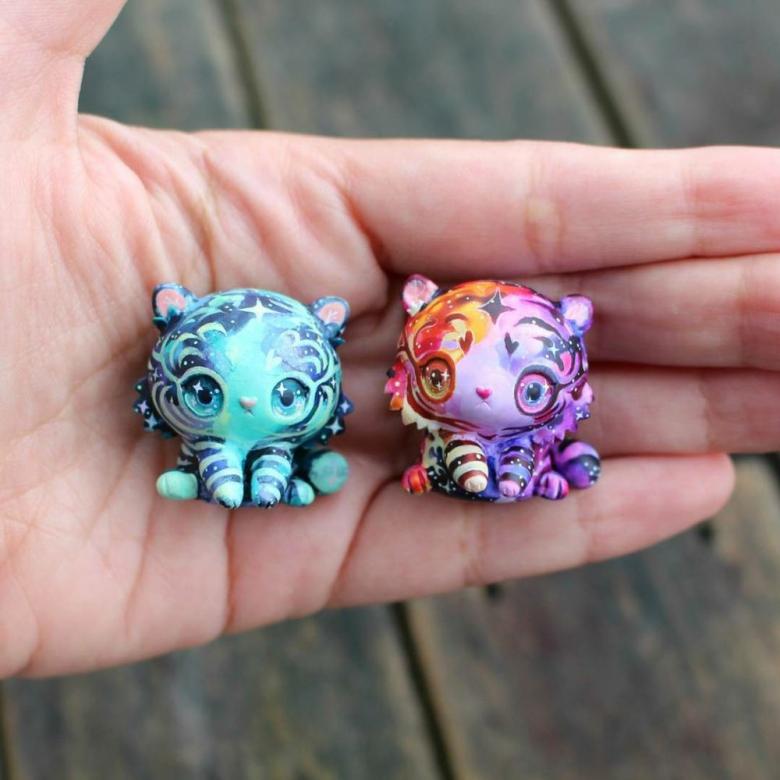
For professional level lessons, it is better to buy Cernit or FIMO. Flower, Sculpey II, Premo, Bake Shop are ideal for kids. For initial training Sonnet is convenient.
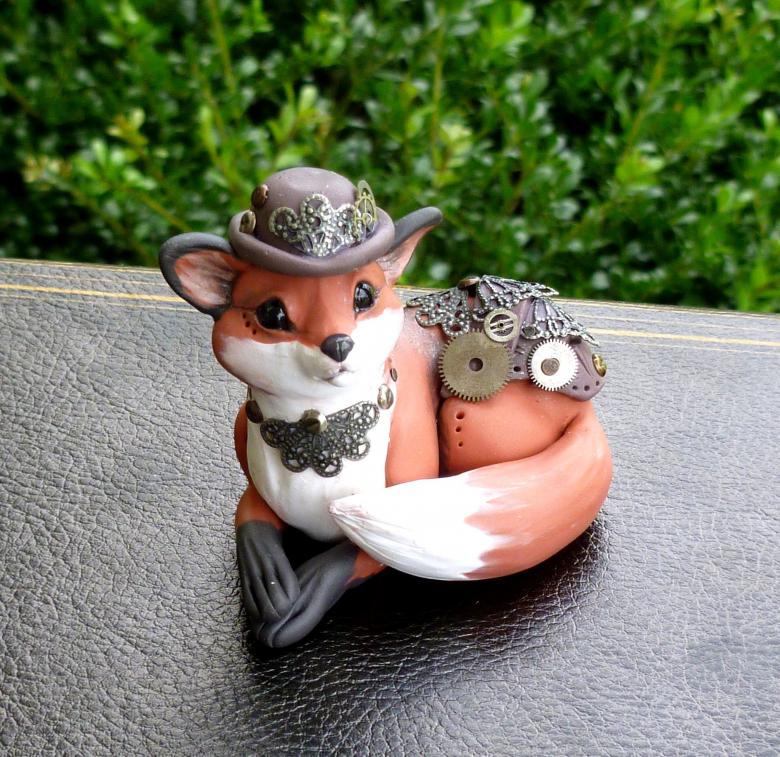
Necessary tools
To work with plastic you will need:
- A work surface (you can use a paper sheet, cellophane, tile or a piece of laminate);
- talcum or flour (so the clay will not be sticky to the surface);
- rolling pin;
- knife or scissors;
- pins, toothpicks for firing rounded shapes;
- sandpaper for finishing the finished crafts;
- wool cloth for polishing;
- paints and varnishes for decoration;
- rubber gloves;
- paste machine.
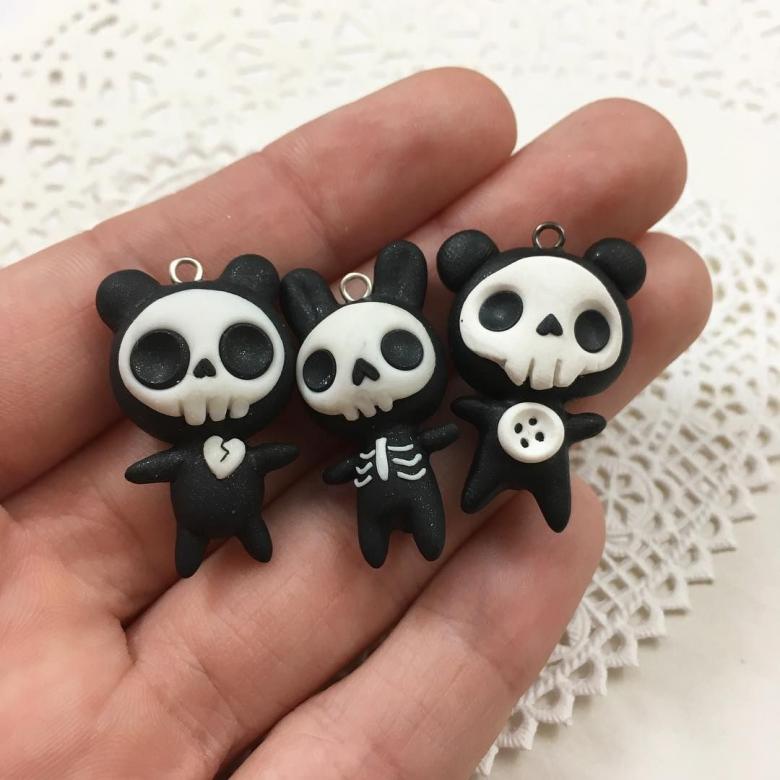
You should also prepare stacks, molds for cutting, molds, brushes, wire, wire cutters, pliers, tool for making holes with drills 1 - 2 mm.
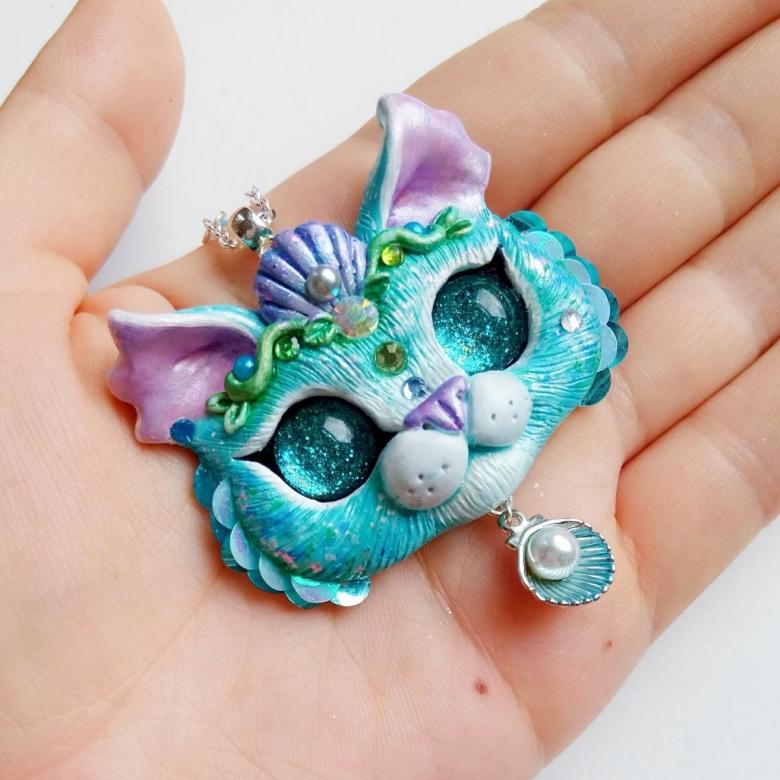
Ideas
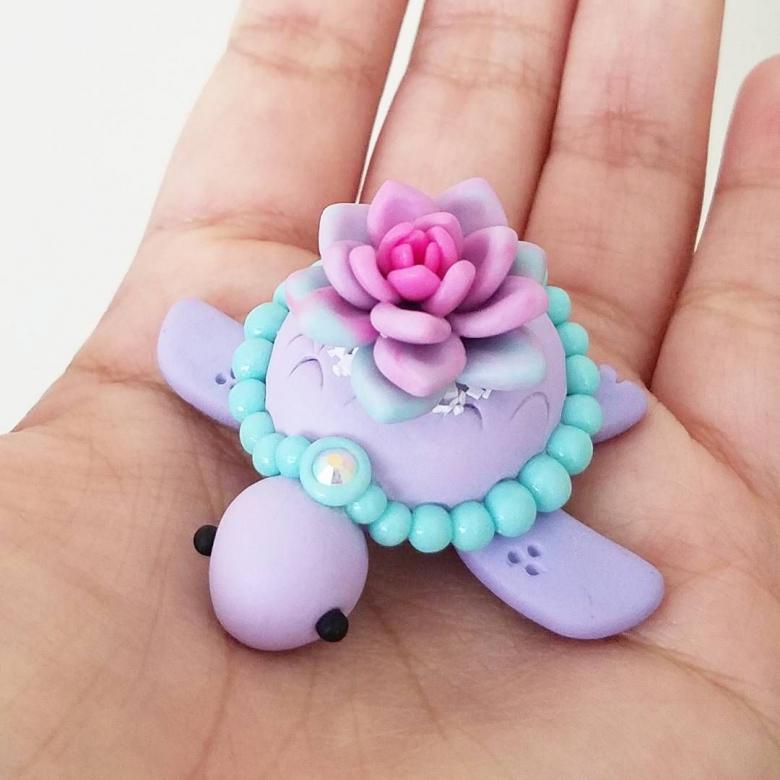
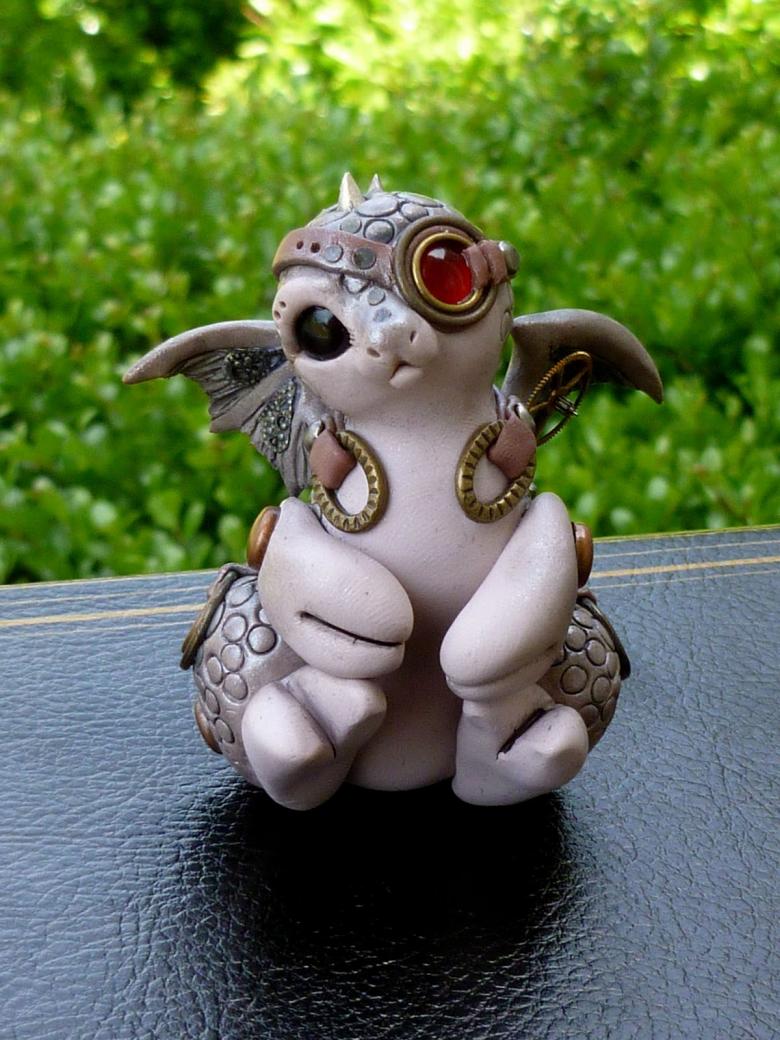
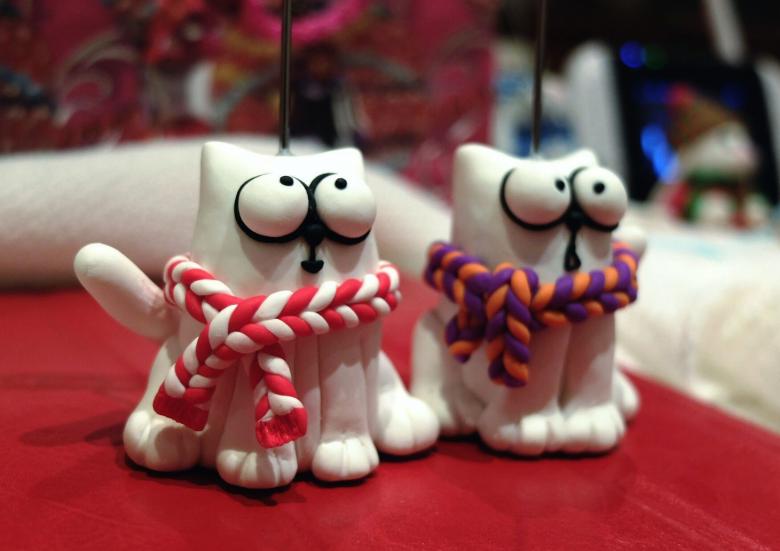
There are a lot of ideas for souvenirs made of polymer clay. Below are the most unusual ideas.
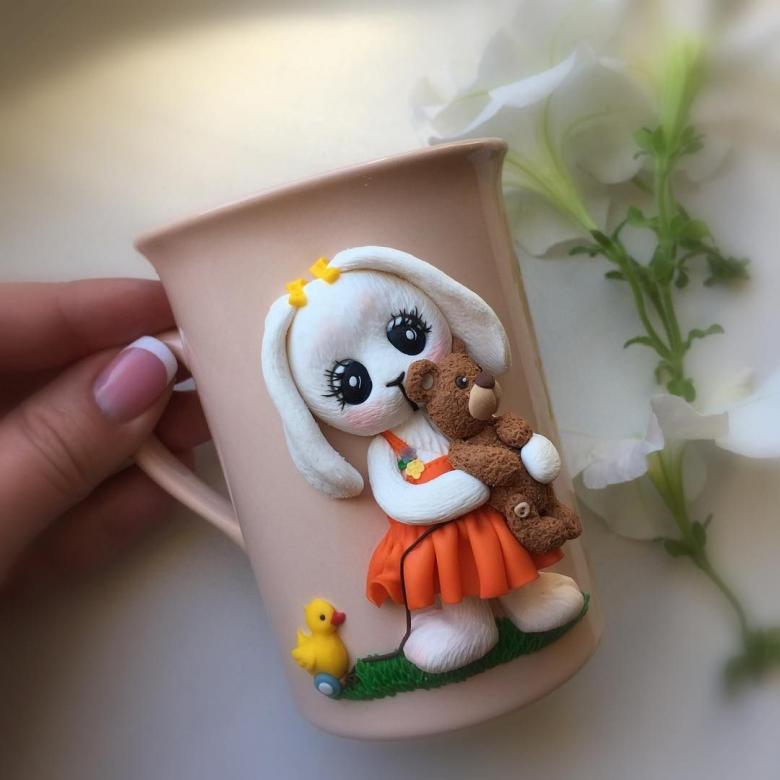
Toys
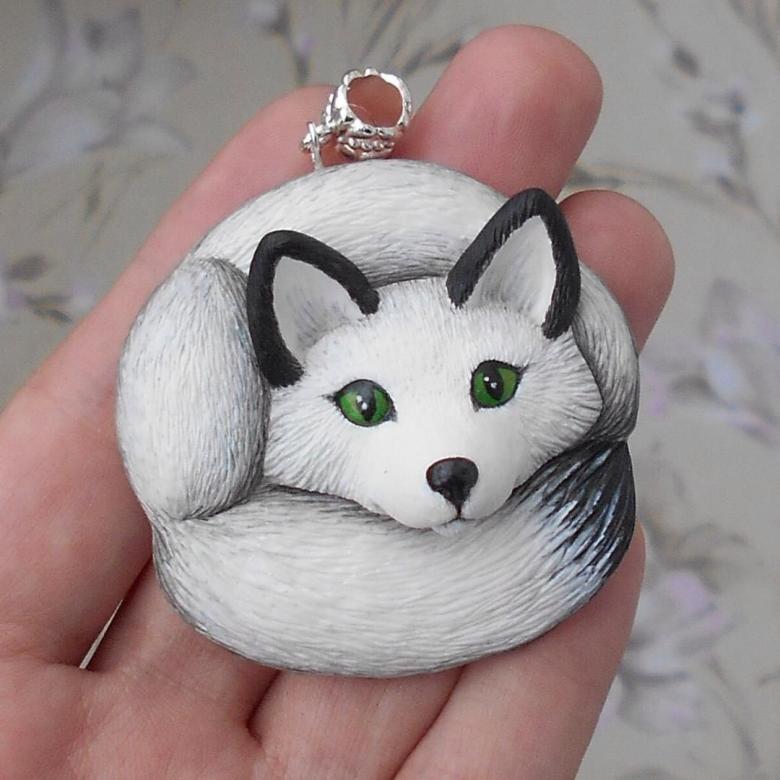
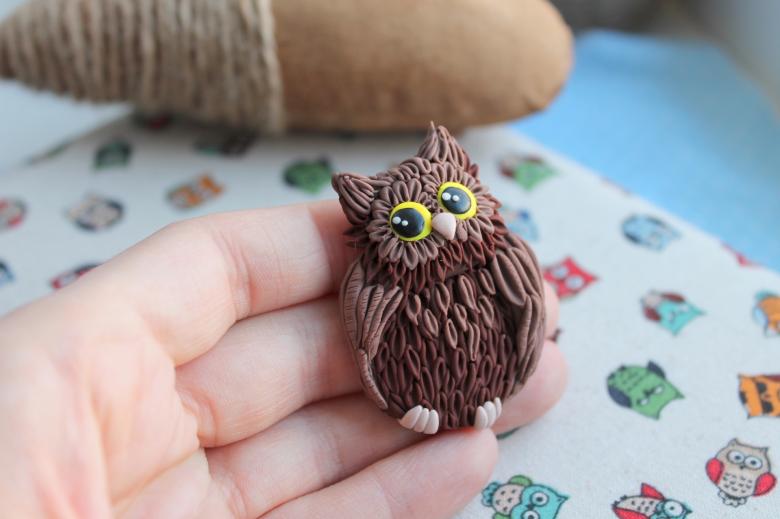
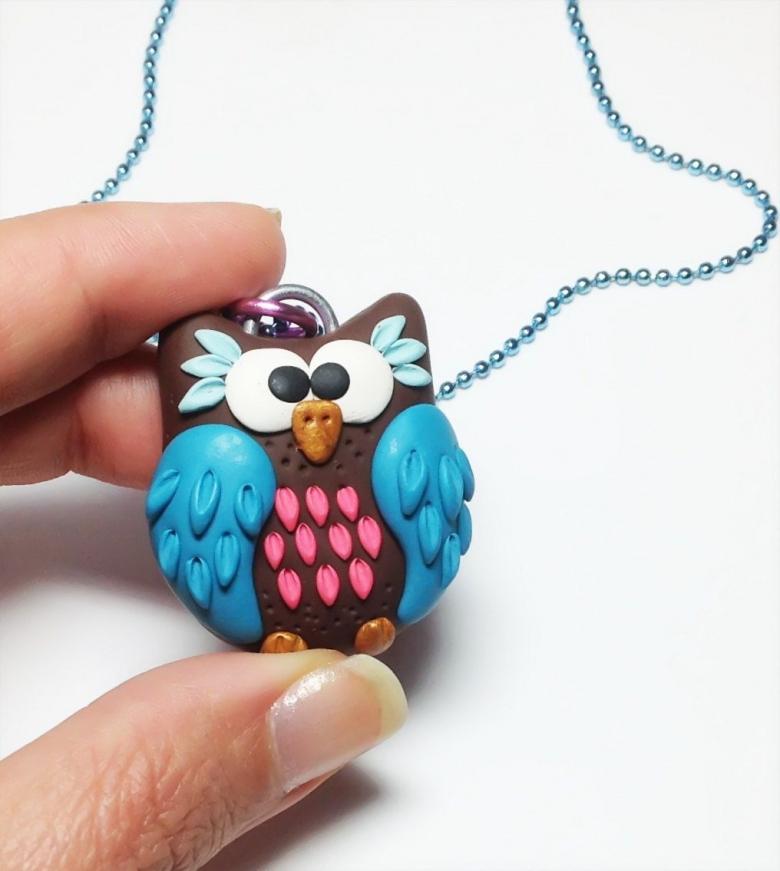
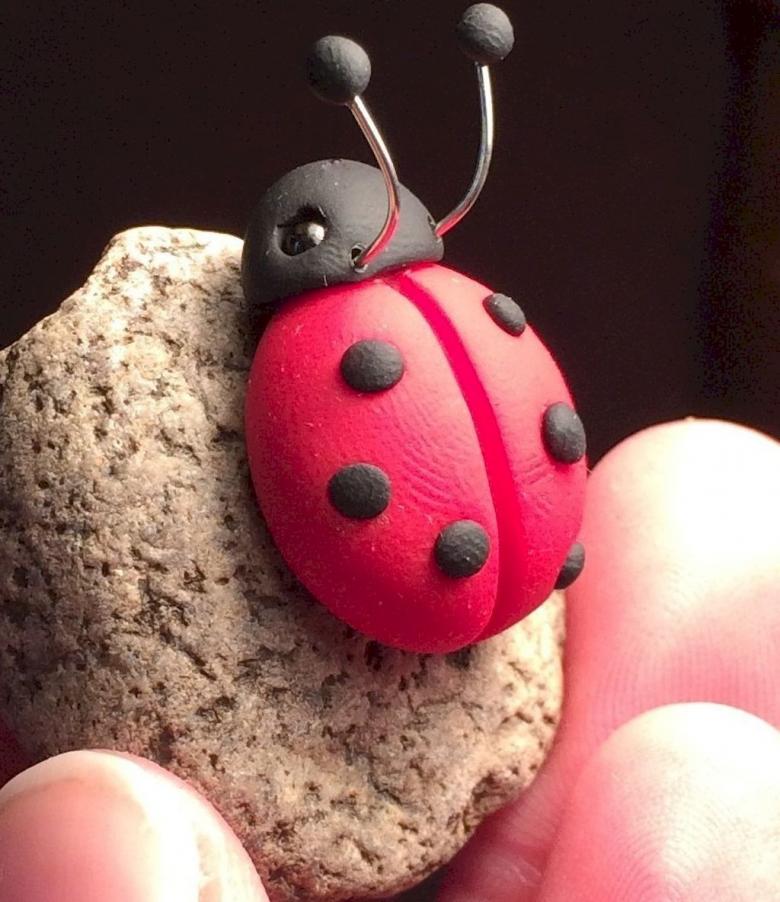
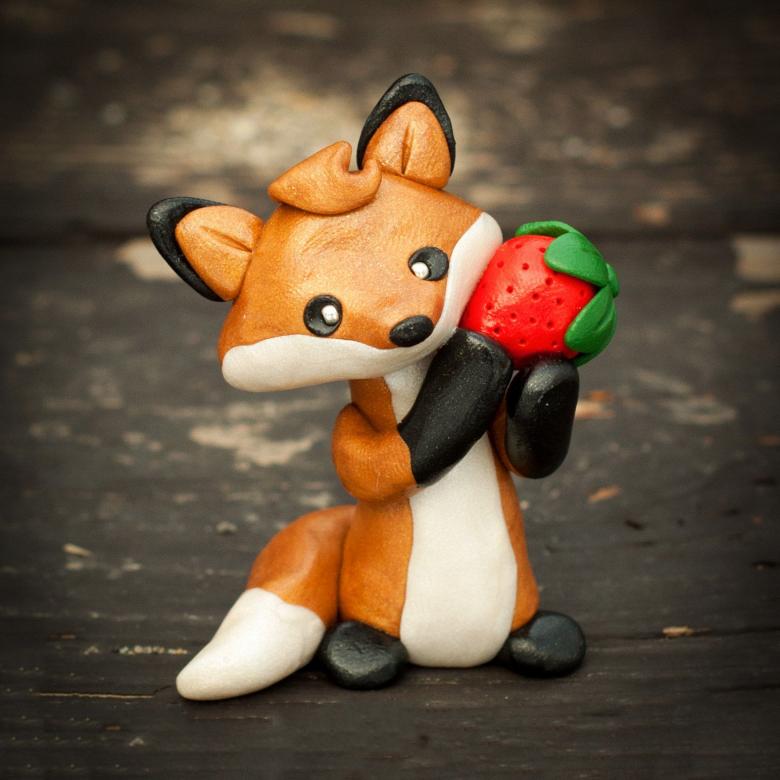
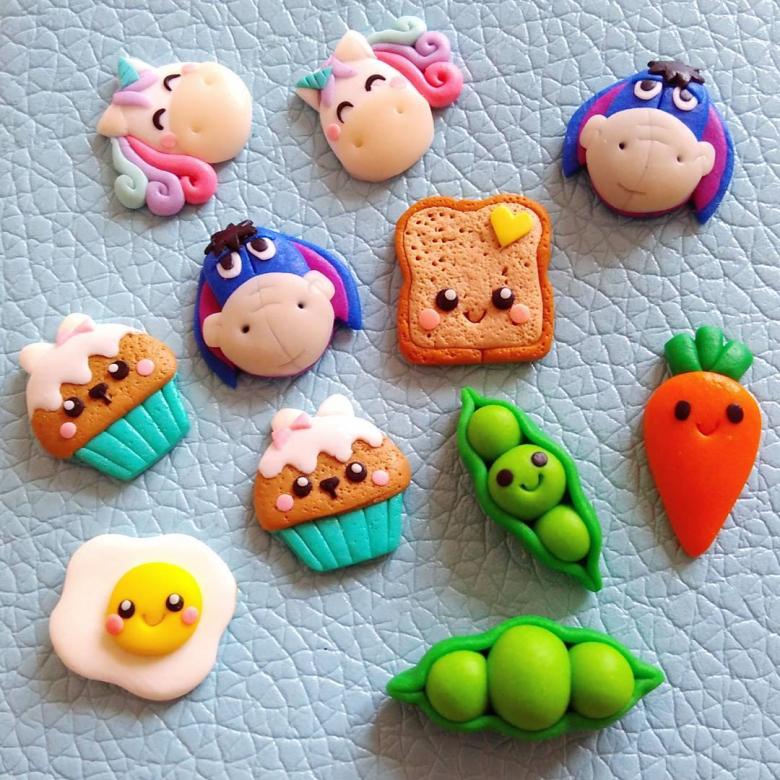
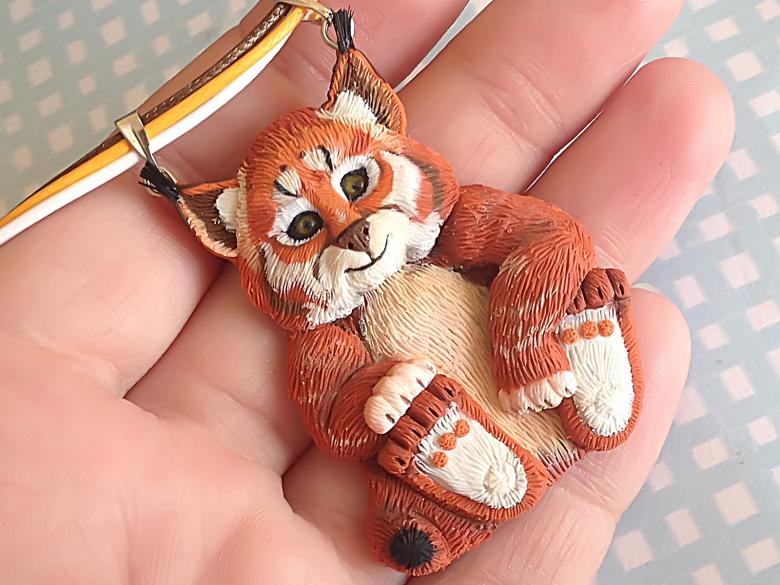
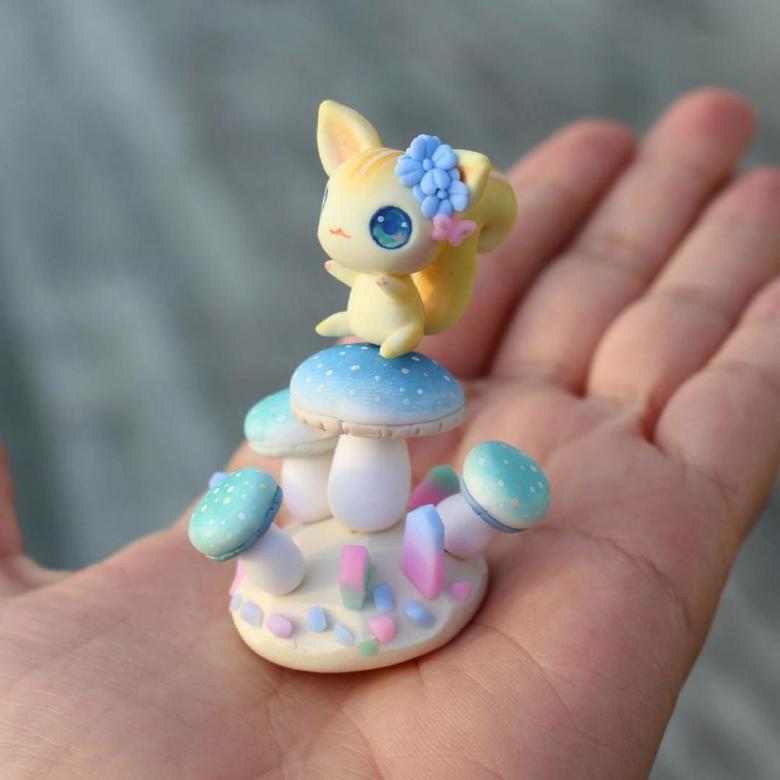
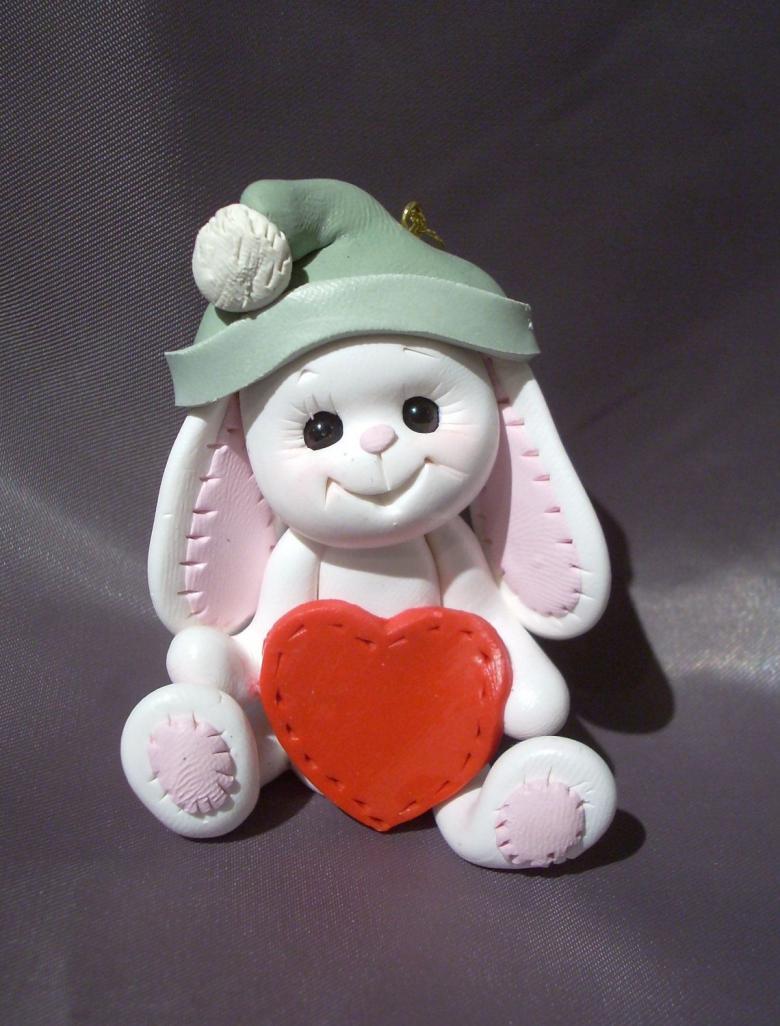
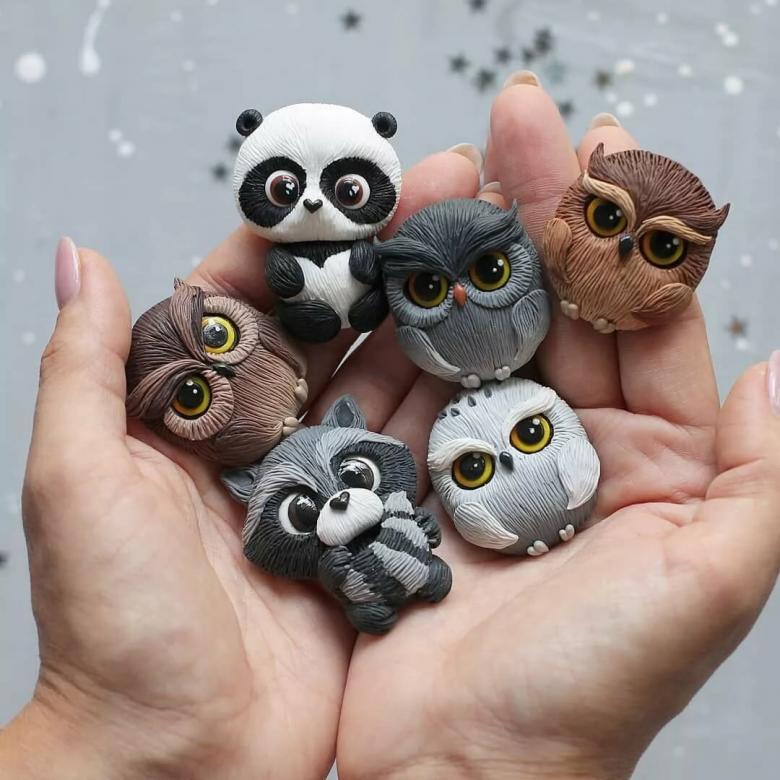
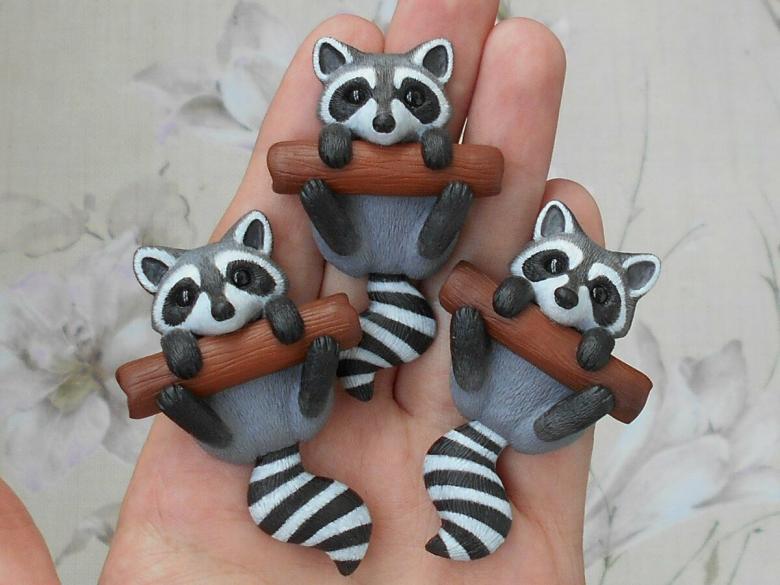
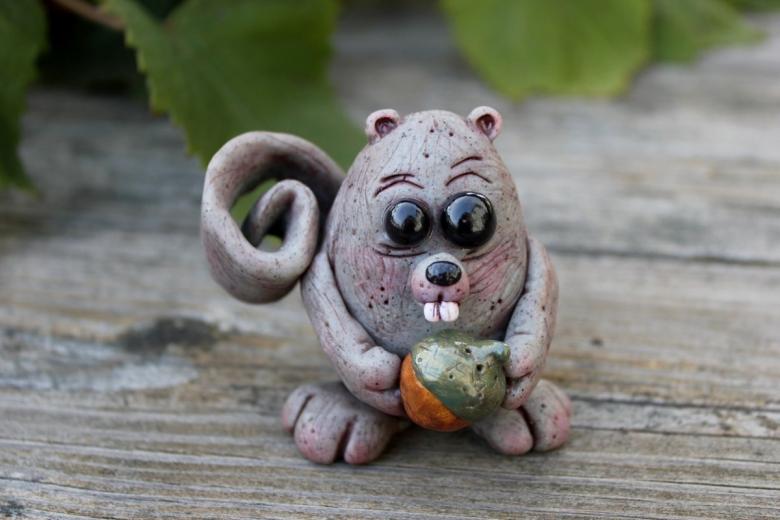
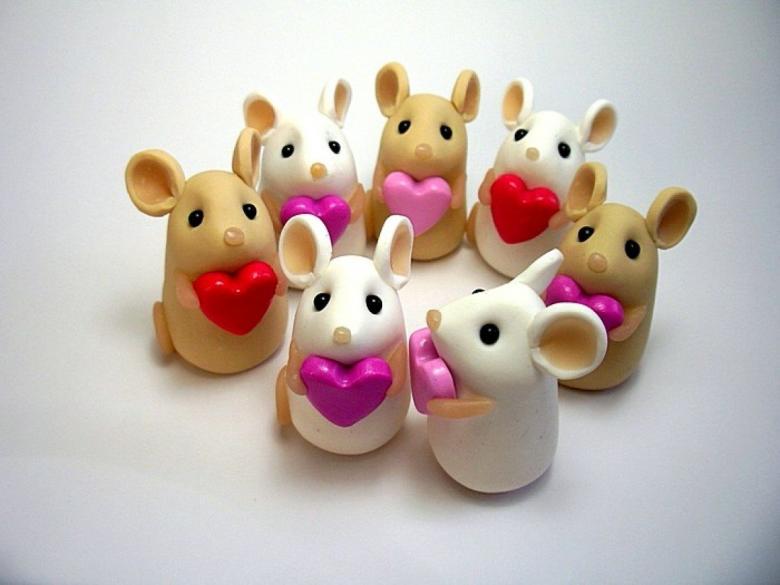
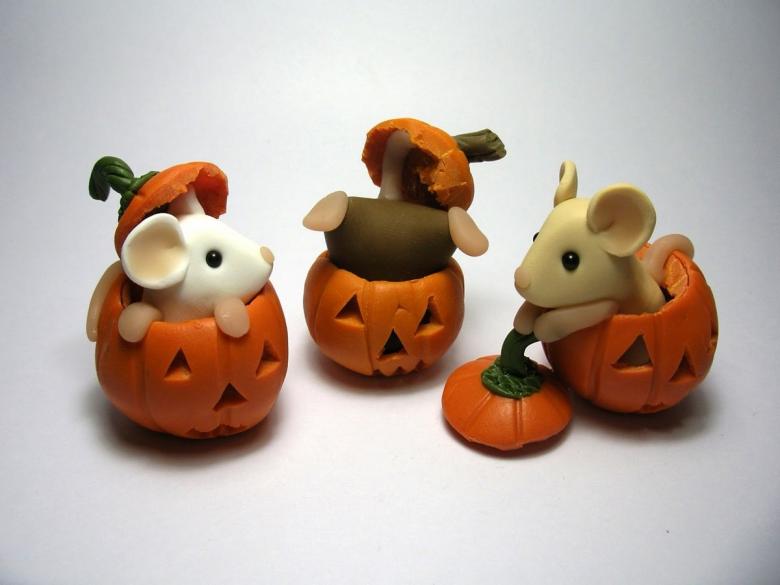
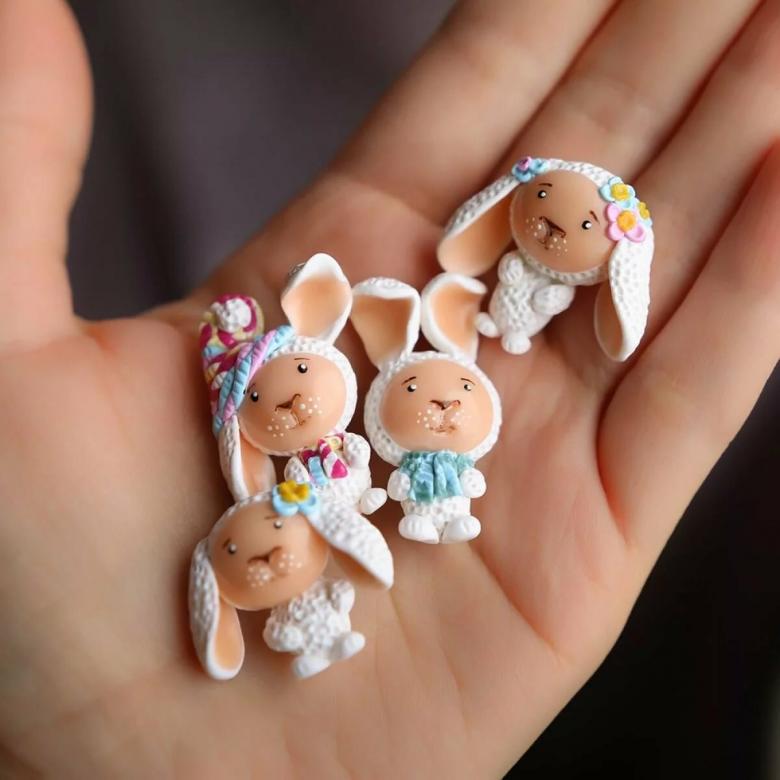
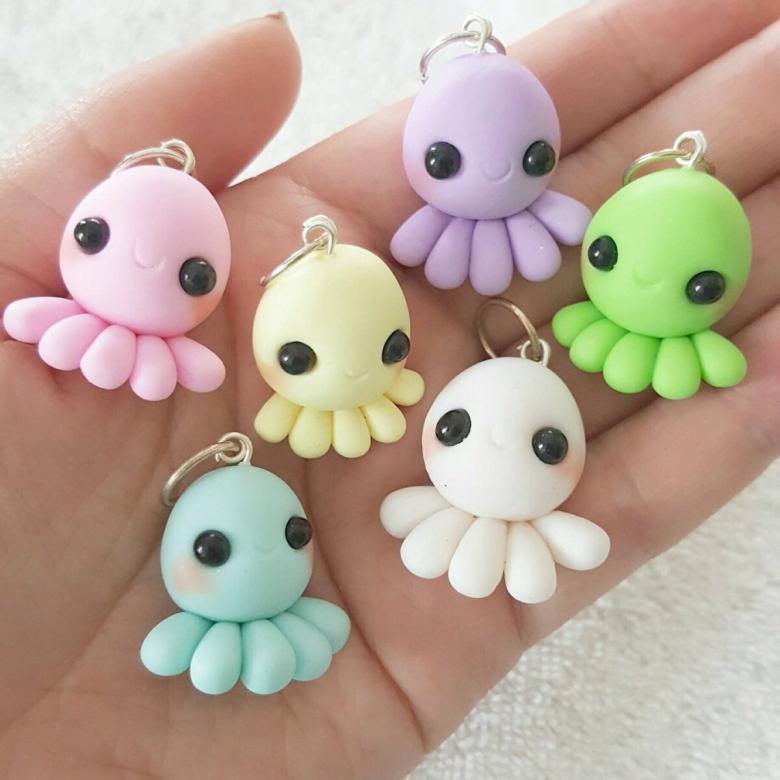
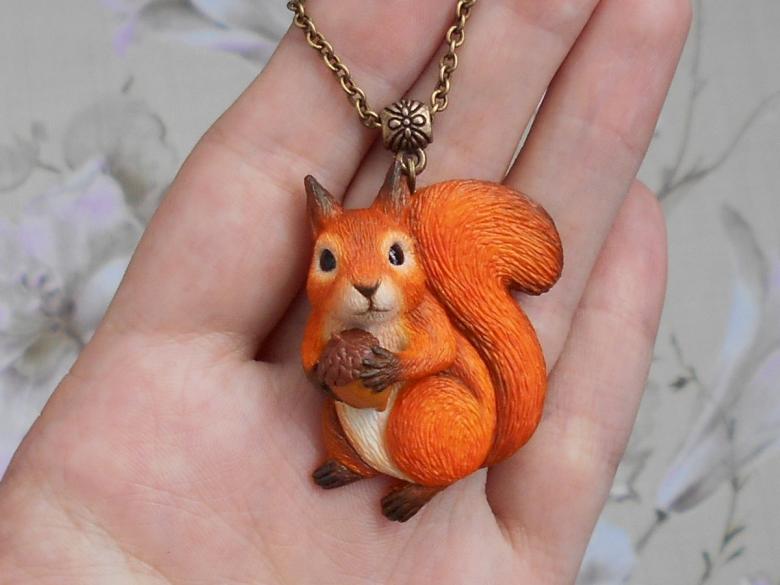
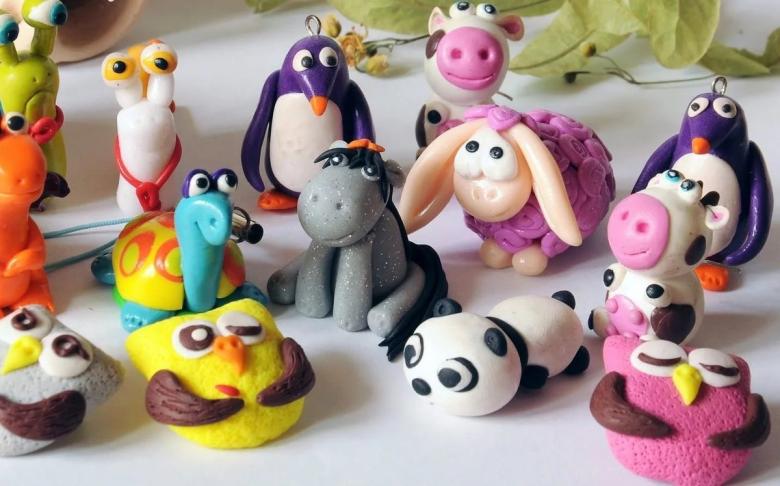
The best crafts made of polymer clay for children are figurines of animals, birds and insects. In the manufacture of such fun things there is nothing difficult. For example, to create a hare need to perform the following algorithm of actions:
- Form a ball of gray clay - the future body of the animal.
- Stekom make holes for the eyes.
- Insert pieces of black plastic in the recesses.
- From gray plastic mold ears and tail. Attach them to the body.
- Bake the bunny in an oven. Optimal cooking time - 0.5 hours.
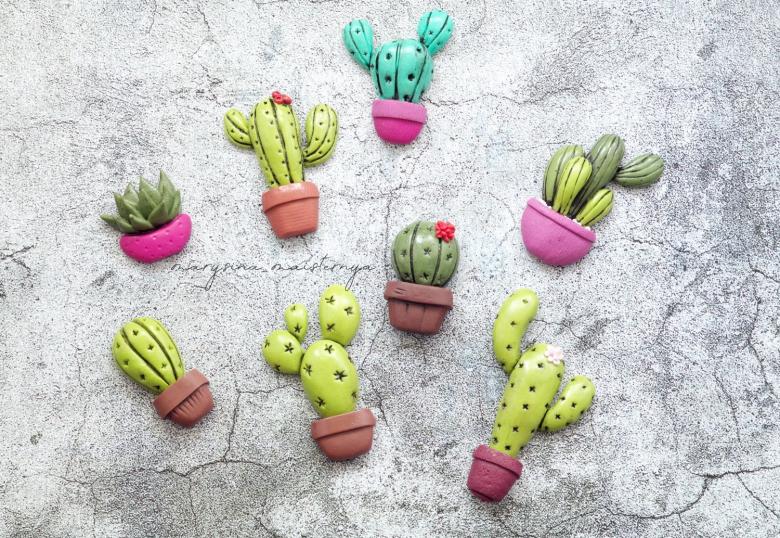
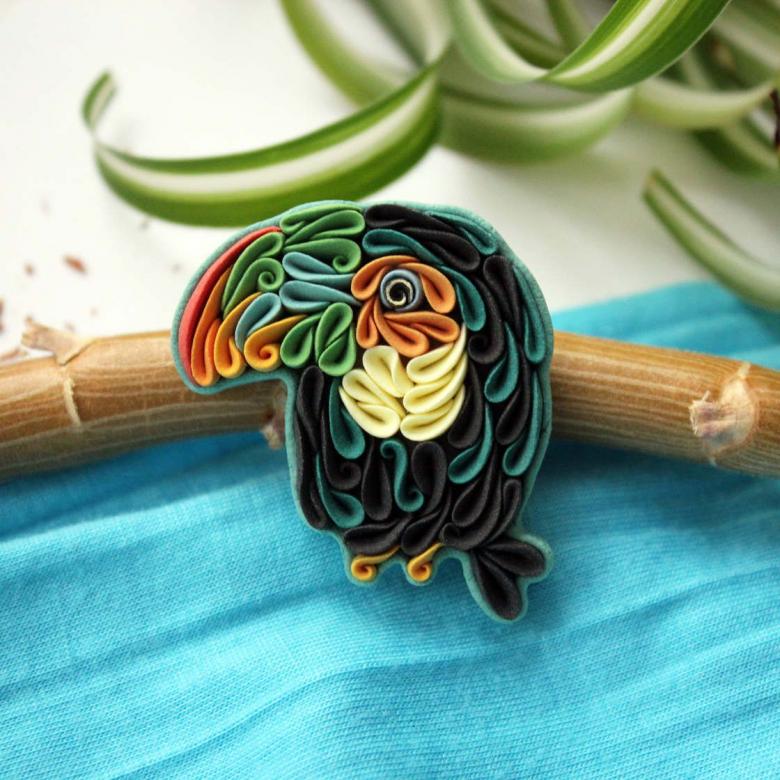
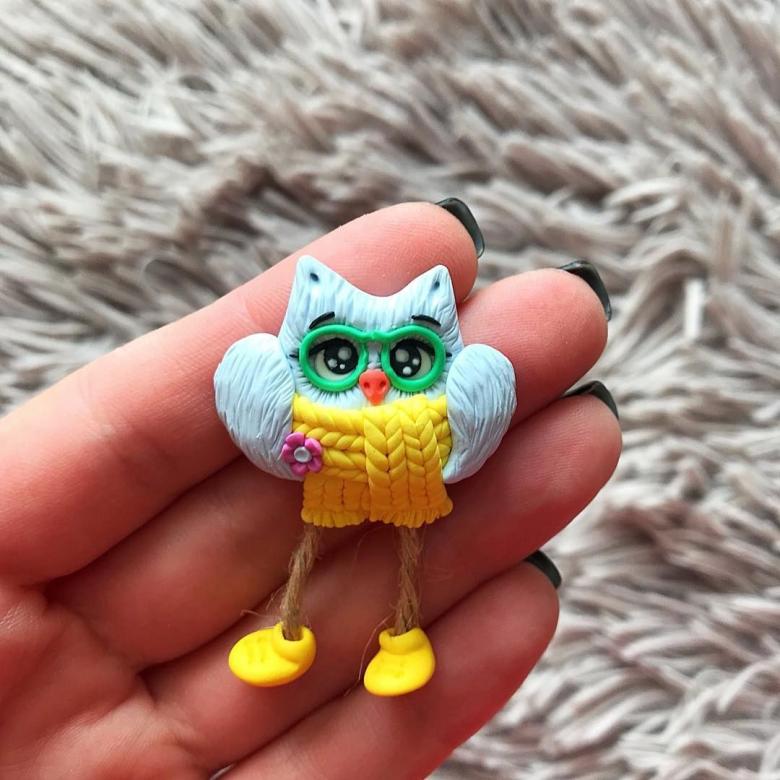
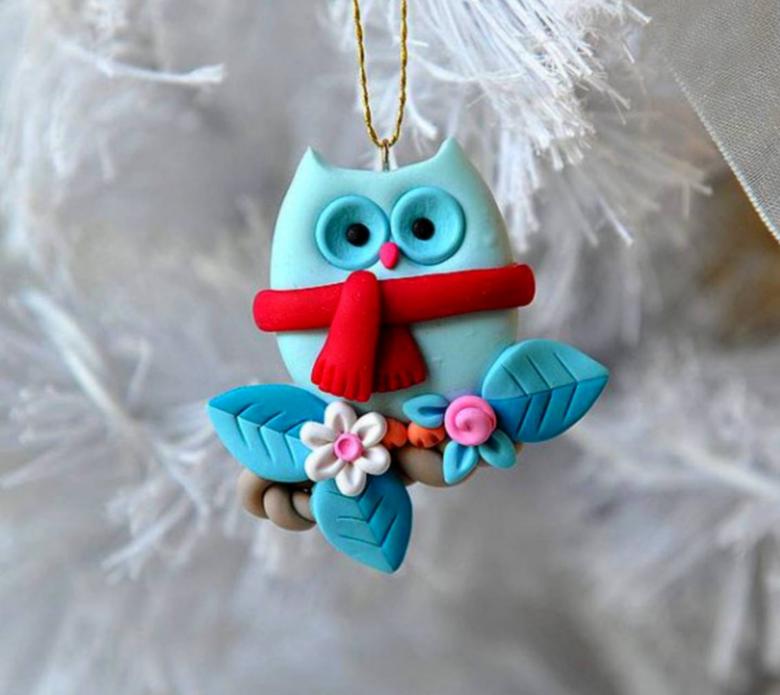
The bird is molded similarly. Only the paws are replaced by a tail and wings in a contrasting color.
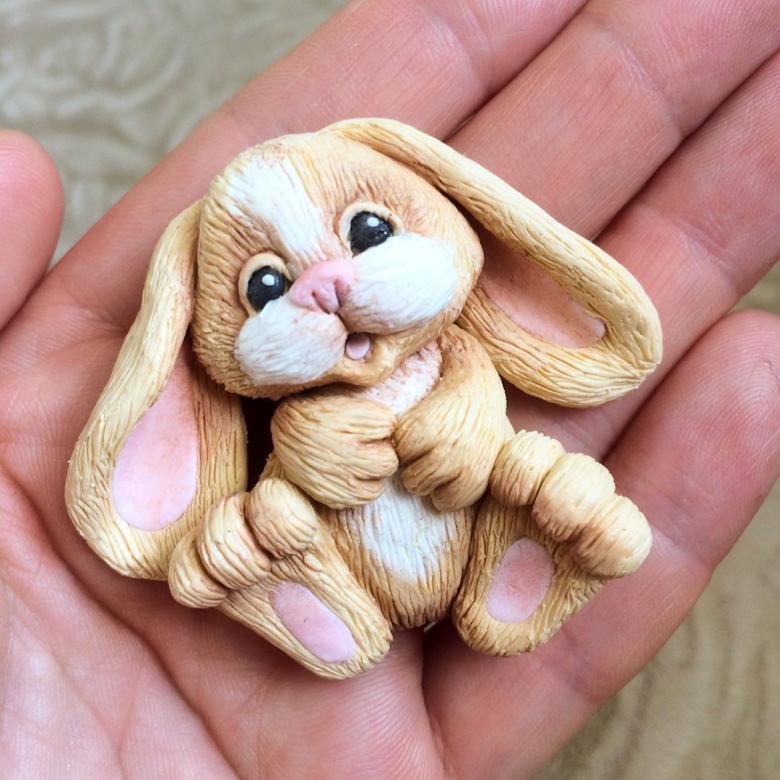
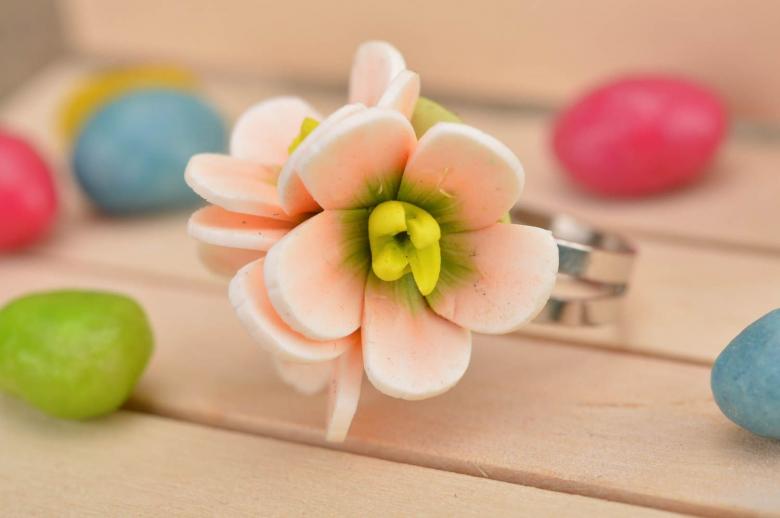
Flowers
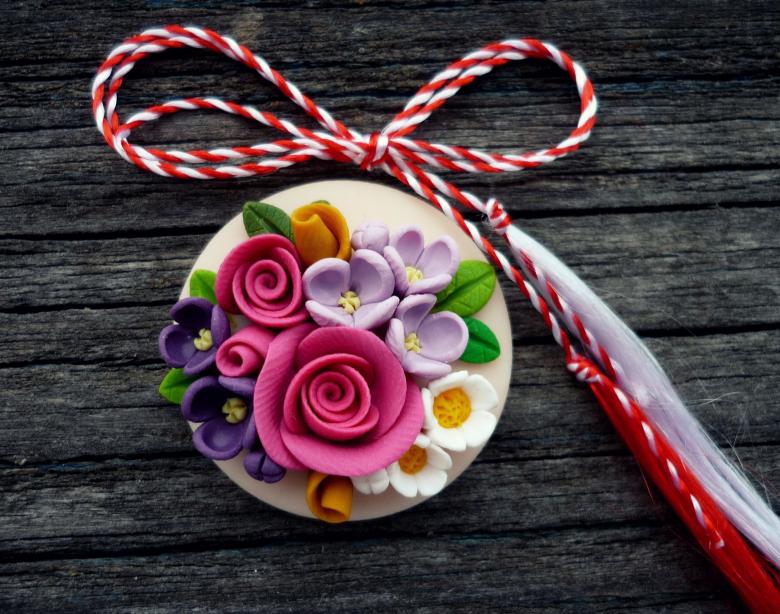
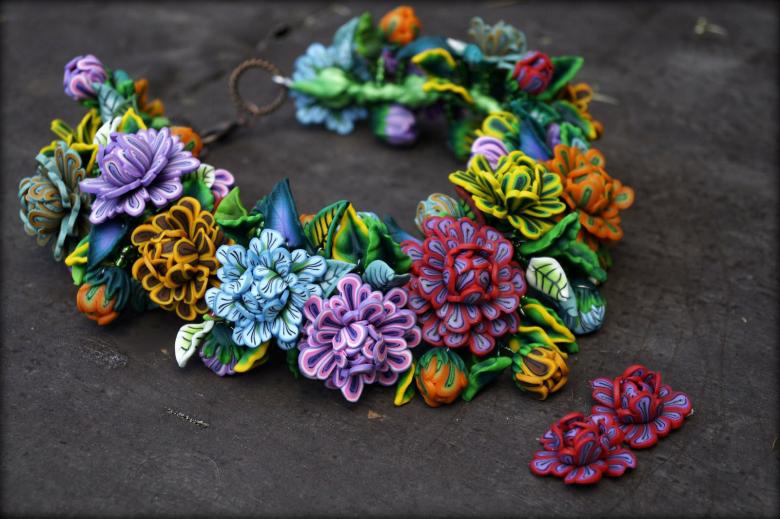
Clay flowers are made similar to plasticine bouquets. In the beginning is molded billet. Then she reported to the final shape. Here are instructions for creating a dandelion:
- Yellow clay to knead and mold strips. The recommended width is 2 - 2,5 cm. To make the flower head look as natural as possible, the width and length of the petals should vary.
- Cut the resulting blanks into fringes. Wrap each strip on one side with paper for convenience.
- Form the sepals from the fringed strip of green shade.
- Take a toothpick and wind the finished petals on it one by one.
- On the outside of the bud, attach the sepals you made.
- Fluff up the petals with a wooden stick, trim.
- Attach a toothpick to the foil so that the handicraft is on the weight.
- Burn the flower in the oven. Coat the finished product with acrylic varnish.
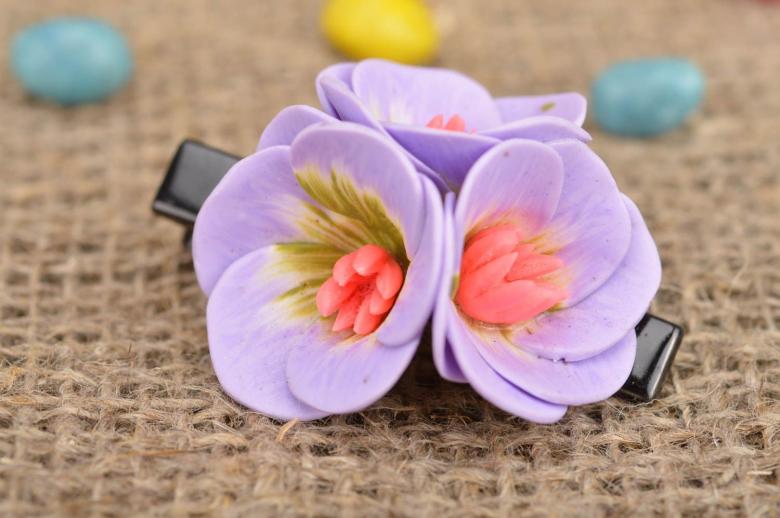
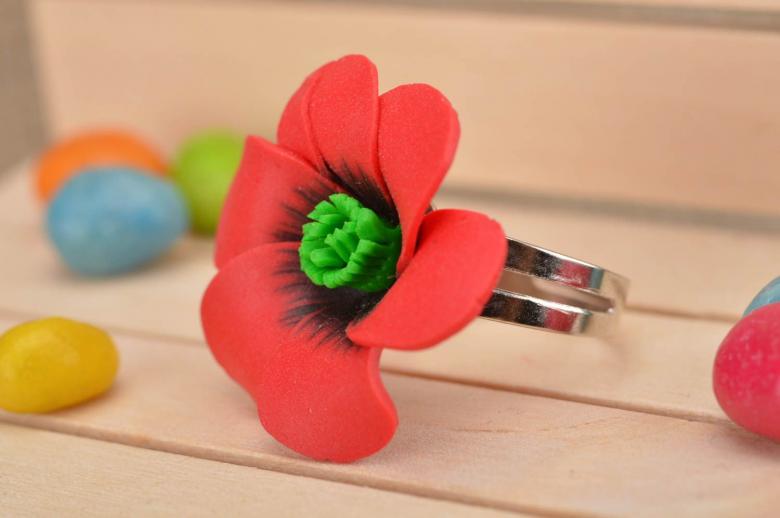
To make a violet, first mold a pear-shaped blank. Wide tip is cut crosswise to create petals. A similar technique is used when forming a buttercup - only here you need to form 6 petals.
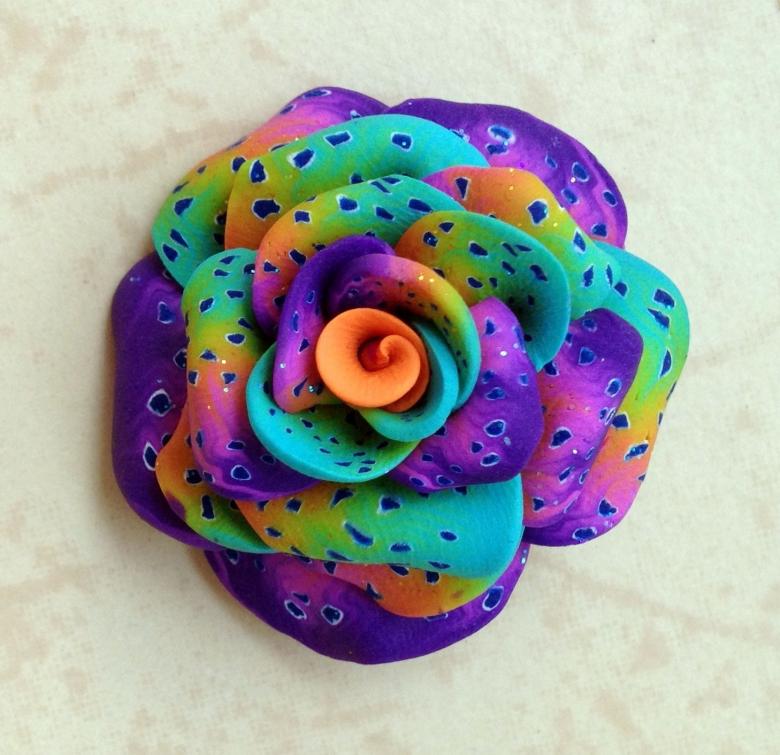
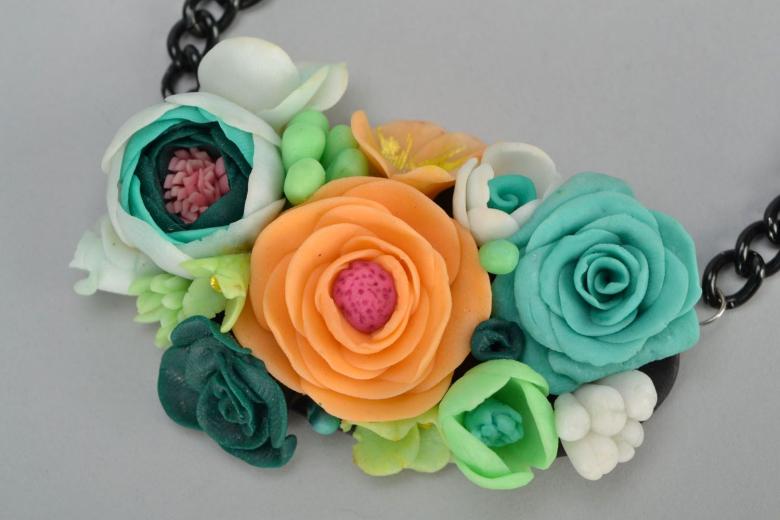
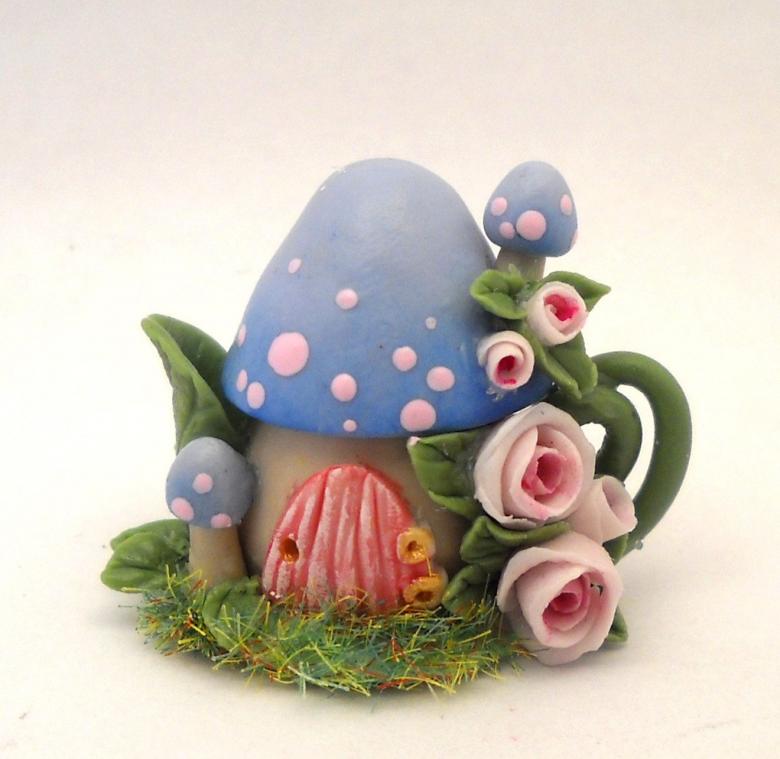
Each rose petal is made separately. The texture of the plastic is given by punching between the palms.
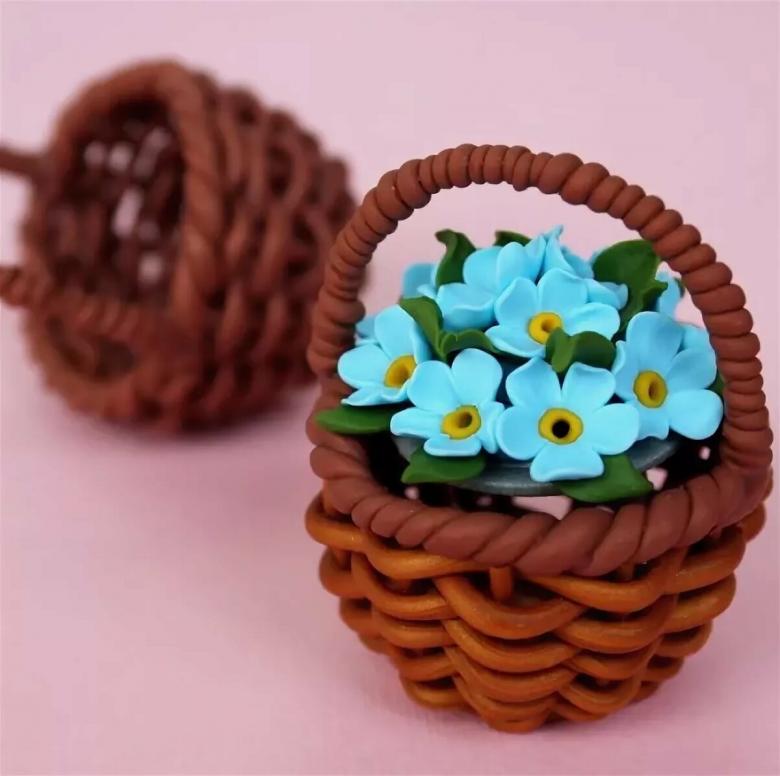
Decorations
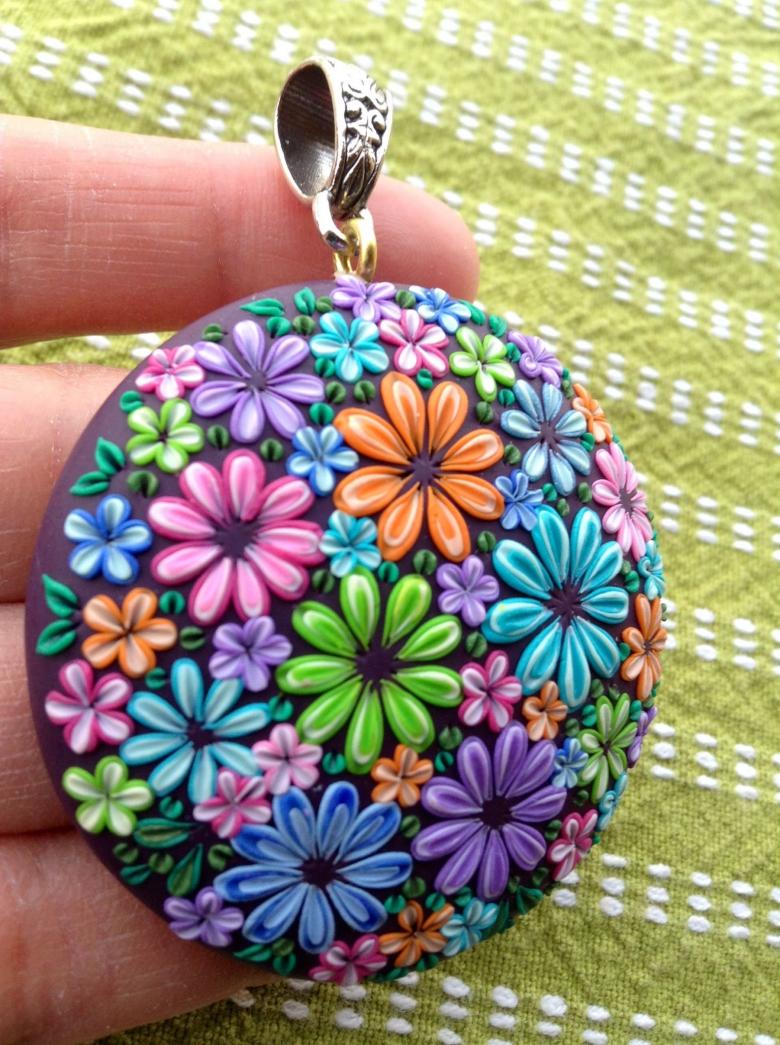
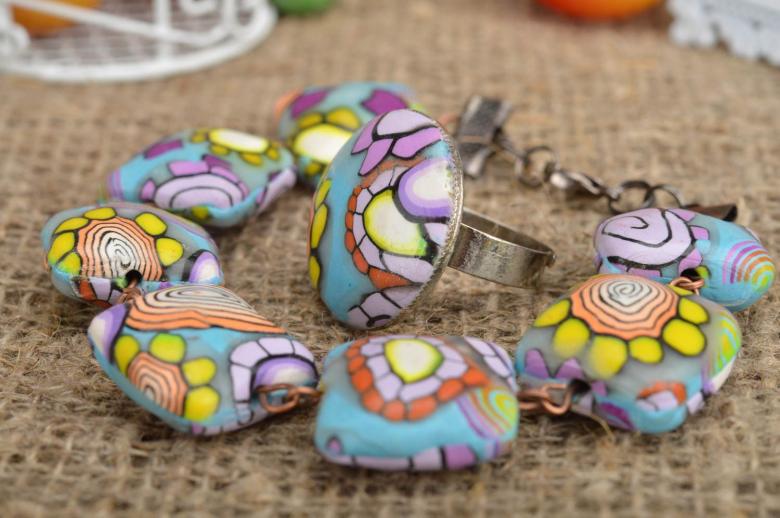
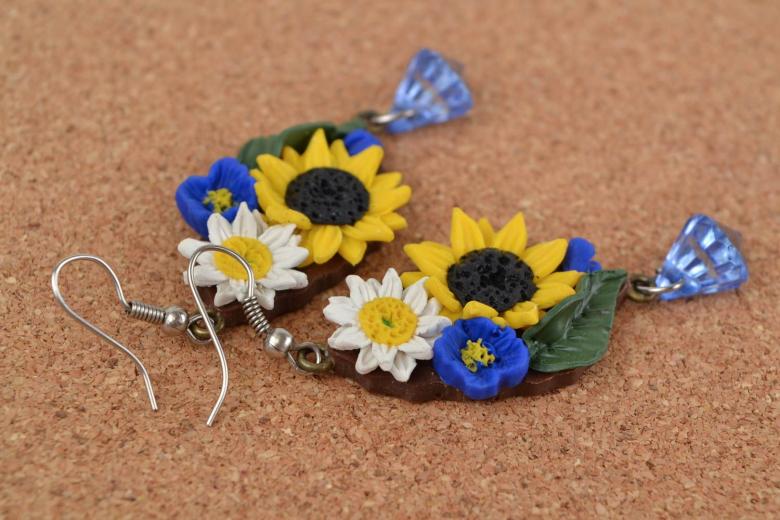
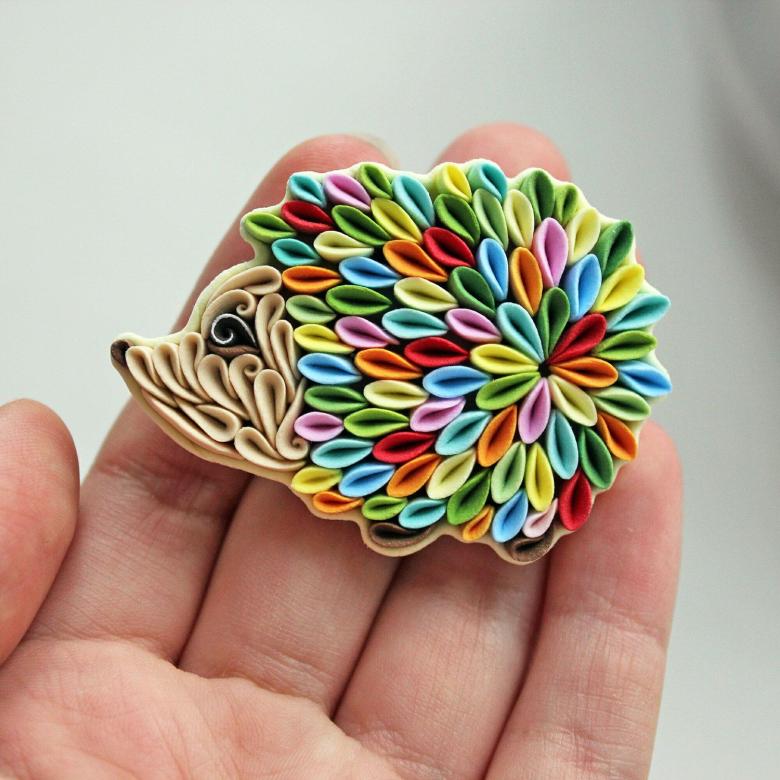
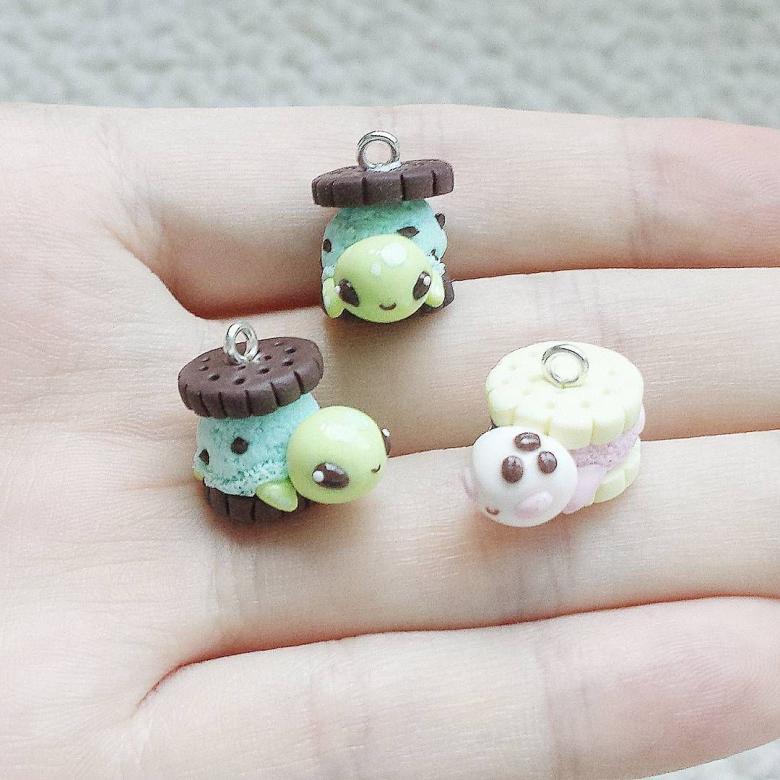
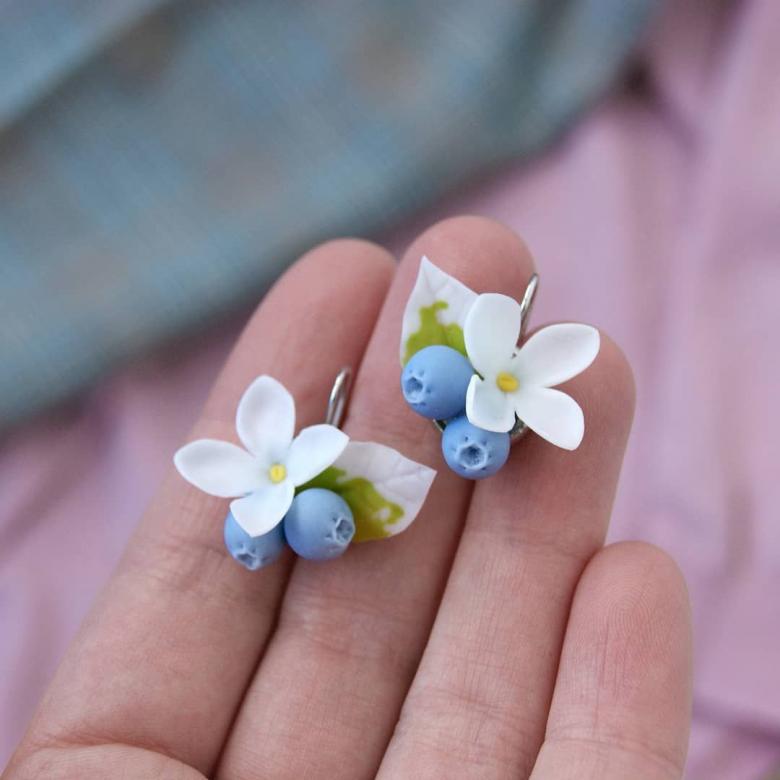
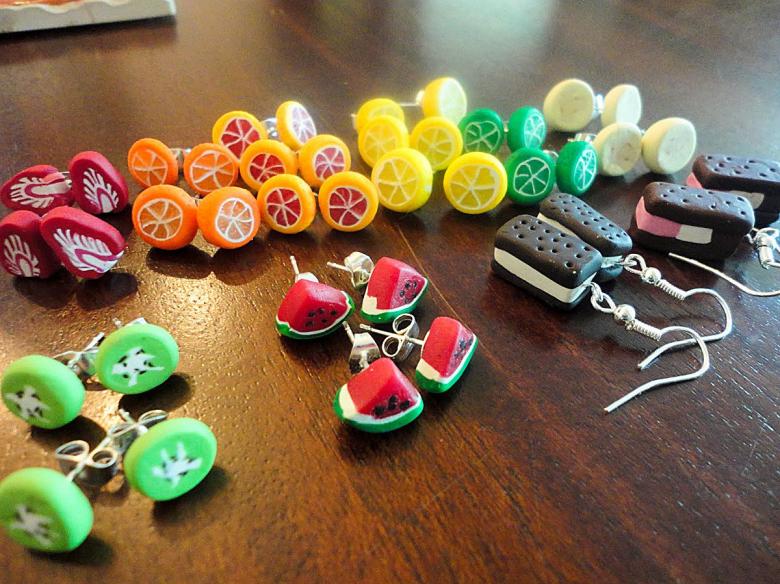
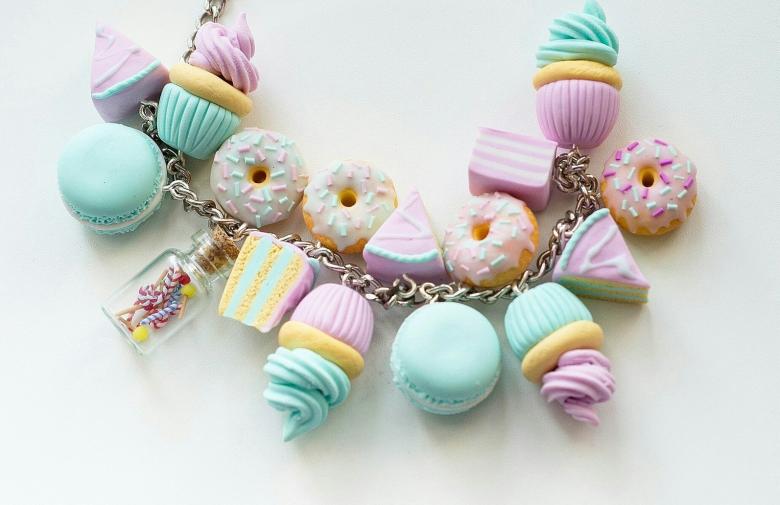
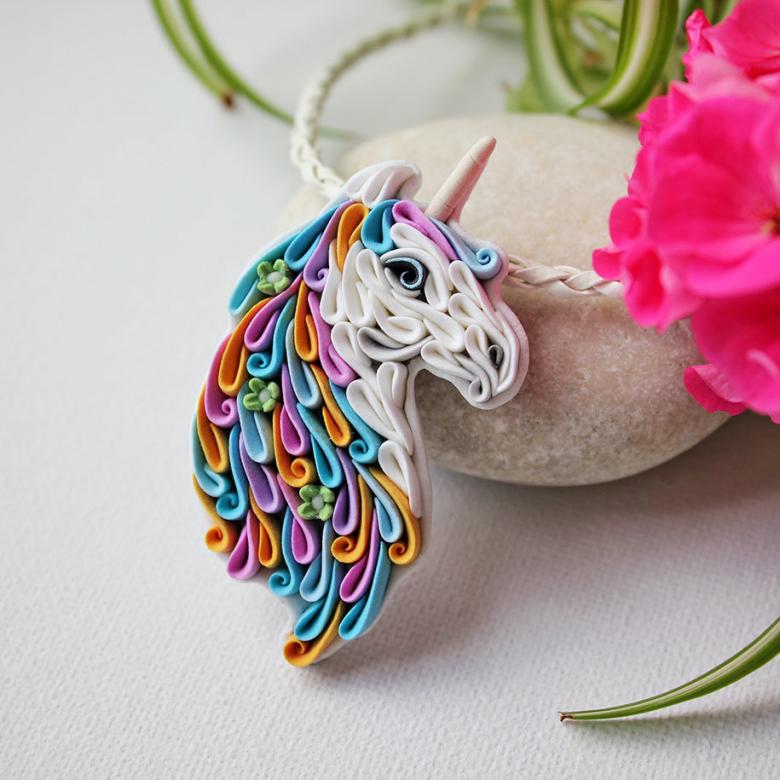
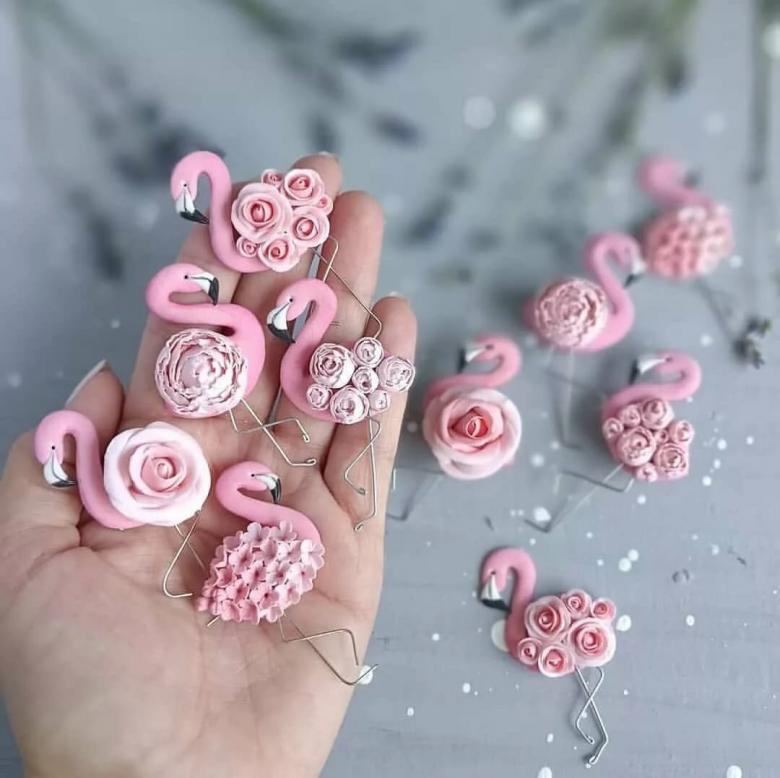
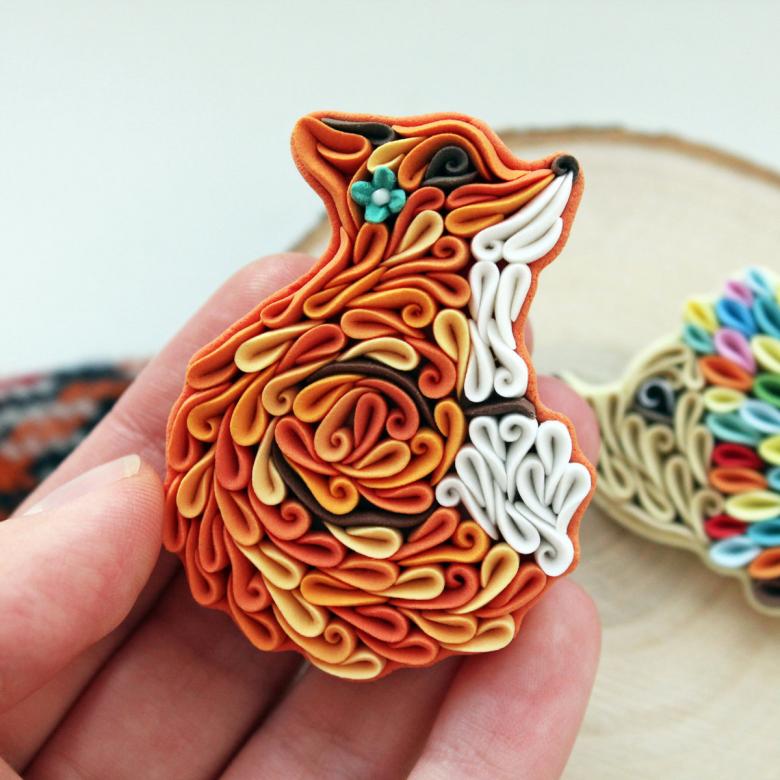
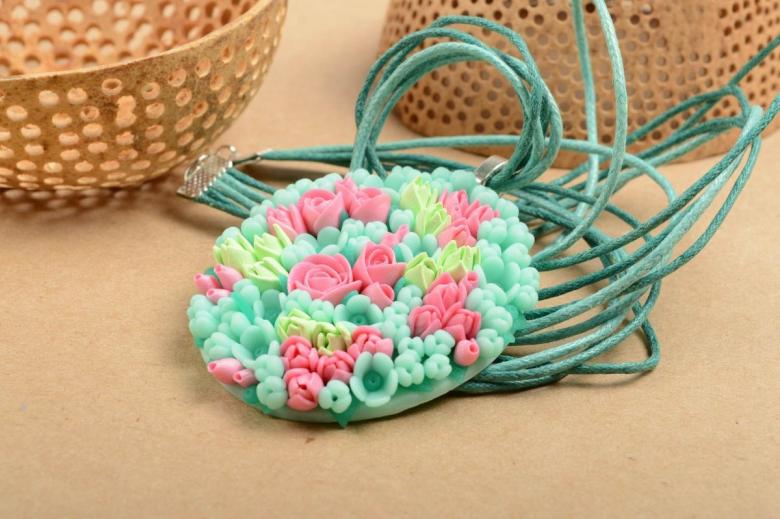
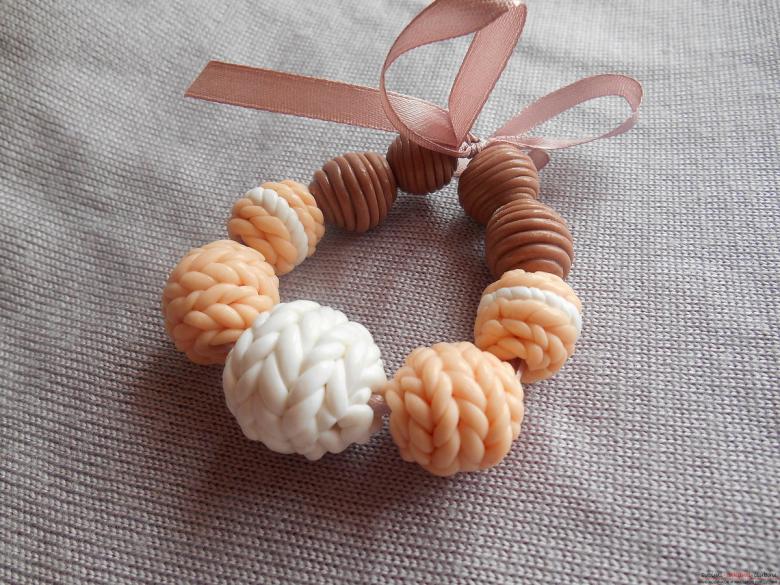
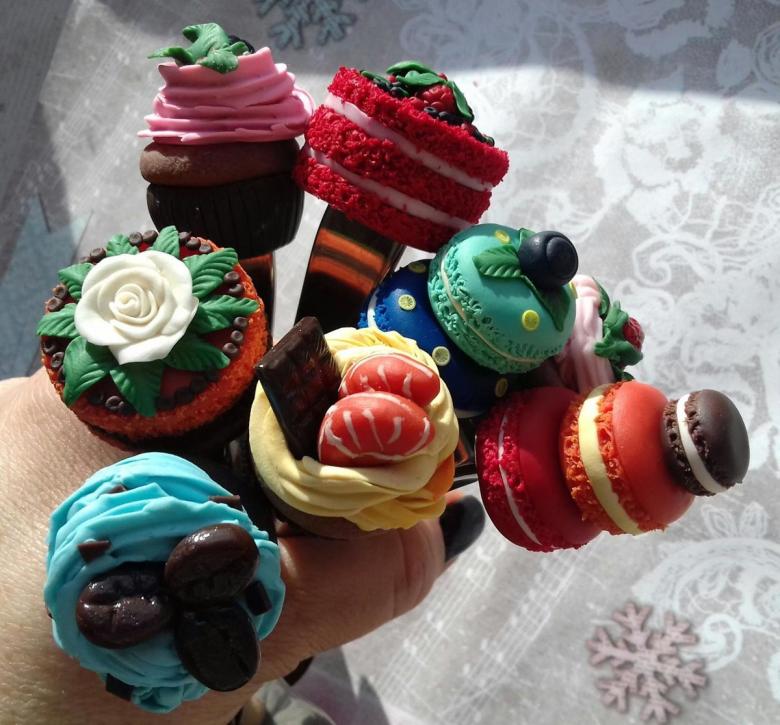
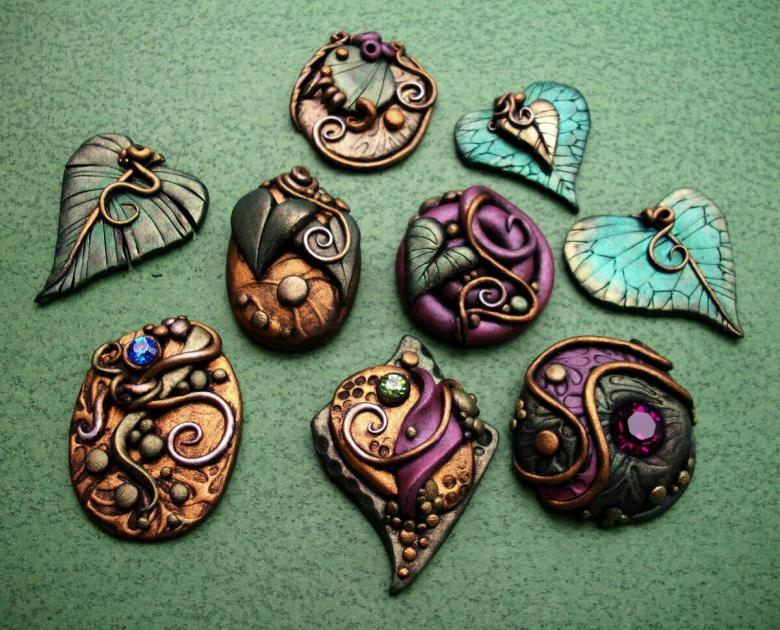
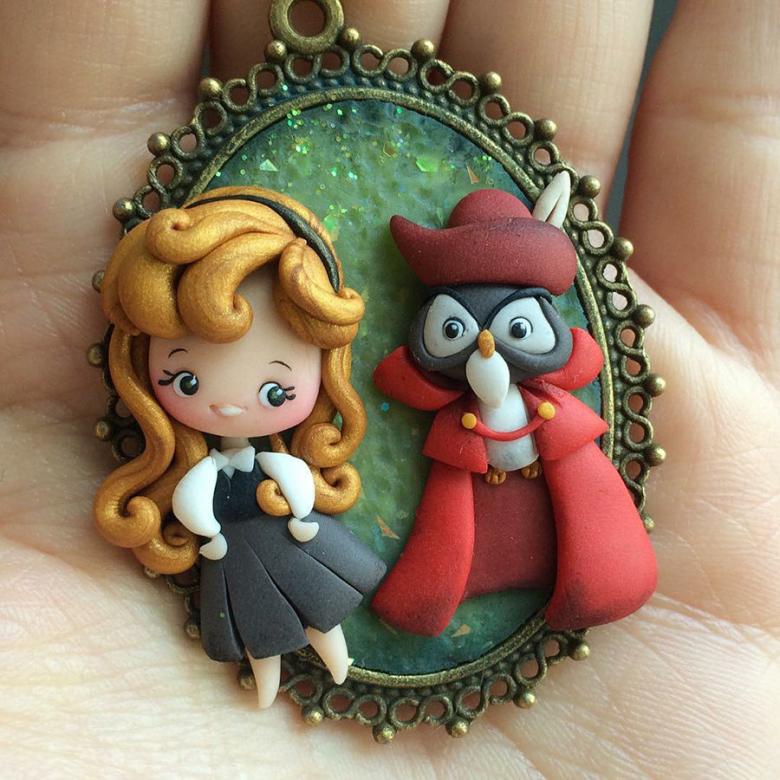
A variety of costume jewelry is quite suitable as an example of polymer clay crafts for beginners. Here is the sequence of steps needed to make the earrings:
- Make blanks using silicone molds.
- Carefully insert a fitting rod for a clasp at one edge. Mask the joint with clay of the appropriate color.
- Align the parts using a regular toothpick.
- Use a soft brush to highlight an element in a different tone.
- Place the piece in the oven.
- After baking, cut off the excess rod. Bend the remaining tip, insert a connecting ring, and attach a special hook - a pendant.
- Cover the finished earrings with paint.
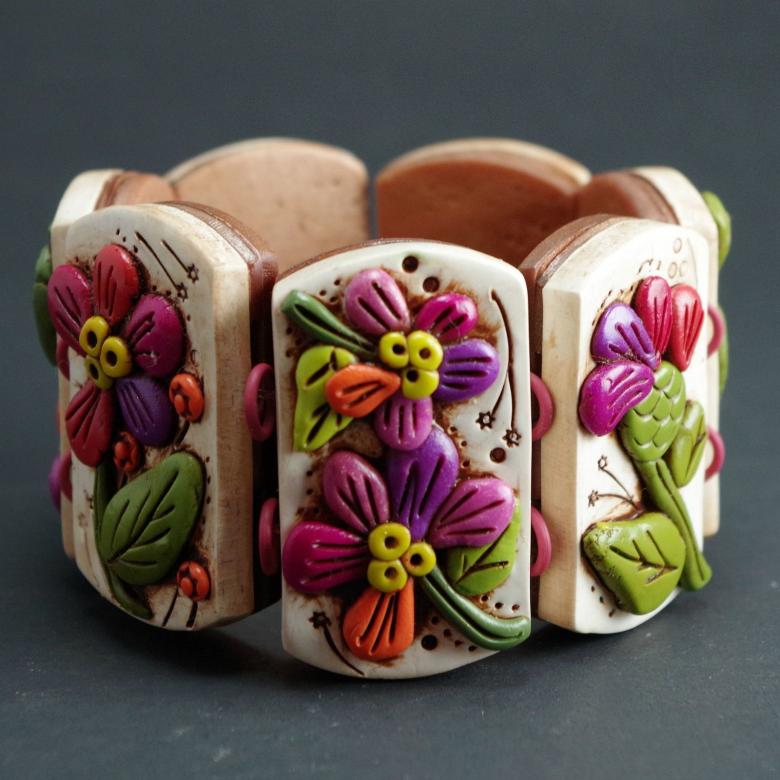
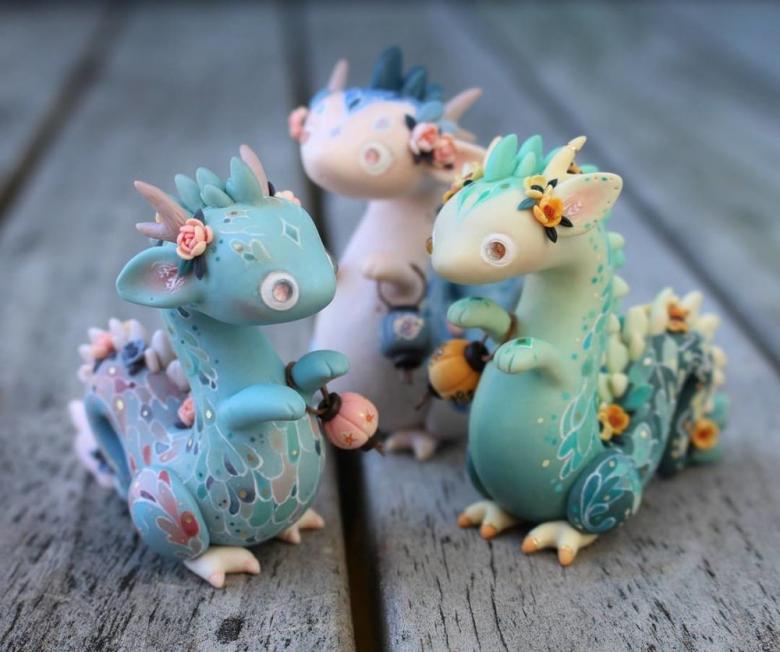
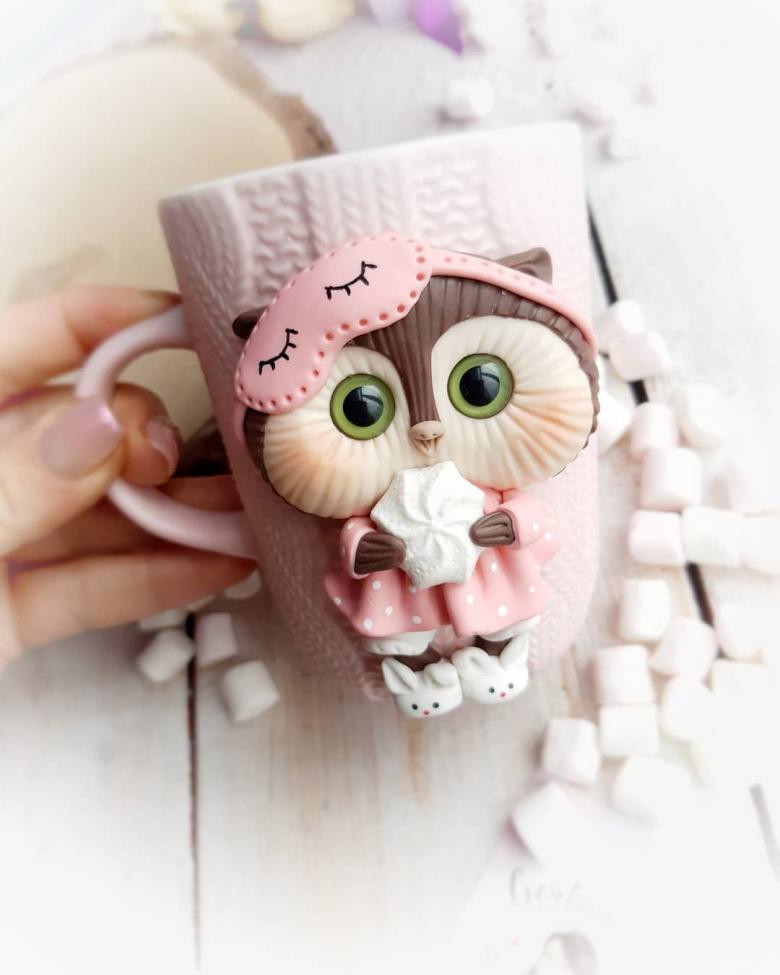
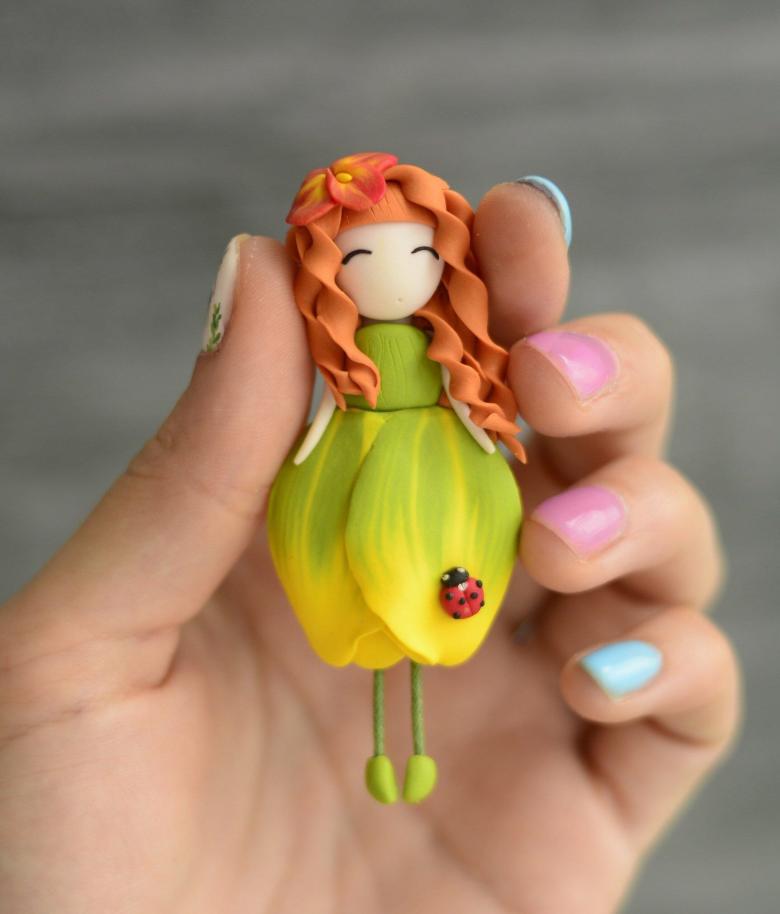
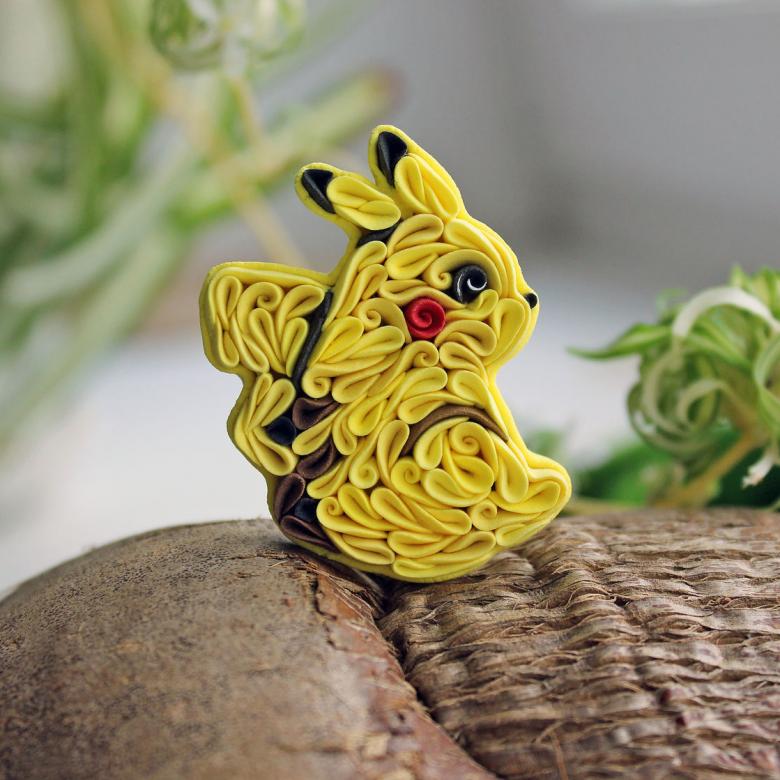
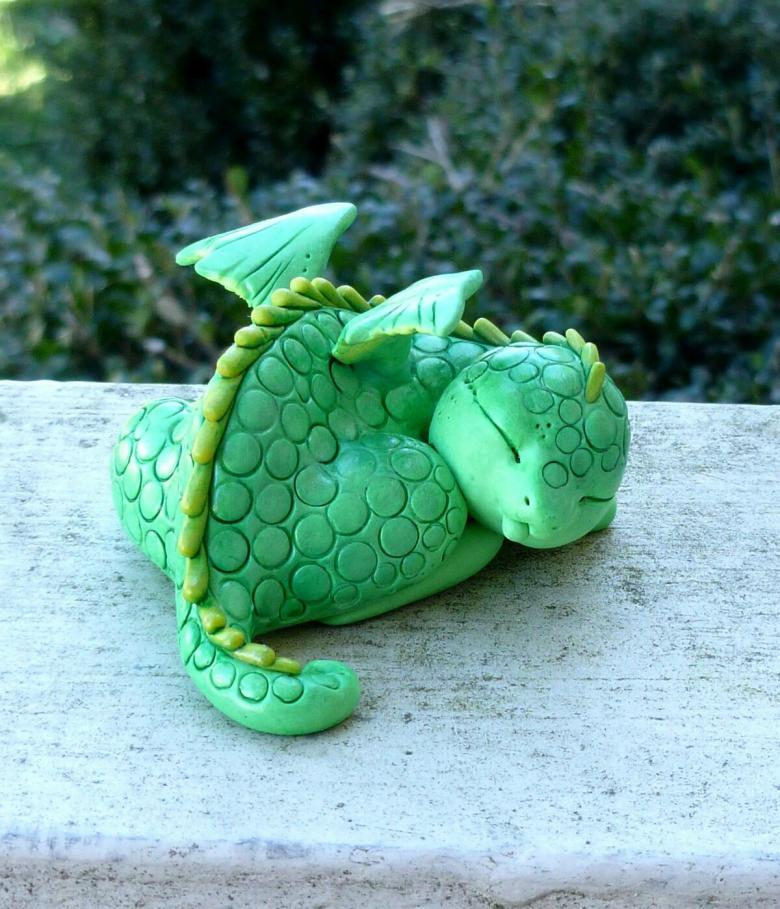
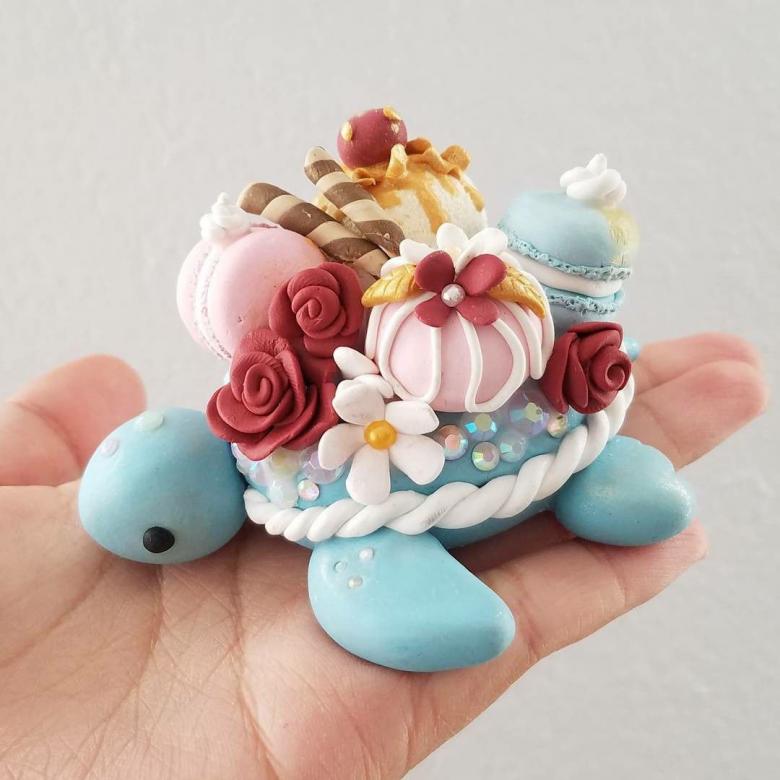
Polymer clay is affordable and quite elastic. Therefore, it is increasingly used to create crafts. It makes not only toys, jewelry, flowers, but also trinkets, figurines, souvenir ware. To make a unique thing you need only diligence and imagination.

