The Bear Costume with their own hands: creating the image from A to Z (79 photos)
Children of preschool age love to reincarnate in different animals, characters of fairy tales or cartoons, for which they adults sew funny costumes. Most often the choice falls on the most famous animals - cats, dogs and bunnies. Every matinee in kindergarten is an expected and joyful event, for which the kids and their parents prepare carefully. The main attention is paid to the holiday attire, where each component is important.
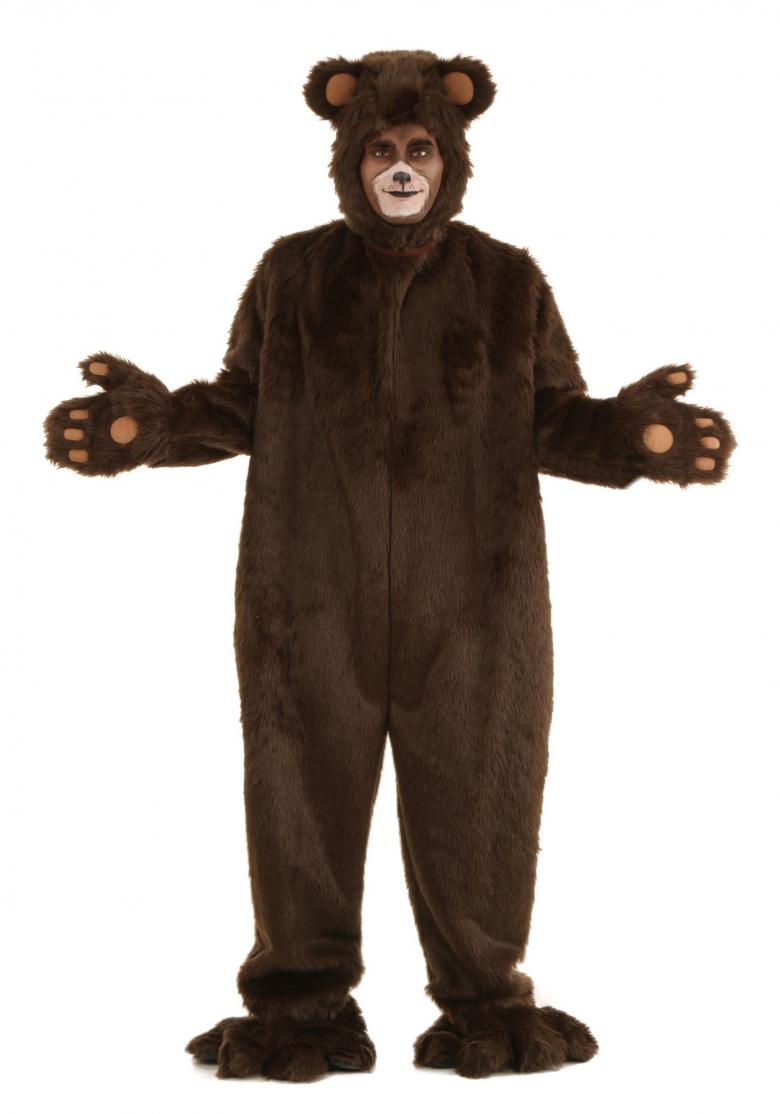
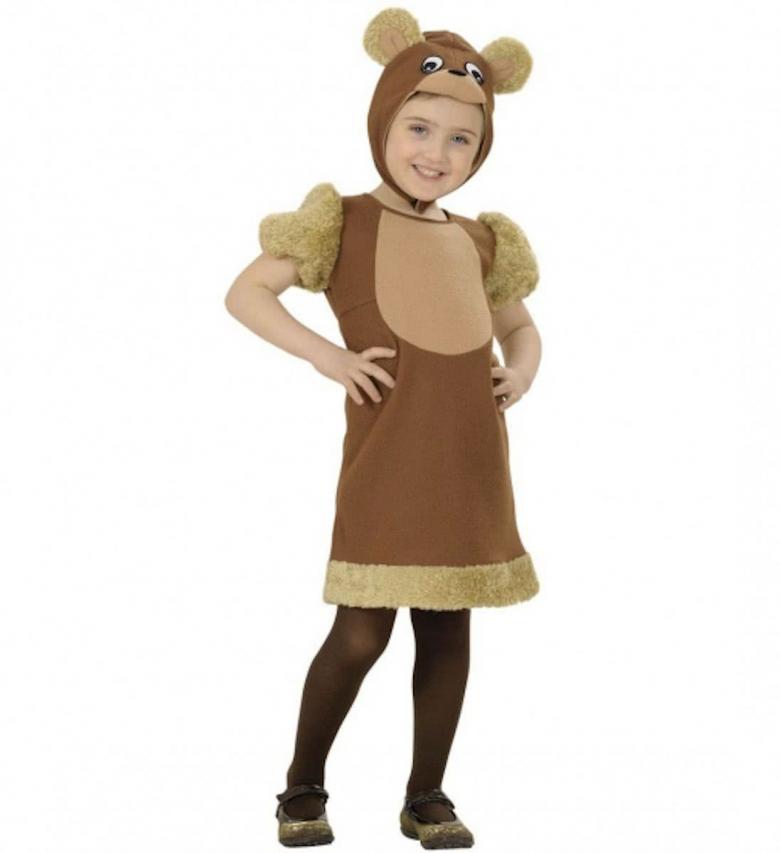
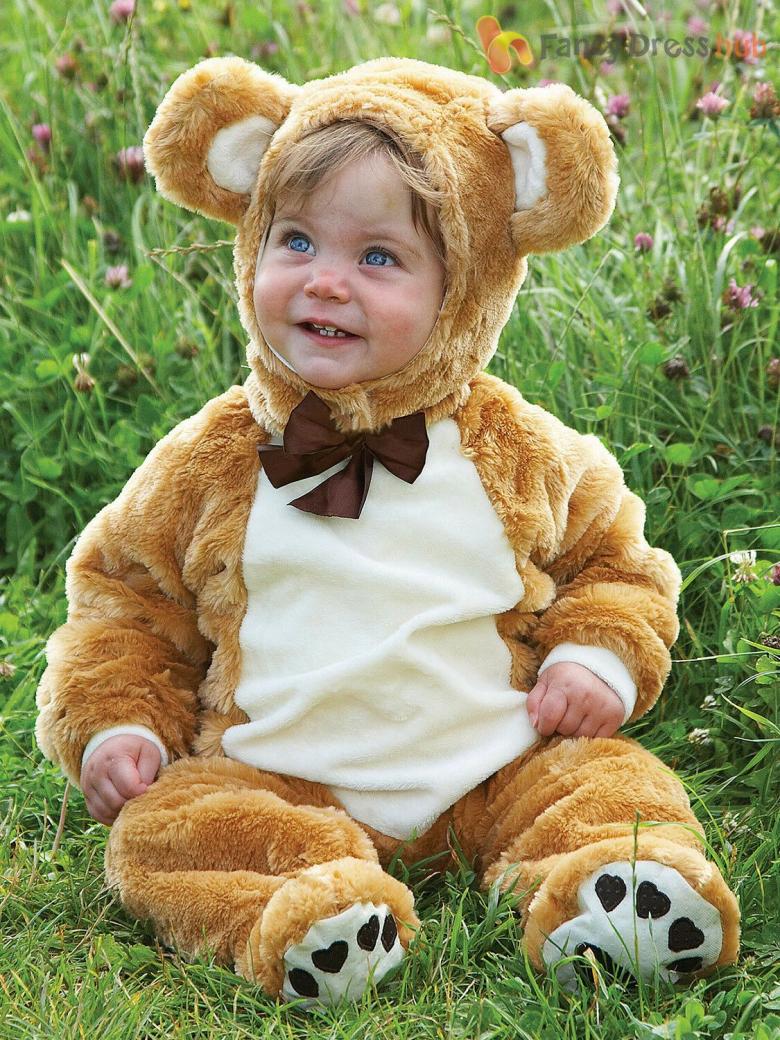
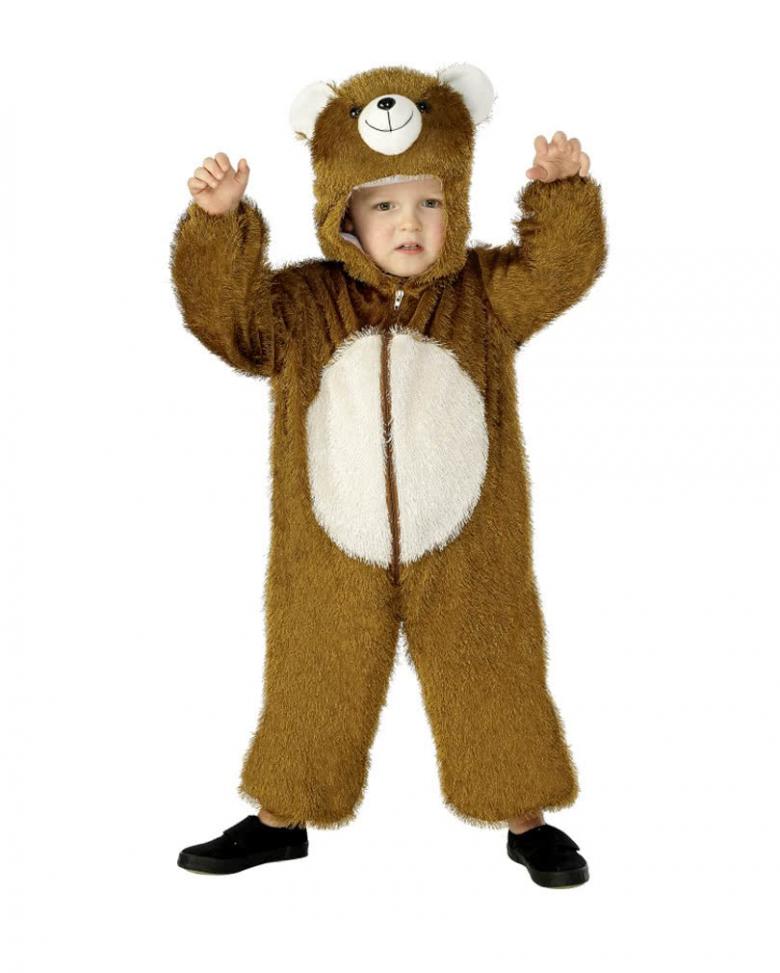
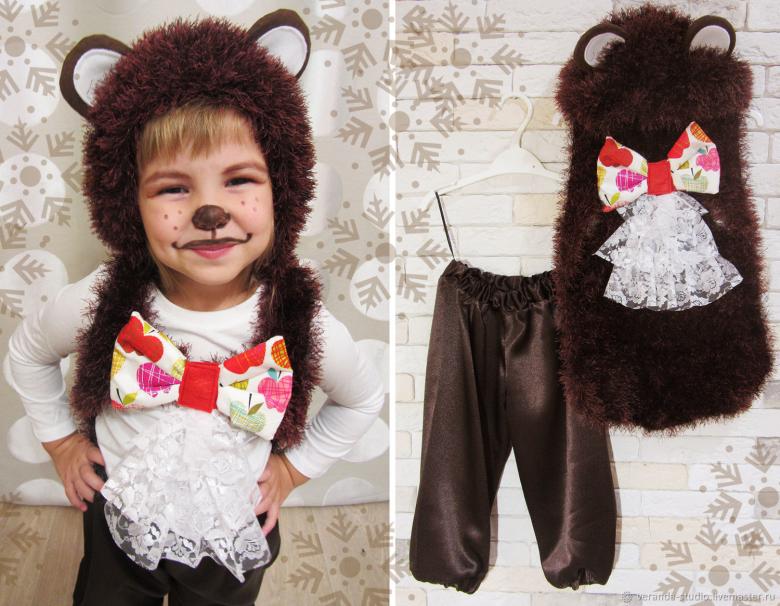
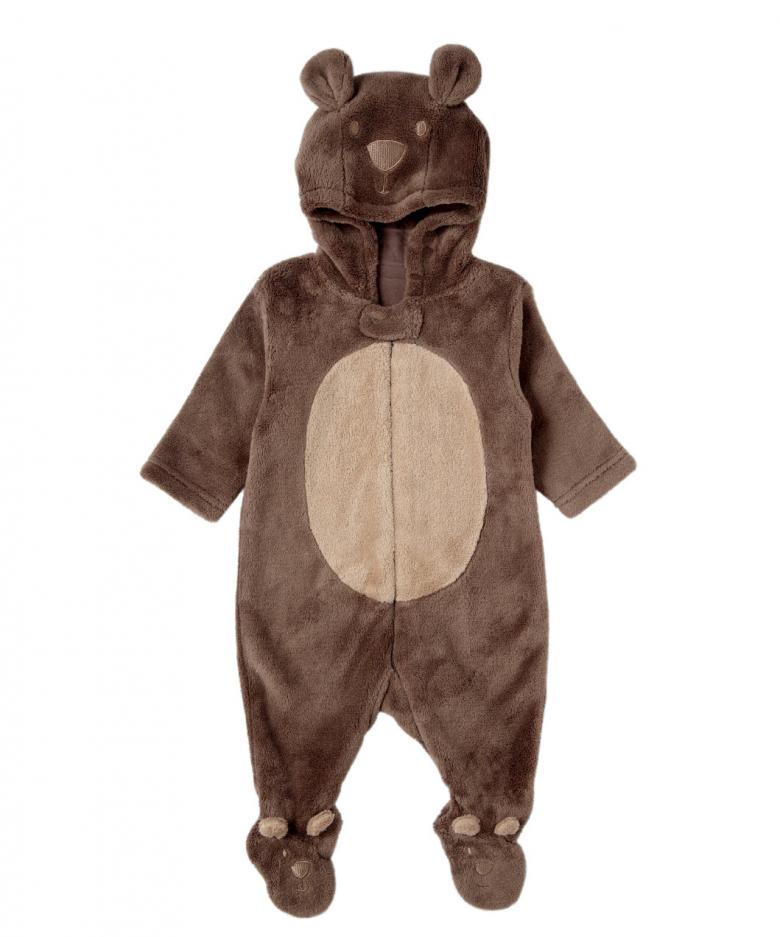
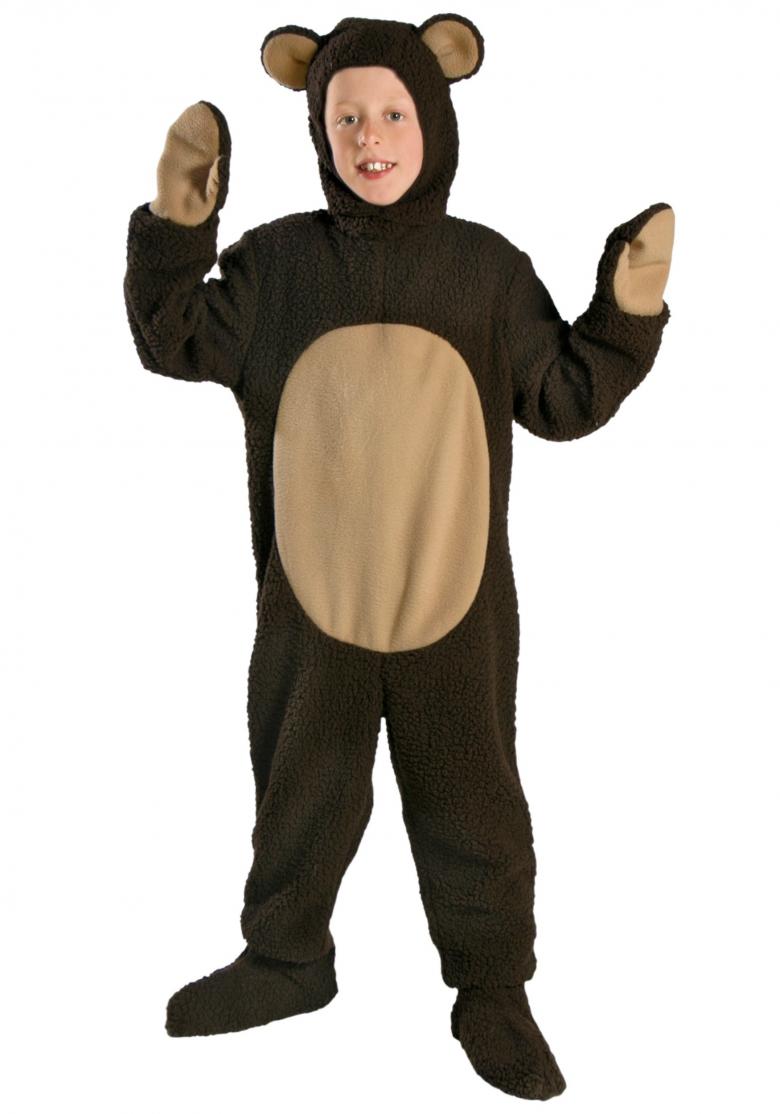
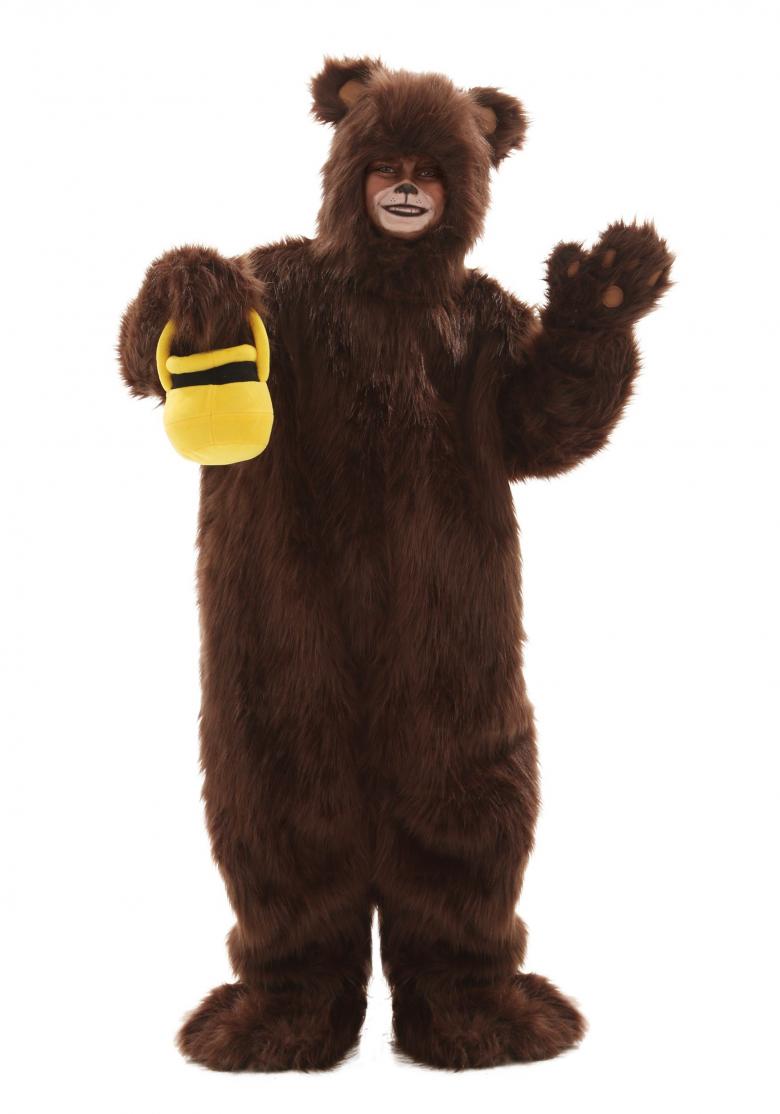
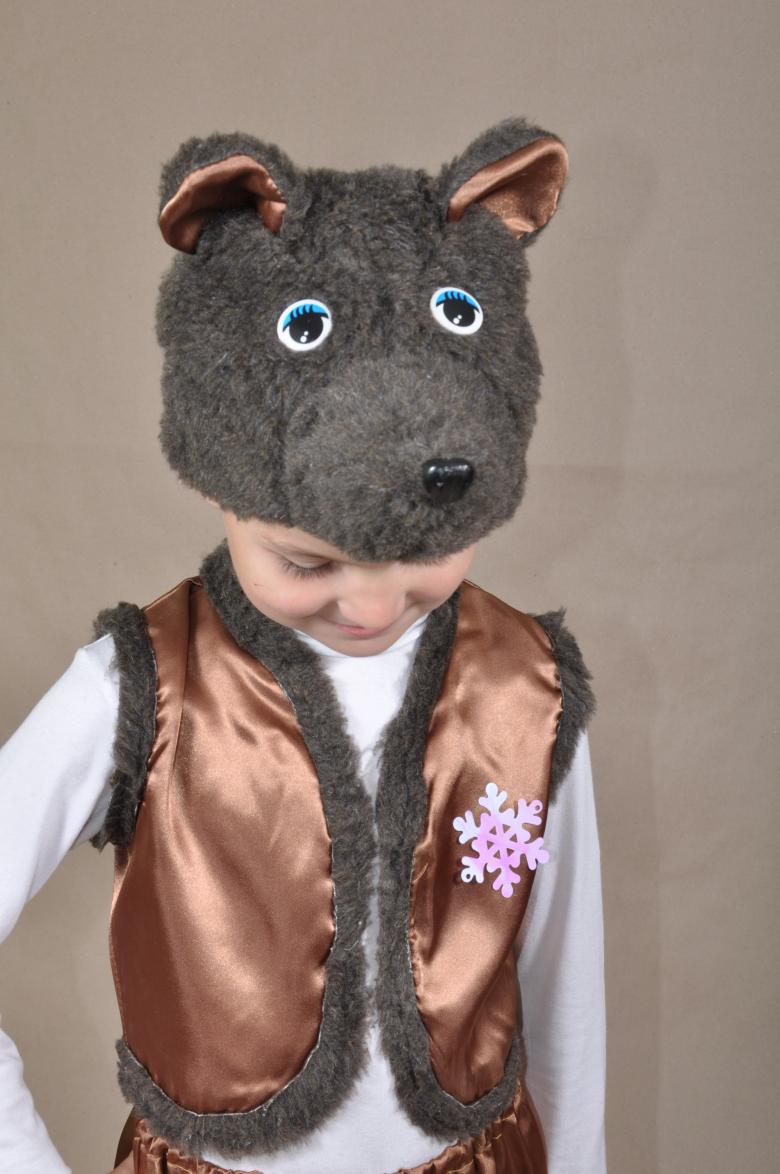
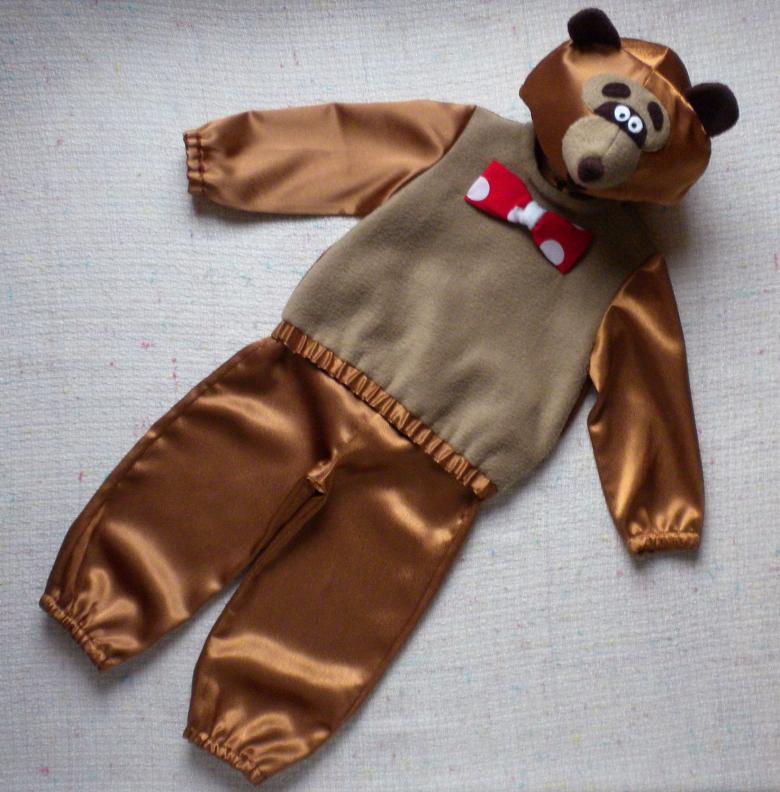
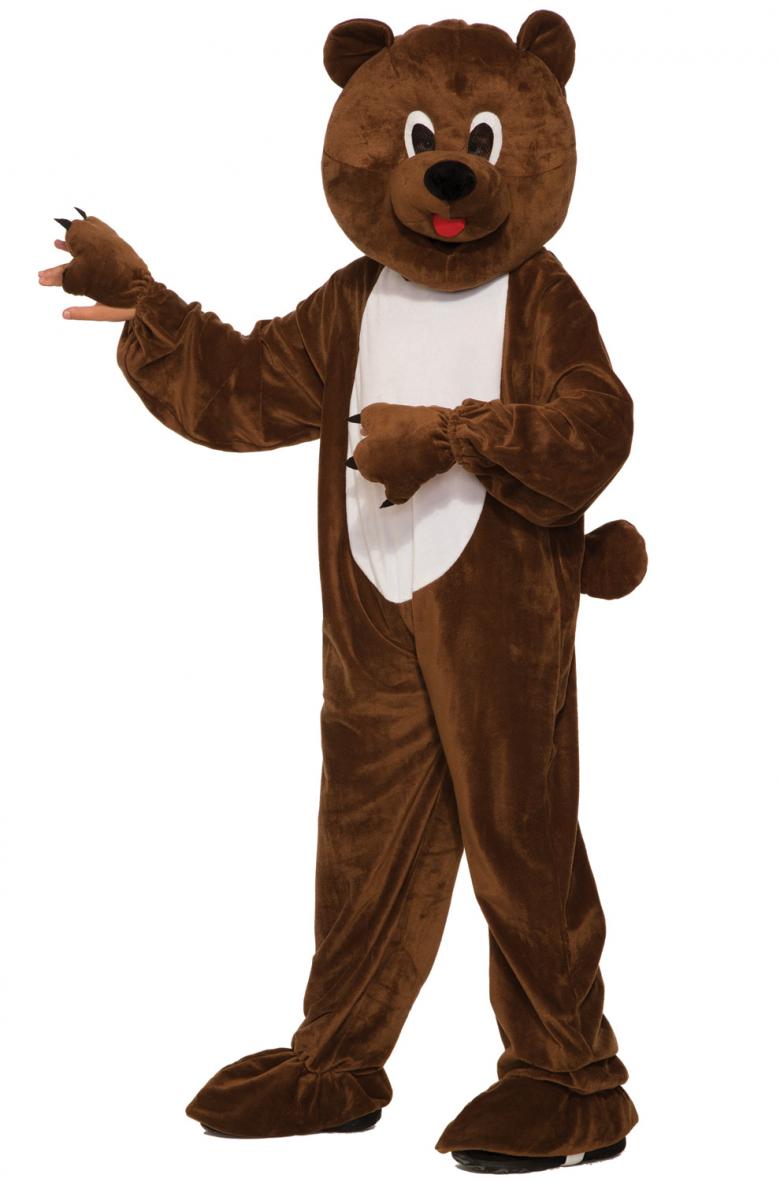
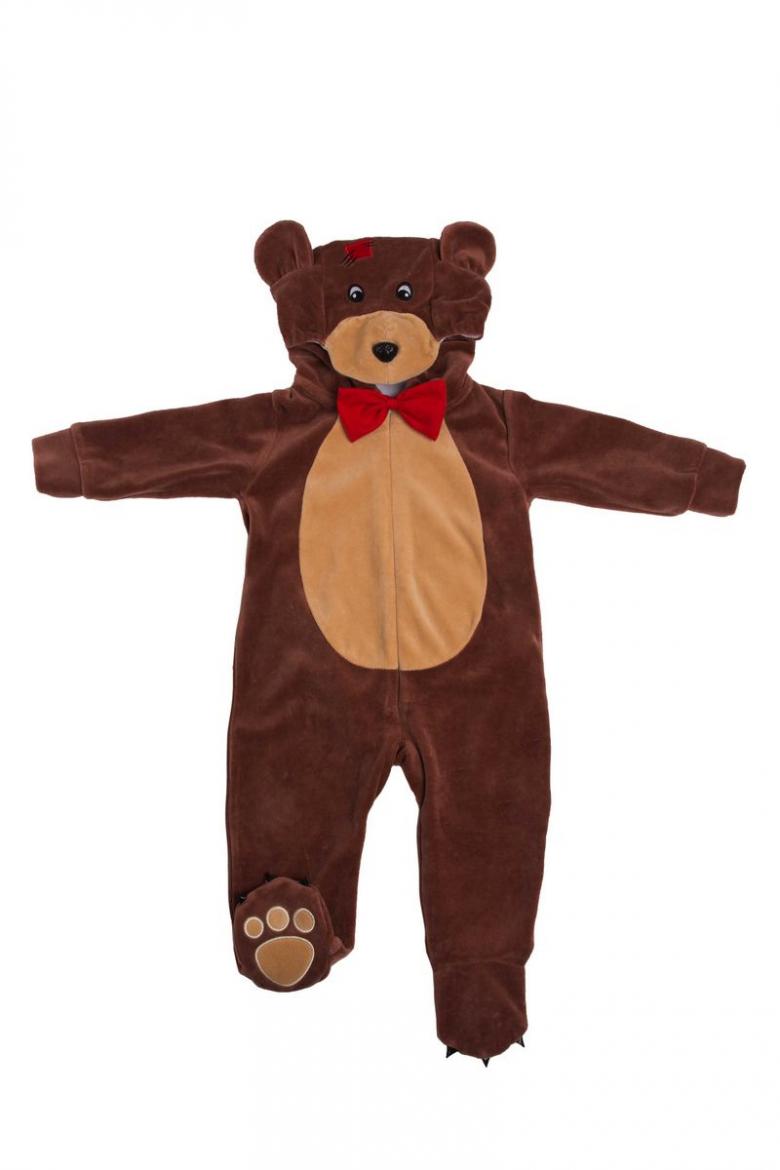
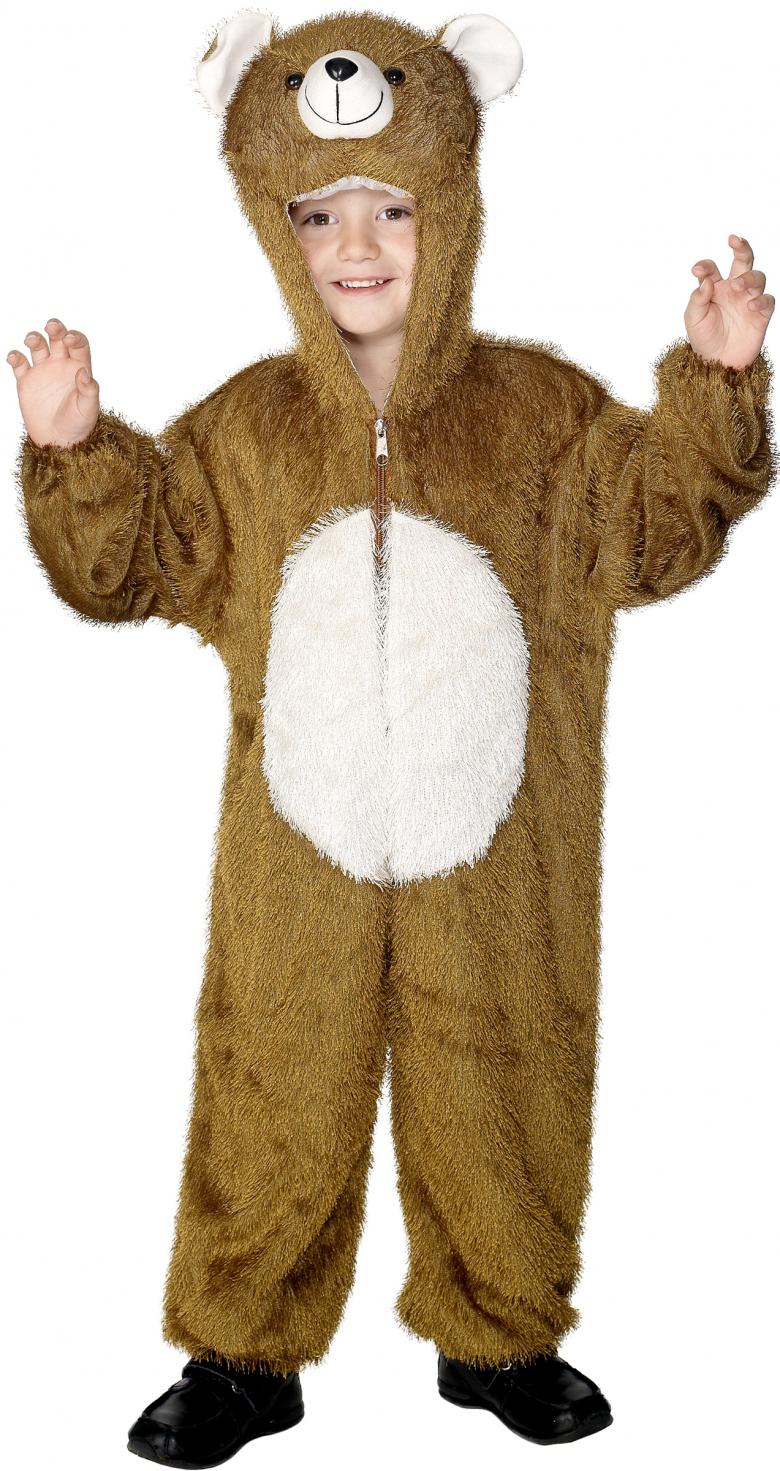
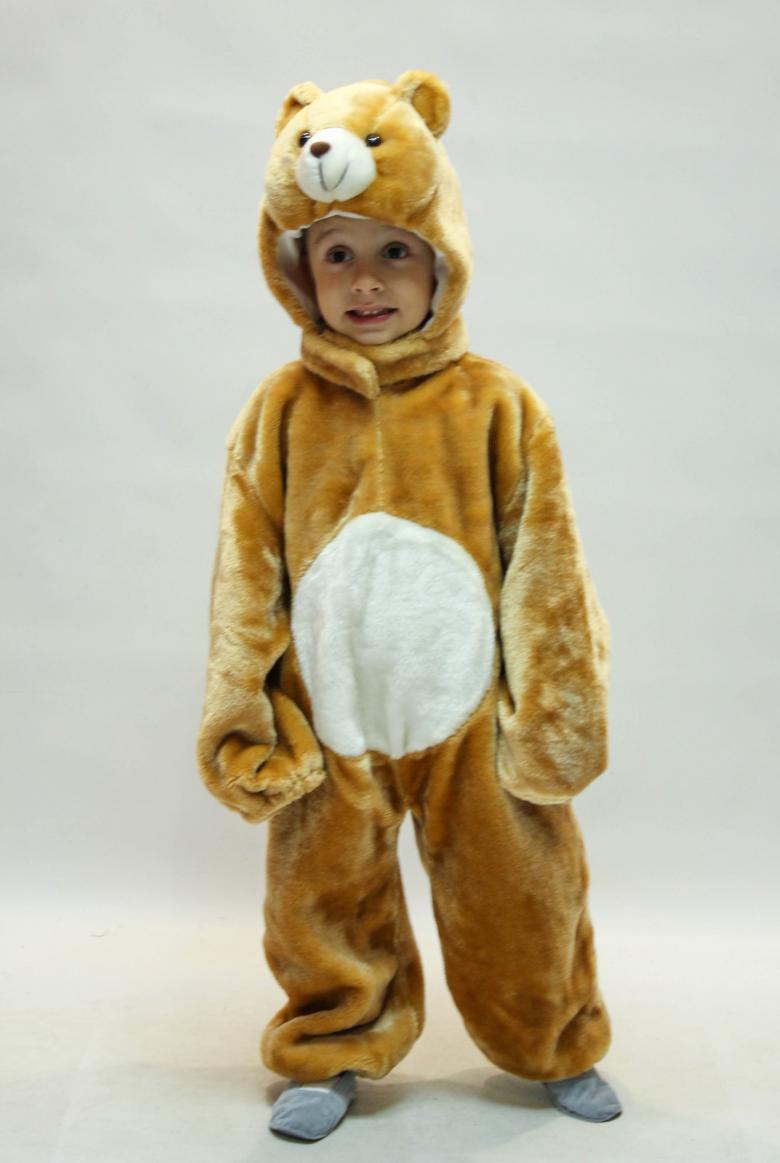
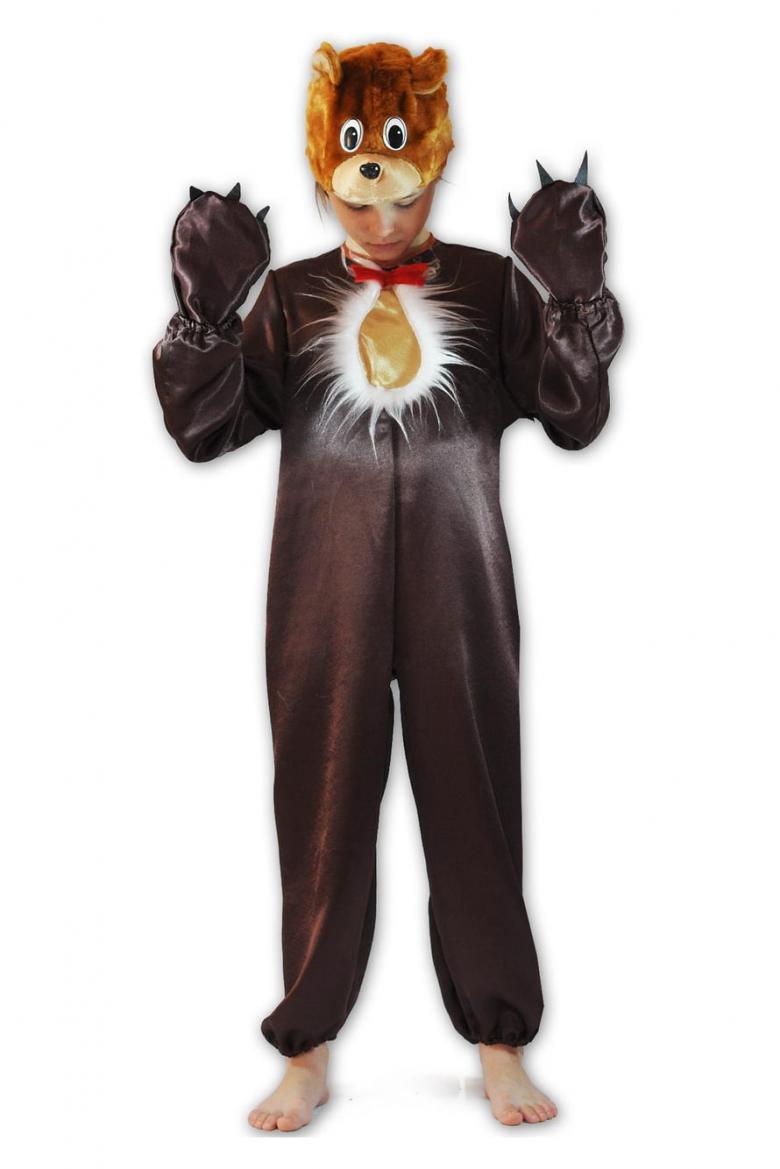
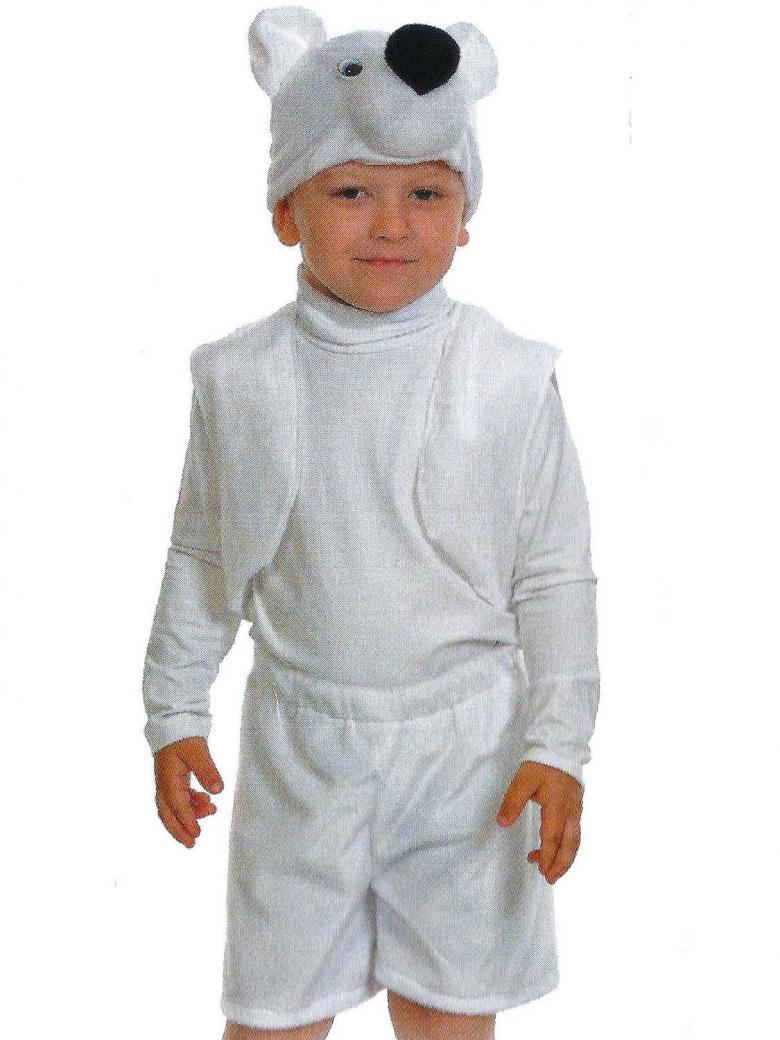
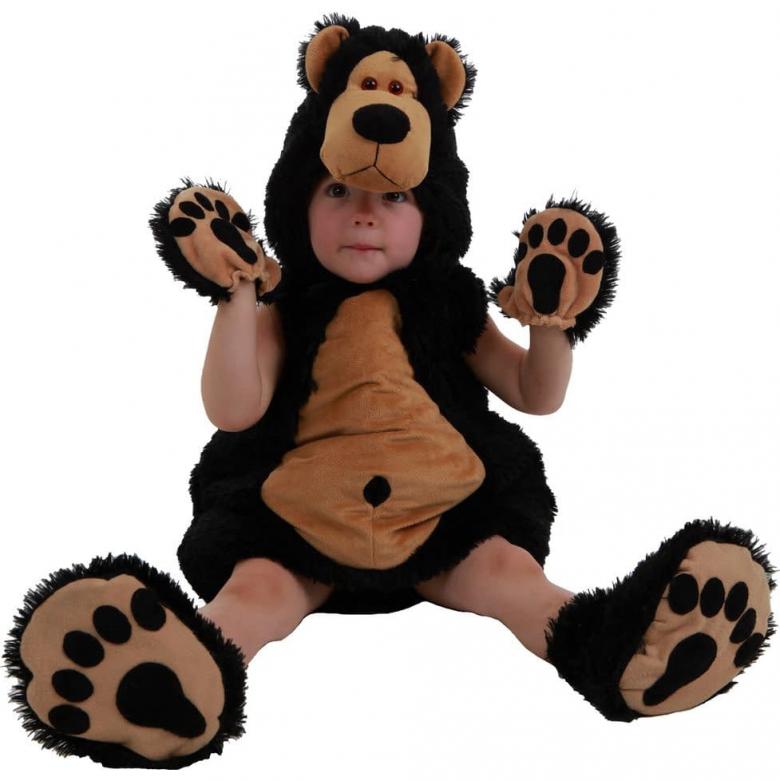
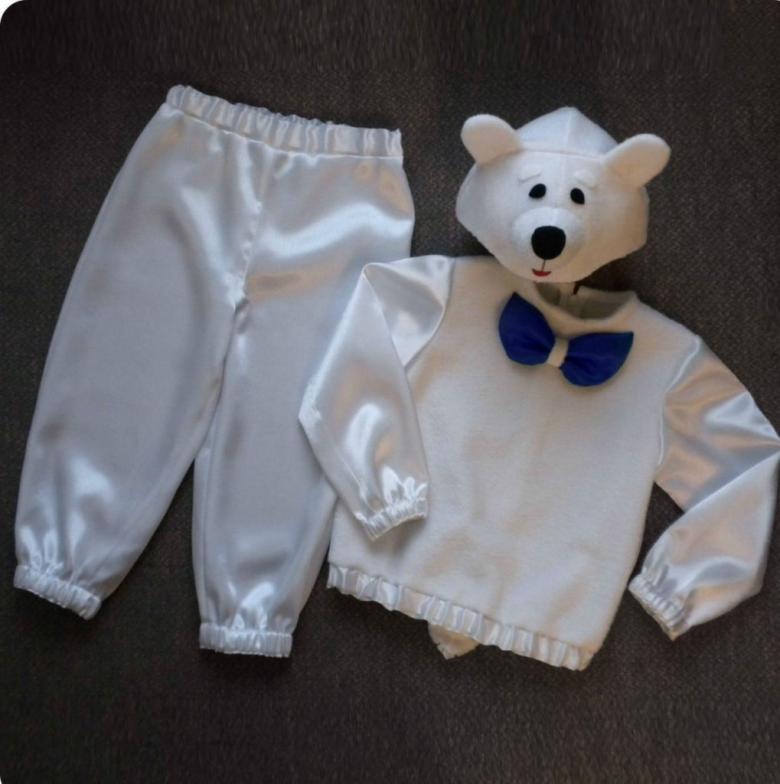
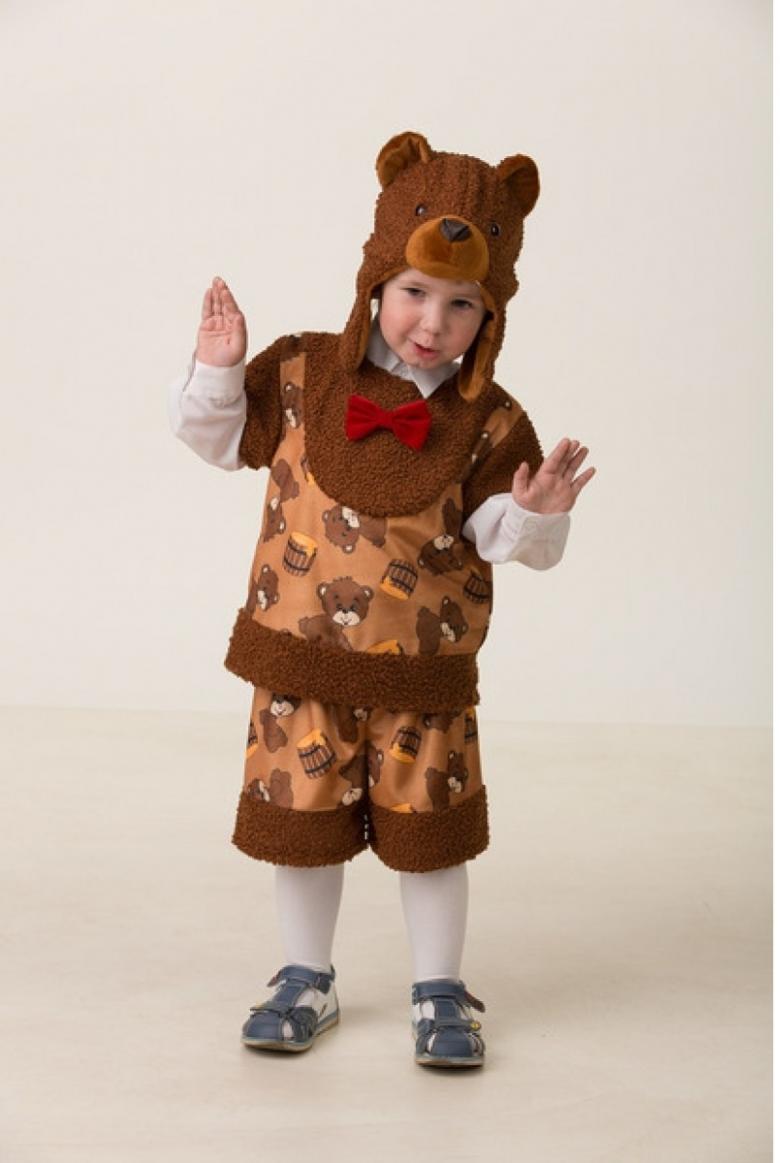
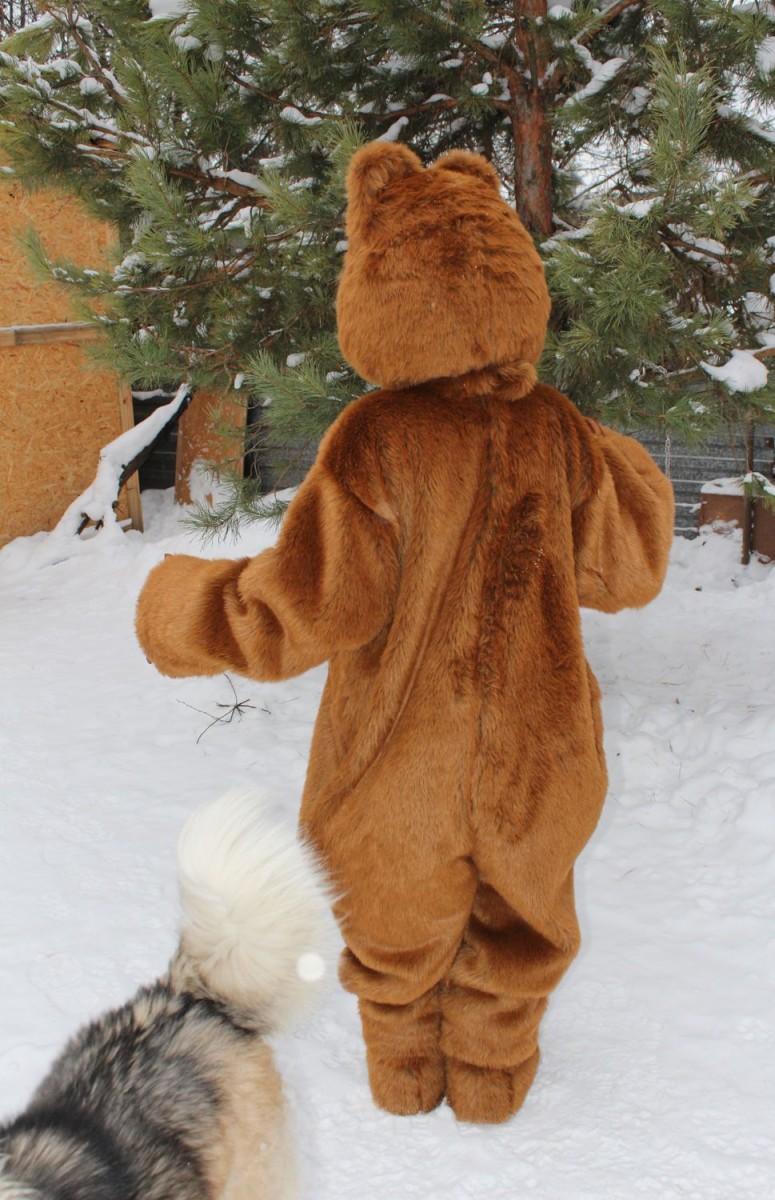
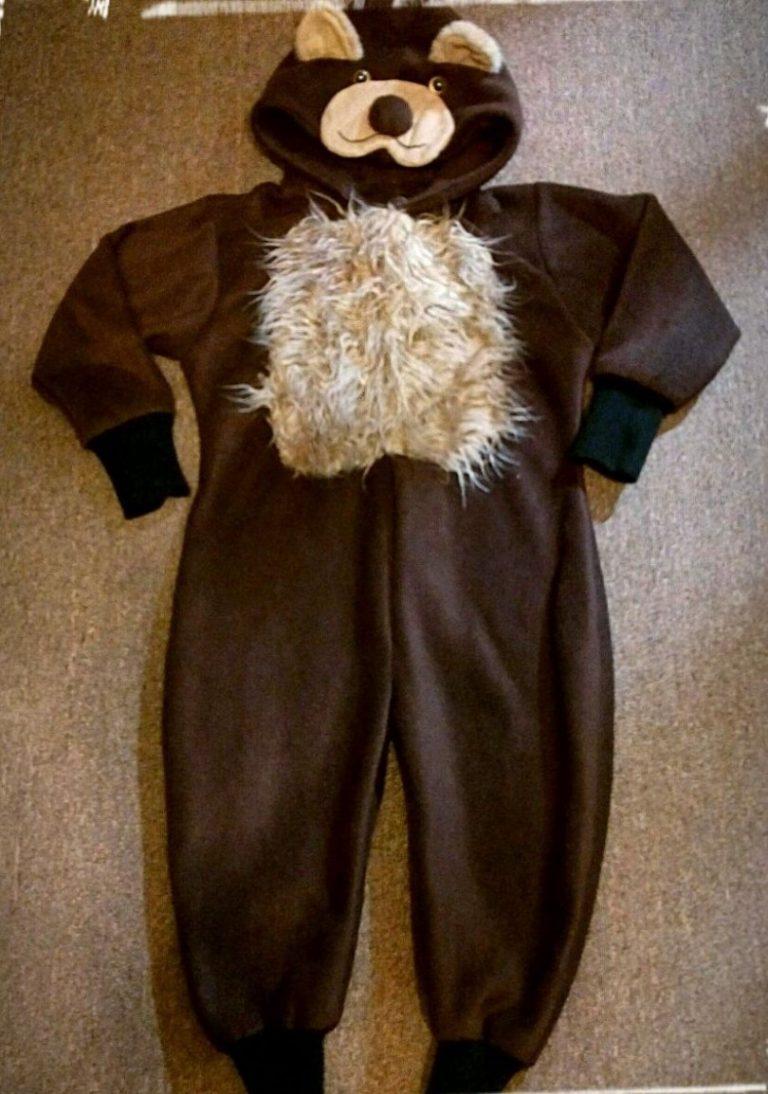
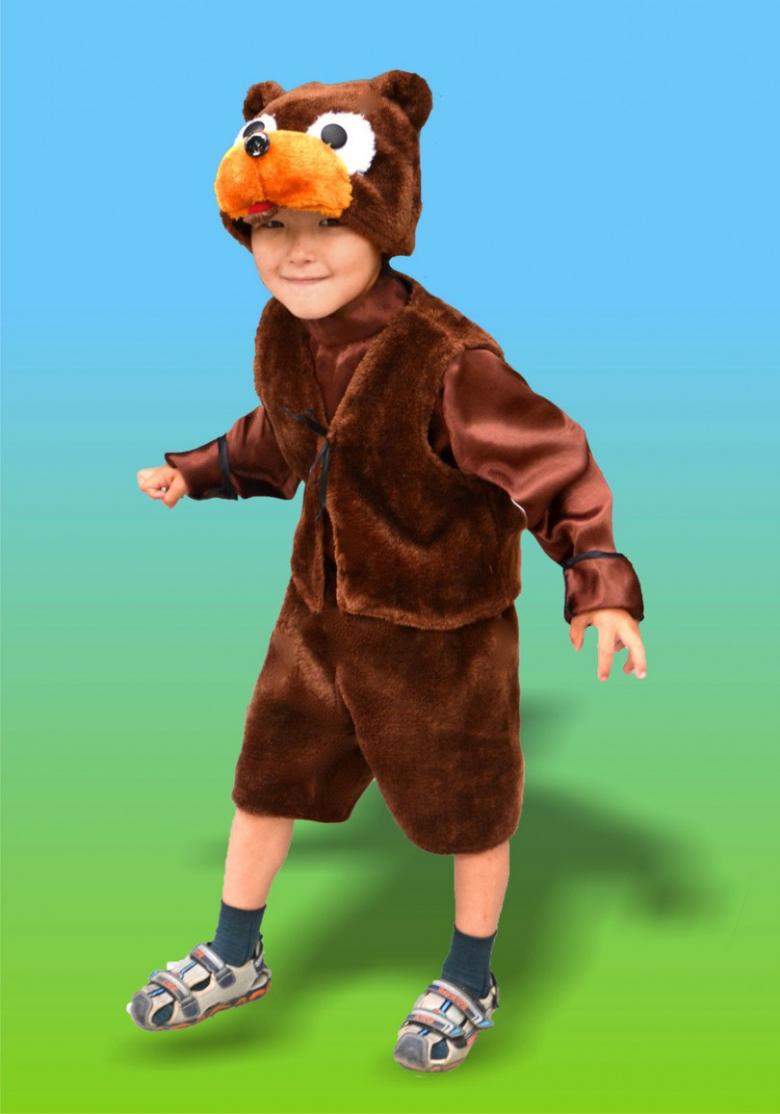
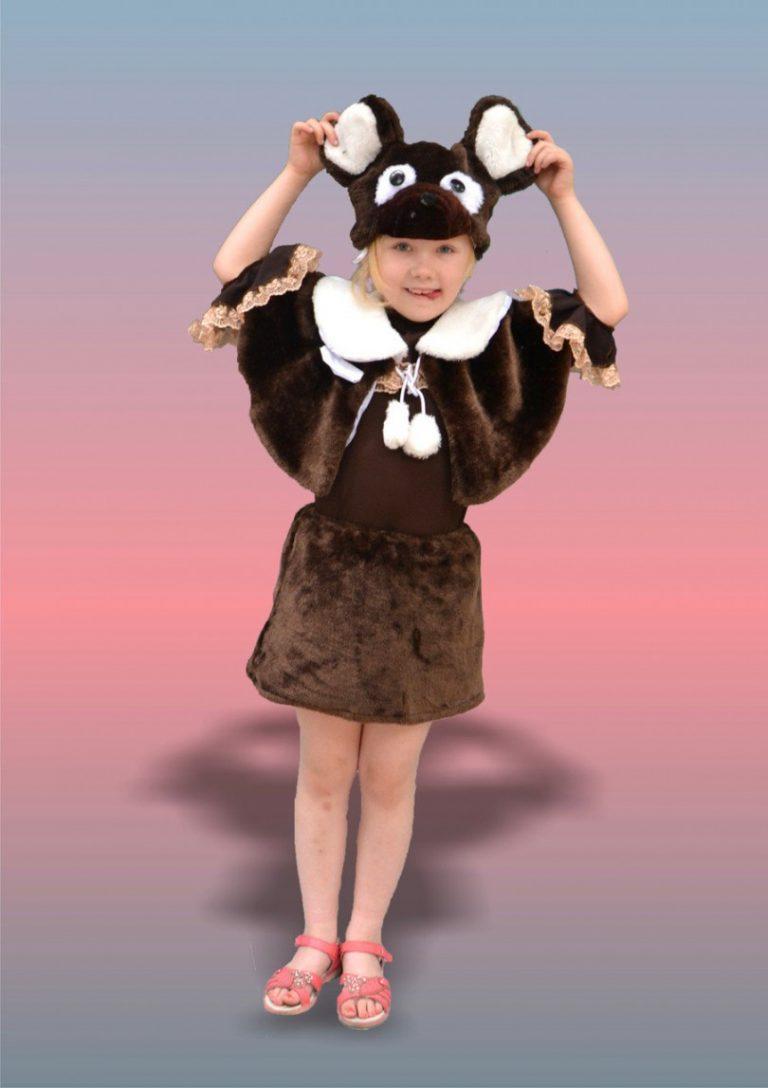
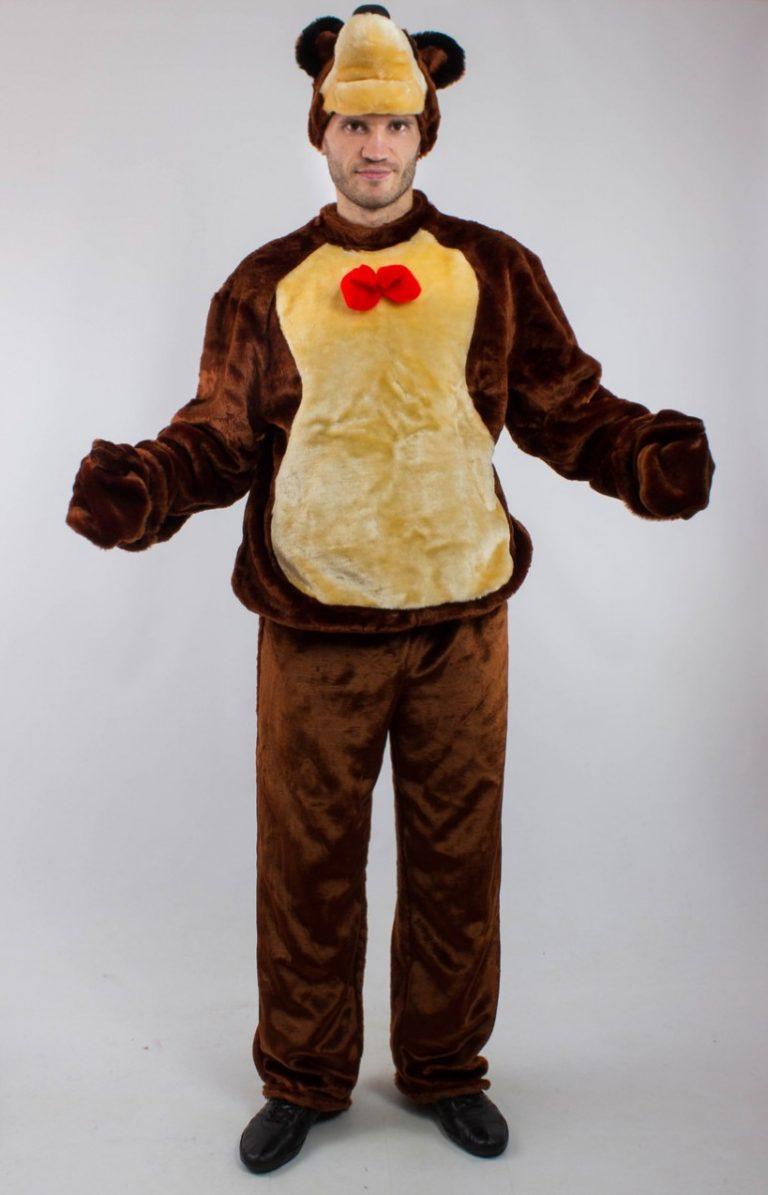
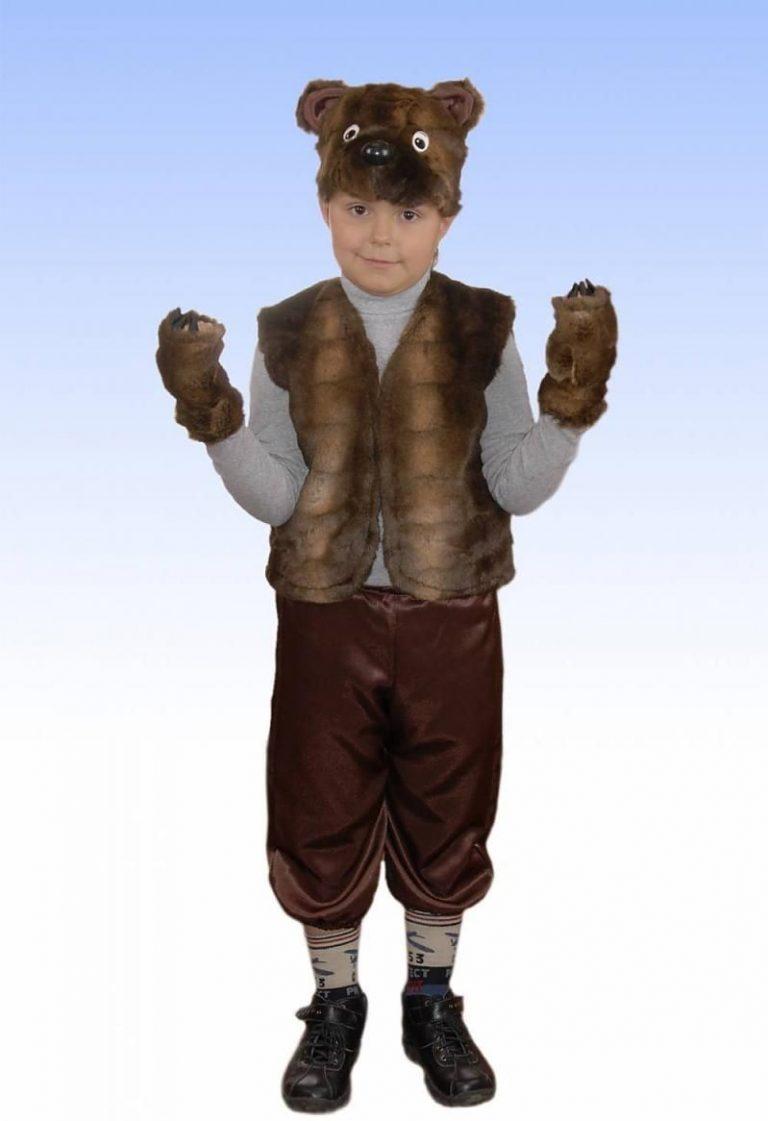
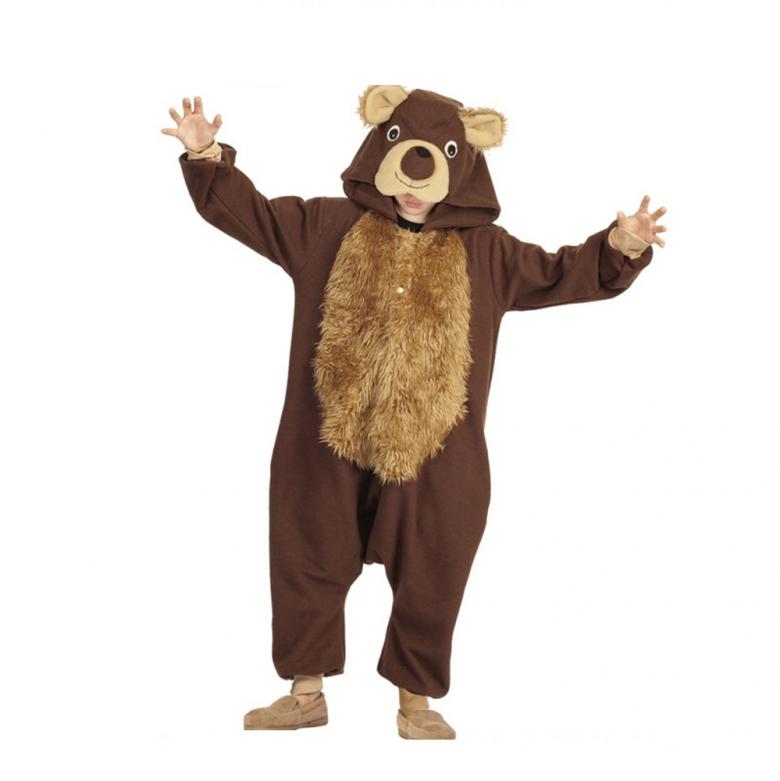
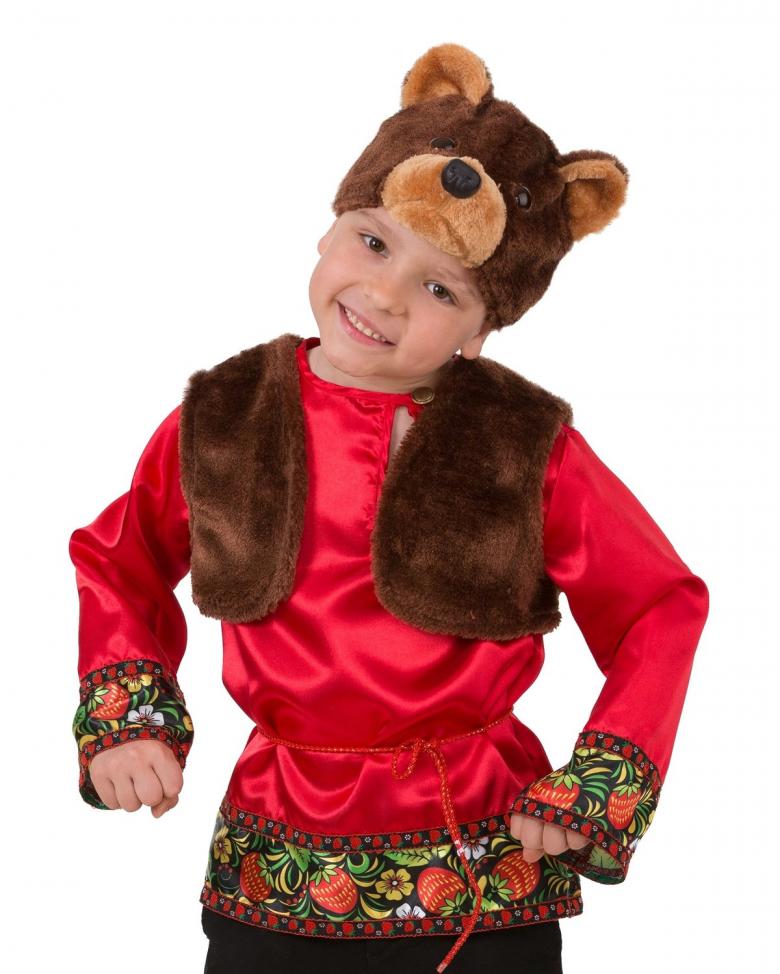
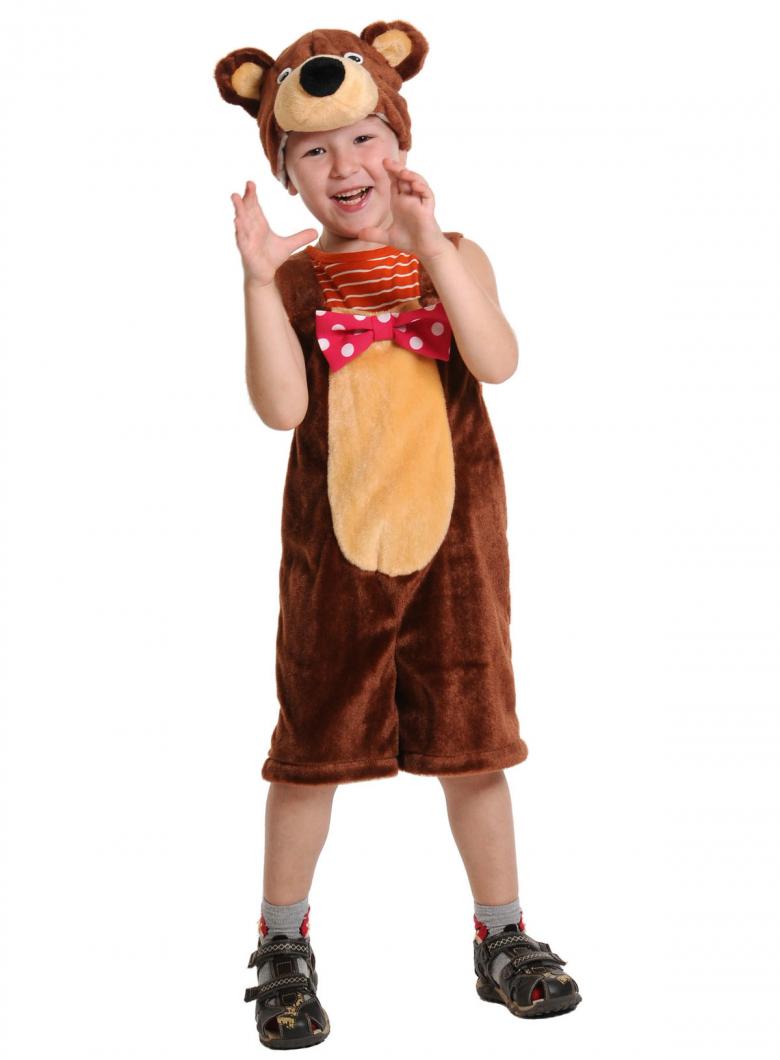
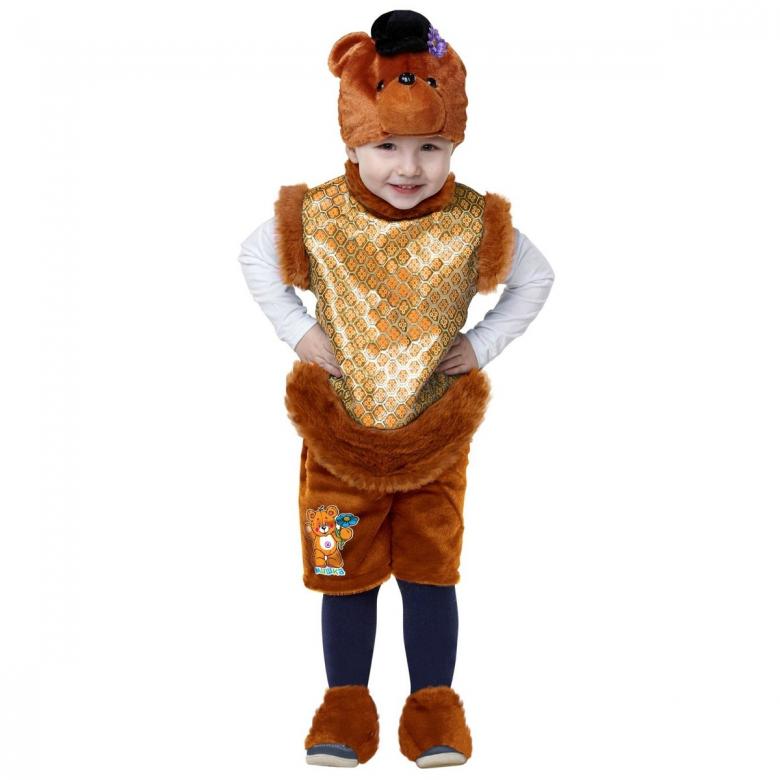
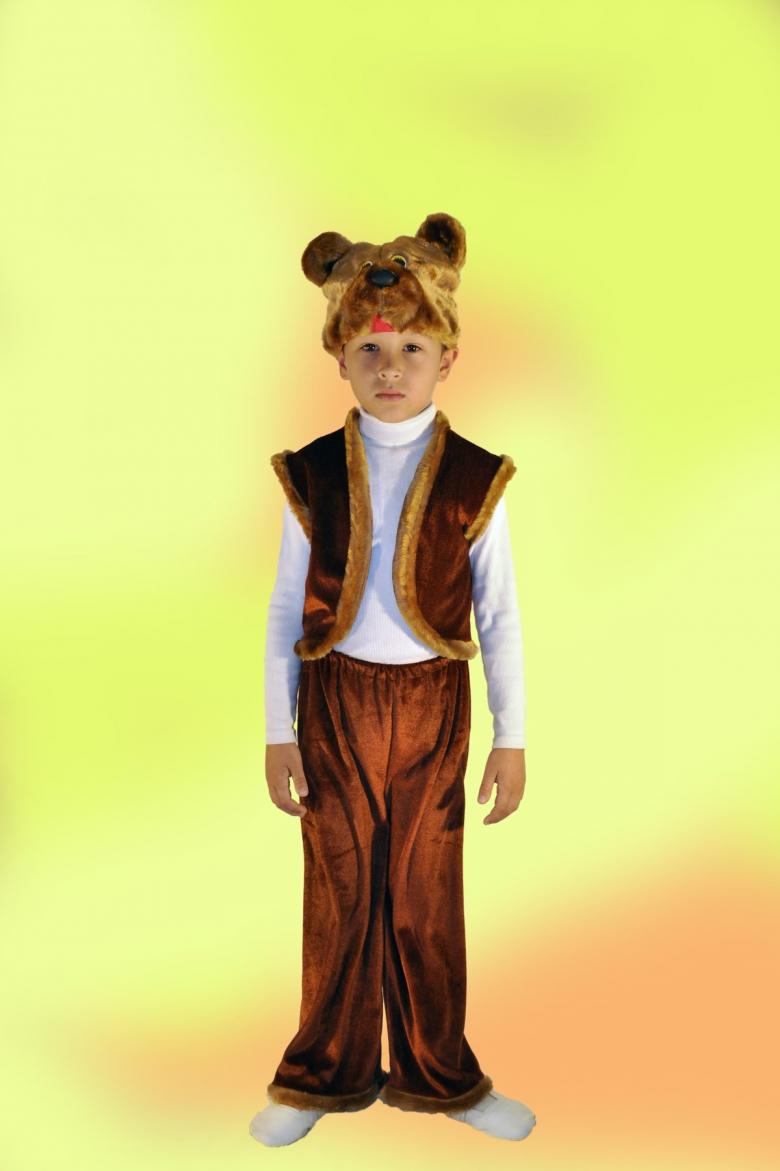
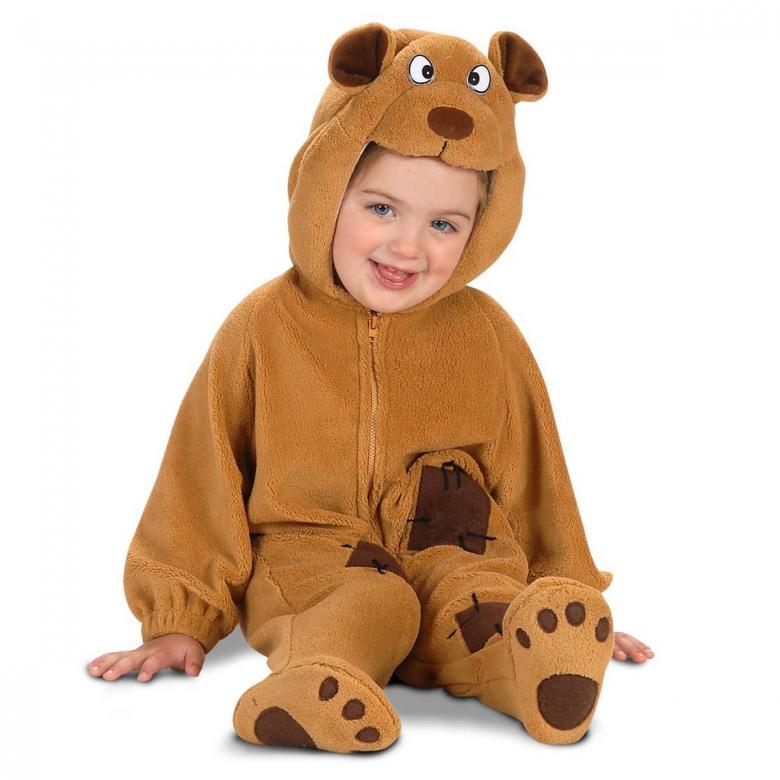
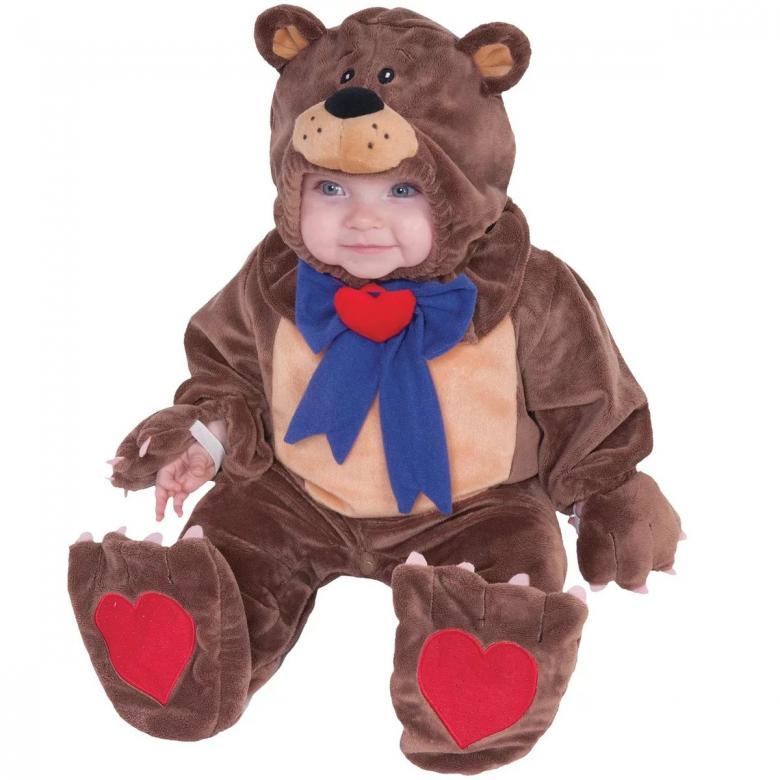
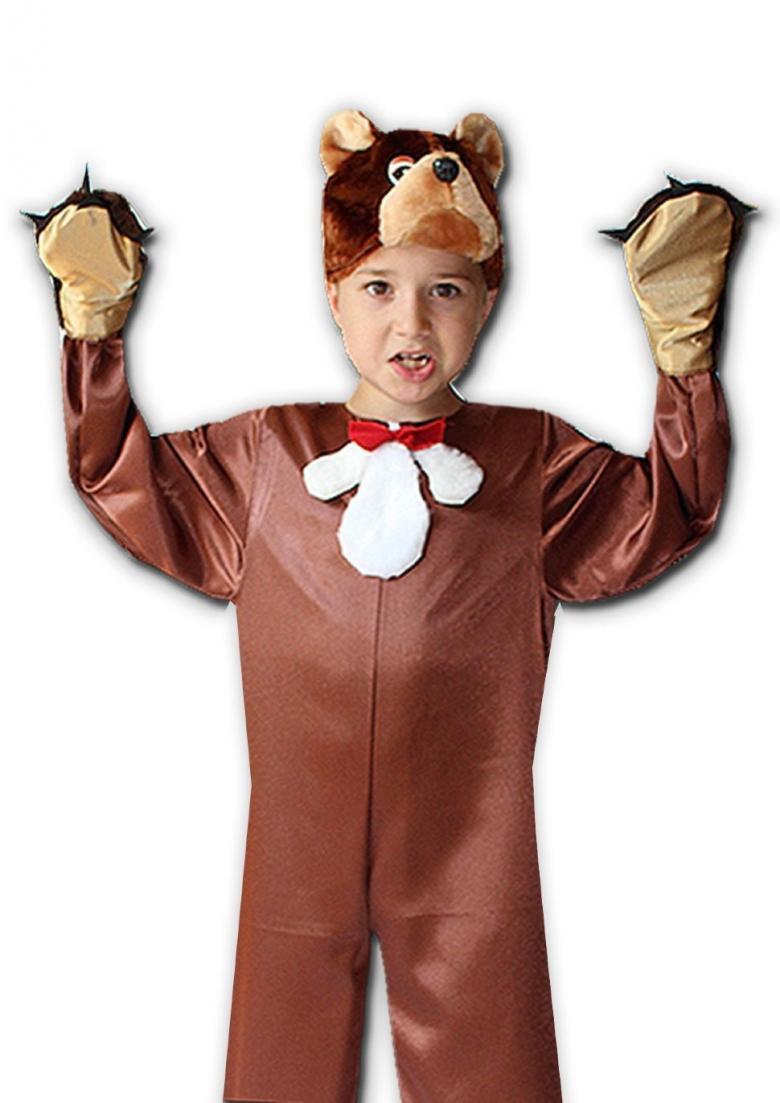
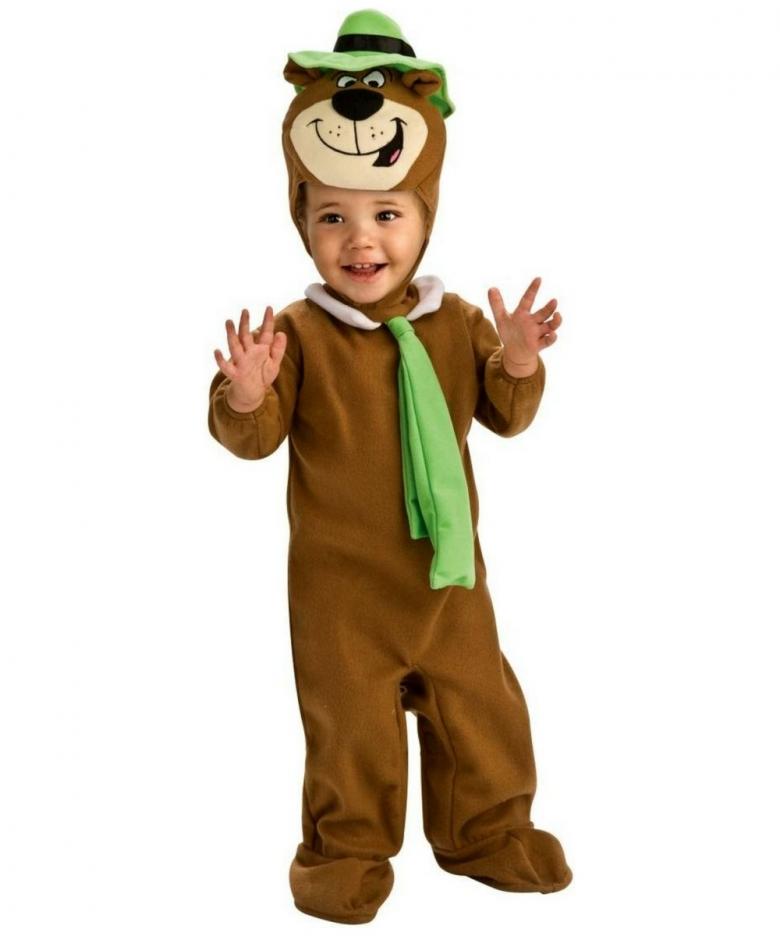
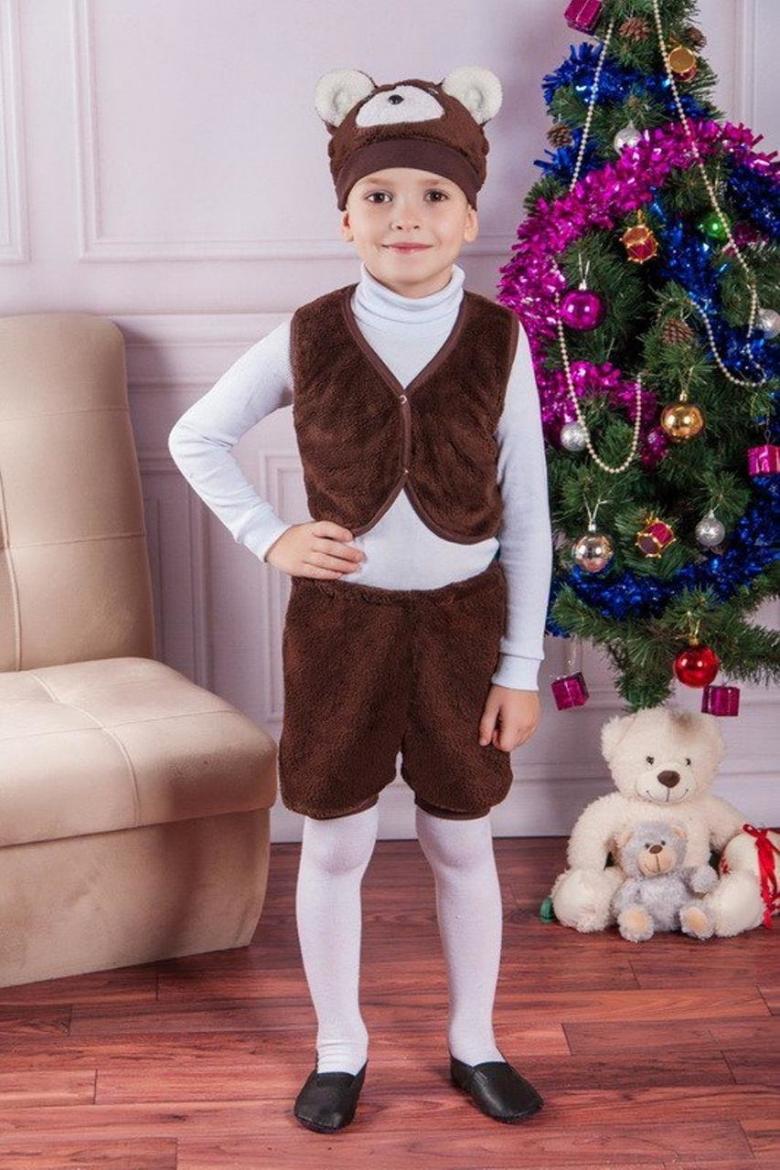
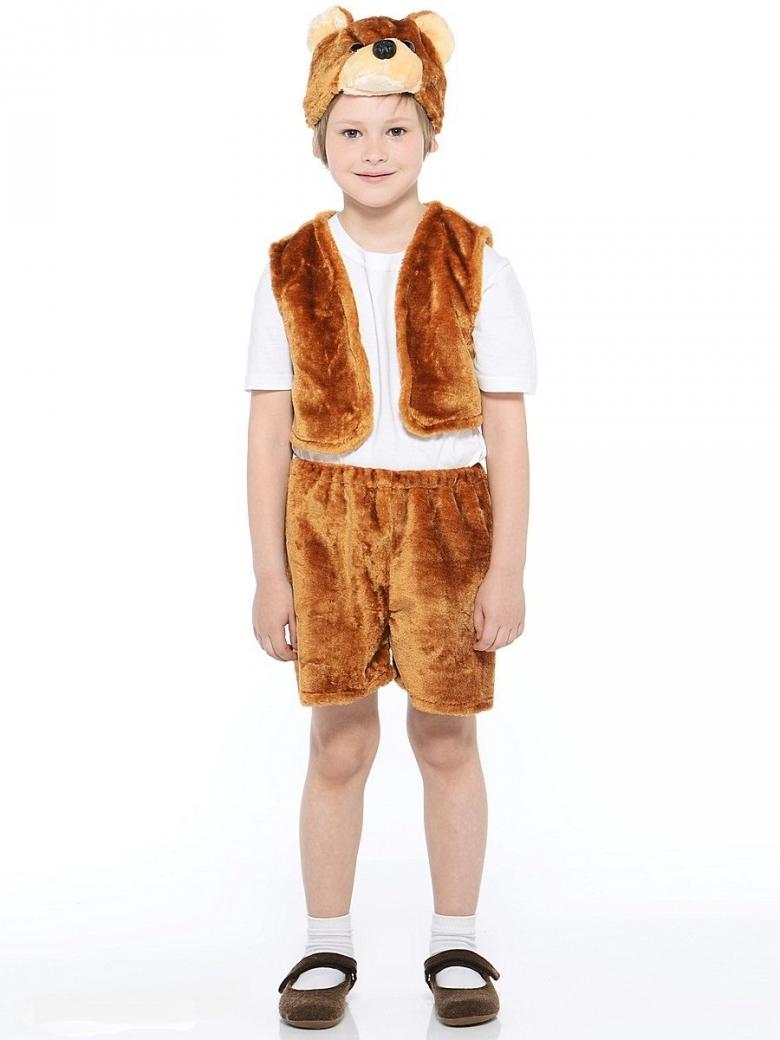
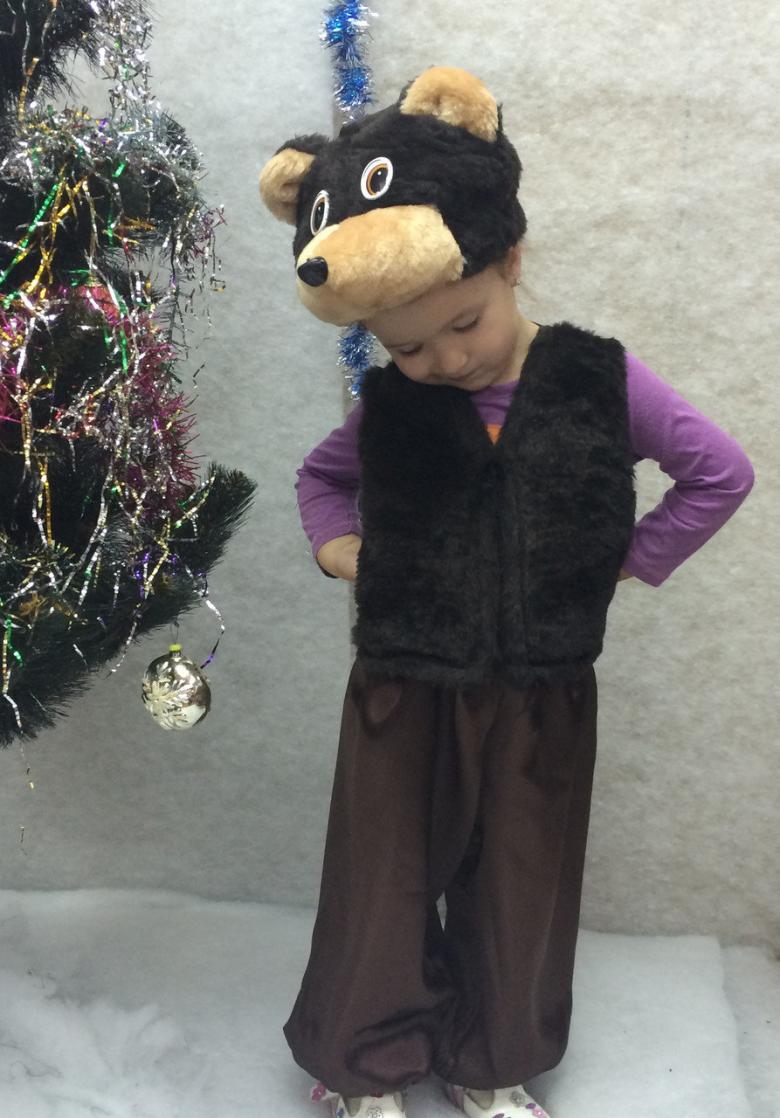
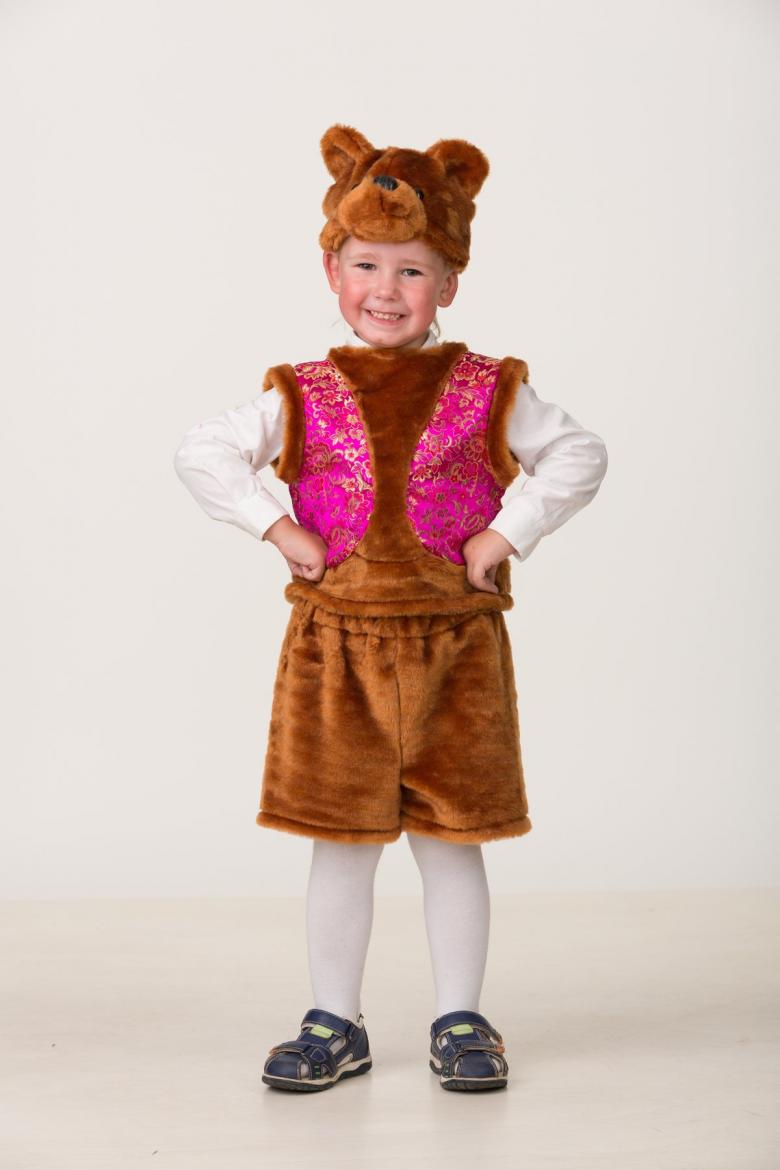
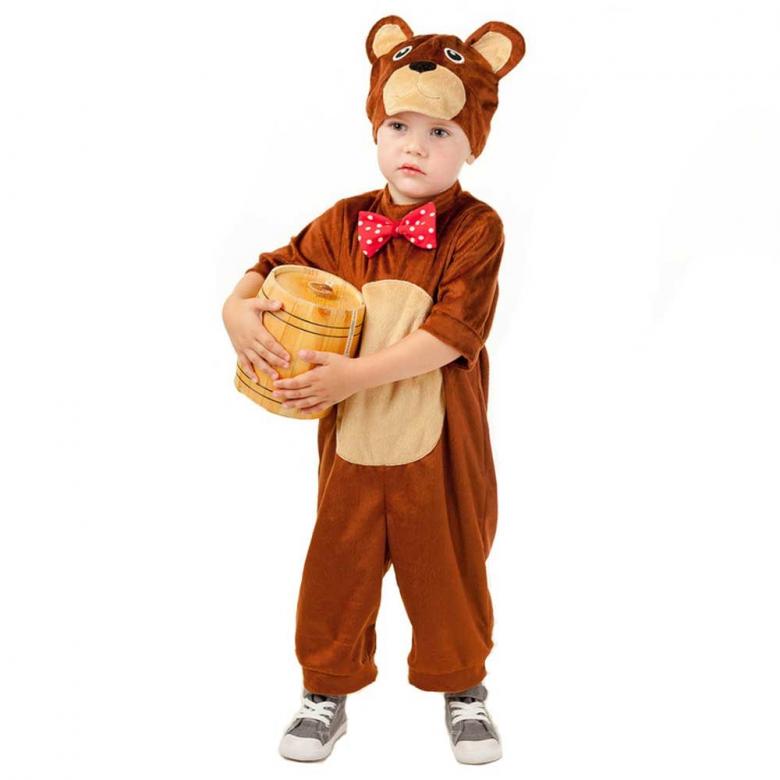
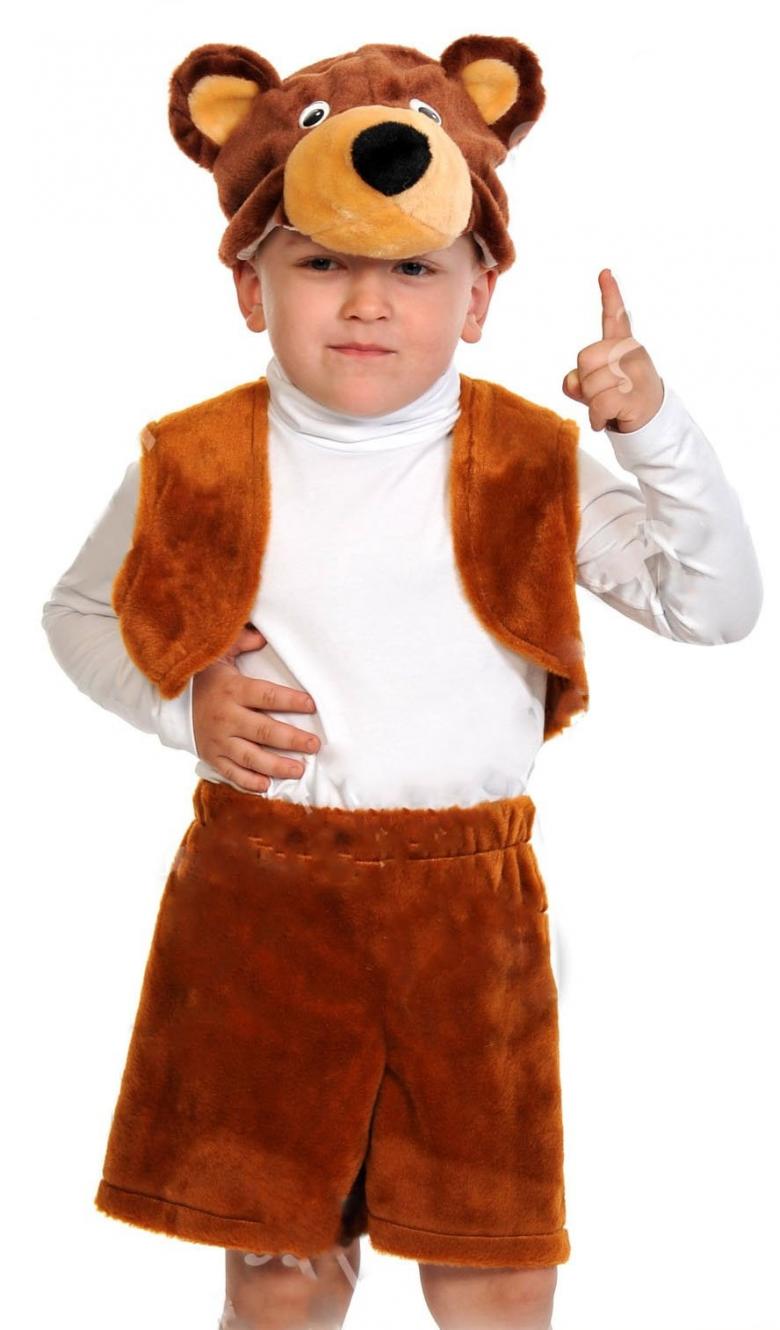
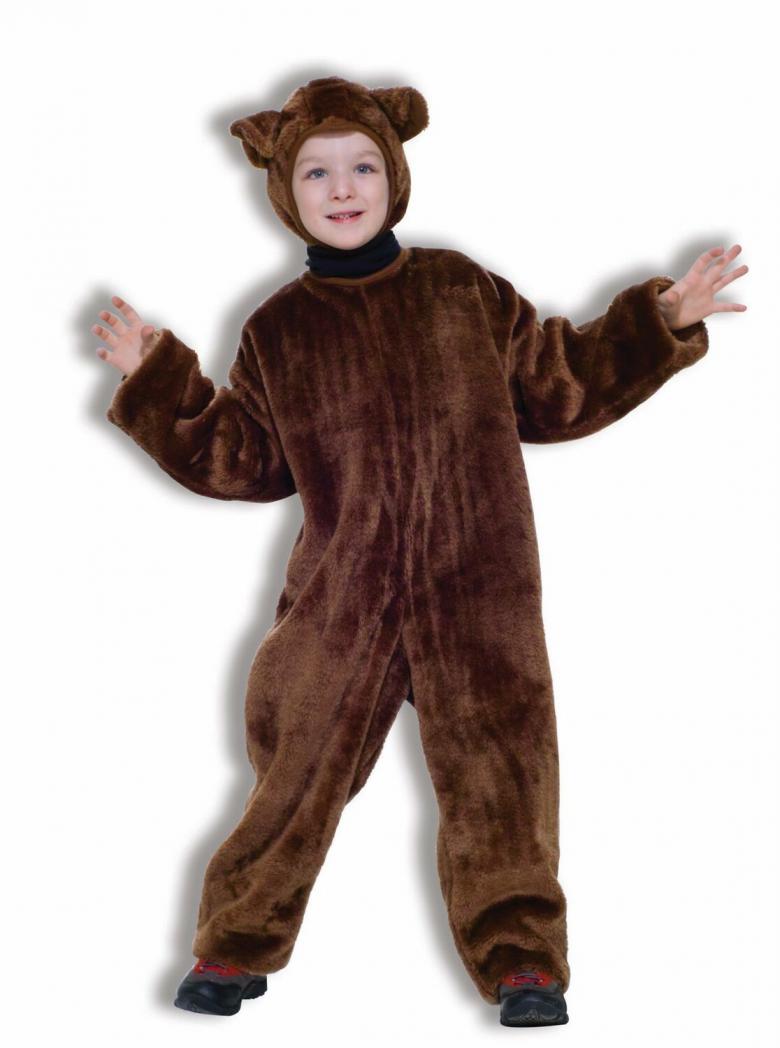
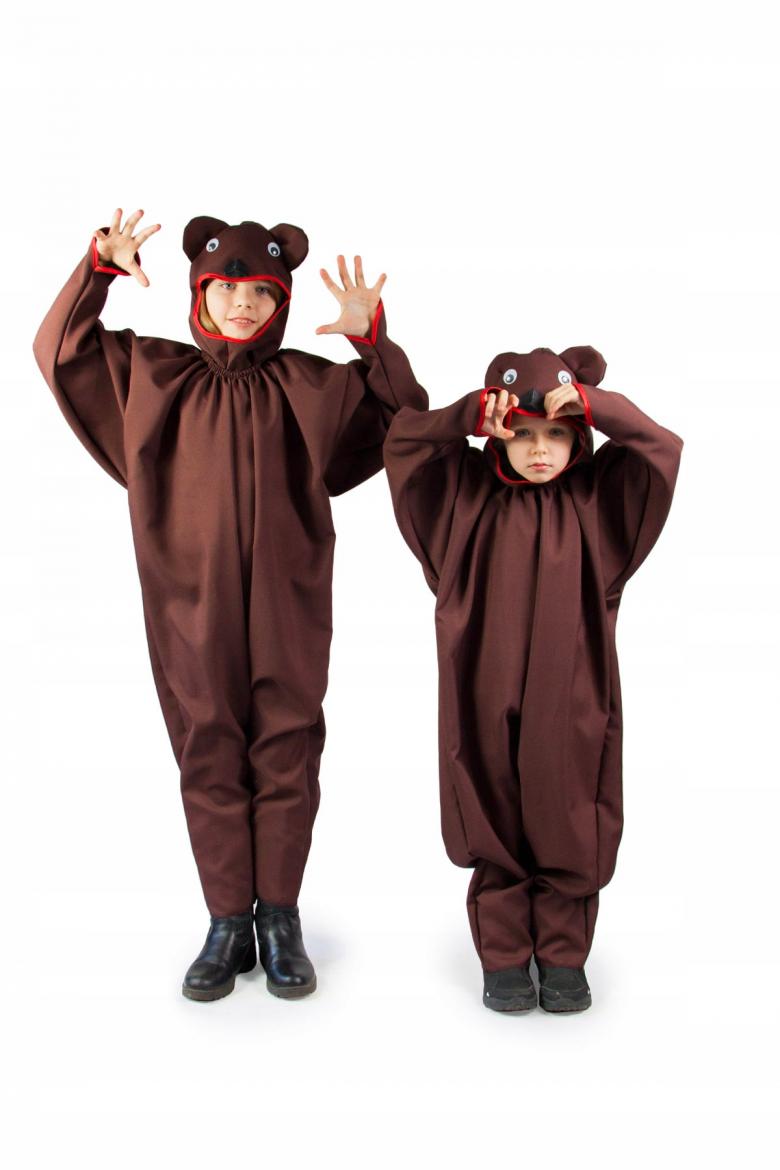
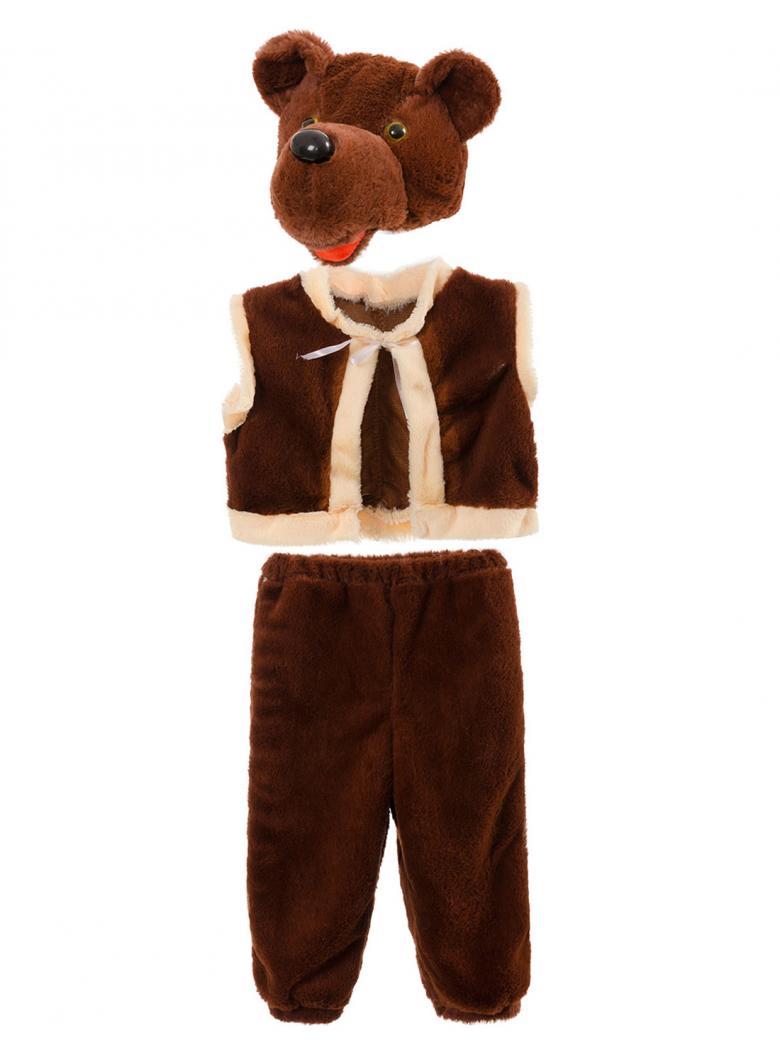
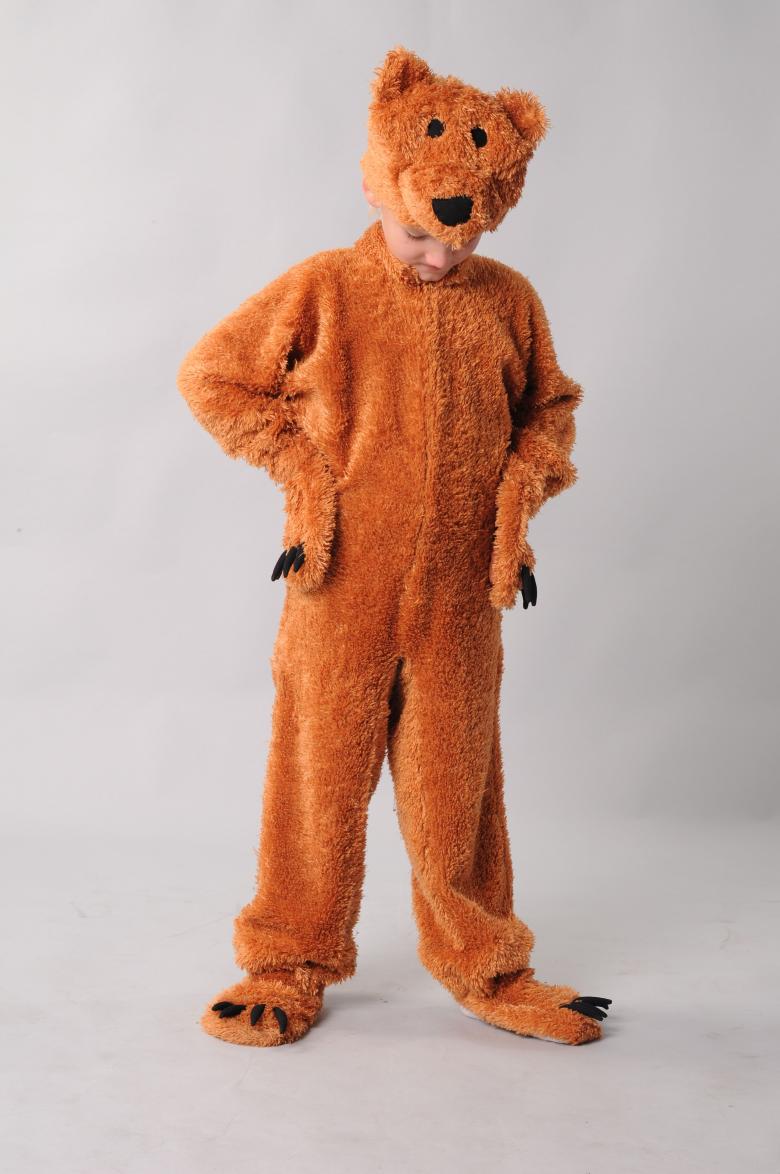
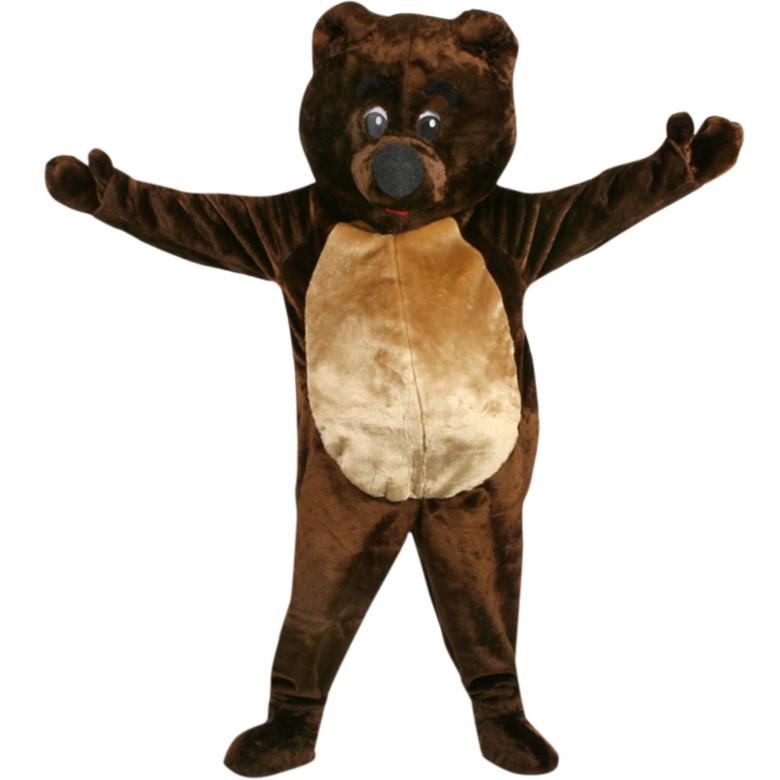
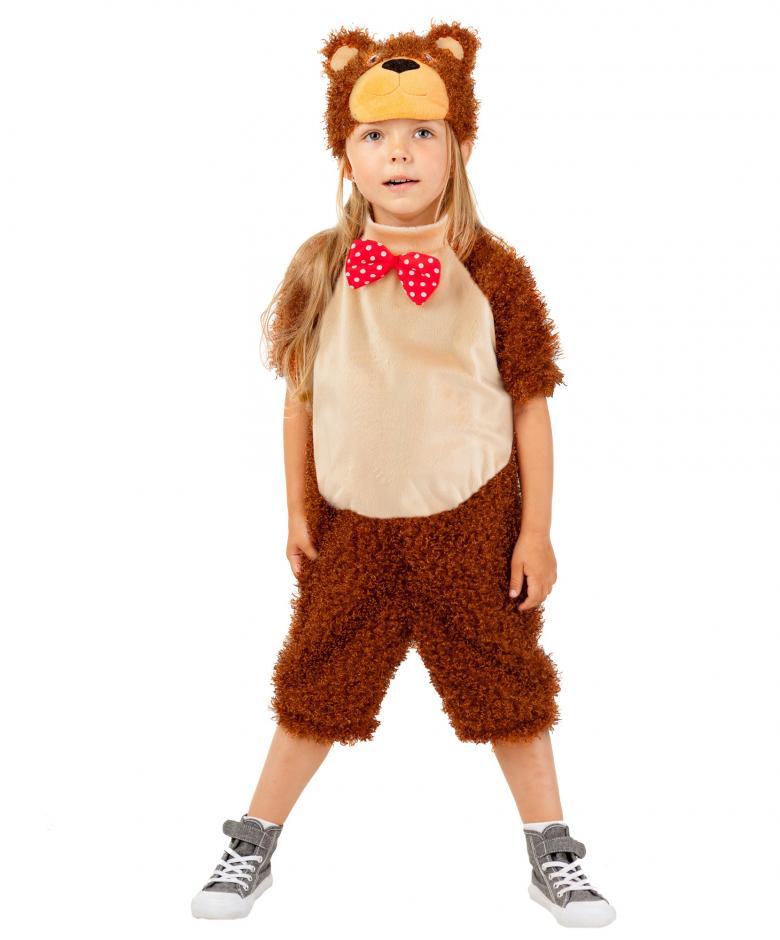
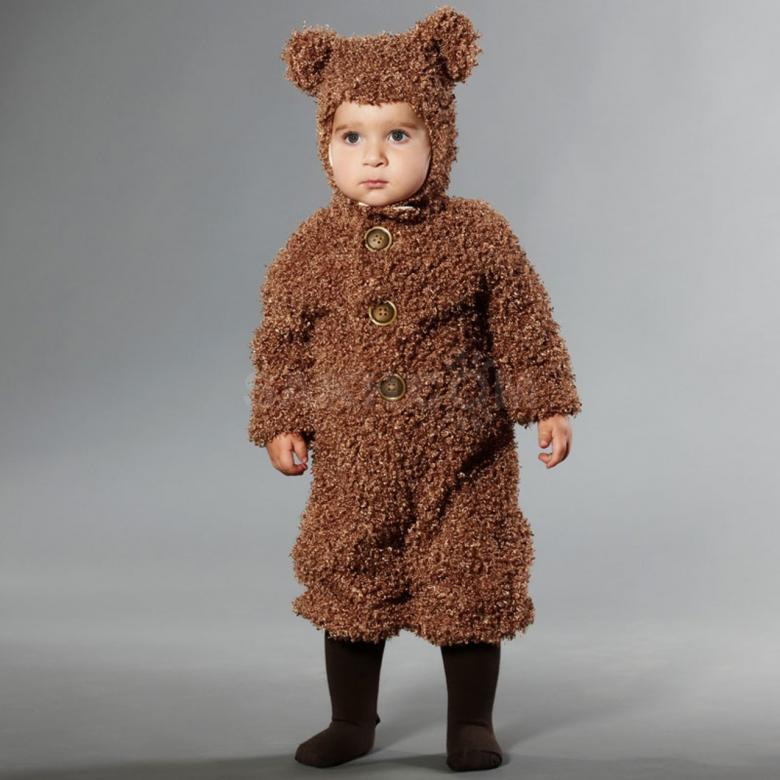
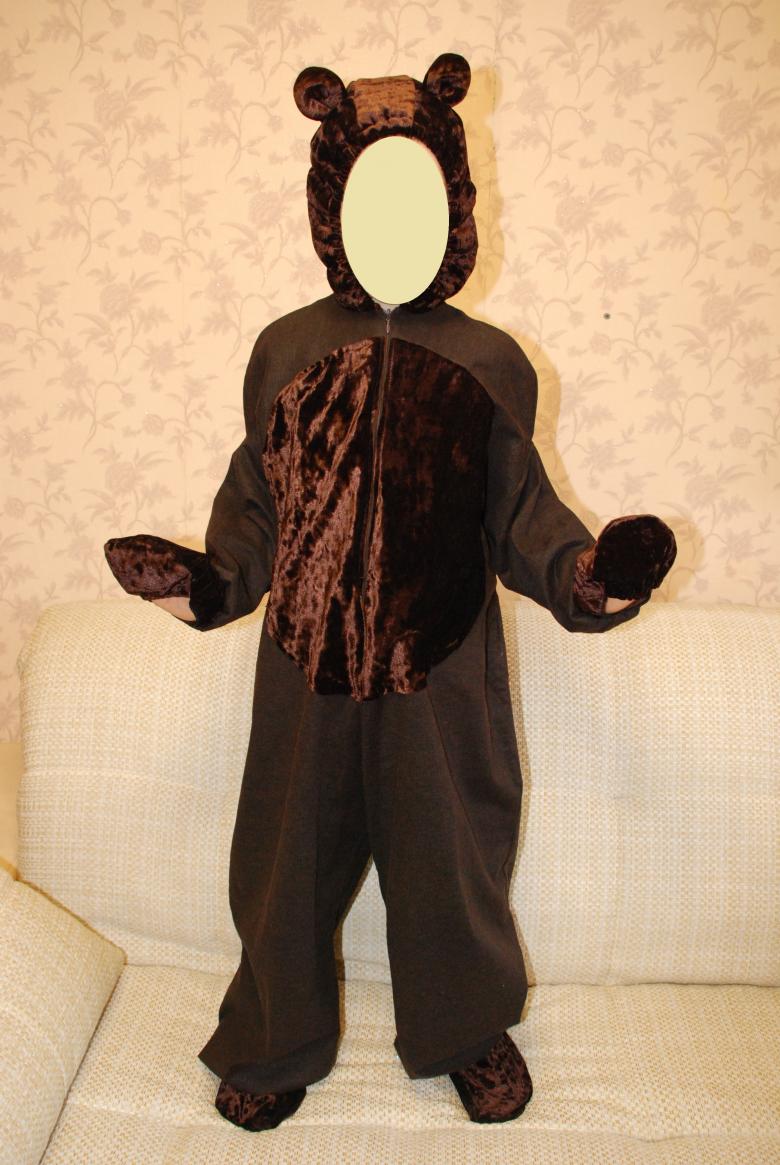
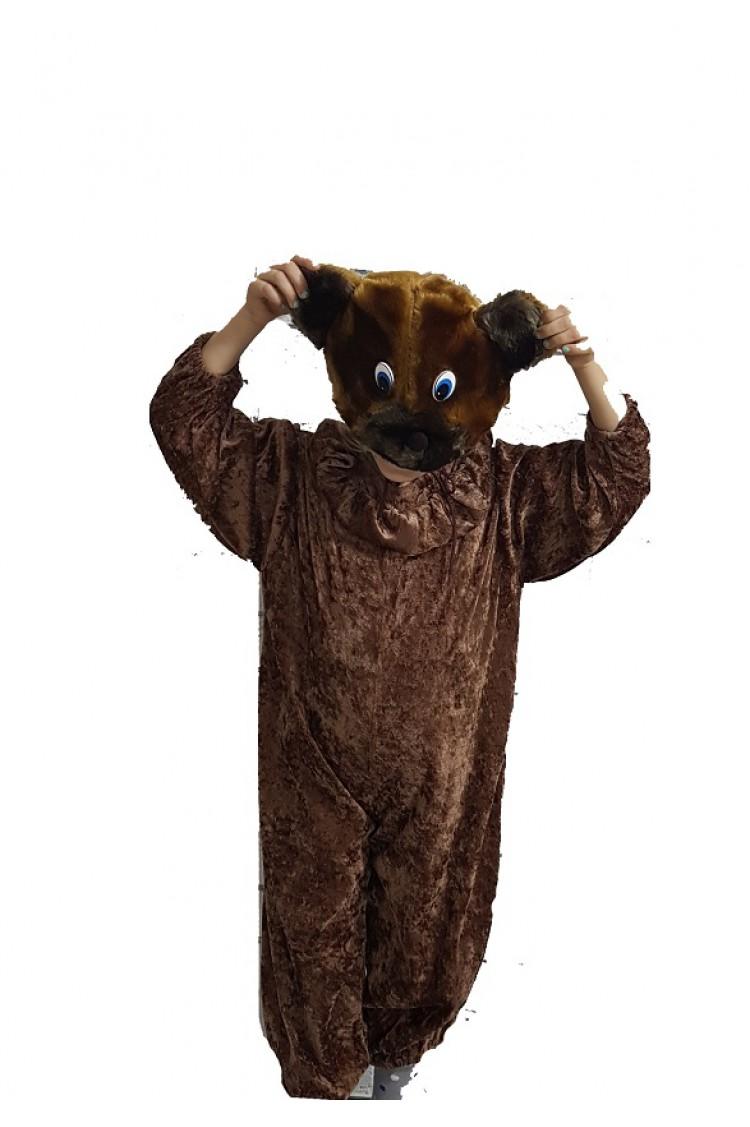
You can make a bear costume with your own hands, without resorting to the help of sewing workshops. It comes in one piece or made of separate parts: vest, turtleneck, and pants. To complete the image, a headband with ears is put on the head. If desired, you can make a believable bear head. Expressive touch can be made up on the face.
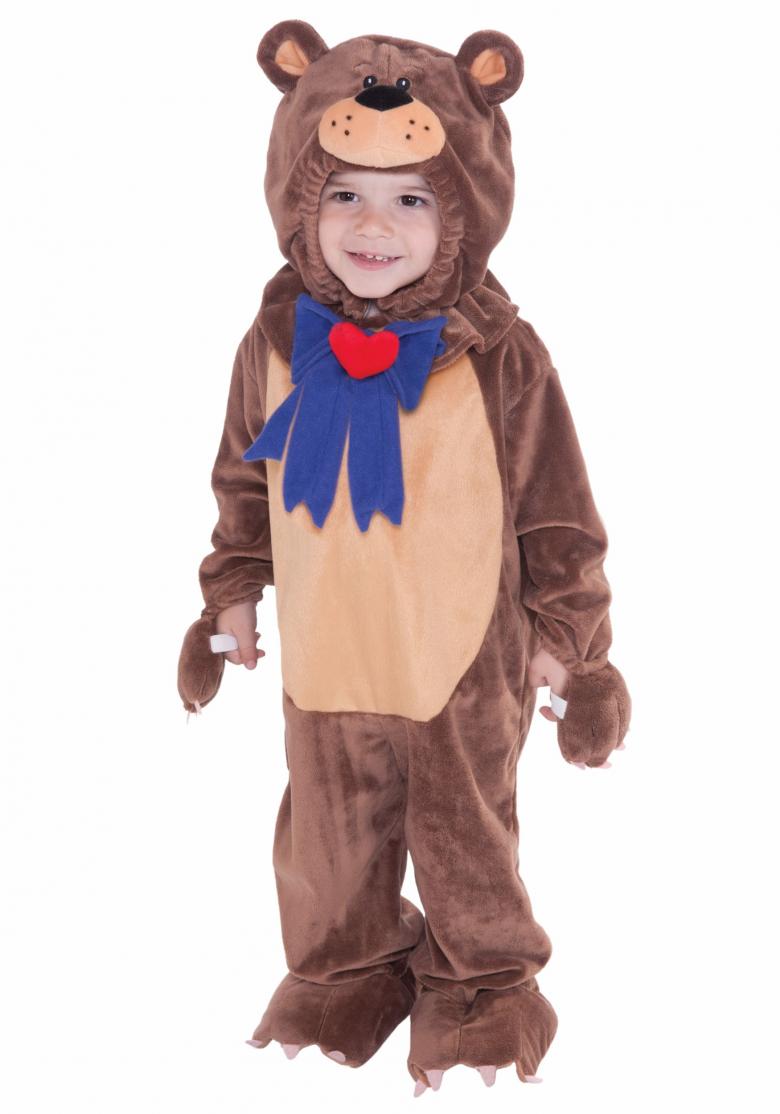
The work on the costume of a white or brown bear is preceded by a preparatory stage. Before choosing a pattern is not superfluous to get information about the materials used. Widespread for such purposes are natural fabrics that are breathable and do not allow allergies. Fabrics based on synthetics should be loose.
Despite the apparent apparent complexity at first glance, in reality it is not a difficult task that requires creativity. It happens that the development of an idea and thinking through all the components takes more time than sewing. The result is influenced by the fabric available at home, jewelry, as well as diligence and personal creativity.
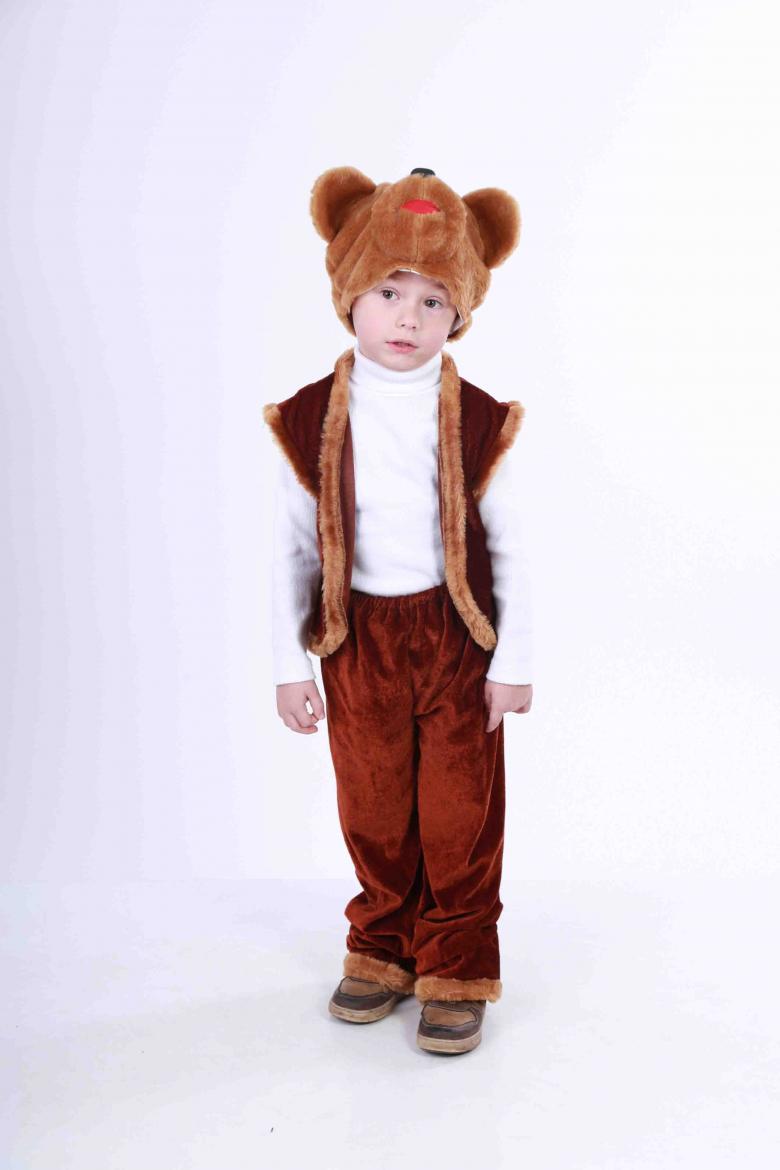
Holiday outfit for the baby bear
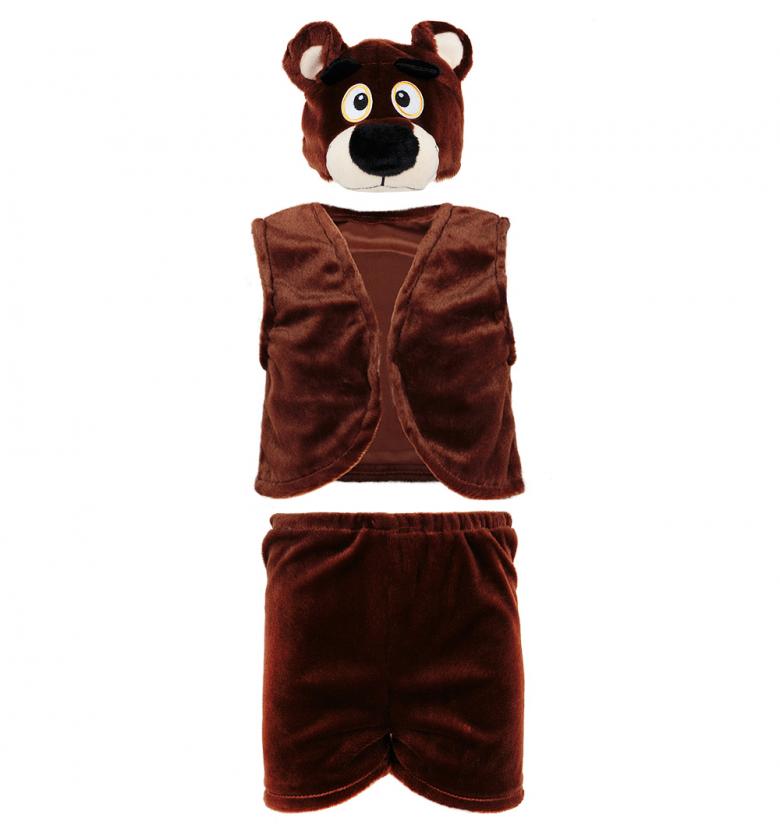
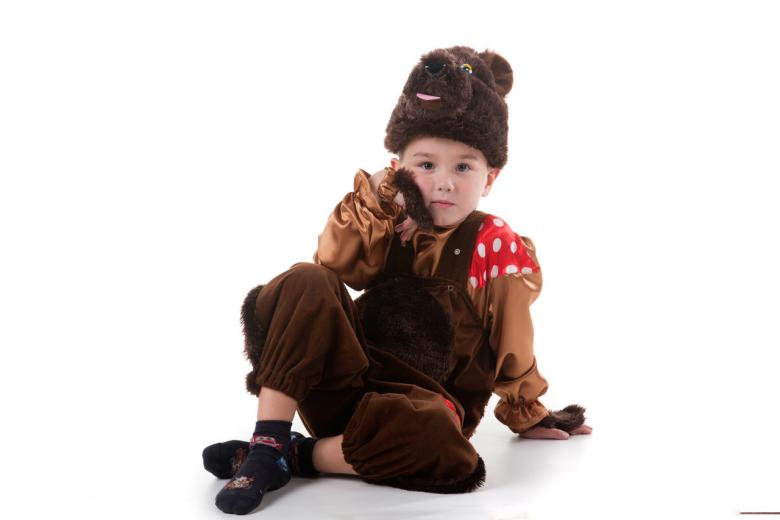
So that the child is not "steamed", it is better to give preference to the fabric of natural fibers - satin and faux fur, loose in appearance. If it is still decided to use synthetic fabric, it is necessary to make a natural lining for comfort. The simplest option is a suit consisting of a vest, pants and ears. It will not take much time and will not require special skills in sewing. Additionally, sandals and a cap-mask will be needed.
Materials
Masters need to stock up beforehand:
- Sewing machine, scissors, just in case, rasparator, thread and needle, a piece of soap for marks, crayon or pencil, a centimeter, thimble.
- 2 kinds of cloth: for the front and back. For the outside, something fleecy or terry cloth in beige, brown, or black will do; for the inside, cotton is ideal.
- The headband, filler for the ears and tail, for which foam rubber, round balls of Styrofoam or absorbent cotton are quite suitable.
It is quite possible to create a polar bear image, but this costume kids easily confused with a rabbit with short ears.
Cutting out .
To work it did not seem routine, it can be facilitated, without resorting to the paper and calculations. You can do with those in the child's closet: a sweater, shirt or sweatshirt, pants or shorts. The outline of the back and front pieces are transferred to the newspaper and study how everything is sewn.
Although with this method there will not be an exact fit on the figure and a flawless cut, but such a procedure will save a lot of time and will not require much effort. It is not forbidden, in the absence of paper, to transfer directly to the wrong side of the cotton and fur. An essential nuance - do not forget about leaving 1.5 - 2 cm on the allowance. You should also sweep the edges of the resulting parts.
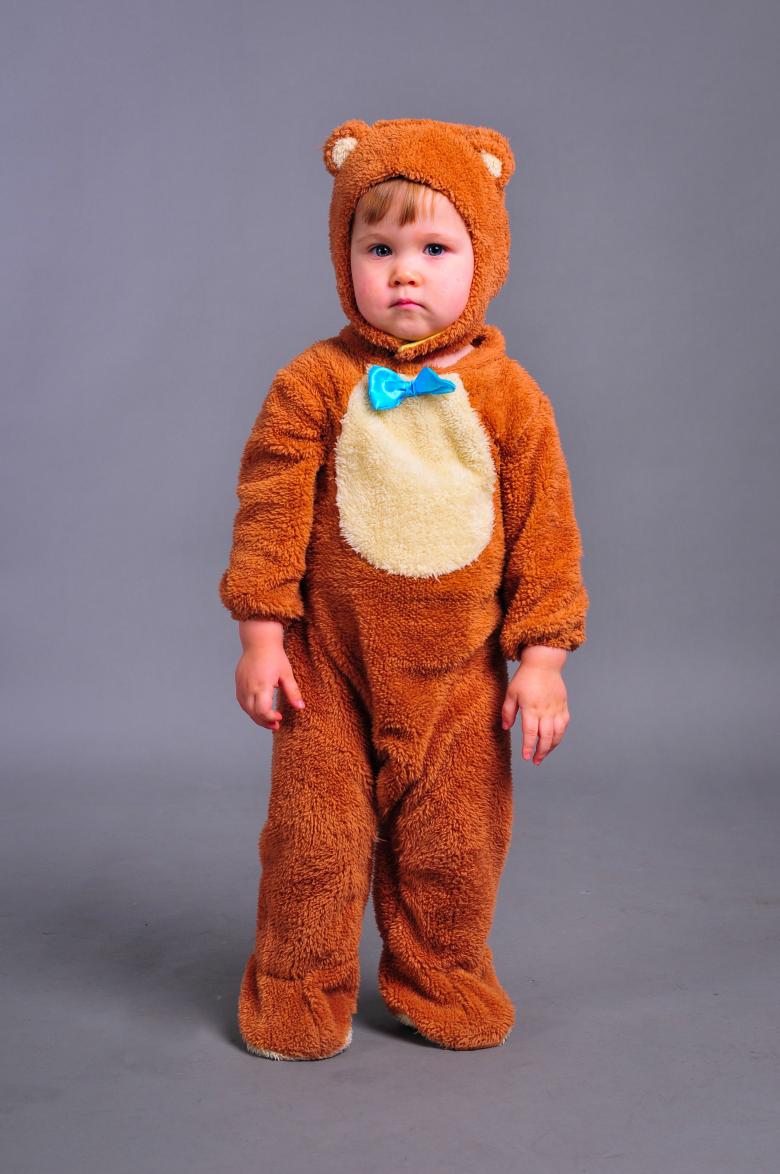
For those who like to meticulously measure everything you need to have in the household:
- A ruler.
- A tape measure.
- Pencil.
- Paper.
- Scissors.
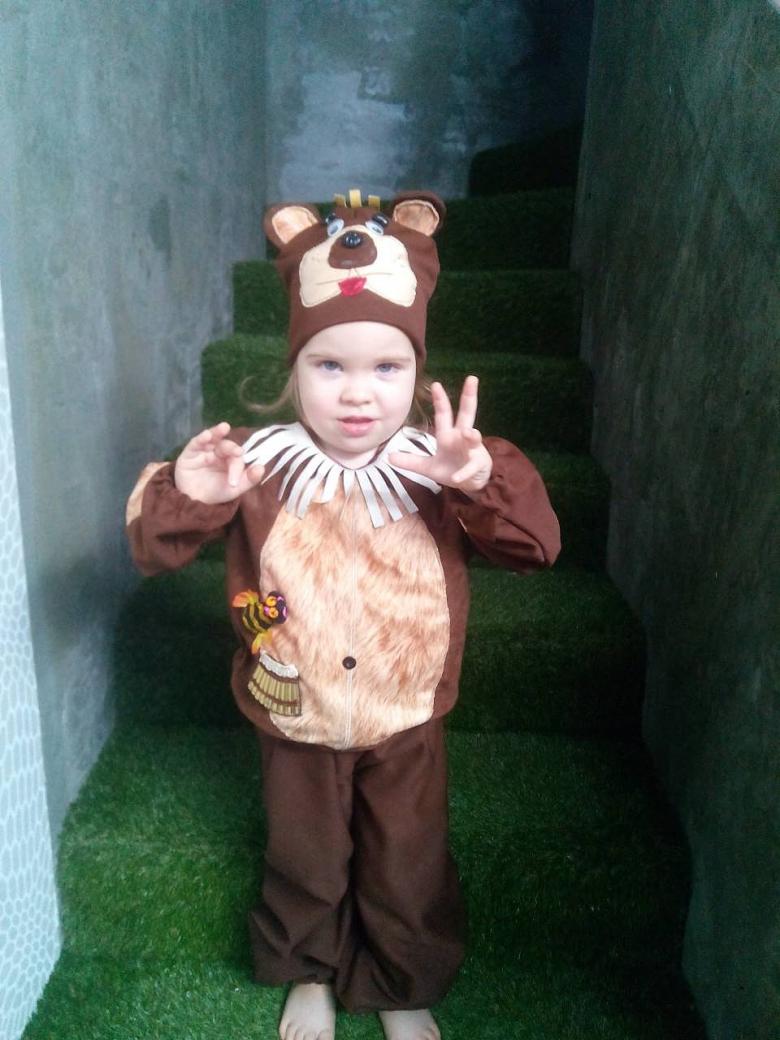
Before making a drawing you will need to take measures. In order to make a pattern of the costume of a bear for the boy with his own hands, a prerequisite will be to build a drawing of the vest and pants. If you are too busy, you can find a ready-made drawing for the closest size, which is quite simply transferred to the material.
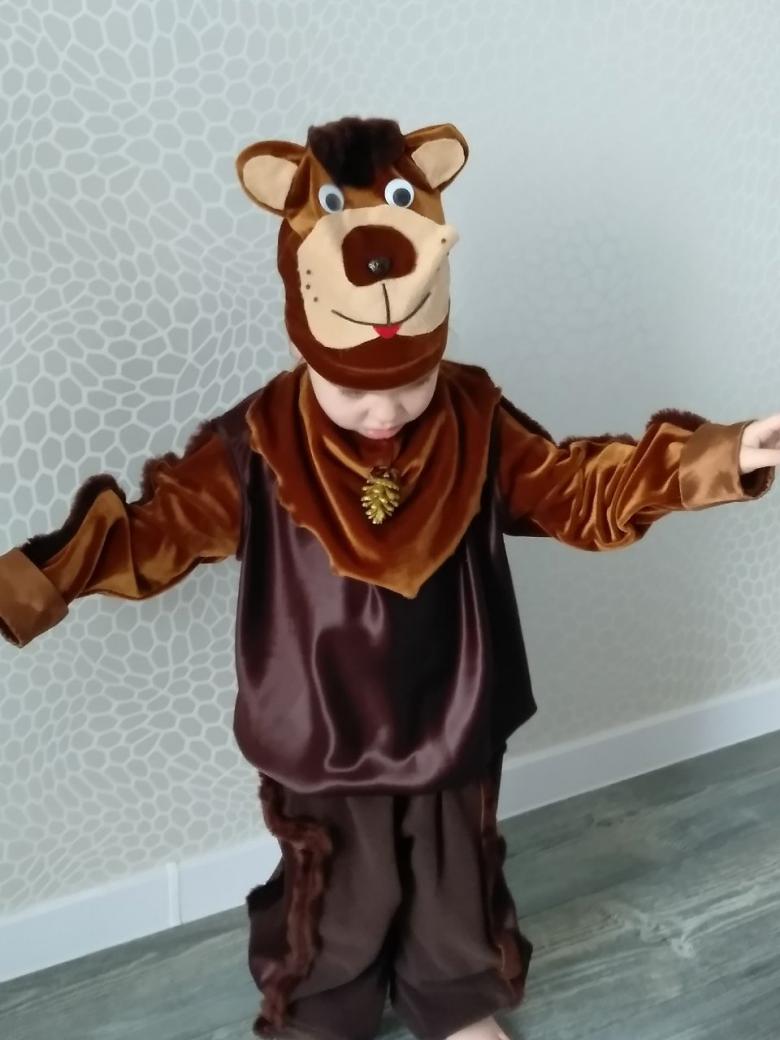
Cut out .
You should not delve into making drawings, which will require strength and time. The available contours of the template on paper are easily transferred to the front and lining of the surface. Then the costume elements are cut out leaving a reserve for seams. All parts are sewn separately. Should get four things:
- A pair of pants - the 1st of cotton, 2nd fur.
- 2 tops.
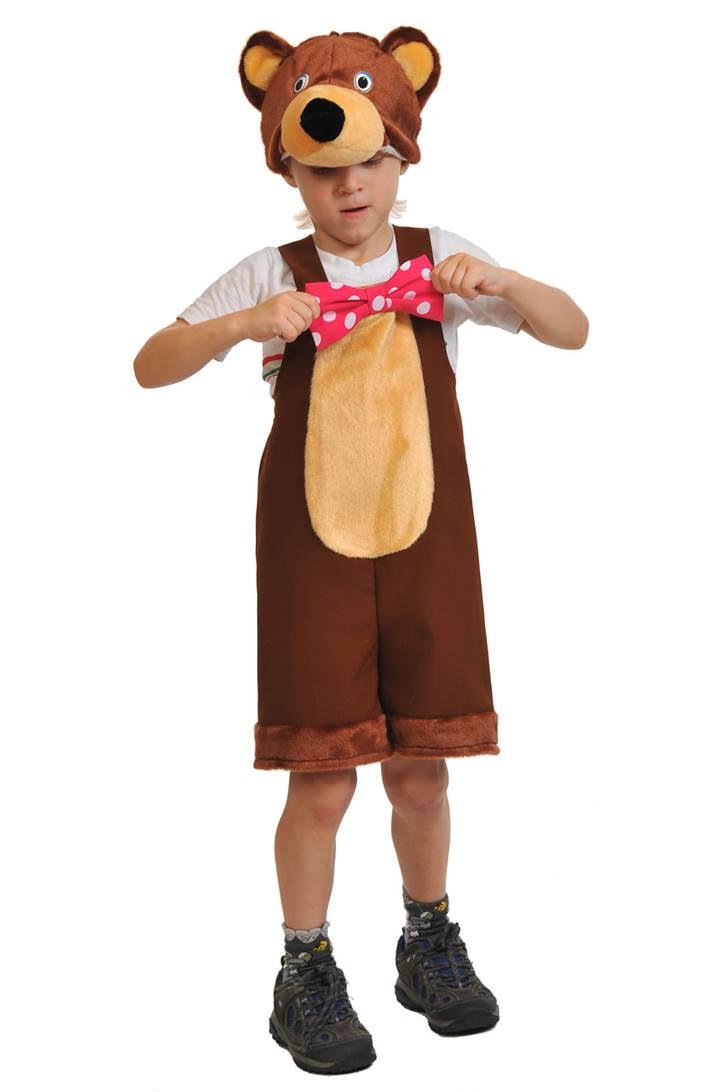
The cape is stitched at the sides and shoulders, and the pants are stitched at the inside seam and then the outside seam. The pant leggings will give a unique look.
Sewing .
Parts of the pants are attached with their front sides facing each other. The waistband and bottoms of trousers are stitched, not forgetting about some space for turning out. The same steps are performed with the vest. After turning out the untreated area is sewn with a blind stitch. Care must be taken to ensure the correct location of parts, without mixing up the "face" with the "wrong side". On this part of the work you can show imagination.
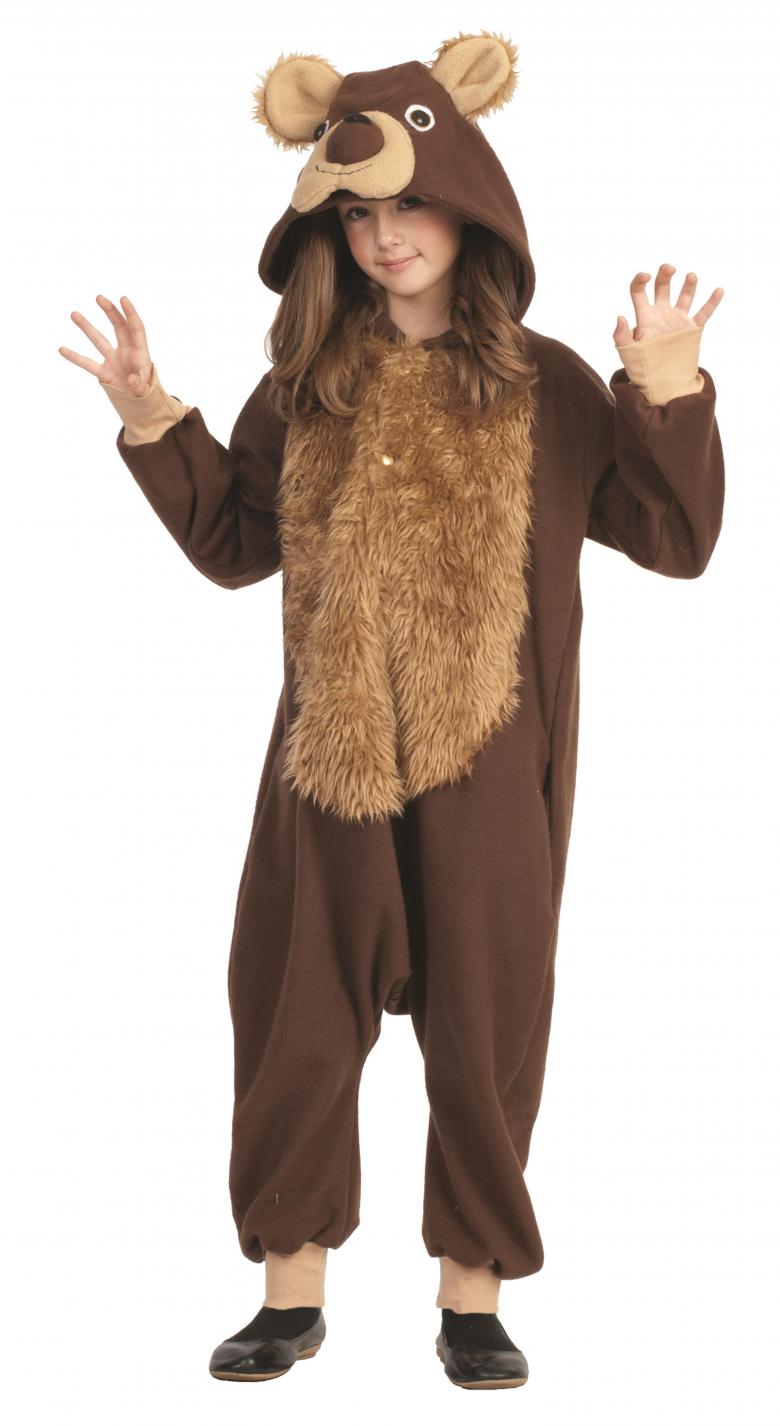
For a suit without a lining, the process looks easier - the elements are sewn, 1.5 cm tucked edges. To avoid crumbling of the garment, it is fastened with a straight stitch. An alternative to this method is overlocking, which means zigzagging the edges. Such a method is better not to use when they are badly crumbled. In this case, the zigzag will only spoil the edge. In this situation, tucking is advisable.
Waist treatment
It is supposed to have a margin of 2 to 8 cm at the waist, based on the width of the elastic band. By tucking and stitching, you need to leave a space of no more than 1 cm. Next, a pin with a threaded end of the ribbon is threaded through. The opposite part is held, so it is not lost in the shorts or pants. Tie a navy knot, trim the excess.
Completion with accessories
You can make with your own hands a costume of a bear for children or for an adult. It is important to comply with the main principles. To strengthen the image, you will need to fantasize a little, attaching some details.
The tail
Helpful materials will turn out to be:
- Porolon.
- Wool.
- A small anti-stress ball.
The base is tightened with the rest of the fur fabric to get a round shape. The tail is sewn onto the back of the pants.
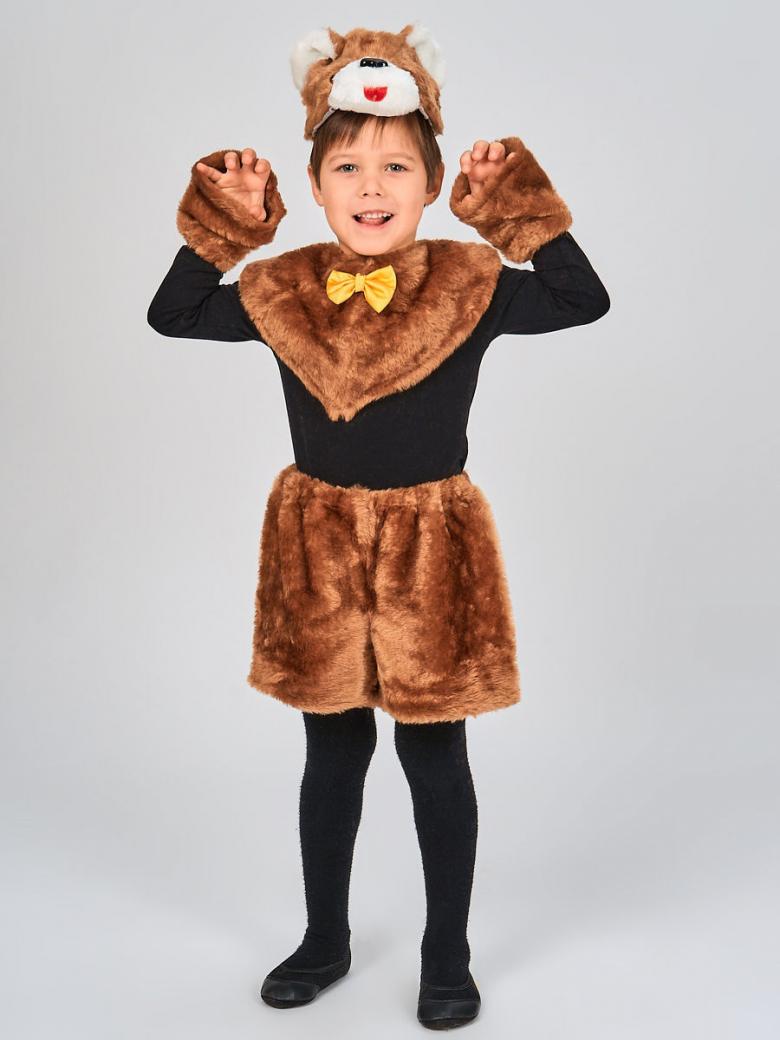
Headband
To make the costume look more realistic, you can not do without attaching ears. You can go 2 ways:
- 4 cut out semi-circles are stuffed with cotton and sewn on.
- As a filler is appropriate thick cardboard to get larger ears.
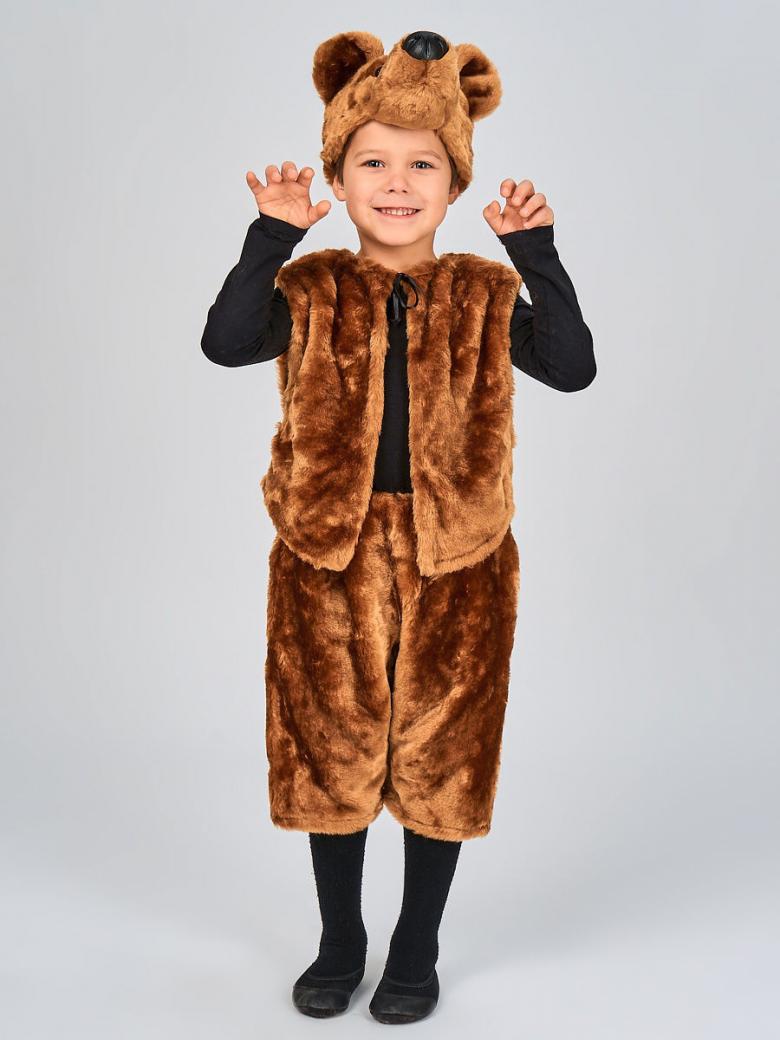
The ears are attached to the rim with glue. The base is glued or trimmed with brown - satin ribbon or remaining fur. On the head will do: pompom and furry butterfly. The drawing is made on newspaper or tracing paper. If desired, the headband is decorated:
- Applications with images of bees, jars of honey or bears.
- A bow tie in polka dots, a satin handkerchief in a pocket.
- In the case of the costume for the New Year with brooches of winter themes, a snowflake on the back.
It is best to prepare everything in advance, so as not to be distracted while working.
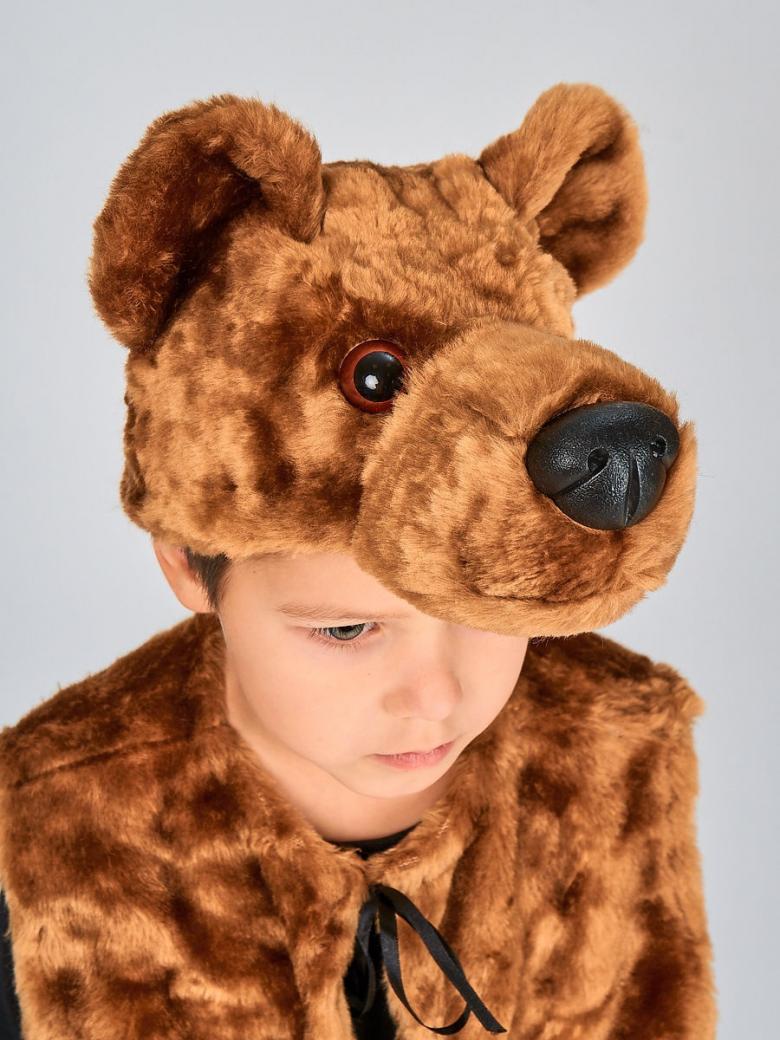
Giving an image of gallantry
In place of the pocket, sew a flower or an imitation of a peeking edge of a breast scarf. If the nap allows, any pattern will do. A bow tie of any color would look wonderful on the neck. It is not difficult to sew it yourself, for which: two fabric squares are stitched, turned out and stitched in the middle.
Putting on makeup
The final step is the application of hypoallergenic paint. It is important for the child to be careful not to accidentally erase the artwork. You can use the video lessons of applying images of animals on the body or just draw from a picture.
If you follow the sequence, using the tips of skilled craftswomen, the creation of a bear costume for a matinee or other festive event will not take much time. The creative process will turn out to be fun, and the finished product will bring a lot of joy to the child!

