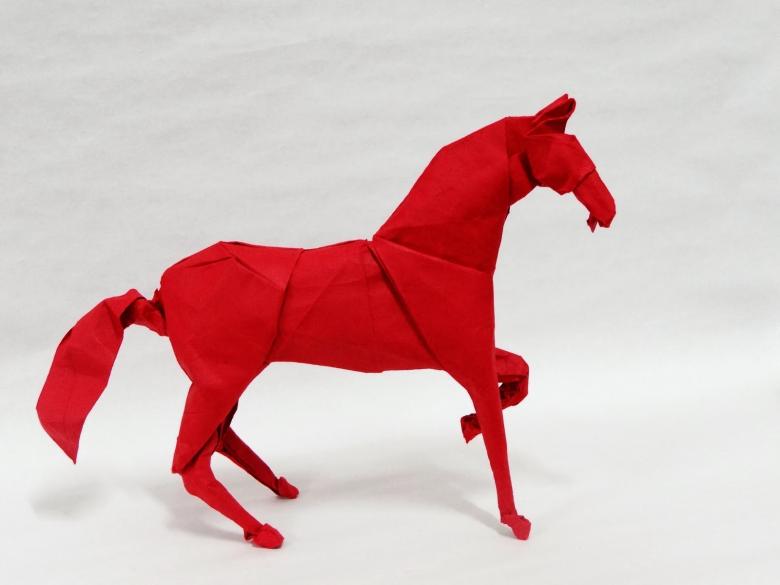
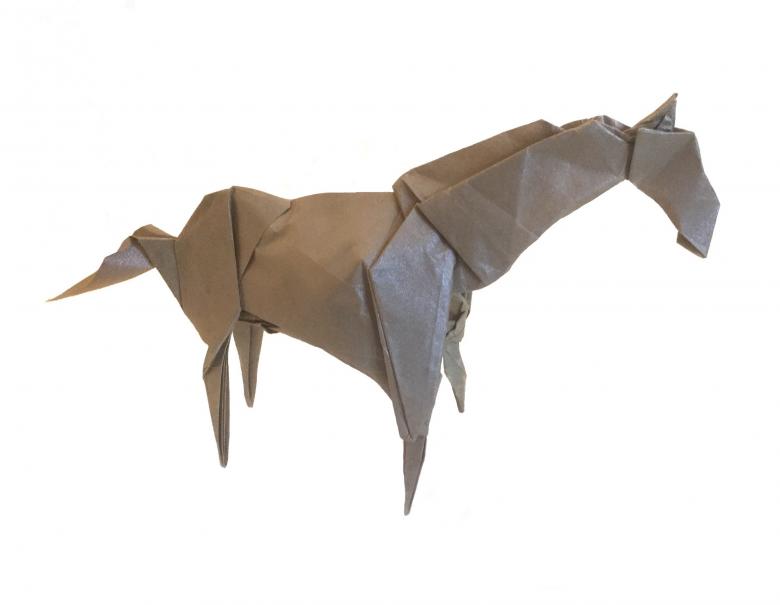
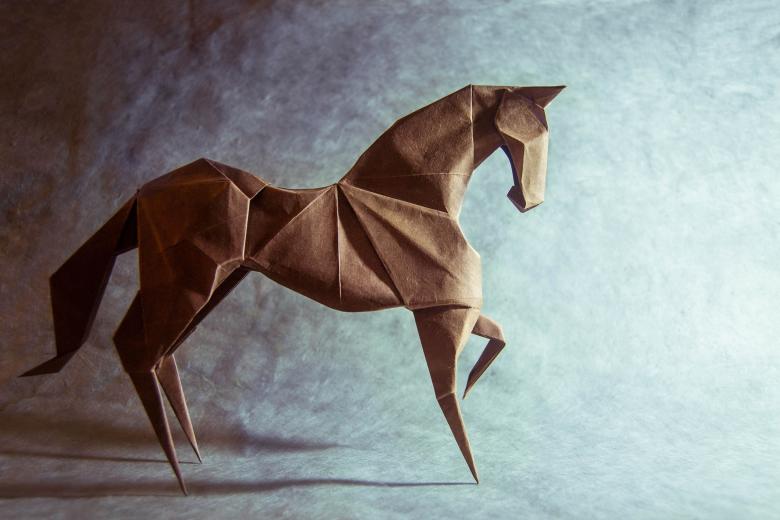
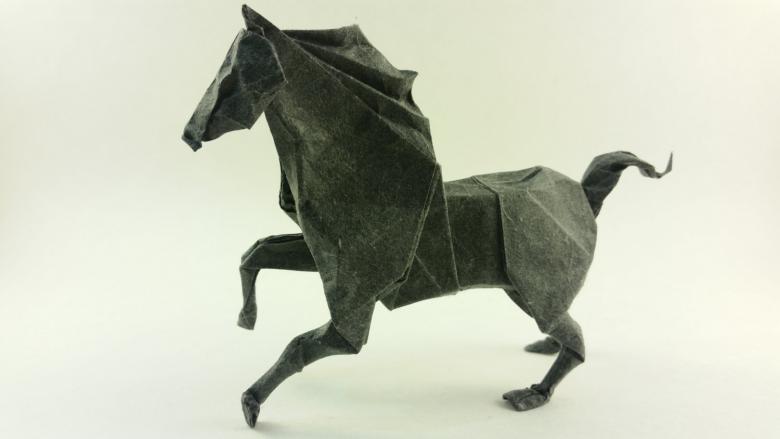
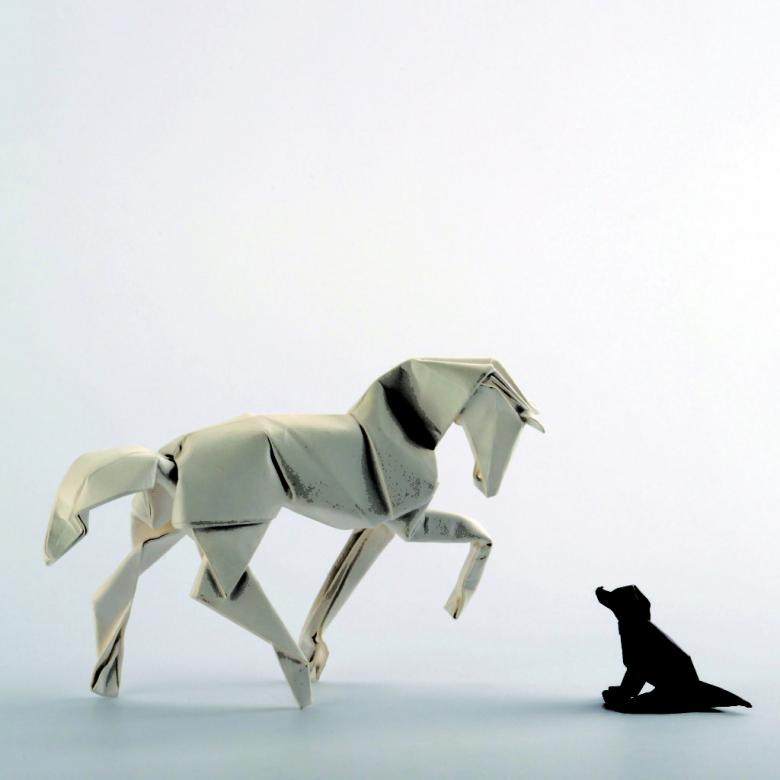
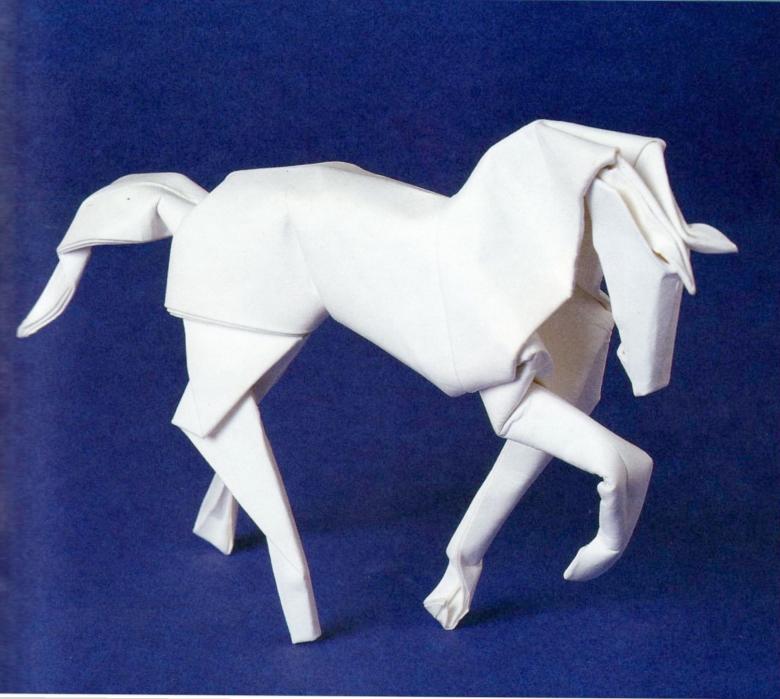
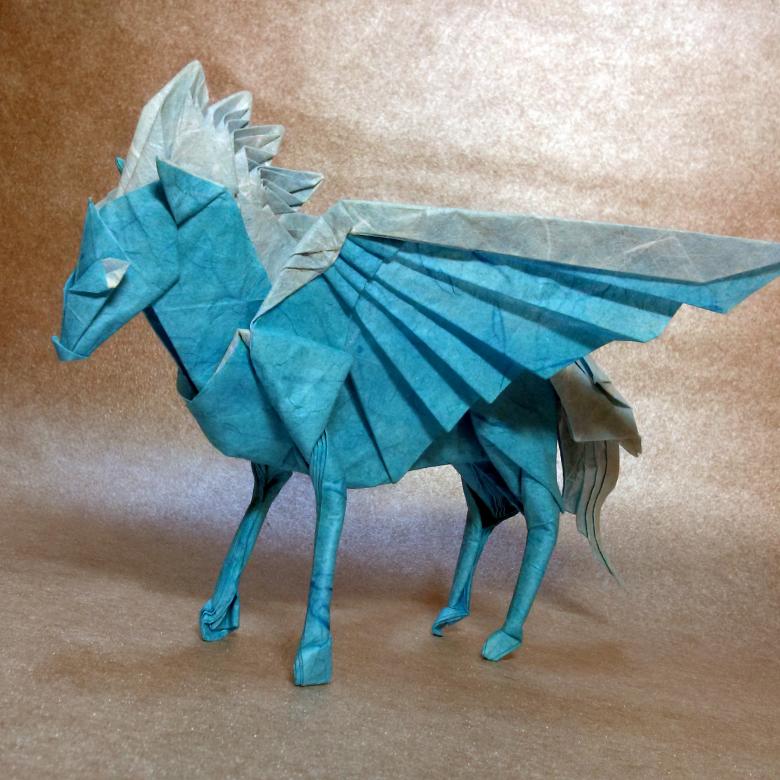
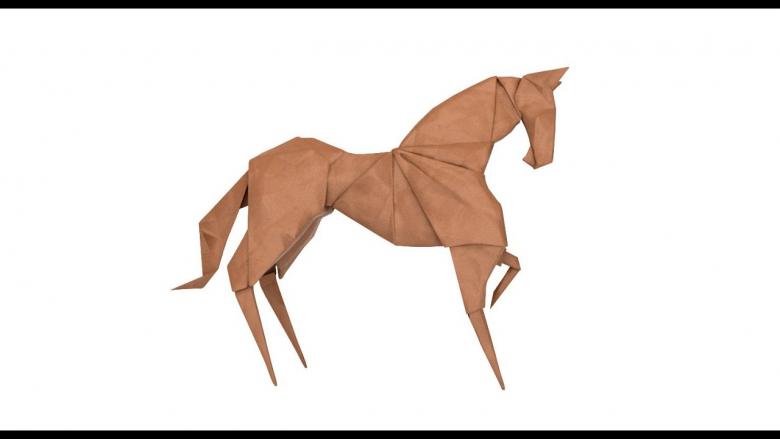
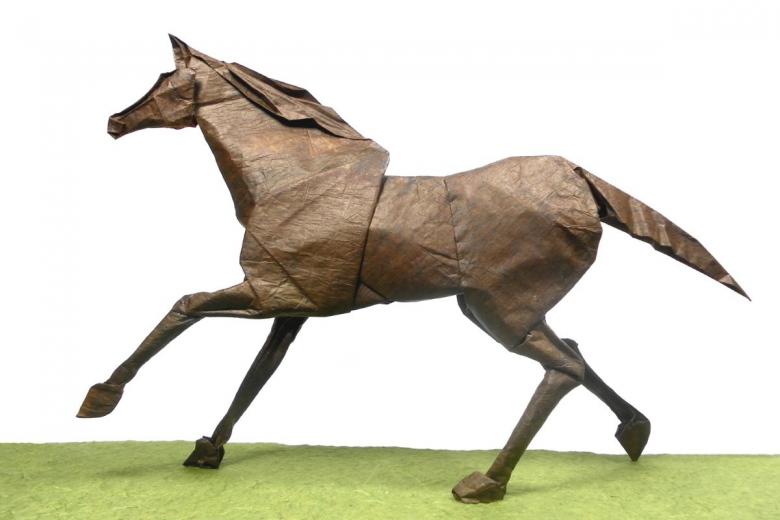
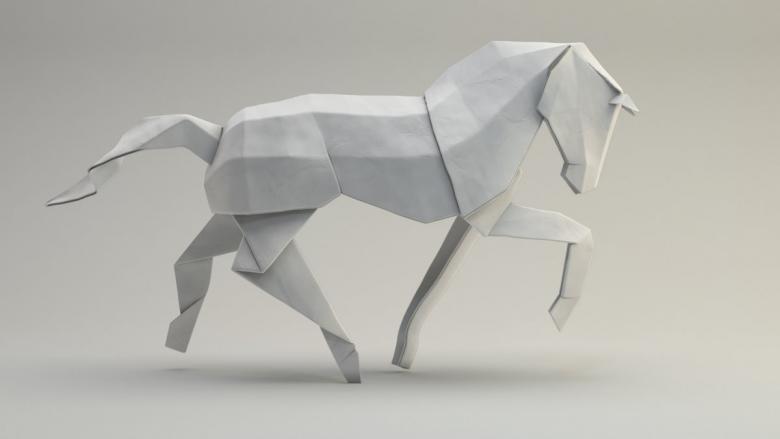
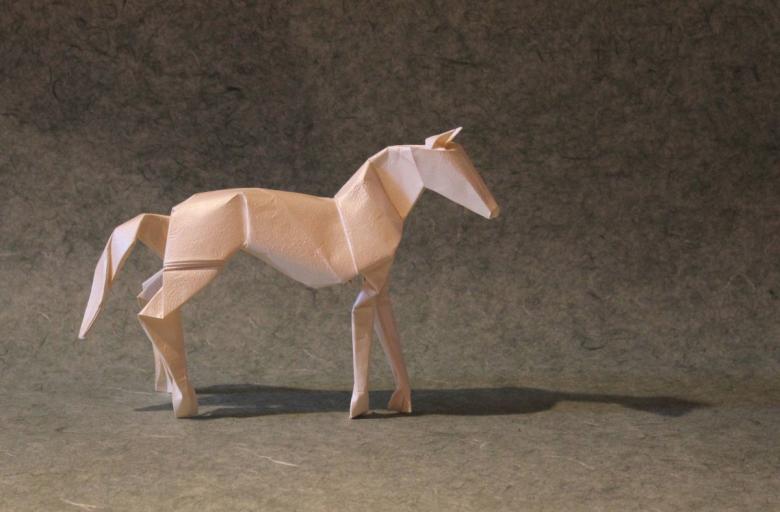
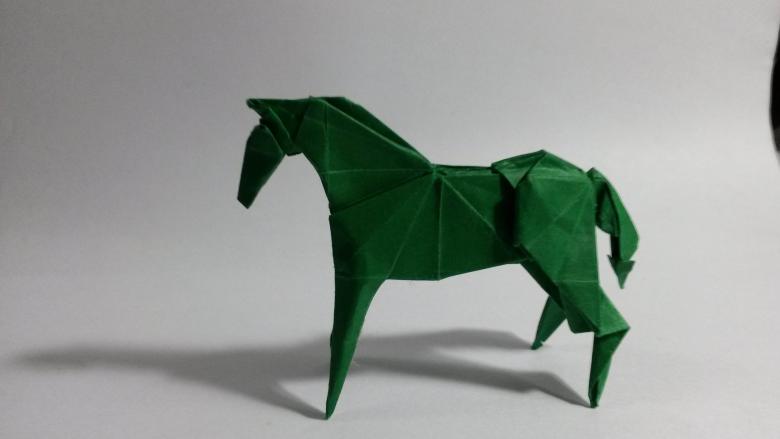
How to make origami horse: detailed instructions for the assembly of horses and their artistic design
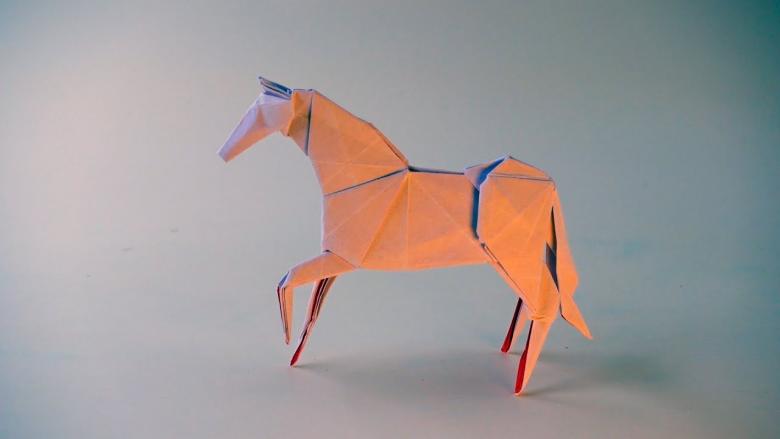
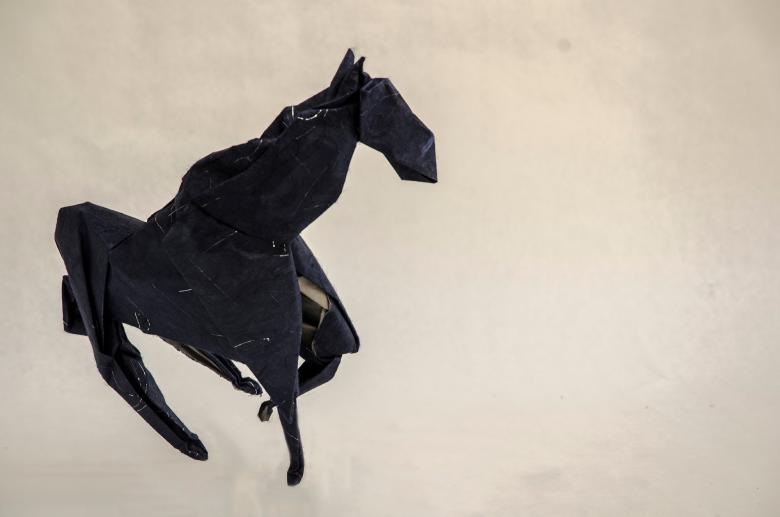
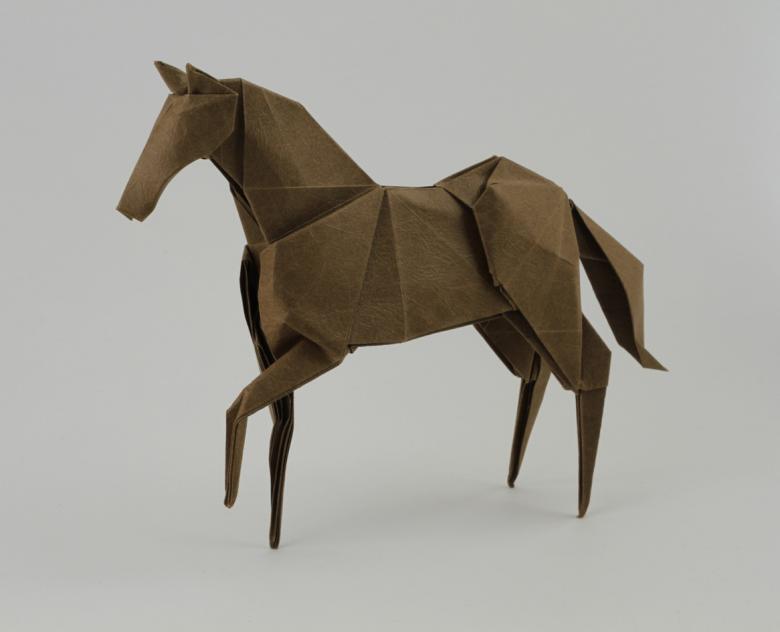
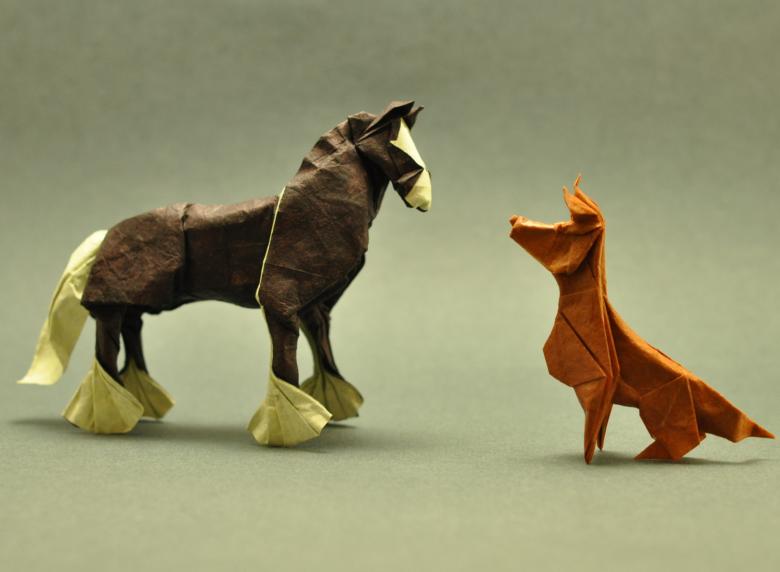
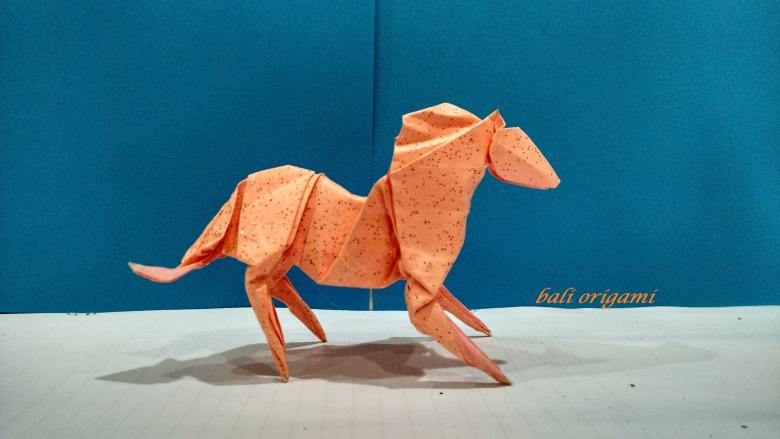
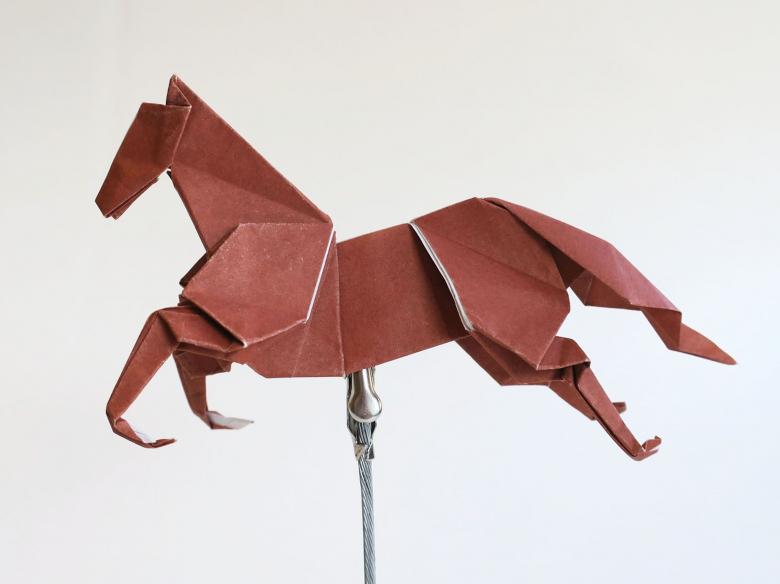
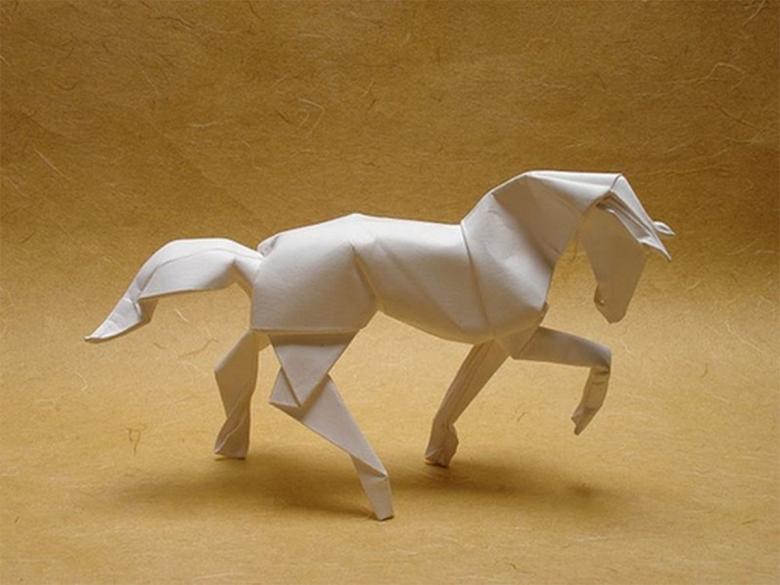
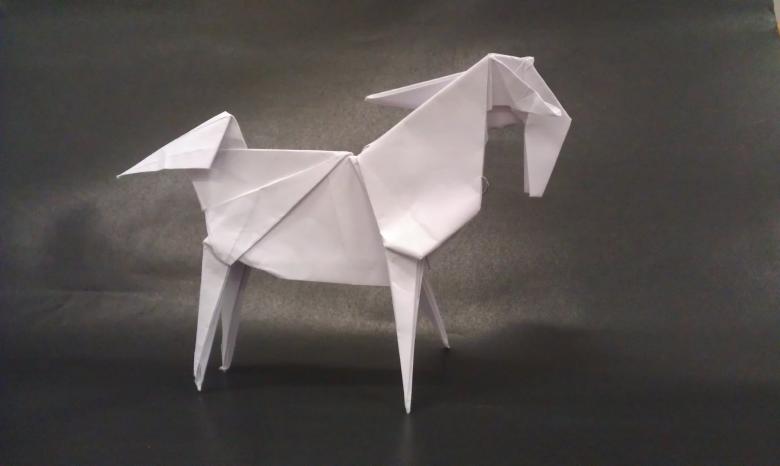
Figure made in the art of origami, can perfectly decorate the interior of any room, and spectacular horse in his own execution will also bring good luck to all members of the family.
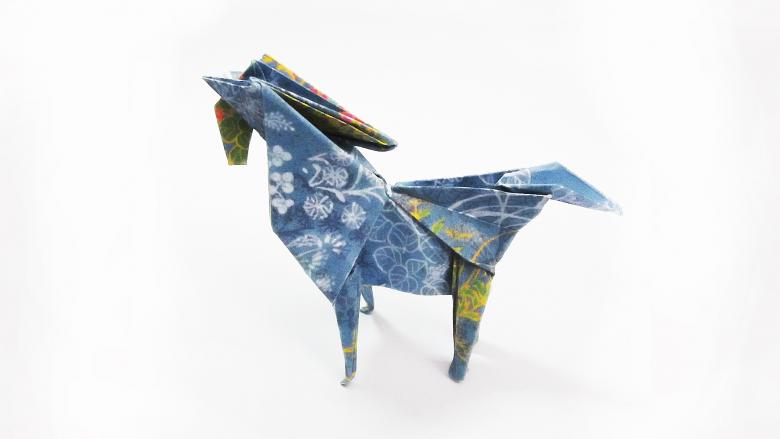
Children are very fond of various crafts, constructing with them, you can productively communicate during the process and share experiences. There are several options for schemes, following which will be folded beautiful horse, there are more simple and complex, time to work accordingly will need differently.
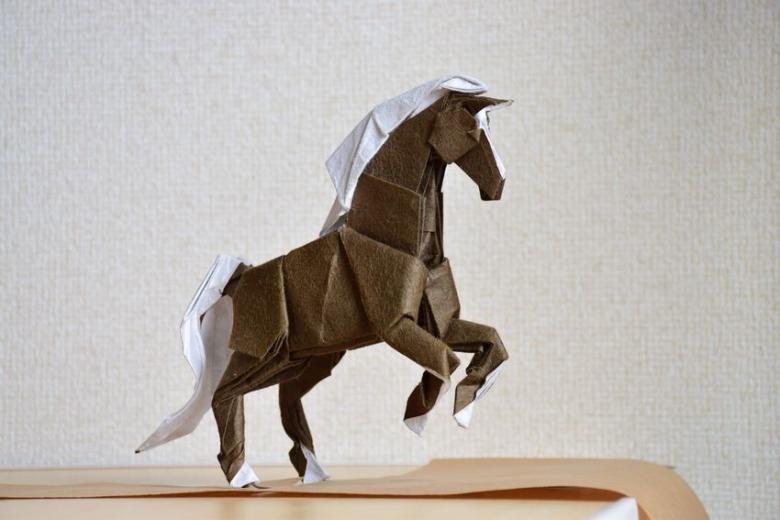
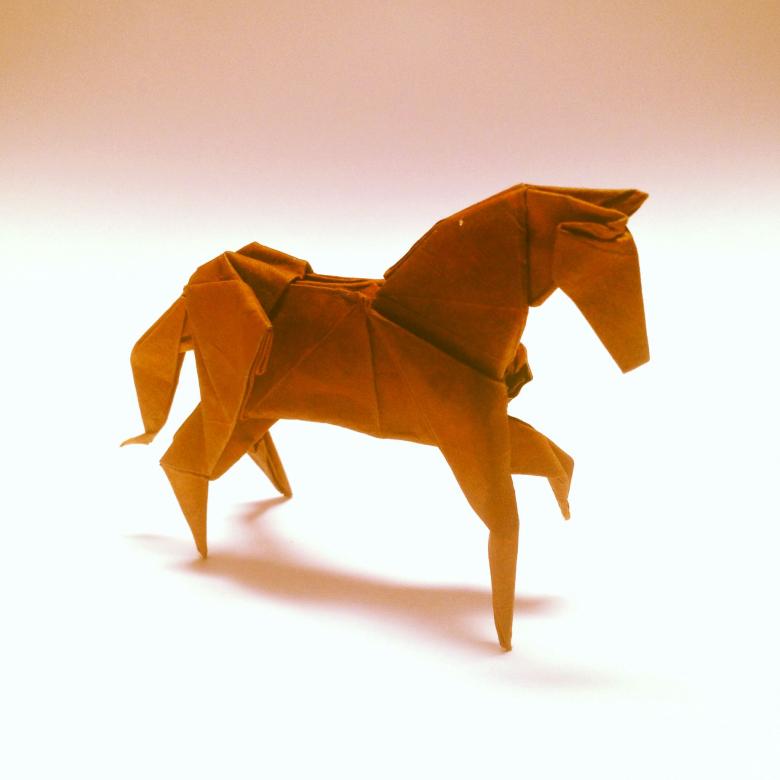
Easy version
Paper for the process is better to take a dense, otherwise the animal will not be stable, the finished workpiece simply parted legs. To begin with a rectangular blank to bend diagonally to get a square.
Excessive protruding edges are carefully cut off with scissors, for a cross-shaped markings in the form of even lines to bend the workpiece again diagonally and unfold. Now the leaf is added horizontally, but to get an excellent light origami horse made of paper, you must not allow the warping, all the edges must be fitted perfectly straight.
Unfolded workpiece and fold vertically, all the necessary lines after such manipulations will be marked and will be clearly visible.
Vertical and horizontal folds smoothly directed toward the center, so that the diagonal part was inside the craft. On the opposite side should do the same steps, on the table should be a square.
The sides need to bend to the middle, and the triangle, located at the top down. Using scissors to cut part of the workpiece, strictly in the center without going beyond the upper bend. After obtaining the two elongated rhombuses to fold them separately, pressing them strictly to the center.
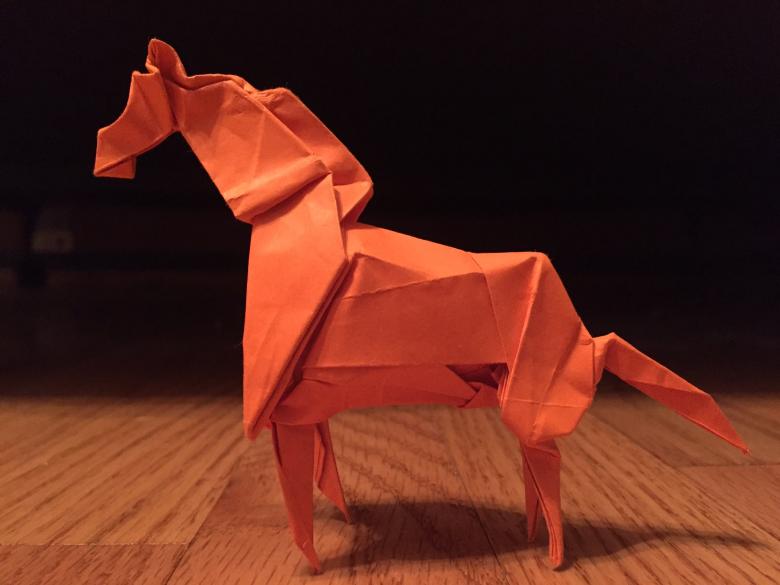
Once all the parts will take their place, unfinished model, turn over to the other side. All edges, which are now available, should be bent to the middle, and using scissors cut the top sheet in the center, for a bend is not desirable.
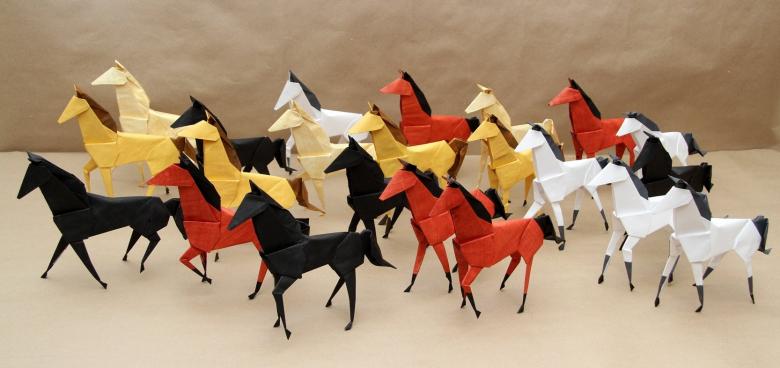
If all the manipulations are done correctly, then after parts of the figures will be moved apart, you can see the lines forming a small square.
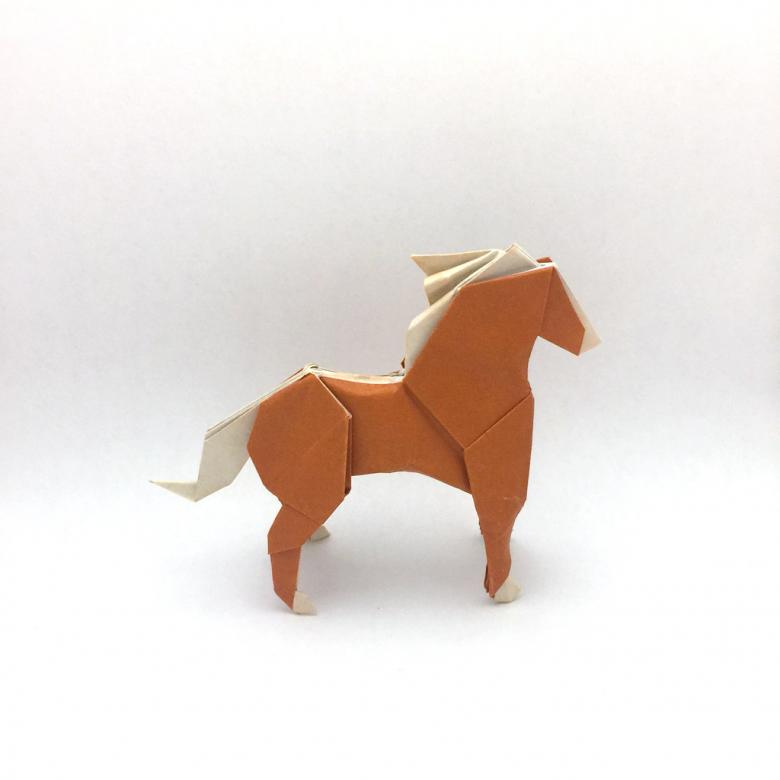
The next stage of the work
In the final stages of assembly must be careful, the sides are bent to the middle, and the belly of the horse should be tightly zautuzuya. The right triangle is carefully bent out to the side, be sure to trace that its lower part was in a horizontal position.
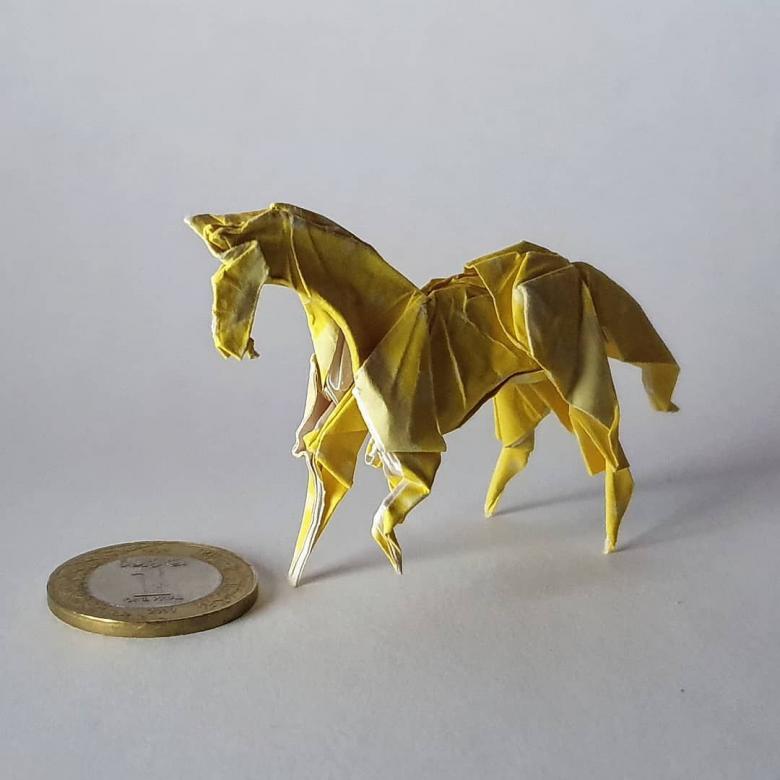
On the issue of how to make a paper origami horse is very important to pay attention to minor details, otherwise the end result is unlikely to please, and time and effort will be wasted. That the bent edges of the upper triangle is not plucked, it is desirable to direct them inward on the bend.
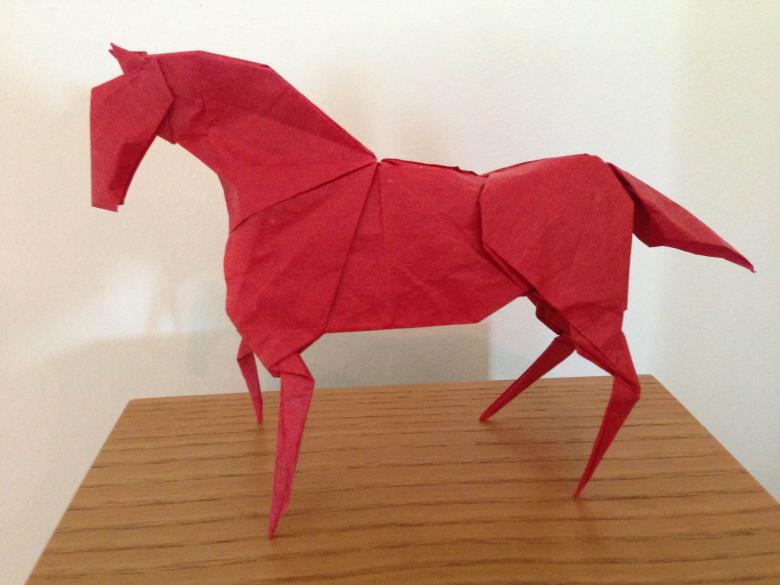
The left side of the workpiece should bend by one-third, and then you can see how to form the head of the horse. For stability, all four limbs are spread out to the sides, to give them an aesthetic can be easy, for this sharp edges tucked inside.
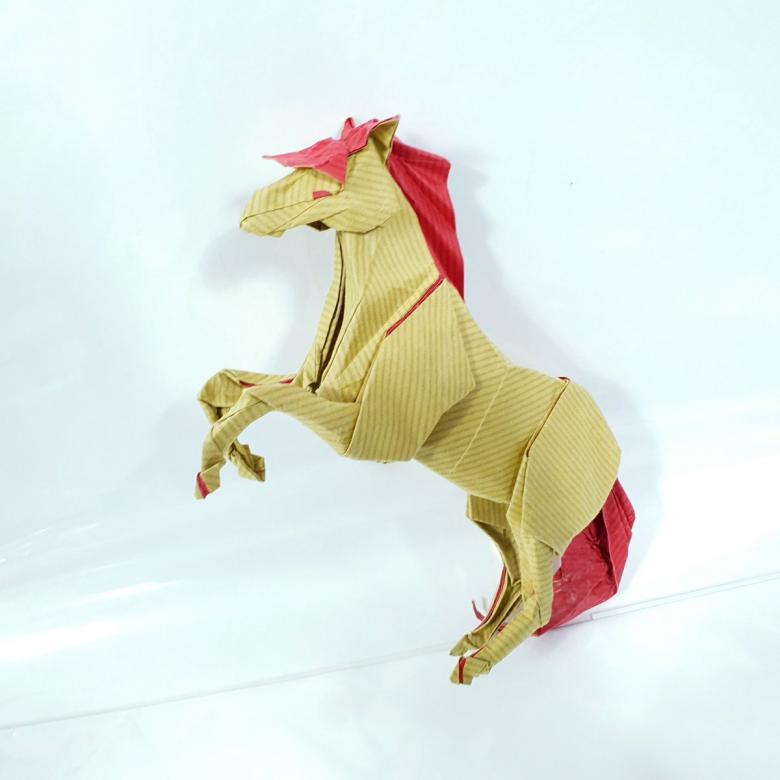
Making a small colt
Cute horse, which in the eyes of the child looks like a pony, is constructed from a square sheet of paper, it can be white for painting or colored. In addition to assembly, you will need to do simple manipulations with scissors, so at a very young age children can not do without the help of parents.
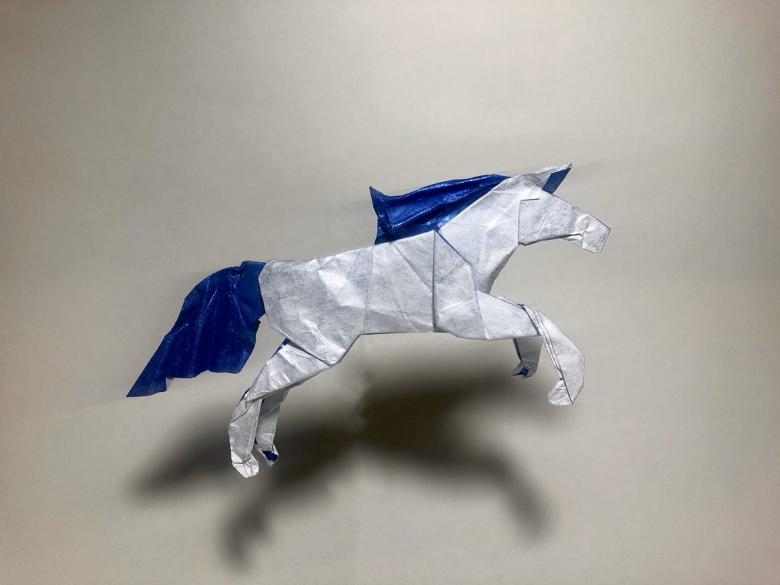
First, fold the base form of "pancake", and then the workpiece is bent in half. The top layer gently flattens out toward the right, then flip the craft piece, and all steps repeated.
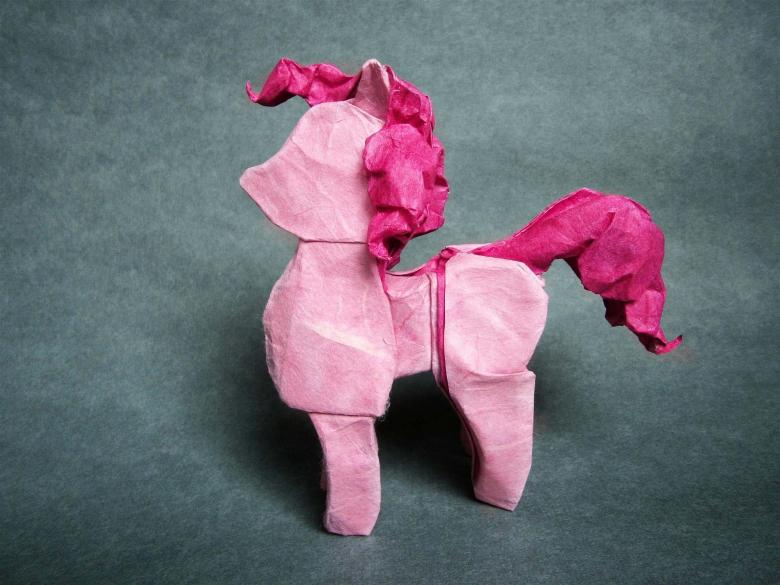
To turn out the top layer, you need fingertips to pull the cuts, after which the resulting part of the horse bend down. The side parts are connected, and the edges are tightly wrapped to the center.
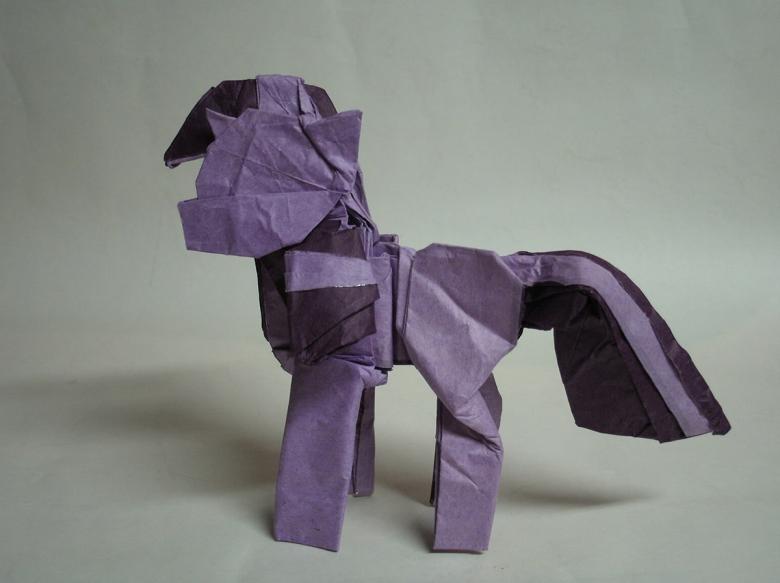
Bending the workpiece, you need to make sure that the straightened edges are strictly on the diagonal and so should be on each side. After a successful work with light movements we will be able to extend the muzzle and tail, they will look very effective and natural.
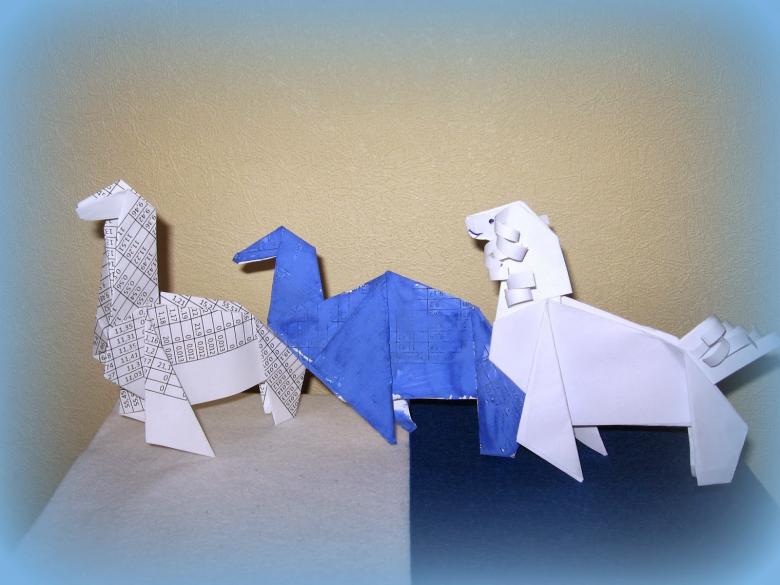
To create the legs, you will need scissors, that is why they were originally prepared, cut strictly along the contour, otherwise the front and back limbs will be unequal, and the slenderness of the animal will not work.
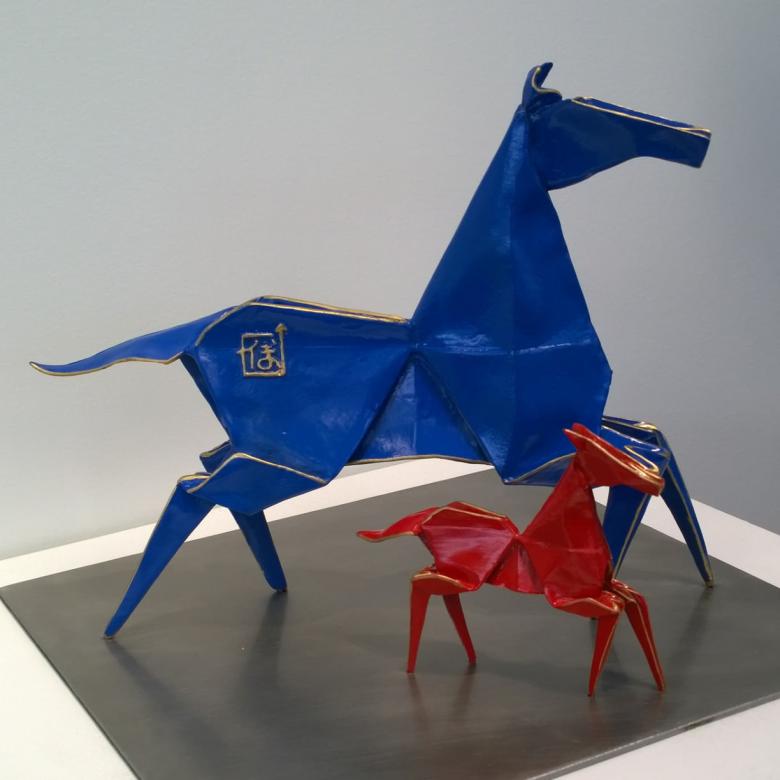
Visual design figures
Created cute origami horse assembly diagram and step by step instructions to which are not too complicated, can become even more attractive, if you show imagination and decorate it with paint. Very nice look saddle with creative details, this can be:
- Apples.
- Fancy stripes.
- Peas.
- Flowers.
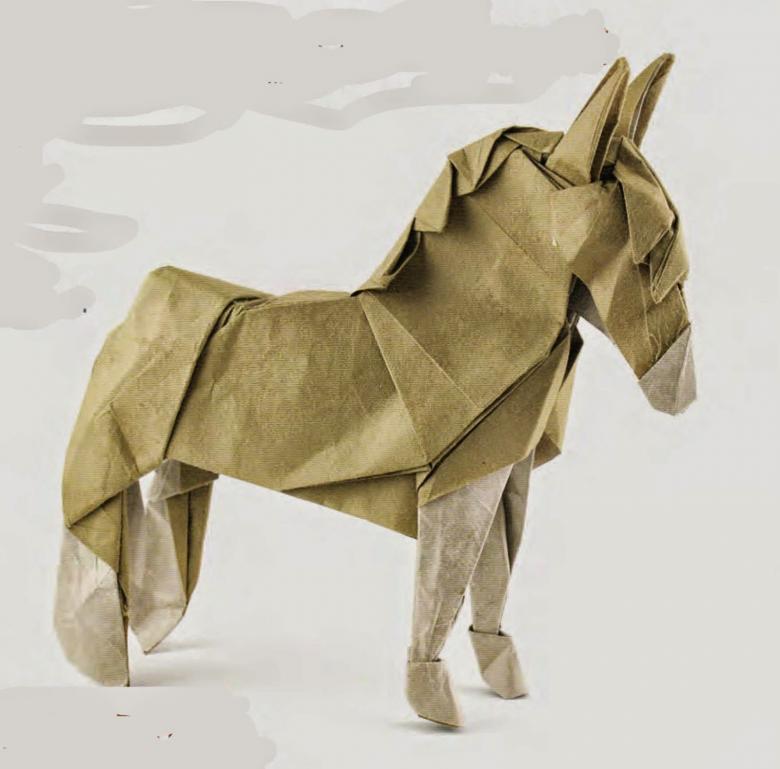
Experimenting with shades and combining new colors each time, you can achieve striking results in the design.
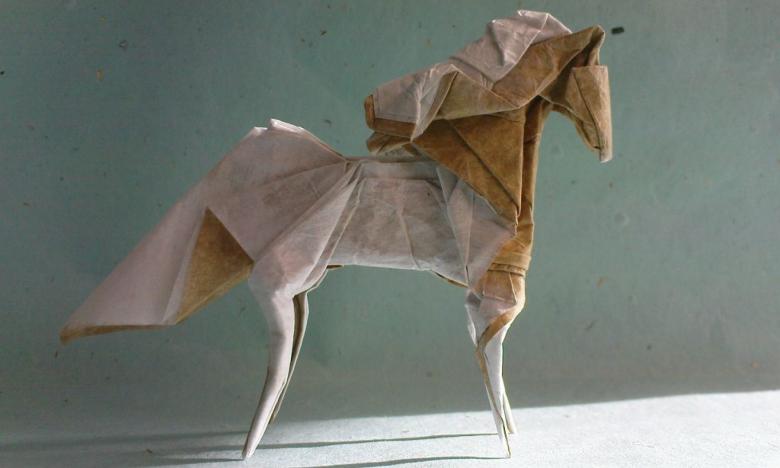
If there is no talent for drawing, it is worth using ready-made templates, spectacular harness or mane, cut out of colored paper, will complement the image very well.
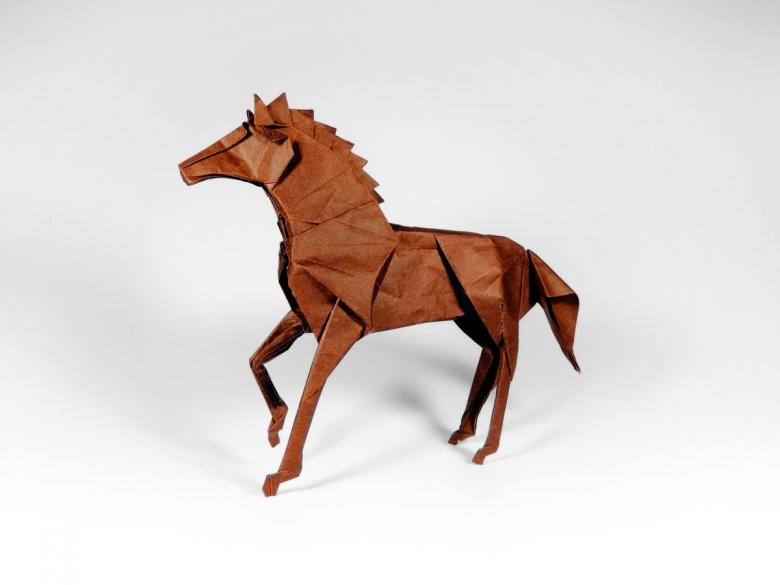
Volumetric figure using modules
Standard traditional origami parts for the craft are prepared in advance, it will take a lot of time, but the finished decoration of the table or nightstand will look chic. Need 366 modules of yellow and 36 - brown, they will be created:
- Body.
- Tail.
- Mane.
- Hooves.
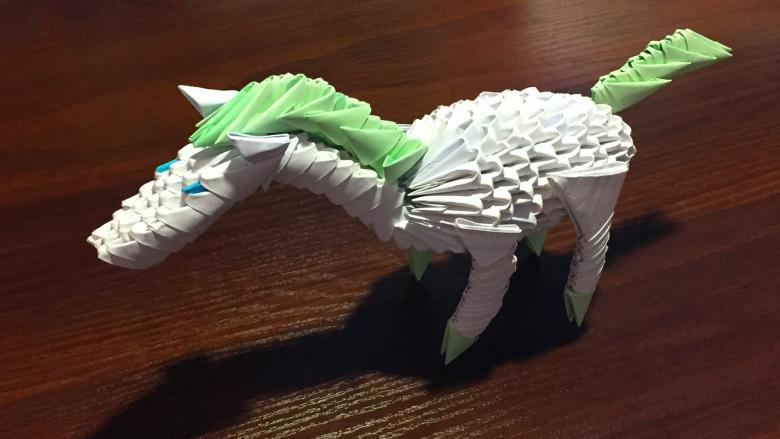
Very interesting that every person who took up his own construction, at his discretion can make adjustments to the work, the master class is only the basic framework, but if well thought out steps can create a unique and distinctive horse.
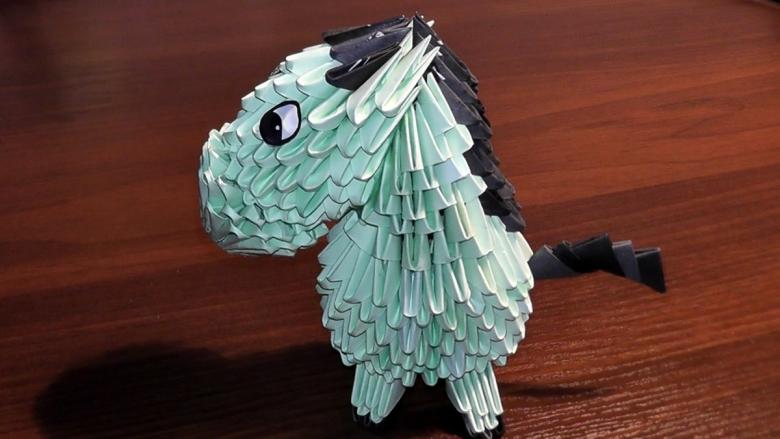
Glue is used as desired, with it all parts will hold together more securely and tightly. The calf is going fast enough, all the blanks are connected in a circle, their long side should look outward.
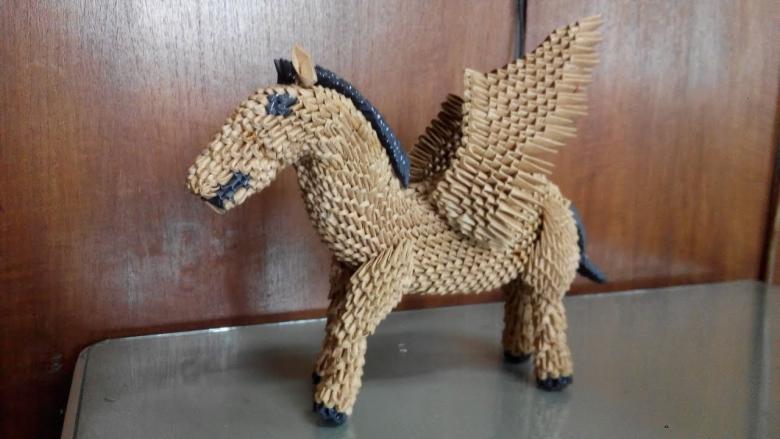
Reaching up to 4 rows to start forming the neck, short part of the modules is turned around in the opposite position, reaching the head, you will also need to make changes in the process and raise the sharp corners, it is important not to forget about the mane and do not miss this point.
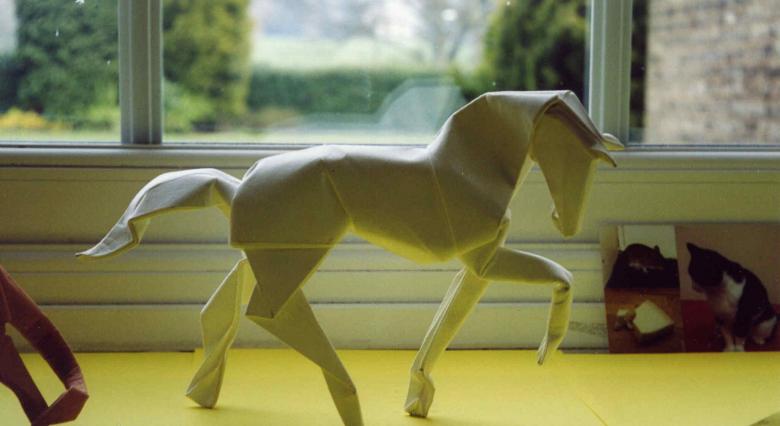
Feet are made up of three modules, brown and yellow, and then it is worth moving on to the formation of the tail. At the final stage of construction are attached eyes, you can make them yourself or buy ready-made in the right size, in stores for creativity there is a wide range of superimposed parts.
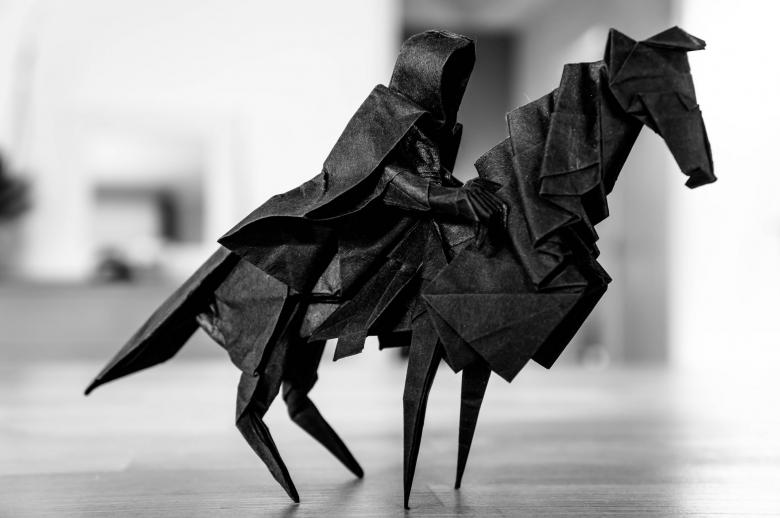
To make the process more clear, it is worth using the video version of the master class, there are explained in detail all the important points regarding the labors of the assembly.

