Walnut crafts with their own hands: photos of the best ideas for beginners
Walnut is one of the most useful food products. The kernel is rich in vitamins, essential amino acids and minerals for the human body.
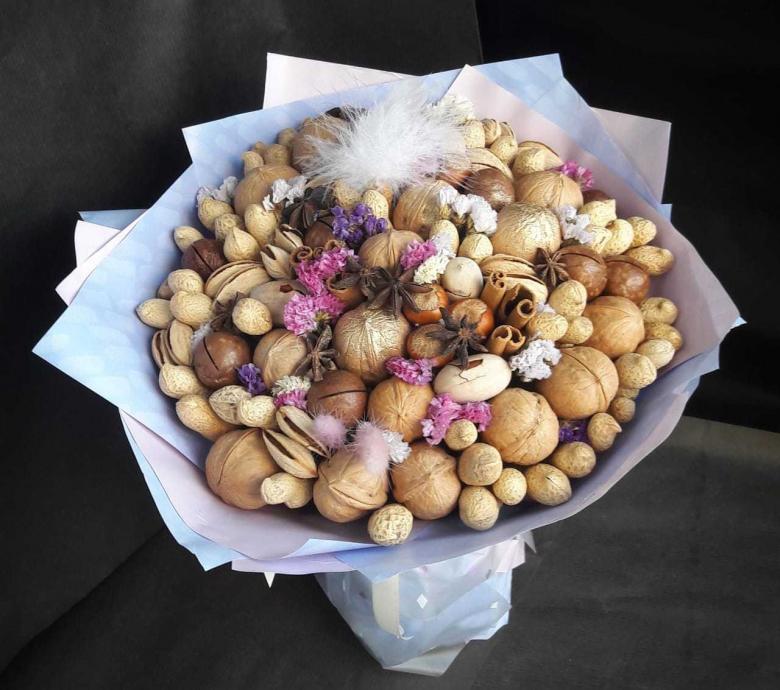
The so called hazelnut baffles are also useful, the tincture of which has medicinal properties. And the nutshells serve as an excellent material for children's crafts.
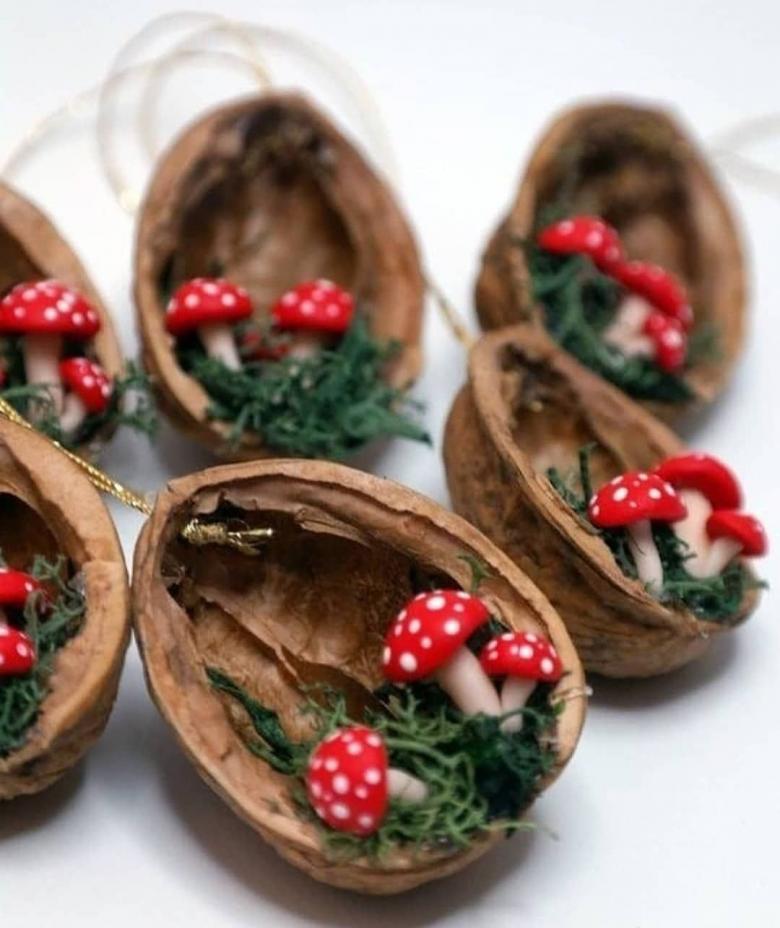
Advantages of the shells
To create something functional from the nutshells is unlikely to work, but it is quite possible to make
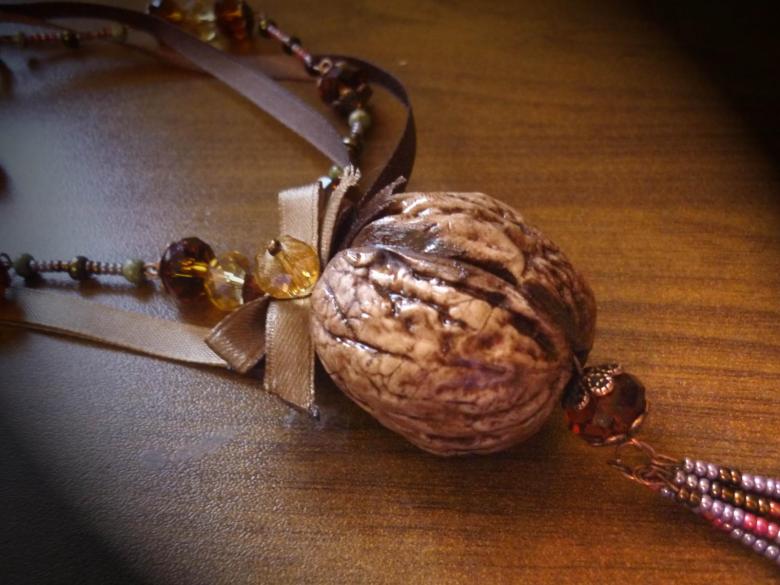
- costume jewelry;
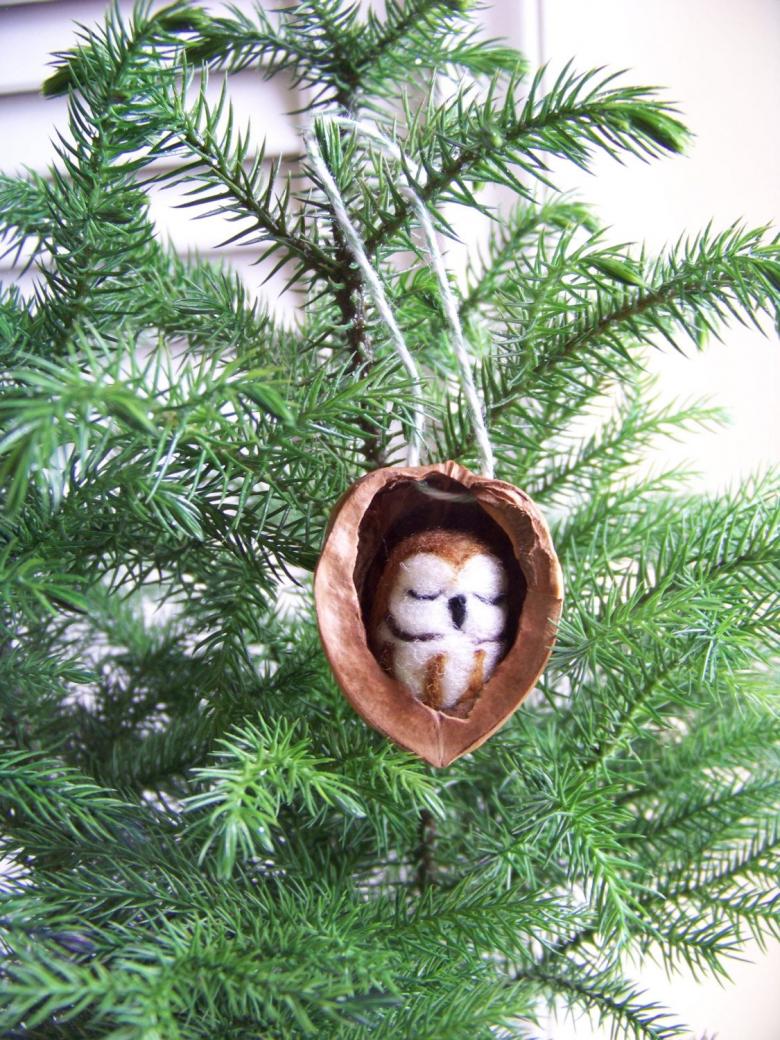
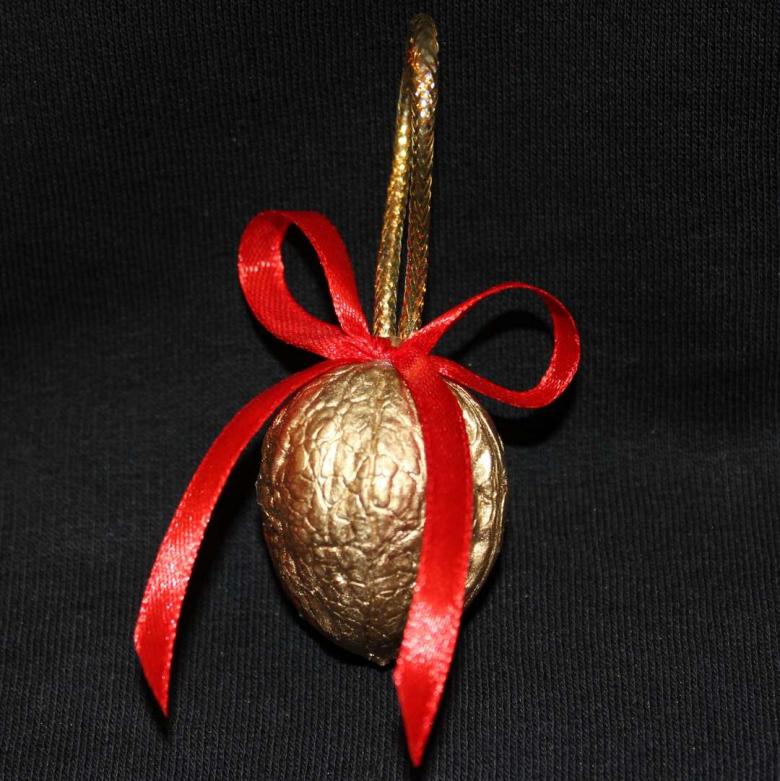
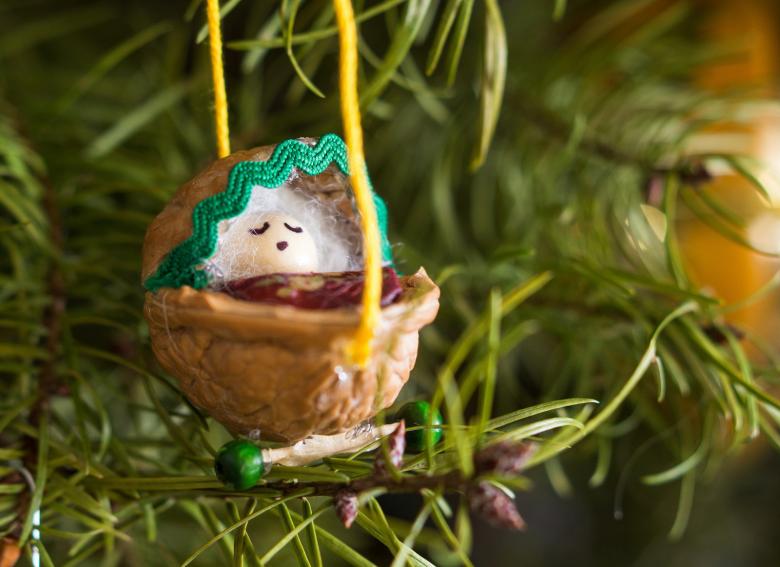
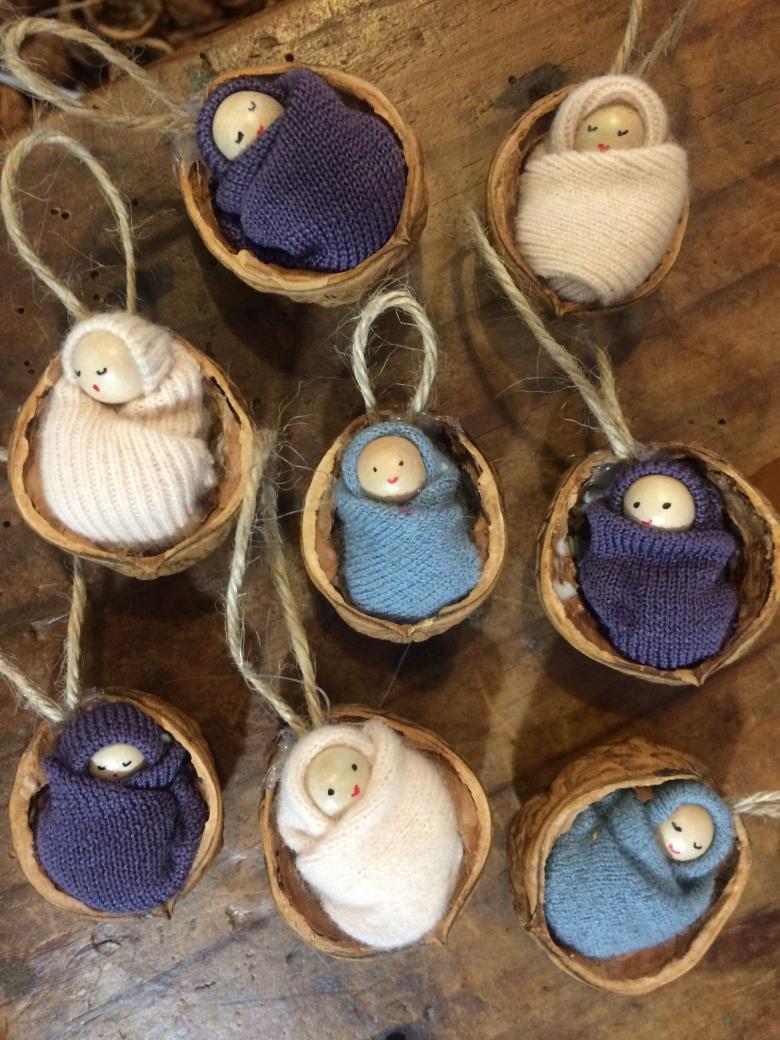
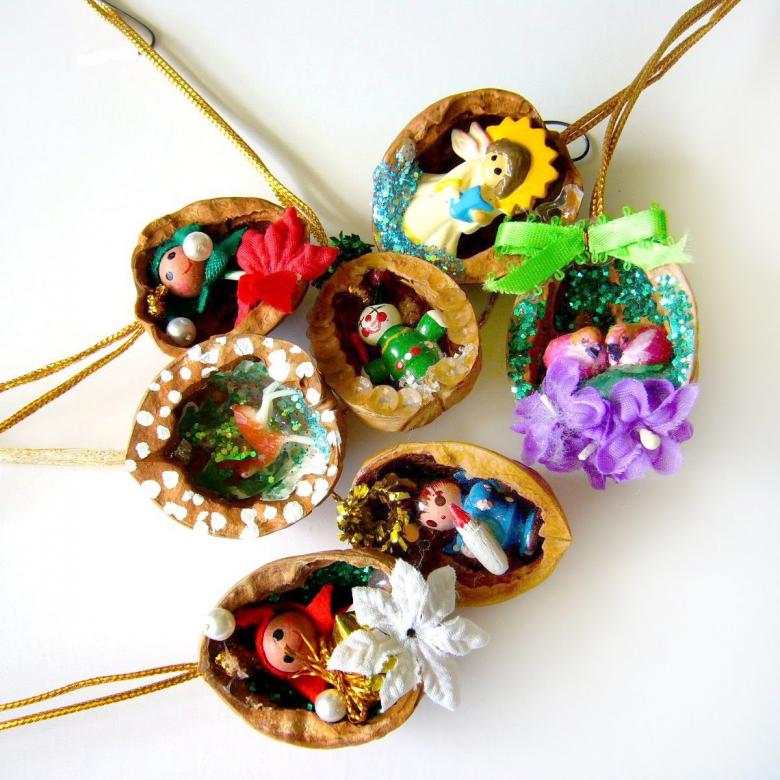
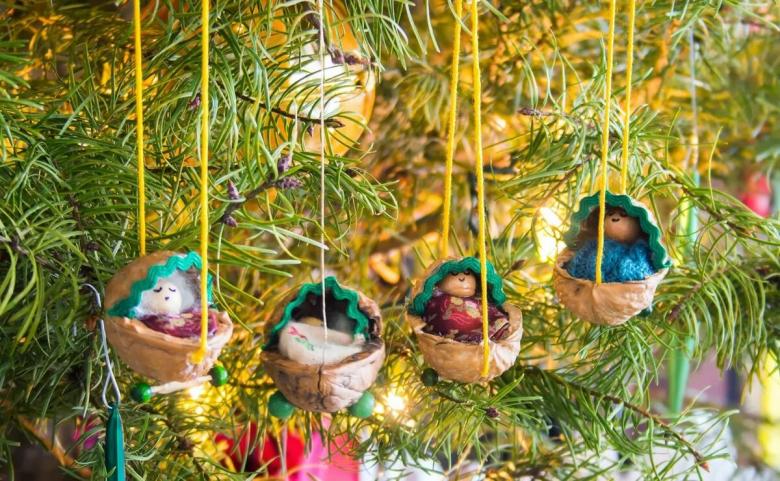
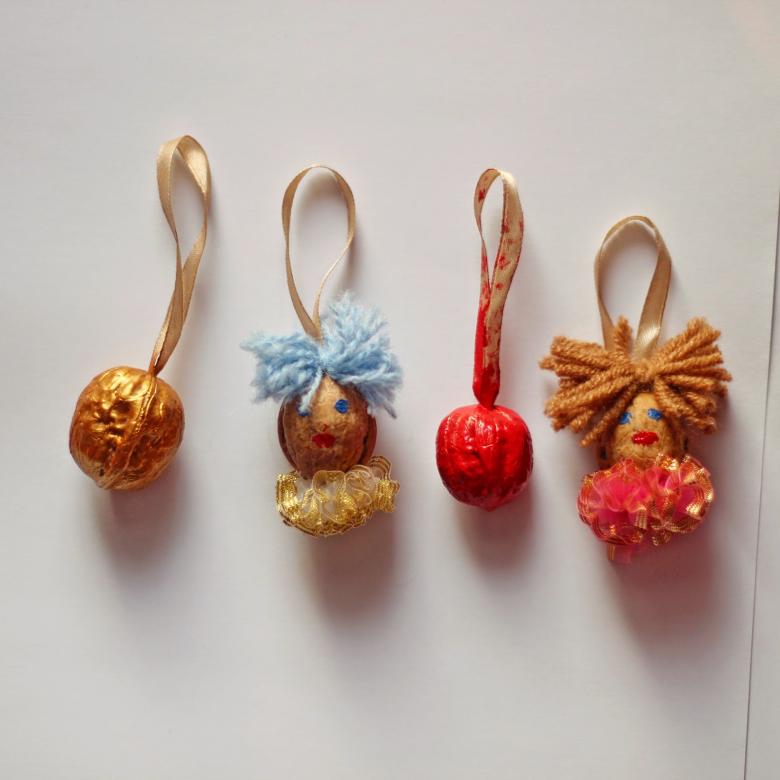
- ornaments for Christmas trees;
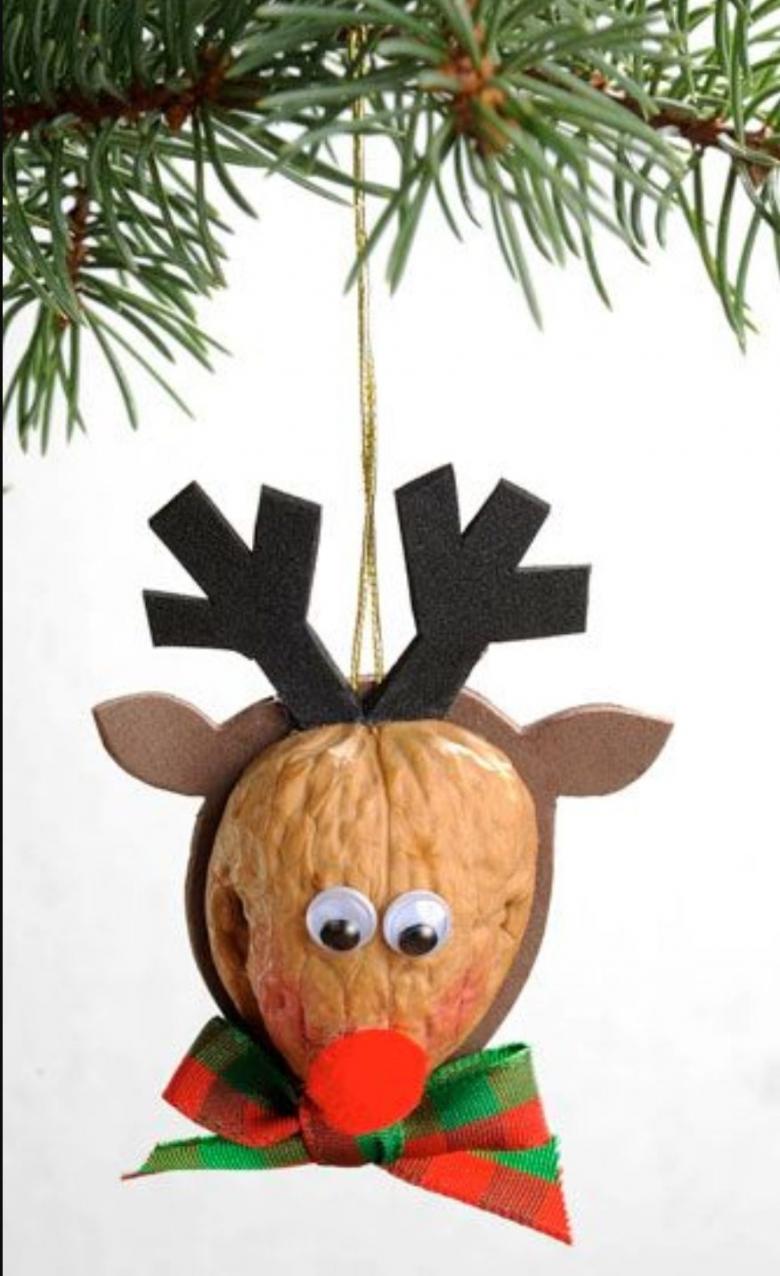
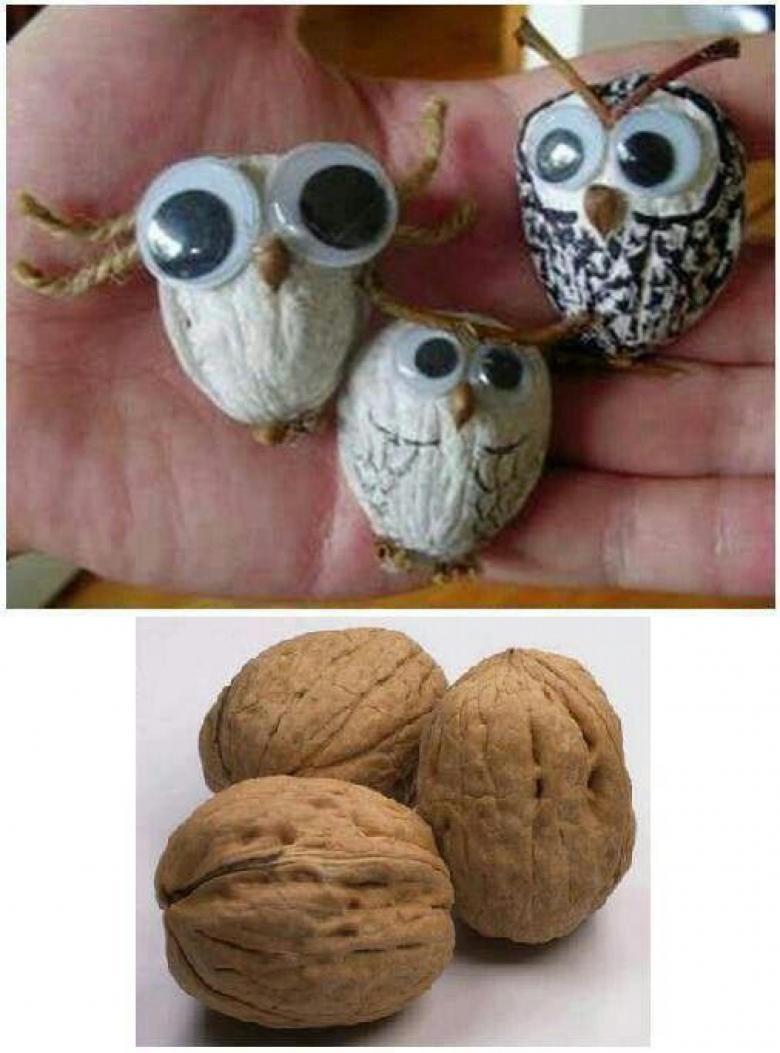
- Funny animals;
- various toys;
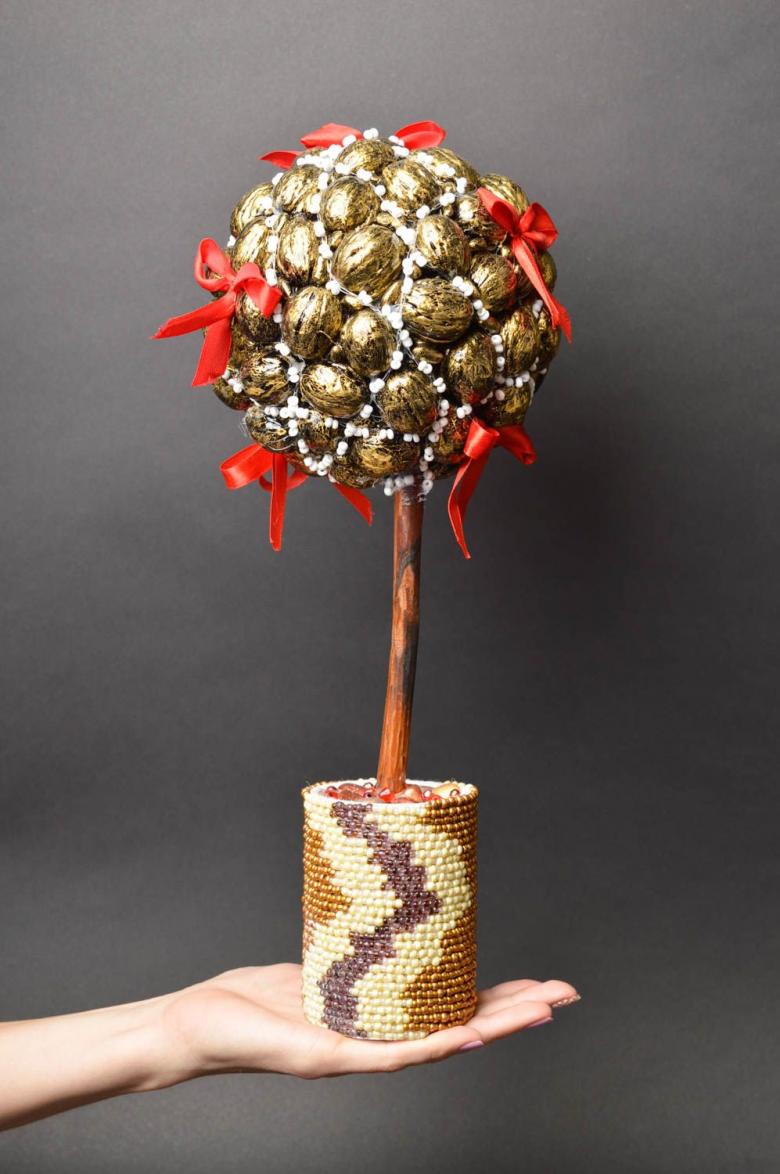
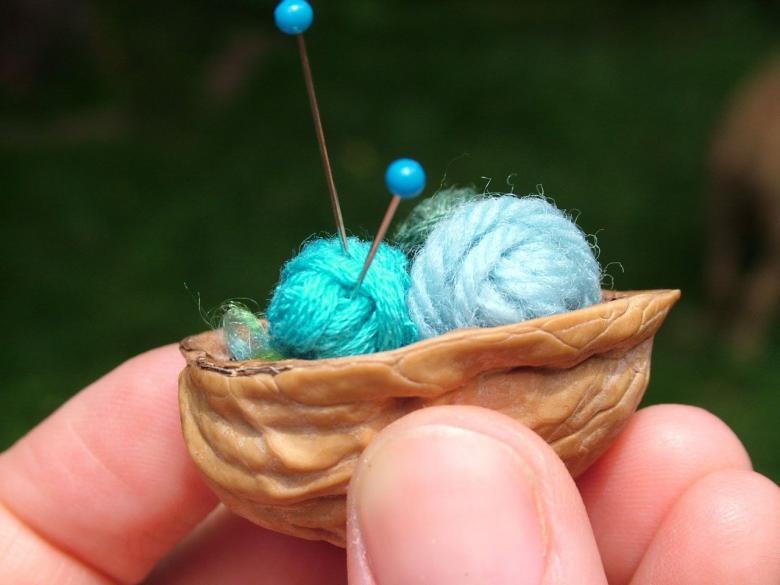
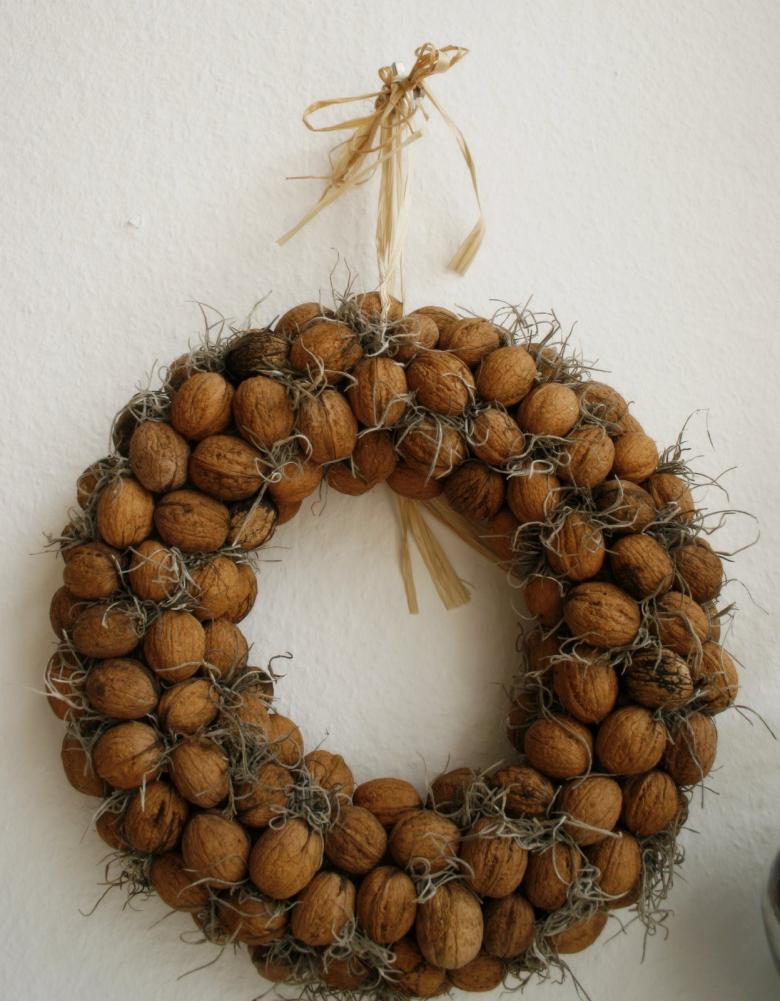
- original souvenirs.
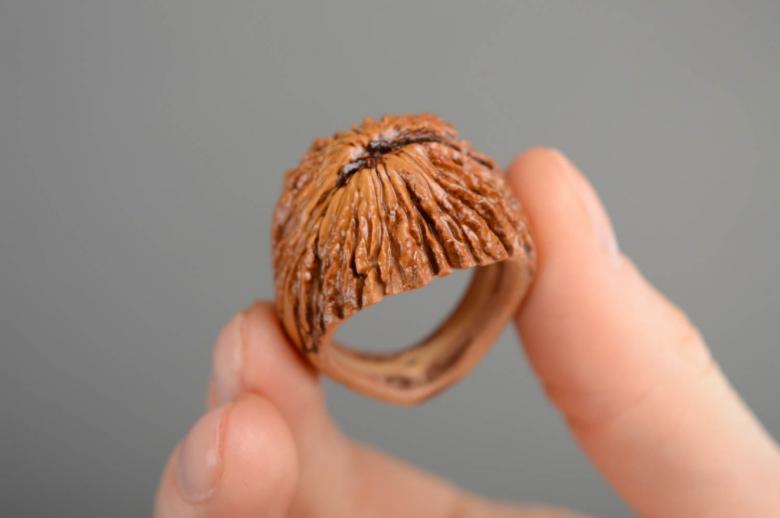
Walnut shells have a number of qualities that are so necessary in the manufacture of handicrafts:
- very durable;
- it is not afraid of water;
- Does not shrink with time;
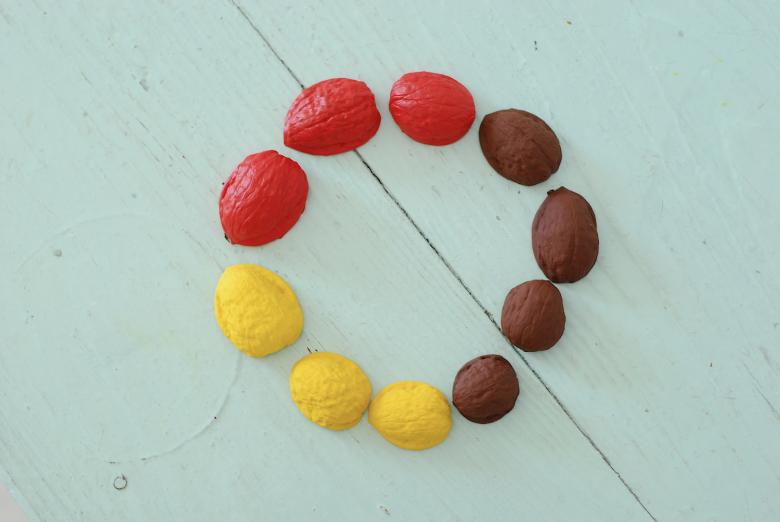
- it is perfectly stained;
- Has a very elegant texture;
- combines perfectly with other materials at hand.
The simplest toys
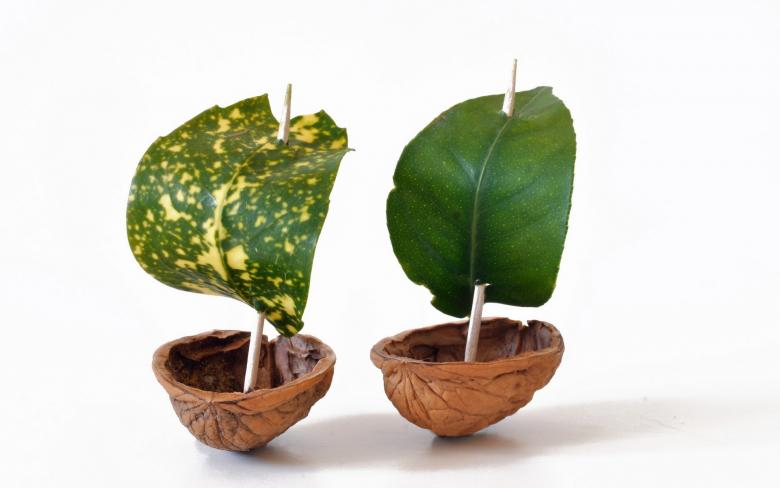
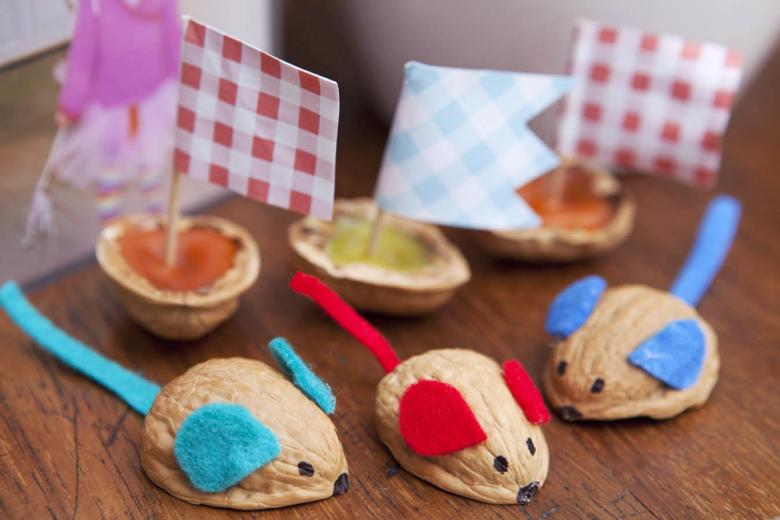
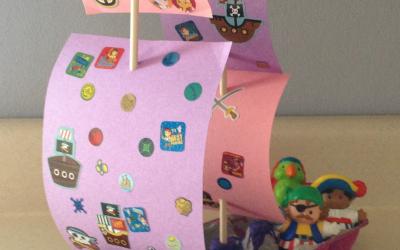
You just need to give your child an idea of how to make a whole flotilla of half nutshells, and he will be happy to do "shipbuilding" for a long time, giving parents time to do chores.
Explain to your child that for the crafts of the walnut shells with their own hands, you need the number of halves, how much he wants to have in his fleet. In addition to the shells will be required:
- toothpicks;
- paraffin candles;
- paper.
Stages of work
- Step #1. A candle is lit and drops of paraffin are filled into the nutshell.
- Step #2. A toothpick, the future mast of the sailing ship, is stuck into the layer of paraffin.
- Step #3. The necessary number of sails are cut from a sheet of notebook paper.
- Step #4. The sails are "threaded" onto the toothpick.
If the child is already familiar with Green's wonderful story "Scarlet Sails", he can paint the sails red.
The peanut navy is ready! It remains to test its buoyancy.
Walnut Checkers
Going on an excursion out of town, schoolchildren usually take with them board games. The most popular checkers, with which you can play and "corners" and "giveaway" and "Chapaev. The only trouble that may arise in this case - the loss of checkers.
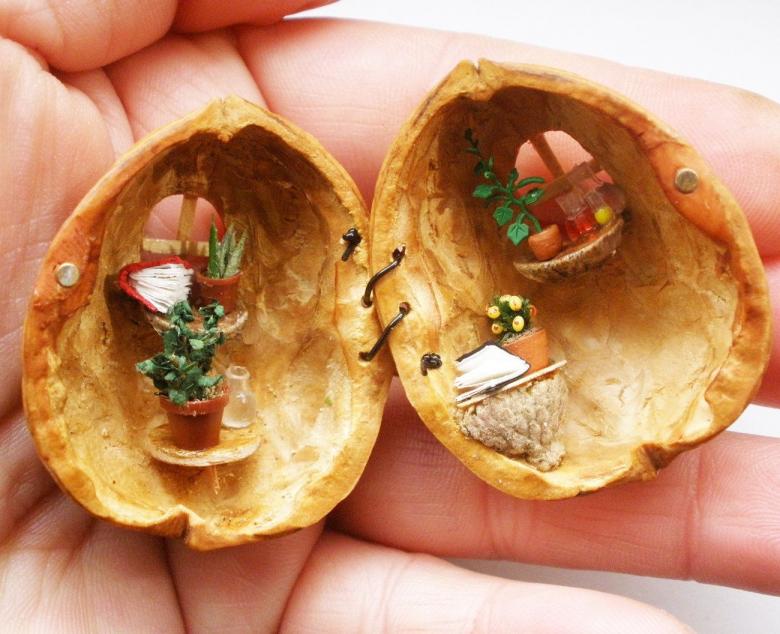
This trouble can be avoided by making checkers out of walnut shells. You will need only a dozen nuts, i.e. 24 halves of nuts. It is necessary to paint checkers in different colors and a set of figures for the board game is ready.
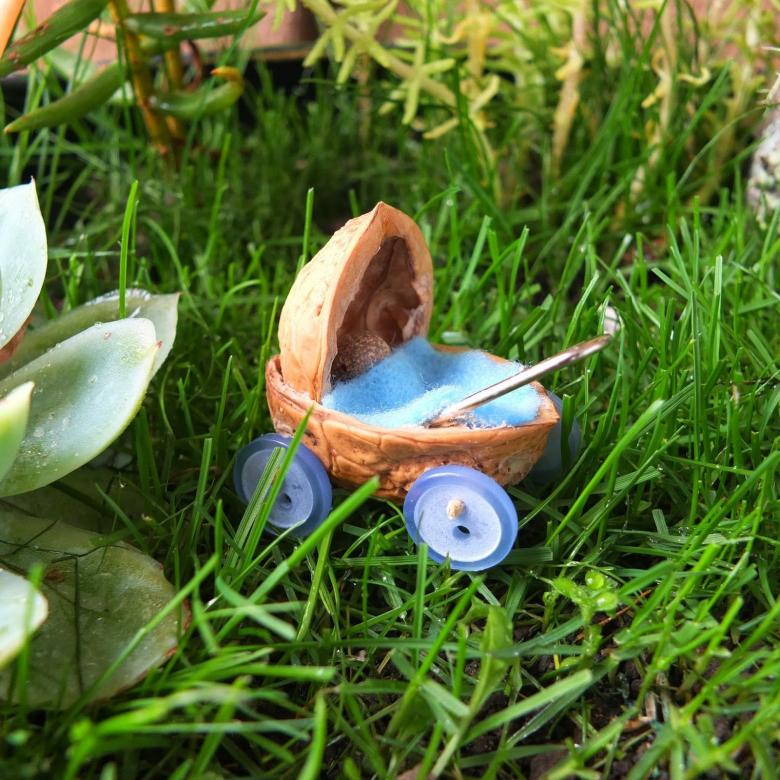
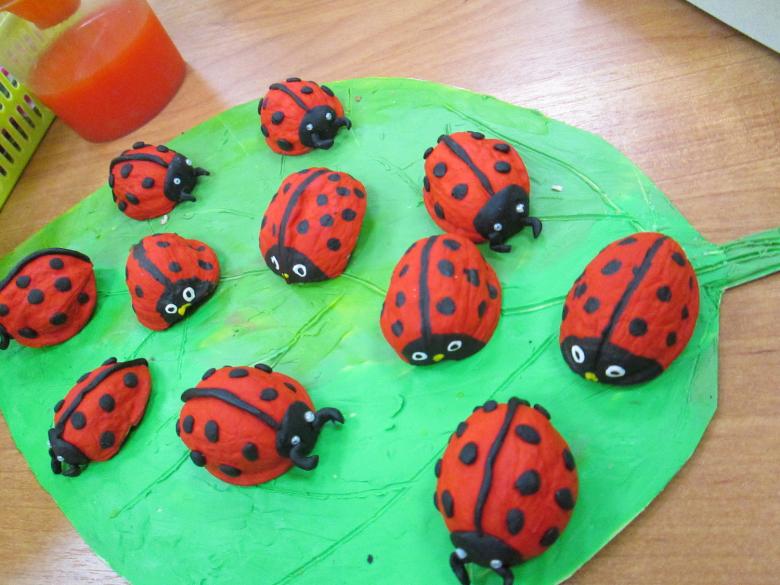
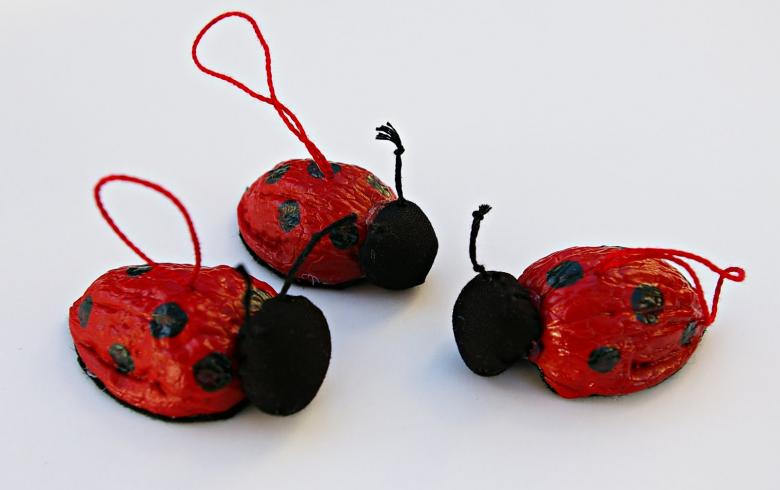
You can be limited to white and black paint, or you can be imaginative and turn one batch into beetles, and the other into ladybugs.
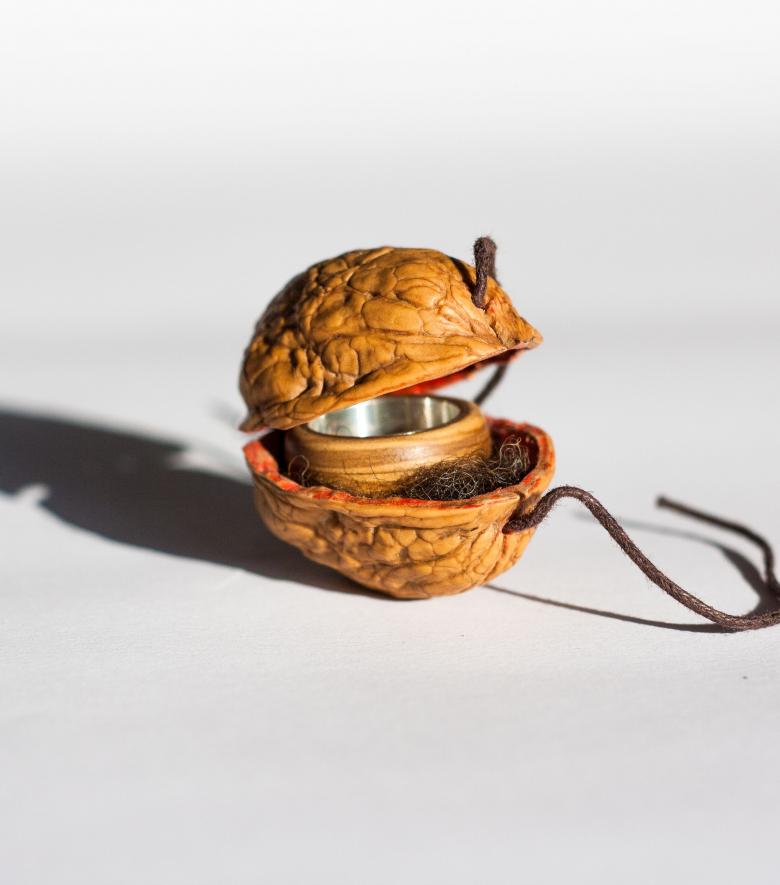
To make the figures slide better on the chessboard, you should glue pieces of glossy paper on the undersides of the shells. Among other things, this will protect the board from scratches. There will also be no fear because of the possible loss of the checkerboard. It will be easy to replace it, and even better to have a few extra pieces that fit freely into the folding checkerboard!
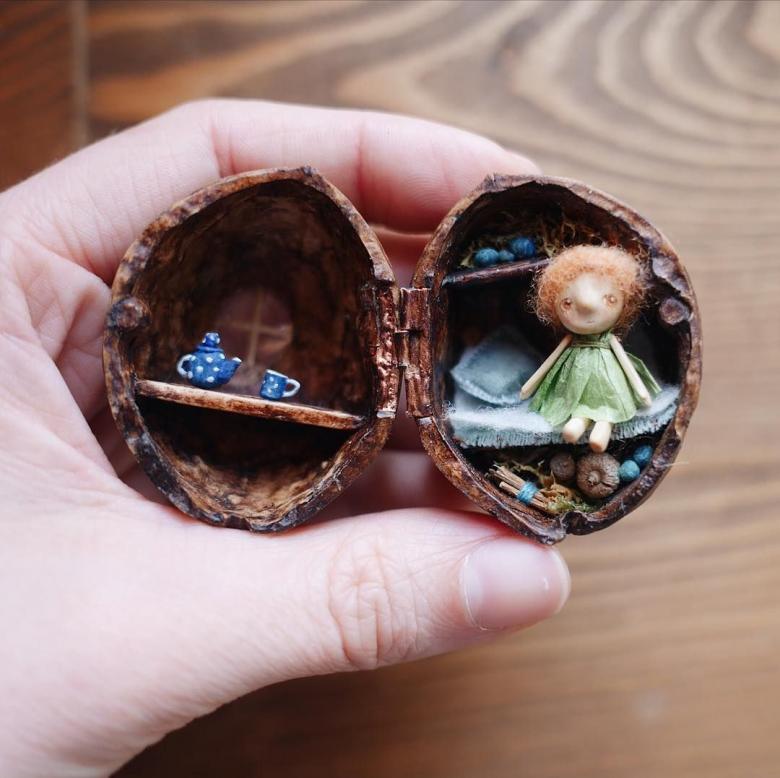
Animals
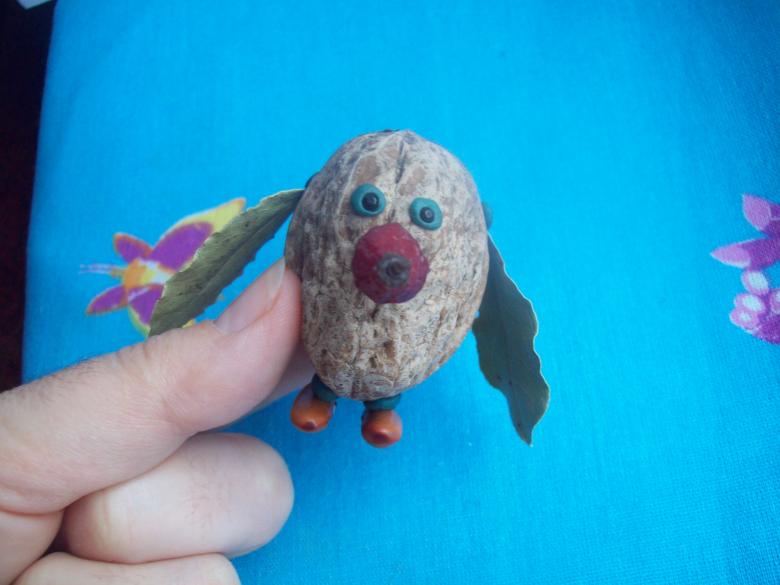
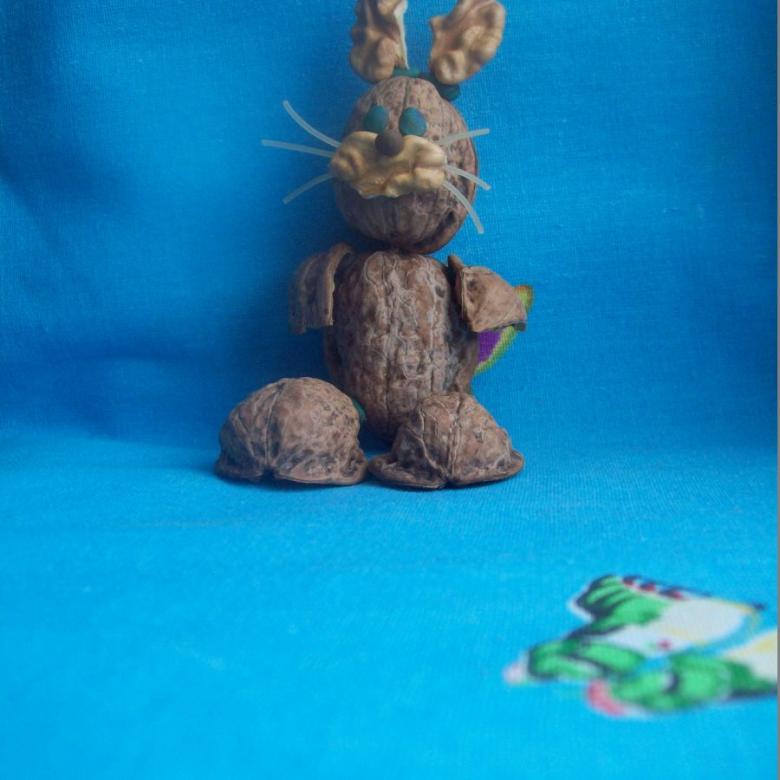
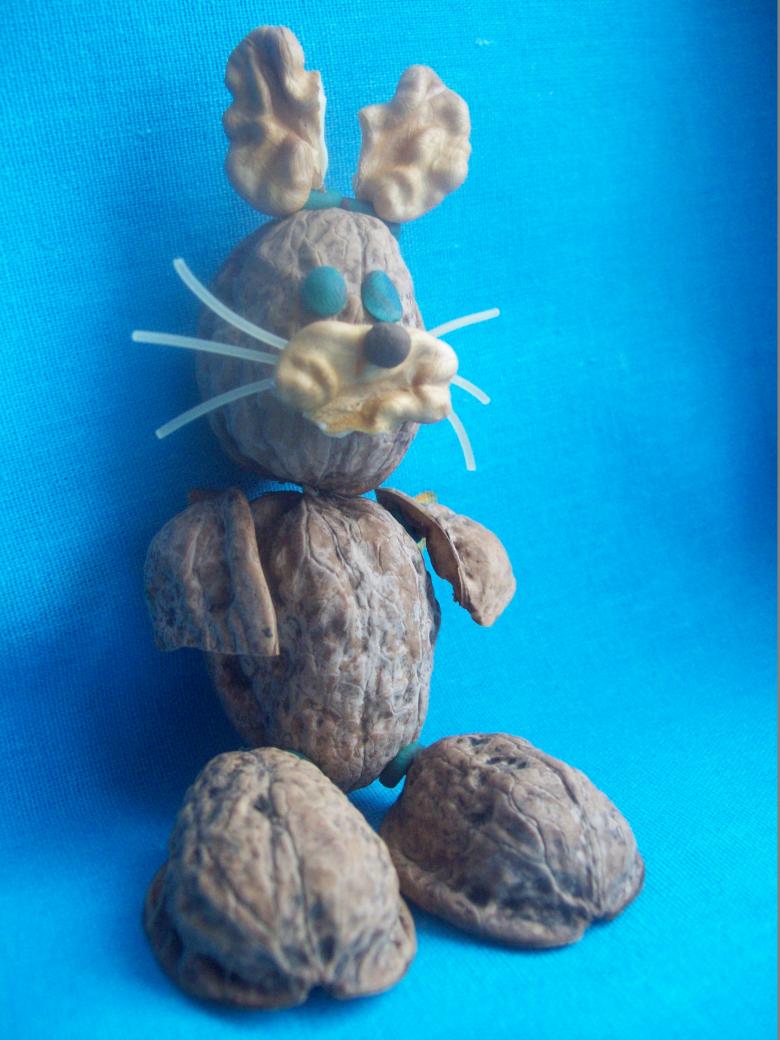
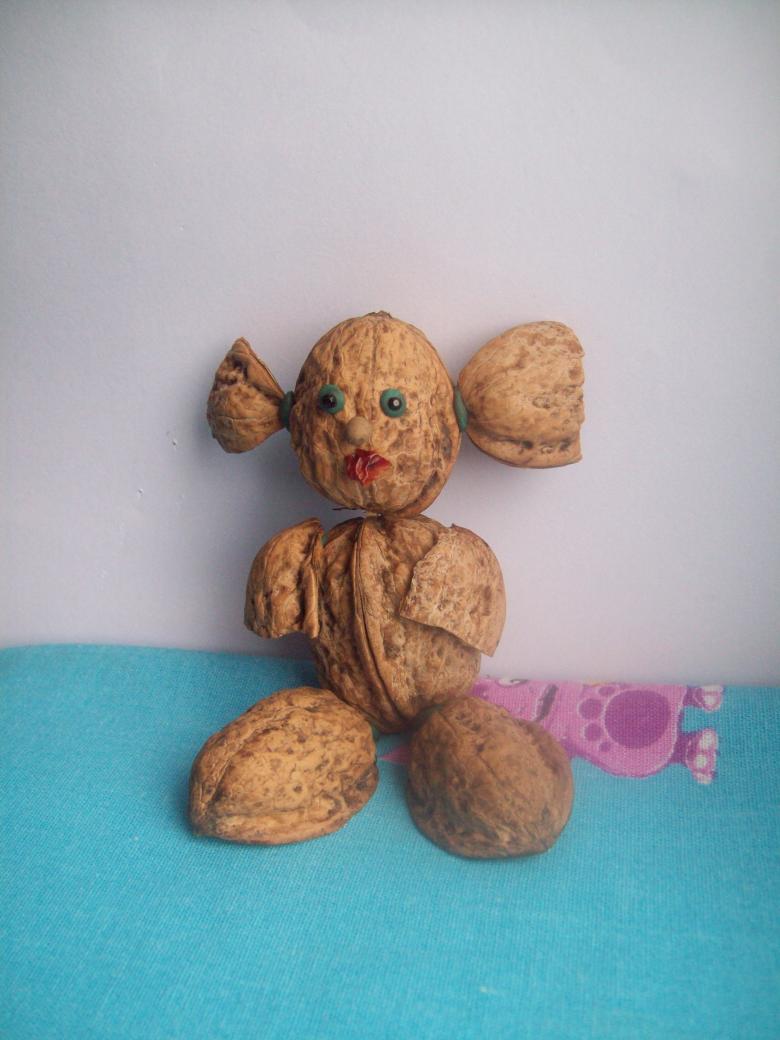
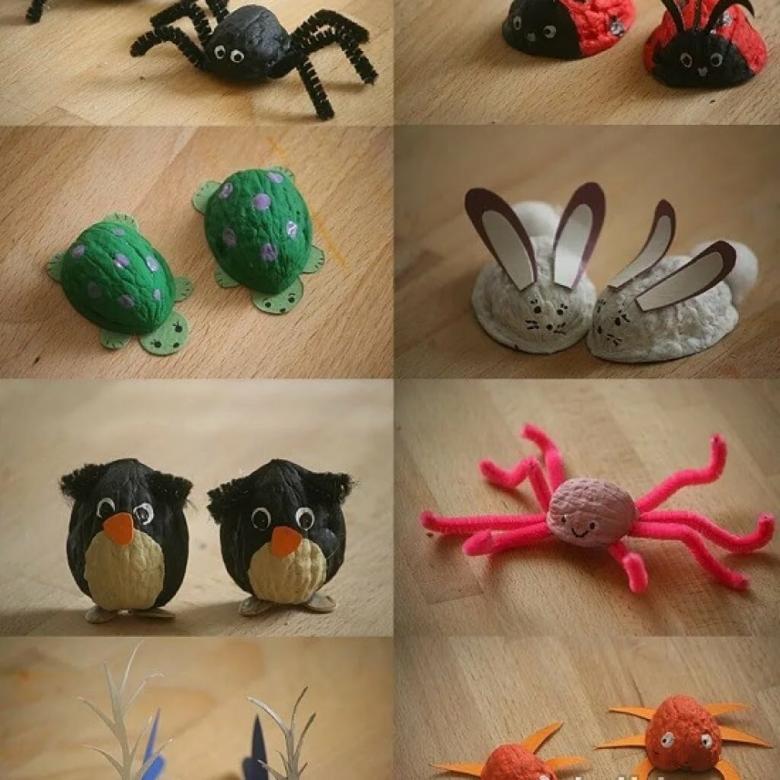
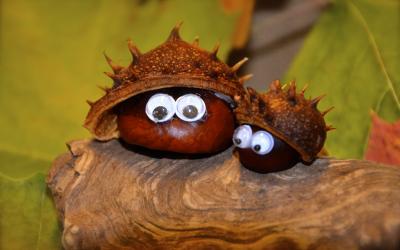
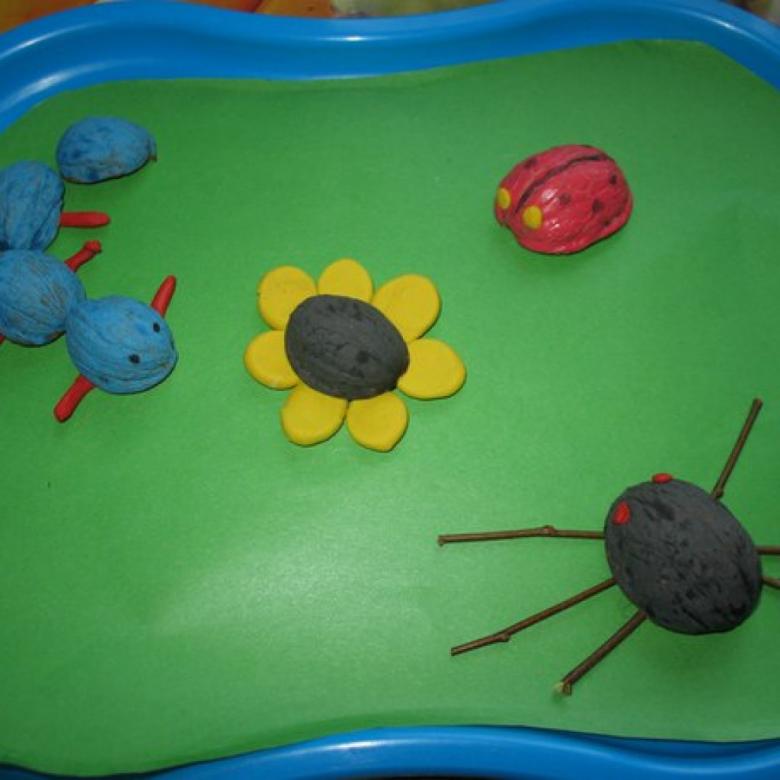
You can make many handicrafts out of walnuts. These can be almost any animals, insects and birds:
- snails;
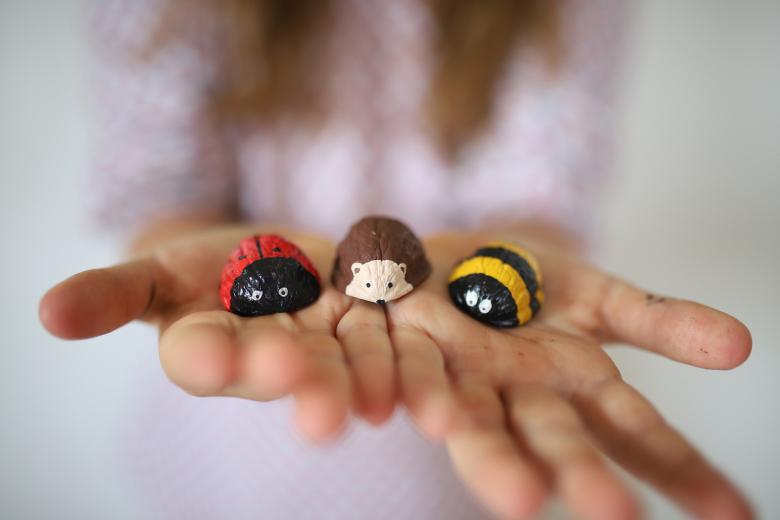
- hedgehogs;
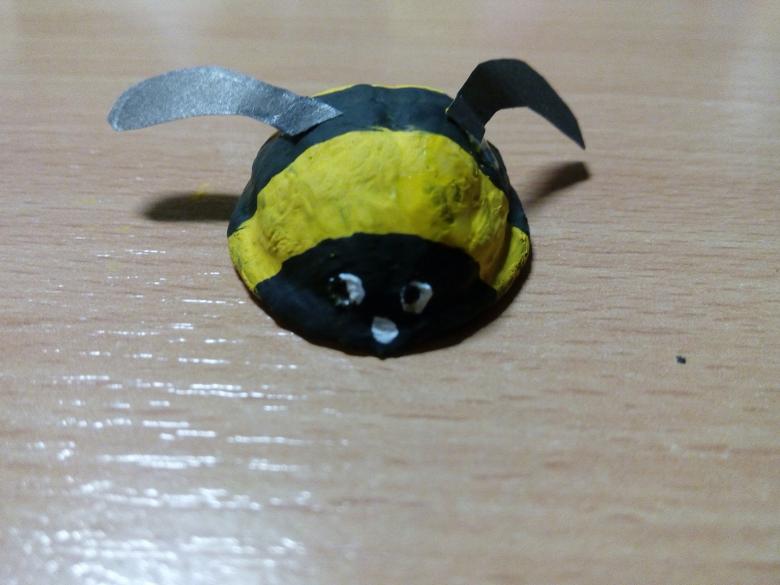
- ladybugs;
- kittens;
- puppies;
- ducklings;
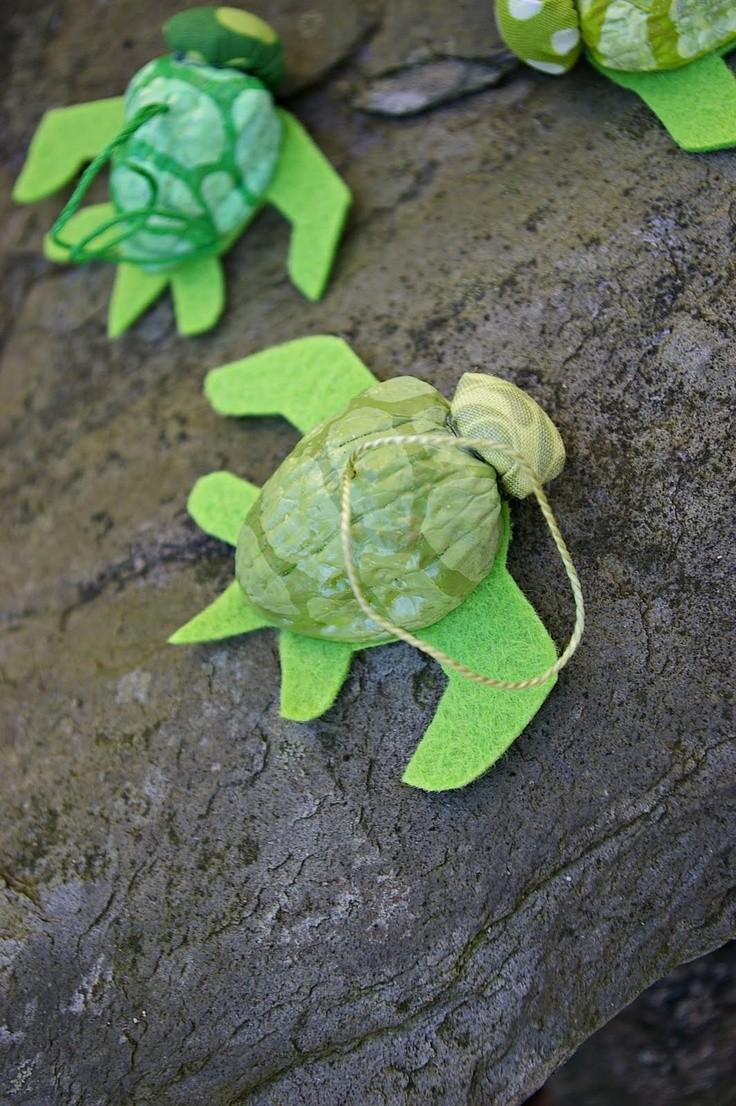
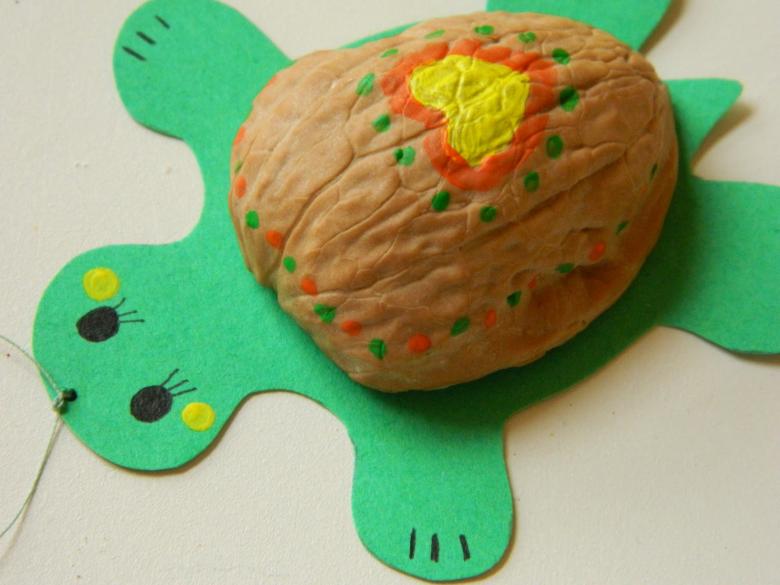
- turtles;
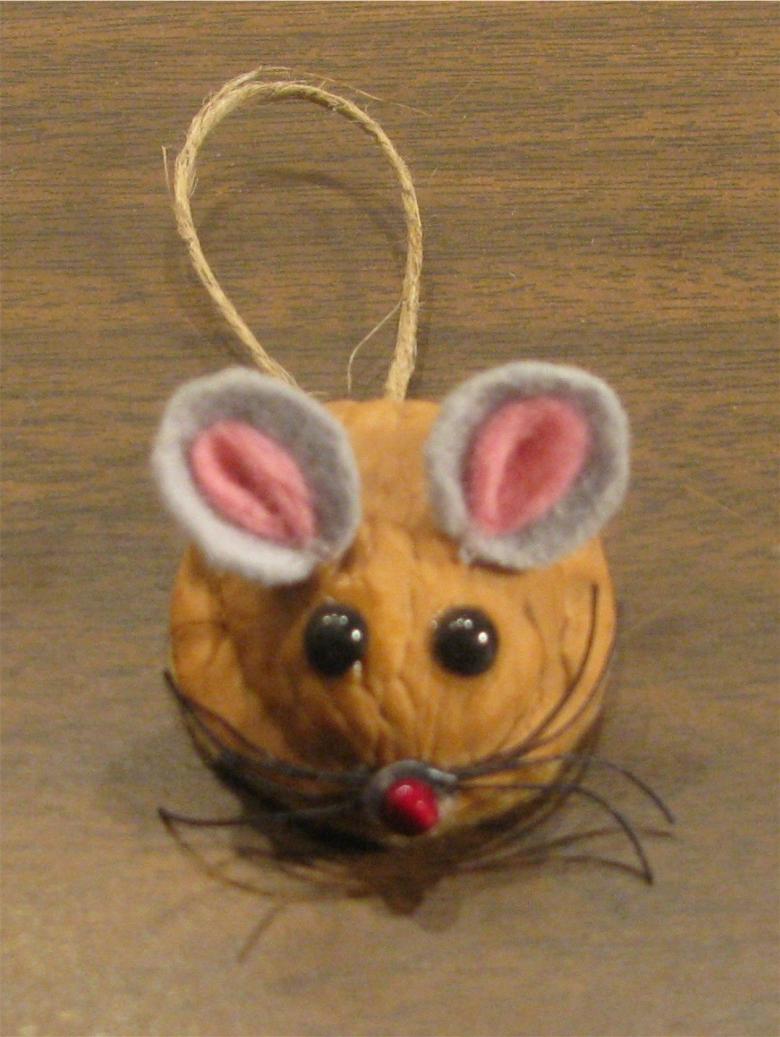
- mice;
- crabs, etc.
The technology of making all the toys and the necessary materials are almost the same.
Materials for crafts
Among the existing set of dyes, for the work will do:
- paints in aerosol packages;
- gouache;
- acrylic paints;
- nail polish;
- Easter kits for coloring eggs.
Scissors, plasticine, and paper will also be needed.
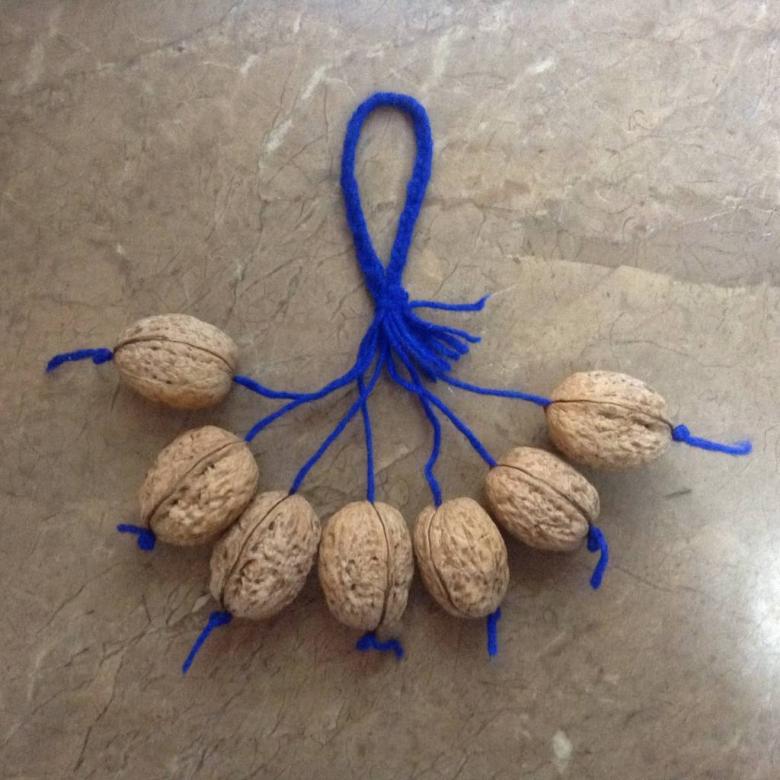
On our website https://master.bigbadmole.com/en/. you can read a lot of options for making crafts, and in this article we will focus only on making a cute owl.
A symbol of wisdom
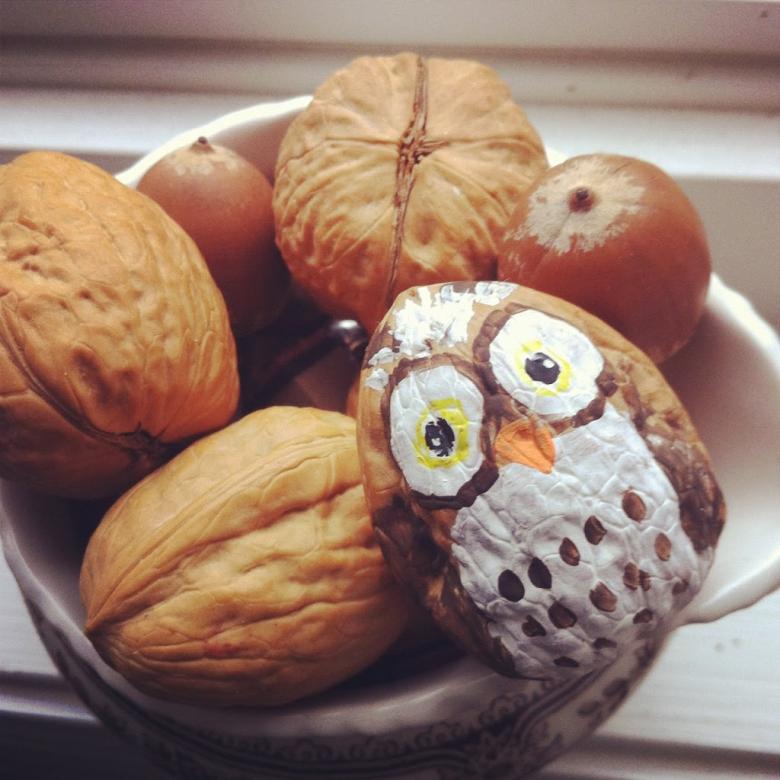
A symbol of the intellectual game "What? Where? When?" is made very easily. Such work can even be entrusted to a small child, you just need to watch him.
The two halves of a walnut shell are fastened together with plasticine or glue.
If there is no necessary dye in the house or if a child has no desire to tinker with paints and a brush, you can simply glue the "body" of the owl with clay of the corresponding color, draw eyes and a beak (alternatively, you can use multicolored clay).
The wings for the wise bird can be cut out of cardboard or pieces of cloth. The owl is ready to "listen" to questions from the "host" and answers from the "experts"!
Candlestick
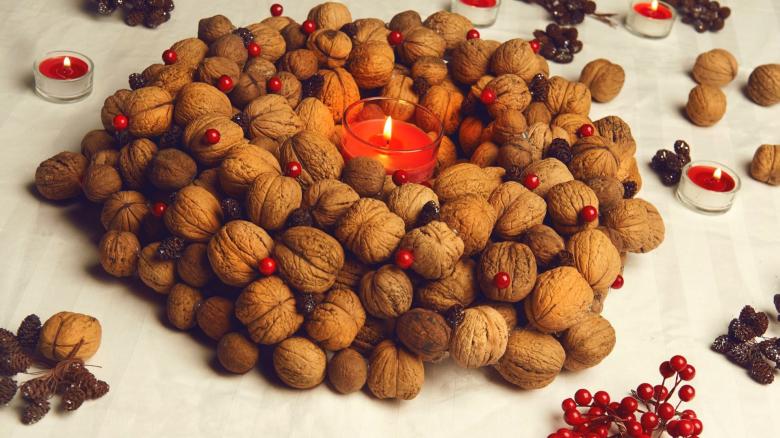
Since ancient times there is a tradition to decorate the holiday table with candles. From the nutshells can be made very original candlestick, which can not only decorate your interior, but also is not ashamed to present as a souvenir of loved ones. To work you will need:
- Two transparent containers of different sizes;
- small nuts;
- Gold and silver paint;
- candle;
- beads;
- glue;
- satin ribbon.
Workflow
Having prepared the necessary materials, you can safely proceed to the production of the souvenir.
- The smaller container is inserted into a more spacious one.
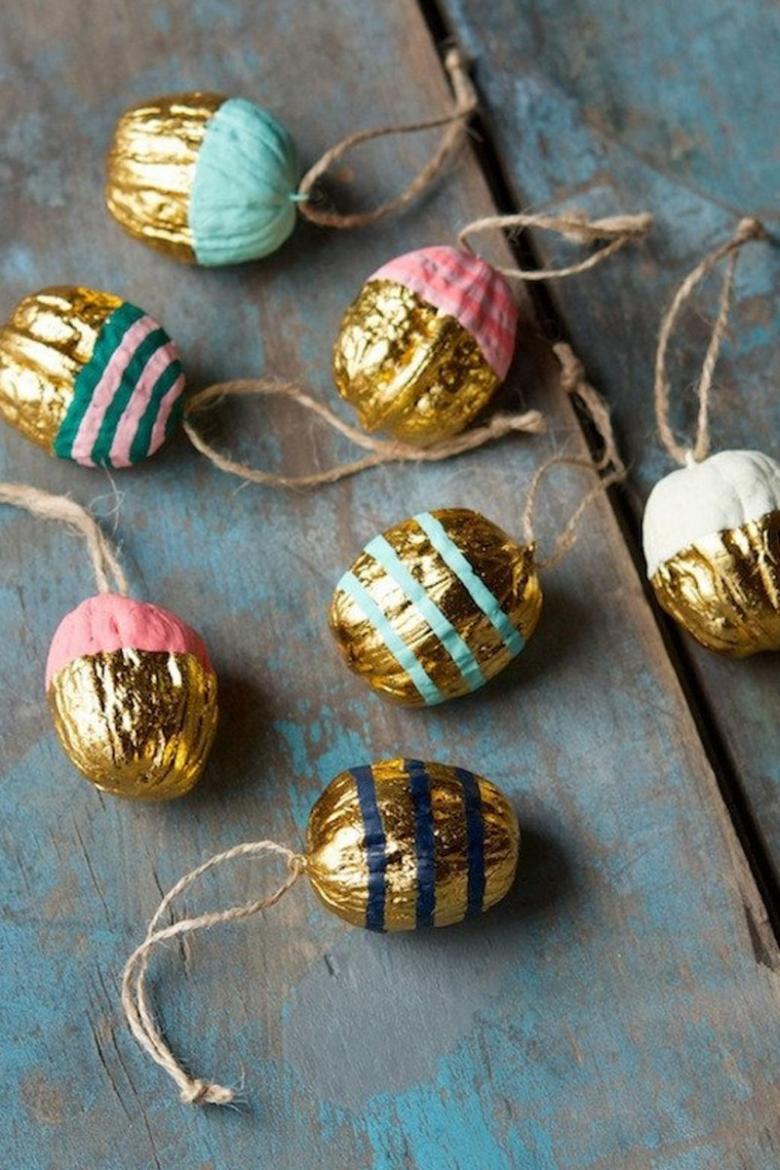
- Paint the nuts in gold and silver colors.
- After a complete drying of paint, in random order pour the nuts in the empty space between the containers.
- In the center of a small vessel, fix a candle of the appropriate size.
- Wrap a large vessel with satin ribbon and fasten it.
- Glue multicolored beads around the edges of the large vessel.
Original candlestick for a romantic evening or a festive feast is ready!
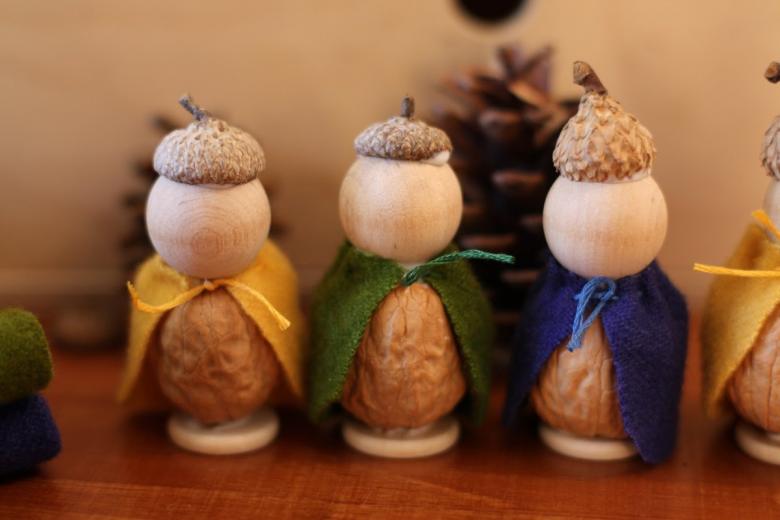
Combination of materials
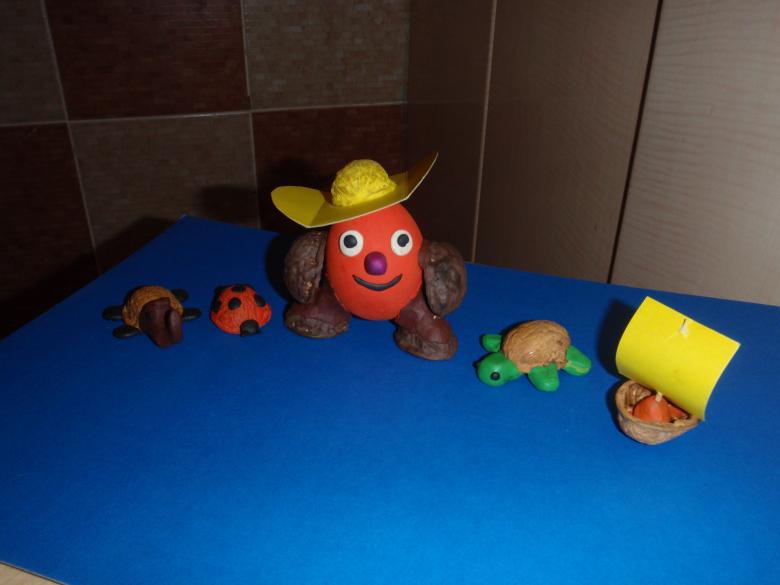
Walnut shells combine perfectly with many materials, but plasticine suits it best. Elegant turn out crafts of pictures, various insects from walnut shells and plasticine. Consider a few possible options.
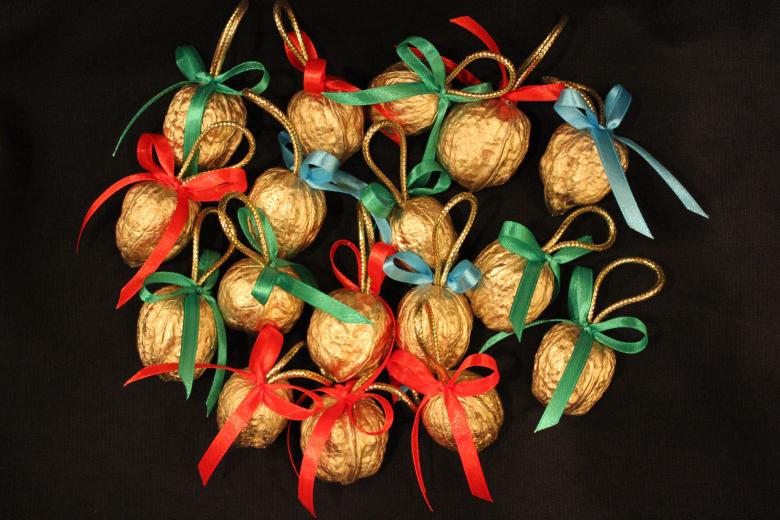
Beetle .
From one walnut you can make two different bugs.
- Step #1. Individual parts of the insect are made of plasticine - the head, eyes, shell, legs.
- Step #2. From white or blue plasticine we make wings, and on top of them attach two parts of the shell (made of green material) on half of the shell. The wings should be slightly visible - as if the beetle is just about to fly away on its own.
- Step #3. Attach a black head with yellow or white eyes to the "body" of the beetle.
- Step #4. Fill the free space of the shell with black or brown plasticine, thus decorating the abdomen of the insect.
- Step #5. Attach the legs of the beetle to the abdomen.
In combination with other insects, planted on a leaf or twig, the beetle will look very effective.
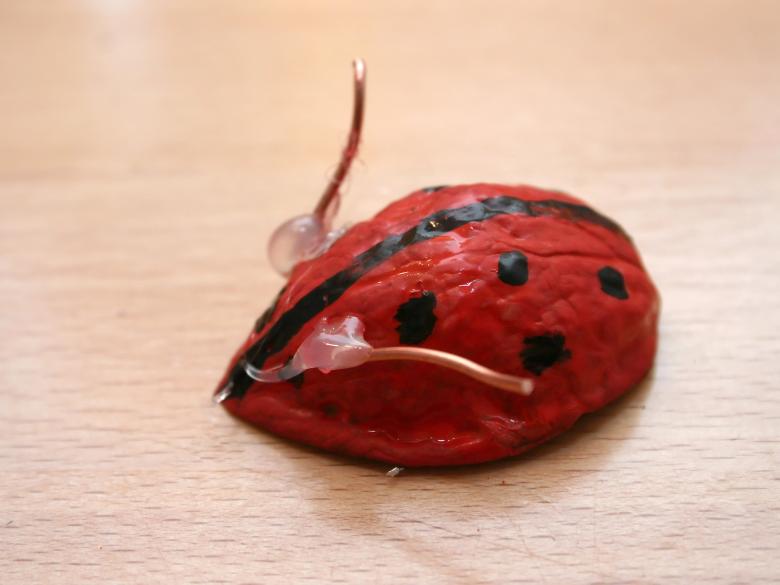
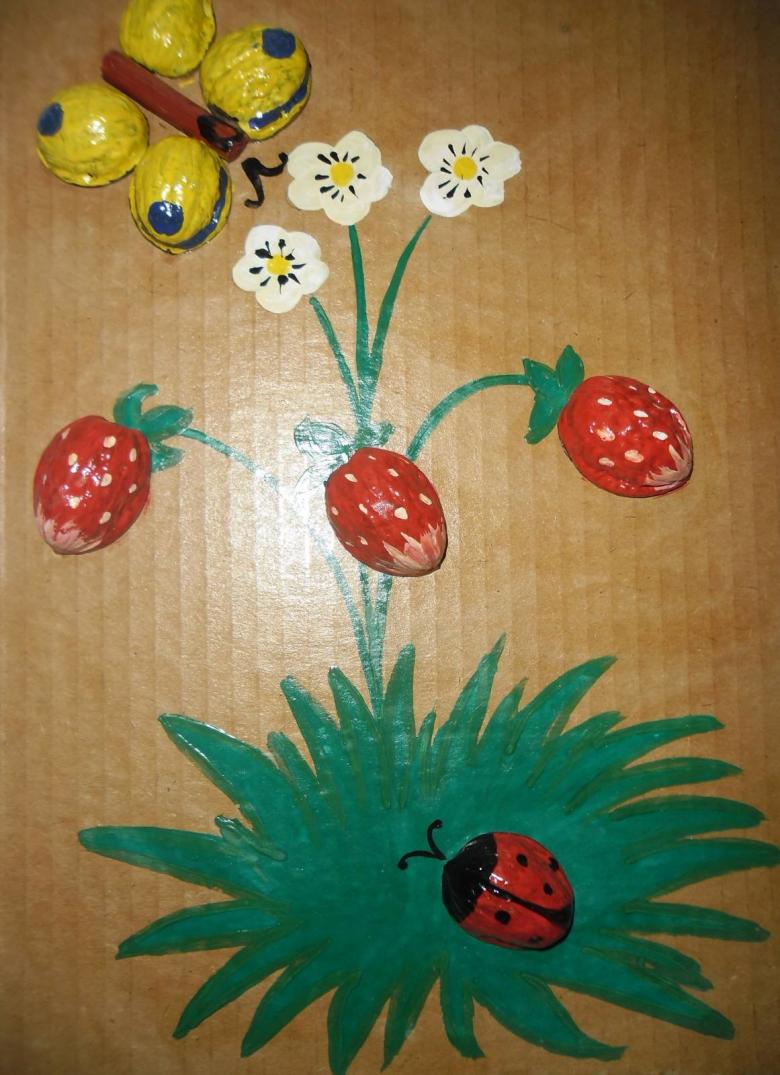
Paintings from the shells
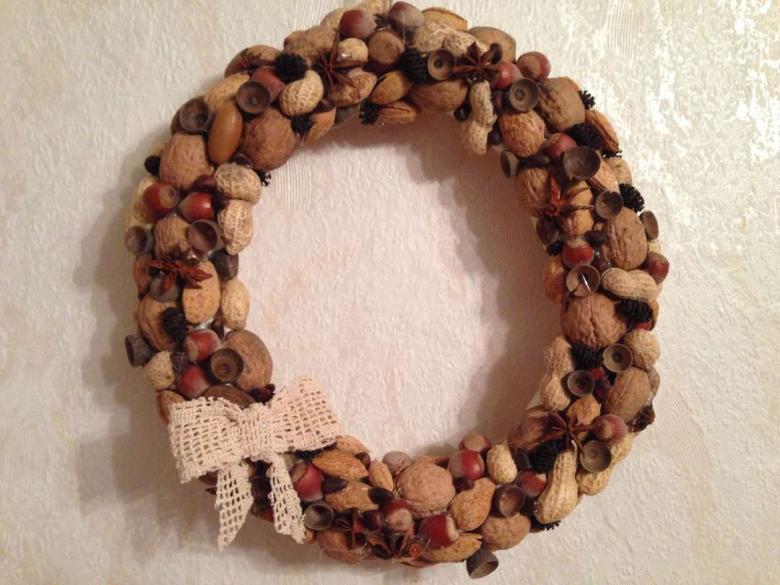
During the work on the paintings you can use not only the shells or individual pieces of walnuts, but also peanuts, pistachios, fit and other types of useful fruit.
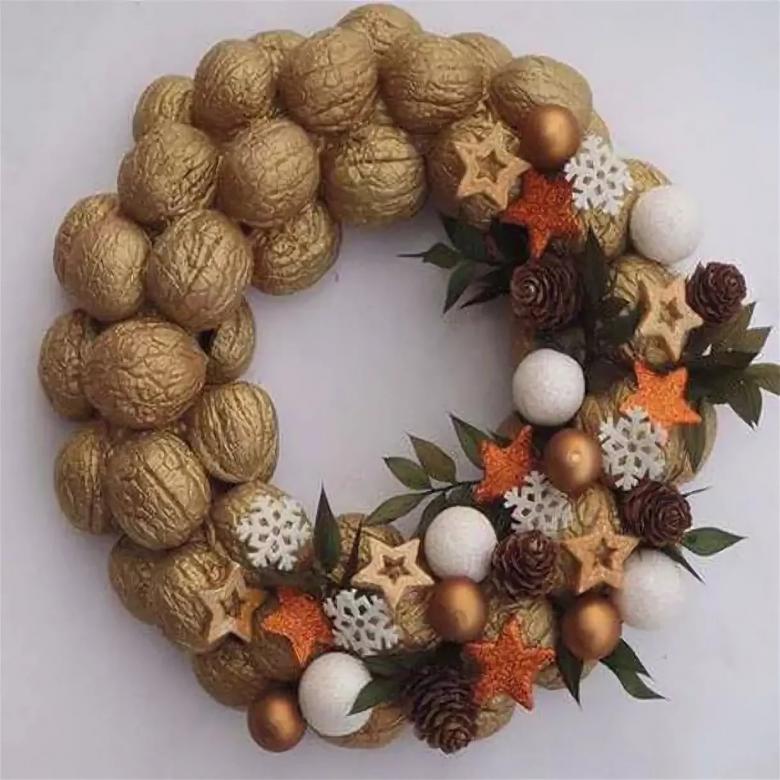
For the basis of pictures usually take cardboard, it is traced the necessary image on which to glue the nuts.
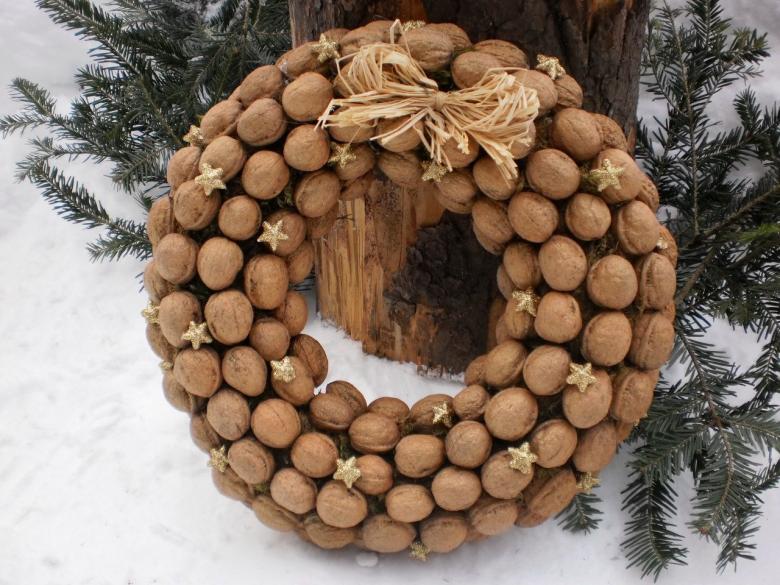
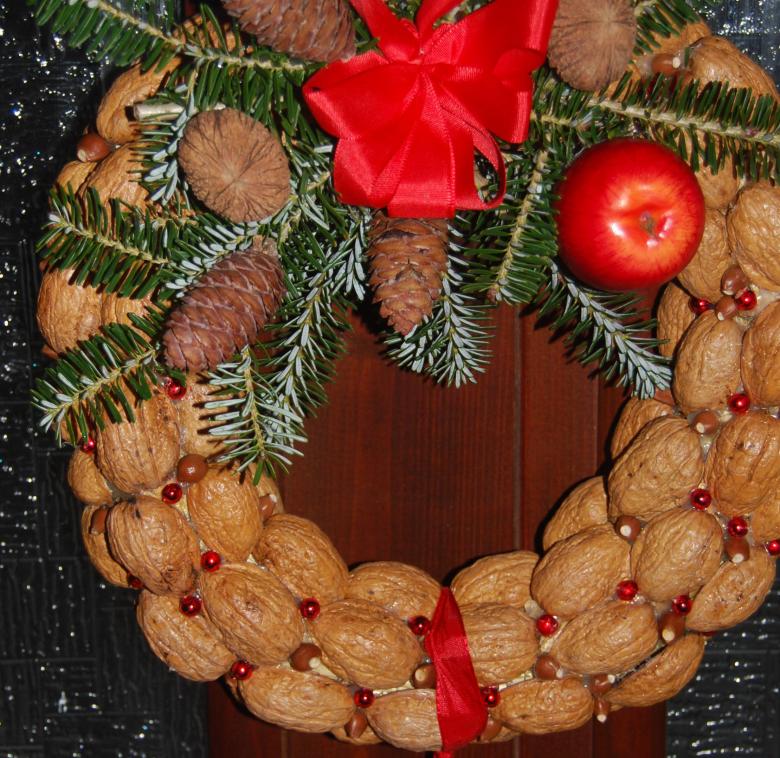
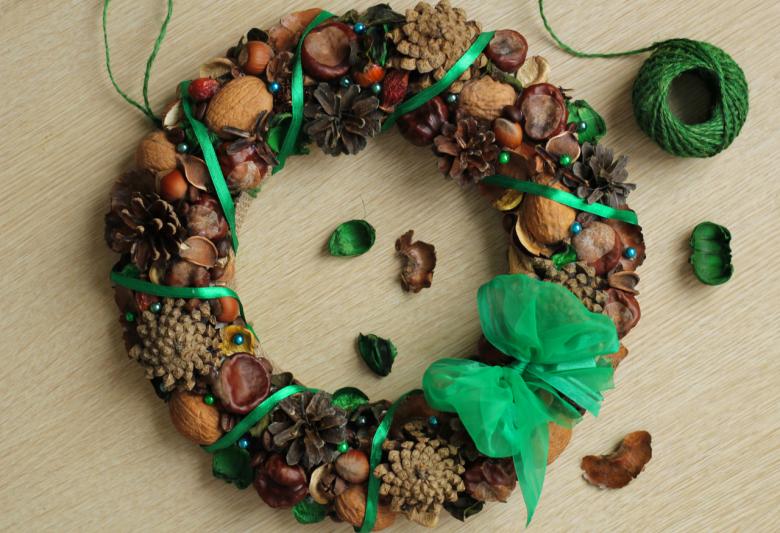
Then the workpiece is smeared with paint or varnish, and a special charm of handicrafts will give the use of fir cones and needles of conifers as additional details.

