How to make a car from paper - the most beautiful and popular cars for children and adults from paper
Paper crafts, one of the most accessible and easy to perform work. That is why this type of activity is especially popular with both children and adults.
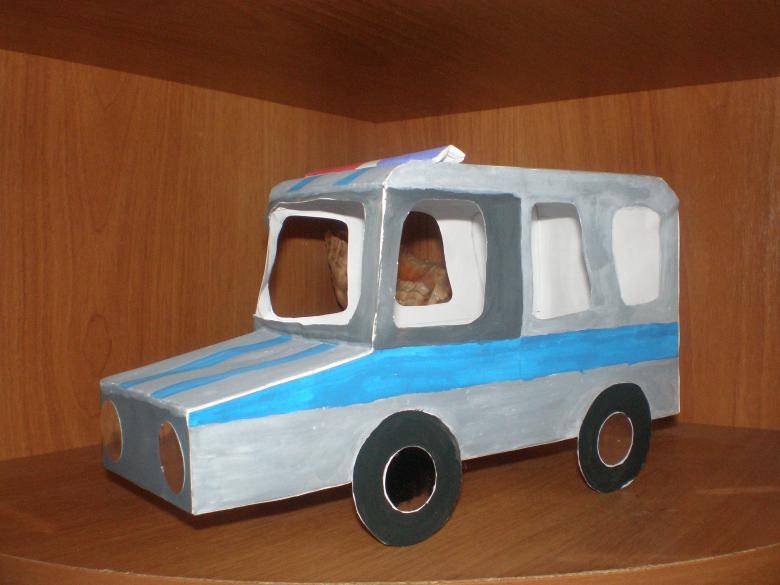
For kids who are at a tender age, the most accessible action is the creation of applique. Gluing and coloring pictures helps to develop observation and attention, promotes the development of motor skills and assiduity, instills taste, and has a positive effect on the child's mental abilities.
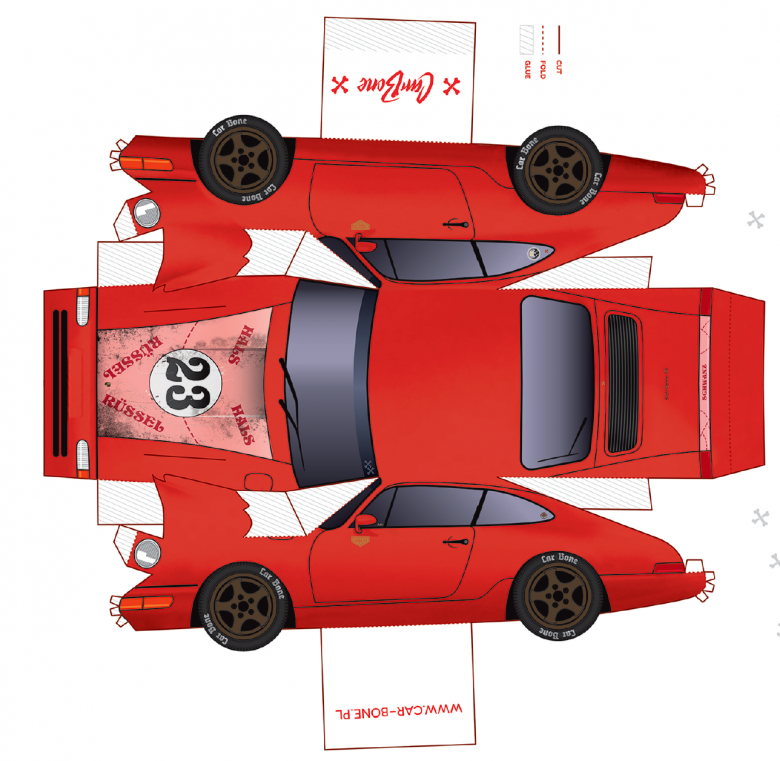
Children's Dreams
Most boys dream of buying a car from an early age. "Growing up, I'll buy myself a car...", they declare, and name the model they like best at the moment.
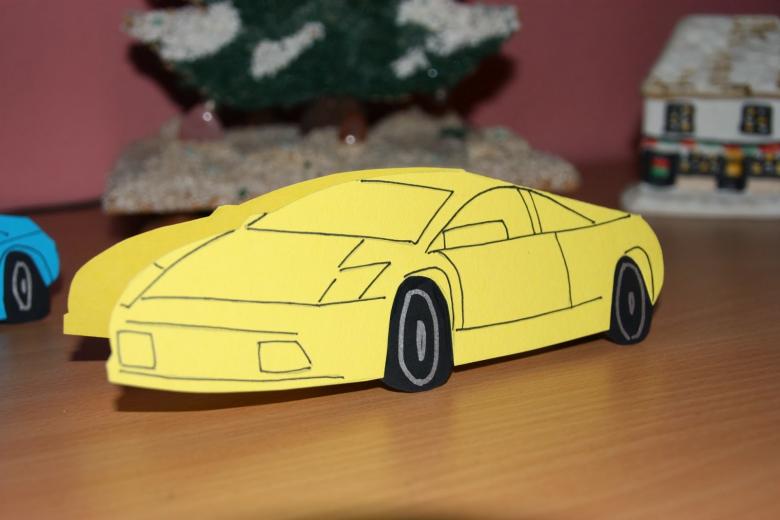
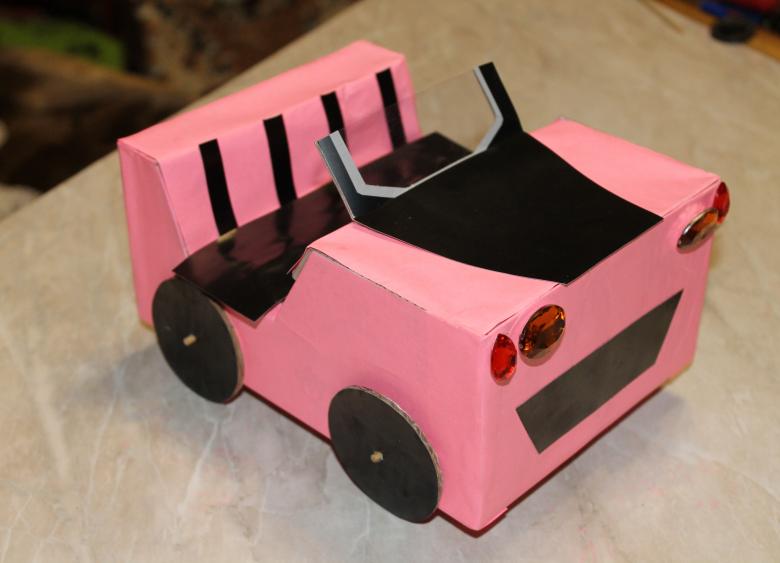
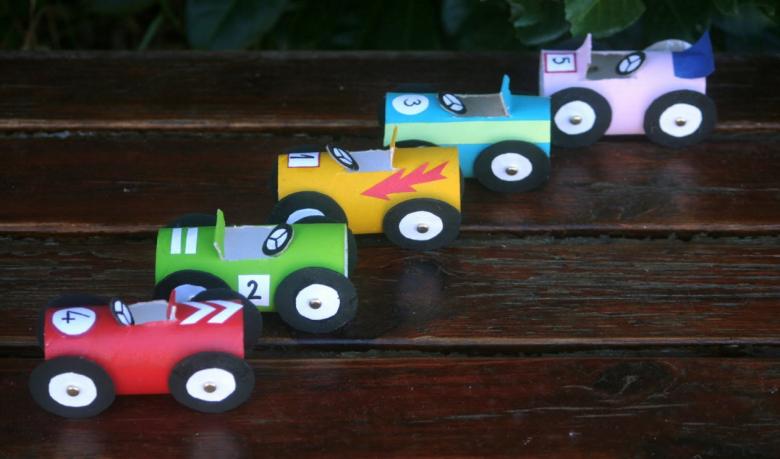
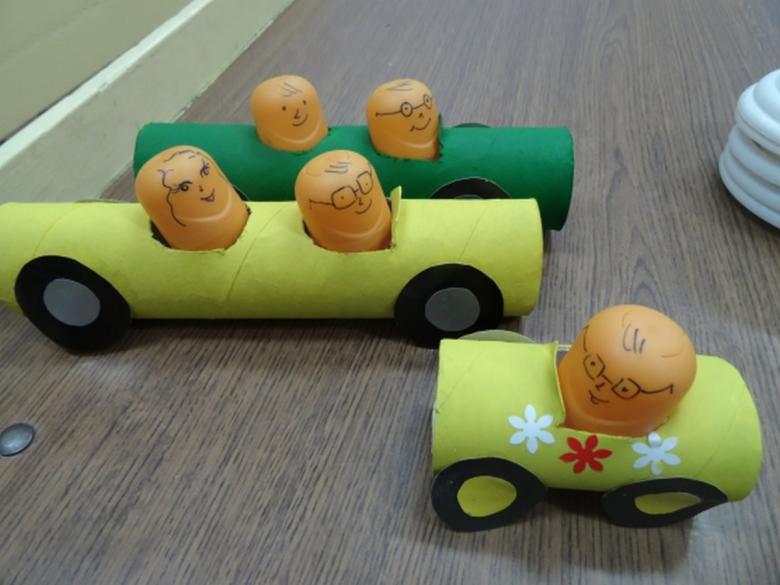
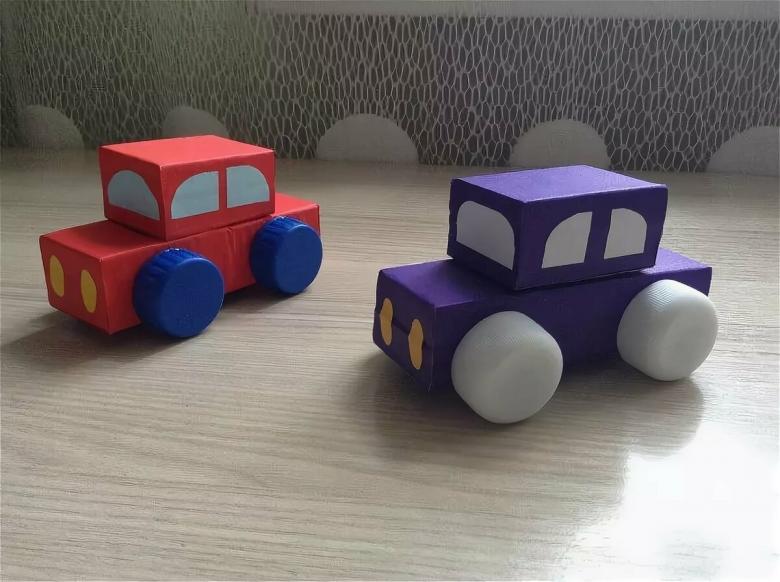
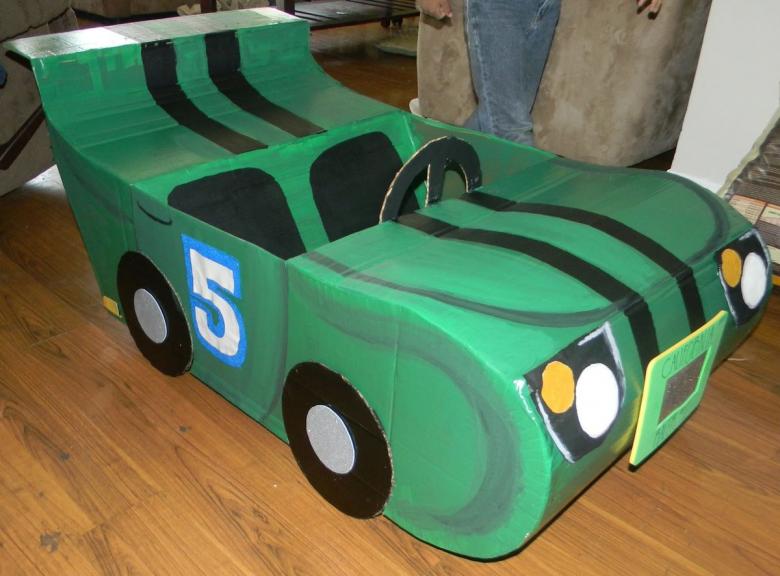
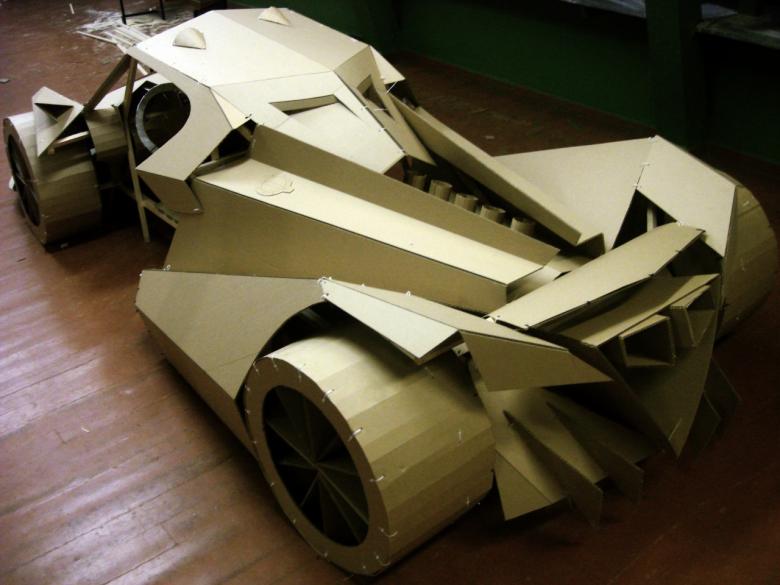
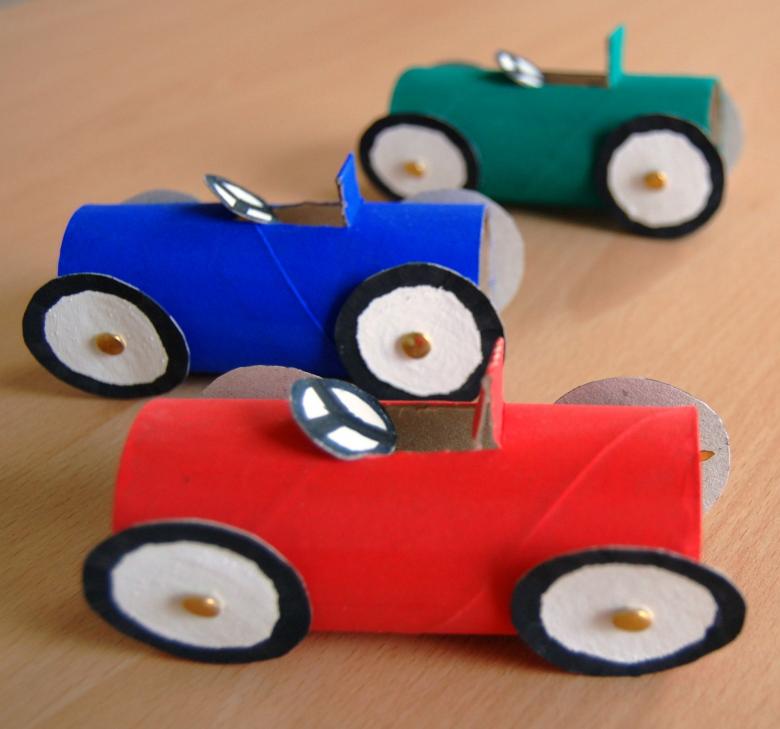
Part of the dream can be realized even as a child. Invite a child to make a car brand he is interested in from improvised materials.
Needed tools and materials
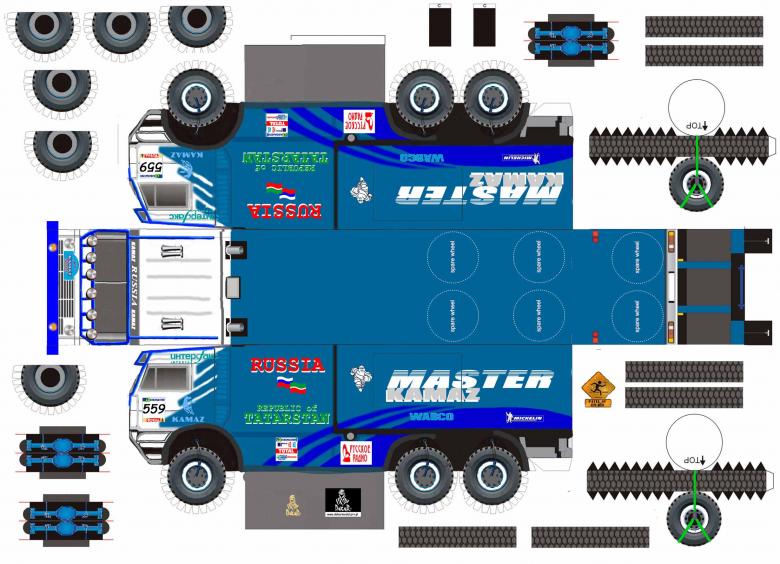
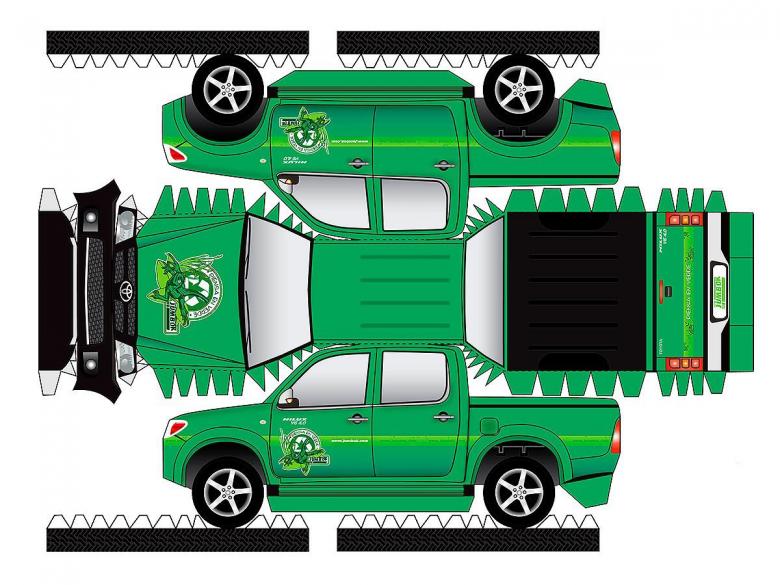
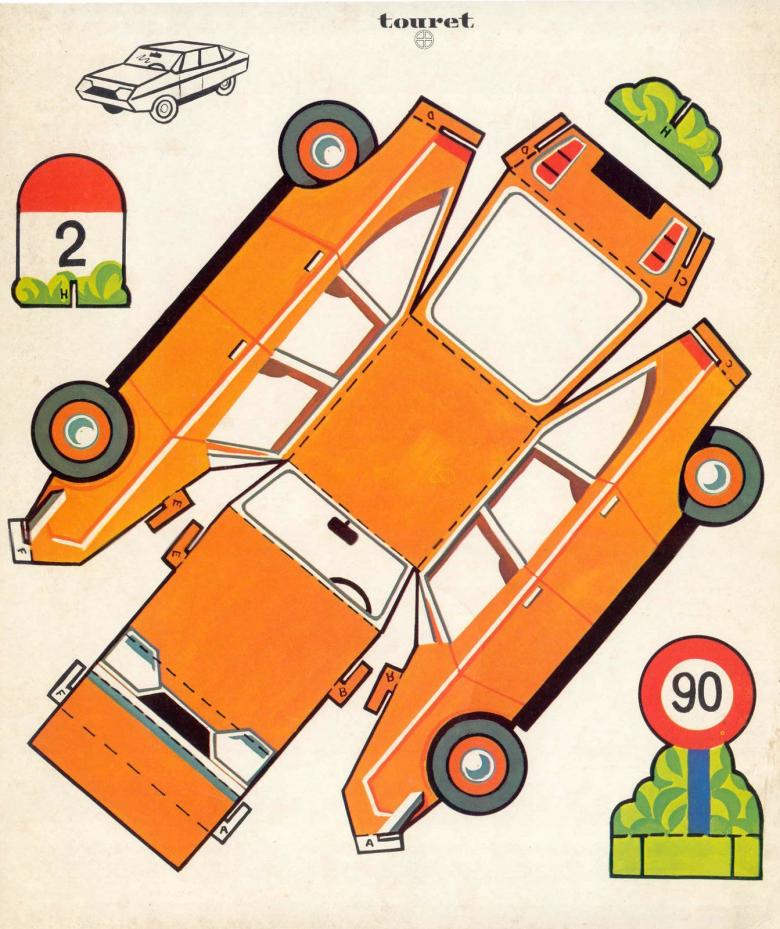
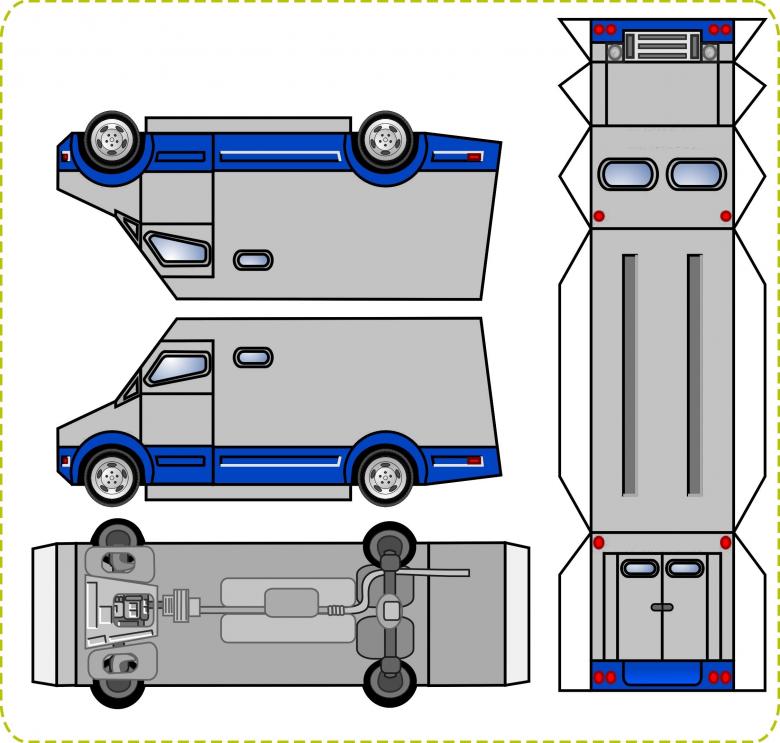
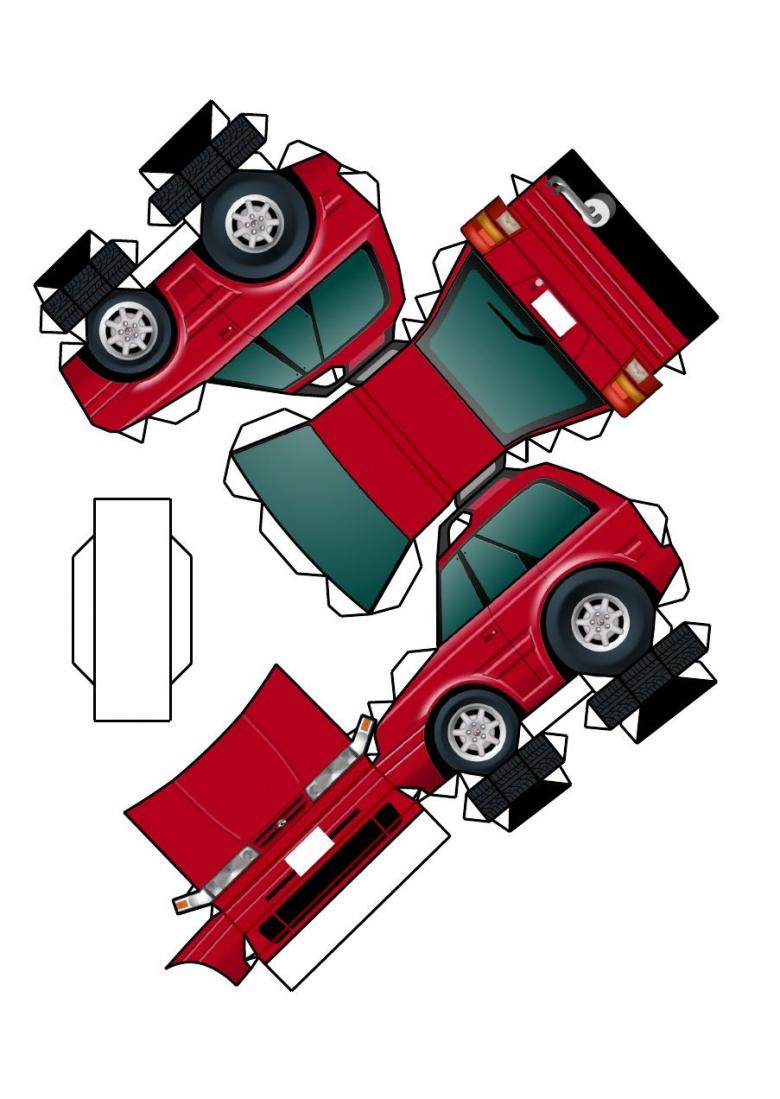
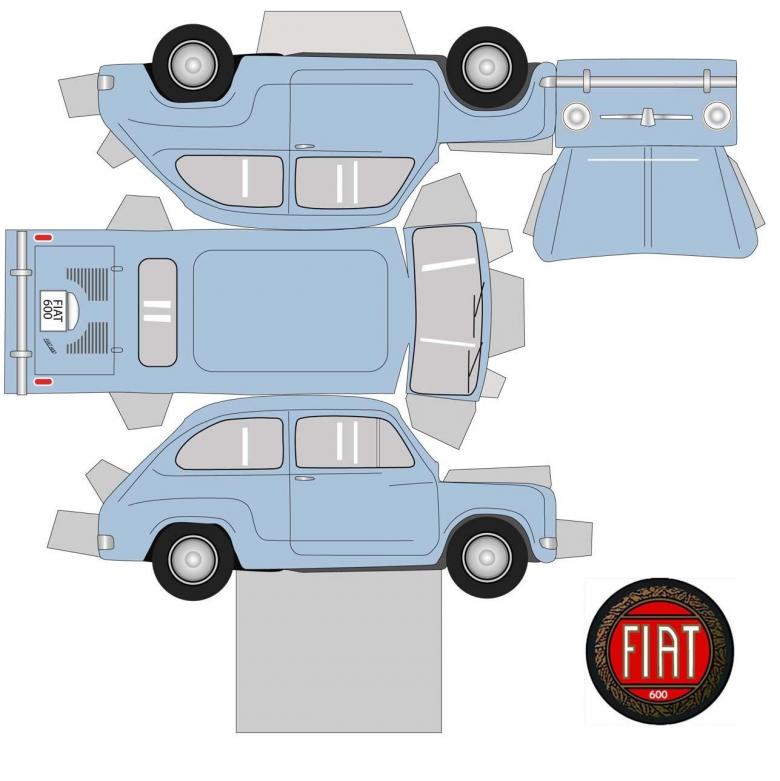
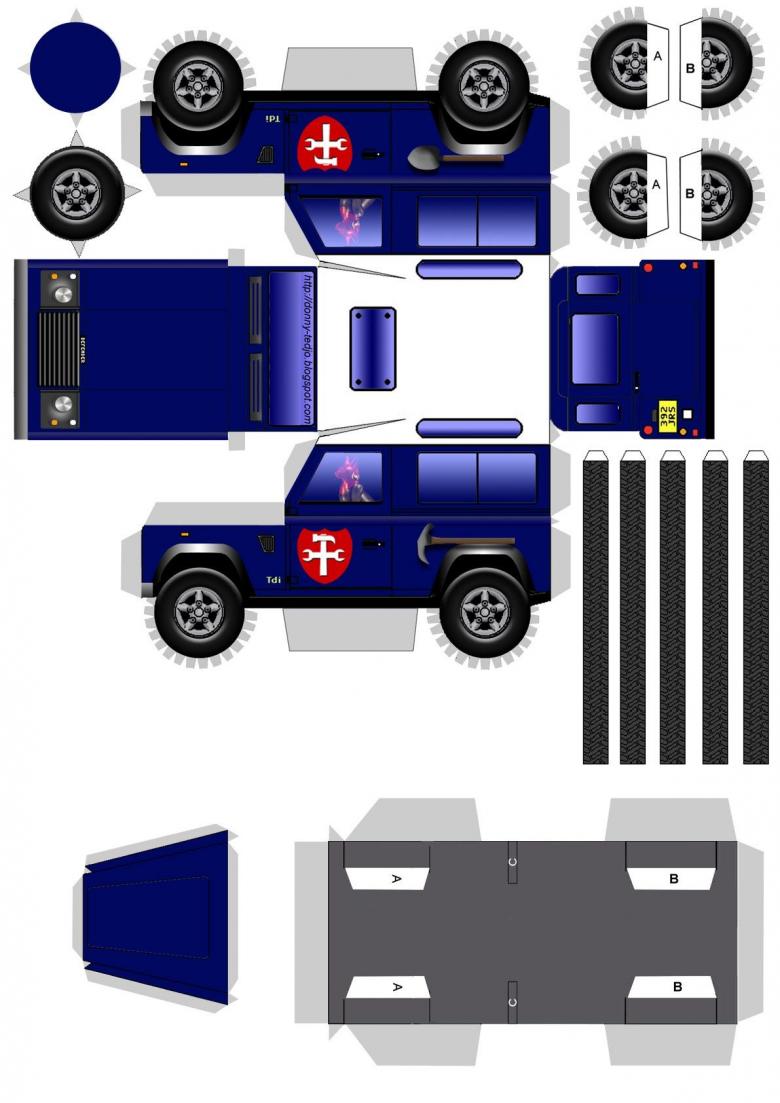
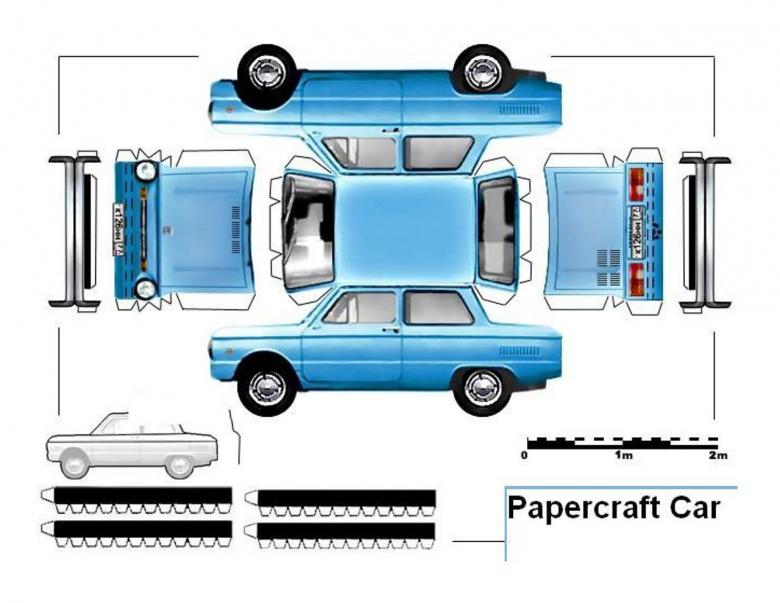
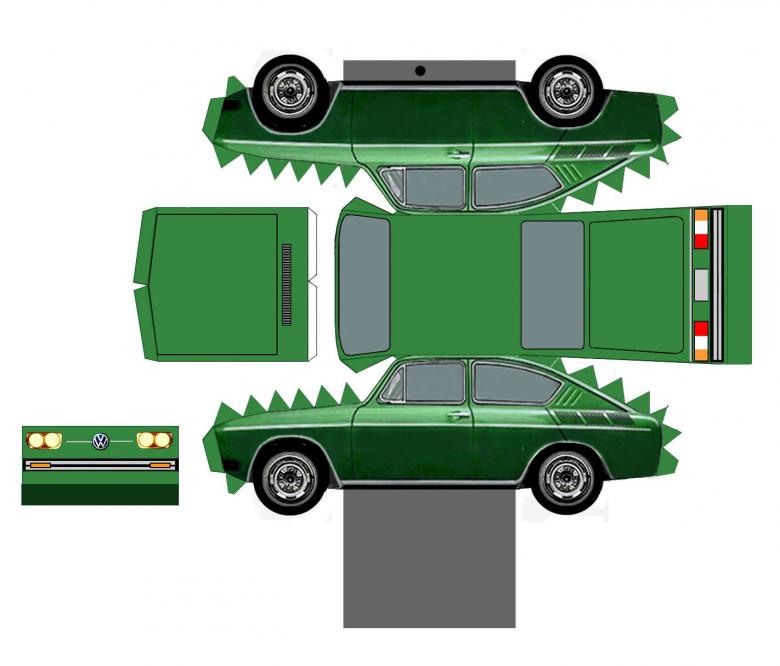
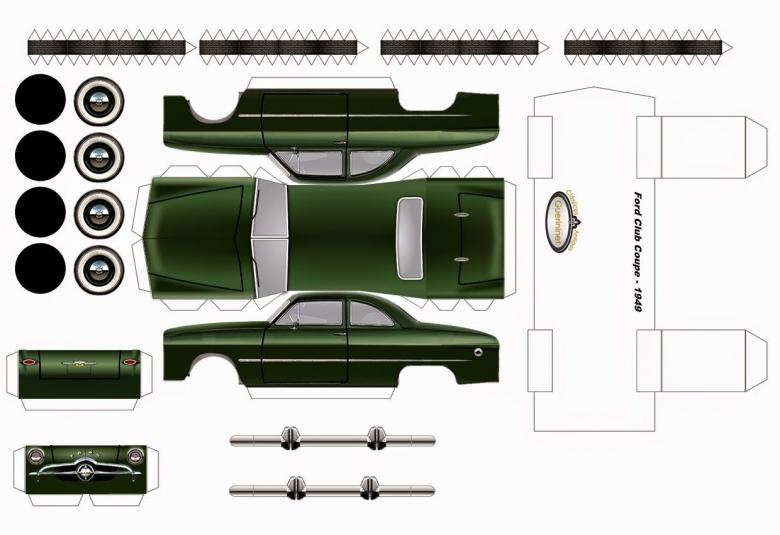
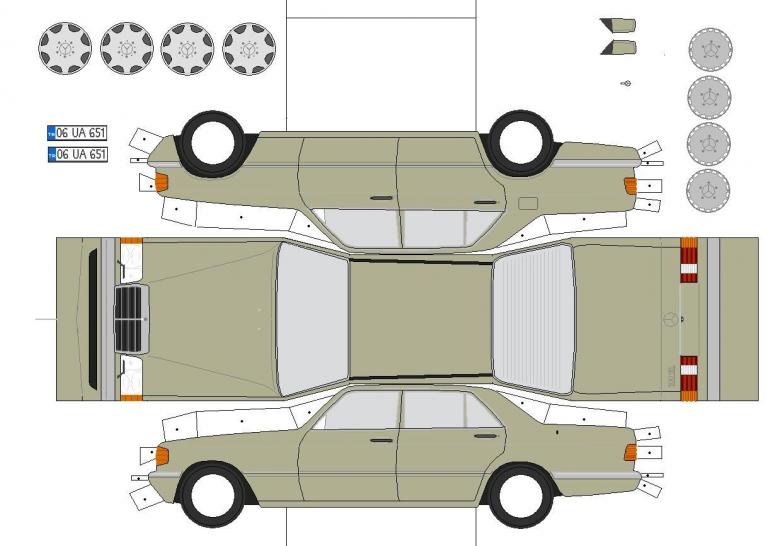
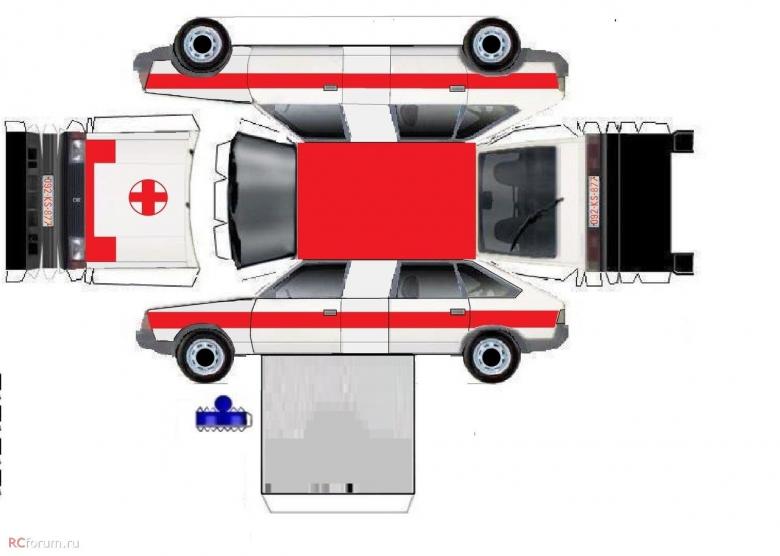
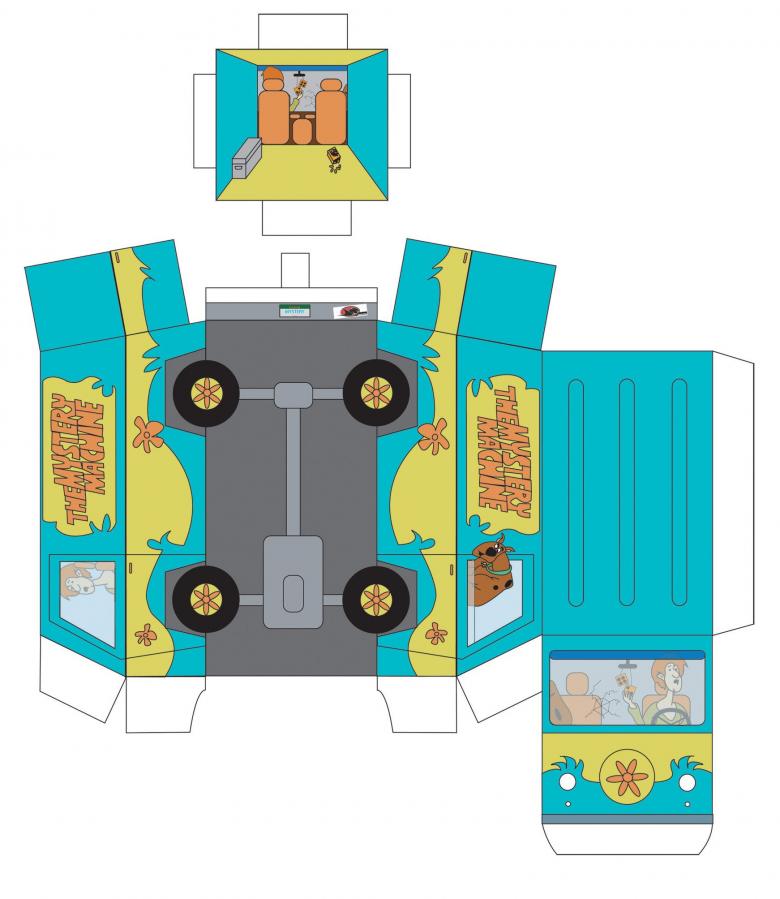
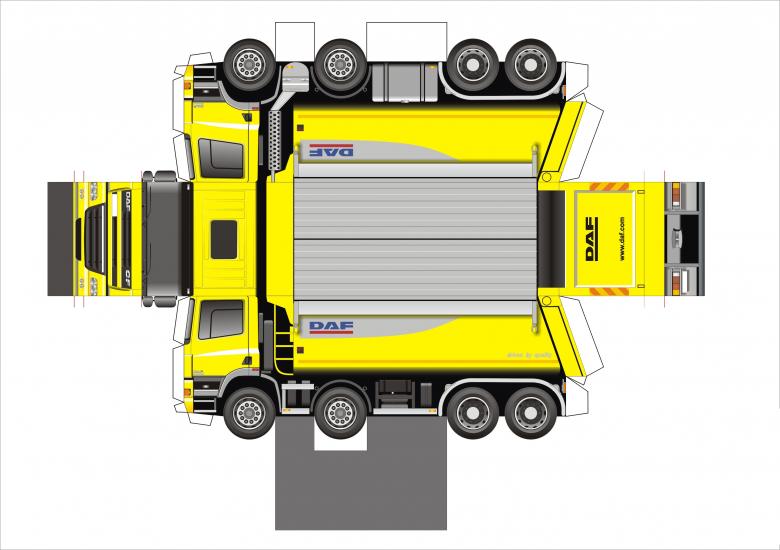
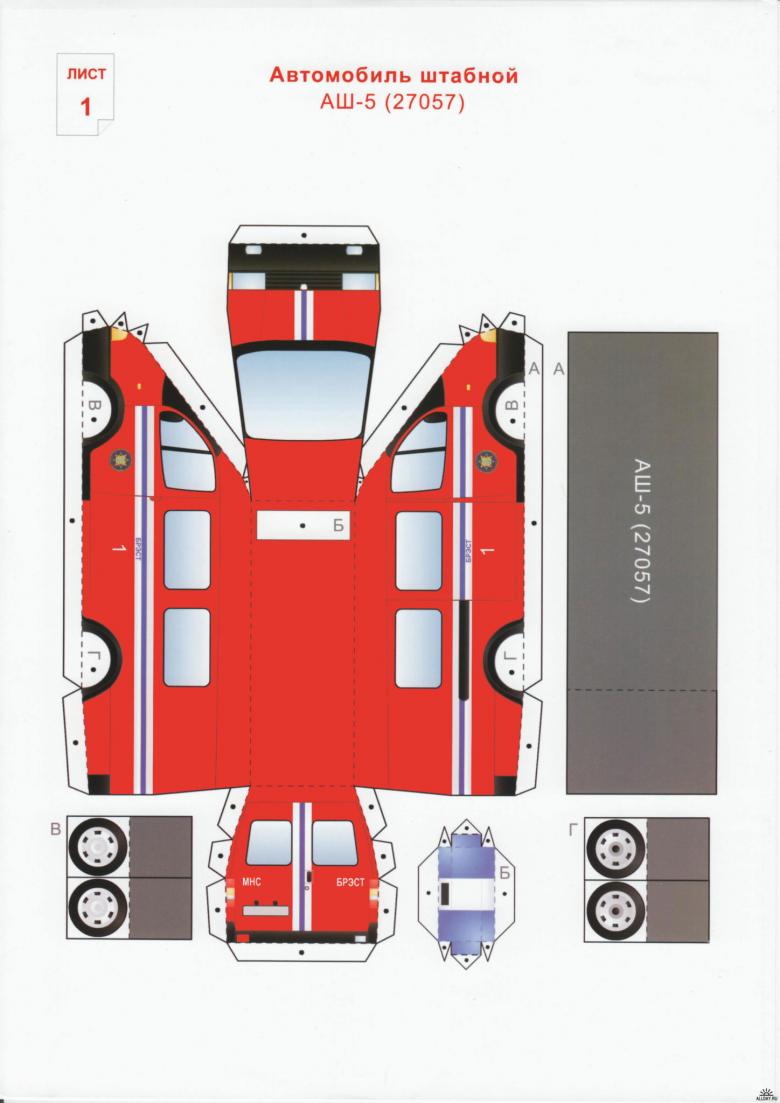
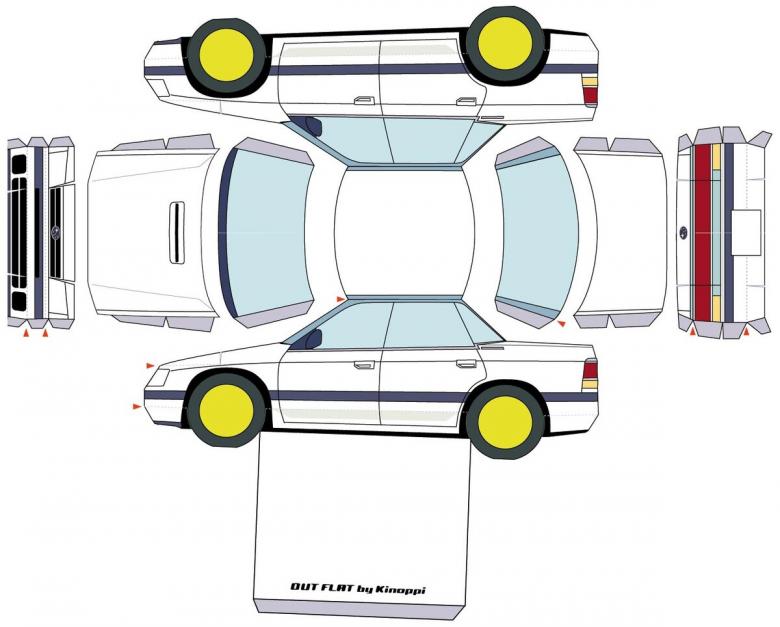
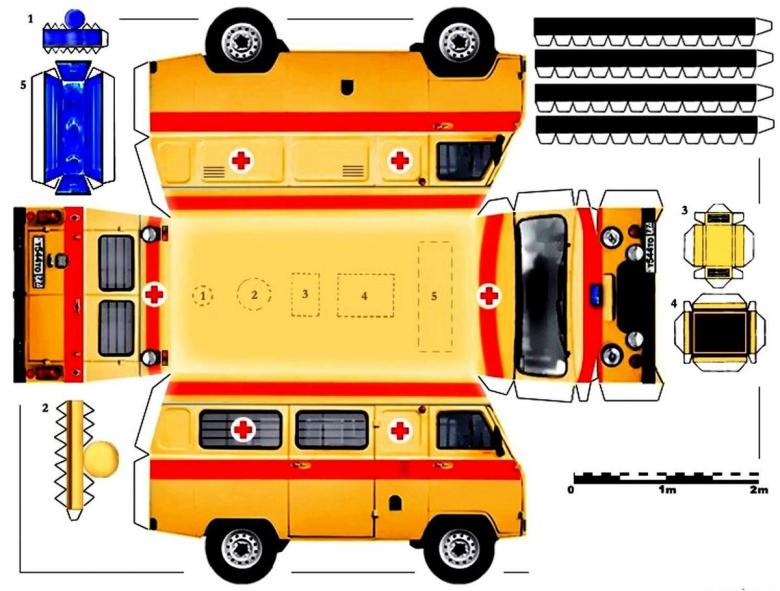
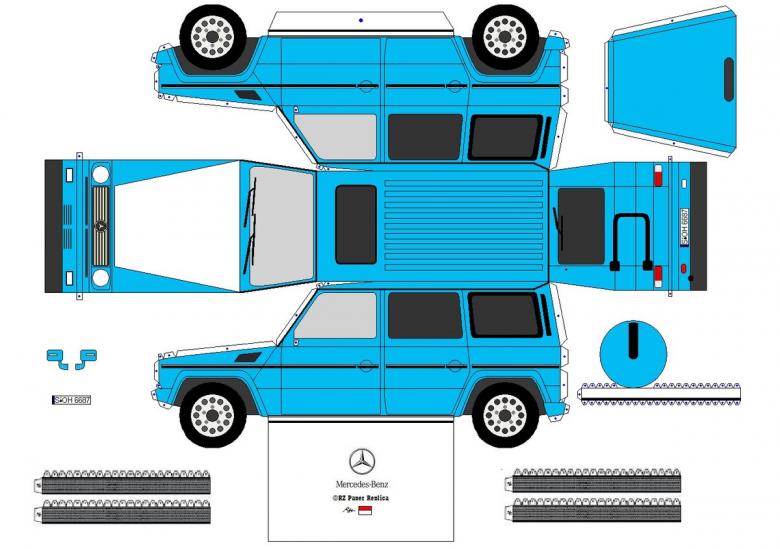
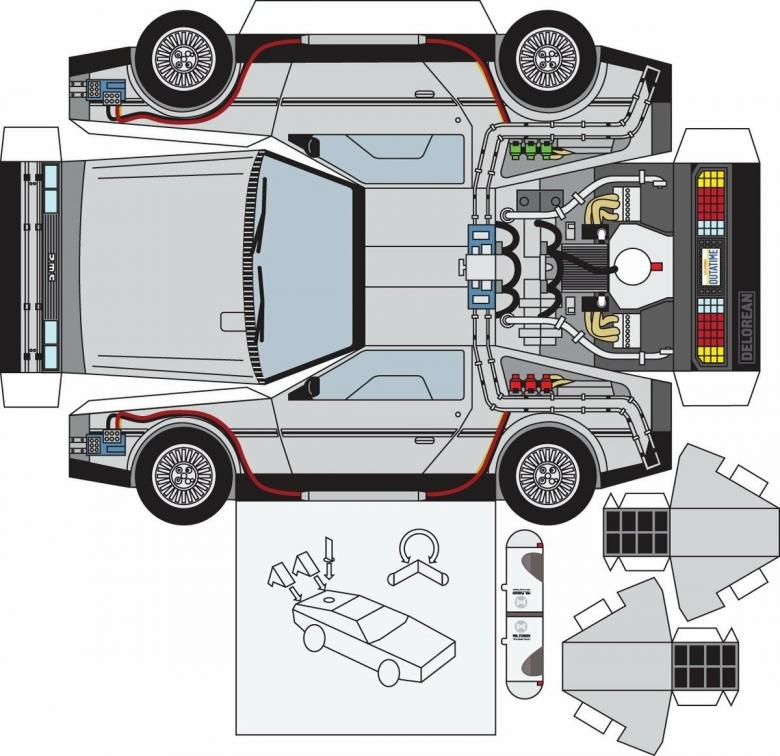
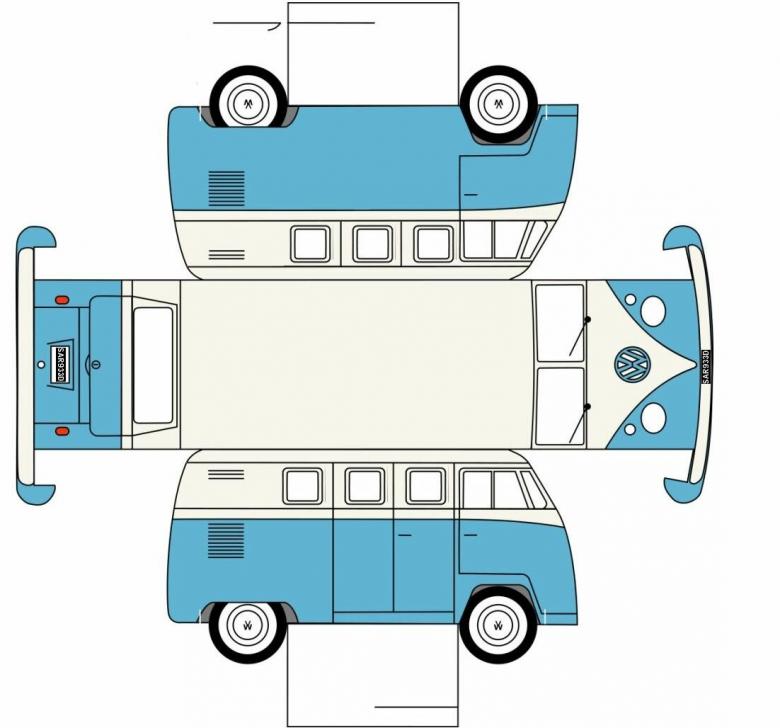
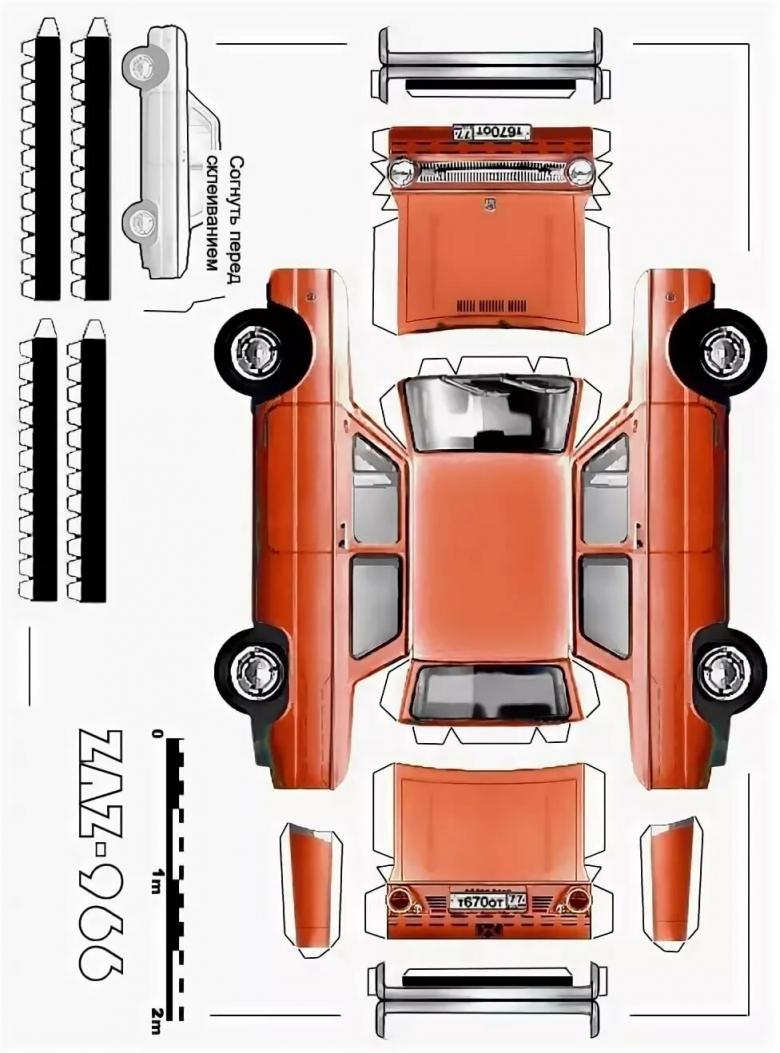
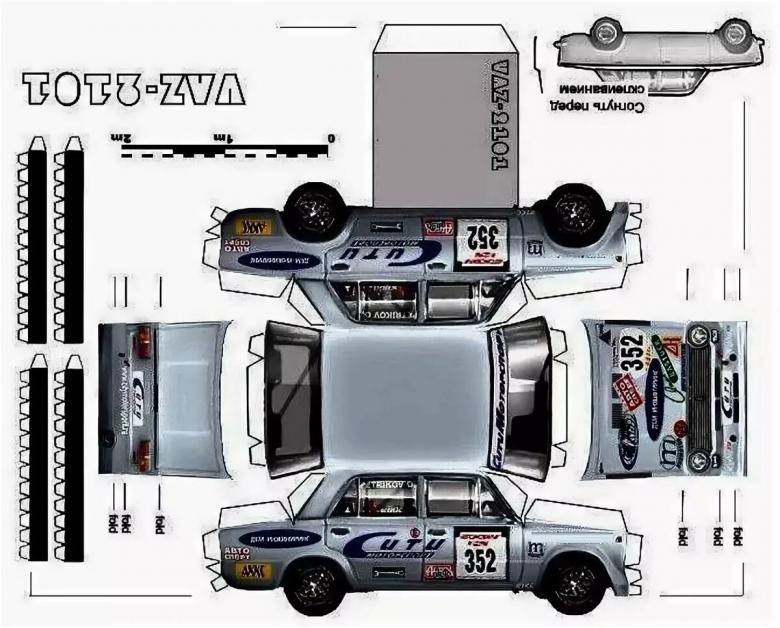
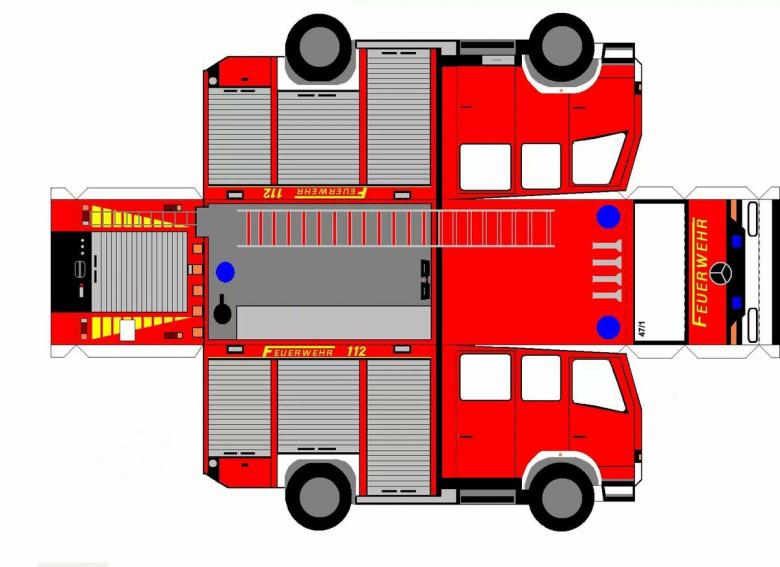
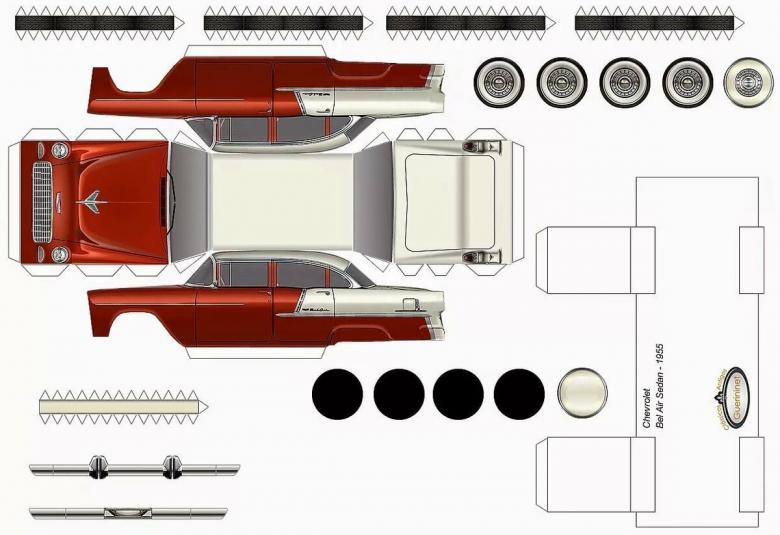
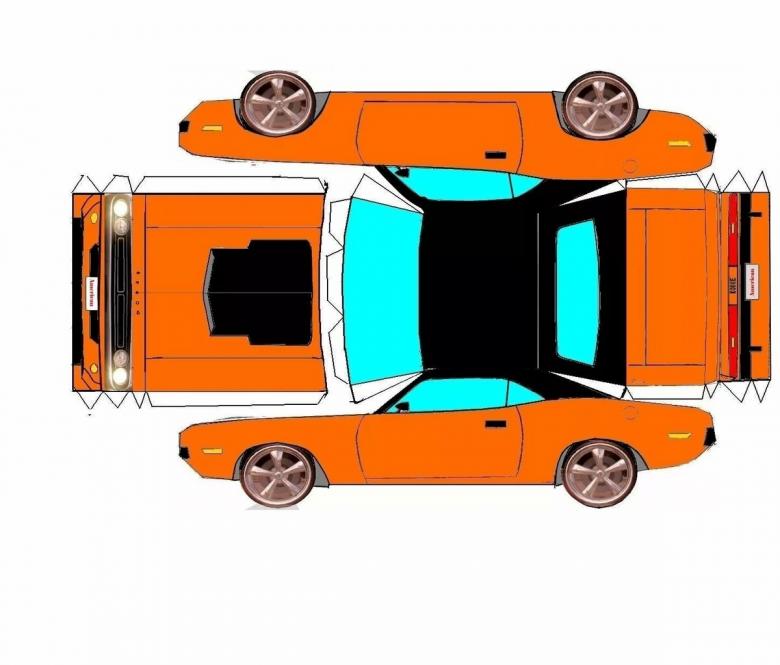
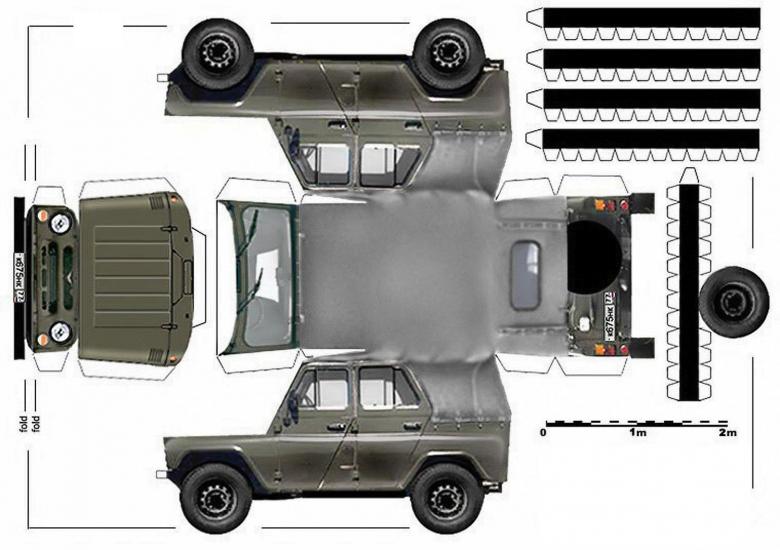
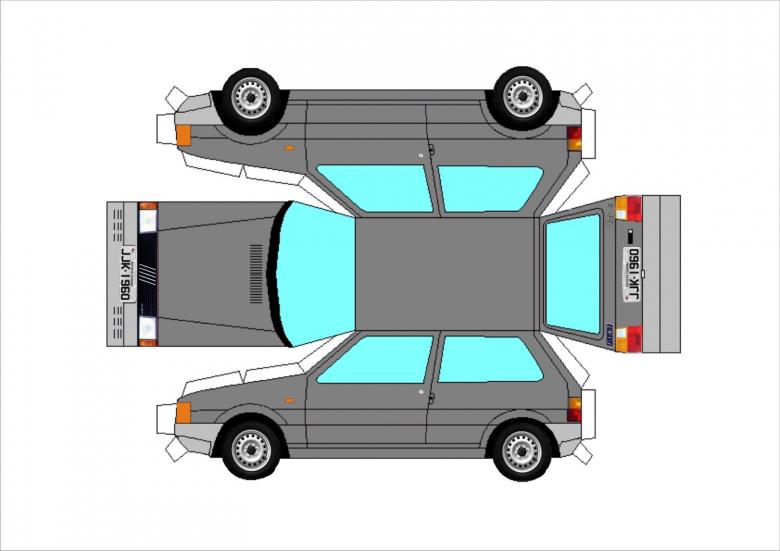
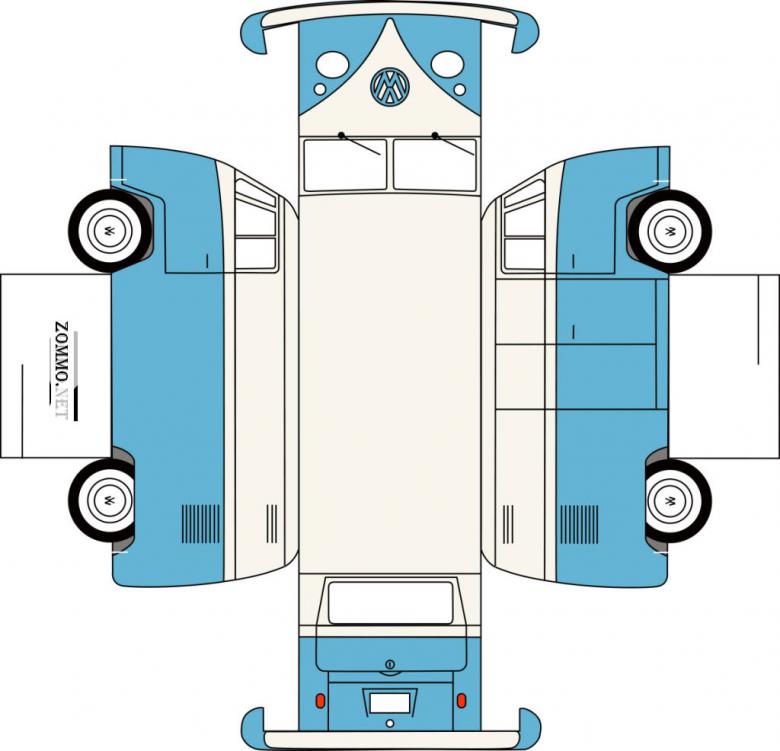
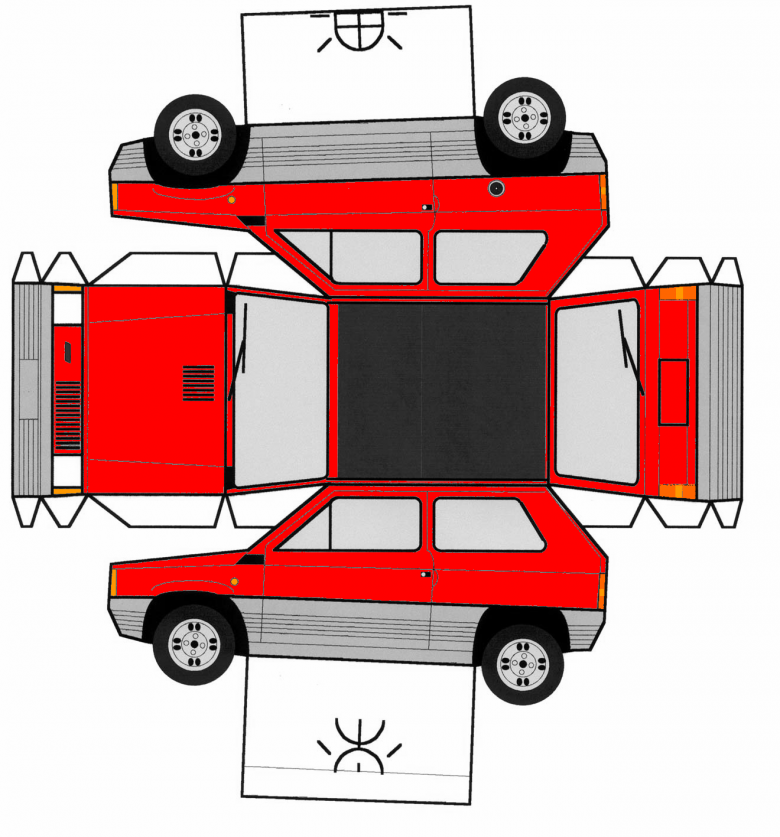
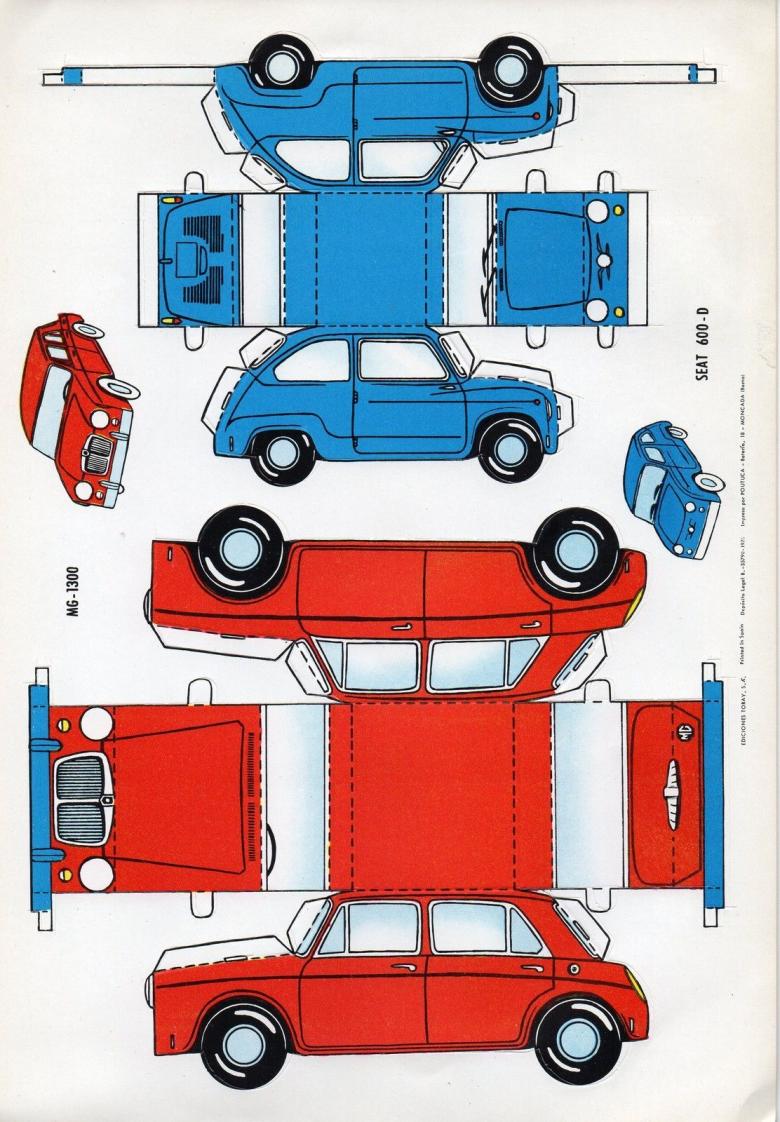
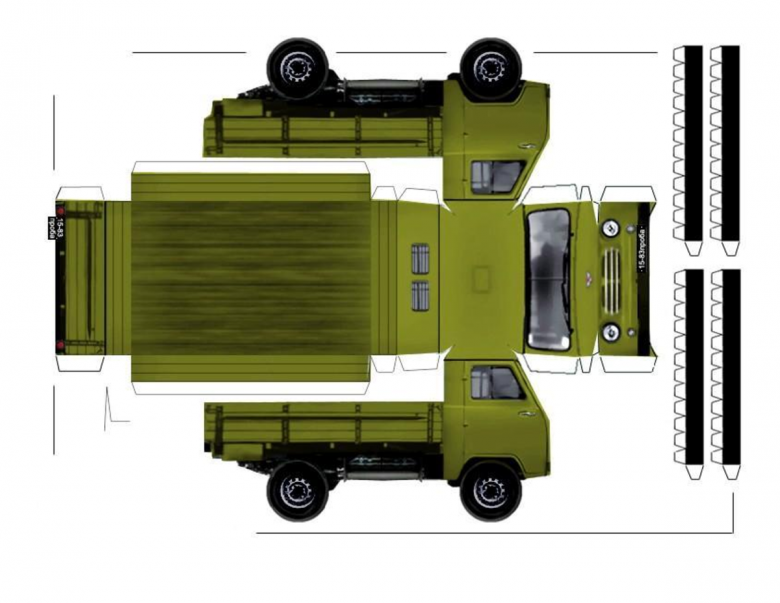
The simplest and easiest way to assemble a whole collection of miniature cars is to glue products from ready-made templates. For this you will need:
- color printer;
- paper;
- glue;
- scissors.
Workflow
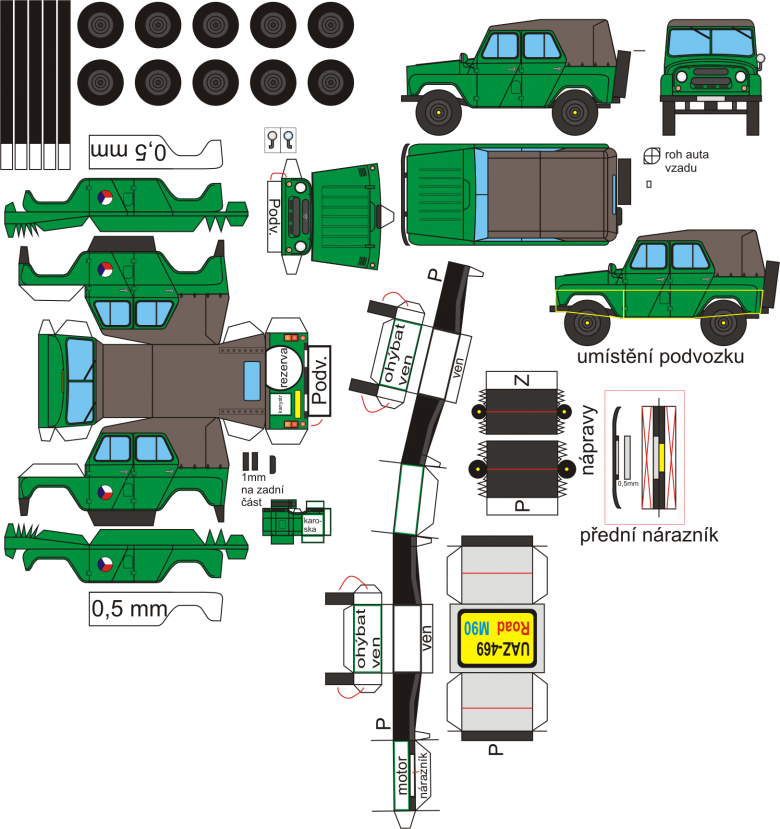
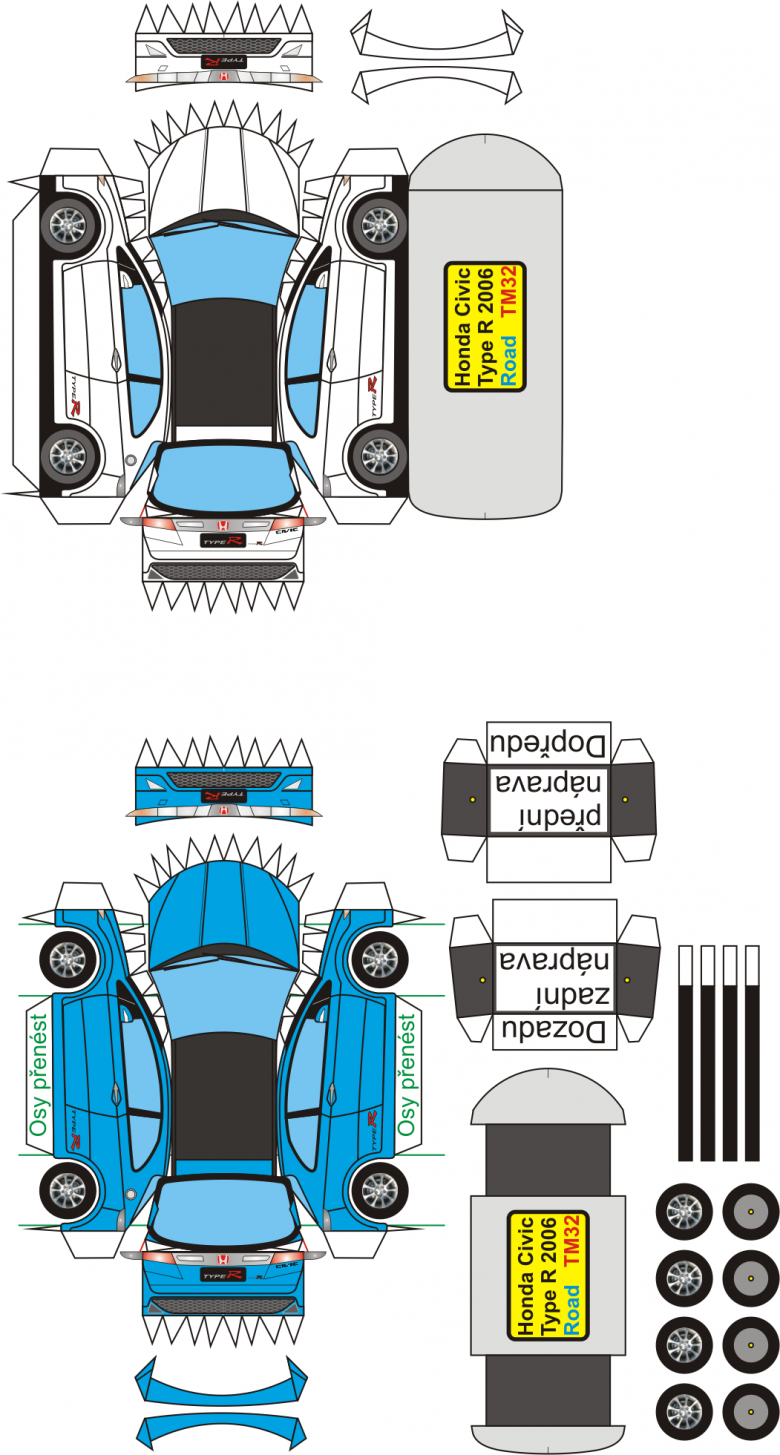
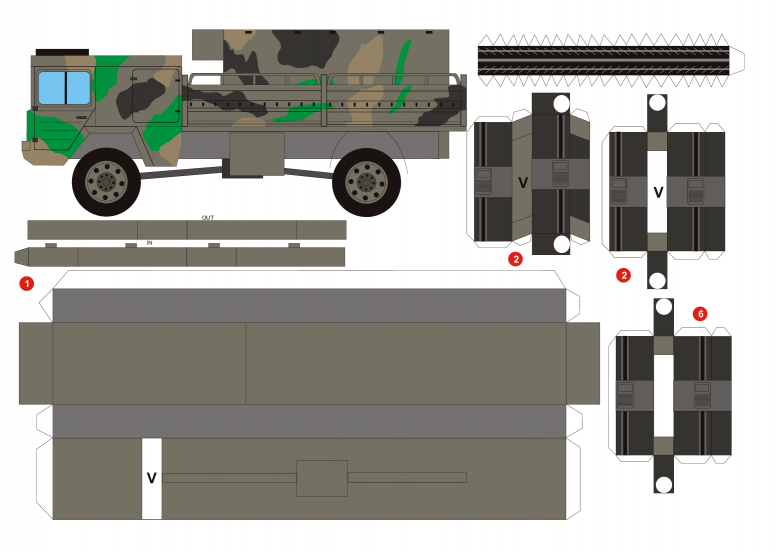
The first thing to do is to find a diagram of the machine on the Internet. Then:
- The layout diagram is printed out on a printer.
- The template of the machine is cut out.
- With scissors carefully cut out parts and individual parts of the car.
- All elements are glued together.
The first mini-model of the car is ready!
If you do not have a color printer
Is it worth giving up cutting and gluing a car out of paper if you don't have a color printer at home? Any hardship should be used to your advantage. Is it a problem to get colored pencils or paint and a brush? No, then the work should go full speed, and the child will receive an additional task - to look closely at the picture on the computer monitor, and then paint a printed pattern in the right colors.
If your child worked with paints, you just have to wait until they are completely dry, and then cut out the parts and glue them together.
Interesting facts
Highways and city streets of modern post-Soviet countries are crowded with foreign-made cars. "Compatriot" on the roads you will meet less often than a German or Japanese-made car.
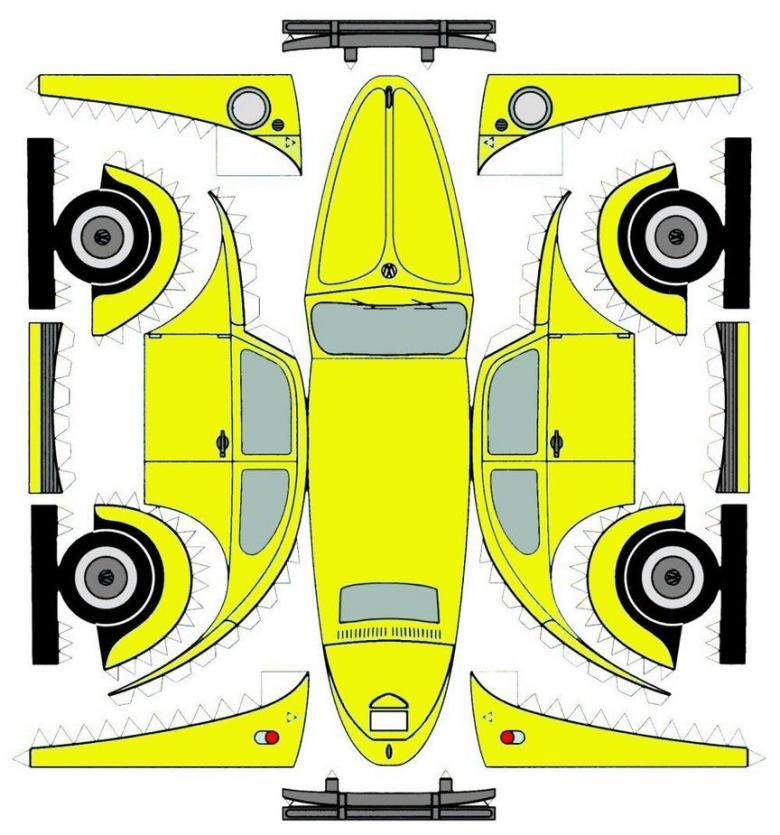
You can set the boy the task - to find on the World Wide Web models of cars that were produced in the recent past, i.e. in the Soviet Union, and make a fleet of retro cars.
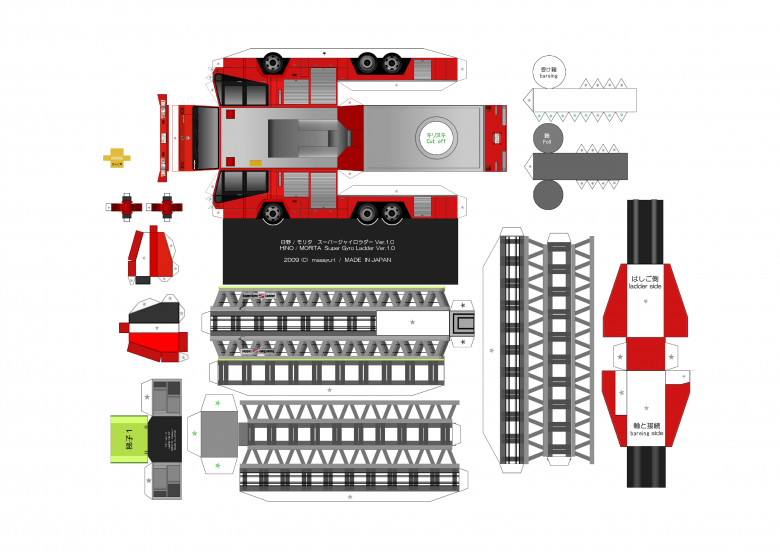
Parents can remember what cars they dreamed of as children, what model they drove for the first time. It is useful to talk about the advantages and disadvantages of cars of the Soviet period, to remember the history of the creation of this or that model.
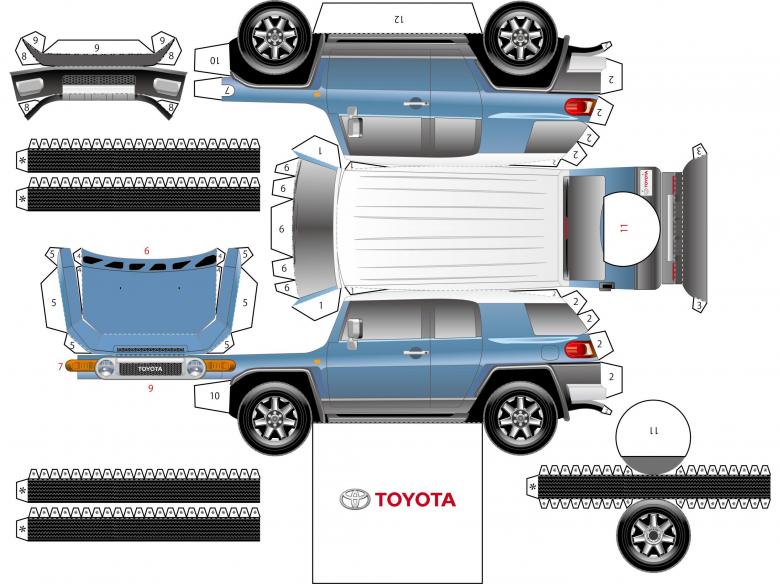
Zhiguli collection
In the early 70s of the last century, the USSR began to produce cars called Zhiguli, which became the people's cars. Tell the kid how many models were made, why the first car was called "kopecks", and offer to assemble a complete set of the legendary cars. This will keep the boy interested in the idea for a long time.
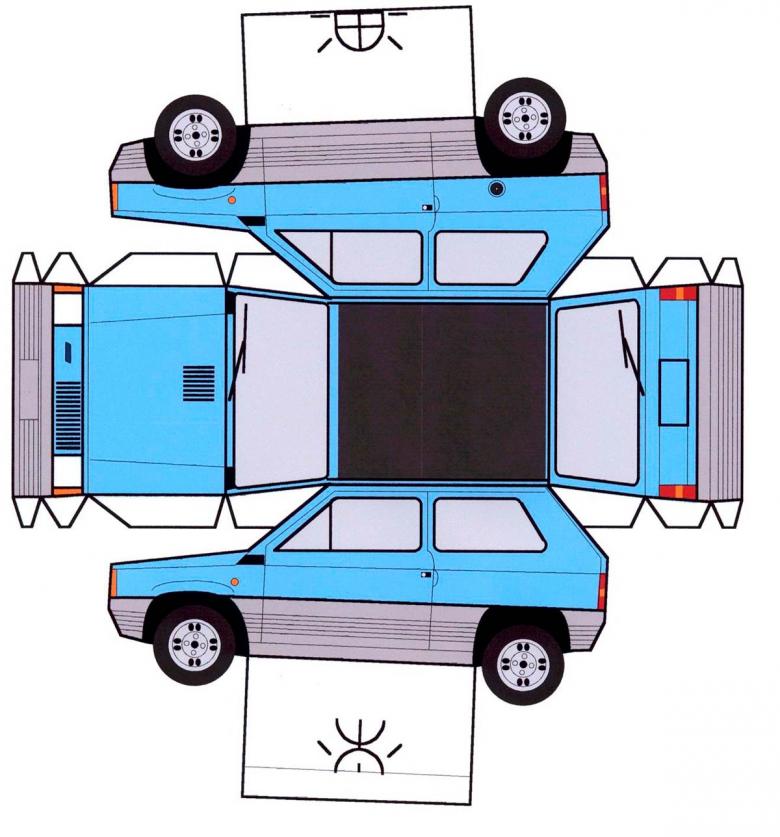
Foreign collections
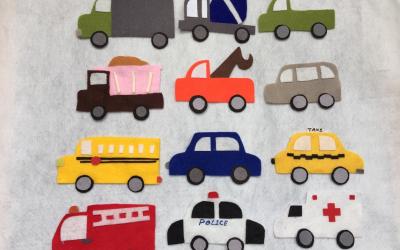
Having finished the work on the "garage" of Soviet cars, you can fascinate the child to work on making miniature models of modern domestic cars, and then go to the "Americans", "French", "Germans" and "Japanese". There are already all depends on the preferences of the boy, what brand he wants to have in his collection.
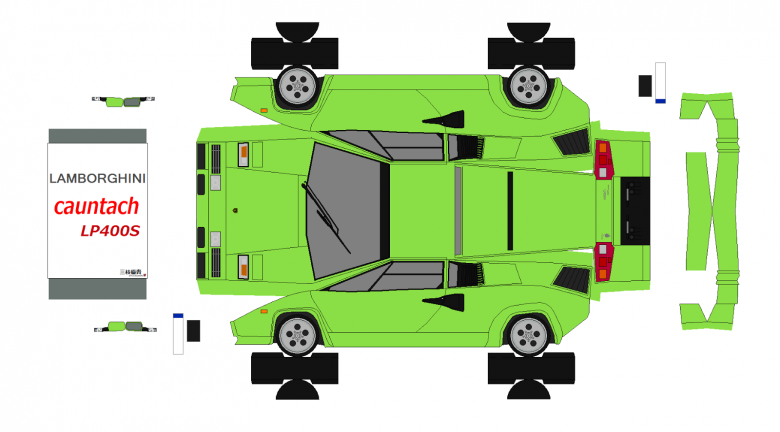
As you can see, there are many options to interest the child in the manufacture of cars from paper - the main thing to have the time and desire.
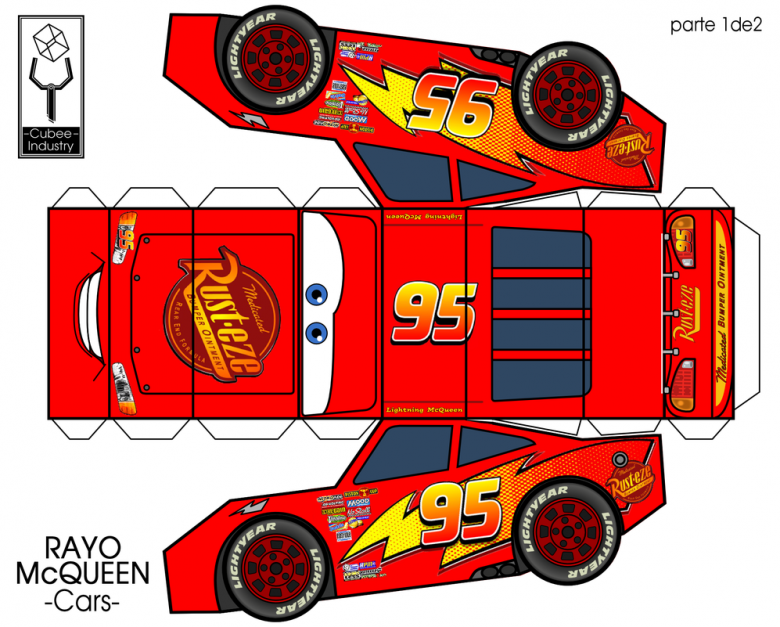
Ancient art
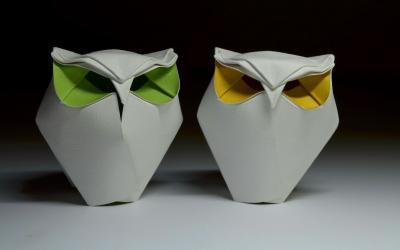
Origami is firmly, and apparently, for a long time came into our lives. Start doing crafts in this technique should be with the simplest versions, and then move on to more complex types of work.
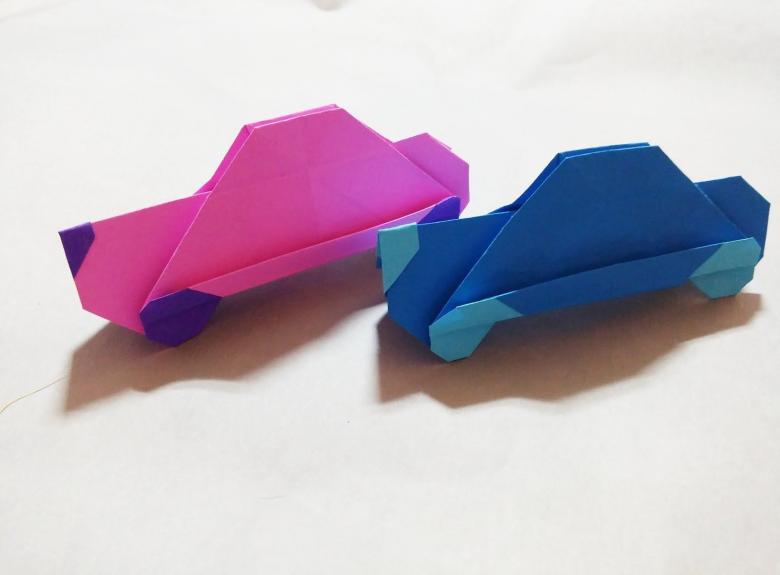
For the manufacture of some original souvenirs requires only a few steps and up to half an hour of time. An undoubted advantage of the Japanese method is the minimum amount of material and tools - just a sheet of paper and scissors. In very rare cases you need another pencil to draw the missing parts of the product.
Origami for kids
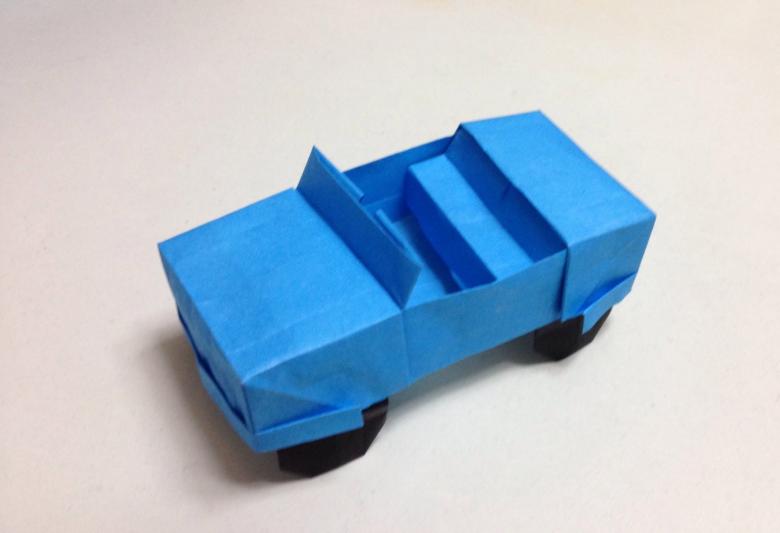
Making a car requires a few simple steps:
- A sheet of paper is folded in half and unfolded.
- The basis of the workpiece is folded again, now from left to right and open again.
- The lower edge of the base must be brought to the center line of the paper.
- The second part of the sheet on both sides folded diagonally to form a triangular "wheel".
- Also folded diagonally the top right corner of the sheet.
- Blank is turned over and the model car is ready!
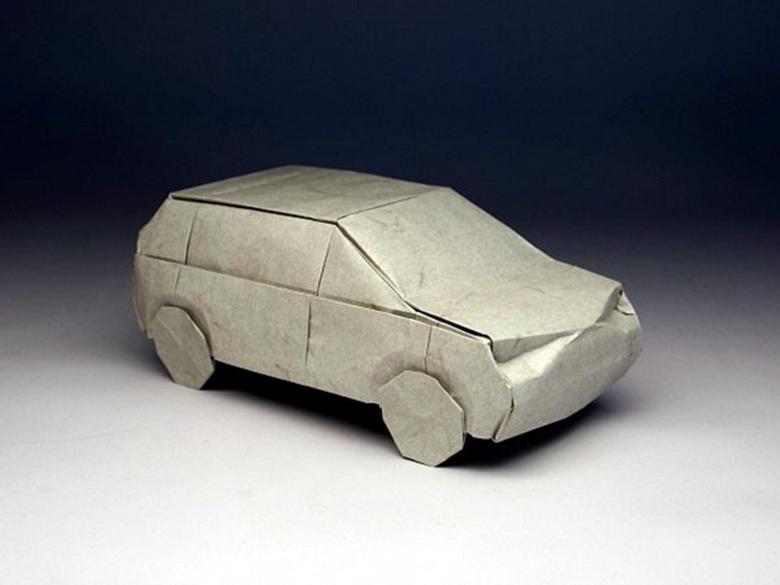
It remains to draw a window and car doors. At the car with triangular wheels, of course, did not go anywhere, but now the baby knows how to make the simplest model in the Eastern technique for just a couple of minutes.
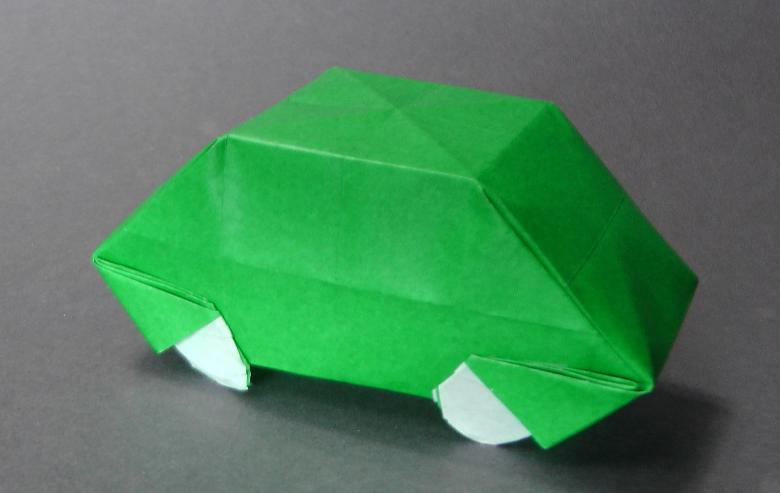
Three-dimensional model
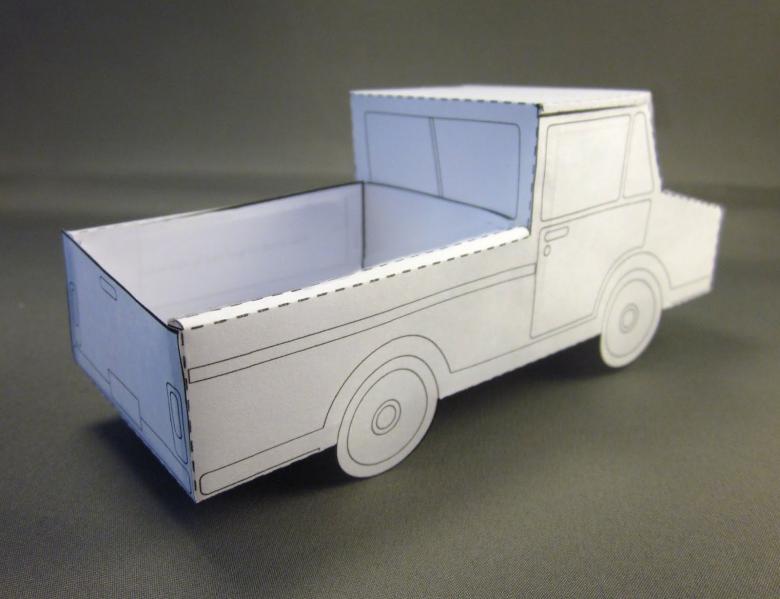
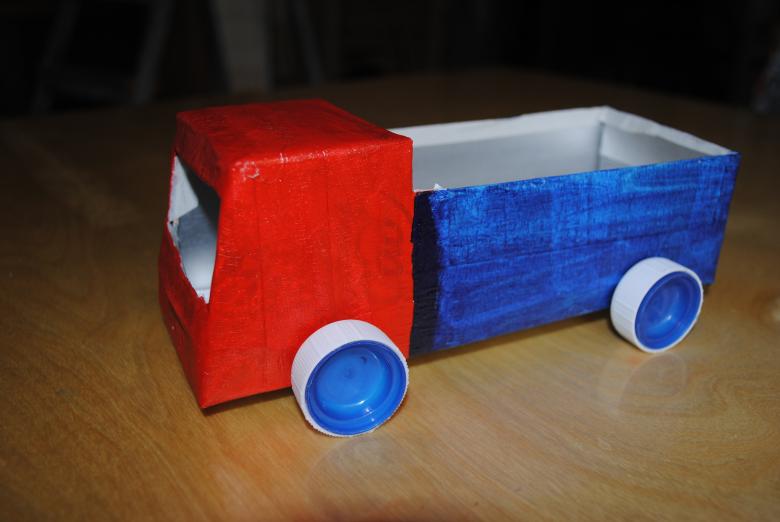
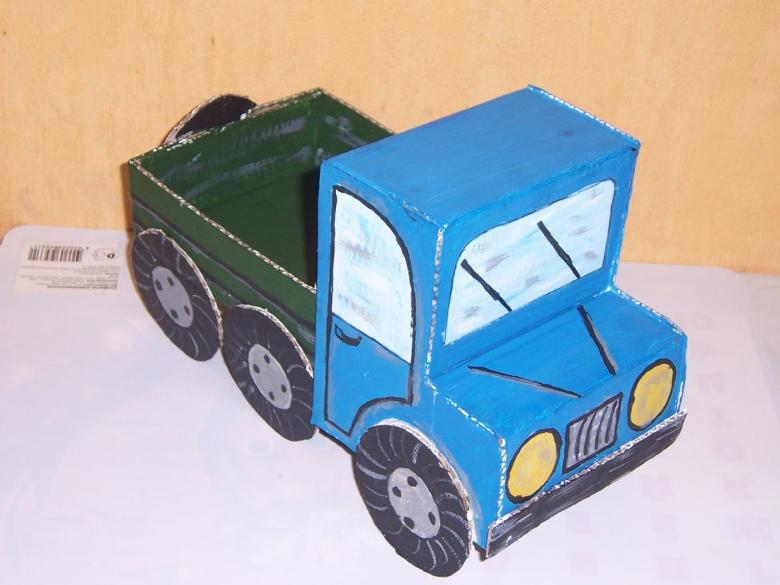
Very impressive to look miniature truck made using separate elements of origami technique. To work will require a relatively large number of materials and tools:
- duct tape, glue;
- Scissors and compass;
- Paper of dense texture;
- bottle of plastic;
- pin and thin wooden sticks;
- pencils or paints.
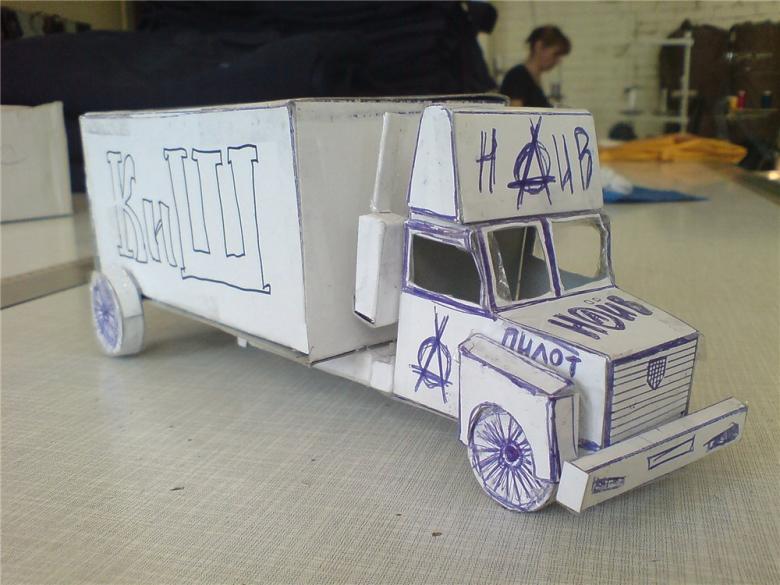
Instructions for making
- Step #1. Four squares, three rectangles of equal size are cut out for the future cab of the truck.
- Step #2. It is necessary to prepare two squares for the car body.
- Step #3. Two boxes are assembled from the cut out parts, which are connected using duct tape.
- Step #4. Pieces are cut out of the bottle, which are installed in the cab, will imitate the windshield and side windows.
- Step #5. "Glasses" are fastened with duct tape.
- Step #6. With a compass, eight circles are drawn and then cut out - the future wheels of the car.
- Step #7. Using thin sticks, under the desired parts of the truck, the wheels are attached.
- Step #8. The outer sides of the car are painted.
All that remains is to fill the body with the things to be transported, write out a waybill and send the truck to its destination.
Moving model
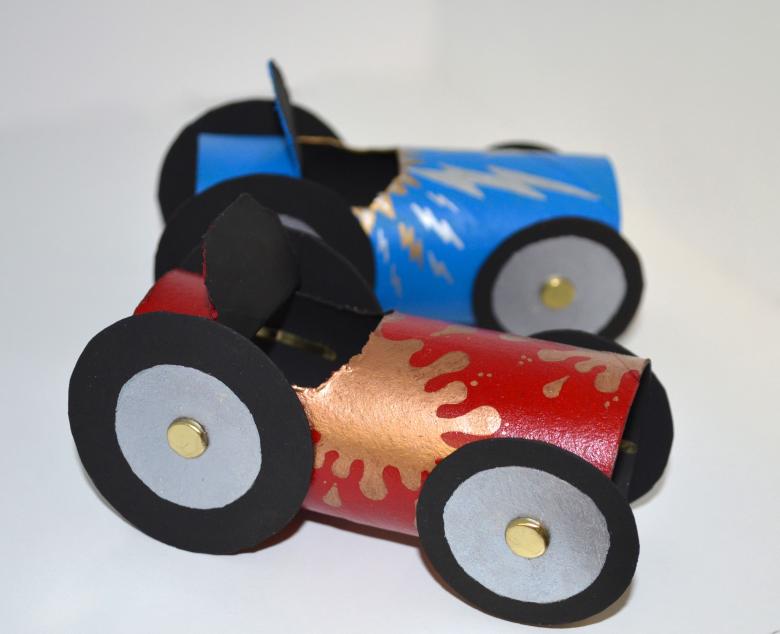
Using origami technique can be made of paper machine, which can travel. You will need a sheet of paper of format A 4.
Stages of work
Making a working model of a car will take seven steps.
- Stage #1. The sheet is folded in half.
- Stage number 2. Bending the top right and left bottom corner of the paper, mark the lines of inflection.
- Step #3. At the top of the workpiece form the curves in the form of triangles.
- Step #4. Along the central direction once again made the bends of the triangles.
- Step #5. The sides of the "racing" car formed by bending the outer side of the workpiece to the center line.
- Step #6. The lower part of the craft is added so that the triangles were on top.
- Step #7. Bend the workpiece in two, and in the resulting "pockets" tucked corners.
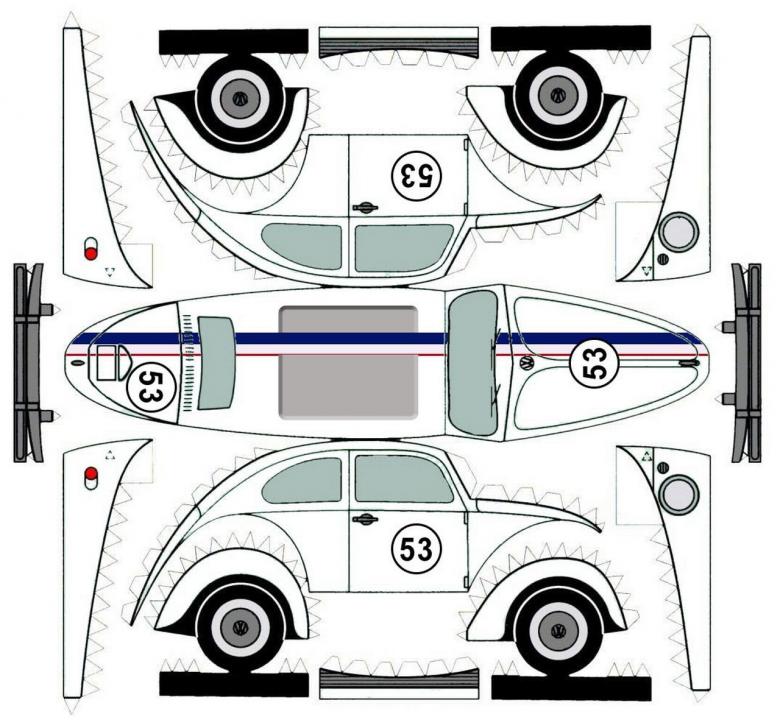
Racelite is ready to start. It remains to put the car on a smooth surface and blow. Under the influence of the air flow the car will move, thus imitating the movement of a real car.

