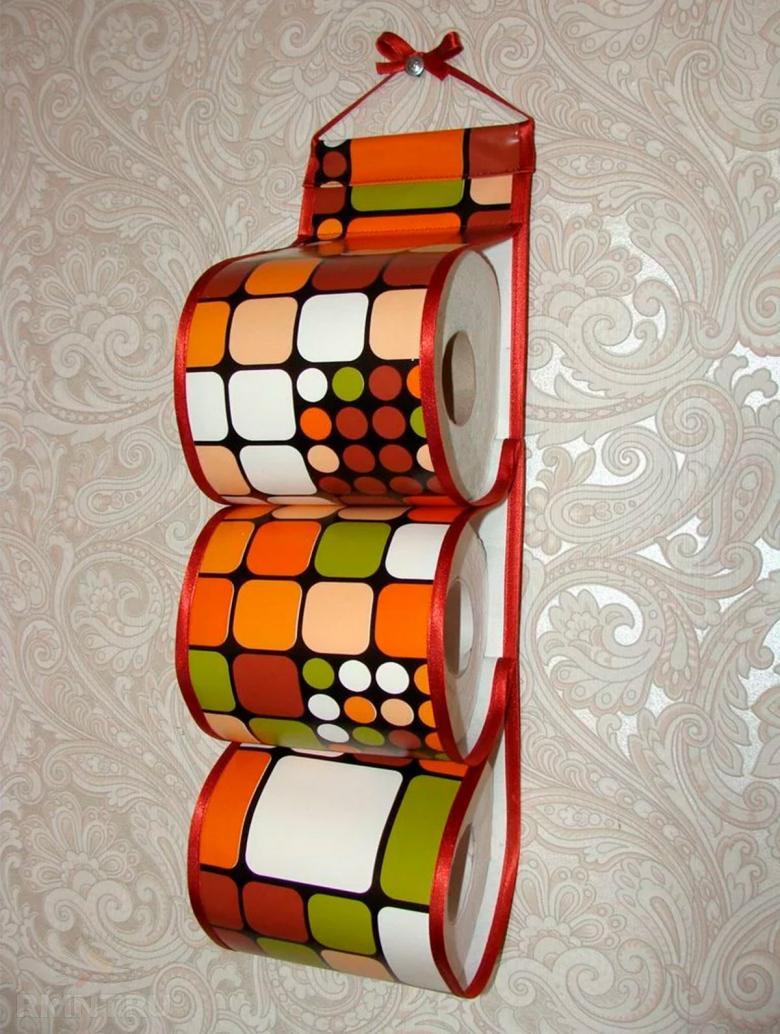
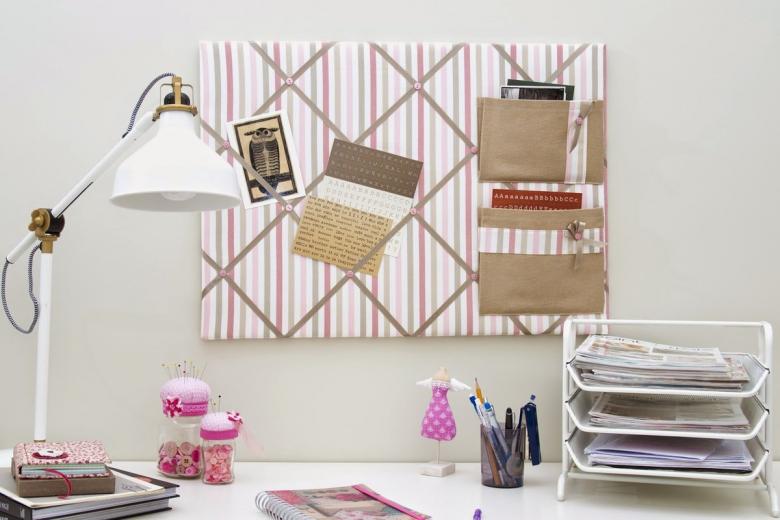
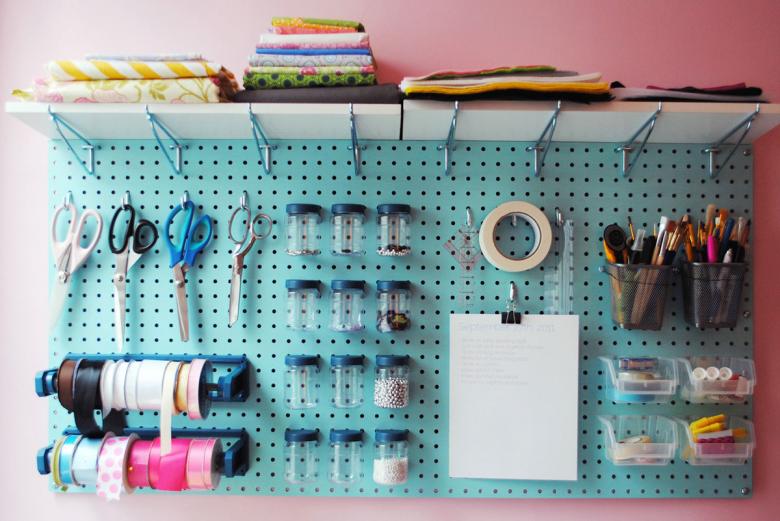
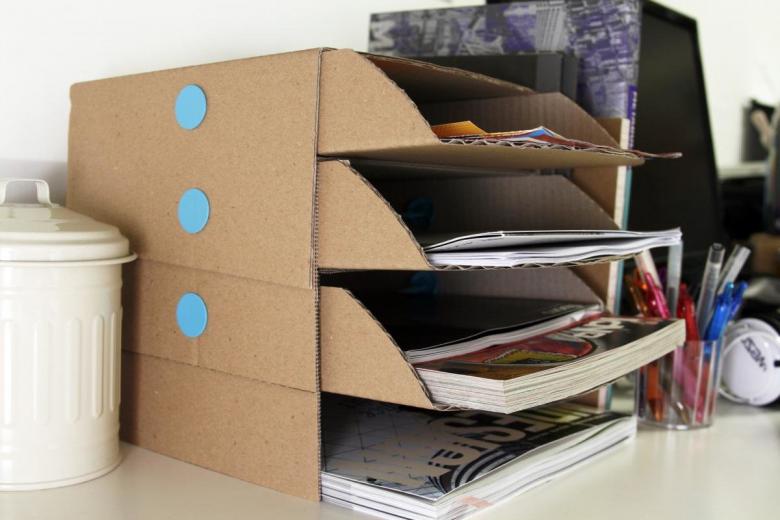
Organizer with their own hands - types, features, design and construction
The topic of storage is always relevant. Any thing is easier to find if it is in its place. In order to properly organize the space in the home, various storage systems are created. For any little thing is very easy to find a place with the help of organizers. You can easily buy such a thing in a store, but it is better to save money and make an organizer yourself.
Making organizers with your own hands
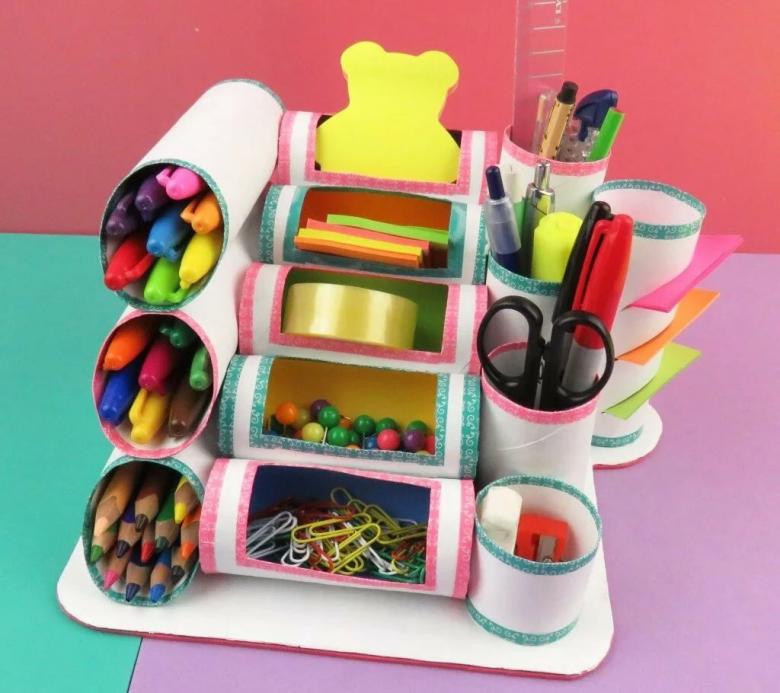
The organizer is a very practical thing. It is also an excellent decorative element. This product can be made by yourself without spending a lot of money. You need only improvised materials and a little free time. Materials for the crafts are available in almost any home. For this will work well:
- boxes, packages from gifts;
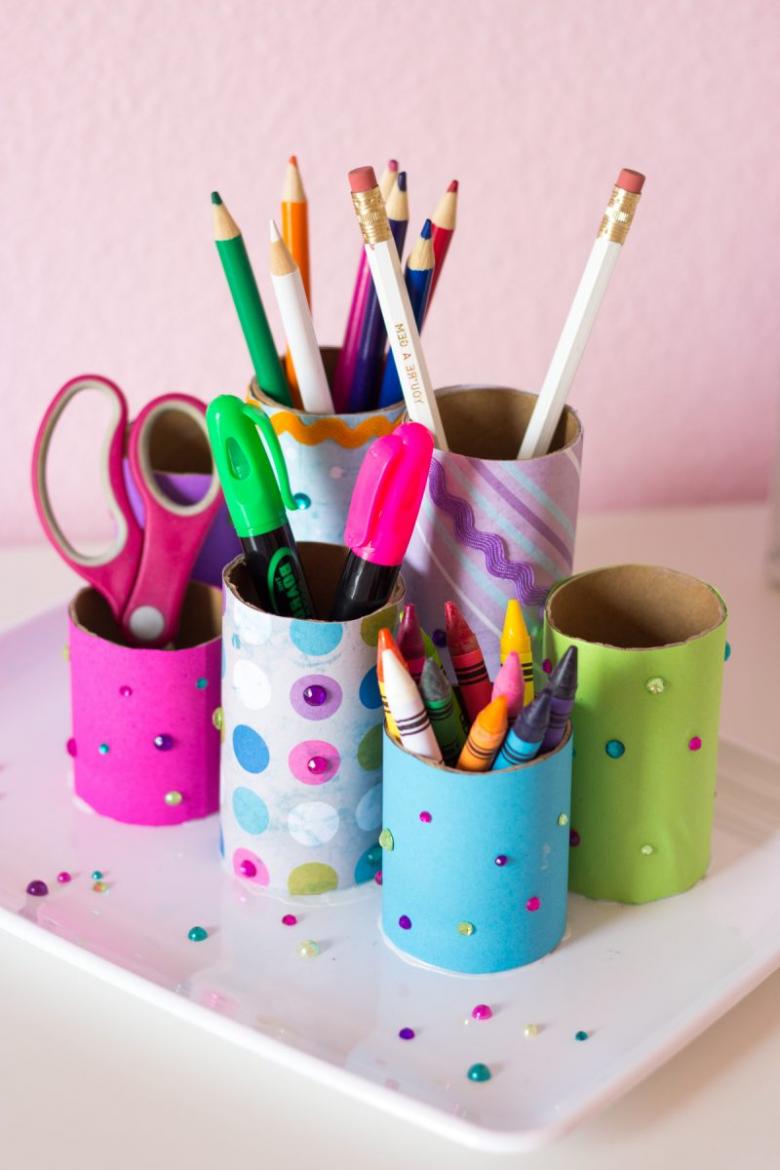
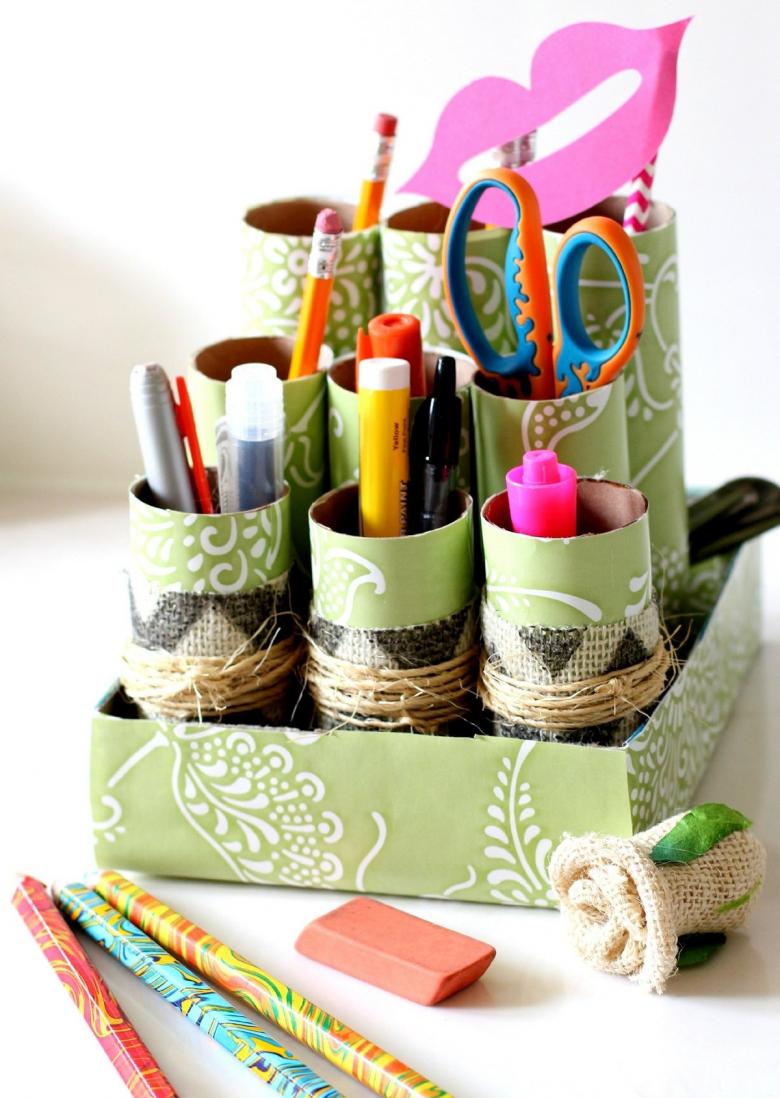
- The sleeves from the food film, foil, toilet paper;
- Drink cans or canning jars;
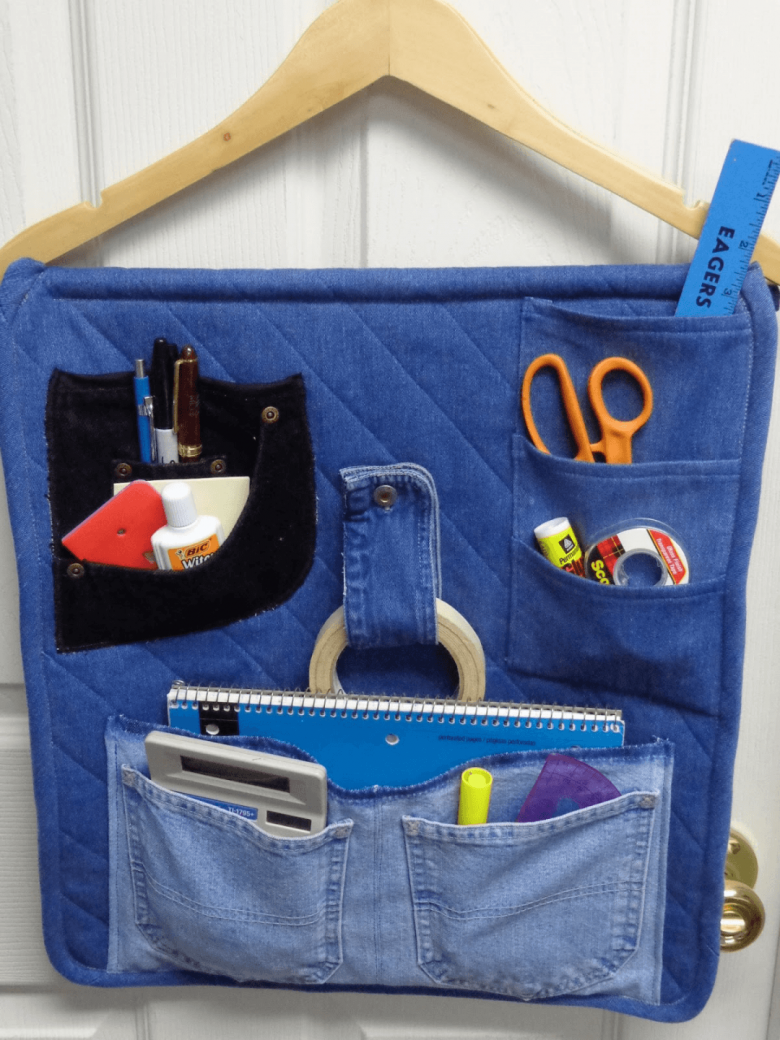
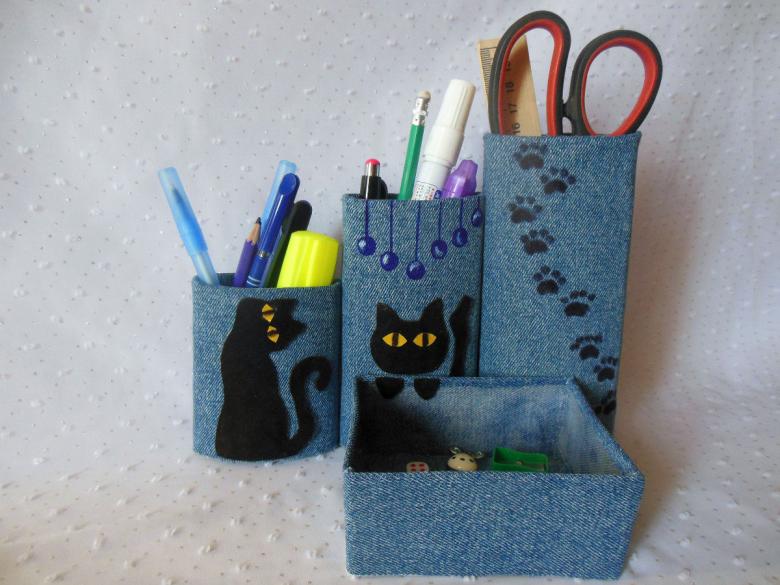
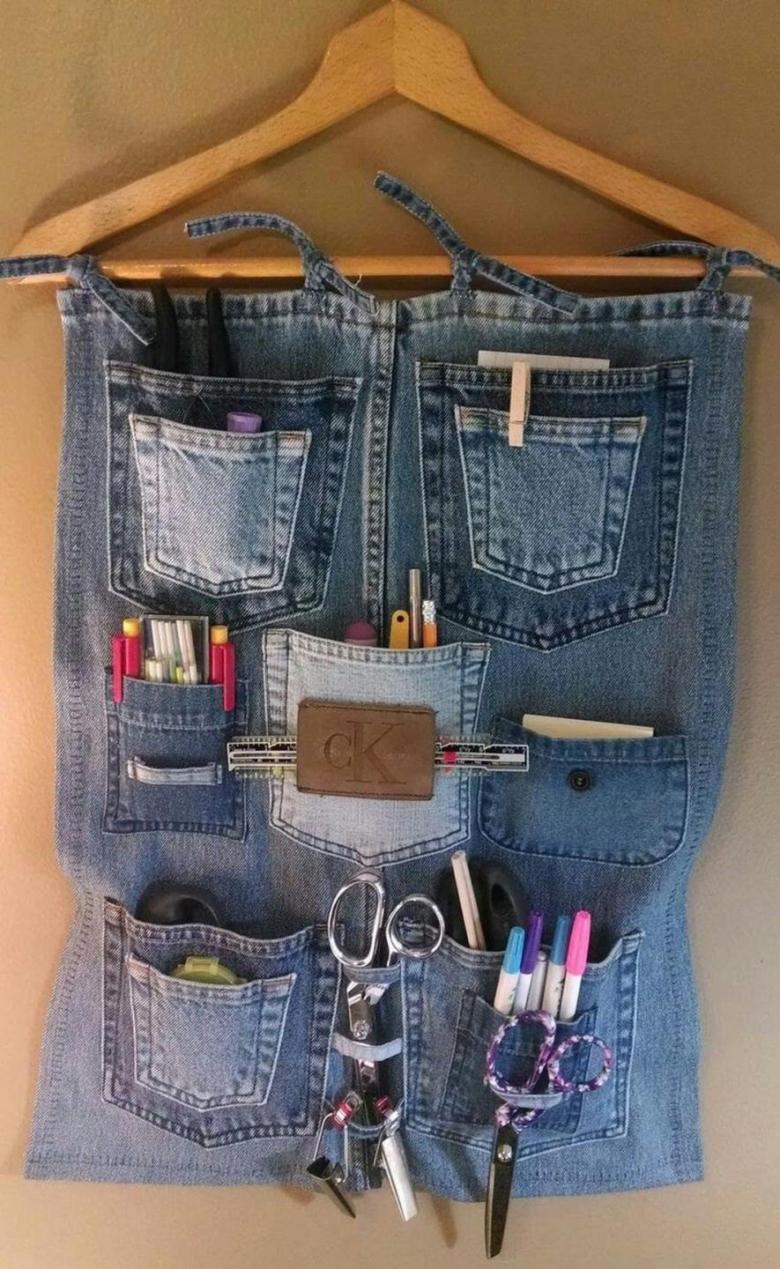
- scraps of material, old clothes, jeans;
- Wallpaper, ribbons from gifts, twine, etc.
Missing pieces can be purchased. A good option for a decorative covering is self-adhesive paper. If you know how to work with this material, you can use it. For decoration, all sorts of beads, beads, rhinestones, ribbons and other little things will do.
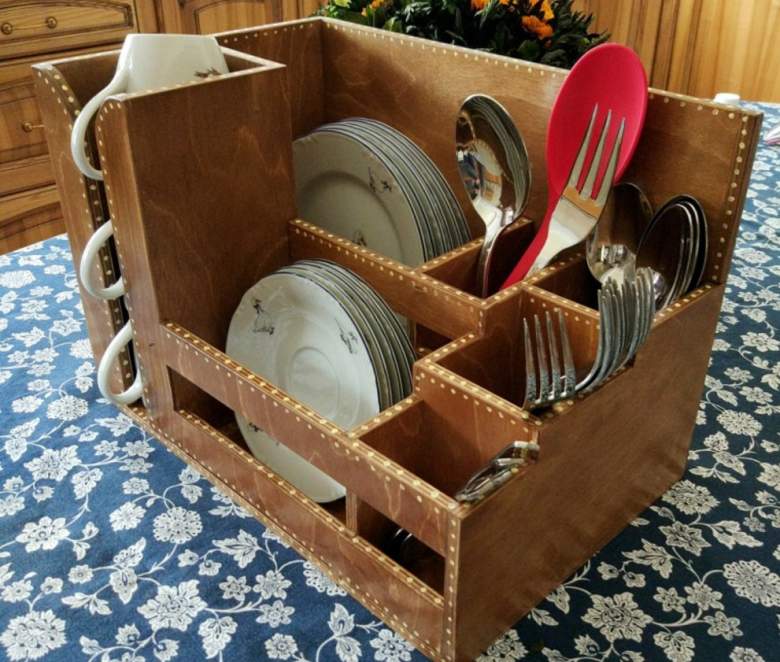
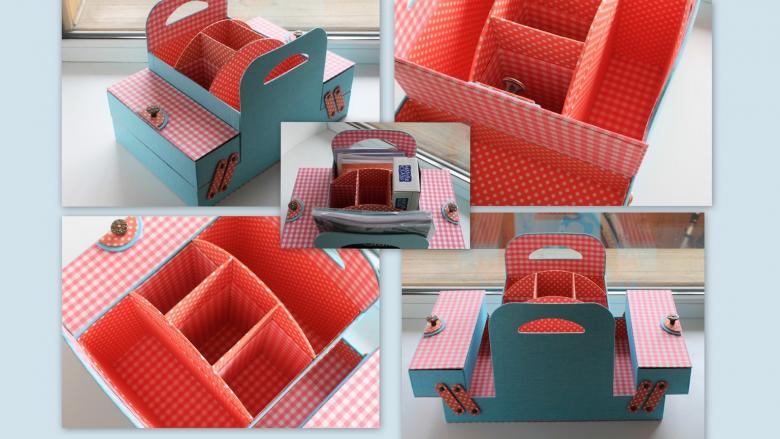
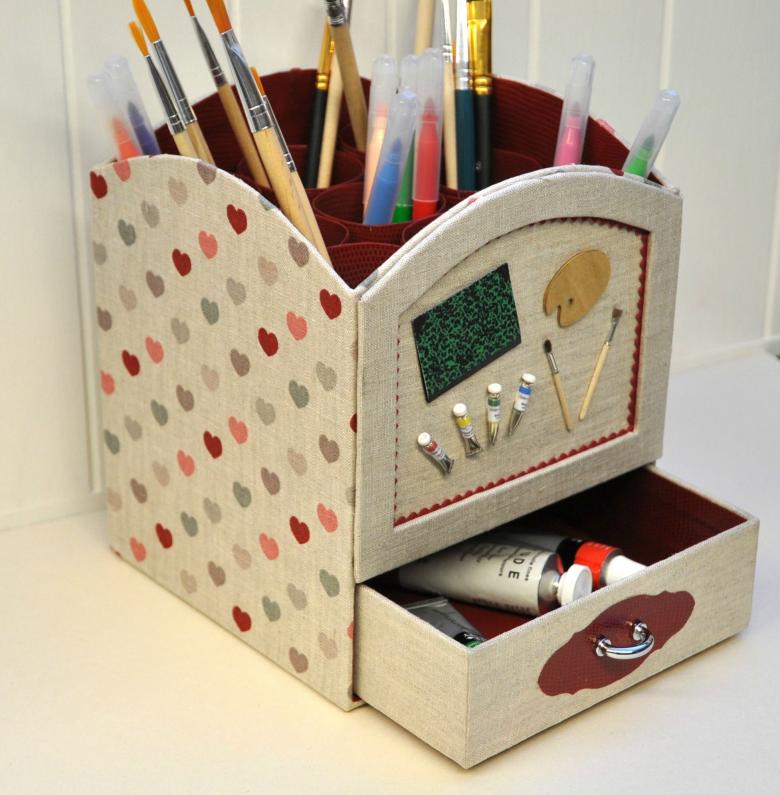
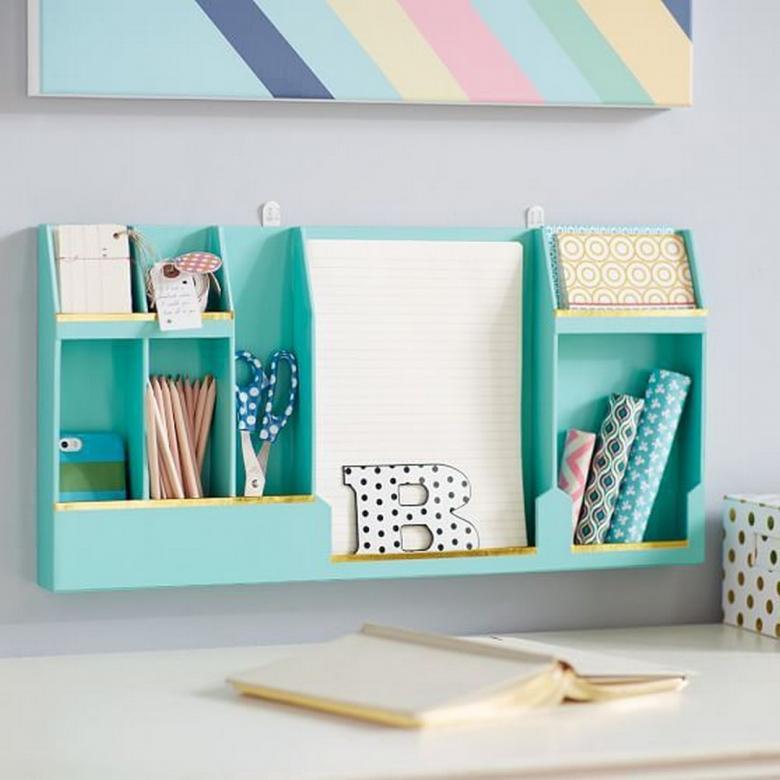
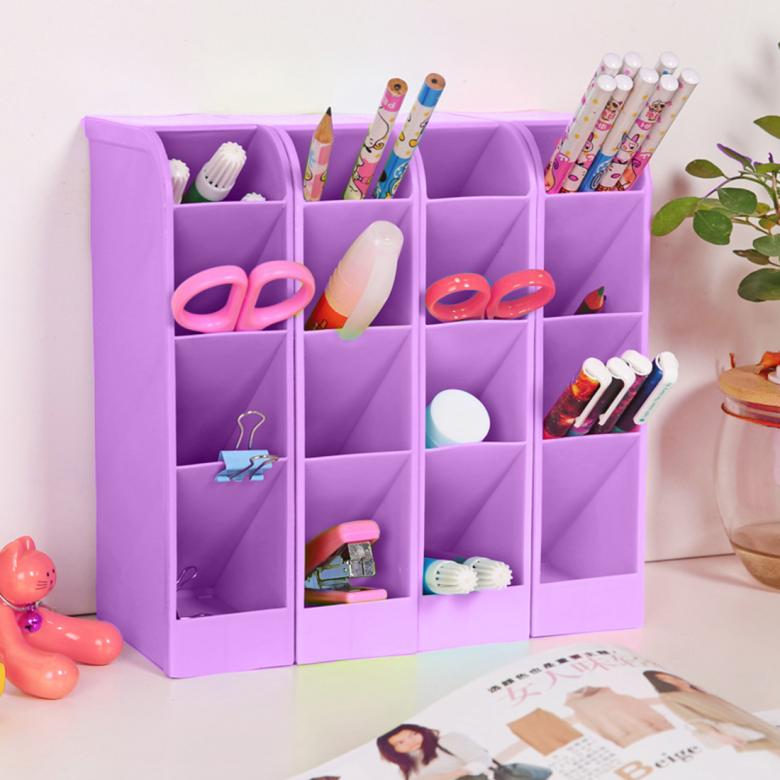
Various options for storage systems you can come up with your own. And you can also look on the Internet photo of an organizer and make a similar product. Take a look at some ideas.
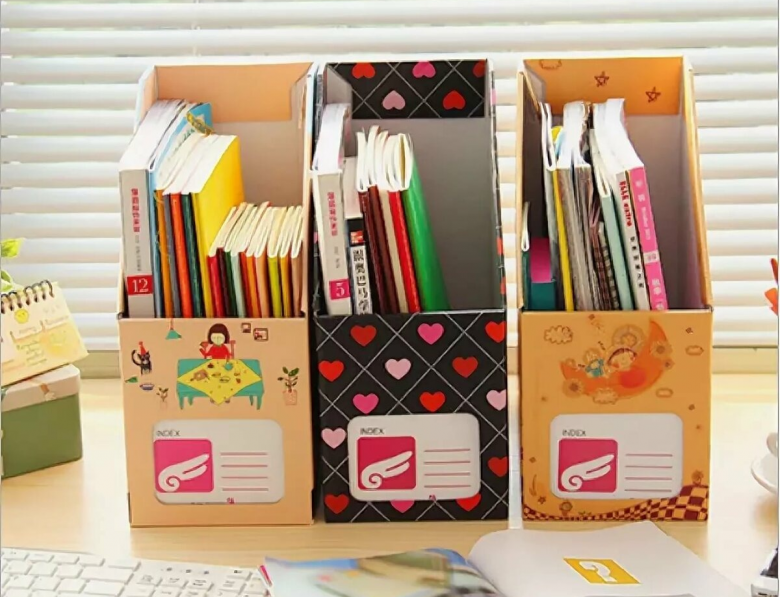
A handy way to store office supplies
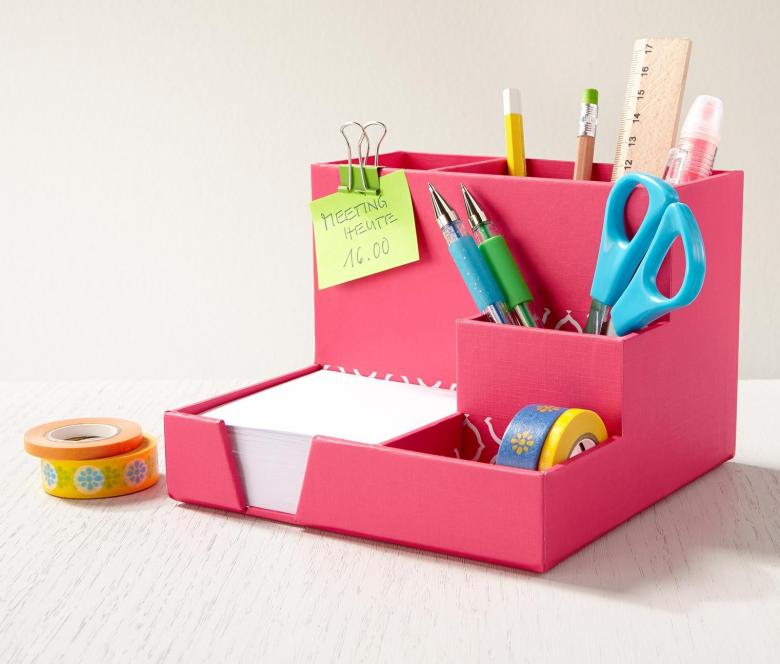
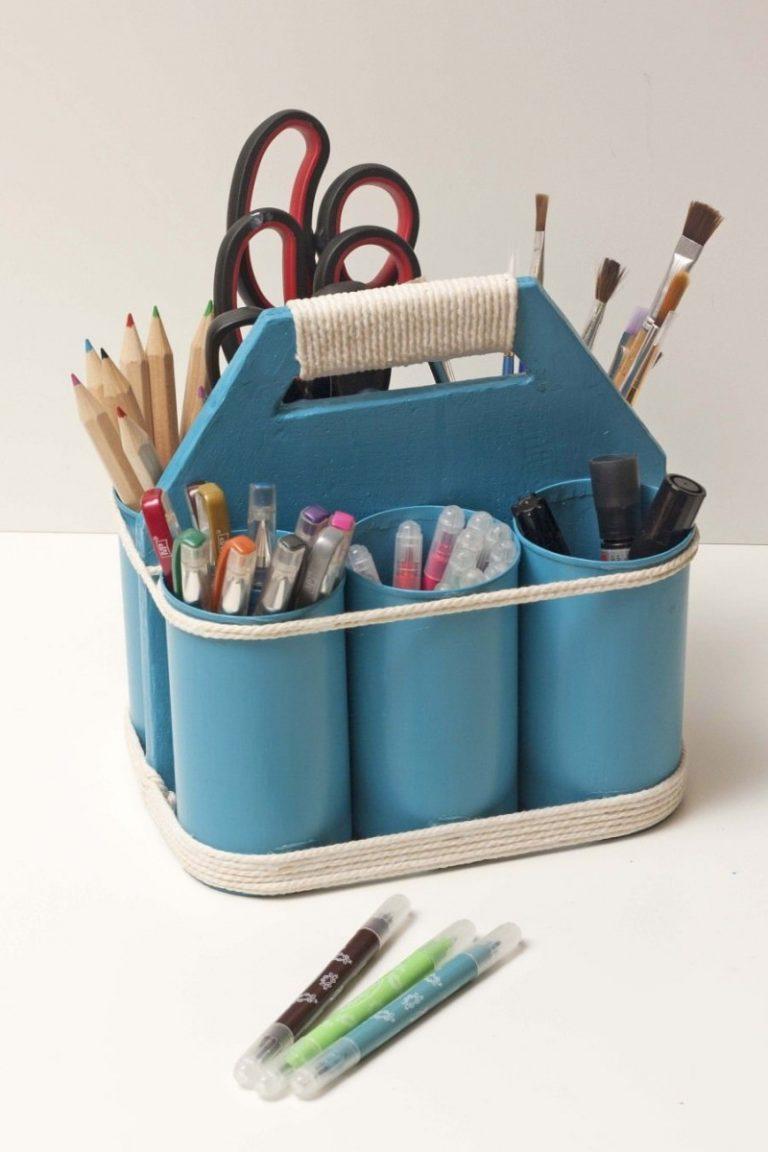
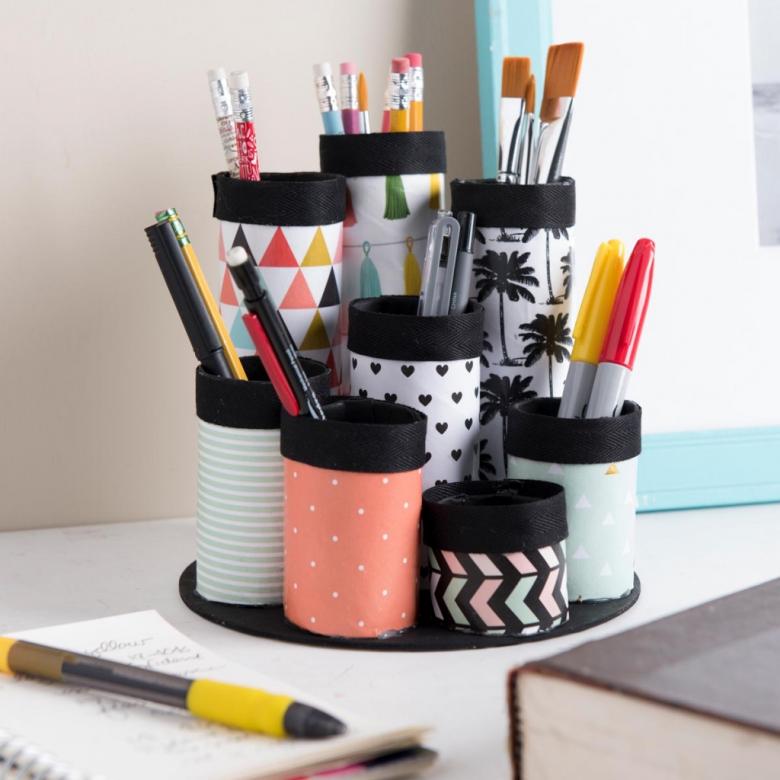
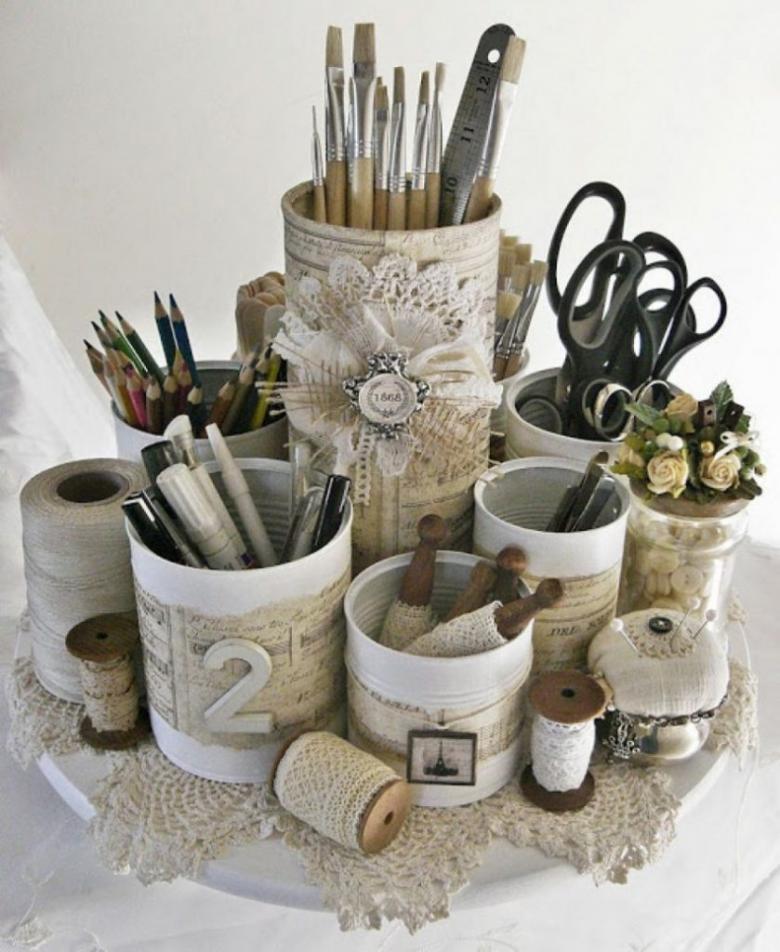
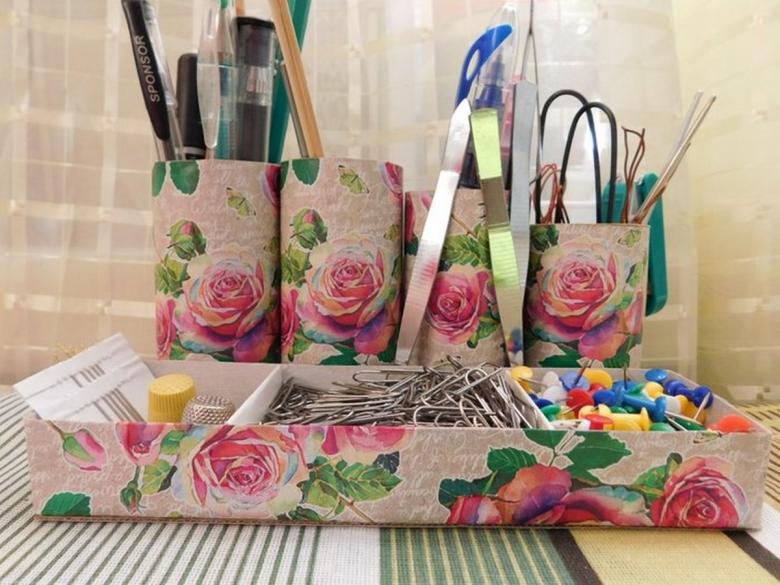
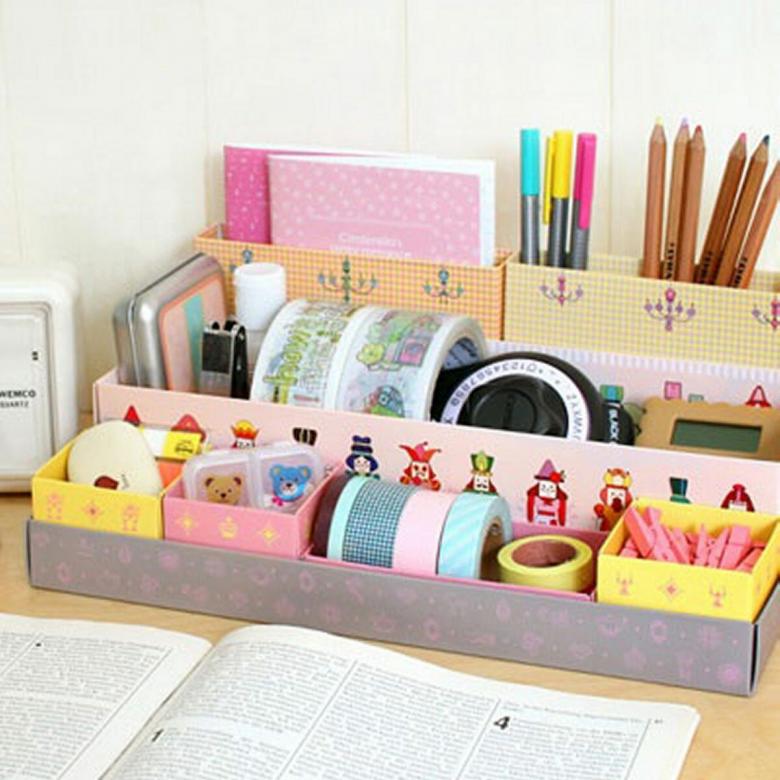
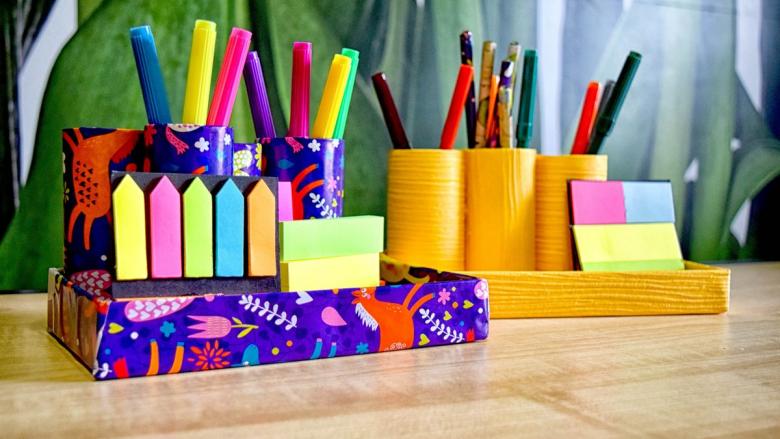
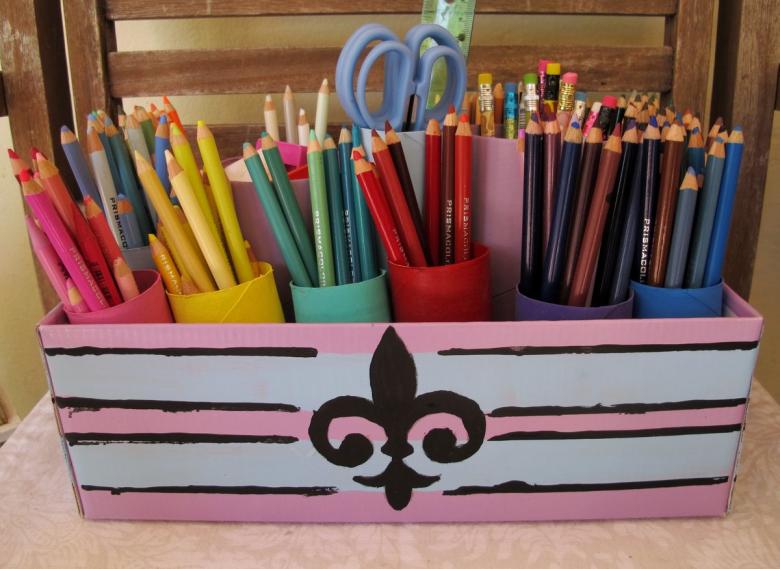
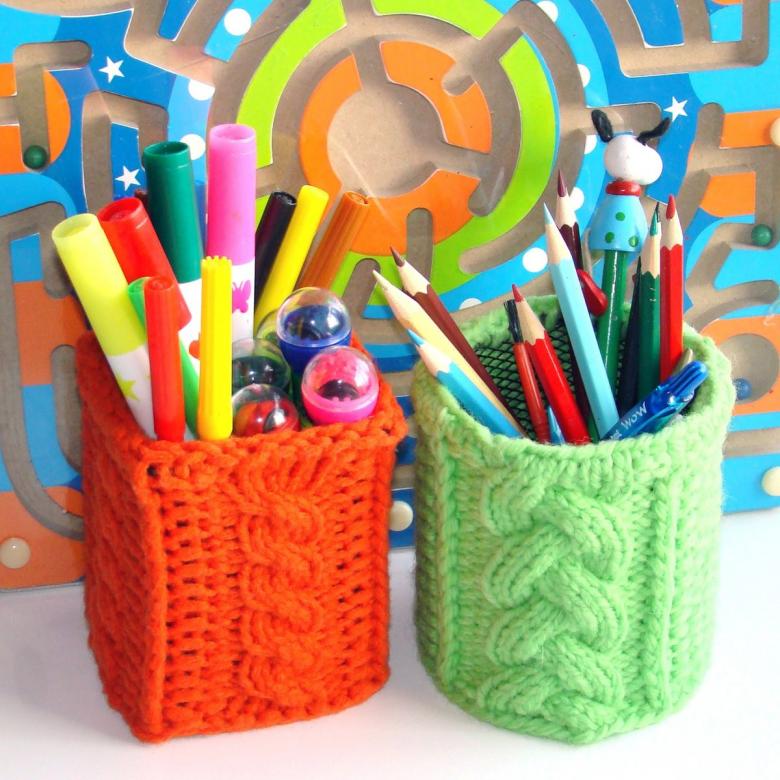
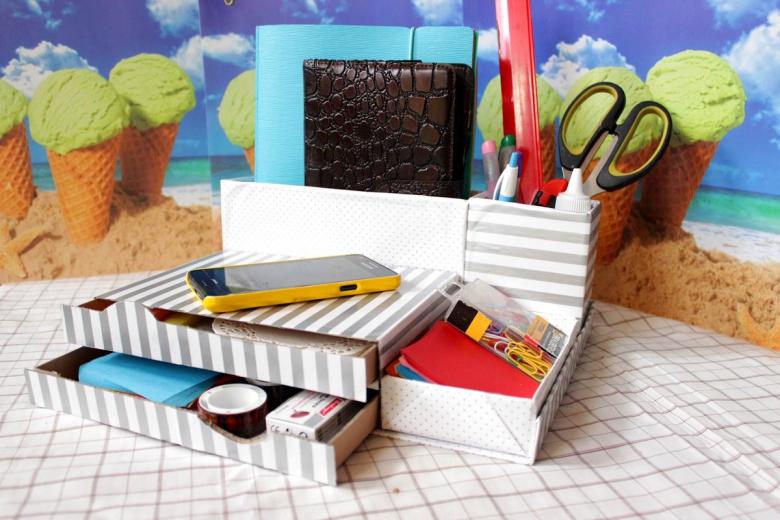
Pens, pencils, rulers and other office supplies are often scattered around the desk. This creates clutter and interferes with work. You can eliminate this problem by making an organizer with your own hands for stationery. To work you need:
- several cans;
- cardboard, paper;
- paint;
- ruler and a pencil
- twine;
- glue and scissors.
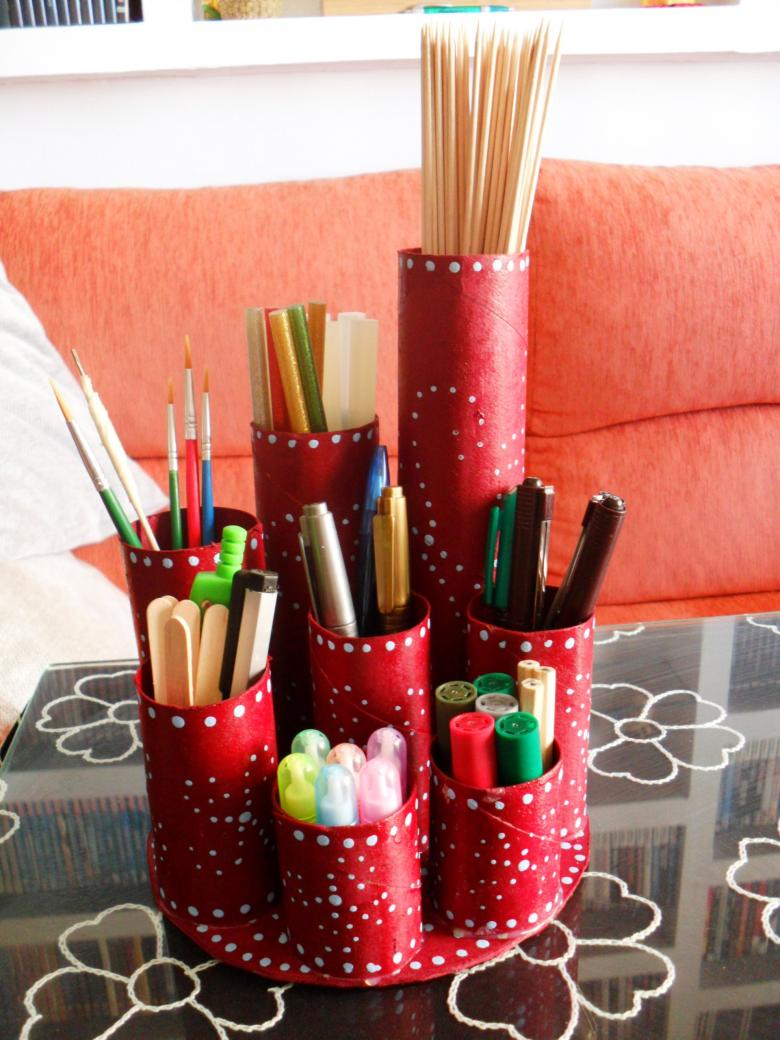
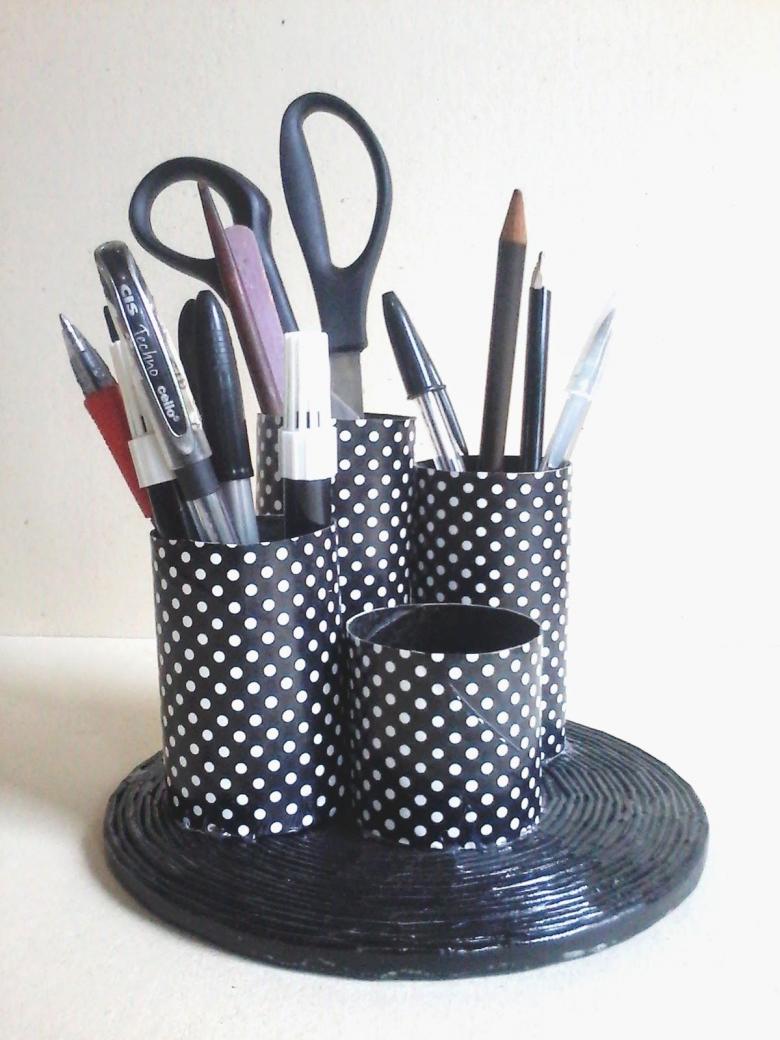
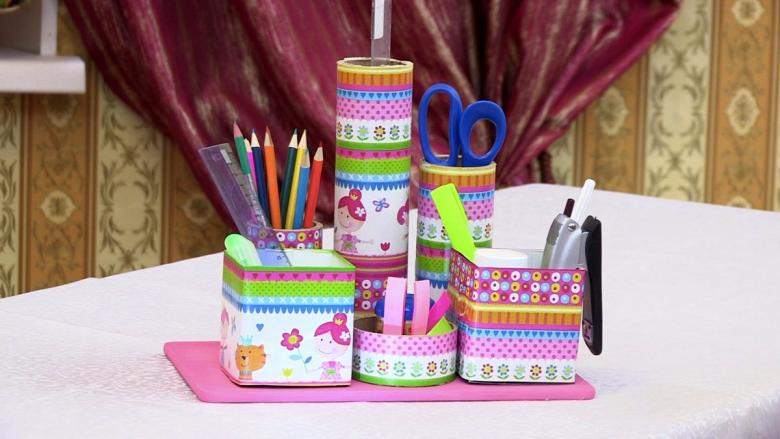
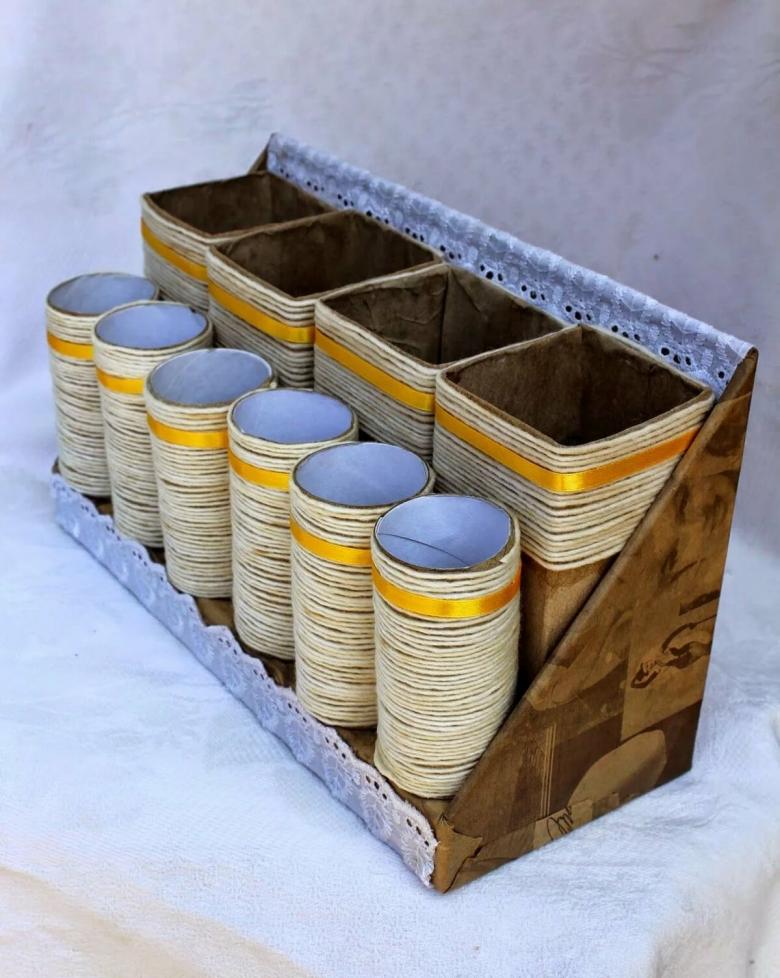
You need to grease the jars with glue and wrap the paper. Then wrap the jars with twine, paint and let dry. It is better to use spray paint. Draw a handle on the cardboard and cut it out. For convenience, you need to wrap the cardboard with twine. Place the dried jars in two rows, tightly pressed. Between the banks to insert the handle. The resulting structure should be tightly wrapped with string. You can add decorative elements. Done!
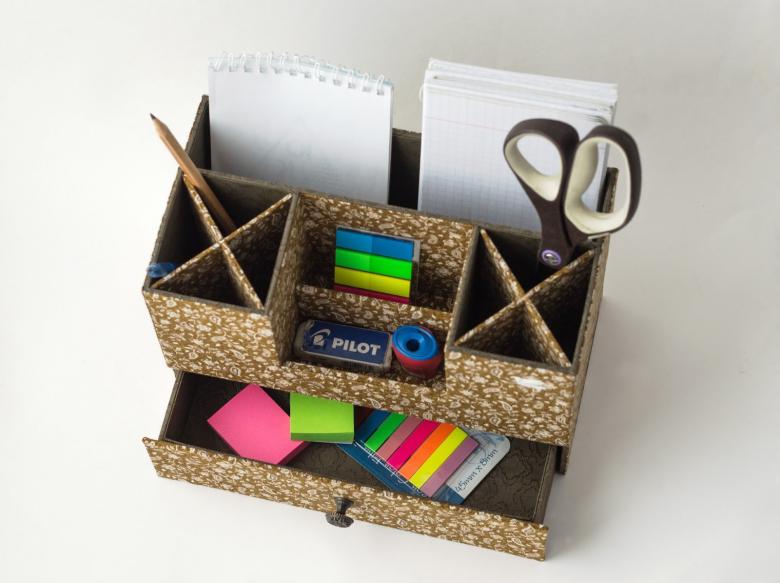
This is just one way to create an organizer for office with your own hands. There are other options for such products. Choose the most suitable and convenient for you.
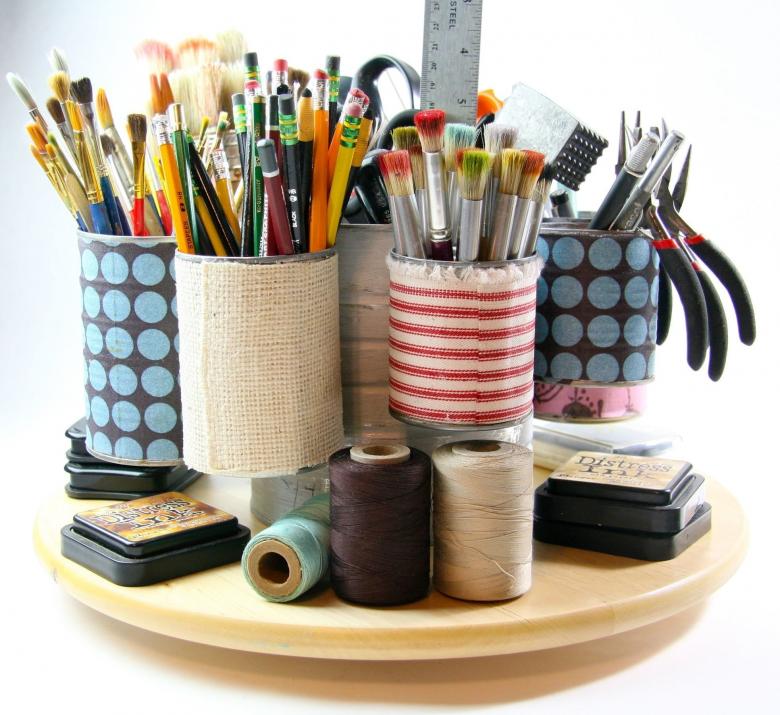
Ways to store cosmetics
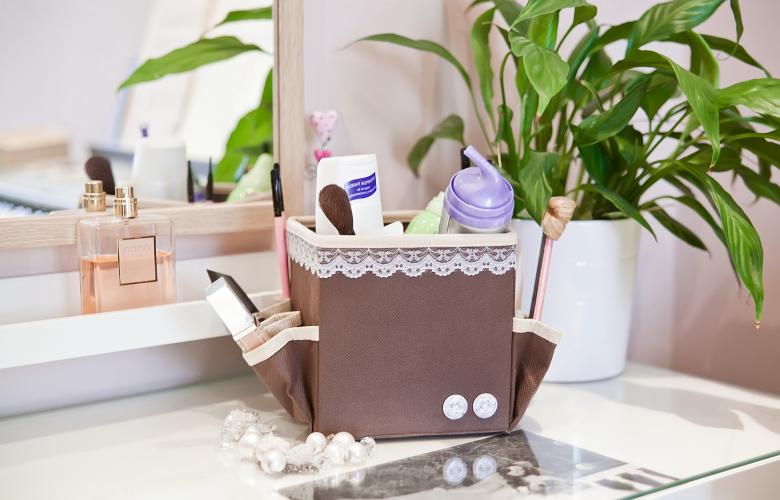
Almost all women have a lot of cosmetics. How to find the right thing in the morning? Conveniently place all their jars, tubes and bottles can be with the help of an organizer. There are plenty of options to make an organizer for cosmetics with your own hands. Consider two.
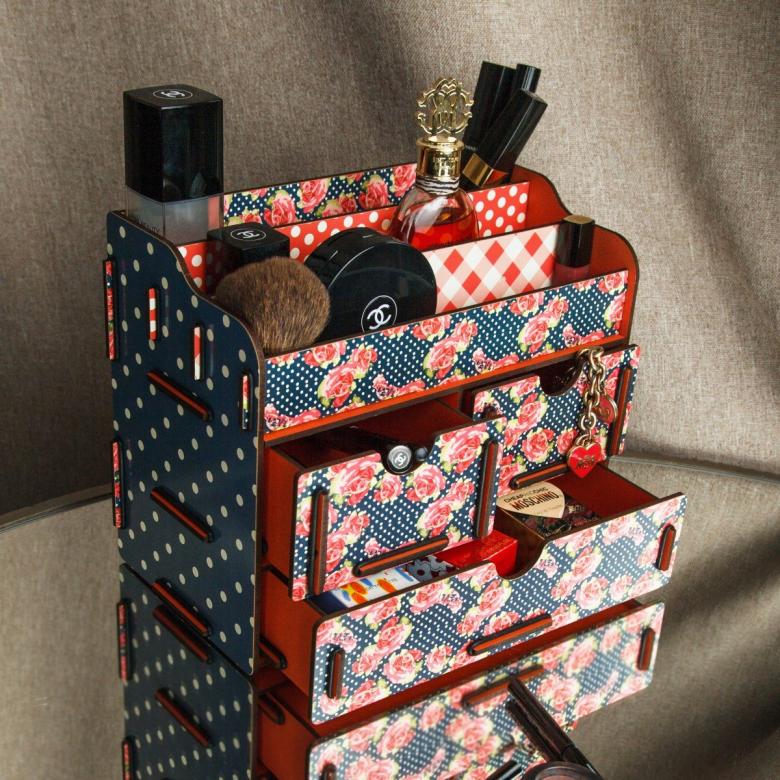
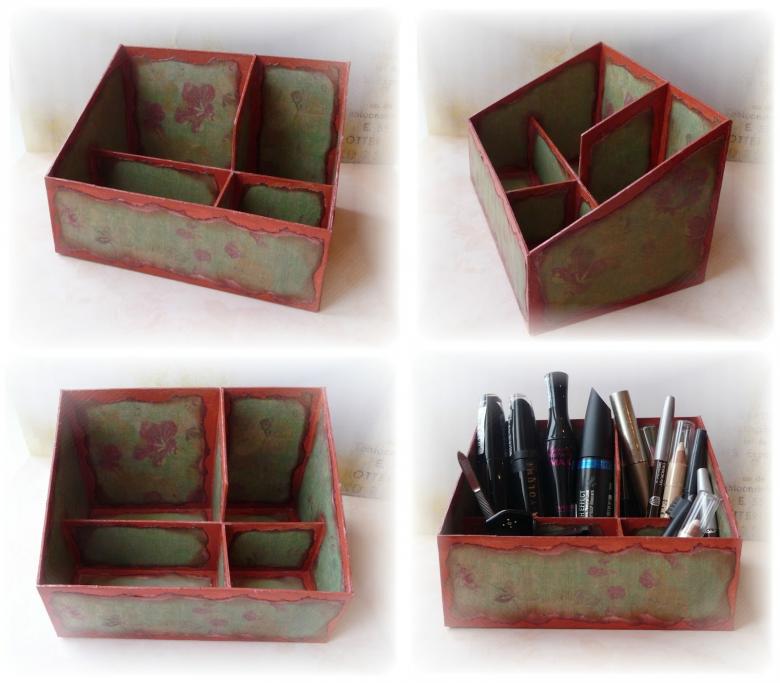
Organizer from boxes
To work you need:
- a box;
- scissors;
- glue;
- Several small boxes;
- wrapping paper.
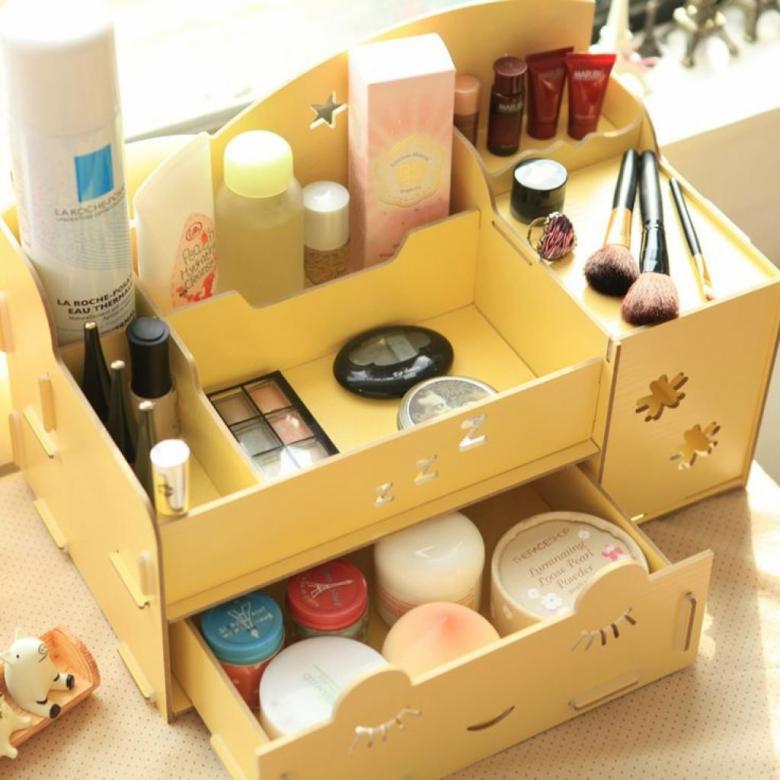
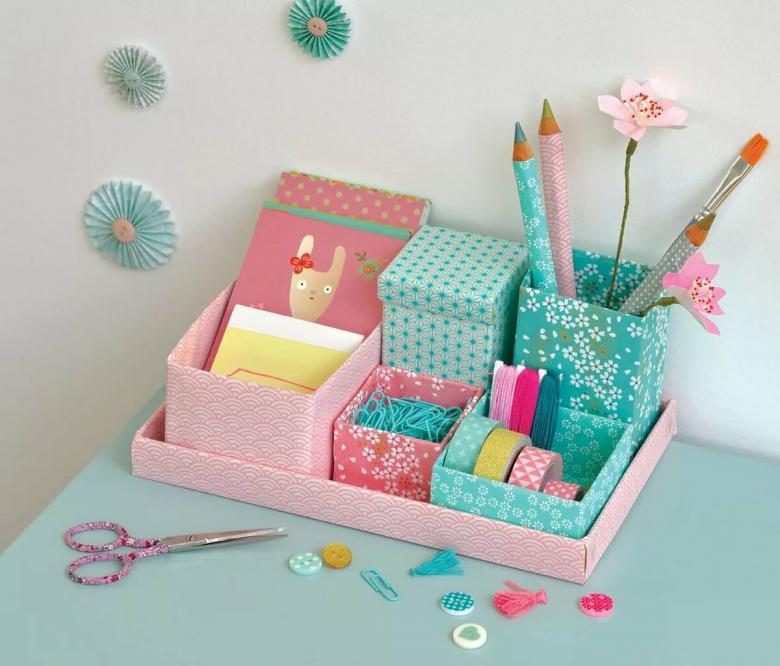
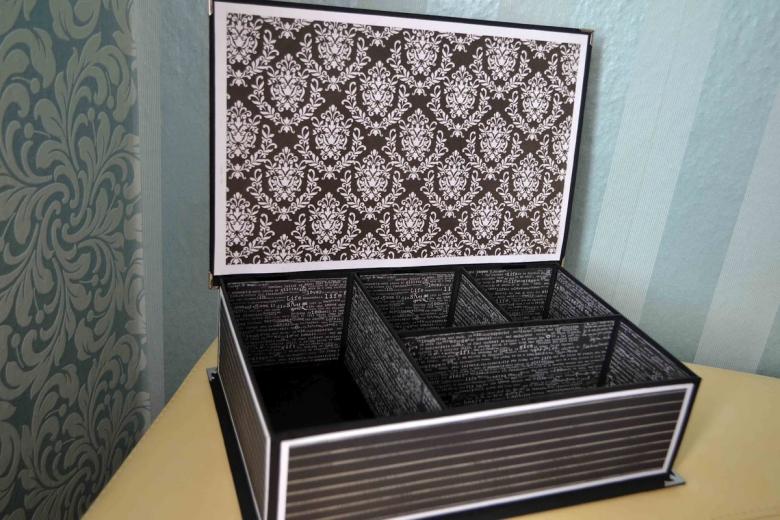
Cover a large box with paper. Do the same with the small boxes. Then you need to place all the small boxes on the bottom of the big one and fix them with glue. You can add additional decorations with ribbons or crystals.
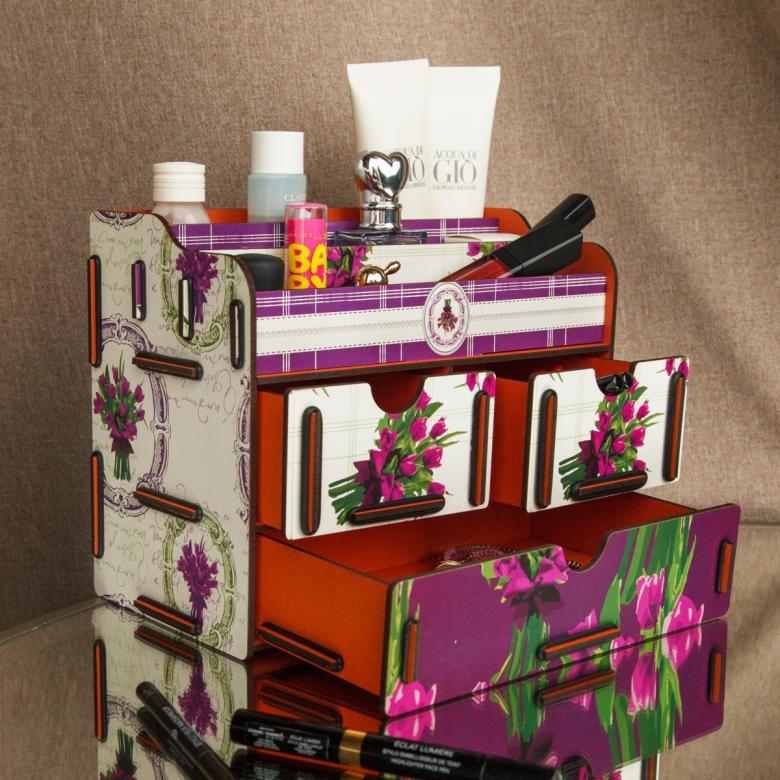
Stand for cosmetics from two levels
To create this option you will need:
- A pair of shoebox lids;
- Decorating paper or wallpaper;
- A sleeve from a food film or foil;
- A glue gun.
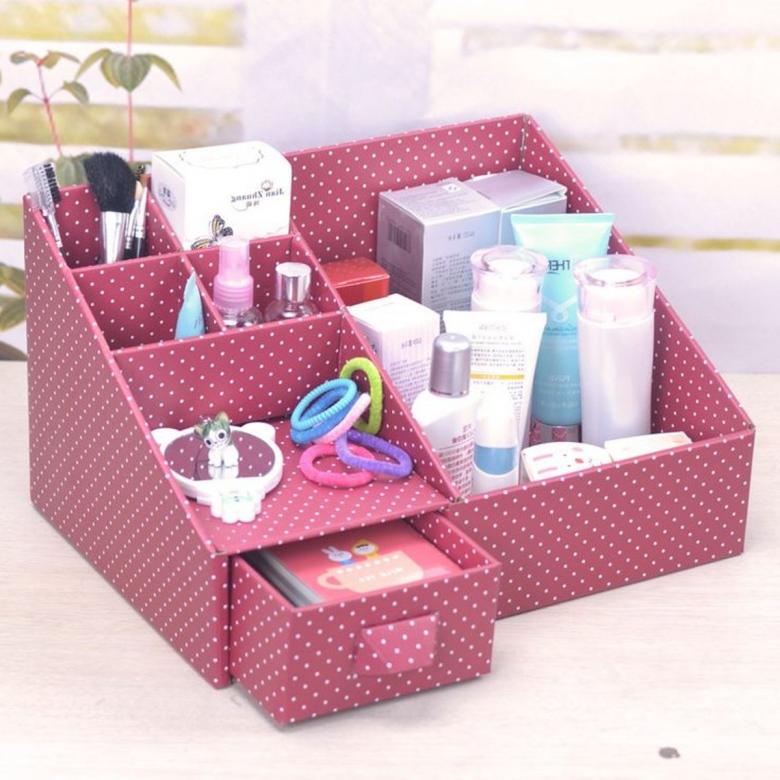
First, you need to cover the lids with paper. You can use wallpaper instead of paper. Allow the cardboard to dry. Make an additional decoration with paper with a special print. On the sleeve, measure out 20 centimetres and cut off the excess. Glue the sleeve with paper too.
Apply hot glue to one edge of the sleeve and glue to the center of the larger cover. Wait until the parts are firmly in place. Apply hot glue to the other edge of the sleeve and install the smaller cover. You can have two sleeves for more stability. The organizer is ready!
A simple jewelry organizer
Earrings, bracelets, chains and other costume jewelry are awkward to keep in one pile. Small things can quickly get lost if not stored properly. Jewelry should have its own special place. An organizer in the form of a picture would work well for costume jewelry. To make such an organizer, you need to take:
- A frame for a picture or photo
- Paint and varnish to cover it;
- ruler, pencil;
- glue;
- stapler;
- rope or tape;
- self-tapping screws;
- A beautiful cloth or a picture.
The frame should preferably be uncoated. They are sold in building and art stores. Such a frame can be painted in any color you want.
The first thing to do is to paint the frame in two layers. After the paint dries, varnish the product. Then insert a picture or a fabric with a beautiful pattern or lace into the frame. This will become the background of your organizer. Then you need a length of rope along the width of the frame parallel to the product and fasten it with glue or stapler.
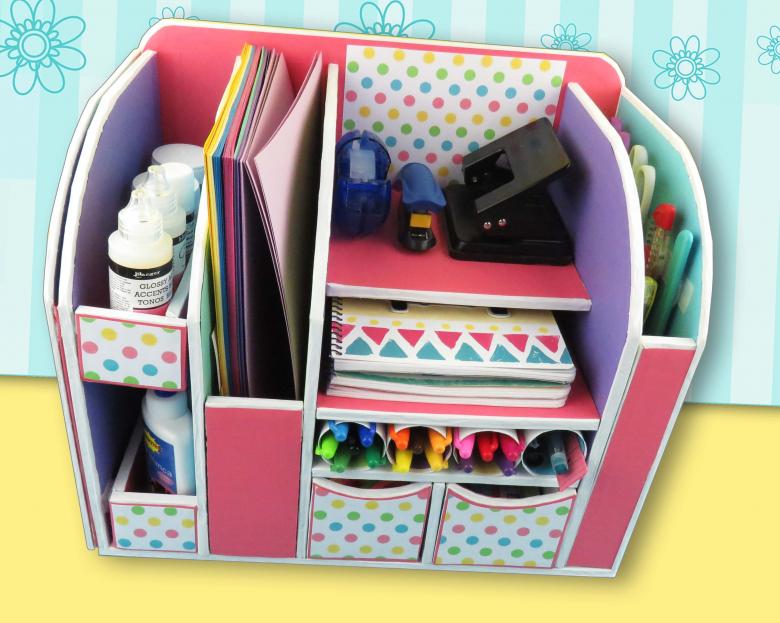
They will be used to hold the decorations. You can hammer in small nails along the edges of the frame and pull the rope between them. At the end of the work, fix the loop with a self-tapping screw and hang your product on the wall. The organizer for jewelry is ready!
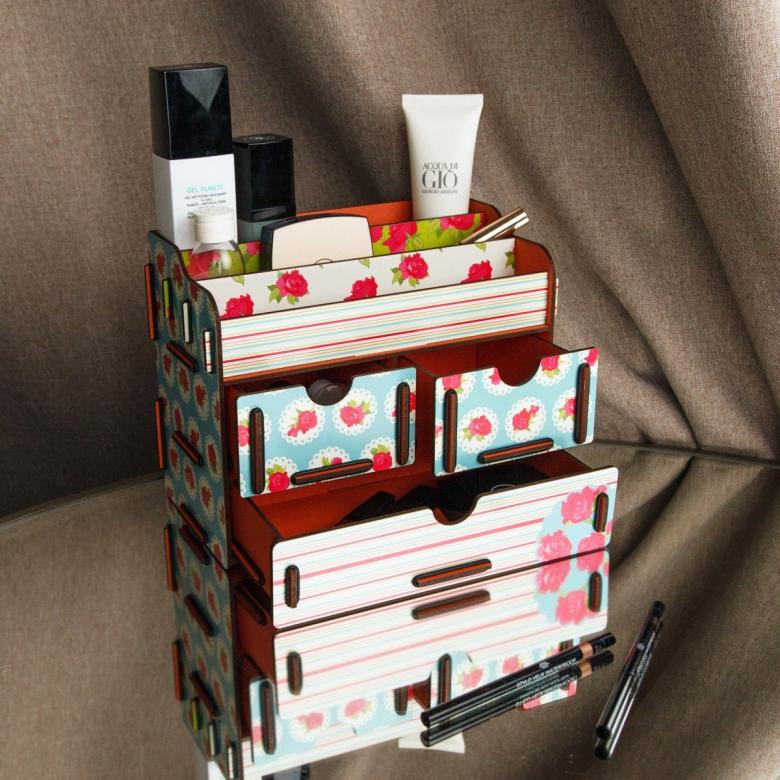
Child organizer in the car
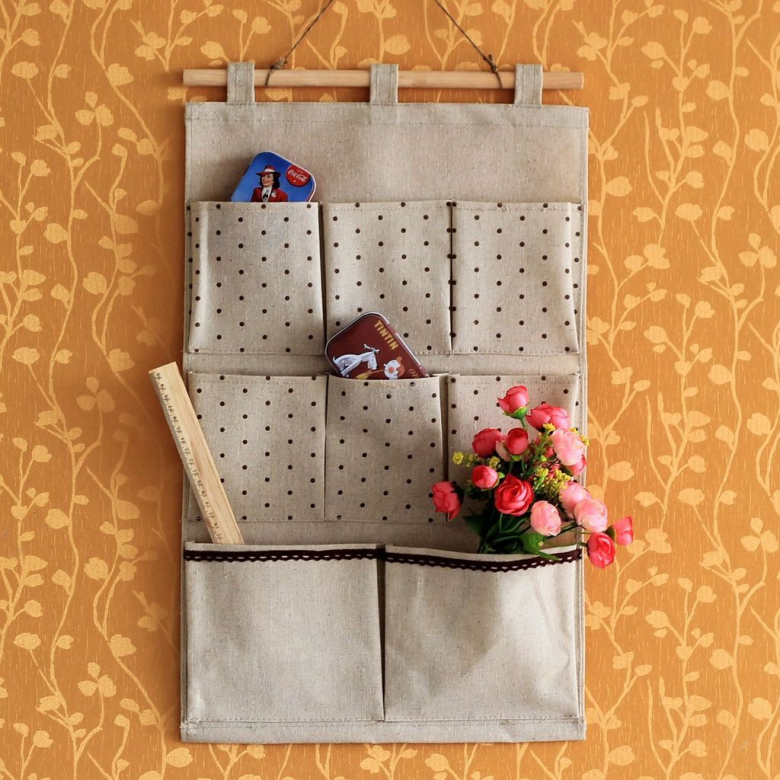
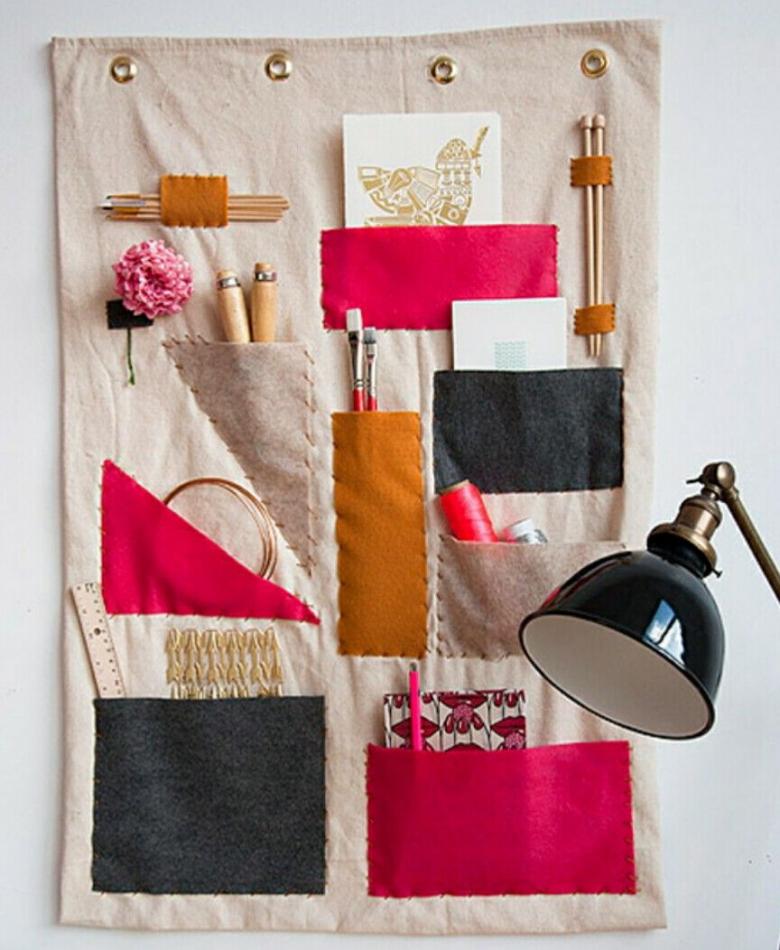
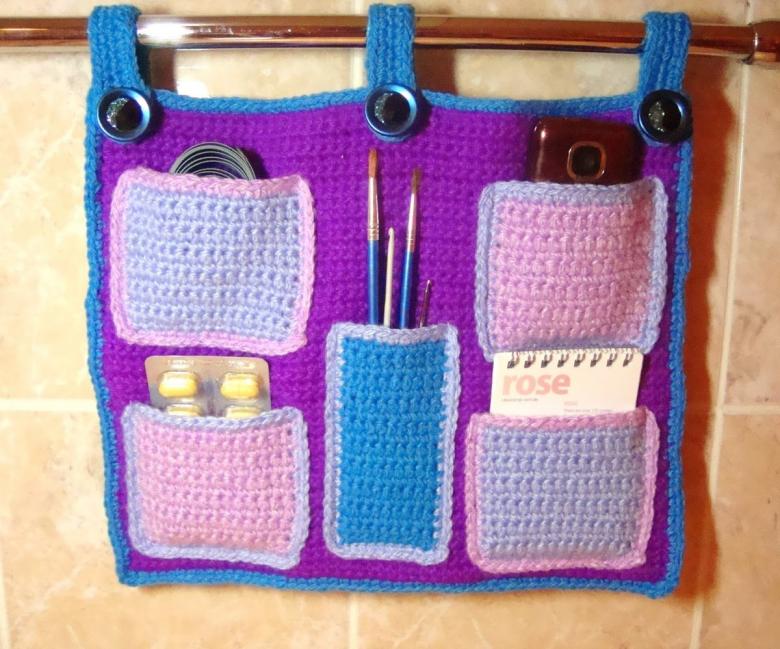
You can also make a child's organizer, which is easy to take with you on the road, usually for the manufacture use fabric. The niches of such an organizer are convenient for storing toys, feeding bottles and baby care items. You can sew such a product by hand or with the help of a sewing machine. To work you need to prepare:
- fabric under the base;
- Material with children's drawings;
- mesh fabric;
- rubber band for fastening.
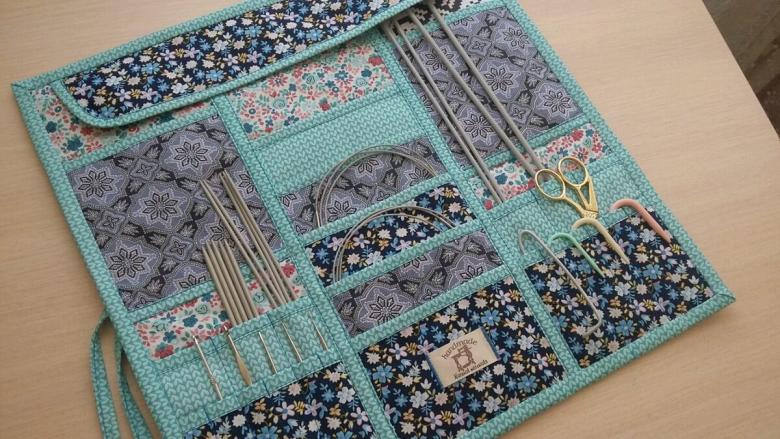
You can begin to make. First you need to cut a rectangle from the main fabric. Its size should be the same as the back of the front seat of the car. Then cut pockets from the fabric with a child's pattern and sew them to the base in any order.

To make the pockets close, you can sew on buttons. At the top make an insert of mesh fabric. You need to stitch it underneath and divide it into sections in which you can put toys. It remains only at the top and bottom to sew elastic bands. Loops of rubber bands are fixed organizer on the car seat. When sewing, you need to make sure that all the seams are strong and can withstand the weight of toys and other objects.
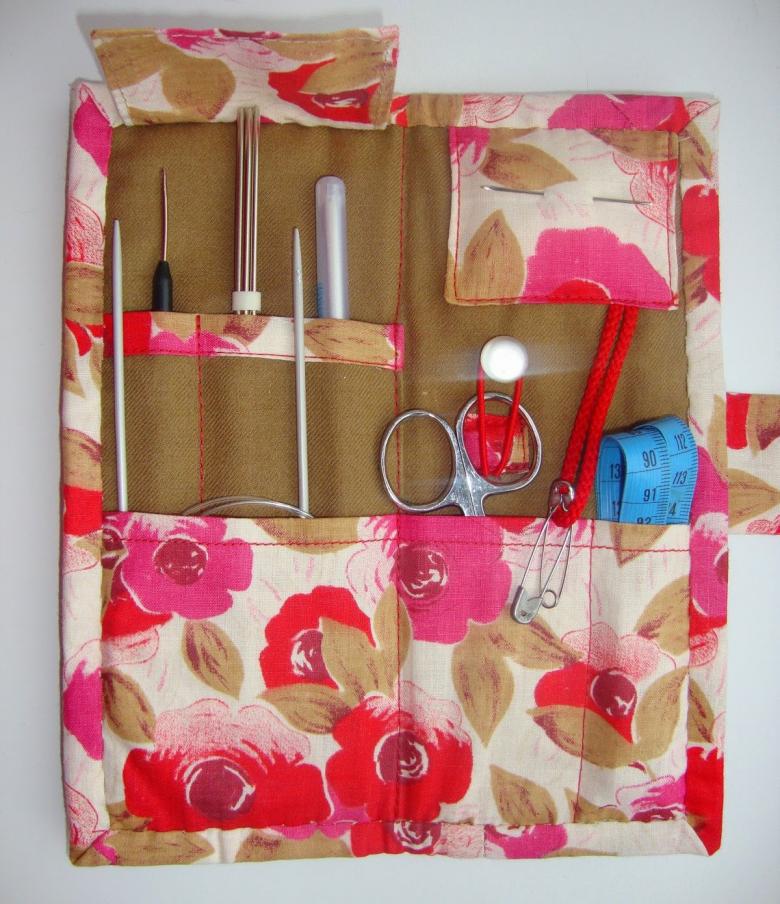
As you can see, the process of creating storage systems is not very complicated. All you need to do is to search among the unnecessary things for the right material, and you can get creative. Now it is very easy to buy any thing. But the value of the product increases when it is created with your own hands. Fill the space around you with original and useful things.

