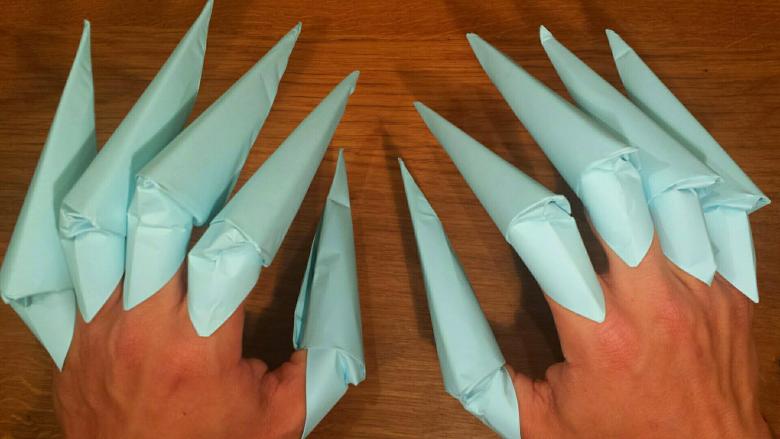
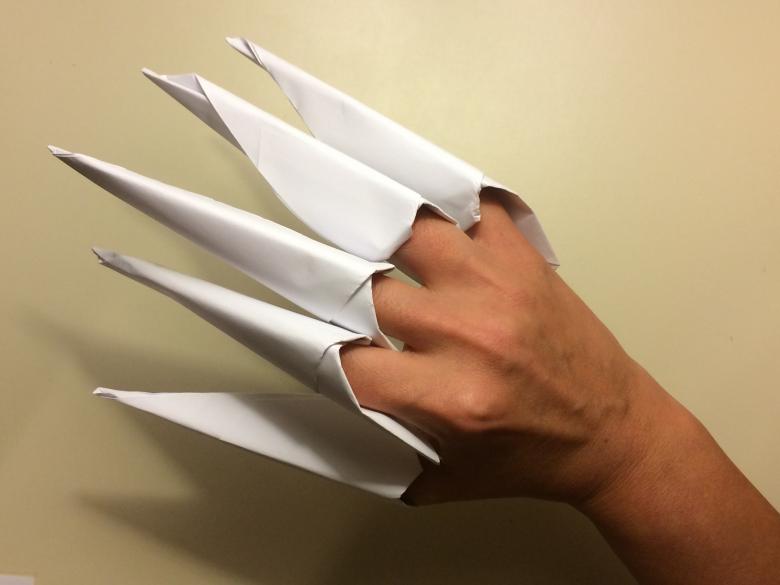
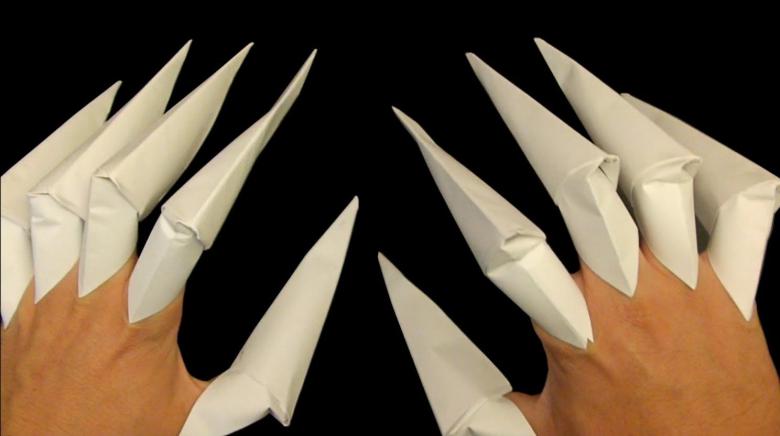
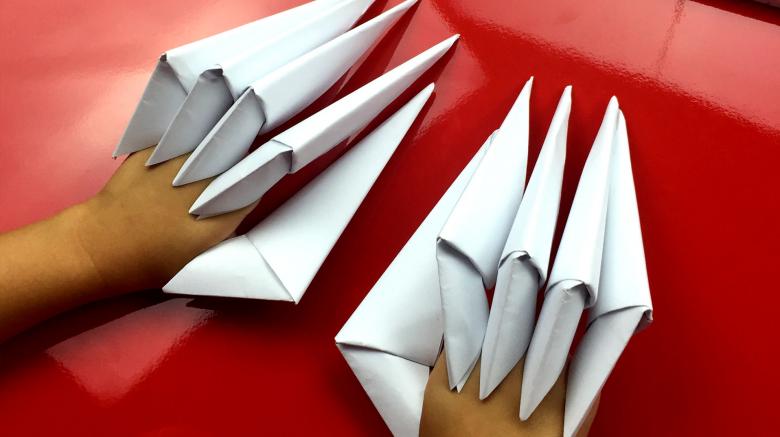
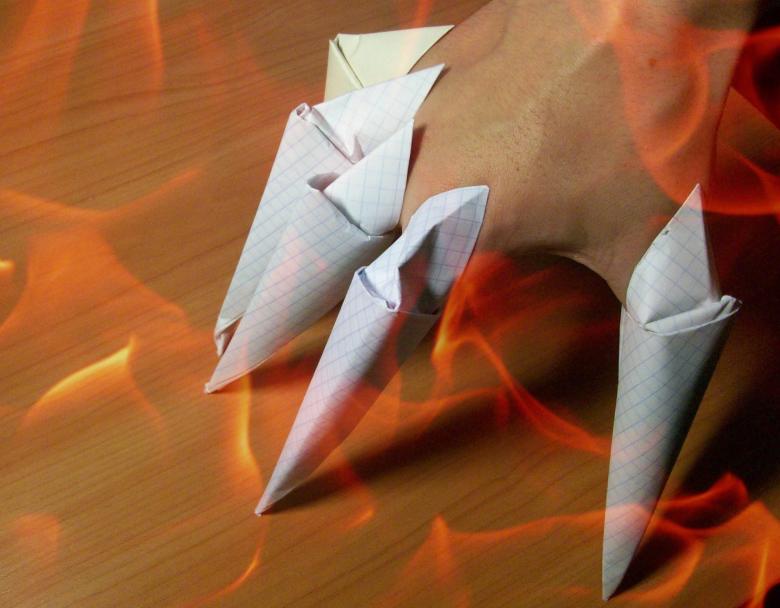
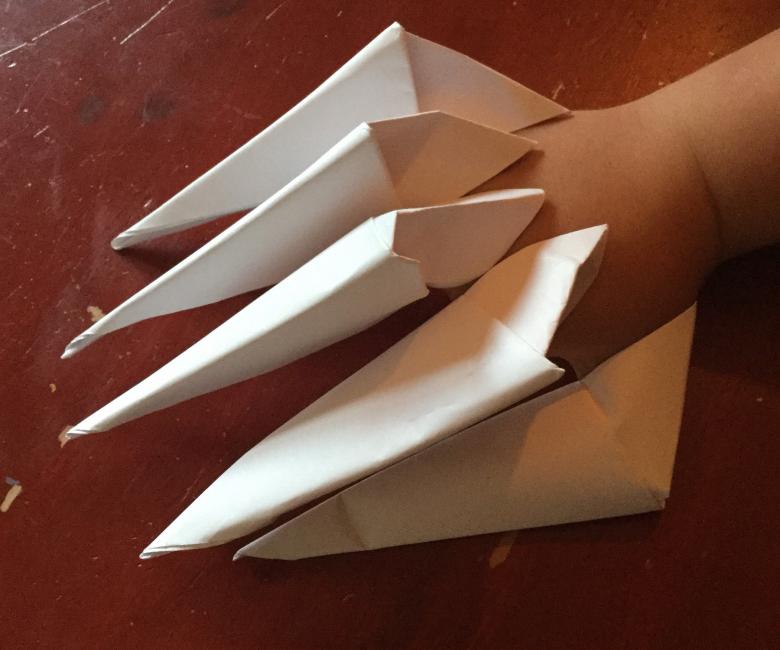
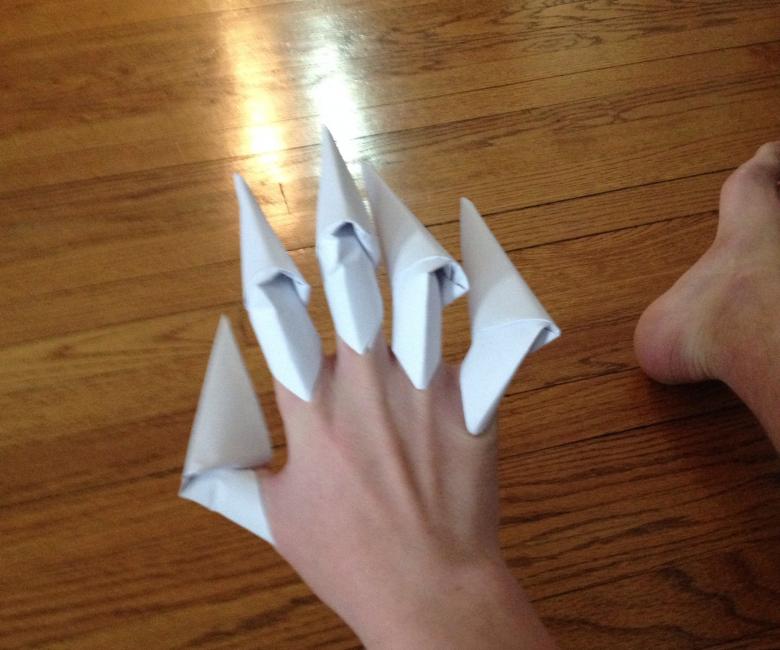
Origami claws - how to make original crafts from paper in the form of claws on the hands
If you are going to attend a masquerade party and have fun, then you need to pick the appropriate image. The perfect addition to the image will be paper nails, so today let's break down how to make them.
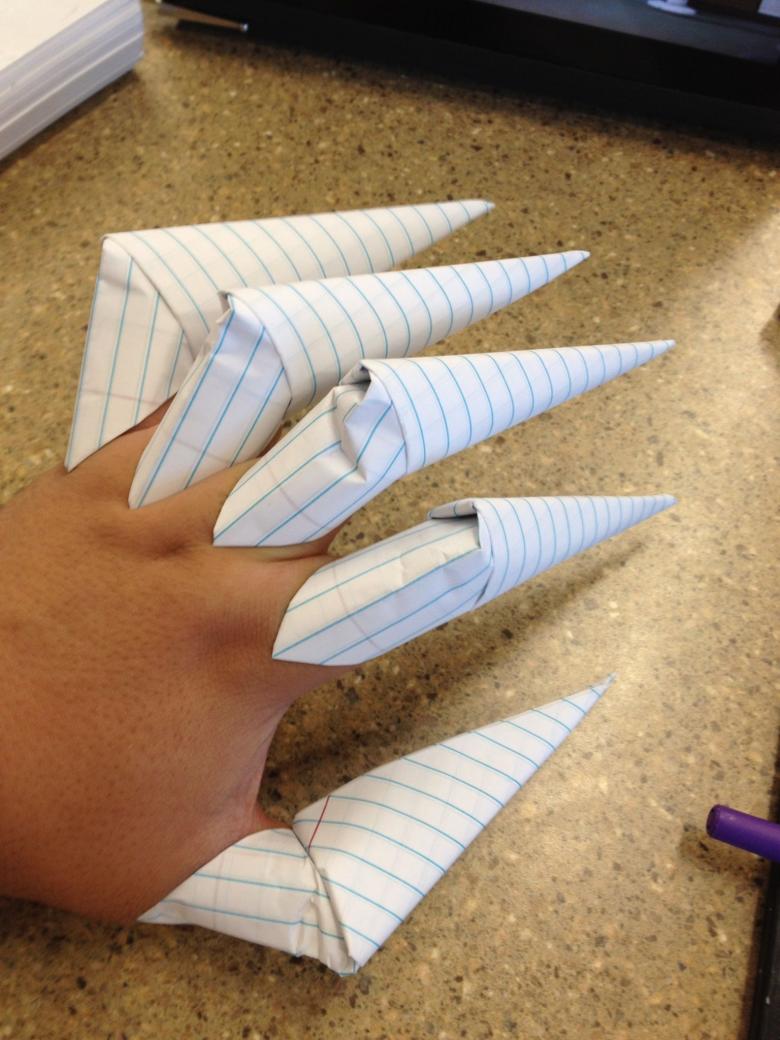
What is needed for the work:
- Paper. You can use plain paper or more solid paper. It is more difficult to work with heavy paper, but the resulting nails will hold better;
- A ruler, a pencil, and glue;
- Paints;
- Scissors.
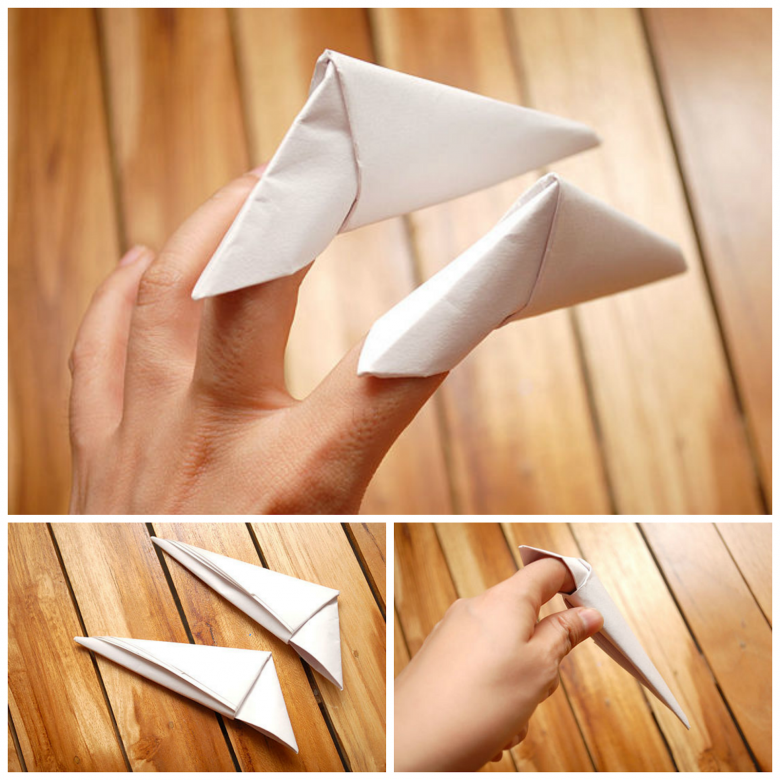
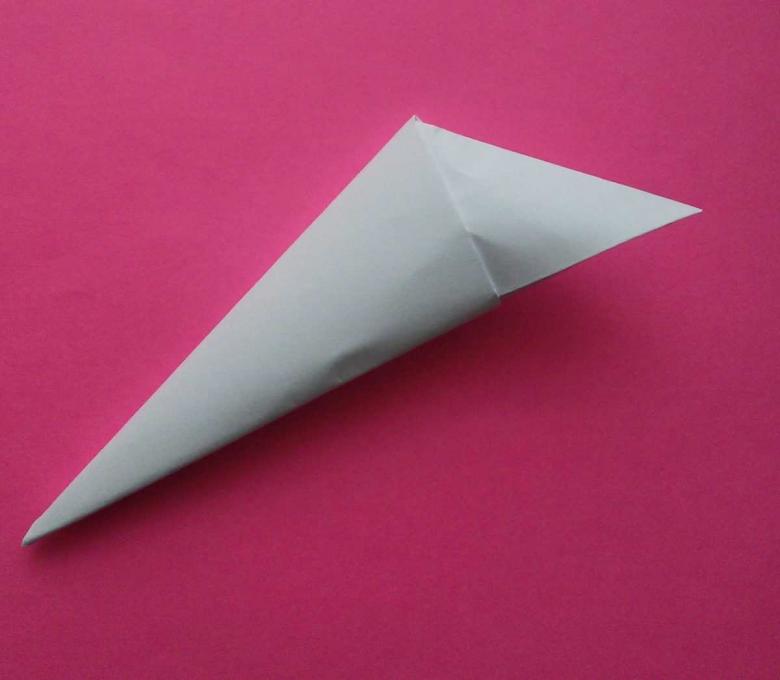
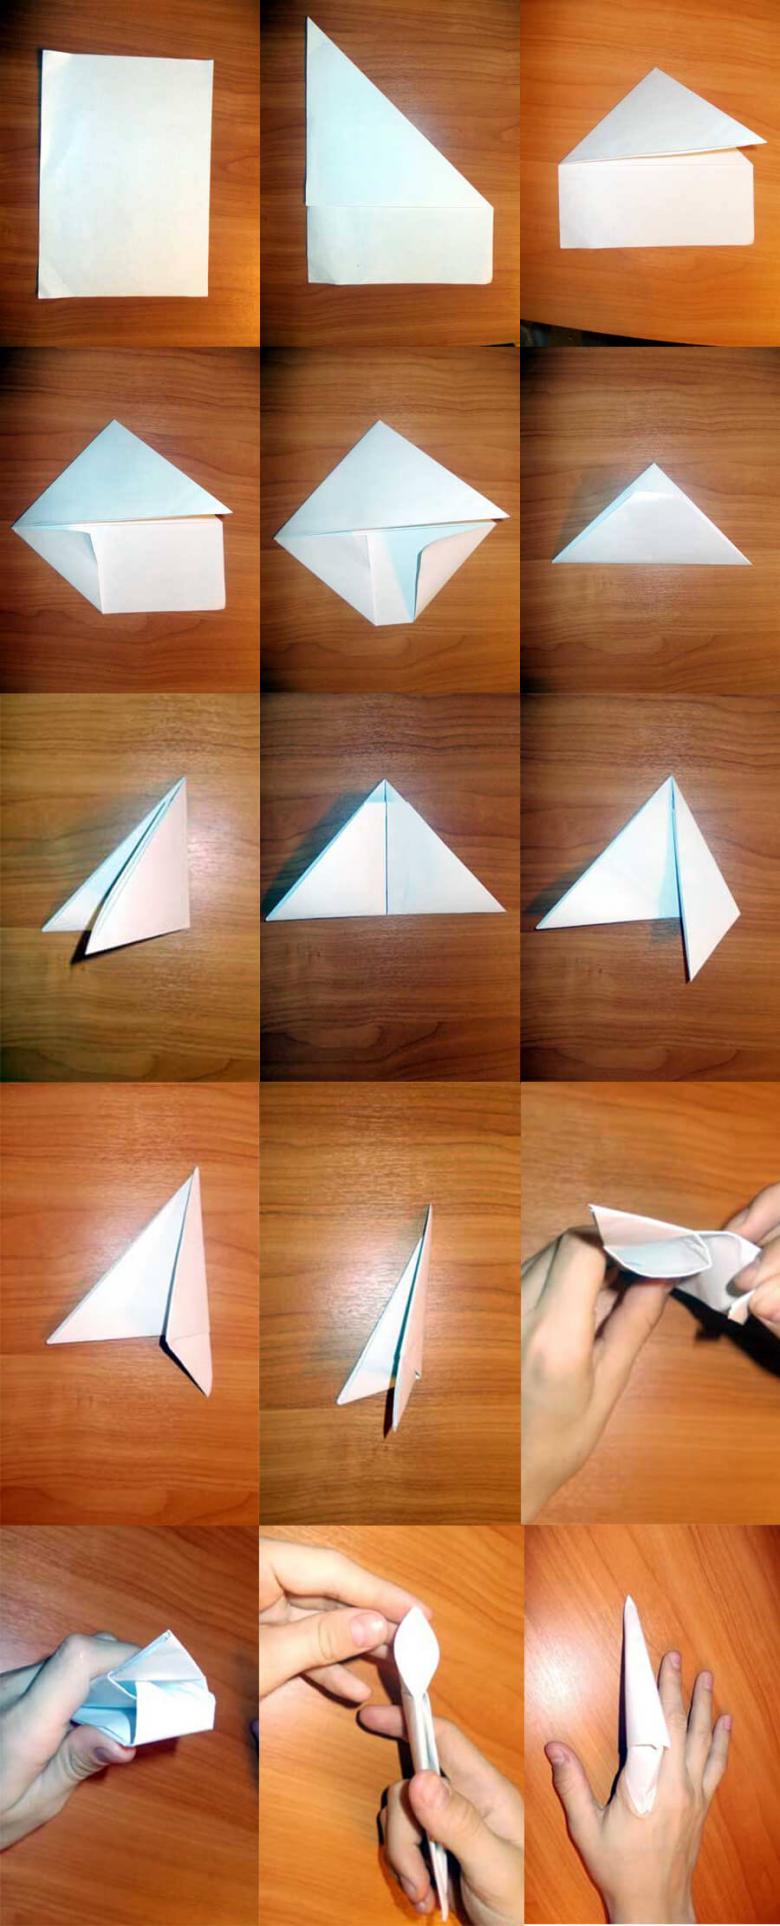
Simple claws
Japanese art will help to make origami claws of paper. You will need to prepare an ordinary paper square.
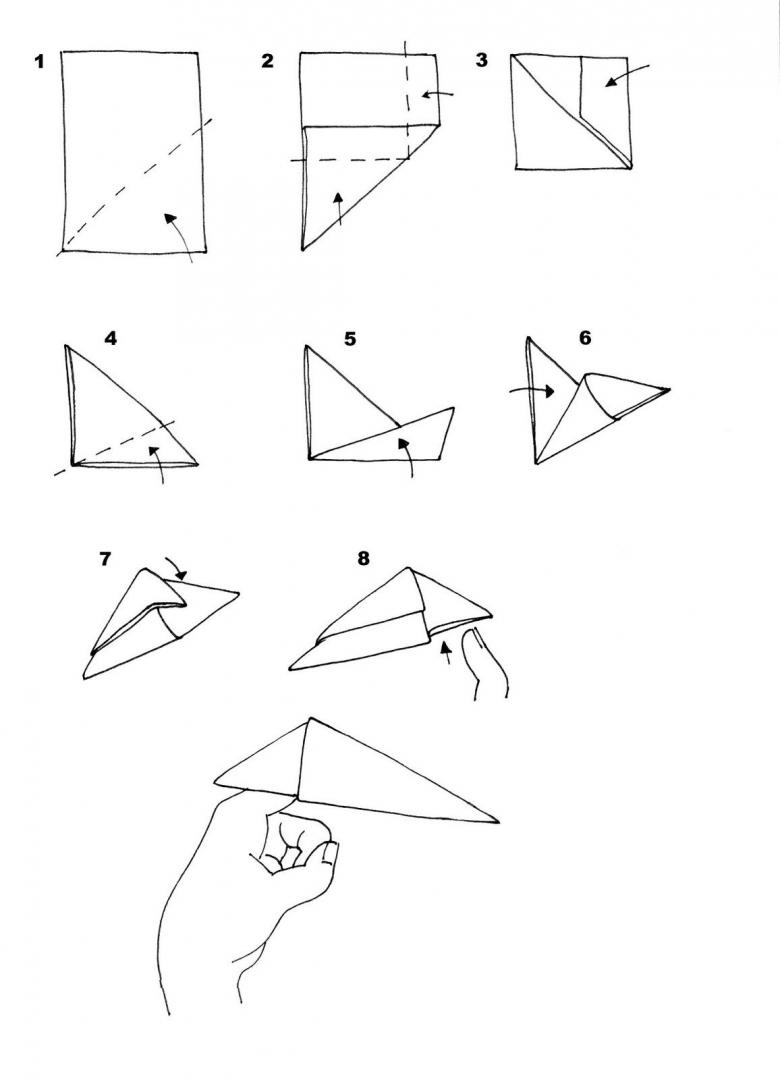
Steps to follow:
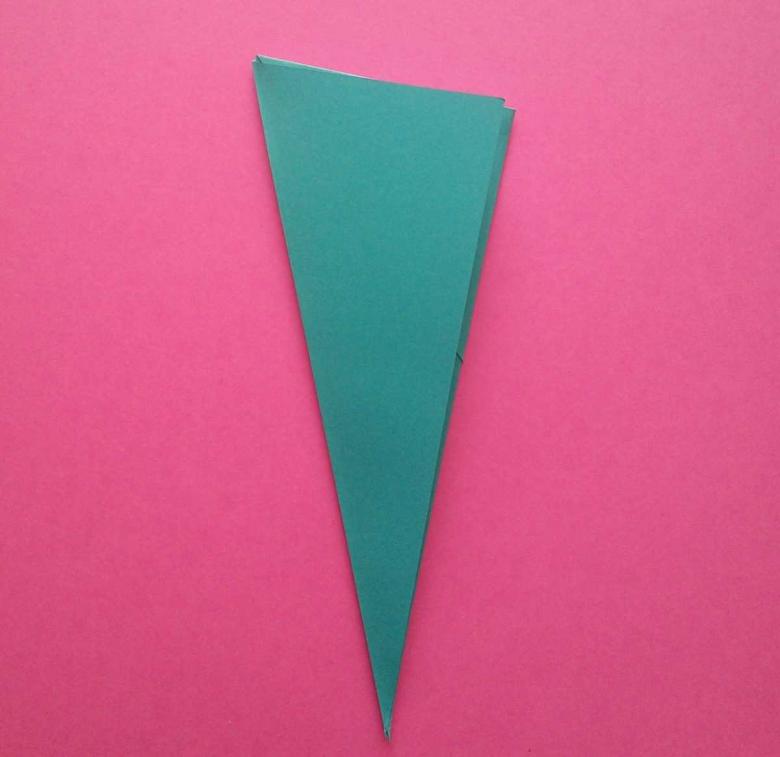
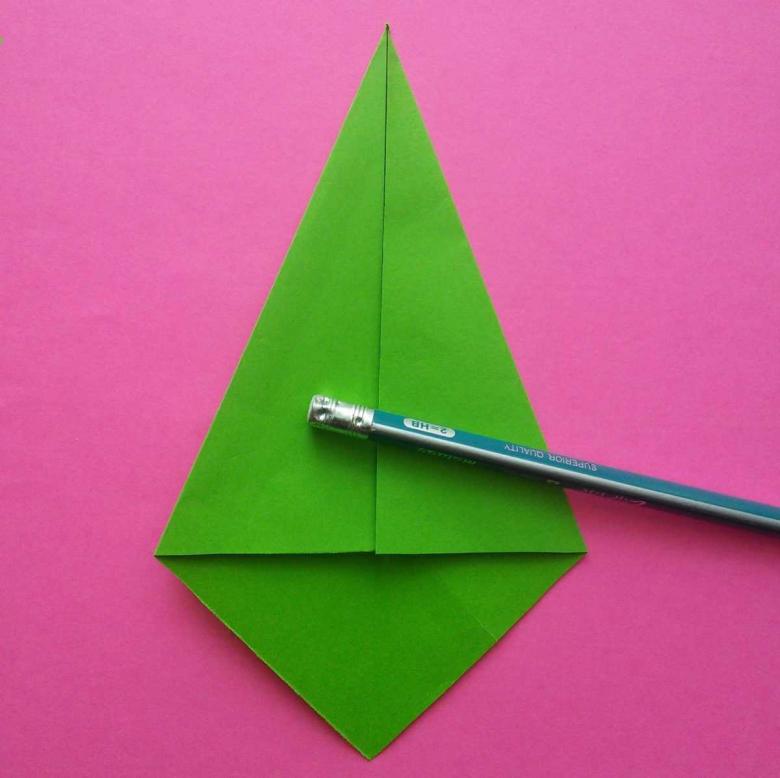
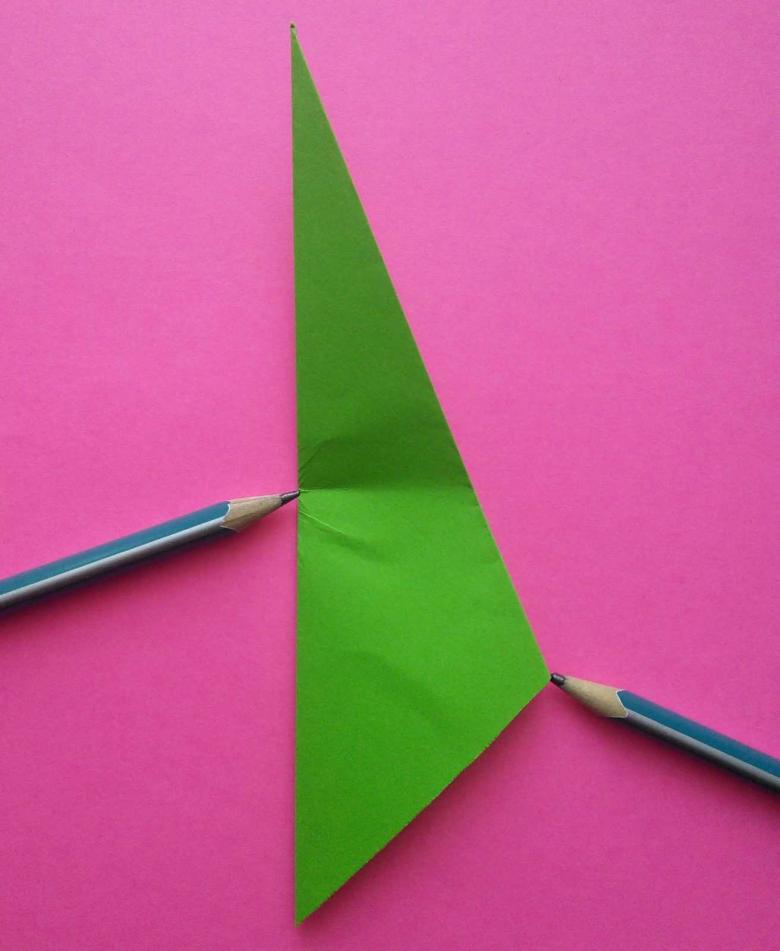
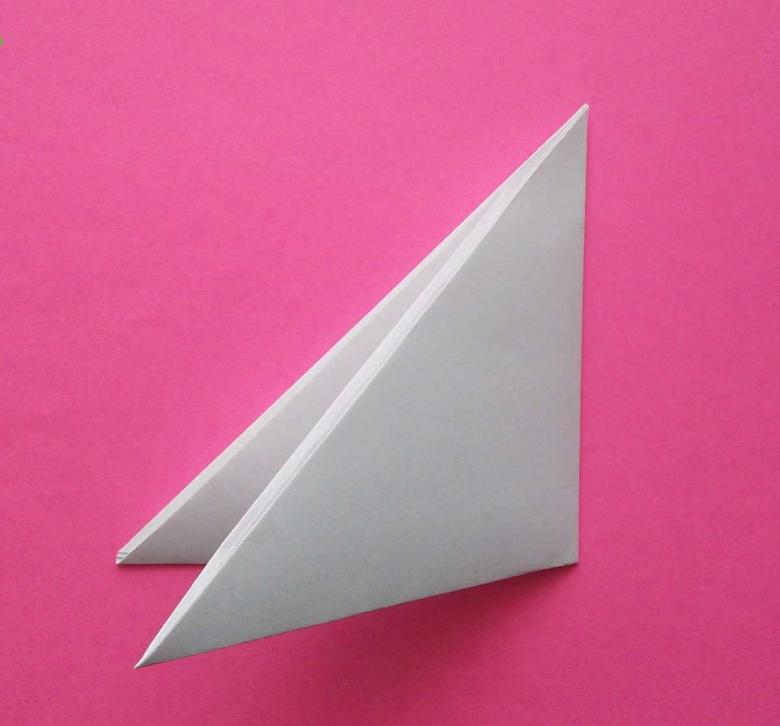
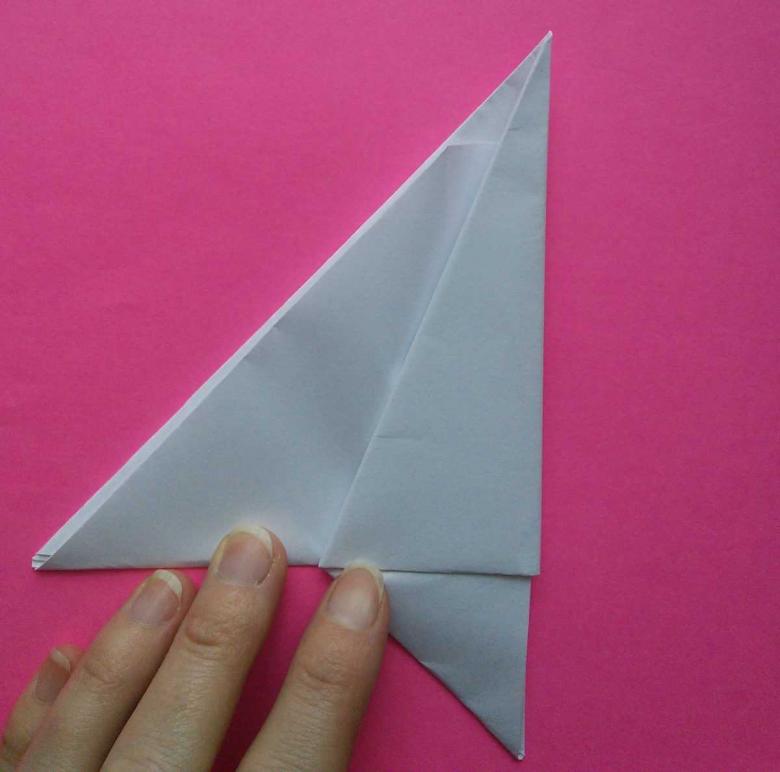
- Unfold the paper square and fold the sides along the line, which was ironed in advance. Should come out a triangular shape, which should also be folded in half. Lay the material on the middle folded line to get a triangular shape.
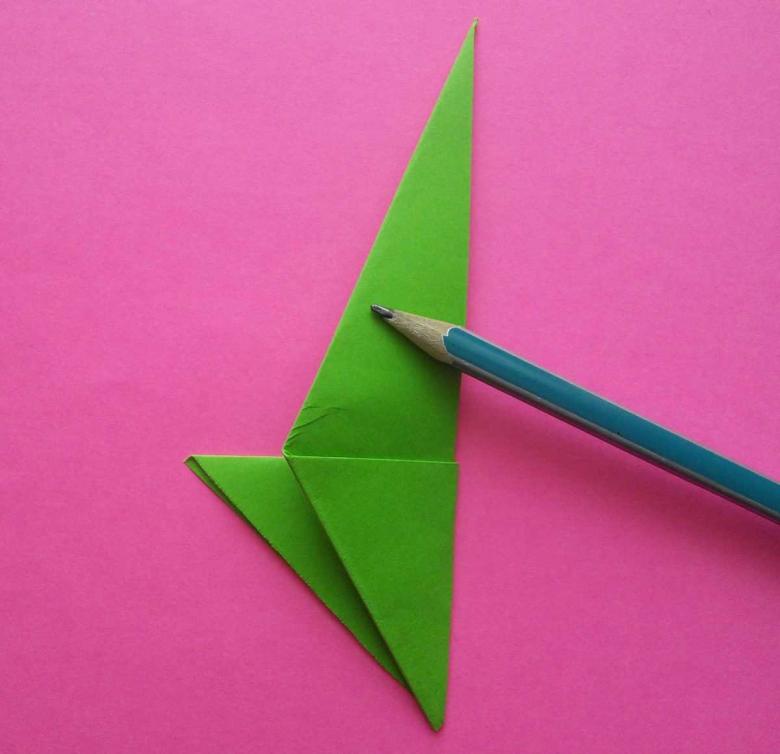
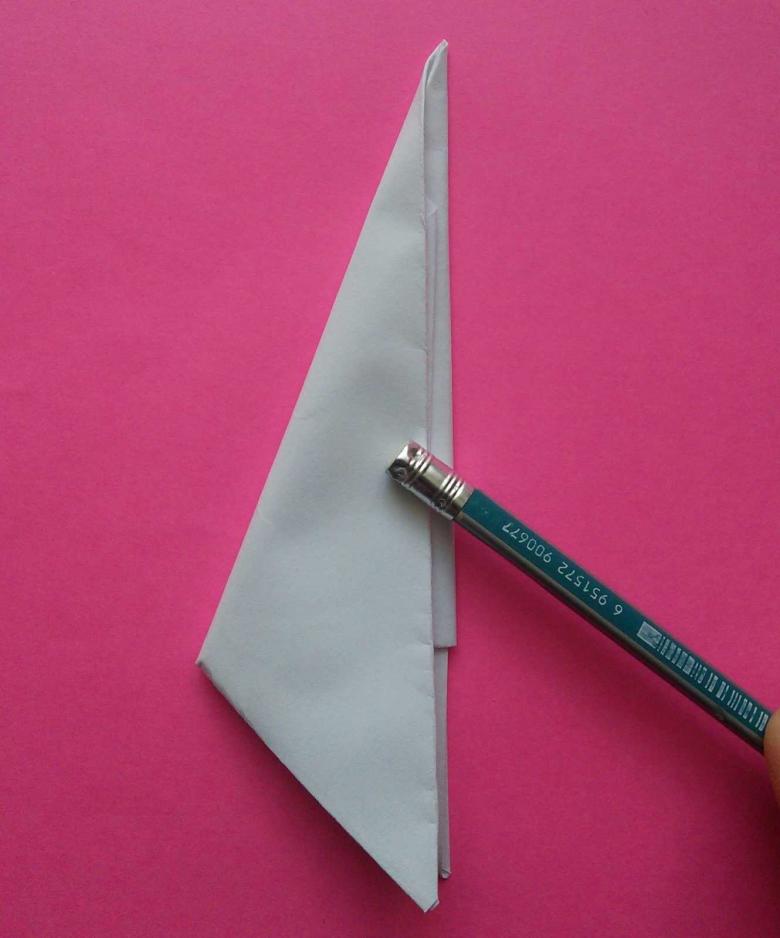
- Visually mark the center point or use a pencil. From this point, measure a segment to the side that is opposite to the top of the triangle. According to this segment to fold the bottom piece.
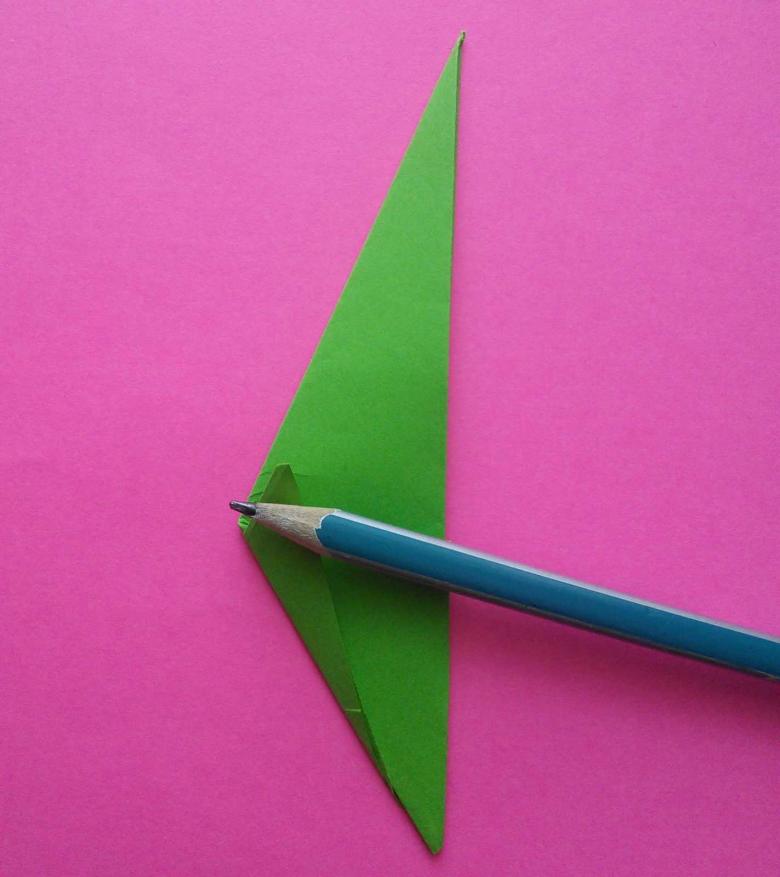
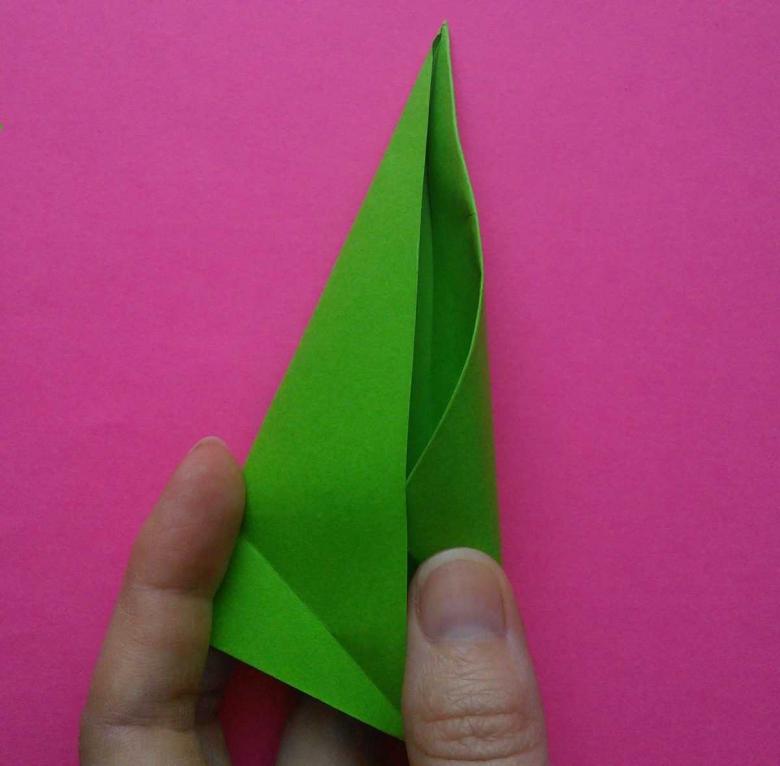
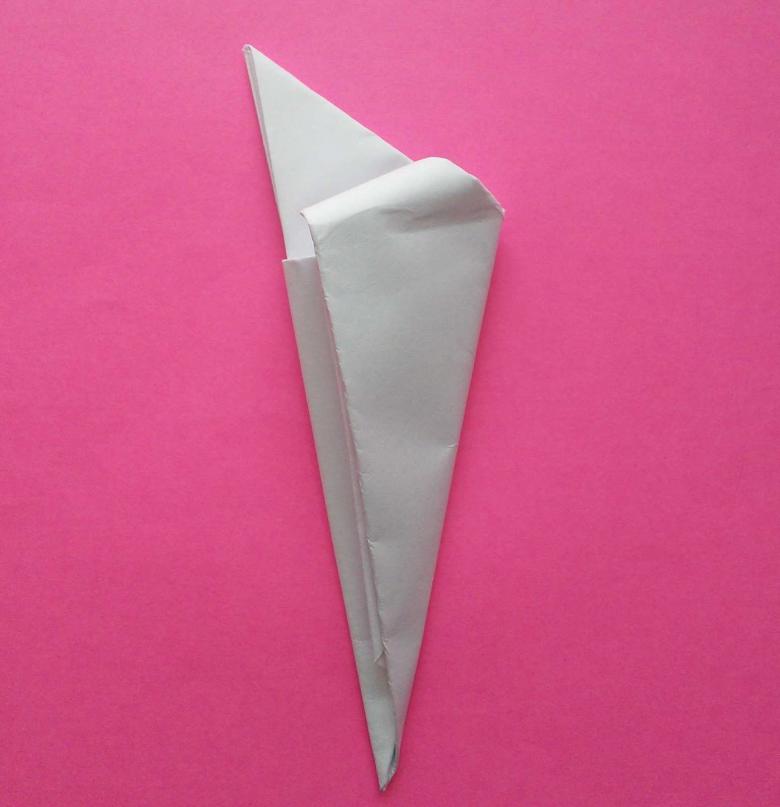
- The bottom of the triangle wrap the lower segment workpiece, and the tip that remains, tucked into the middle.
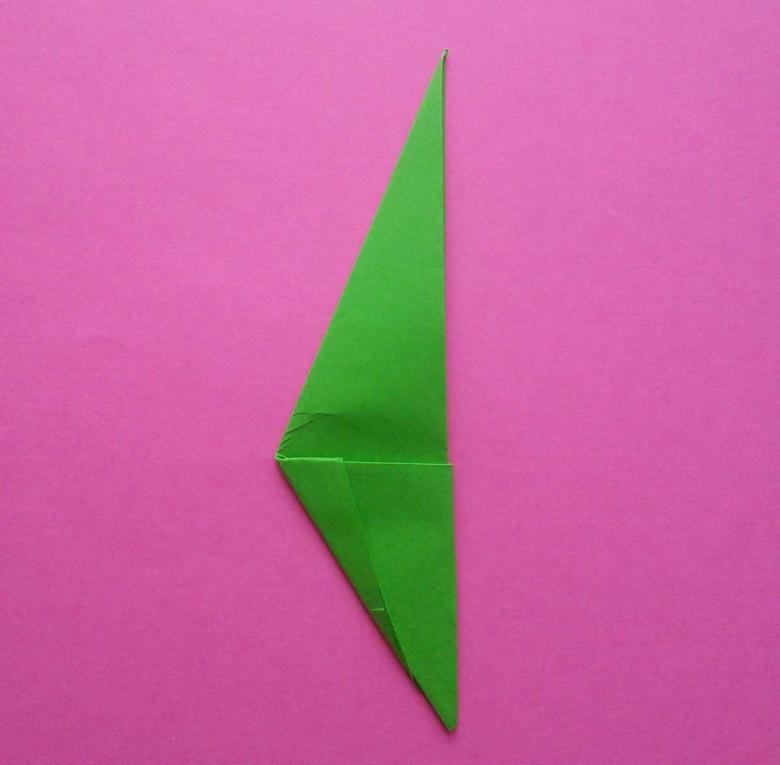
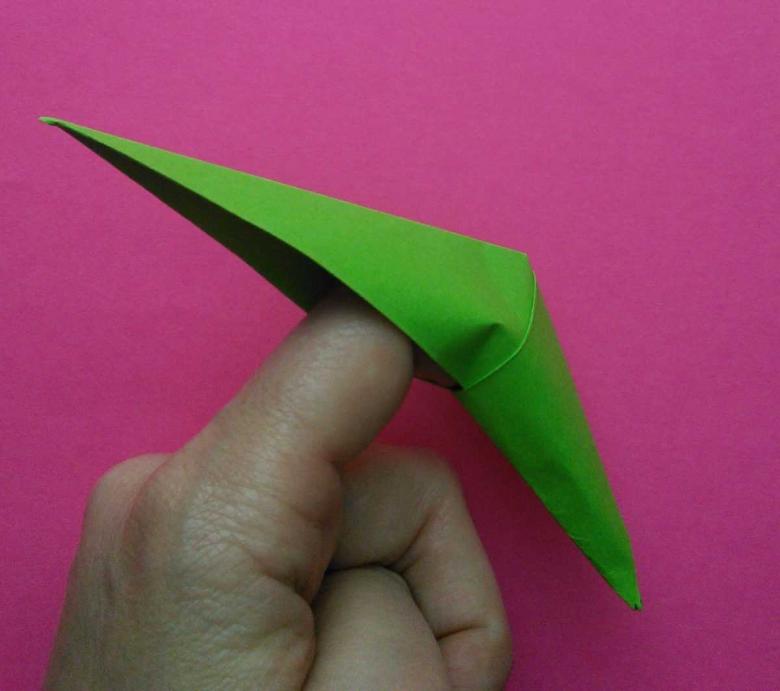
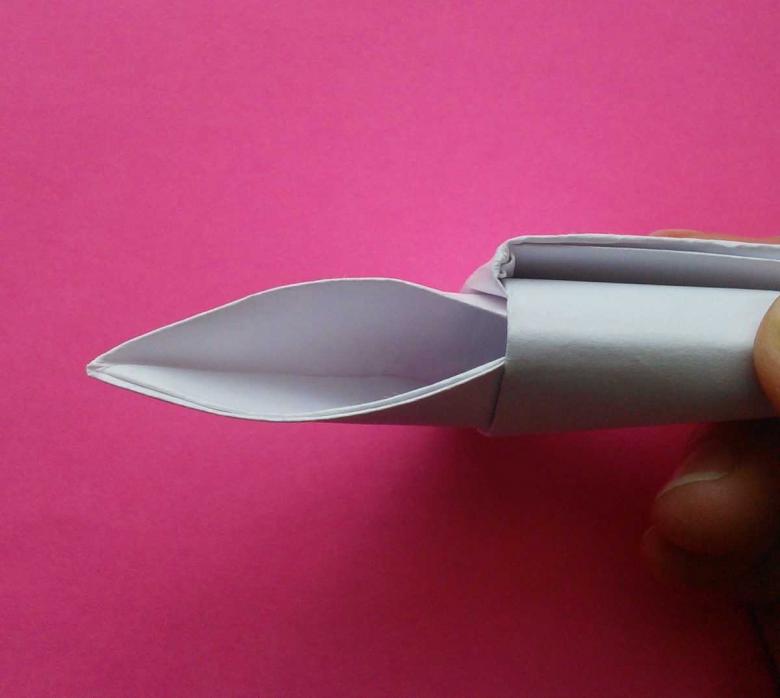
Now you can straighten the resulting claw.
You can paint the blank in any color you like.
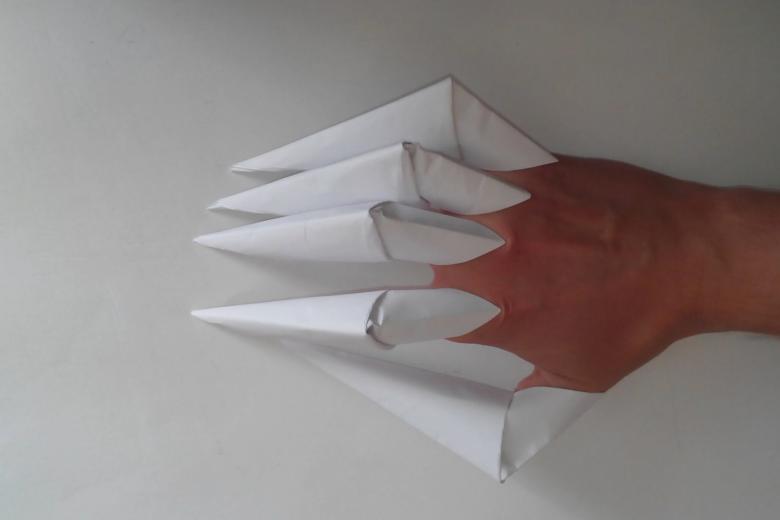
Cat Claws
If you are making nails for the first time, then it is better to choose thin paper, which is easier to work with.
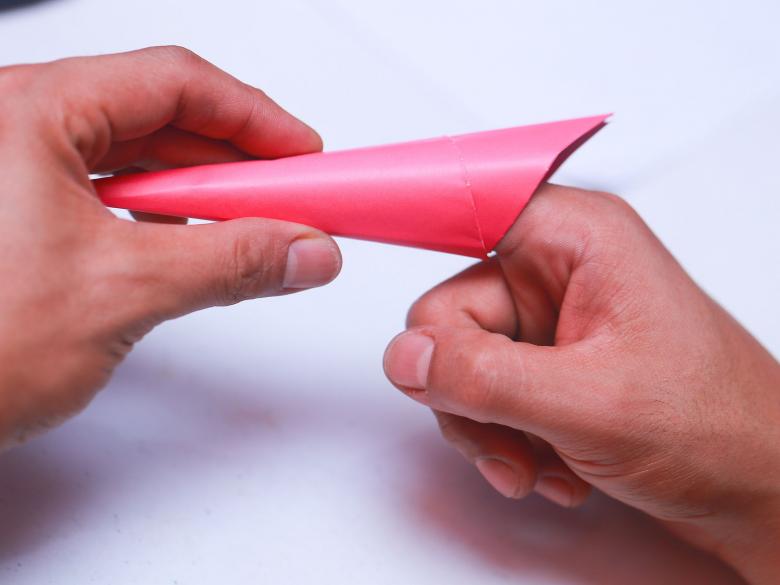
Let's get to work:
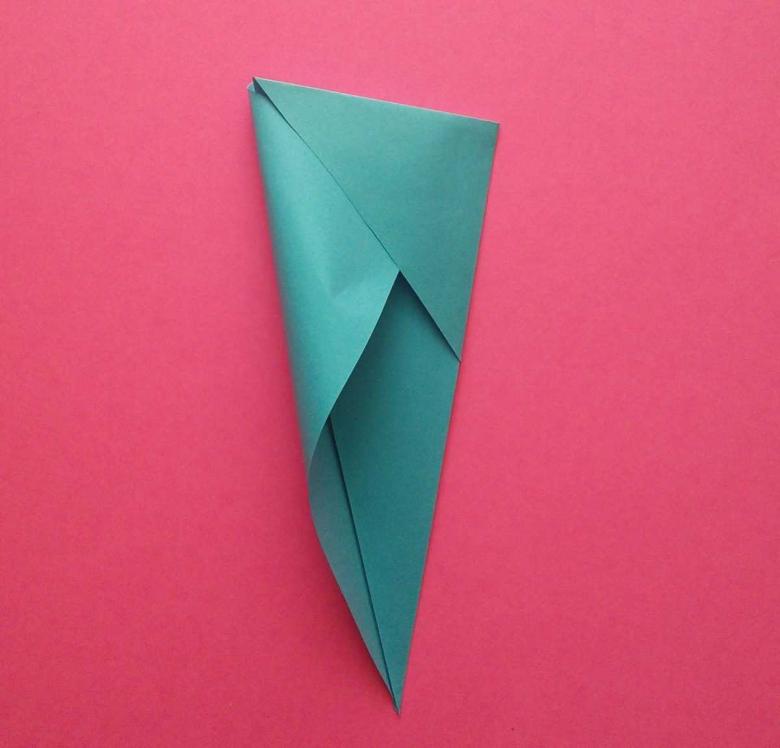
- The bottom right corner fold to the top to leave a triangle. Then angle gently press on top of the workpiece.
- Right side roll inward. Should get a square, which must be folded in the middle. Thus goes blank in the form of a triangle.
- Fold the shape in half, so that the line is formed, separating the fake into two parts.
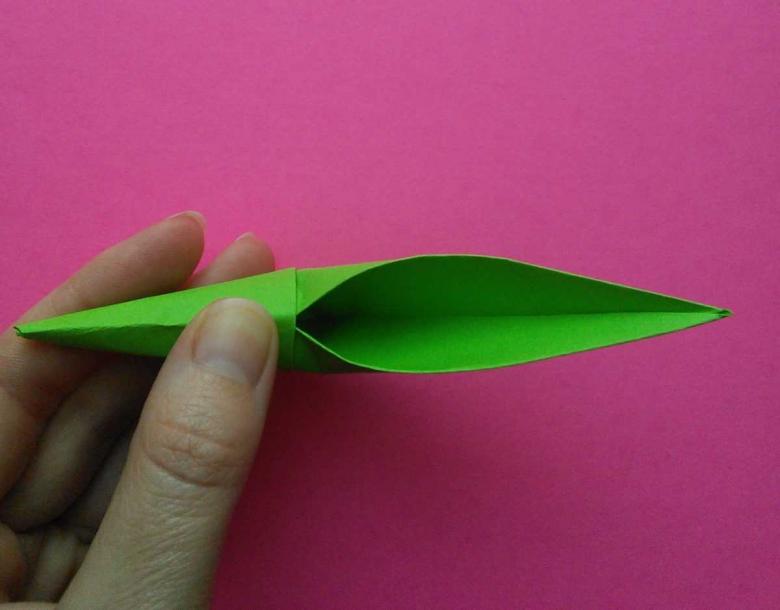
- Wrap the right side to the bottom, but make sure that this part lies exactly diagonally. After that, wrap the fake around its axis. Should get one free side, which should wrap to the right.
- Above there should be formed a pocket, which is inserted into the free angle. Triangle of small size should be opened to get a hole under the fingers.
To put such claws directly on the fingers is not necessary. They can, for example, be glued to ordinary rubber gloves.
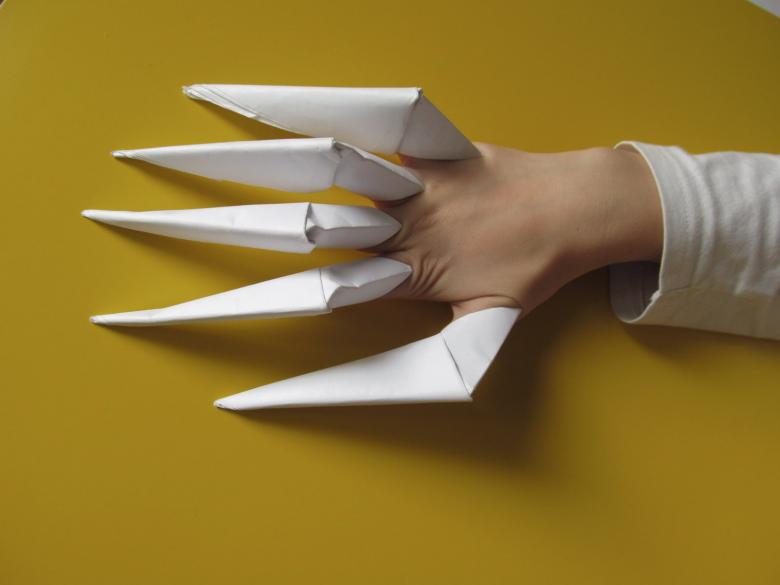
Long Claws
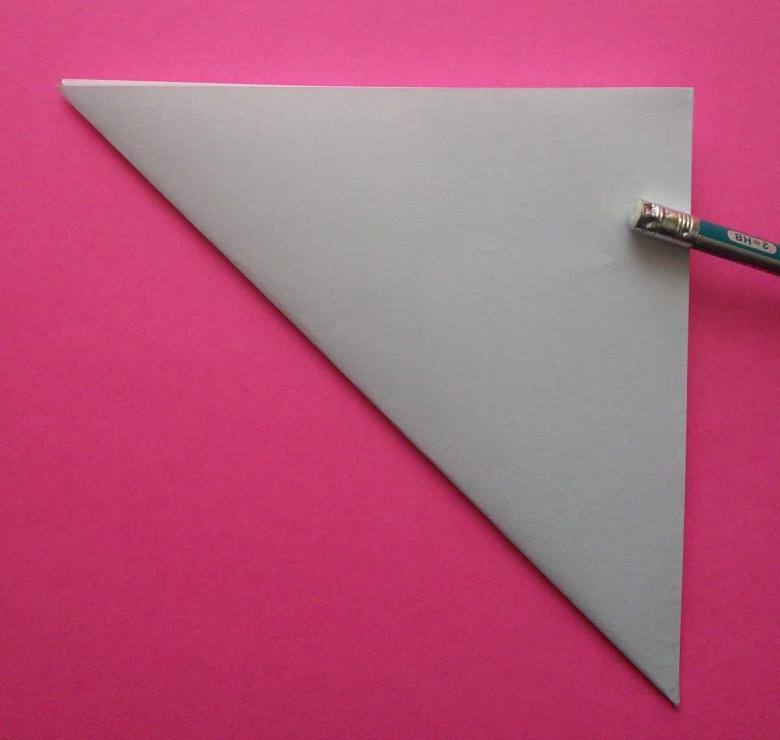
If you've watched X-Men, then you probably know such a character as Lady Deathstroke. Would you like to have the same claws? You can make them very easily.
We present a guide on how to make origami claws from paper:
- Draw a triangular shape the same length as the claws you want. Select the width of the base so that it meets your fingers or glove. Before the crime of making, measure the circumference of all the fingers and then add + 5mm;
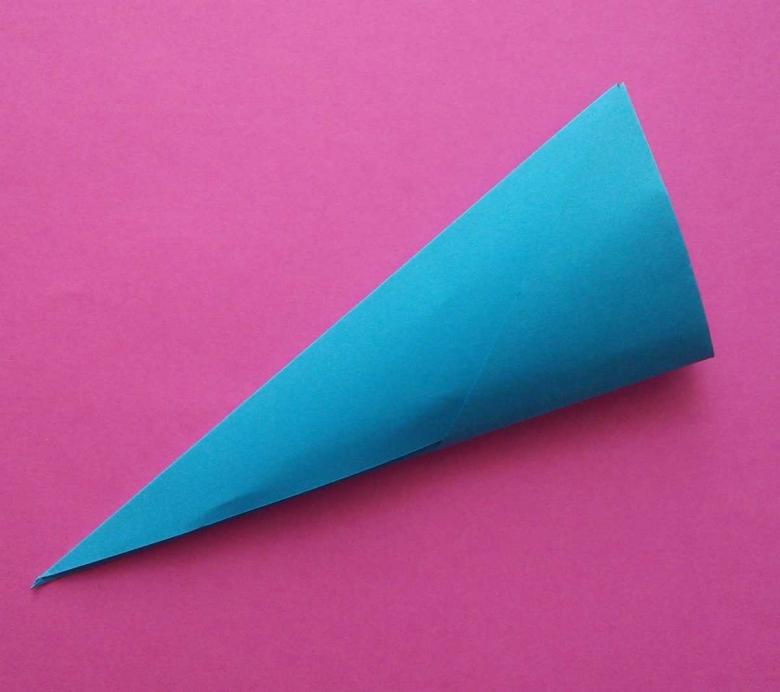
- Cut out a template and transfer all the outlines to solid paper. Next, cut out the workpiece, roll up into a cone shape. The design must be quality glue and wait until the glue dries;
- Make a couple of marks on the workpiece on the diagonal, and then make incisions;
- Cut the workpiece into several parts along the previously made marks, and then insert at a slight angle one into another. Without this, you can not achieve the desired result. Glue all the parts together.
Cut the end of the workpiece to the length you want. To make it more secure, it is advisable to glue them to the glove.
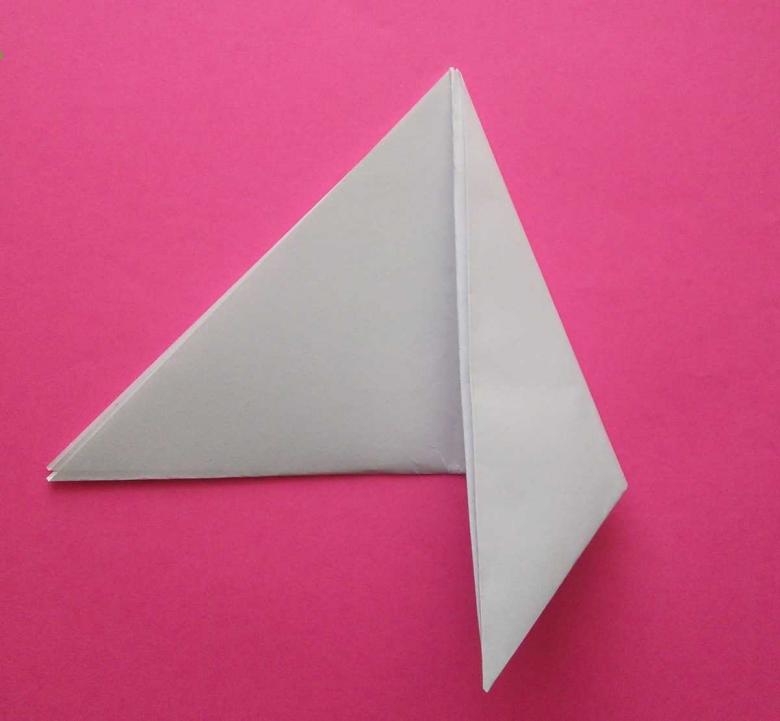
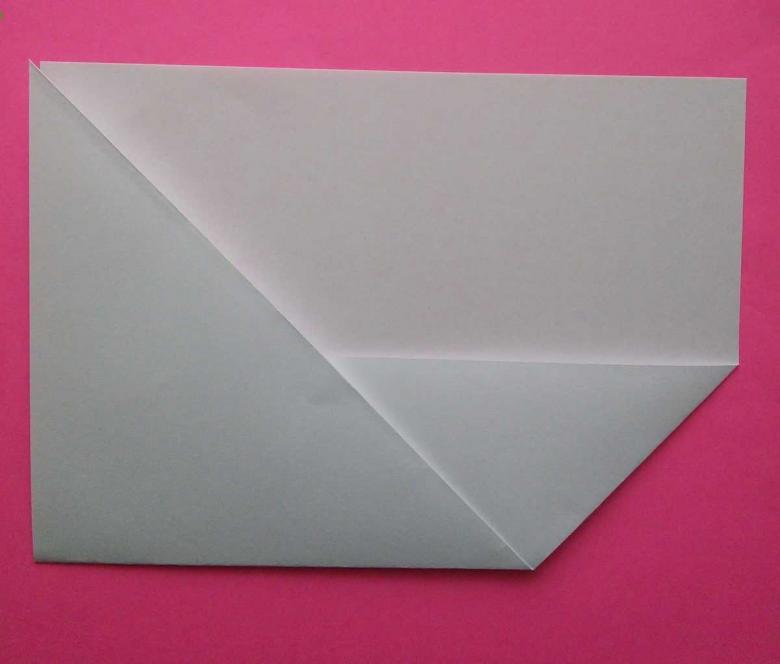
Complicated claws.
This type of false nails requires more effort, time and material. It takes one sheet per piece, but in the end the claws look incredibly realistic.
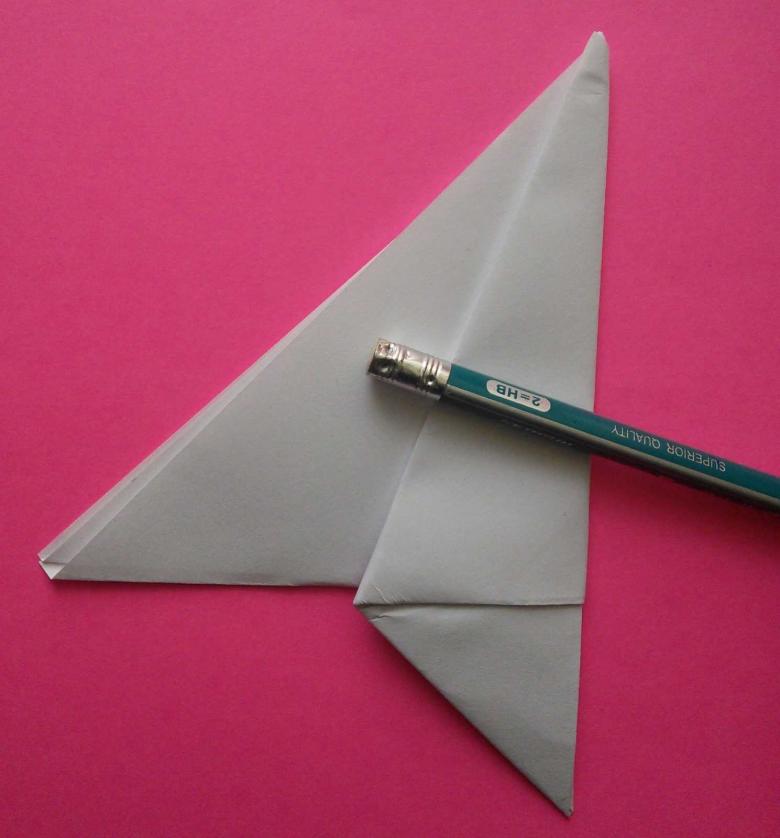
Making:
- Lay the sheet horizontally on its side. Bottom right corner of the sheet bend so that its lower part is in contact with the side. We get a corner, which should bend so that it is in contact with the upper corner.
- Should go square with a rough side. It should be folded so that the workpiece was flat. Both upper corners fold diagonally to the center to go triangle.
- The workpiece should turn and determine the center line. The right side should be folded in half, so that its edge was on the fold, and then wrap it to the left.
- The side that is on the left side also add up, but its corner should be hidden in the pocket, which was formed. Now you can straighten a fake, and it is ready.
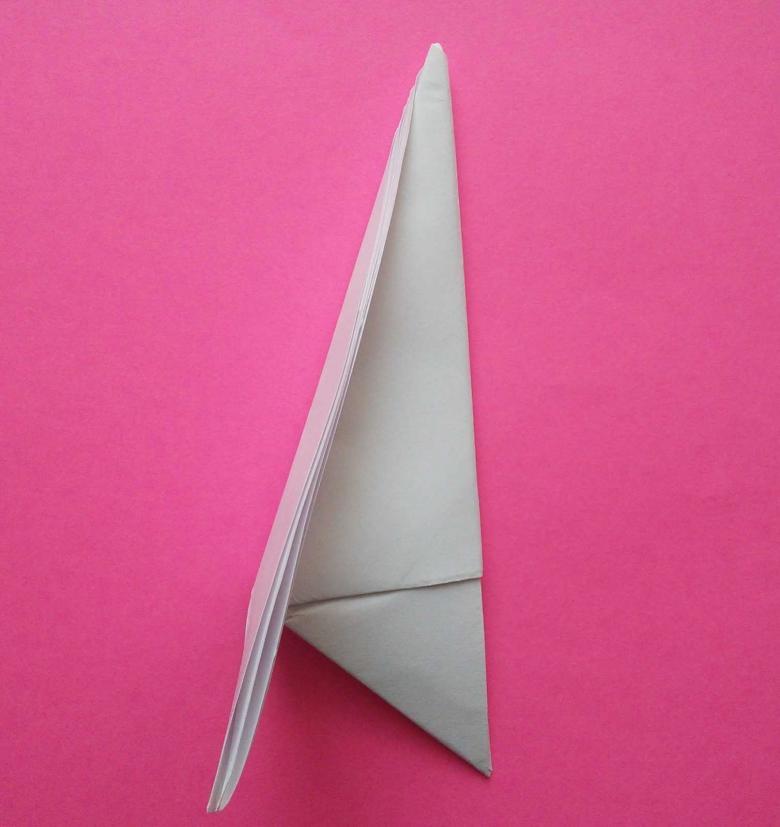
Composite claws
This work is done differently. A special template should be used to make the design correctly. It is necessary to twist and glue the elements together to make it. Such a fake turns out more intimidating.
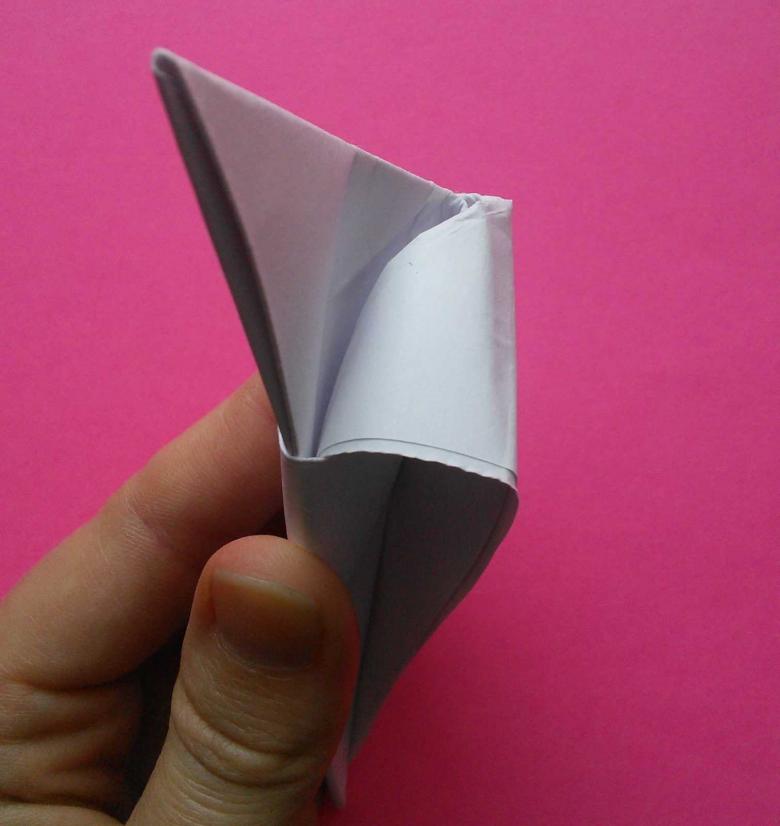
For the work you will need:
- Any thick paper;
- Hot glue;
- Scissors.
Now you can begin:
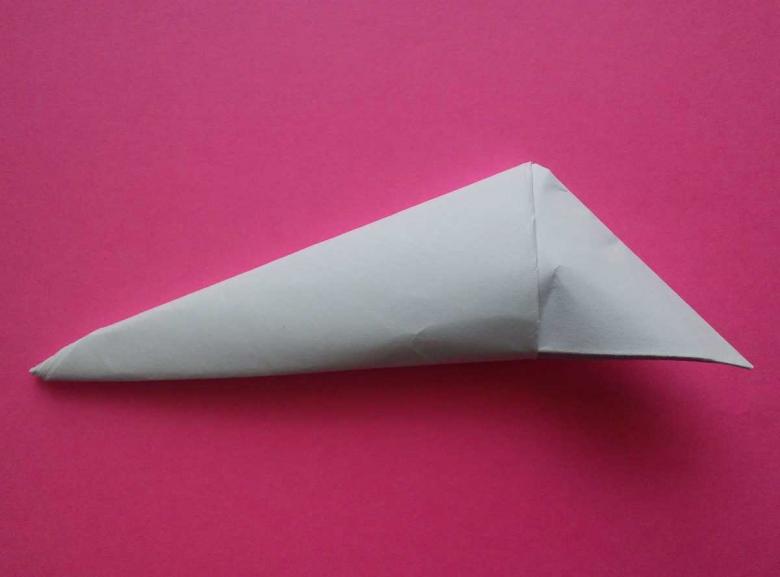
- Create a template depicting a long narrow triangle, then cut it out.
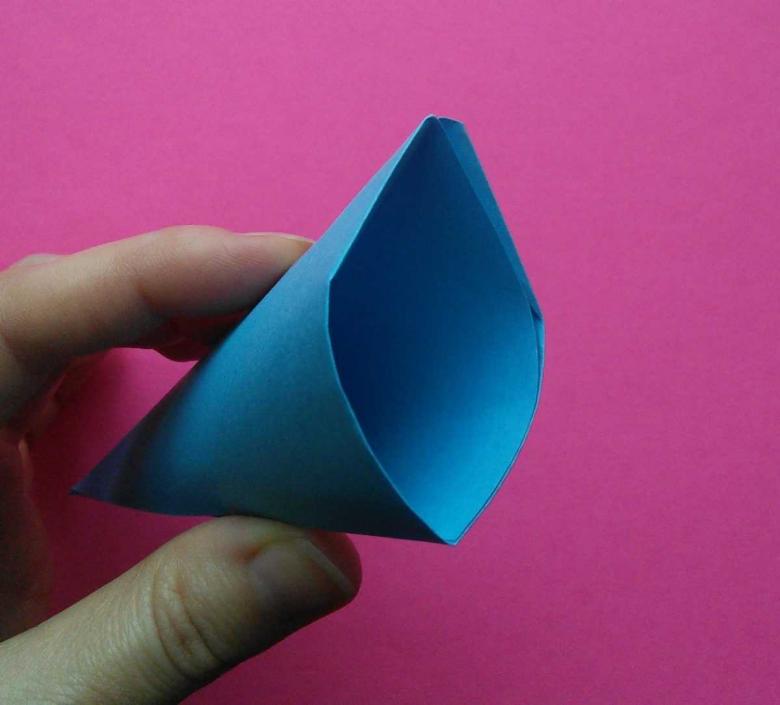
- Roll the blank in the form of a cone, making sure that in the resulting hole freely accommodate a finger. Glue the form.
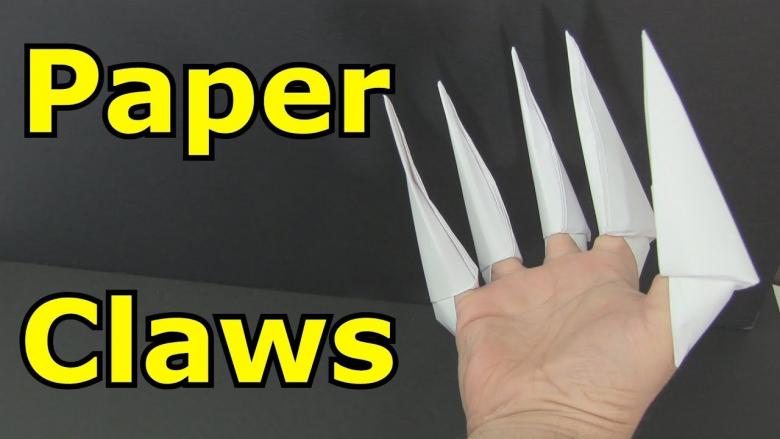
- When the glue dries, cut the workpiece into three equal pieces.
- Parts need to separate at an angle, to go out of the fold.
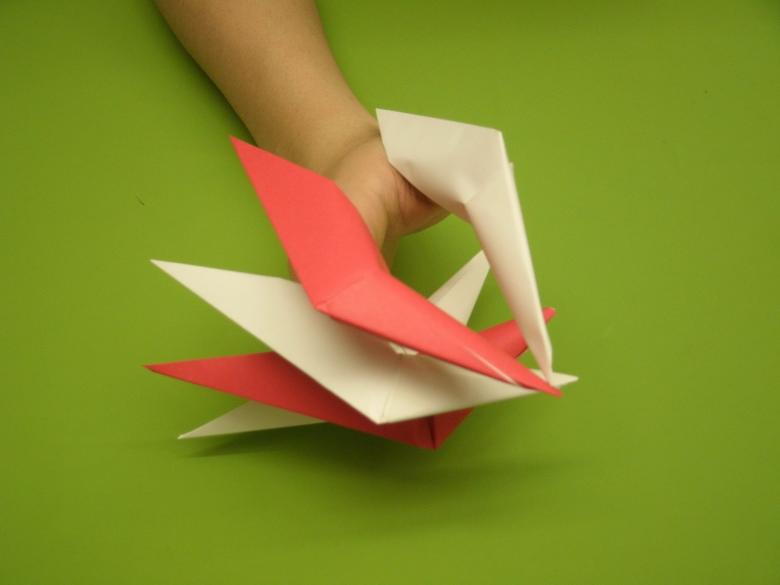
Wolverine nails.
This option is the longest.
It will require:
- Scissors;
- 6 sheets;
- Tape (glue).
Construction:
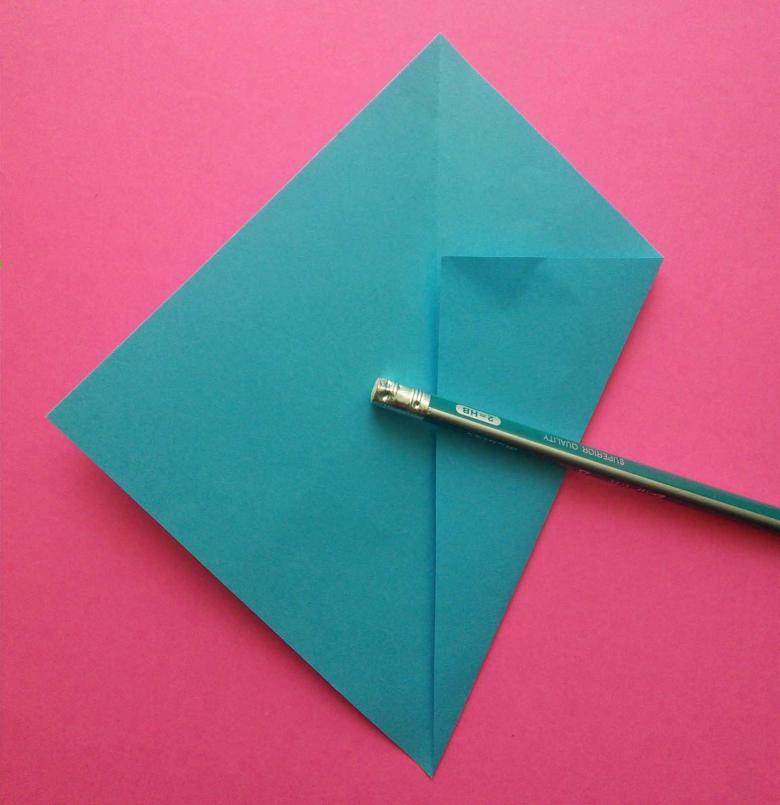
- Lay out all the materials on the table. Place one sheet with its oblong side facing you, then fold it in half, press the fold line and unfold it again.
- Fold the bottom edge so that there is 5 cm to the center. The center line of the fold and the edge of the paper should be perfectly visible.
- Now you should fold the bottom part to make a kind of bookmark. Then it should be folded in half twice. Also do the same with the upper part. The result should be a narrow rectangle.
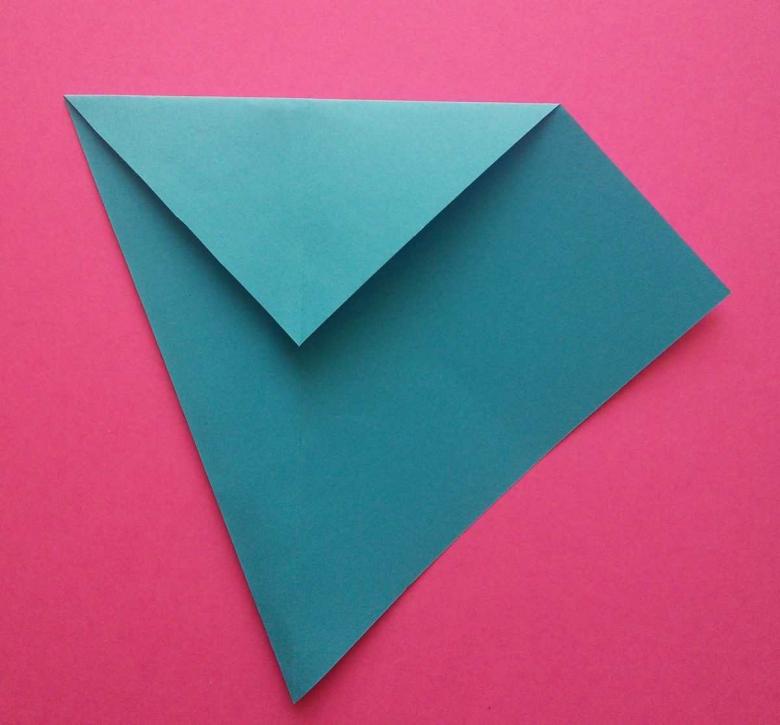
- Take the resulting rectangle and roll its top edge to the center to obtain a triangular shape. Next, its corners should also roll one time to get a narrower billet, and then carefully smooth out.
- After this, the workpiece to unroll and cut off the extra paper to the folds. Roll back and wrap duct tape.
For each hand we need three claws.
Now for the nails need to make a quality base:
- The paper should be twisted into a tube. Use several sheets so that the base is secure
- One edge should be twisted several times to get a snail, where the fingers will be inserted and secure with adhesive tape
- The blade is put on the tubes, then securely fastened.
- Also create two more of these tubes and put the previously made blades, and then fix both parts.
Now all that is left is to paint the claws. To do this, use a spray can with silver paint.
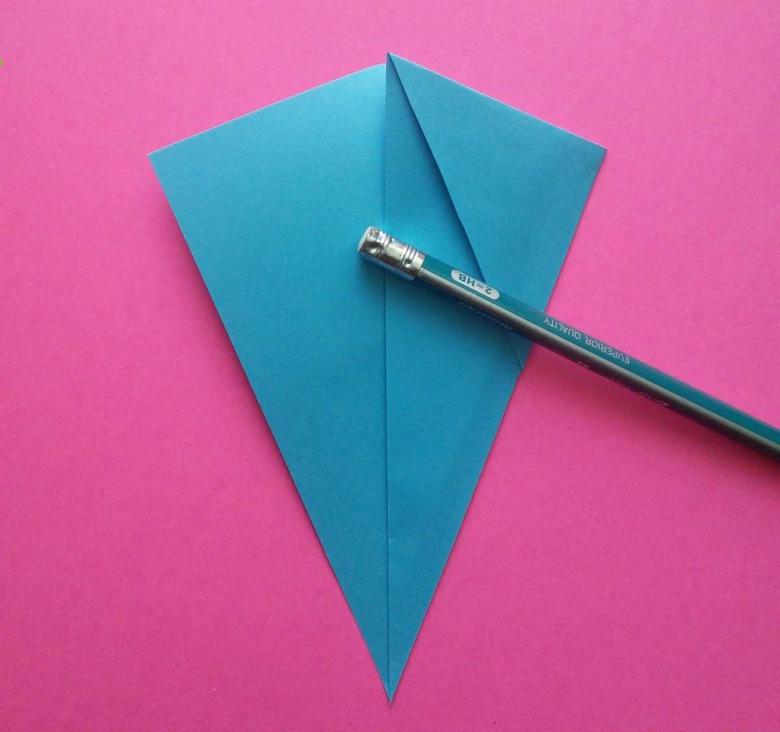
Origami art can make a step by step claw Freddy Krueger and many others.

