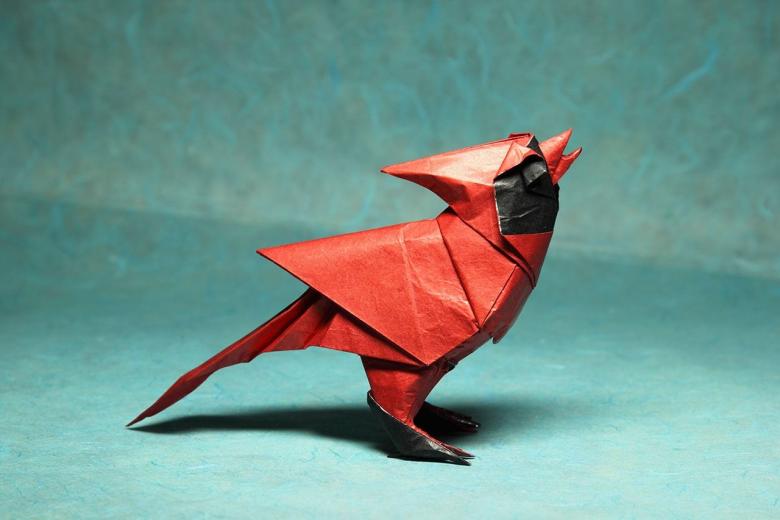
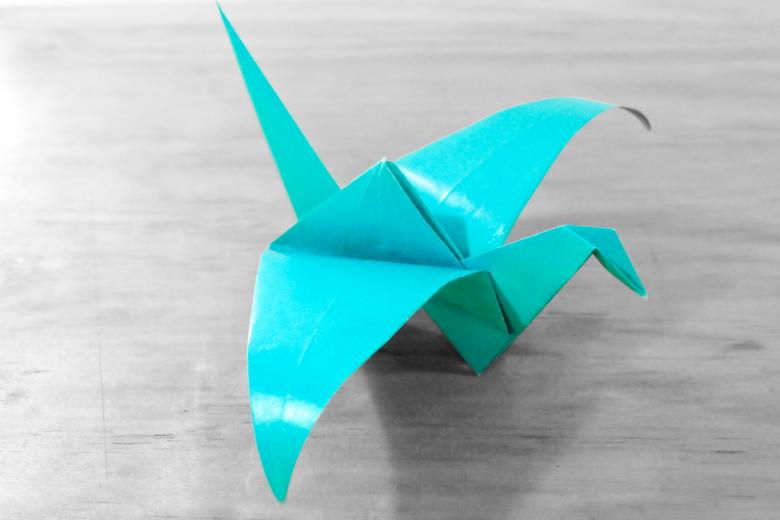
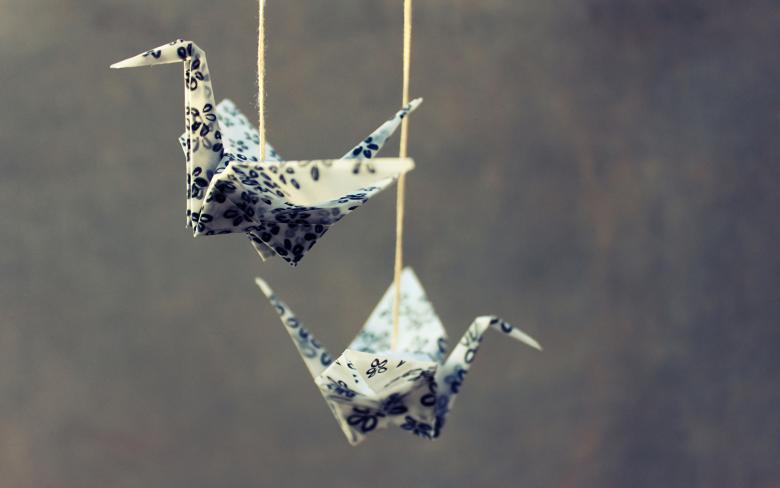
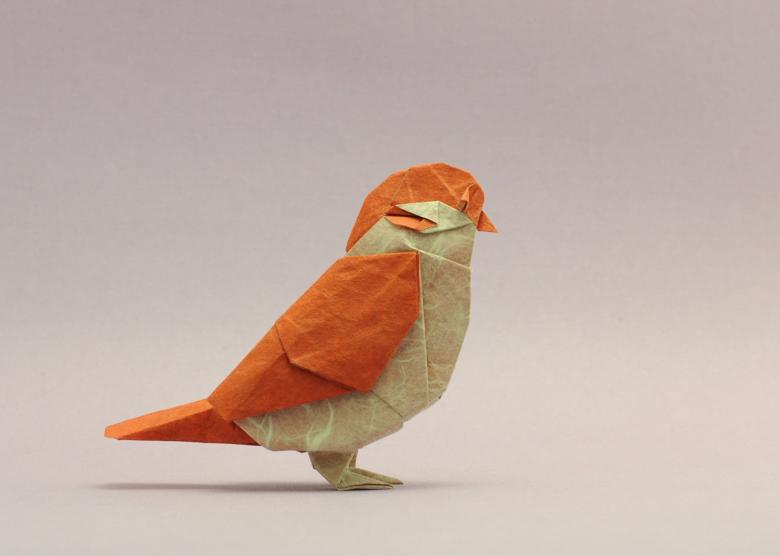
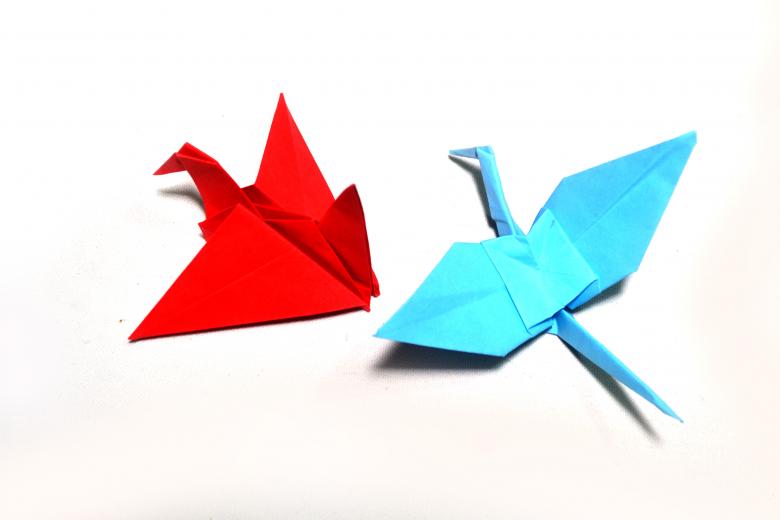
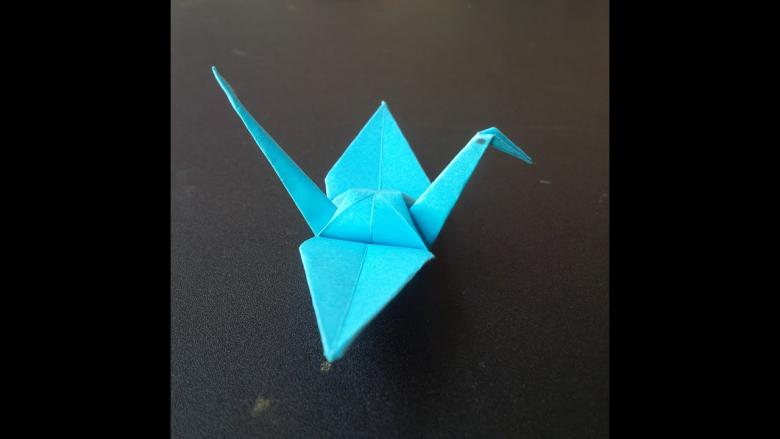
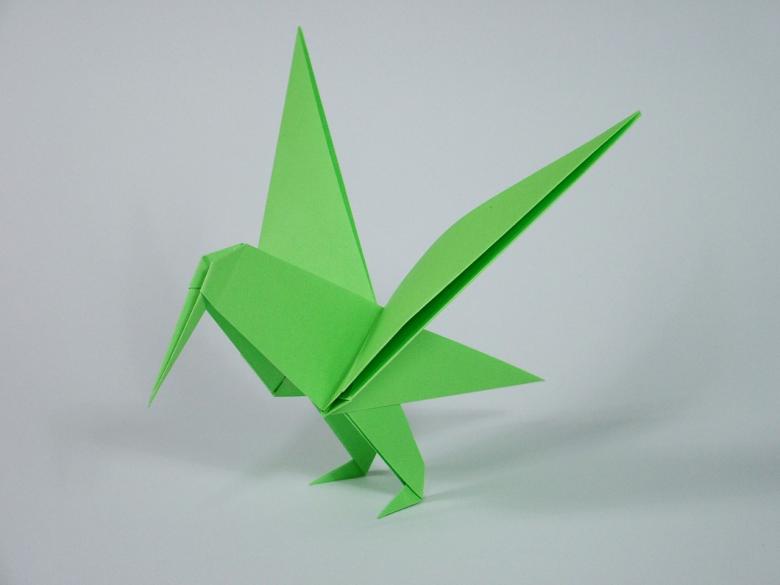
How to make origami bird - the best schemes and step-by-step description of the stages of making for beginners
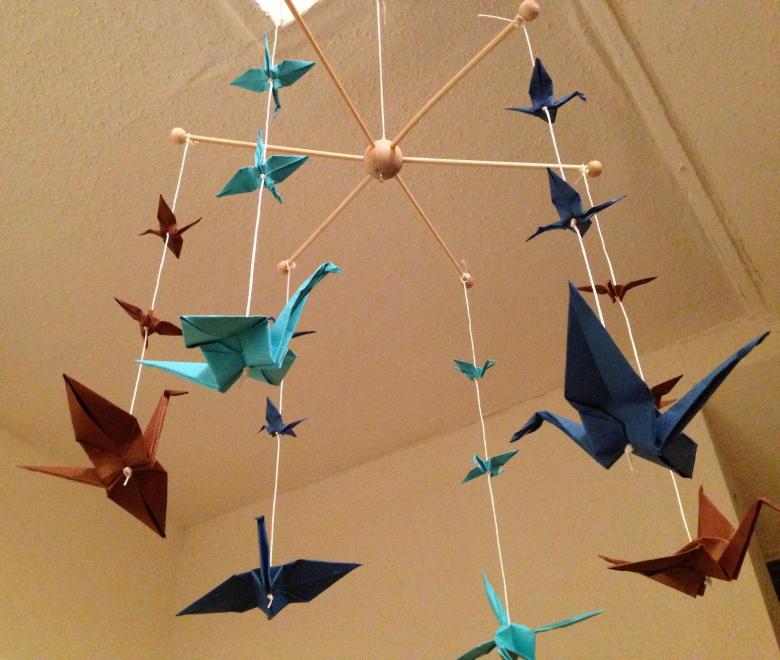
To attract wealth in the house in the East made in the art of origami bird happiness. They are hung as amulets in the headboard of a child's crib. It was believed that they can ward off evil spirits. And also improve the atmosphere in the house.
Even if we don't consider the esoteric component, the process of making them is very pleasant and exciting. Experts say that this art can develop spatial thinking. And also the logical. All the more so that many models to put together easily and simply. Moreover, it does not take much time.
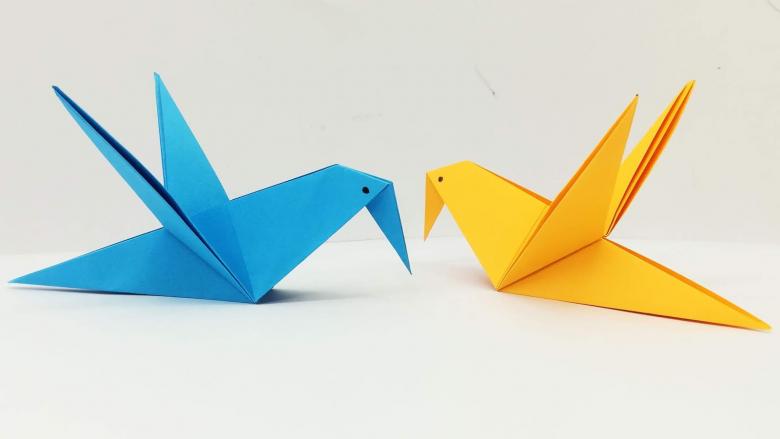
They can also be used to master the meditation technique that is so popular in the East. And you can also learn algebra and geometry. How much use is there in one little word! Not for nothing Oriental sages paid so much attention to this art.
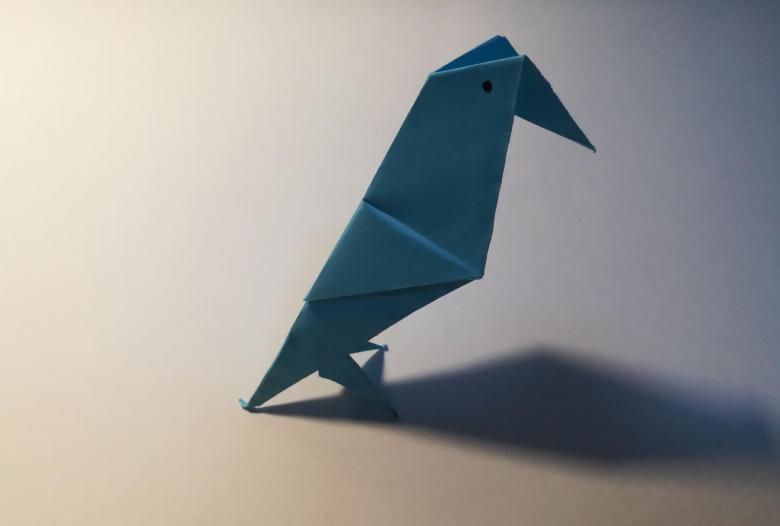
And in China and Japan, origami has always been appreciated and is valued very highly. Although at first glance it seems simple. After all, the important principle of the technique is to create a figure from a regular square piece of paper.
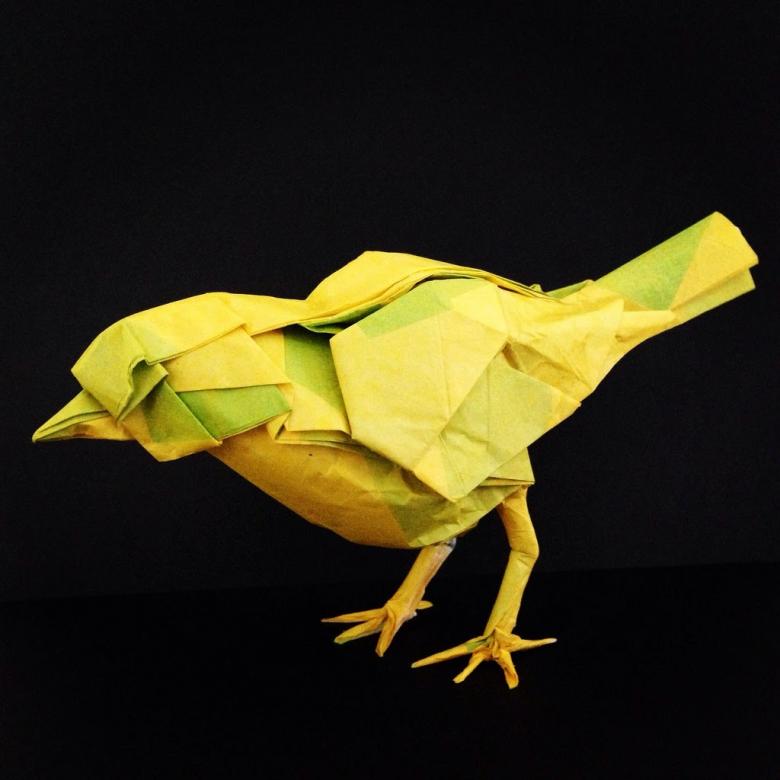
Classic technique
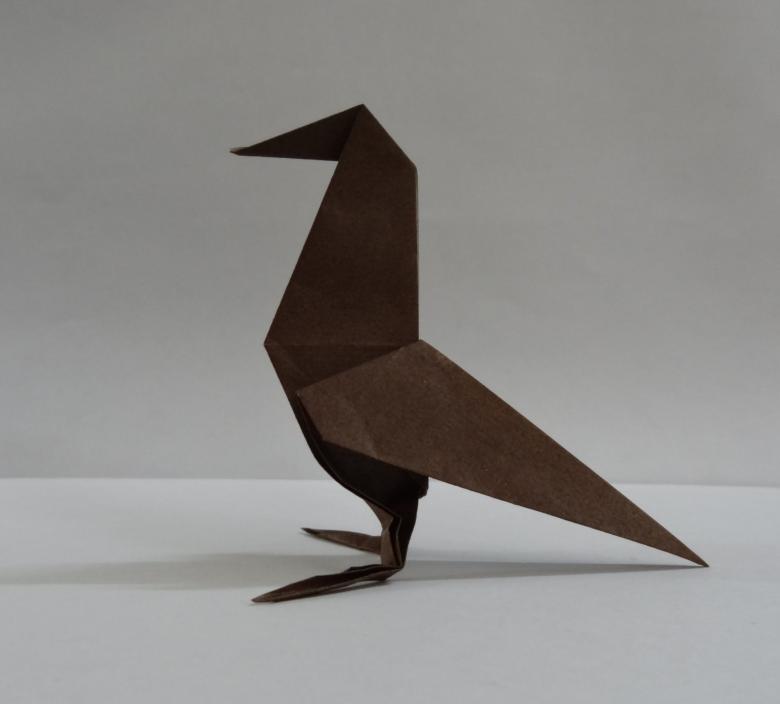
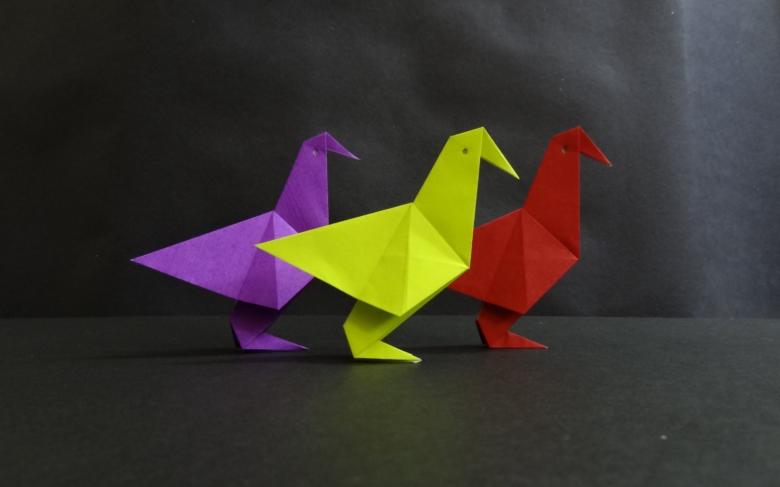
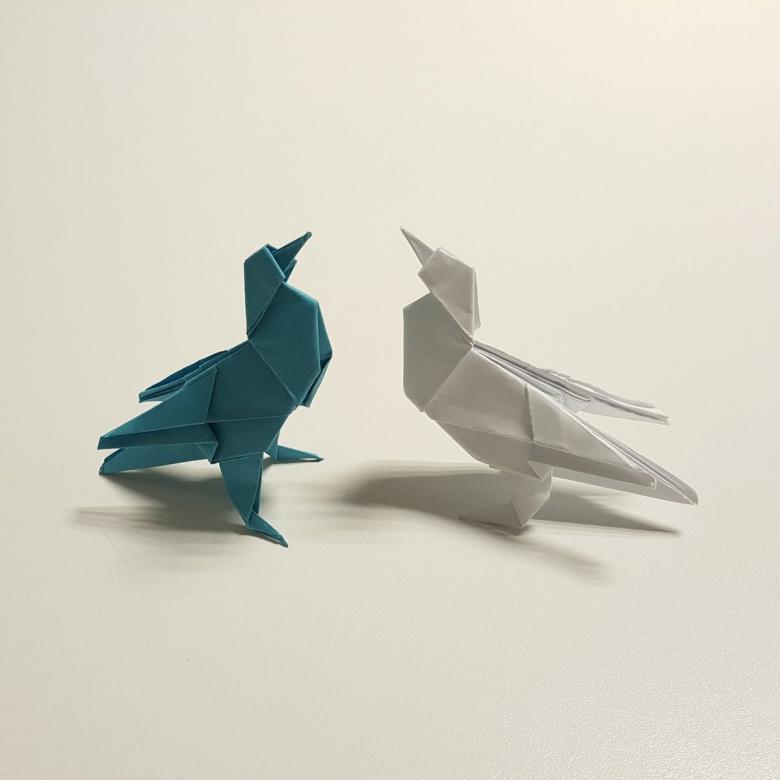
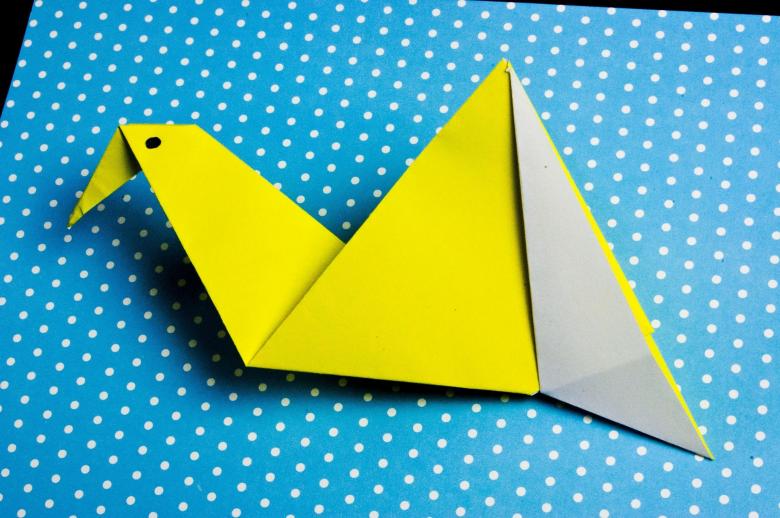
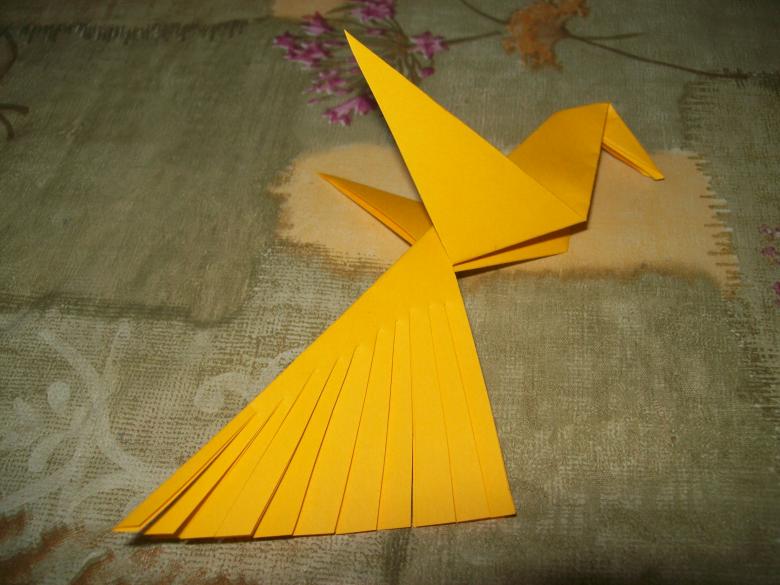
Pigeon .
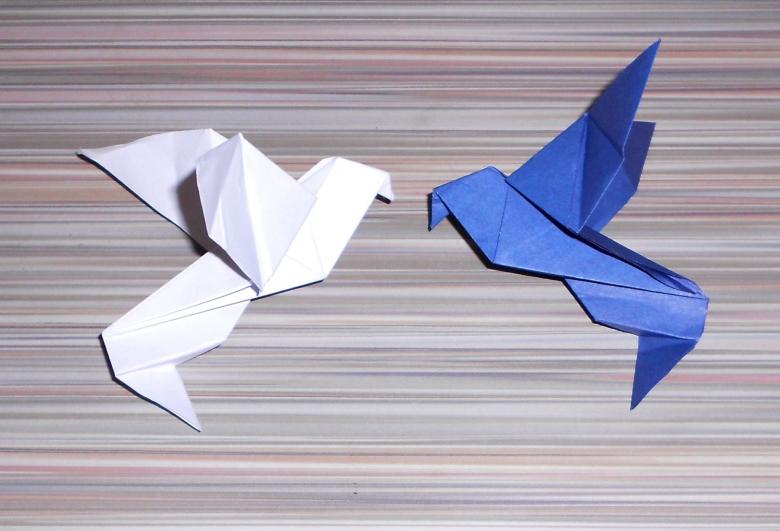
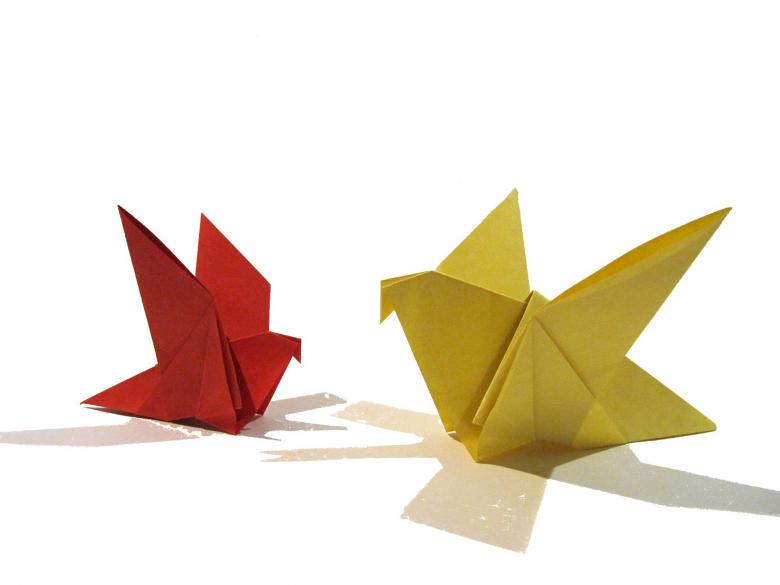
Those who begin an acquaintance with the world of origami offers a simple scheme for children - a bird dove. The figure can be folded in several stages. Her production begins with a square sheet of paper. In Japan, the square symbolizes the structure of the world. Four sides of the square, the four elements symbolize the unity of the cosmos and the Earth.
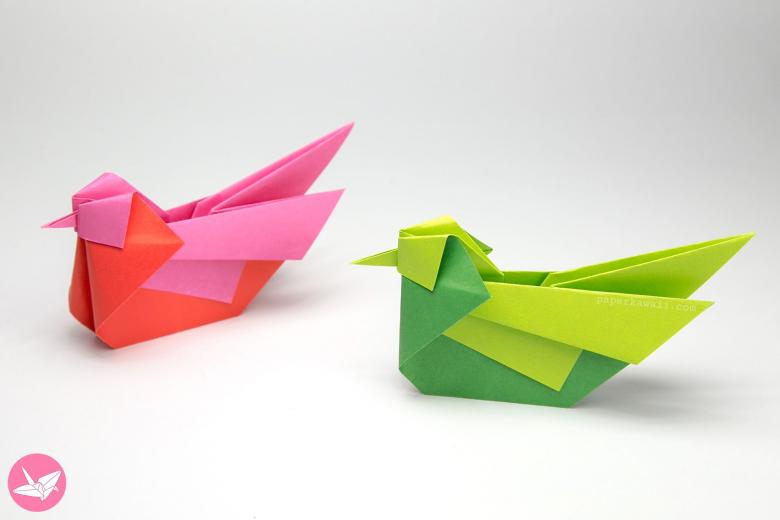
Algorithm of creating a model:
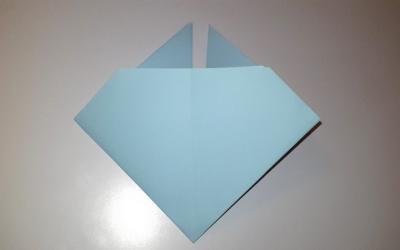
We turn the 21x21 cm sheet with the top facing us. Then we connect its opposite corner. We have a triangle. This figure is bent in the middle. (The base must be parallel to the fold). Our workpiece becomes similar to the ship.
The model is turned over. The top layer blank is separated and bent so that it became a diamond. Then folds the workpiece in half. (Left to right). Protruding part of the bend back. We obtained pigeon wing.
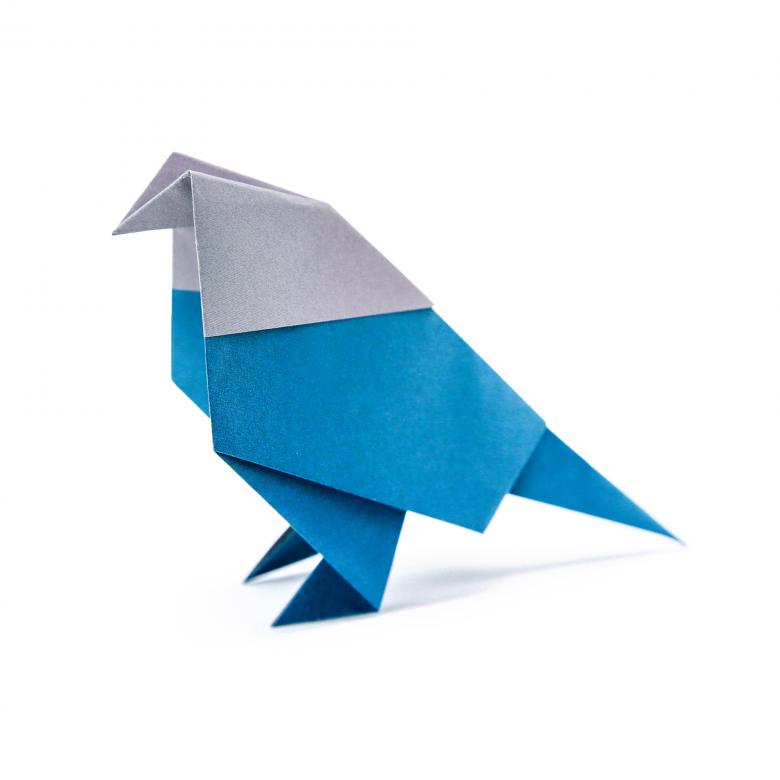
Next make the same way. Obtained two wings. Shapes the head. Then create a reverse internal fold. Press through the middle line of the fold "torso". Necessary to quality proglazhivaniya fold, which we have. To prevent its divergence. The dove is ready.
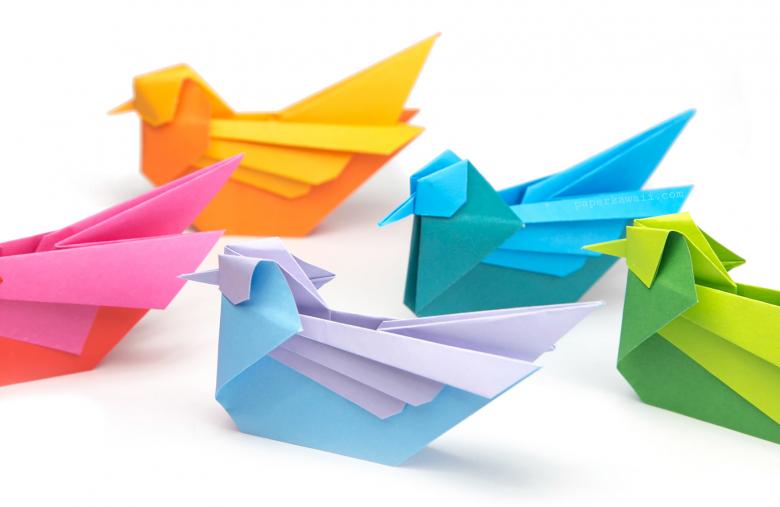
Similar figures can be made in duplicate and decorate the room where the wedding will be held, an invitation to her or a card for Valentine's Day.
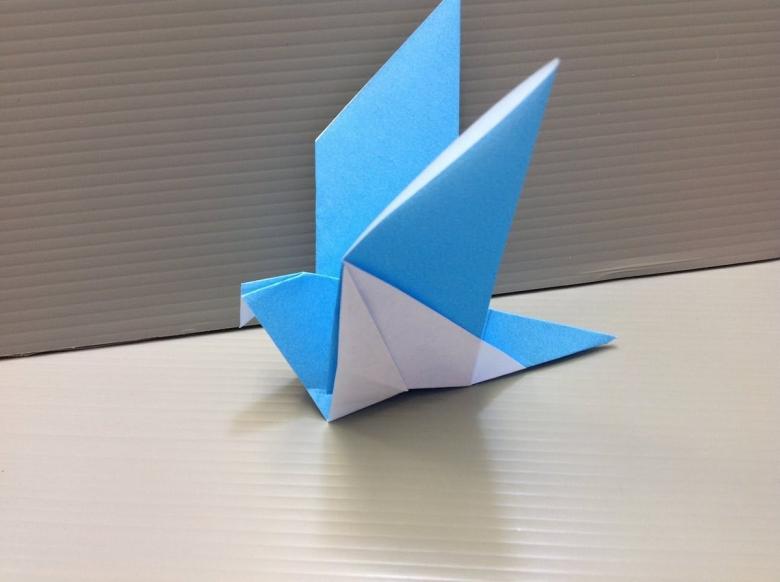
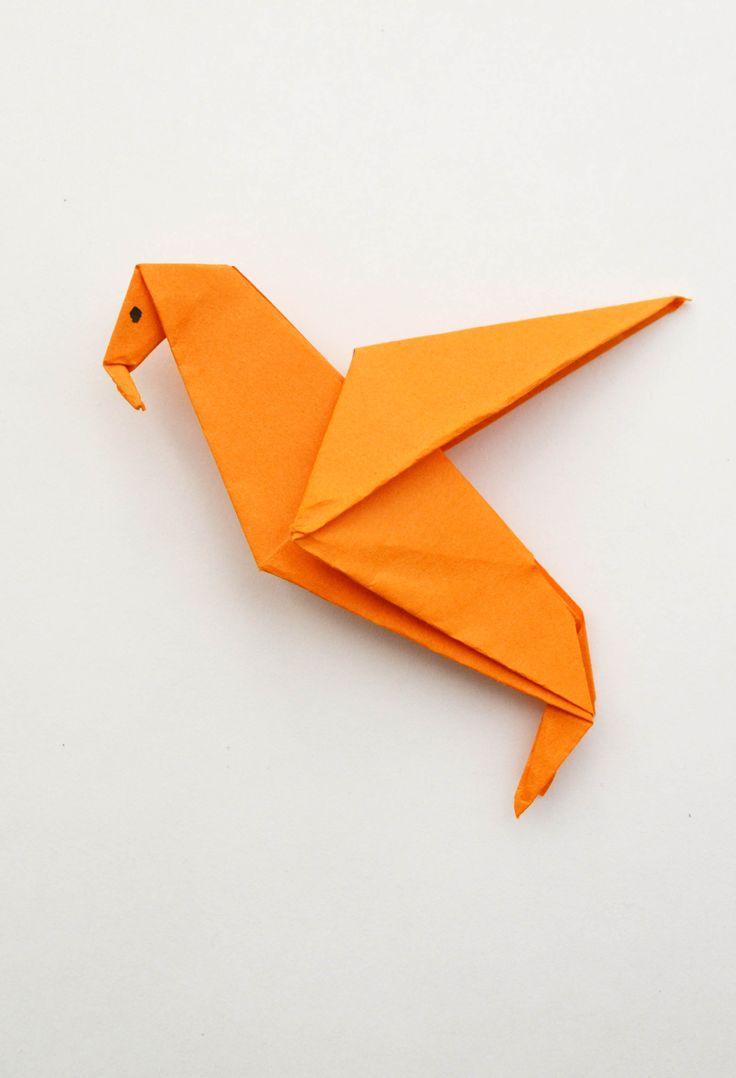
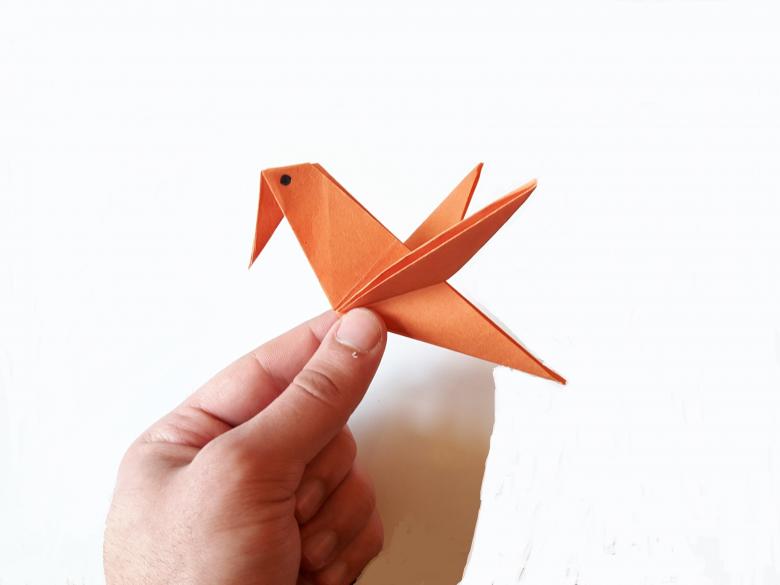
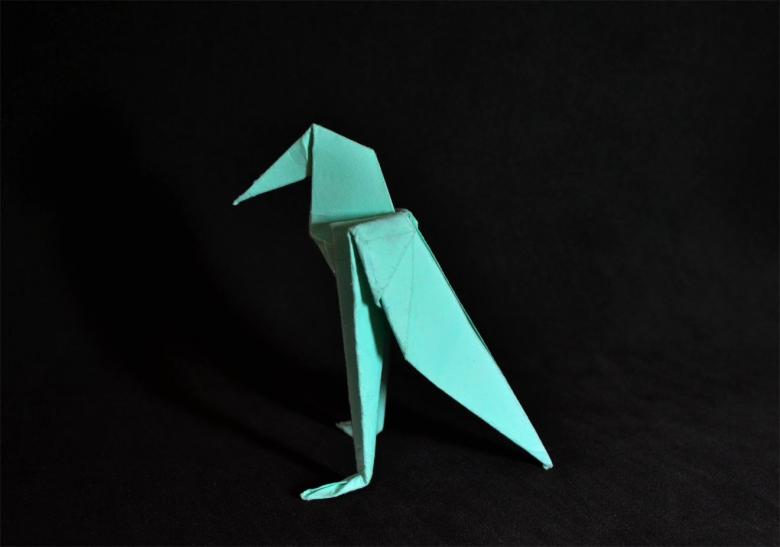
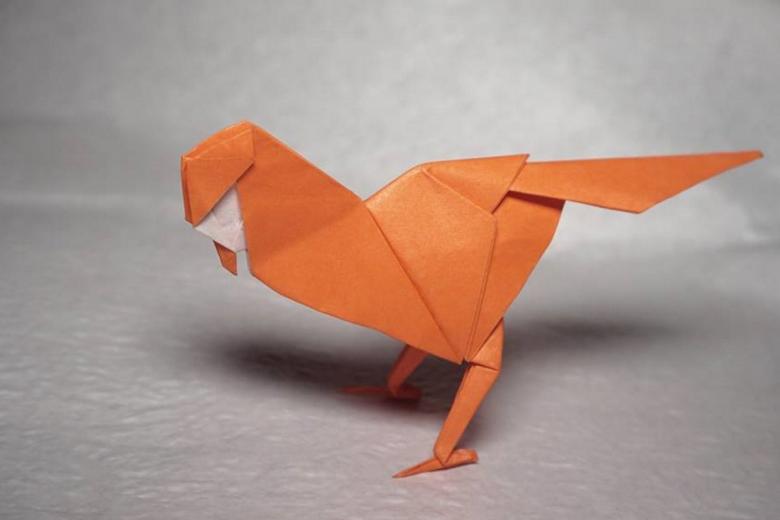
Parrot .
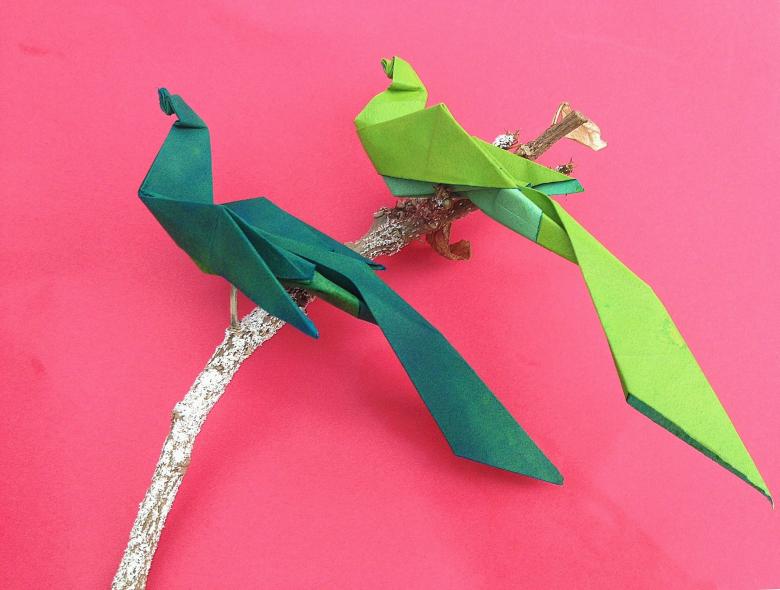
This exotic bird from tropical latitudes is quite popular. The process of creating it does not take much time. But it raises the mood. After all, looking at the creation of his hands, we will always be higher spirits.
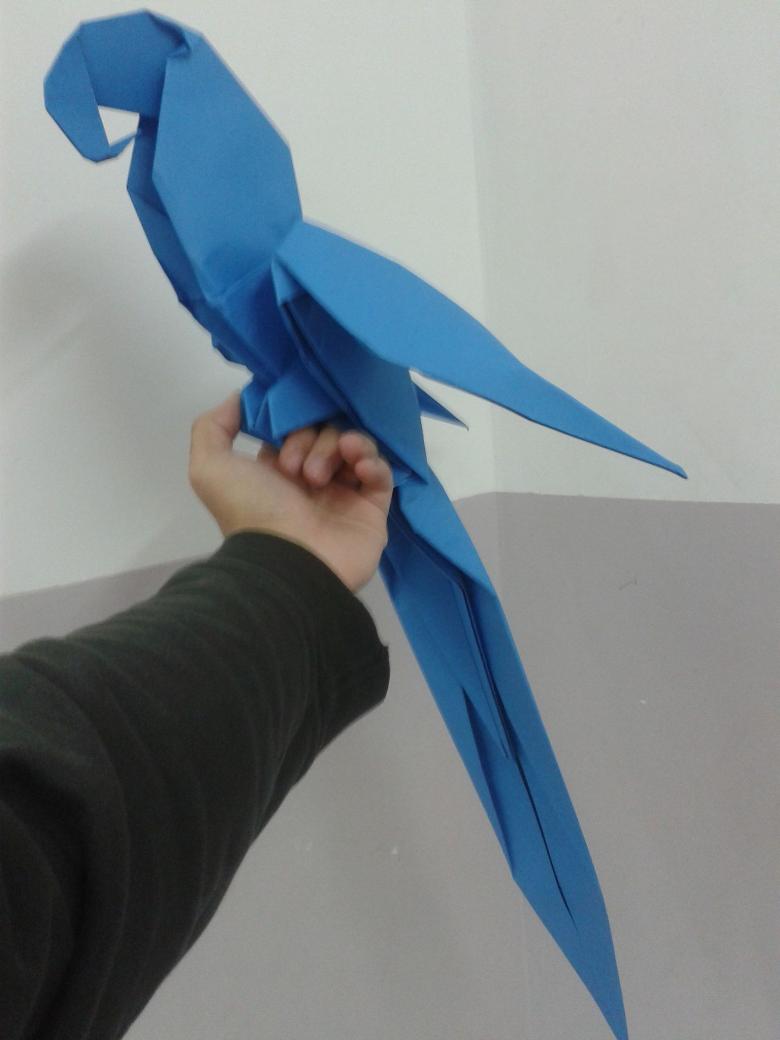
We offer step by step instructions for creating a parrot bird origami from paper.
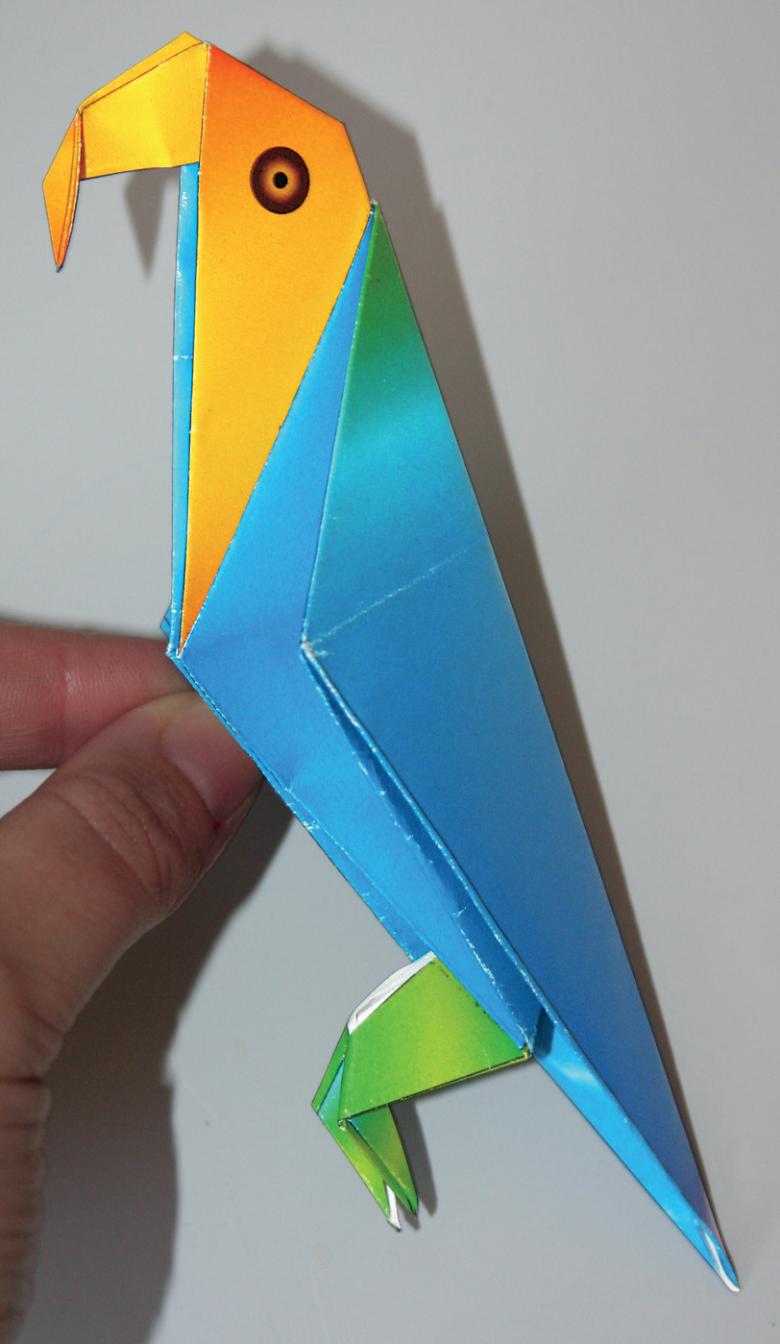
For multi-colored tropical bird suggest using two-color sheet. Then the head we will have one color. The body is the same get another shade.
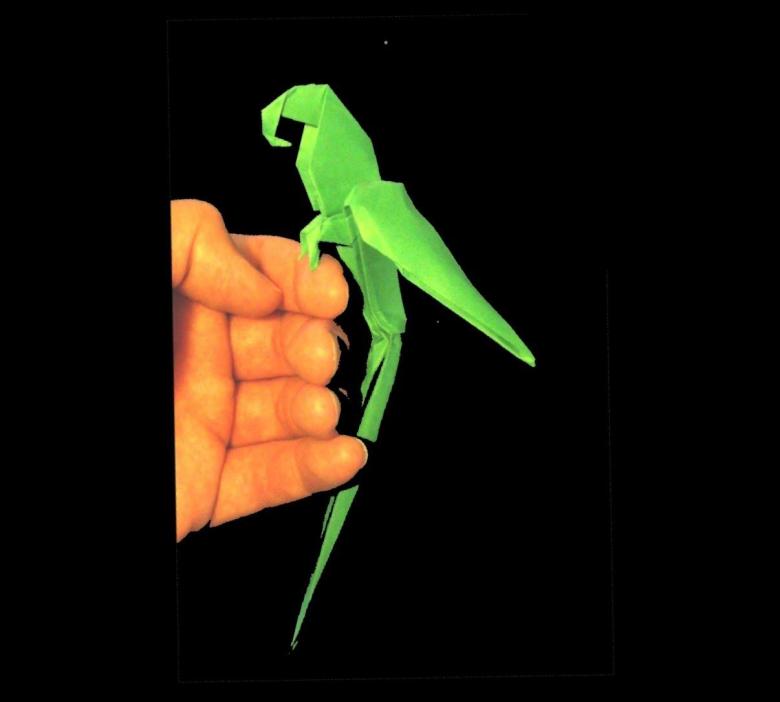
Take a classic base square. Schedule a diagonal fold. Spread out the workpiece so that the middle line is looking at us. The sides of the workpiece bend toward the center. Thus is the basic figure of "kite flying". Then we take the upper triangle. It bends back.
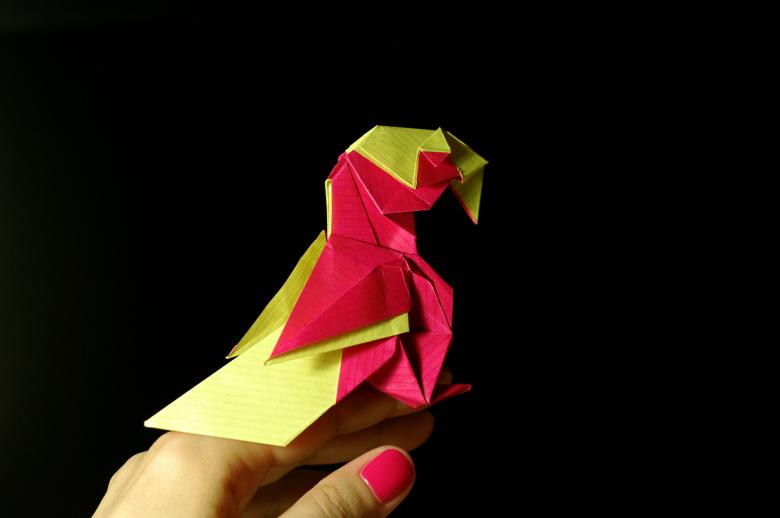
The sides are added to the axis, located in the middle. The top layer figure is lifted. Then it bends it along the previously obtained folds in the opposite direction. This is called the basic form of "fish". We take the upper triangles. Dip them down. Then bring them back.
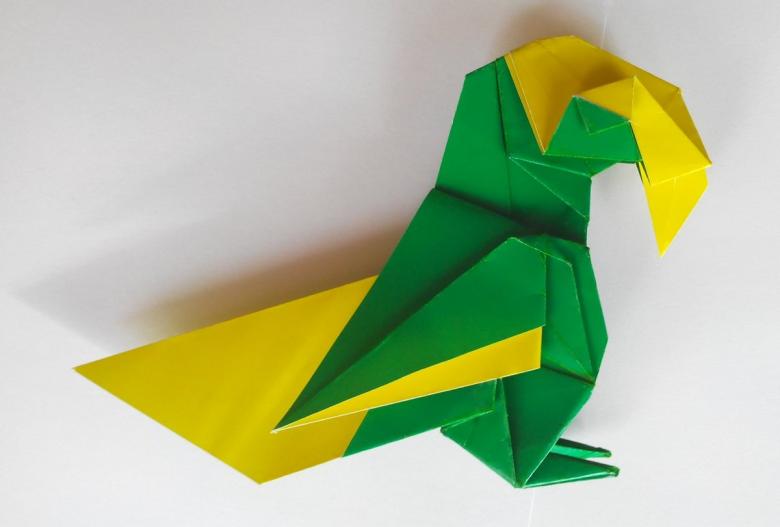
They have to fold in half. The workpiece becomes like a crown. Now the top, which is located at the bottom, is bent twice. Then both halves of the blank are closed. (As if we "hide" the folds inside). The design is turned over 180. Where will be the head, we create a reverse internal fold.
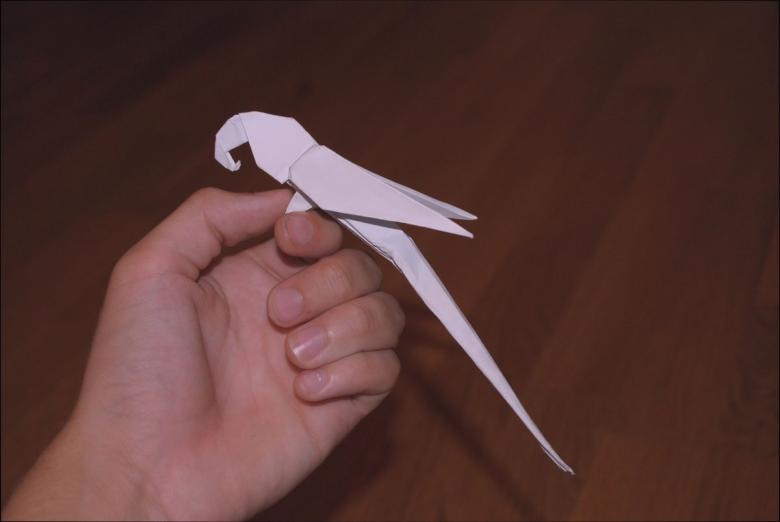
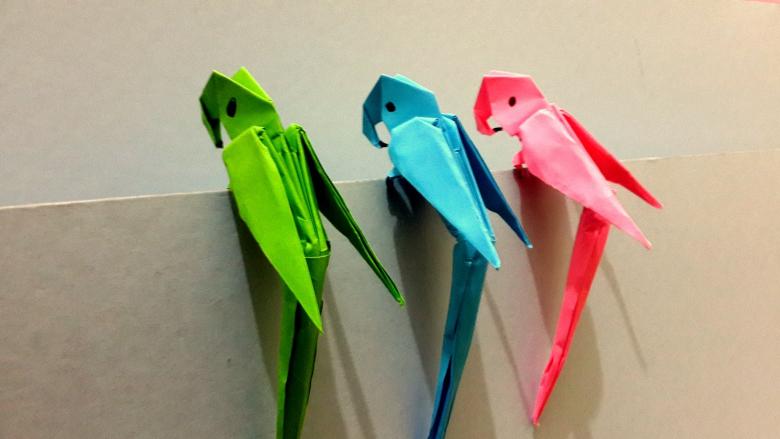
Now we draw or glue the parrot eyes, and the handicraft is ready. Charming parrot, of course, does not fly. But we can create a picture of a tropical forest and settle our hero there.
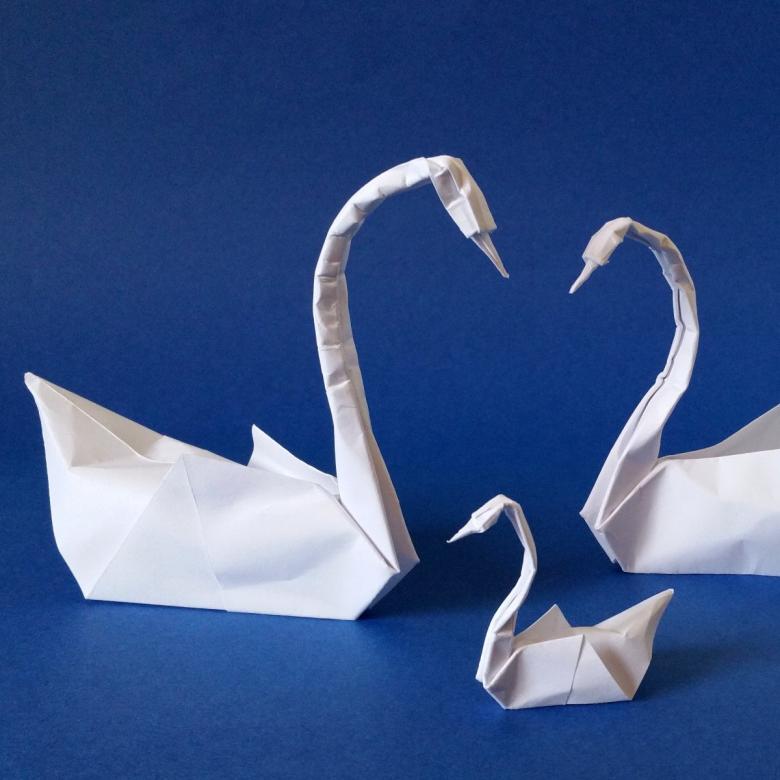
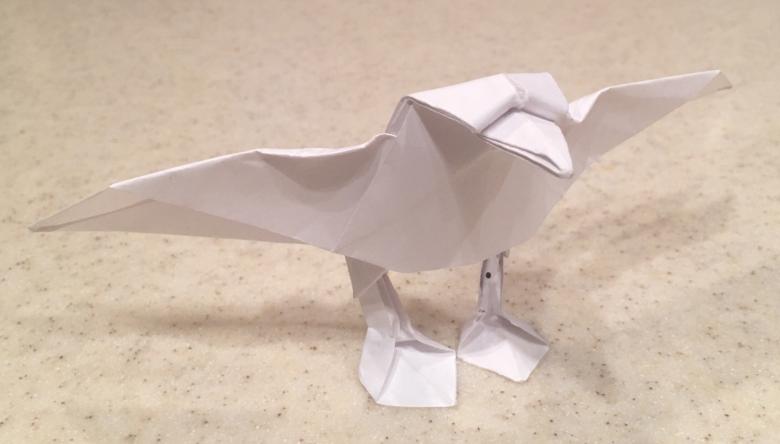
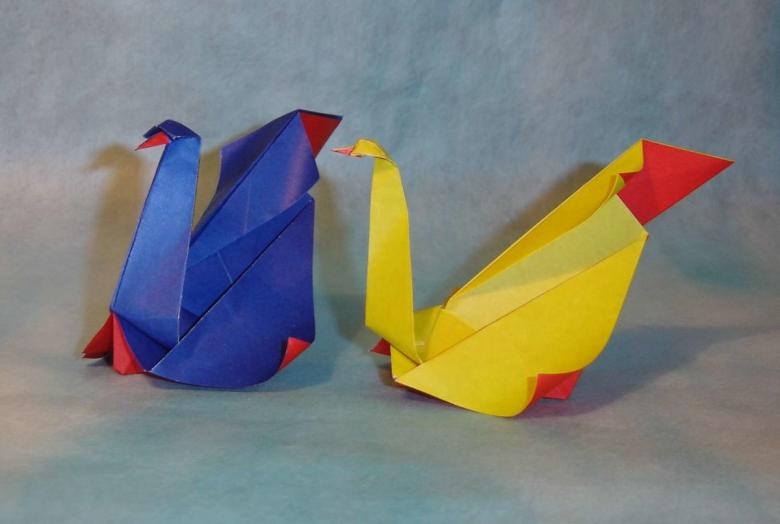
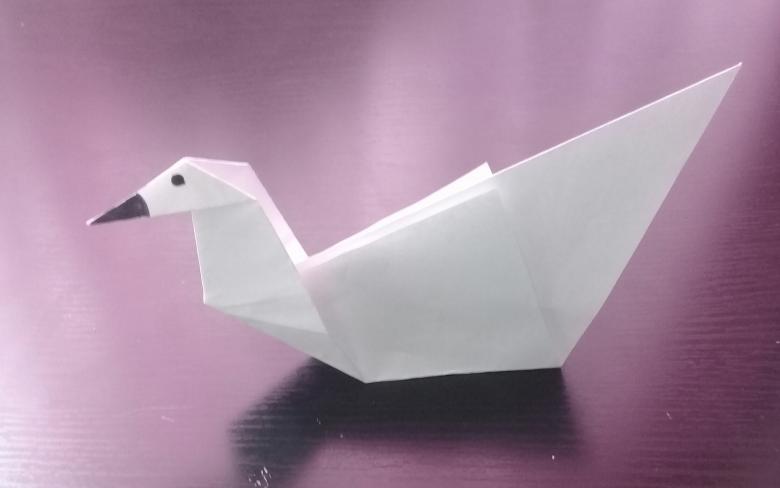
Swan
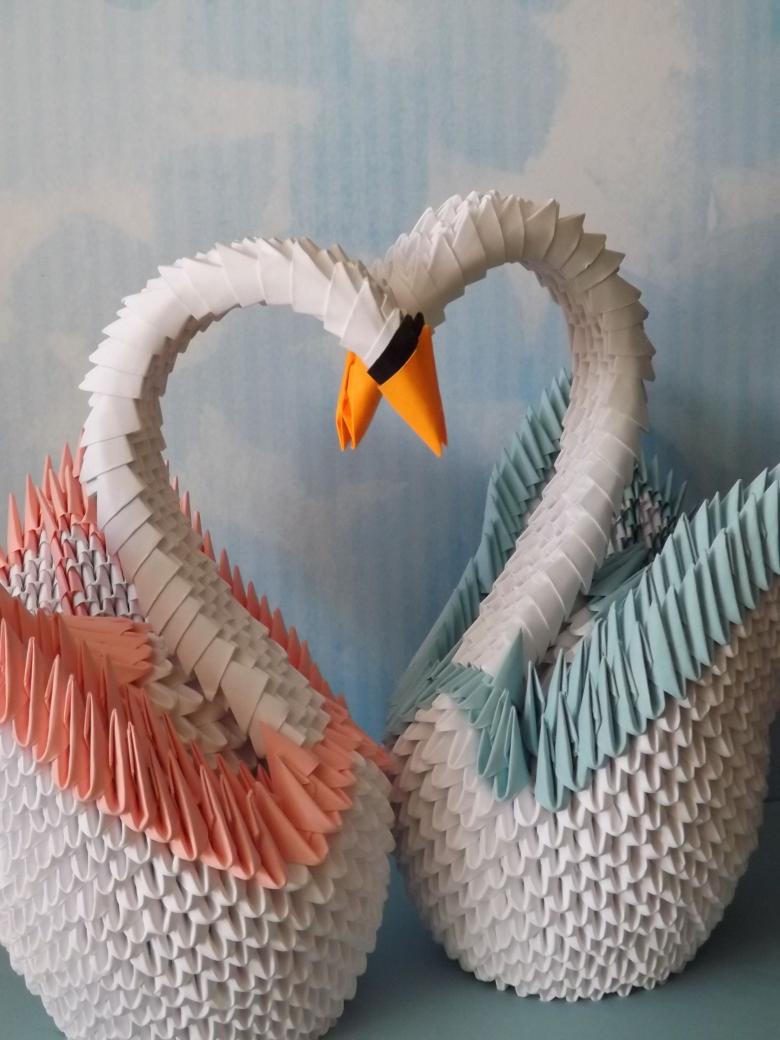
The original and elegant swan will decorate any romantic party. Sometimes it is even placed on wedding tables. After all, this proud, charming bird has long been considered a symbol of fidelity.
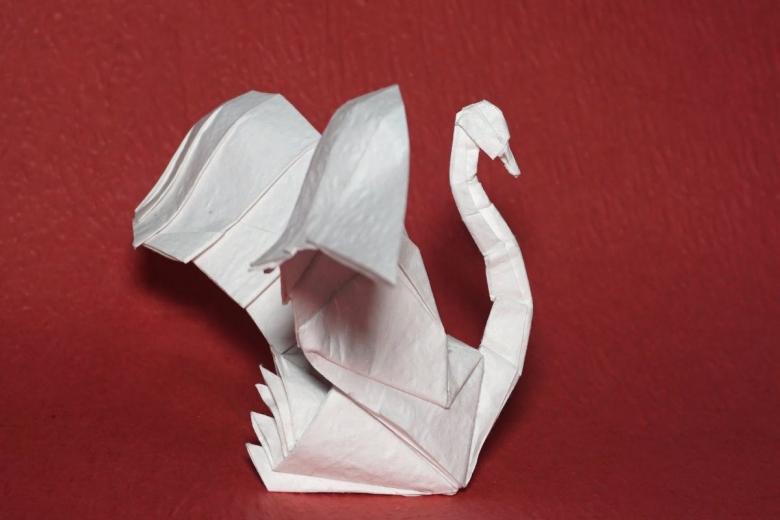
You are offered a simple instruction for making a swan.
- Take a square of paper and fold it diagonally.
- Then the sheet is straightened, and its edges are added to the diagonal. Thus we have a corner.
- Then flips the workpiece, and the procedure is repeated. Our corner is sharper.
- Then connect the top corner to the bottom. So the figure is divided in half.
- Moving on to the process of making the head of the swan. To do this, bend a smaller angle.
- Then bend the workpiece in half.
- Then it rises "mountain".
- Spread the folds so that the swan could be in a vertical position.
- Our bird is ready!
Modular origami
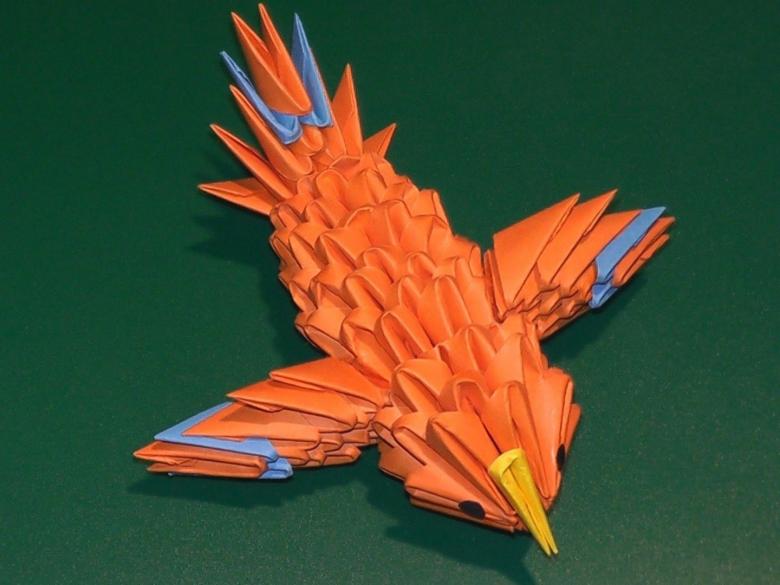
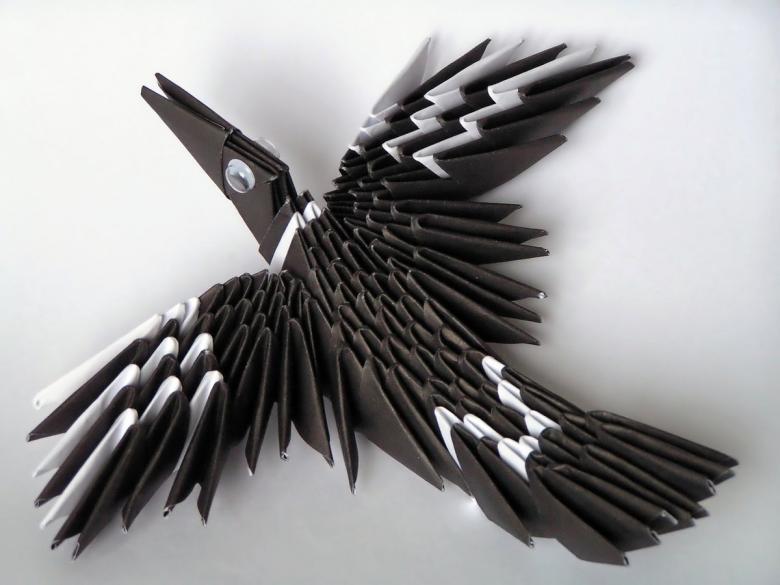
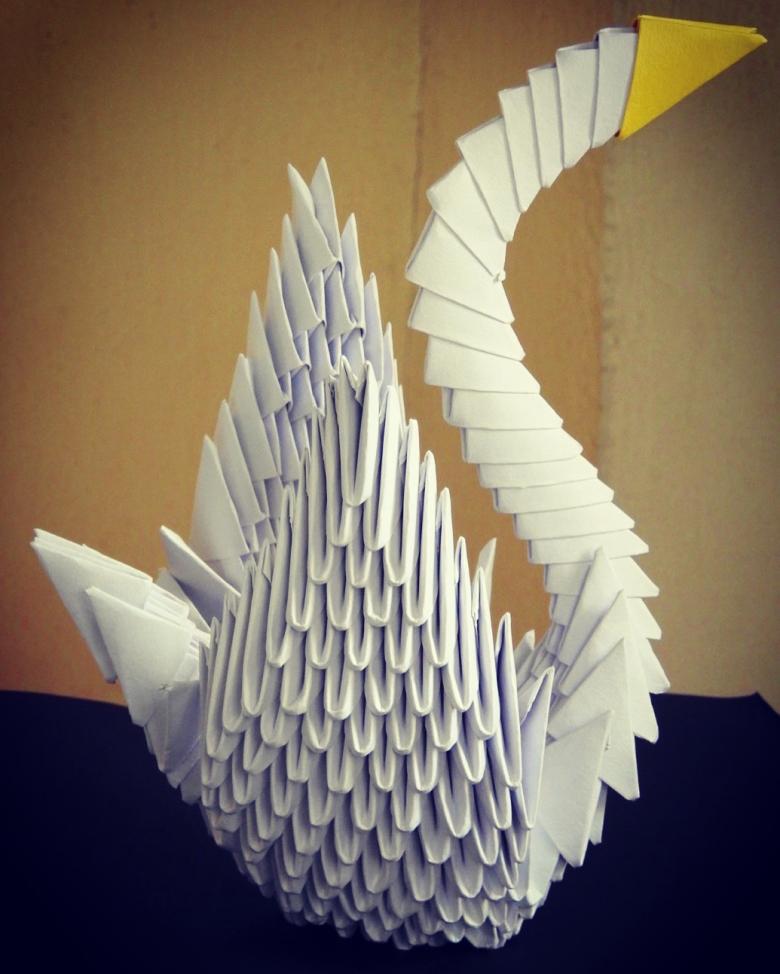
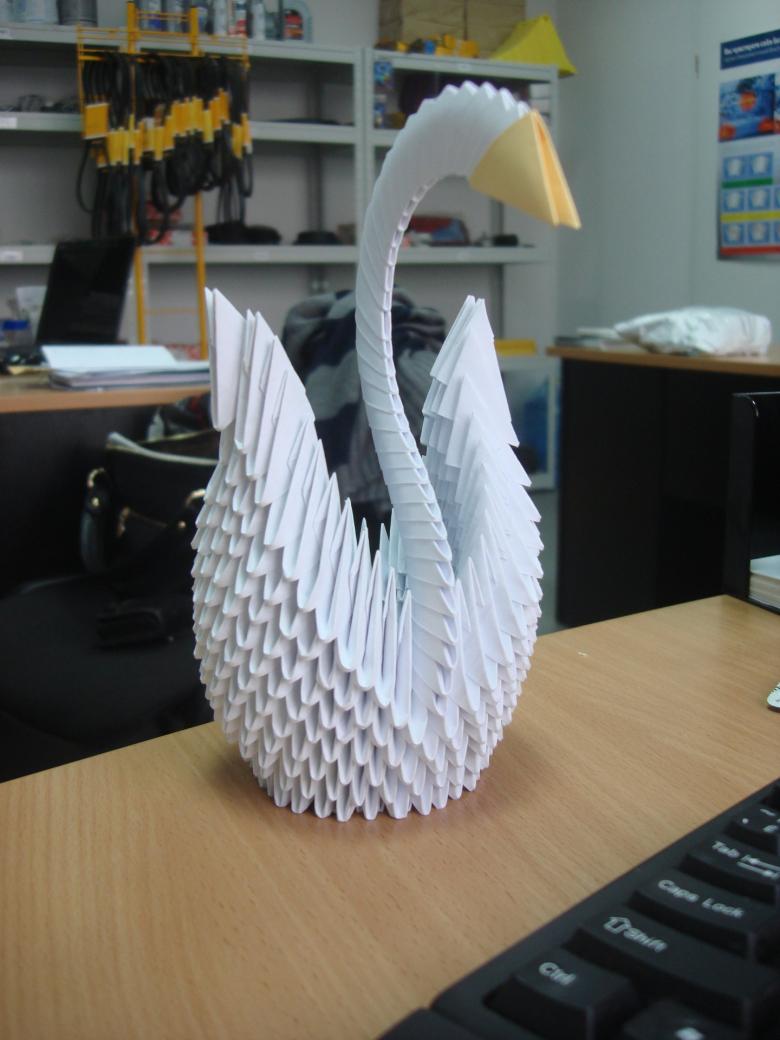
Swan is so popular bird that it is created in a rather peculiar and complicated technique. In her figure is collected from the special blanks. They are called modules.
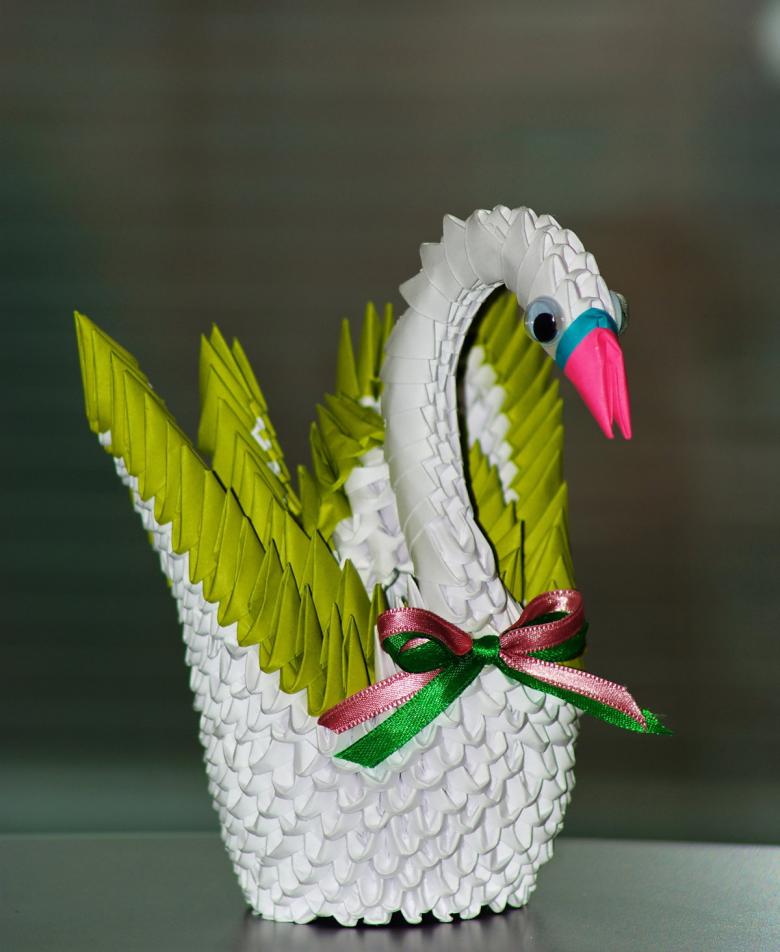
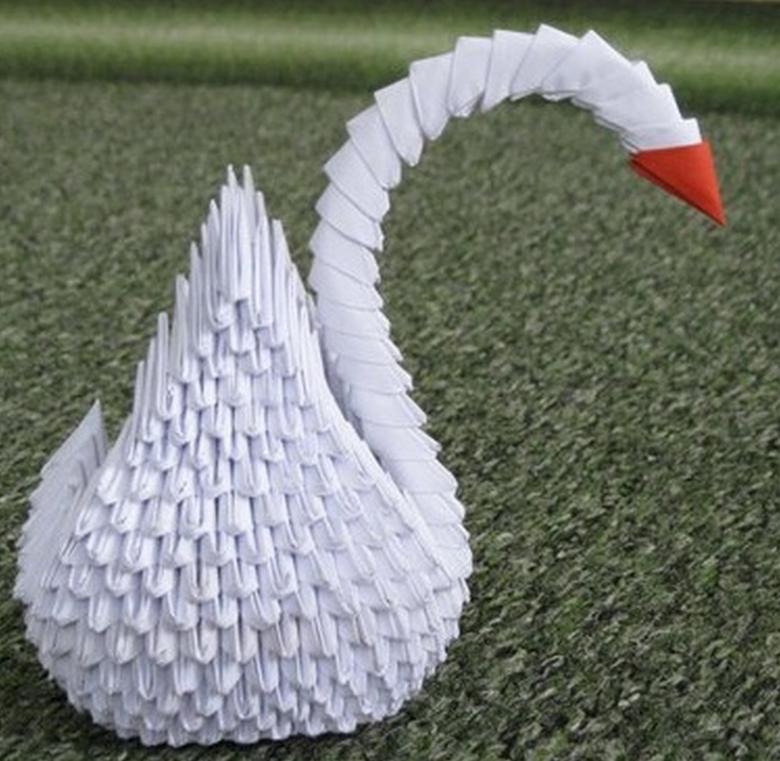
Swan .
Scheme:
Let's create our white swan. This will need 85 modules.
- We make the first two rows. Let's put the corners of the two modules in the pockets of the three.
- Take two more, inserting them into a previous blank.
- In the same way we connect two more modules. But for stability we need to collect three rows. So construction will be stronger. Each row it consists of 30 modules.
- Do the 4th and 5th rows by analogy.
- Now press on the middle of the design with thumbs and turn it out.
- Then lift the edges up to get a three-dimensional structure.
- Put on the 6th row in the same way as before.
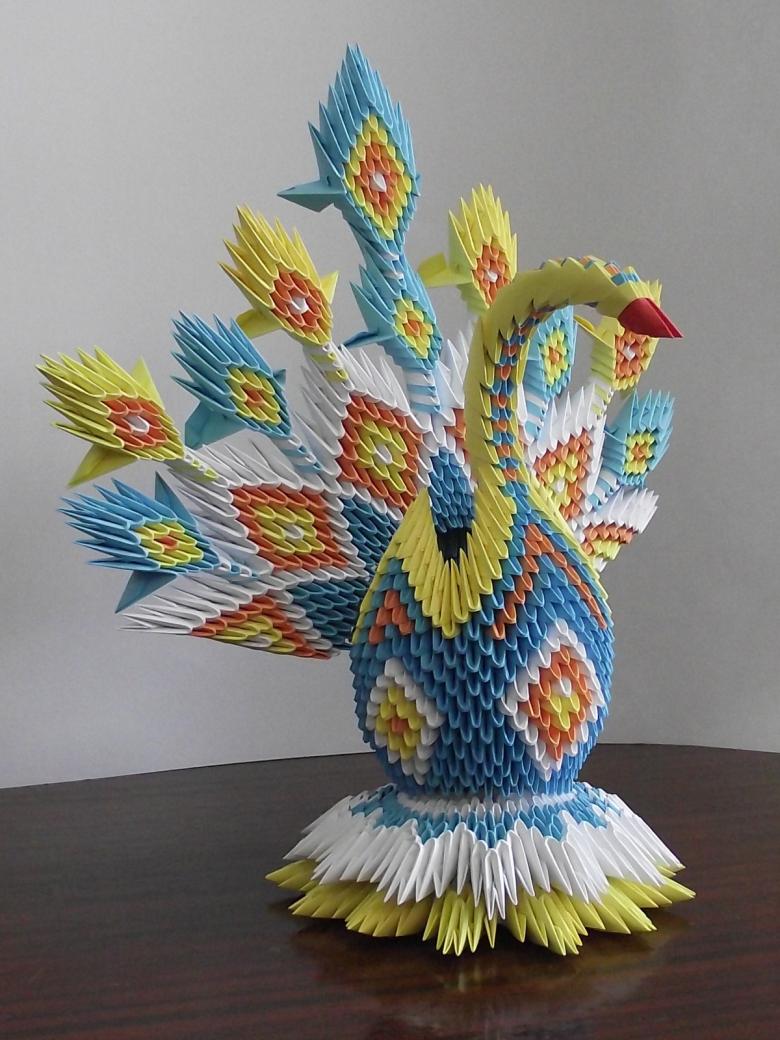
Attention! When we start the 7th row, we will proceed to the wings. First attach a row 8 to our blank. Here we will have 12 modules. Next we skip 2 modules and attach another 12 pieces. In the place where we skipped modules, we will have a neck. The other place will be the tail.
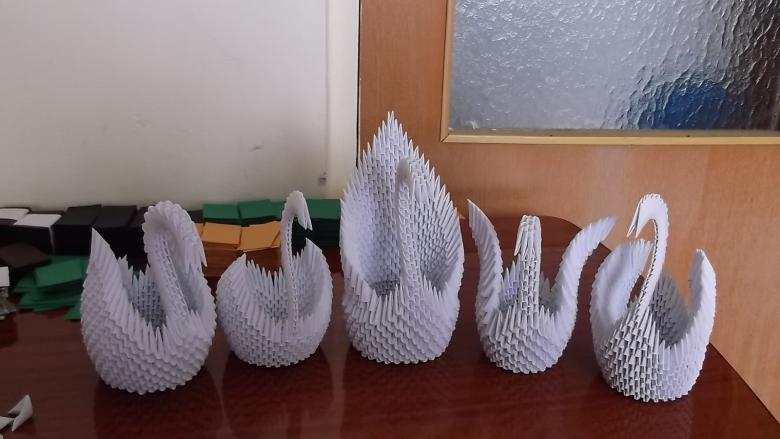
- Row 9. Pay attention! Each wing is reduced by 1 module.
- Continue to build the wings until there is only one module left.
- Now turn to the tail. Similarly reduce the rows by 1 module.
- Now the neck and head. Prepare nineteen white and then one red module. It is necessary to glue the corners. This is the beak. We make the neck. Insert the corners of one module into the pockets of the other. So we continue to assemble it. Assembling the neck, trying to make it bend to a letter "C".
- The last step is necessary that the neck sat on the 2 corners, which remained between the wings.
The swan is done.
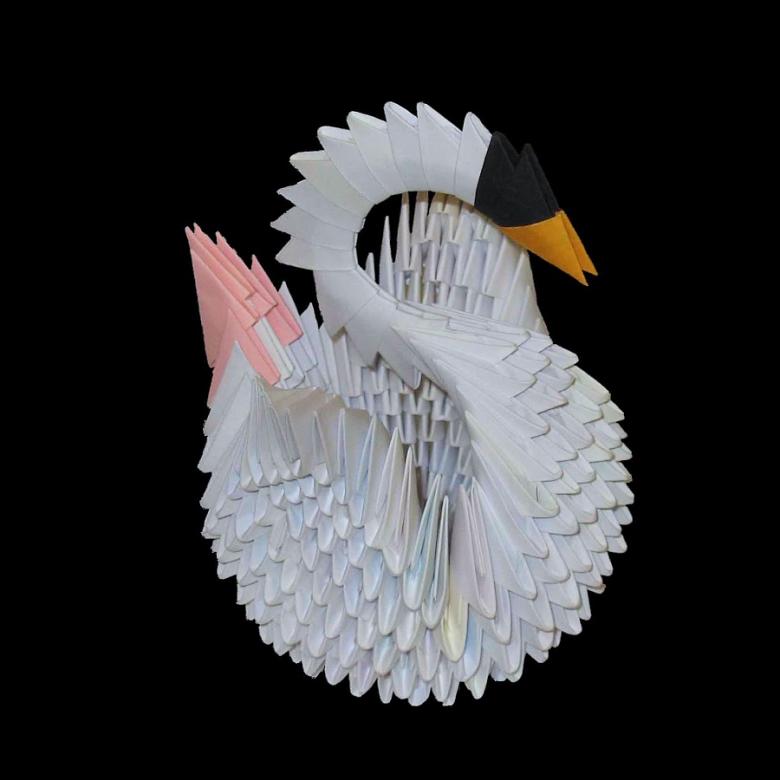
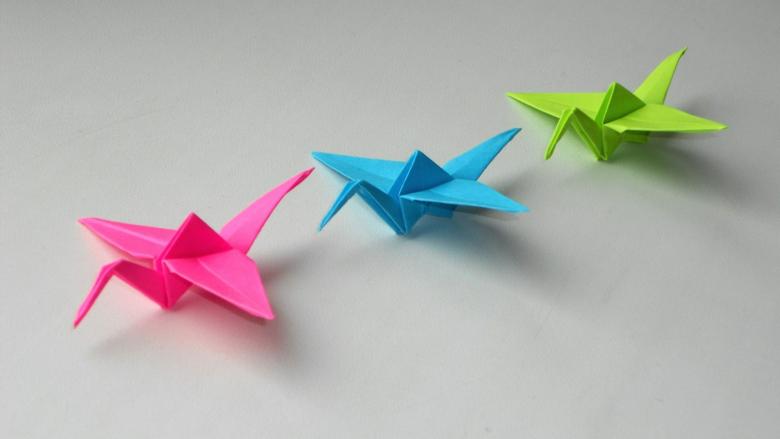
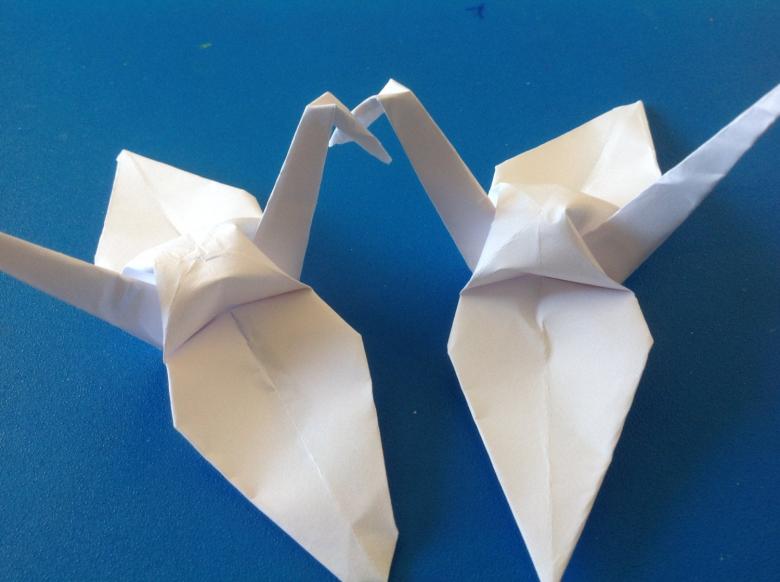
Figures of various birds - swans, cranes, pigeons under the power to create any kid. And the more often he will create their paper pets, the more it will develop. After all, there is concentration, developing fine motor skills, increases thinking outside the box.
In addition, handicrafts in this technique - an amazing gift. Indeed, creating a souvenir with their own hands, the child feels the joy of creation and receives an ocean of gratitude. And this, with nothing comparable feeling enhances self-esteem and inspires the creation of other products.
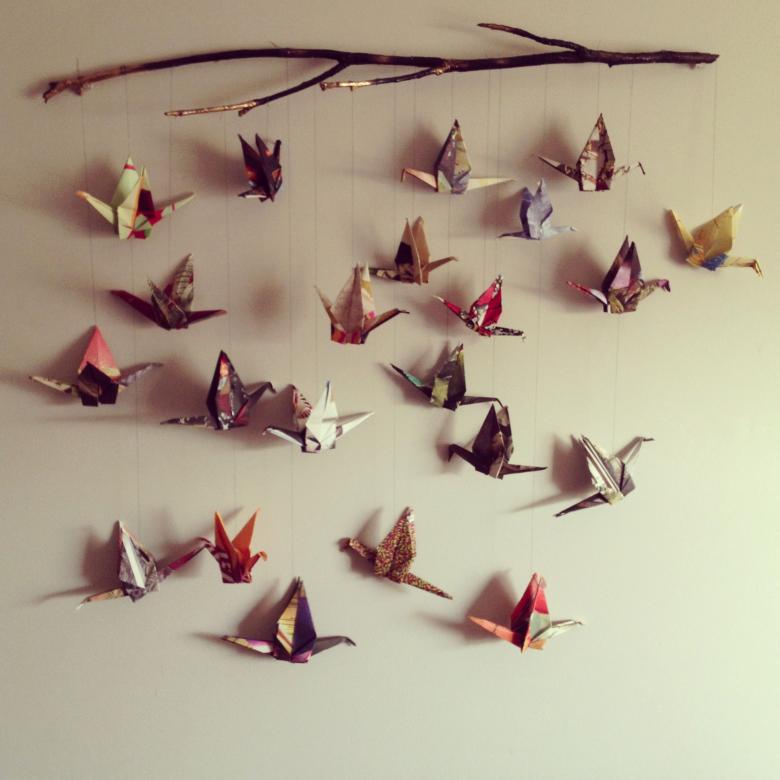
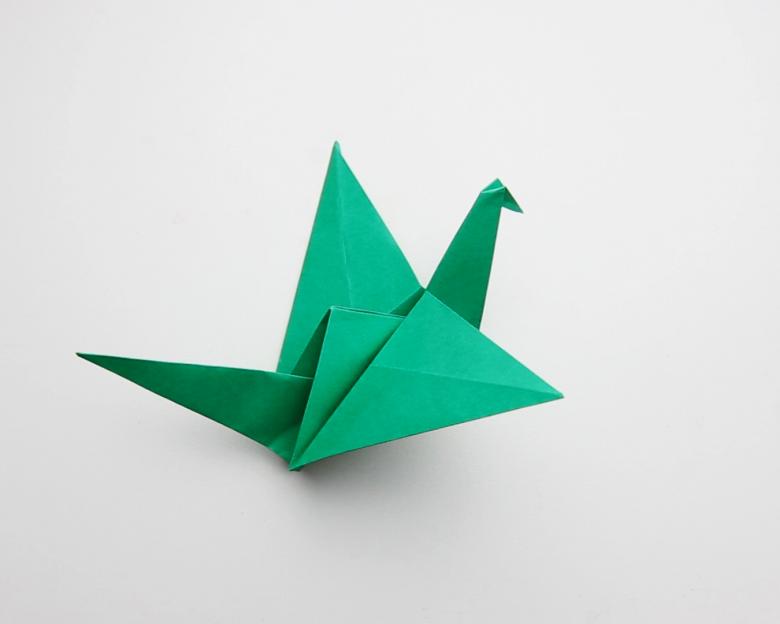
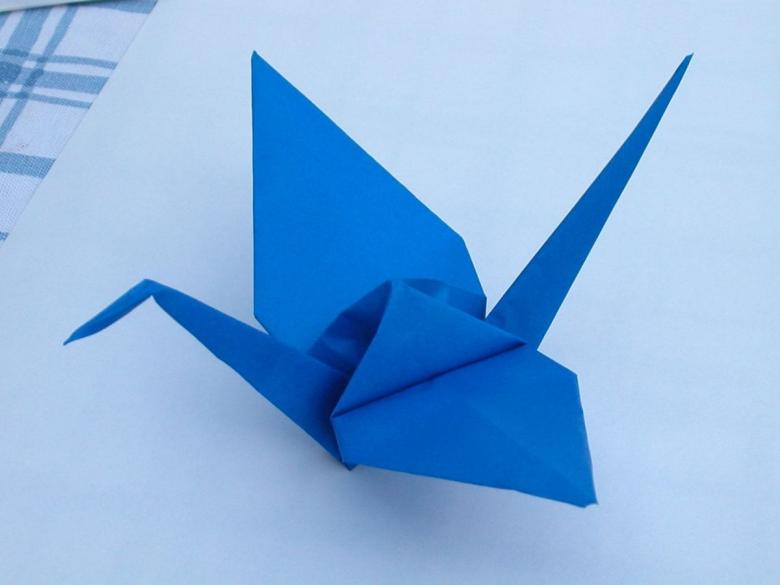
In Japan, the paper crane is a symbol of good luck. There is a legend that a person will come true most cherished desires, if he makes 1000 cranes and give them to people. So, to make your cherished desires come true, fold your birds of happiness and enjoy the process of creating them!

