Panels with their own hands - interesting projects and their implementation step by step
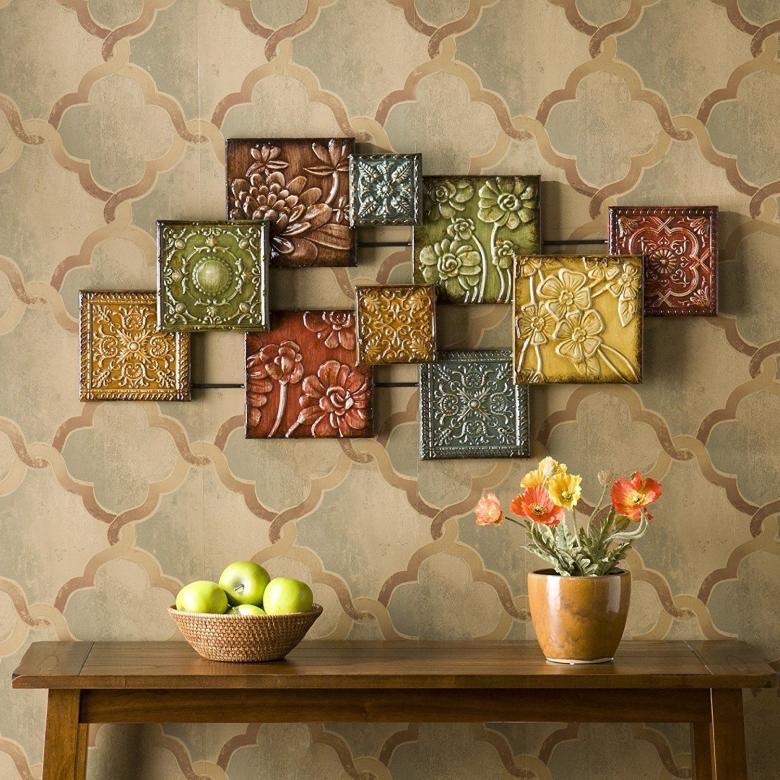
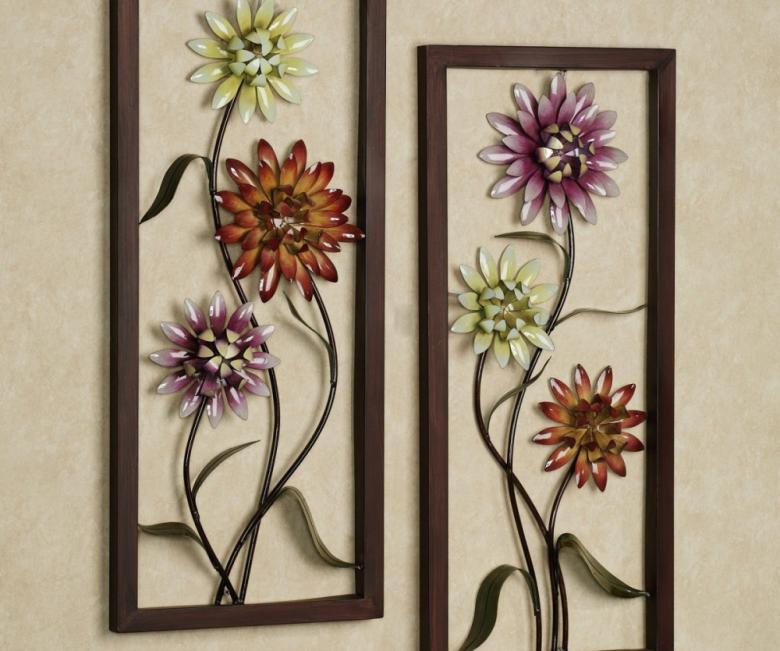
Such an interior element as a panel has long been popular and widespread. The secret of popularity is that this variant of interior decoration is not a painting, which, if it belongs to the hand of a real master, will cost fabulous money.
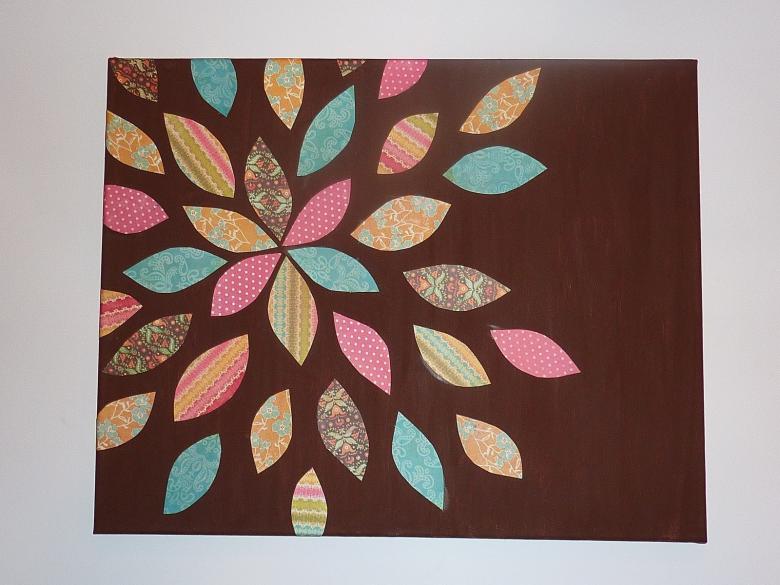
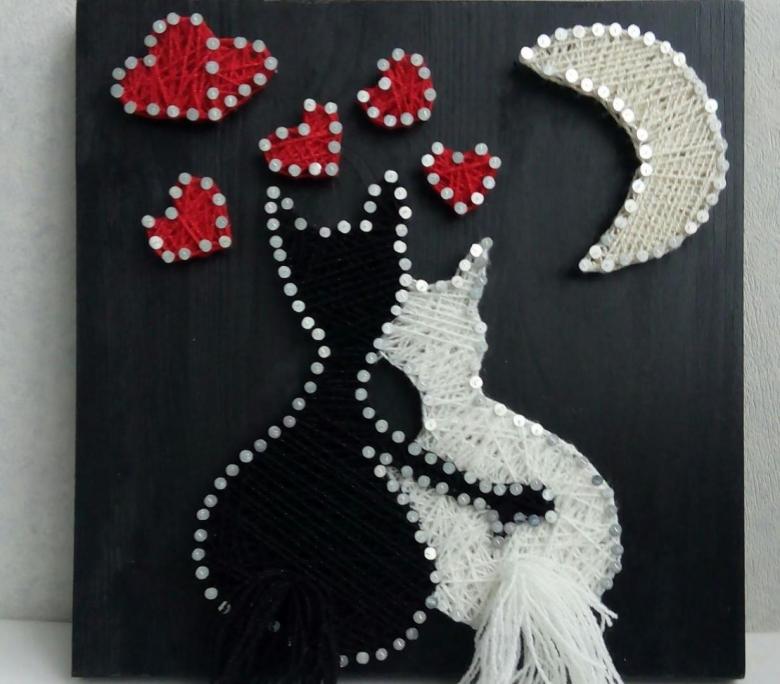
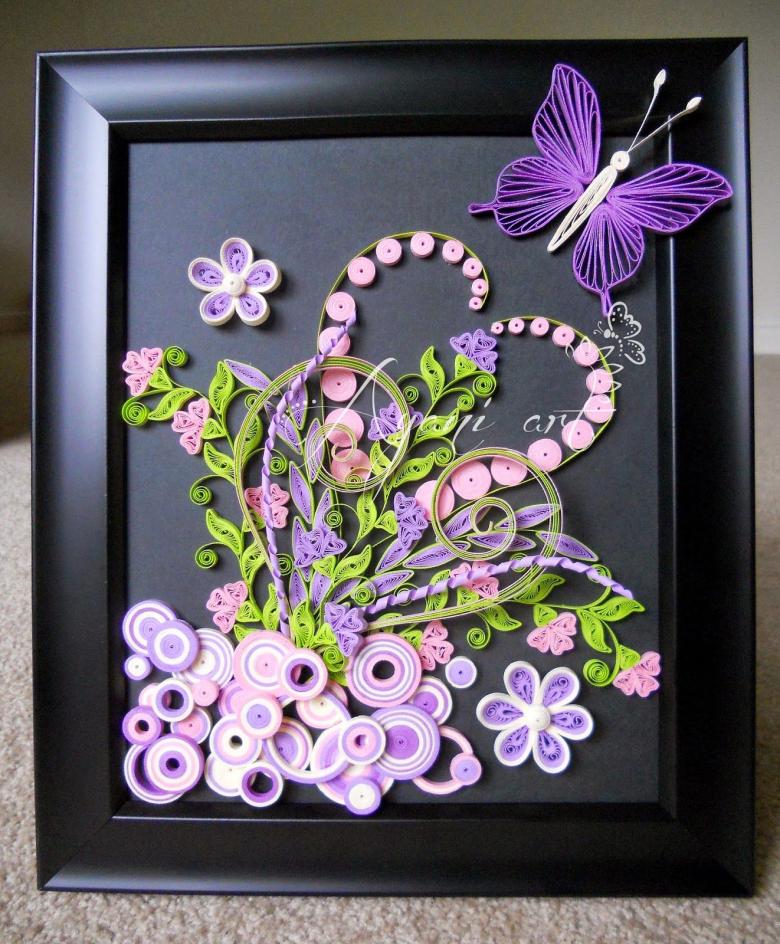
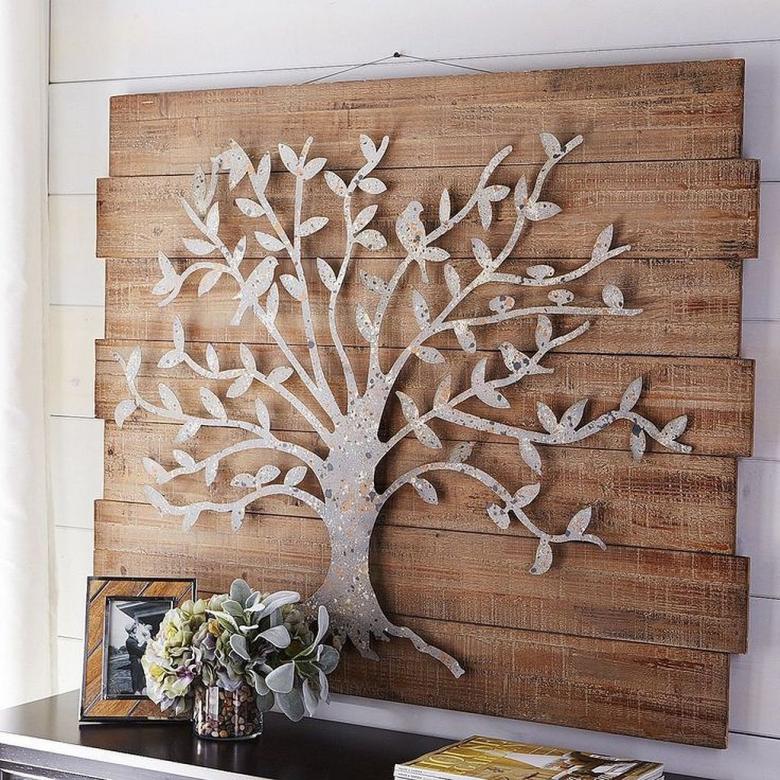
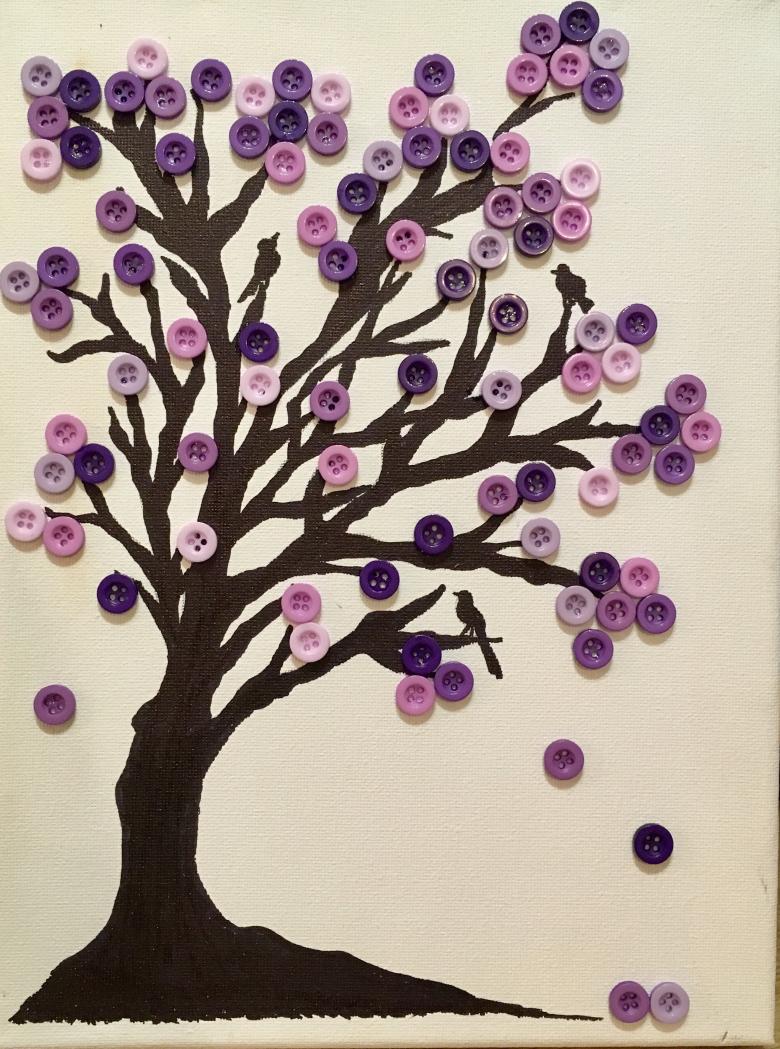
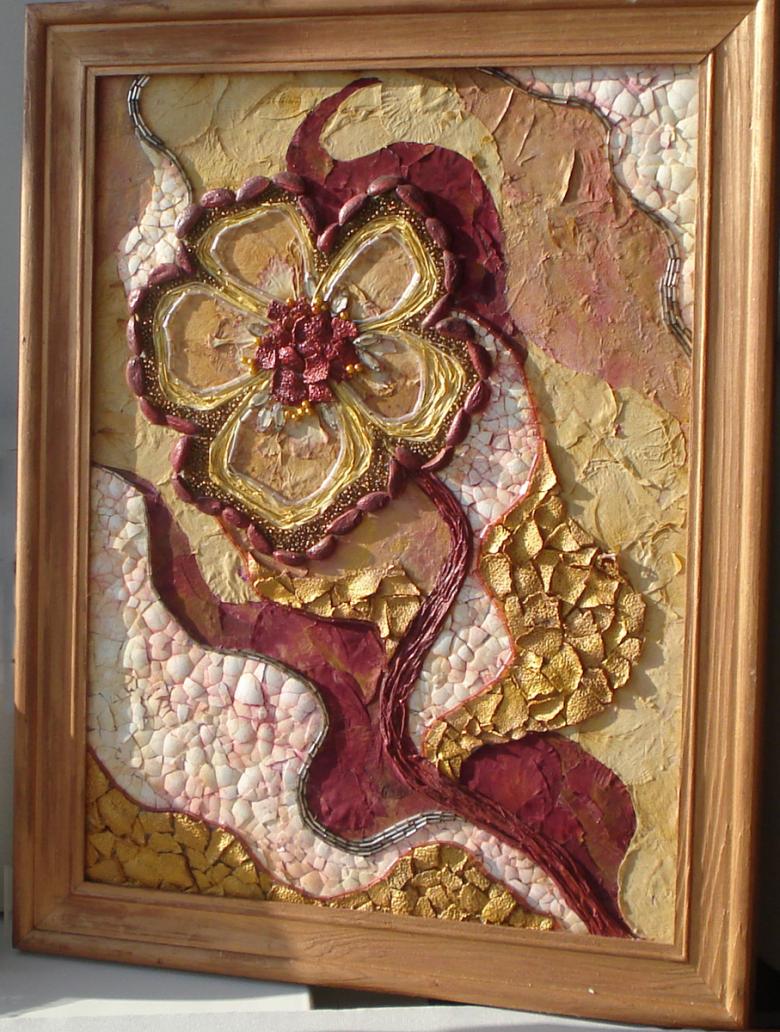
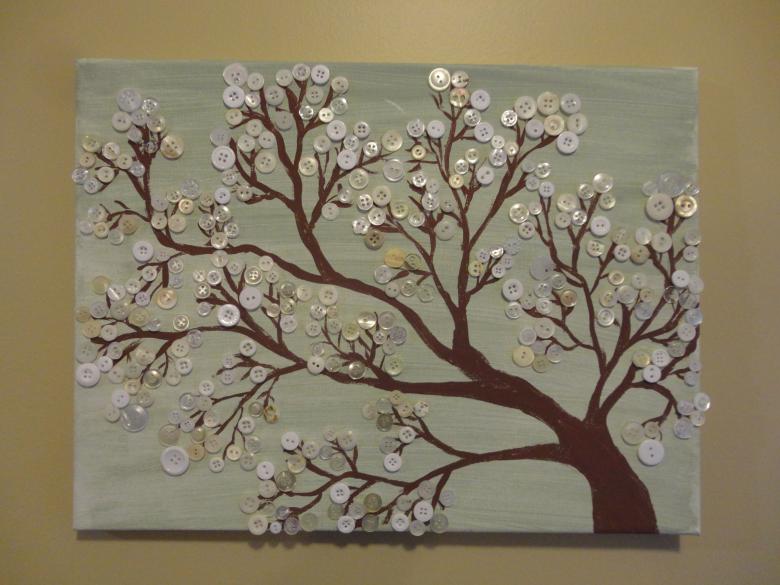
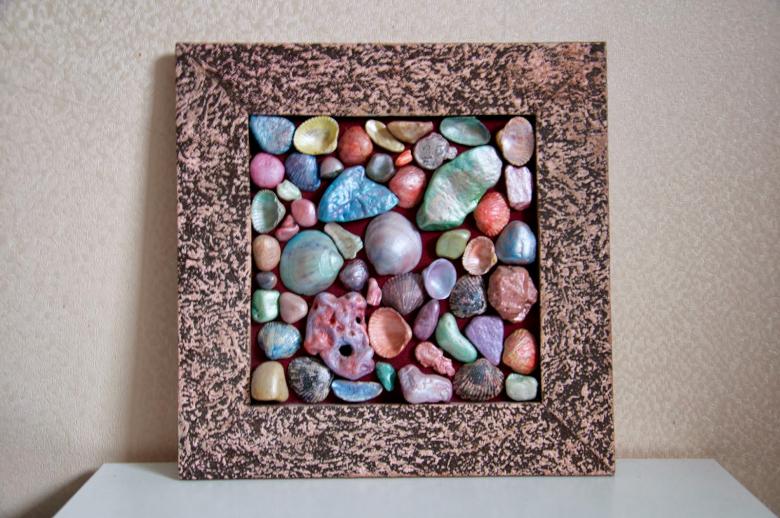
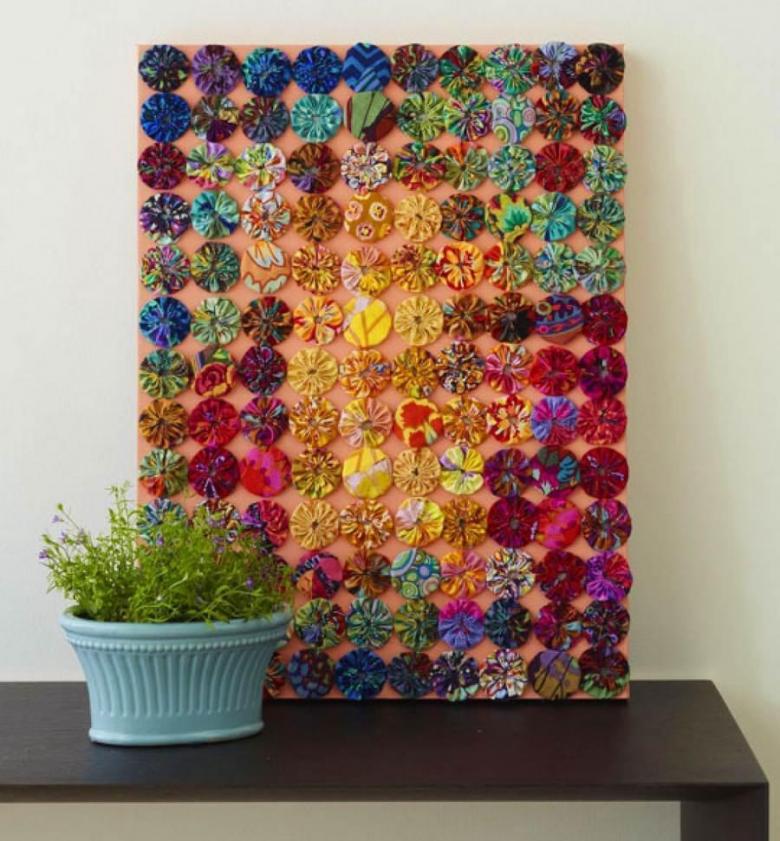
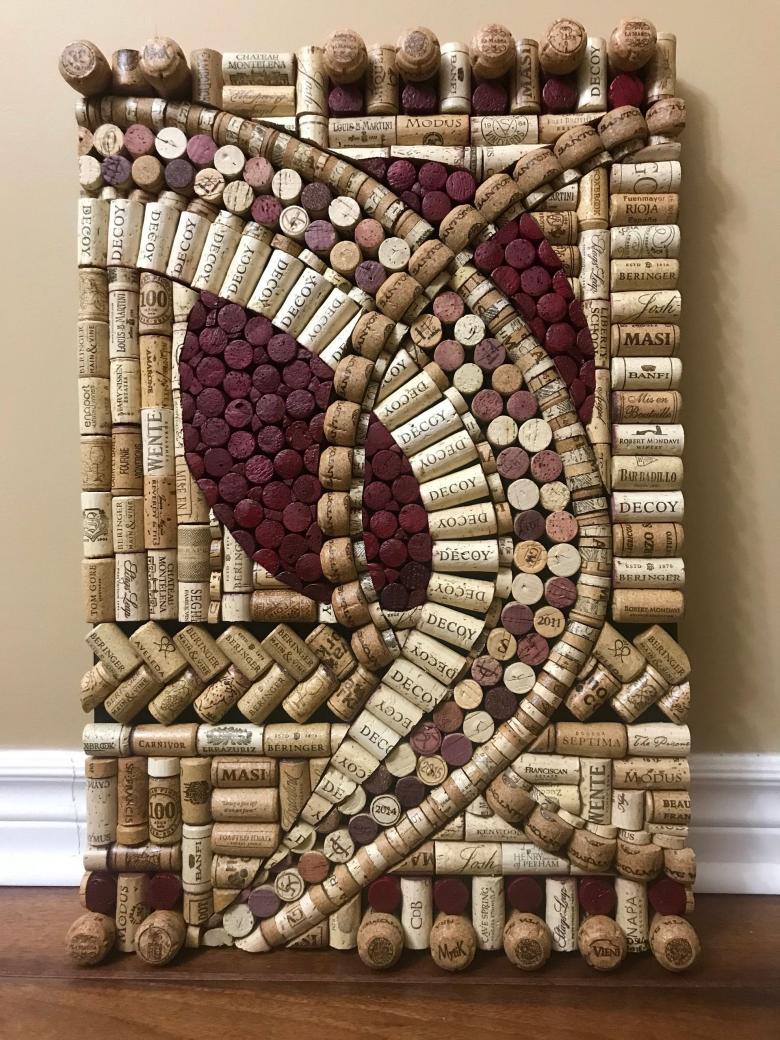
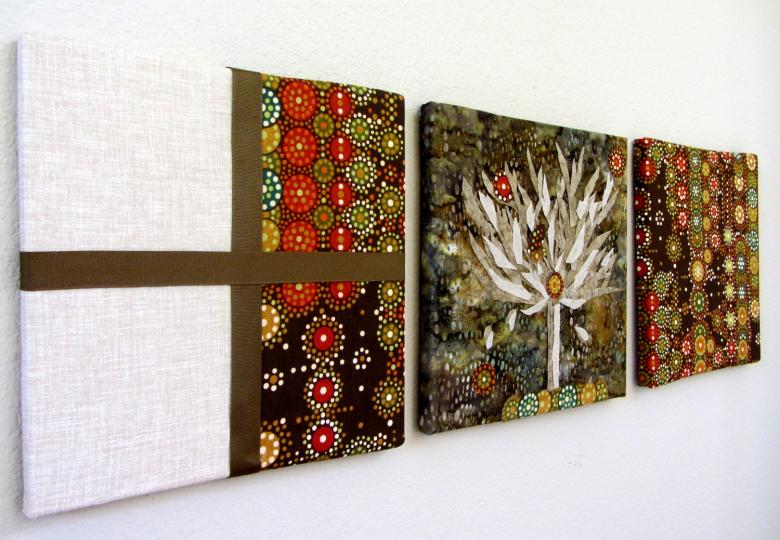
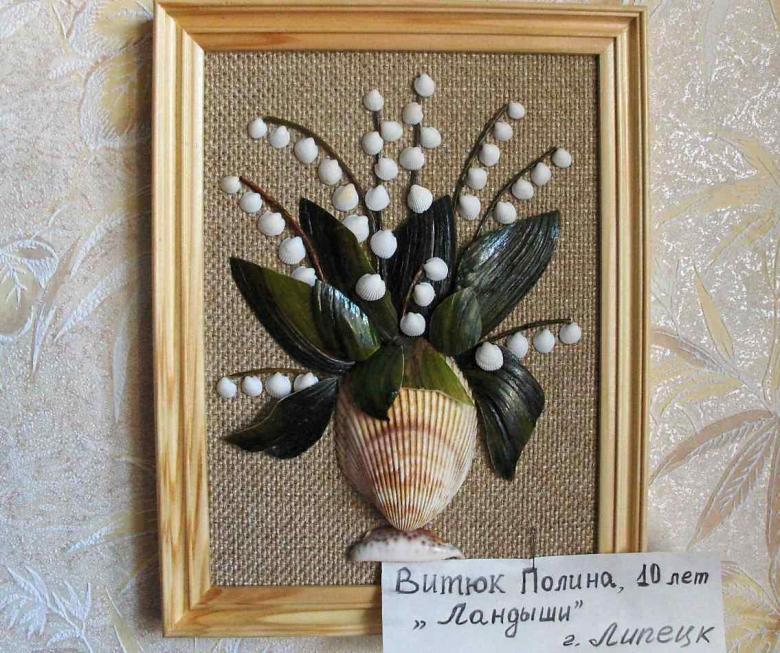
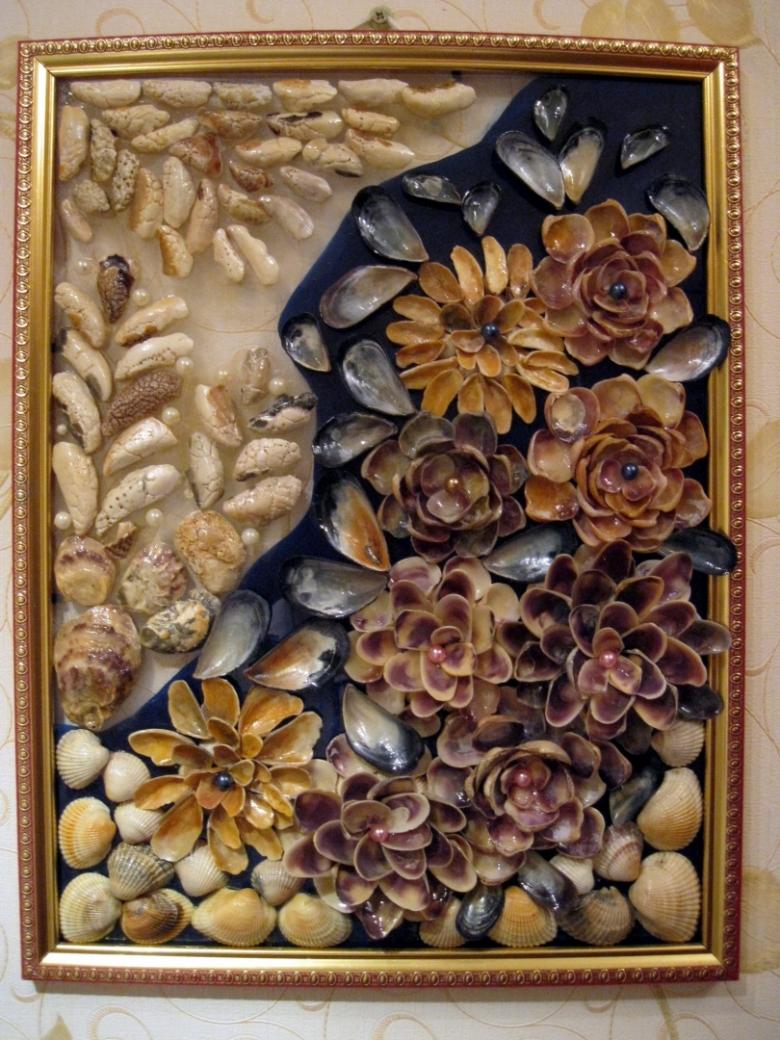
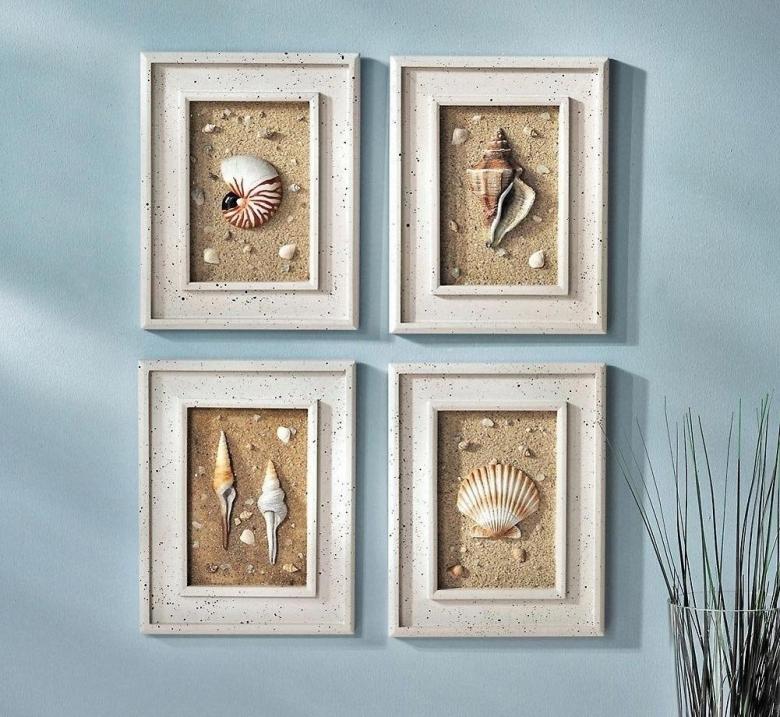
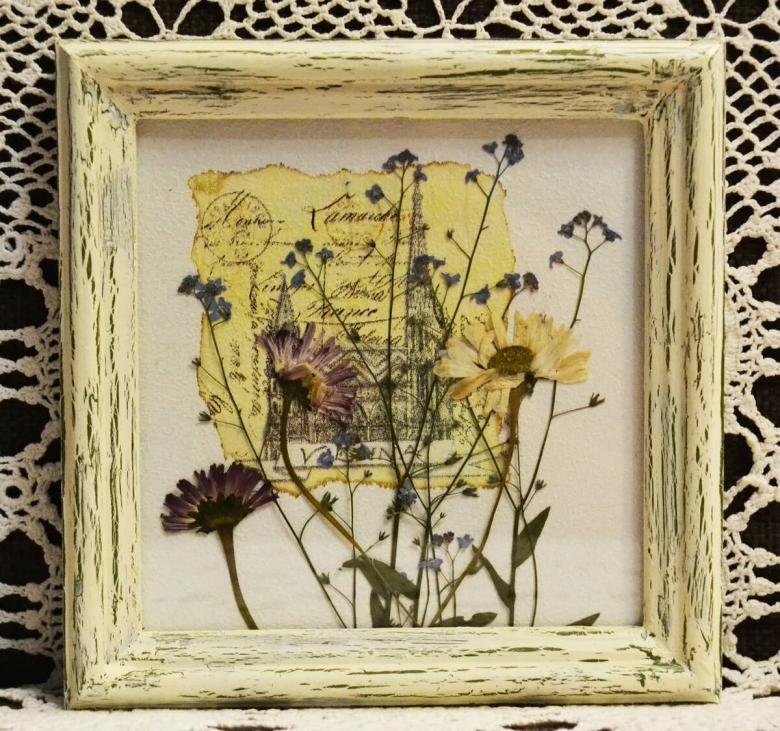
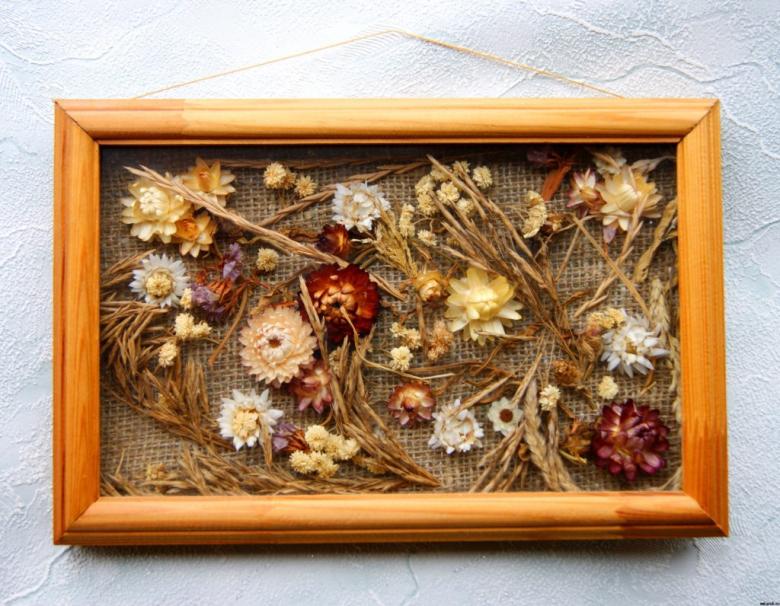
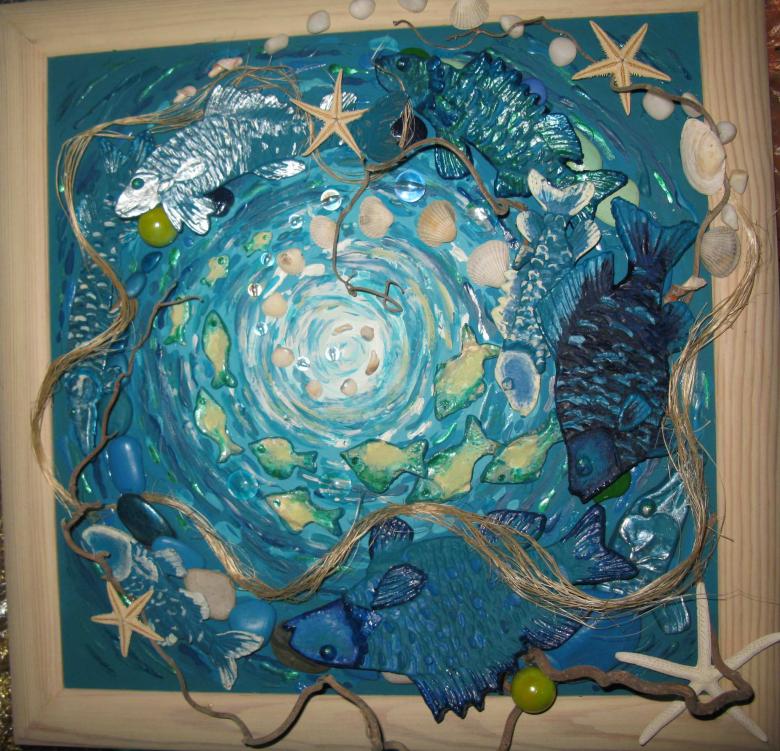
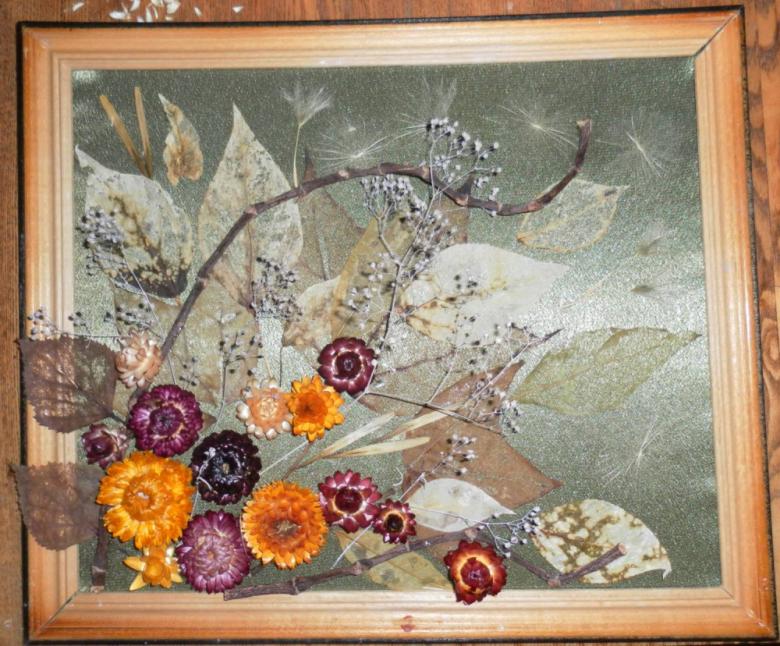
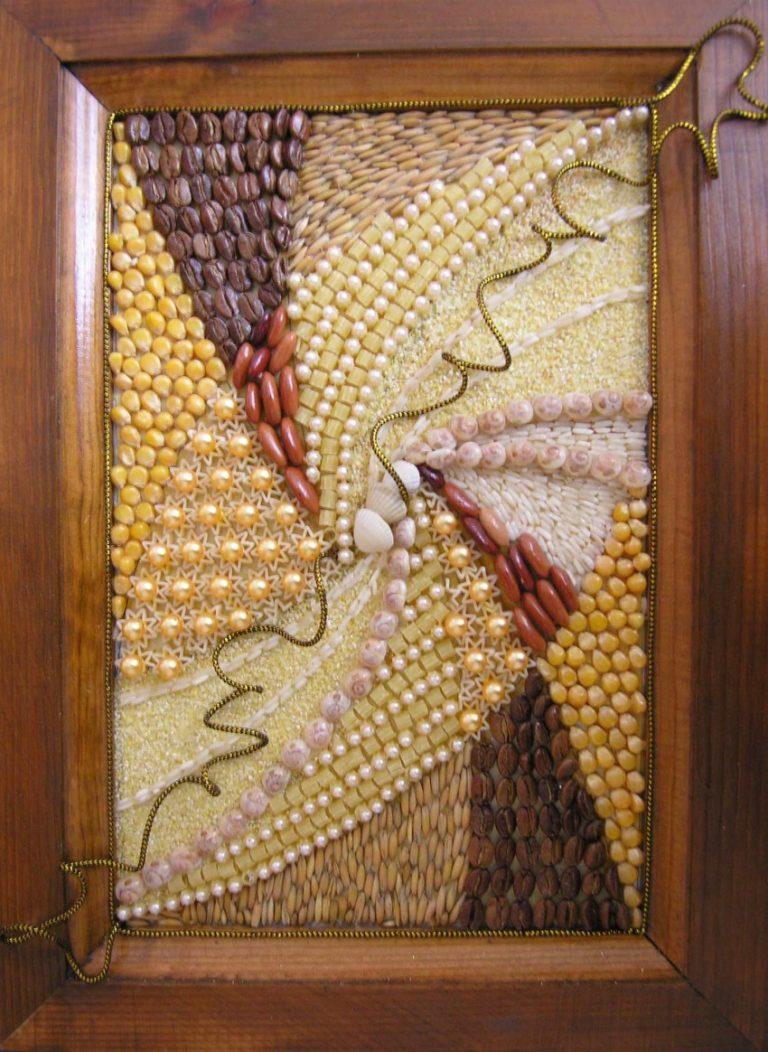
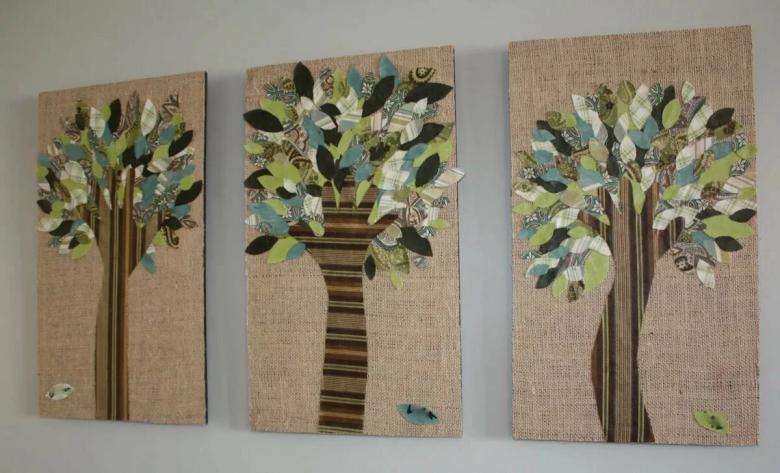
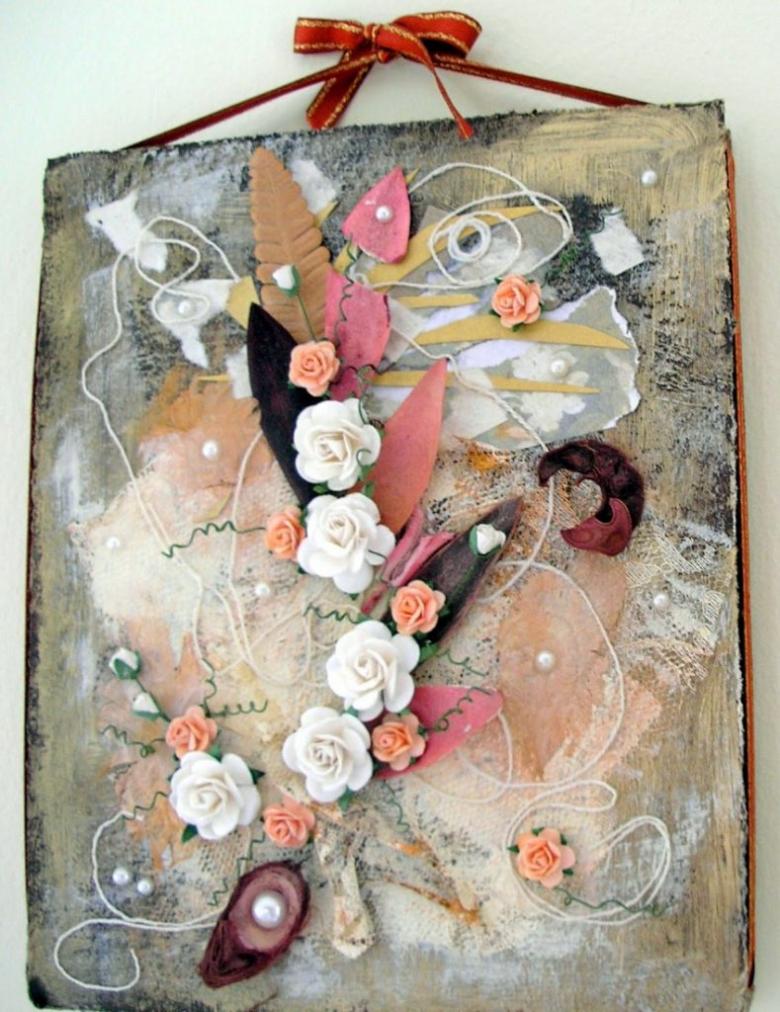
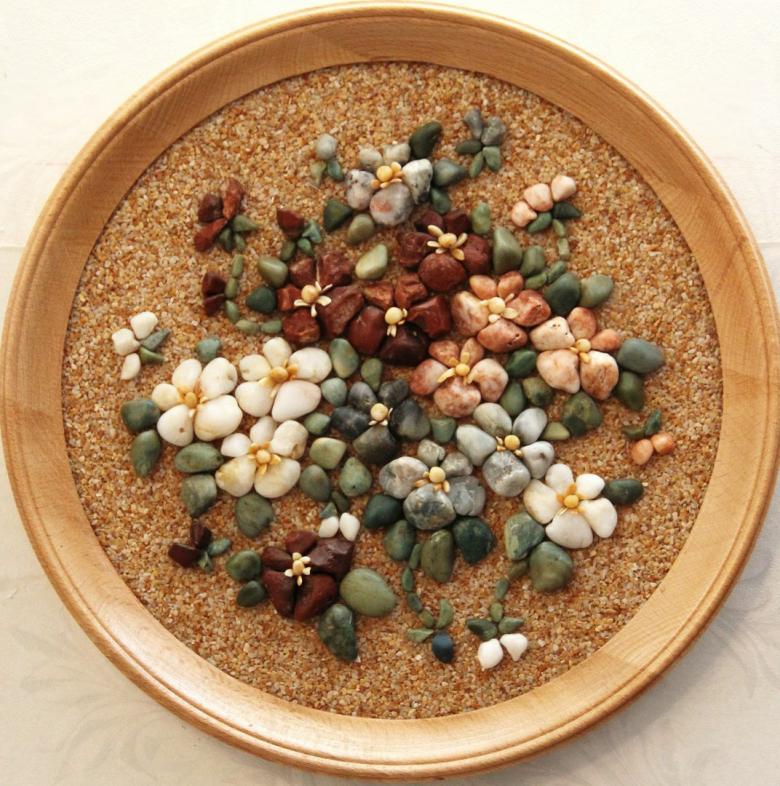
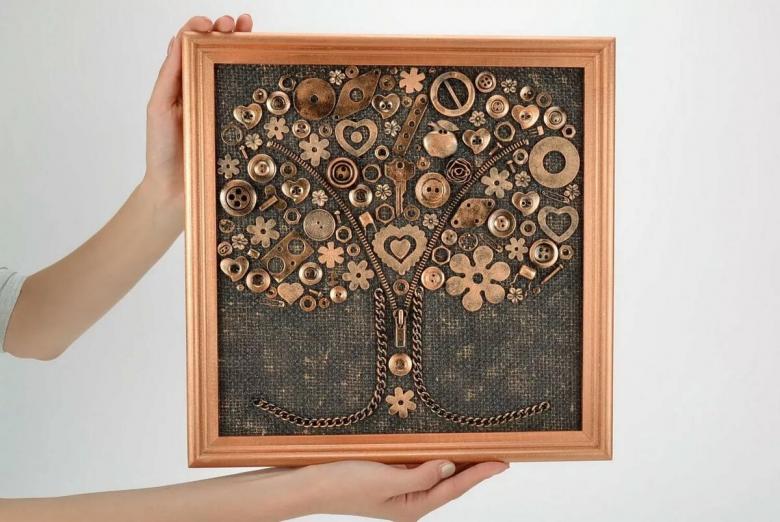
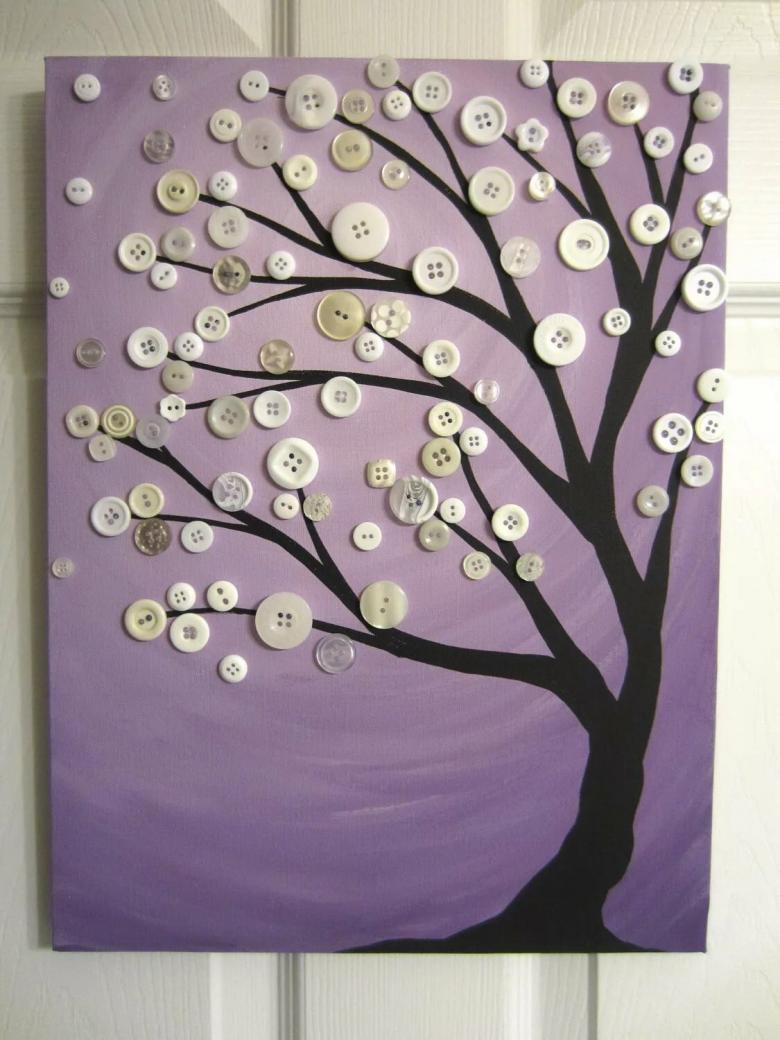
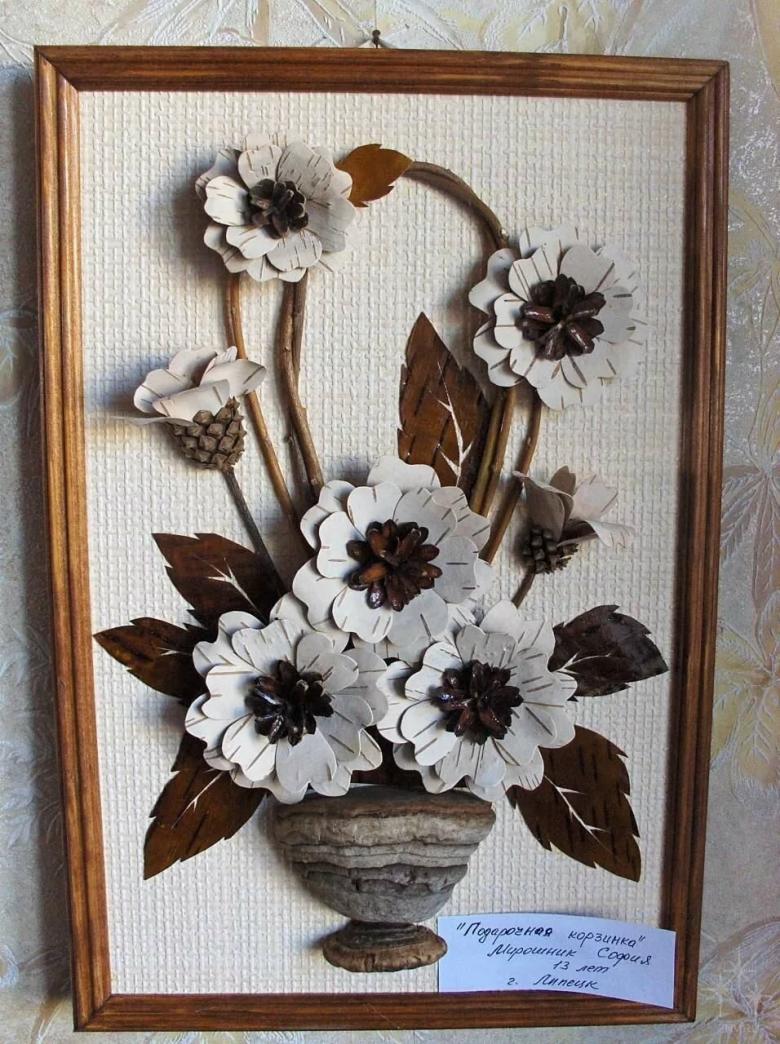
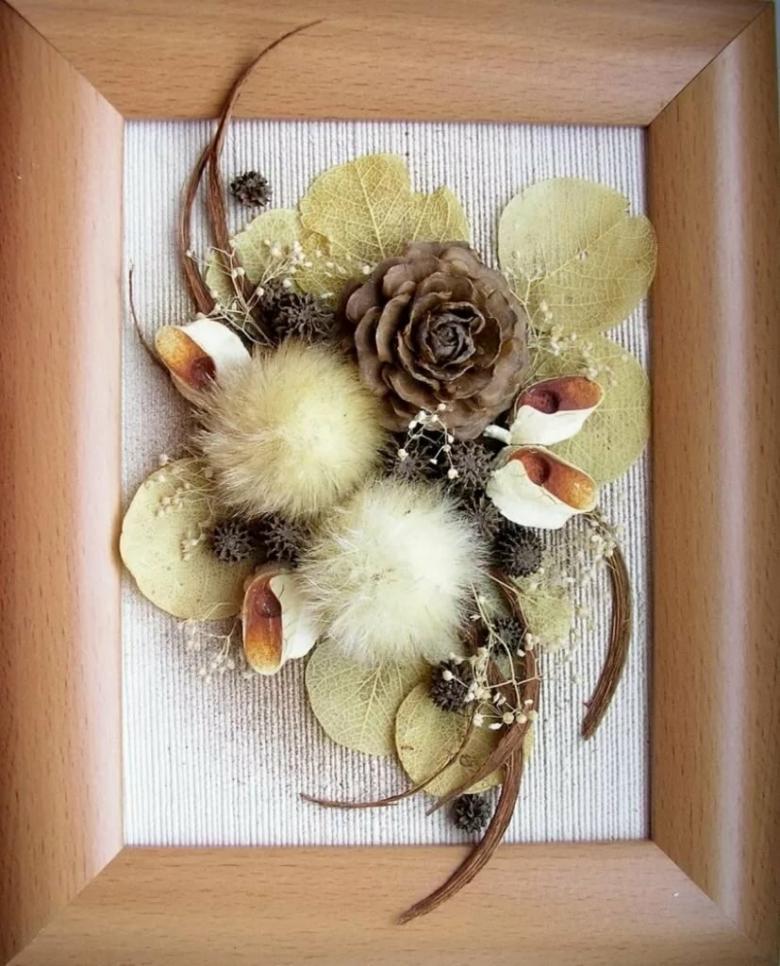
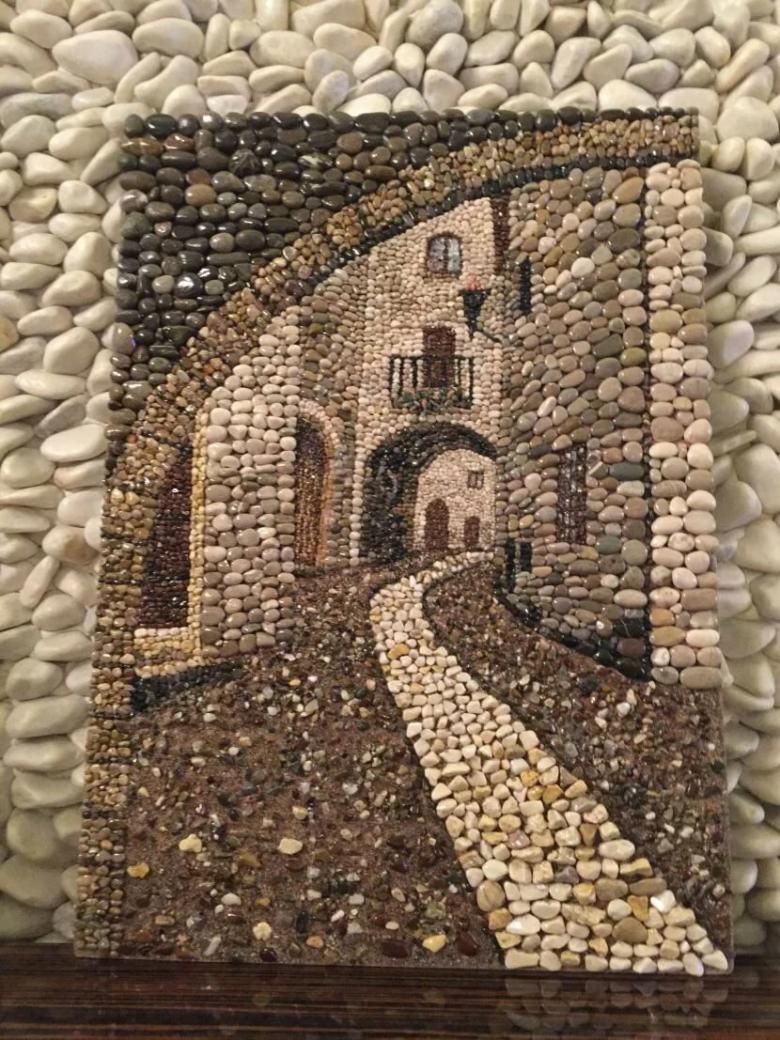
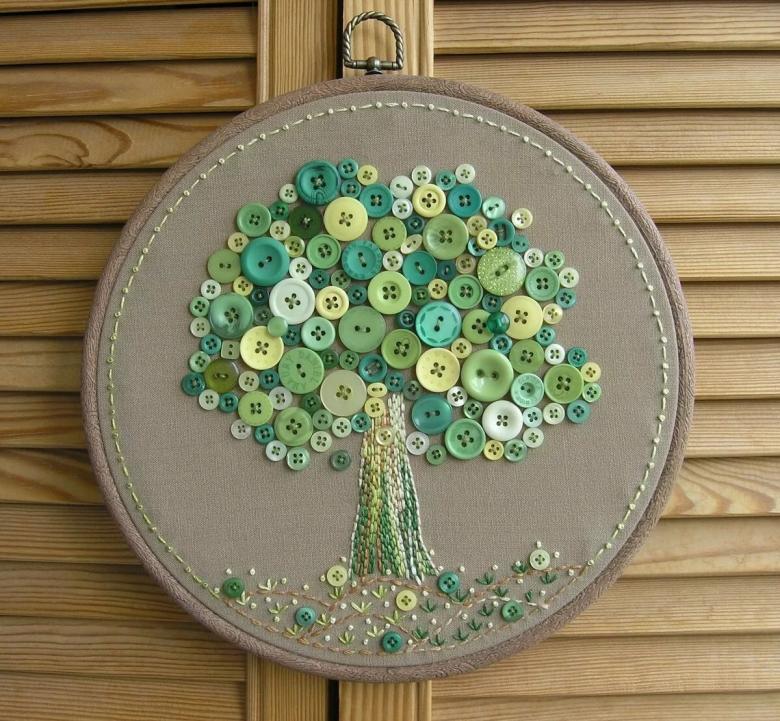
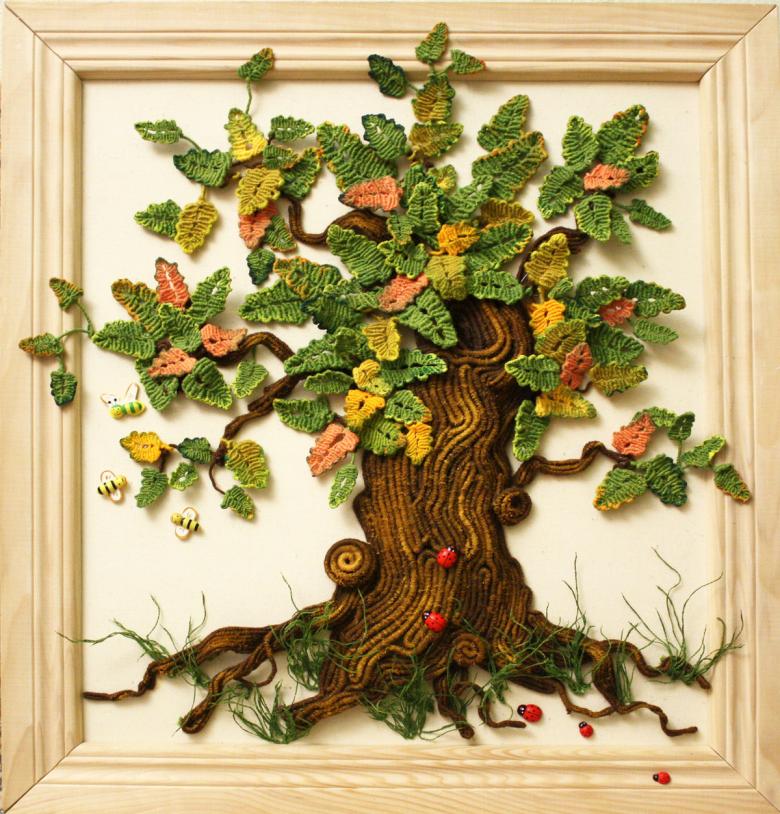
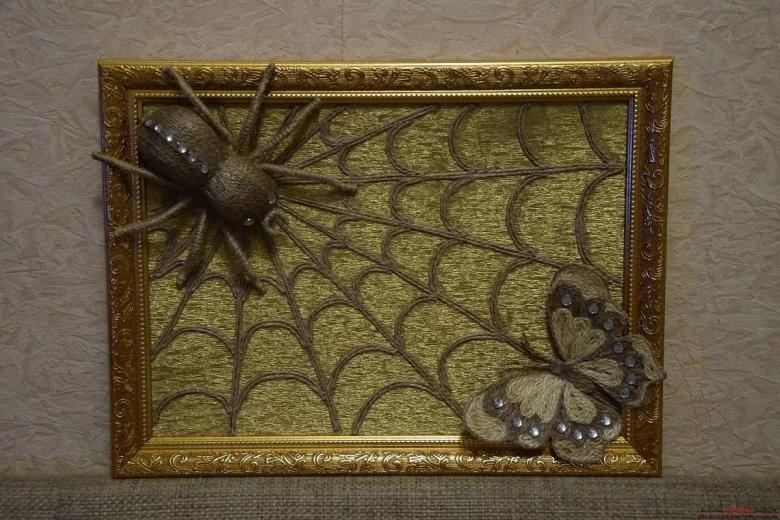
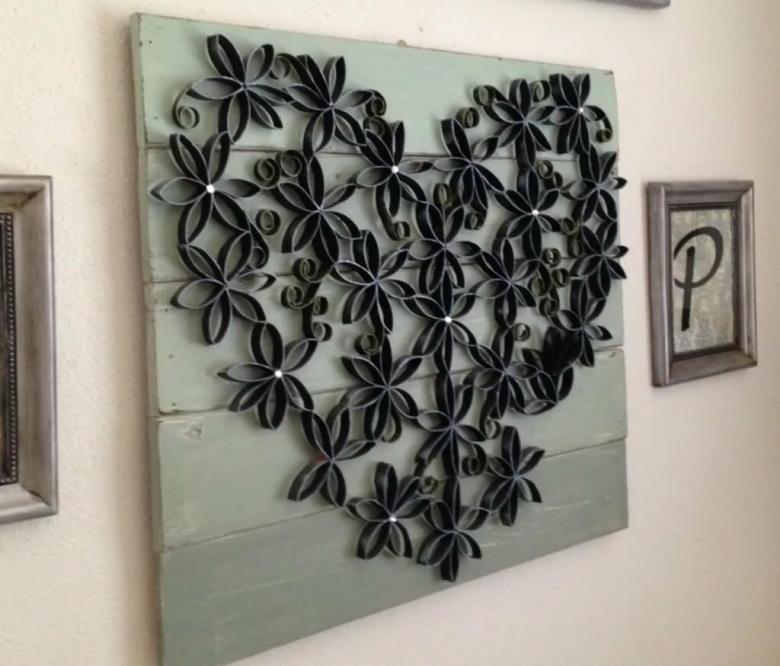
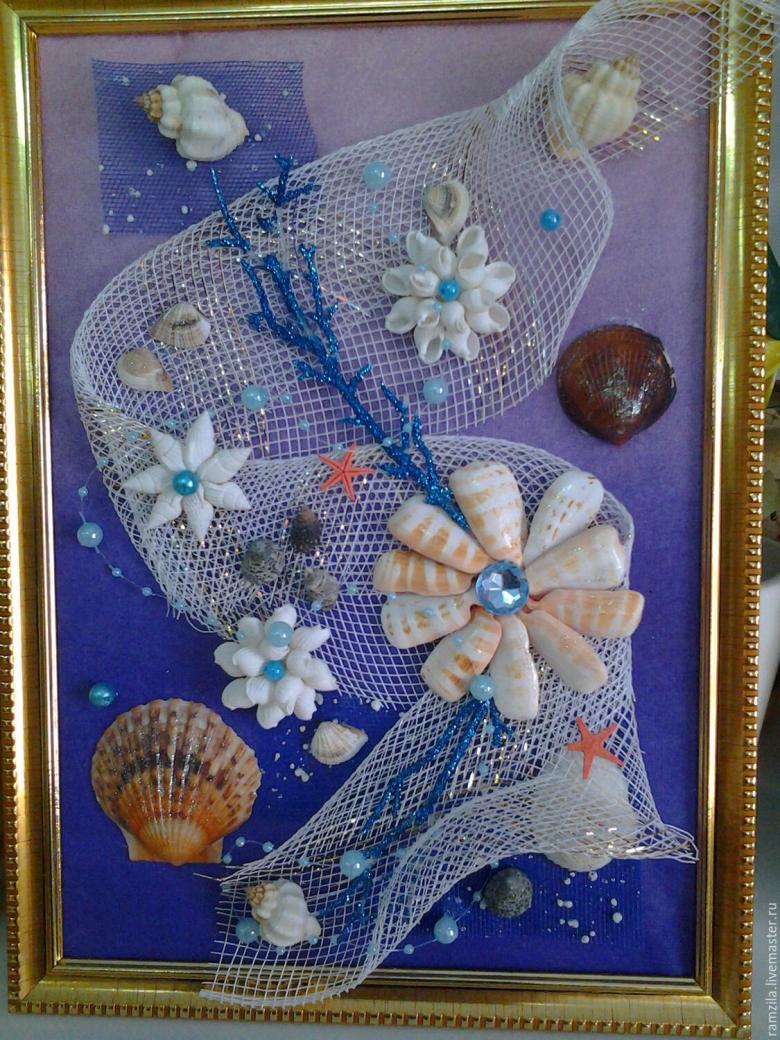
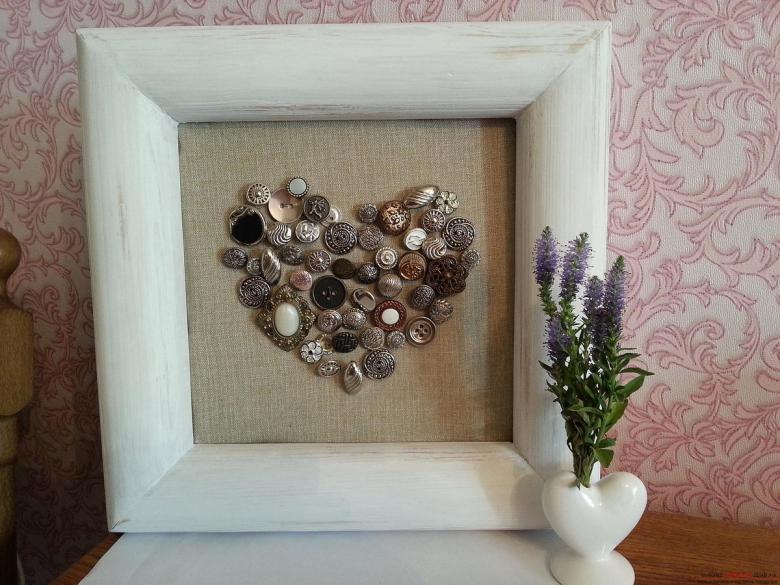
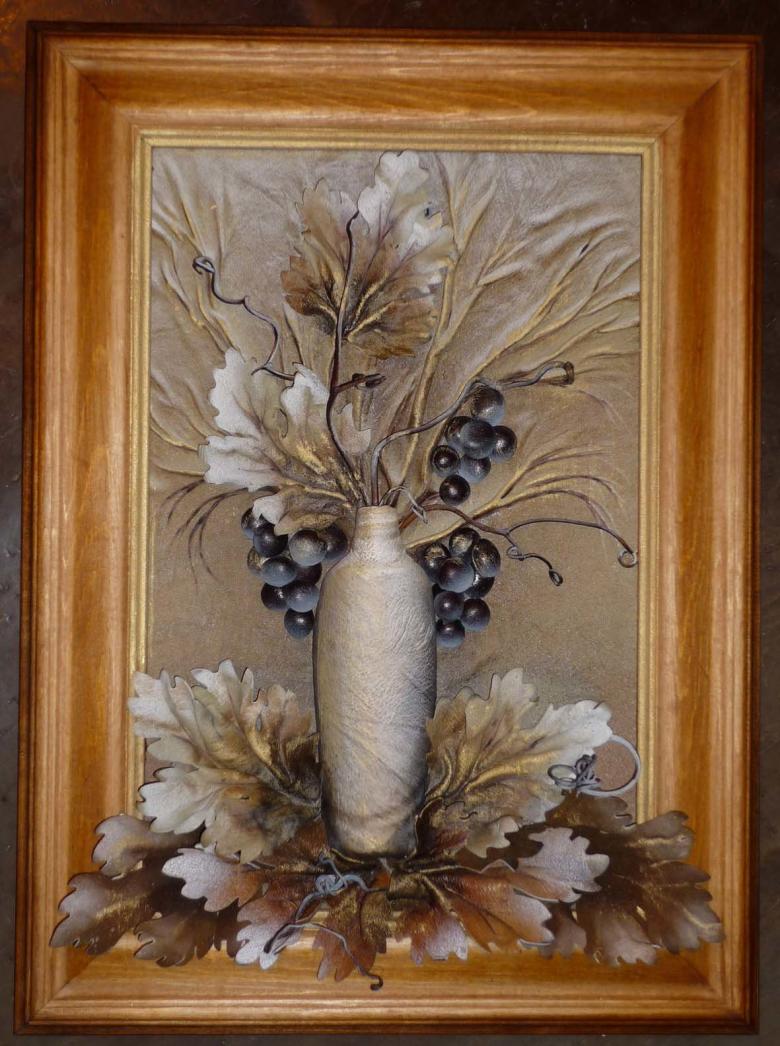
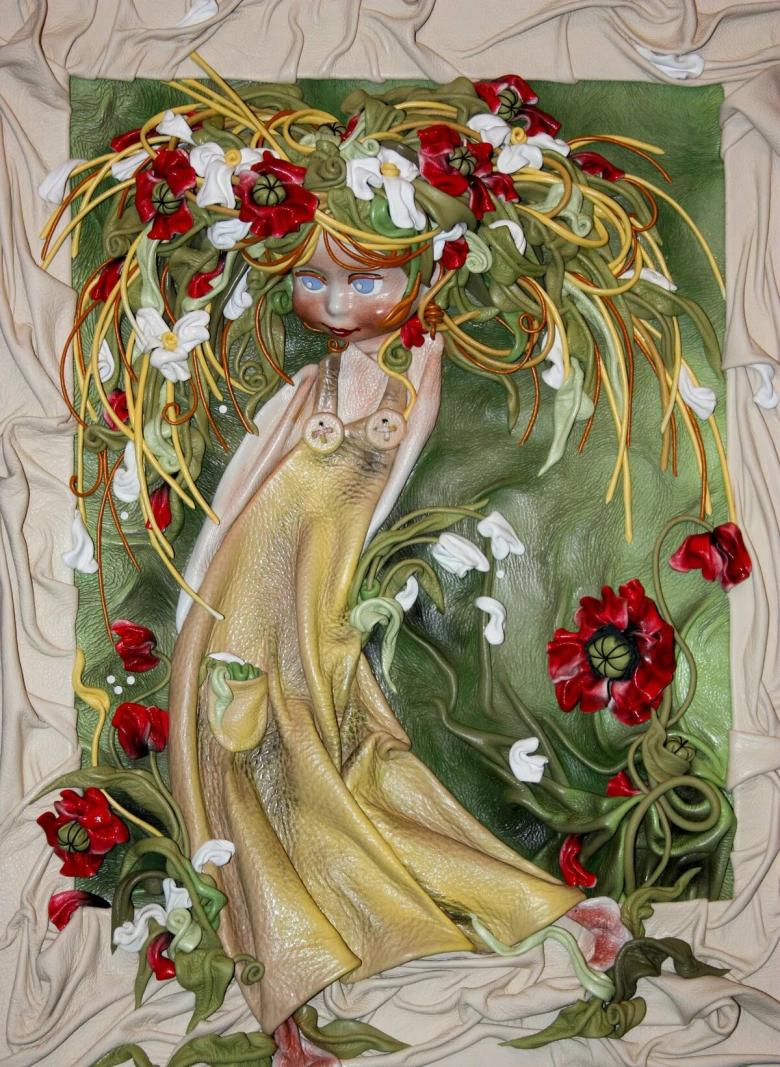
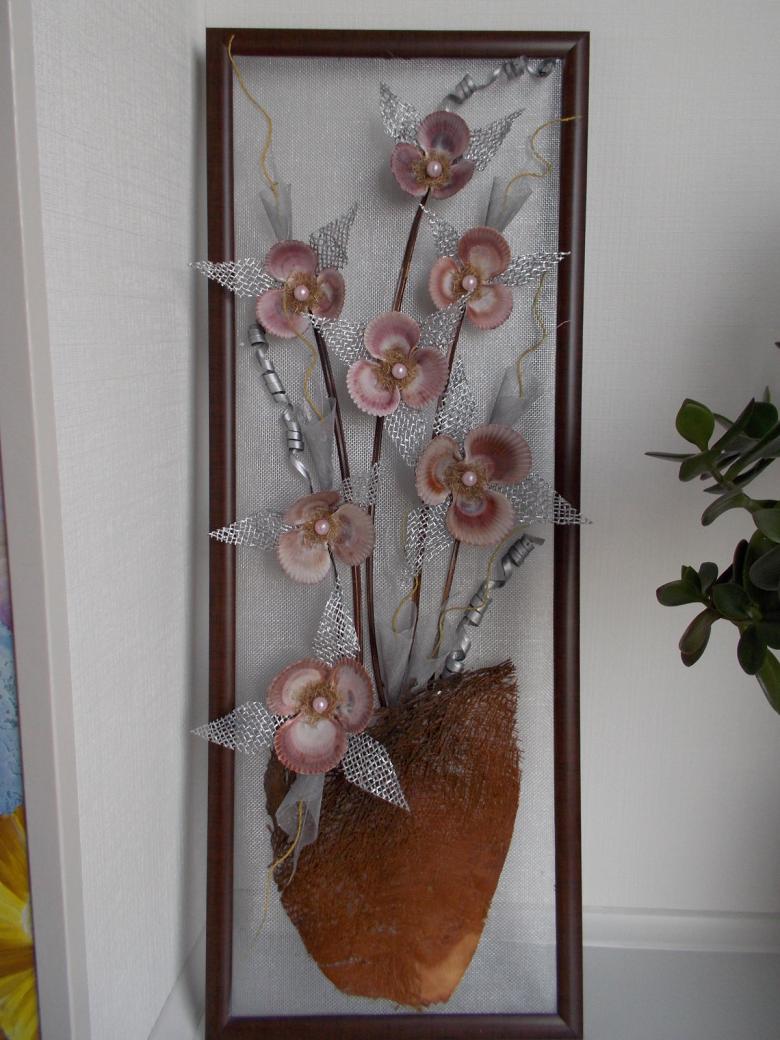
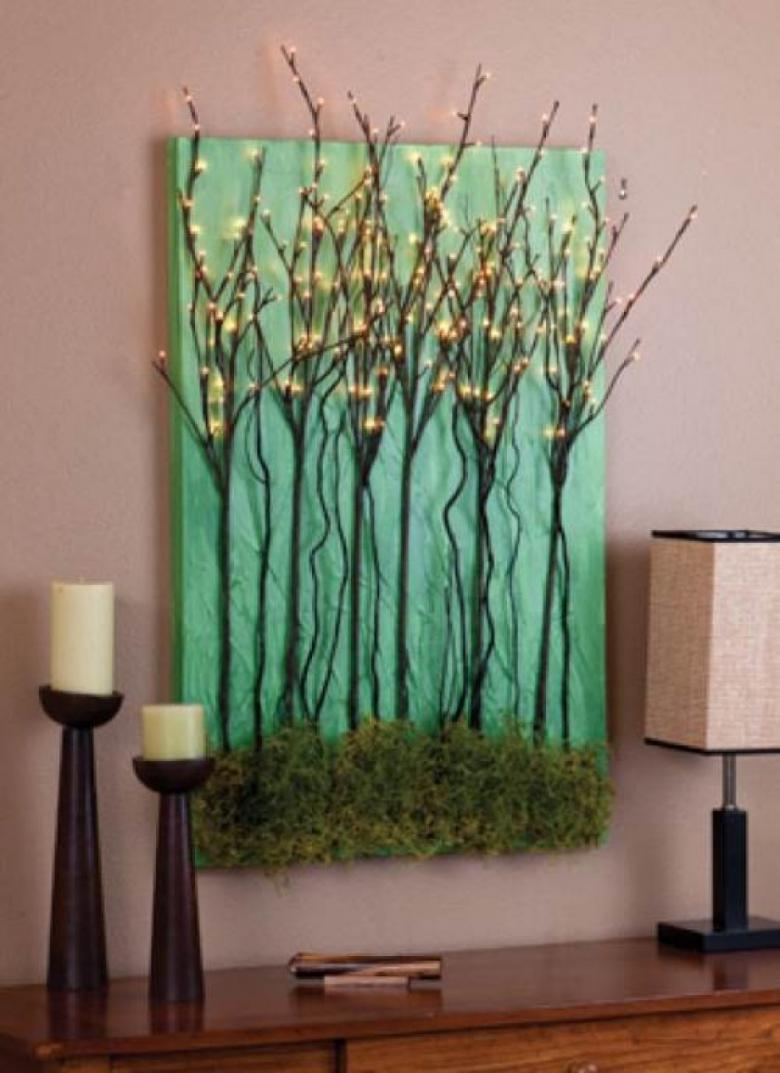
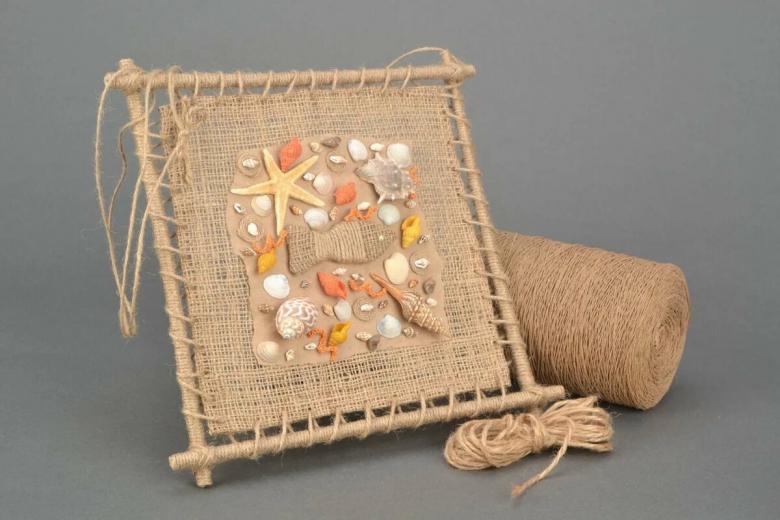
It is not necessary to buy this thing at all because it can and even should be made by your own hands from anything. They can be made from a variety of materials: from cotton disks and seashells to plaster 3d-panels and natural stone products. Nowadays it is very popular to work on creating a panel as a family.
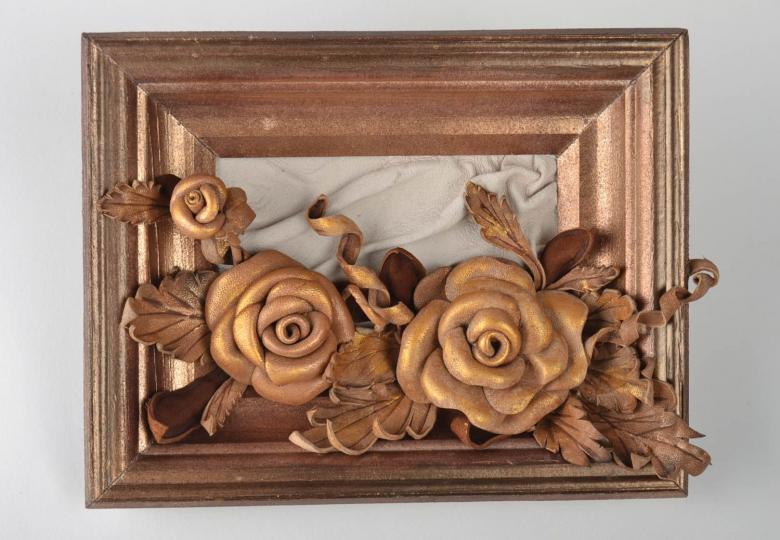
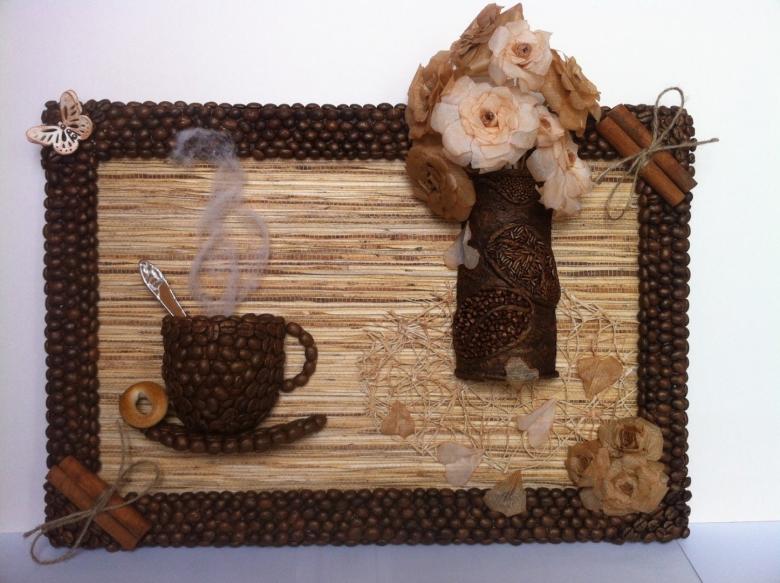
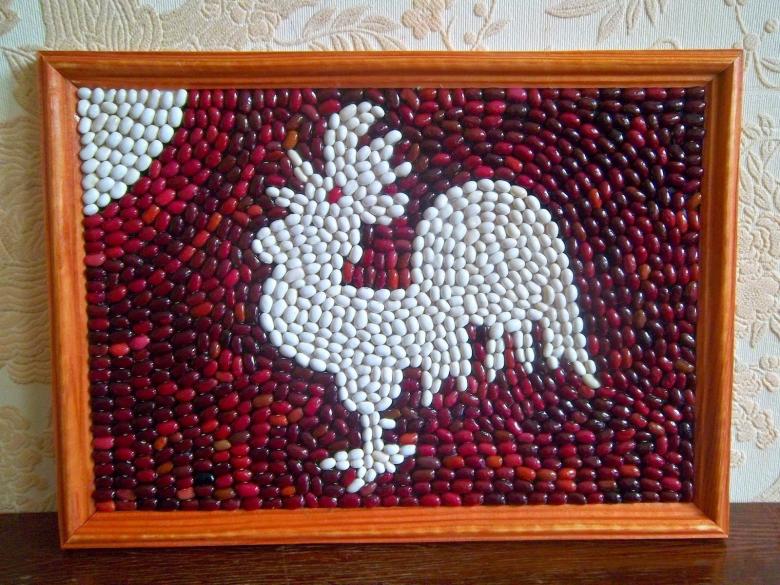
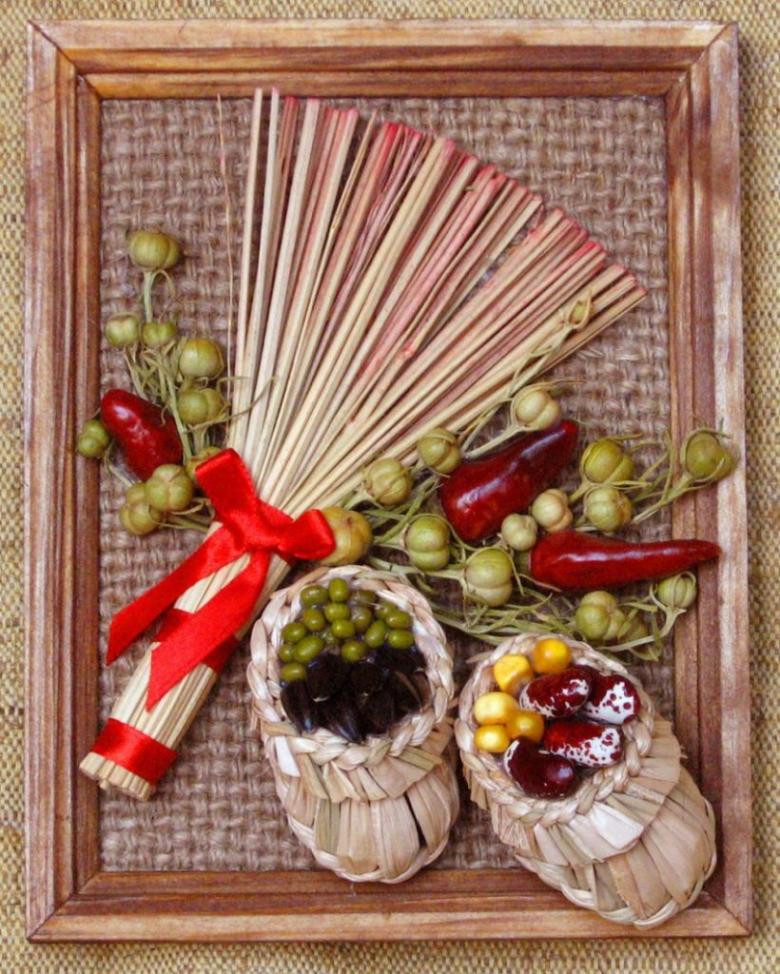
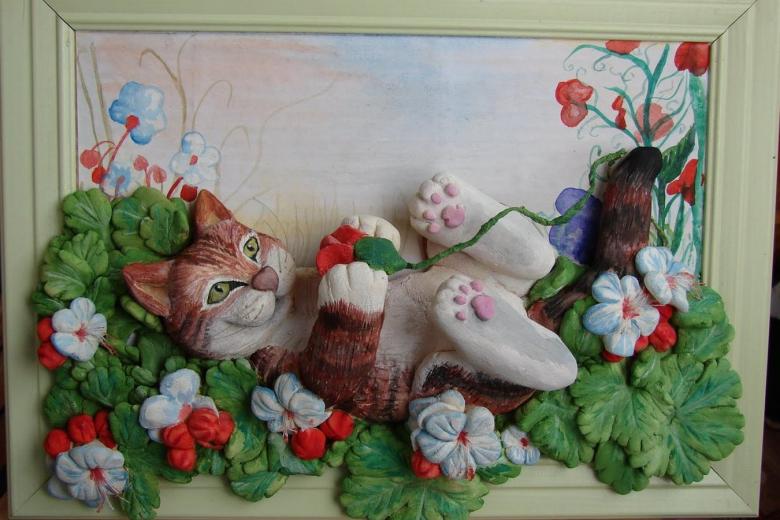
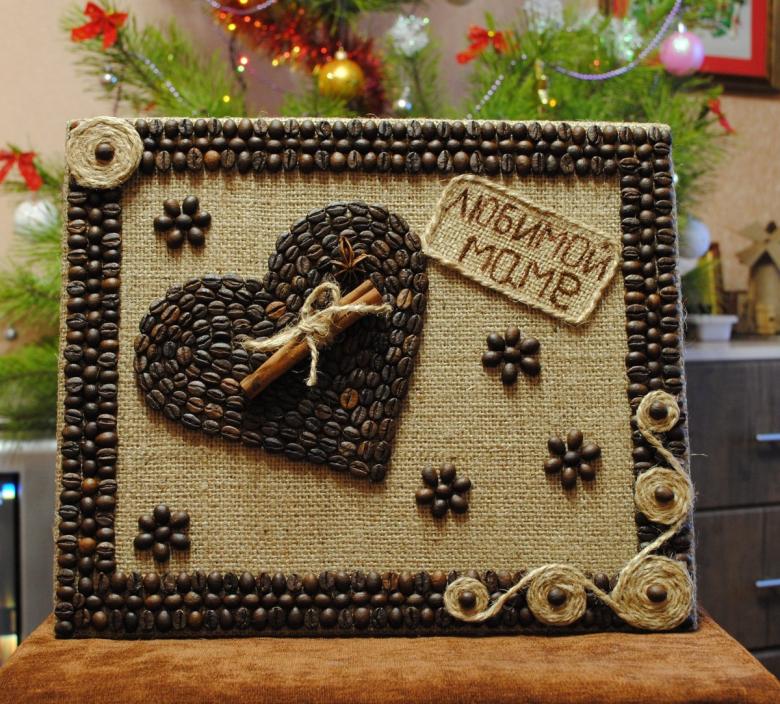
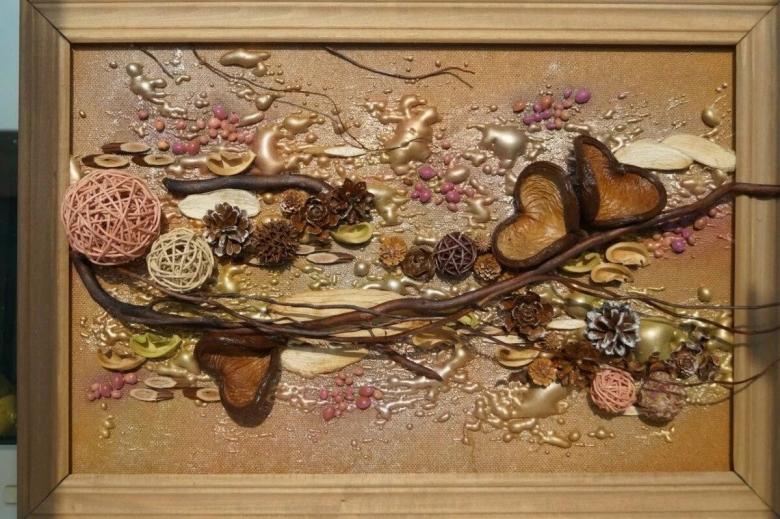
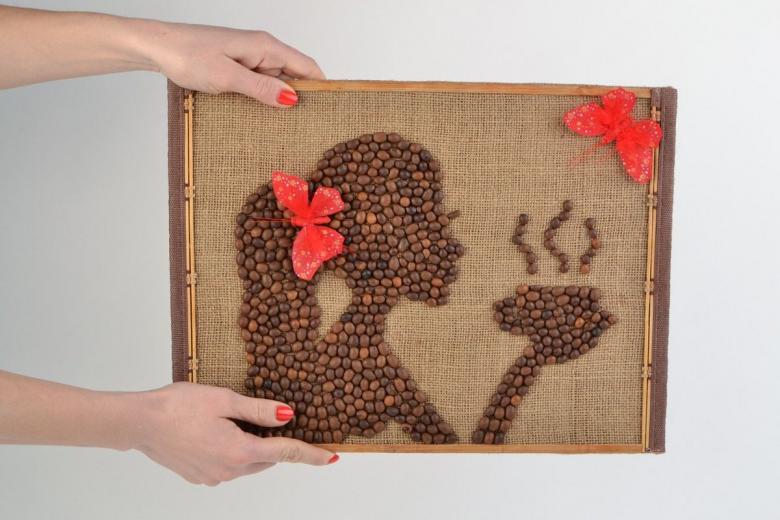
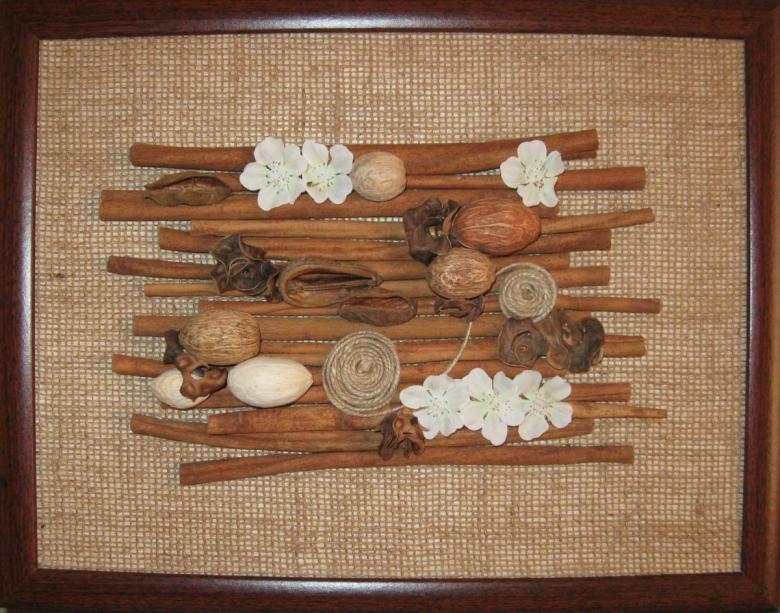
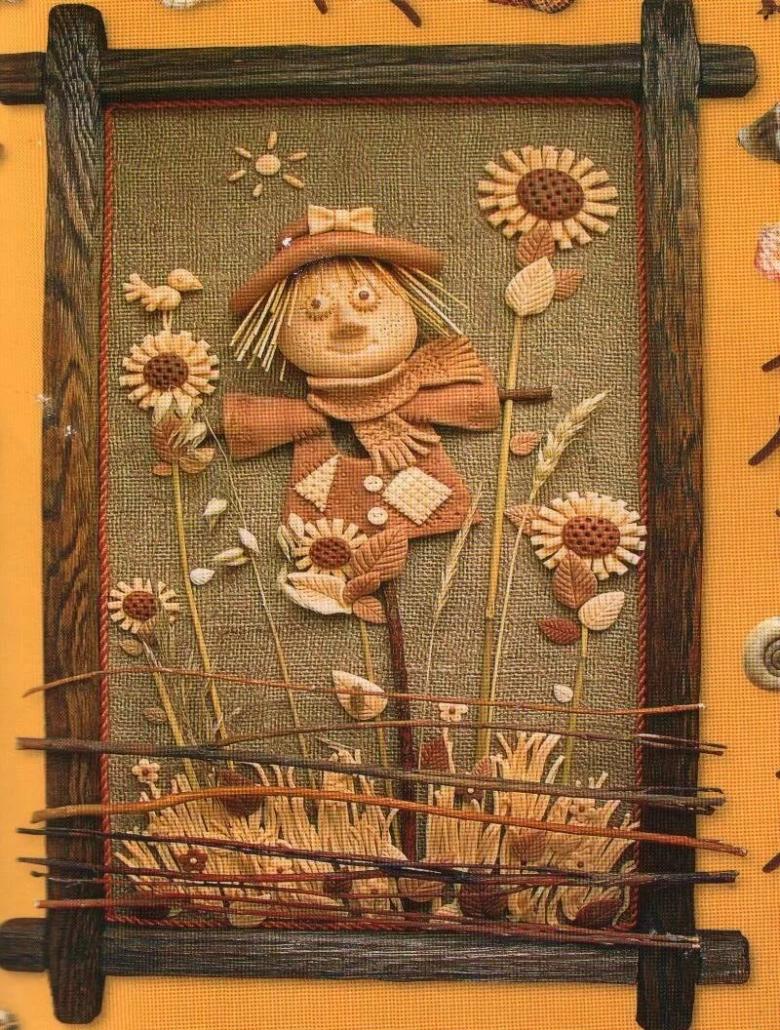
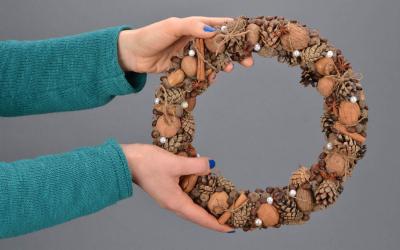
Pannon on the wall with his hands is easiest to create from salt dough (kids cope with this task at the age of 2 years), any grains, buckwheat groats, millet, barley, and even all kinds of pasta. Coffee grounds and dried fruit pieces such as orange, cloves, cinnamon are used as well, depending on the idea, subject and composition.
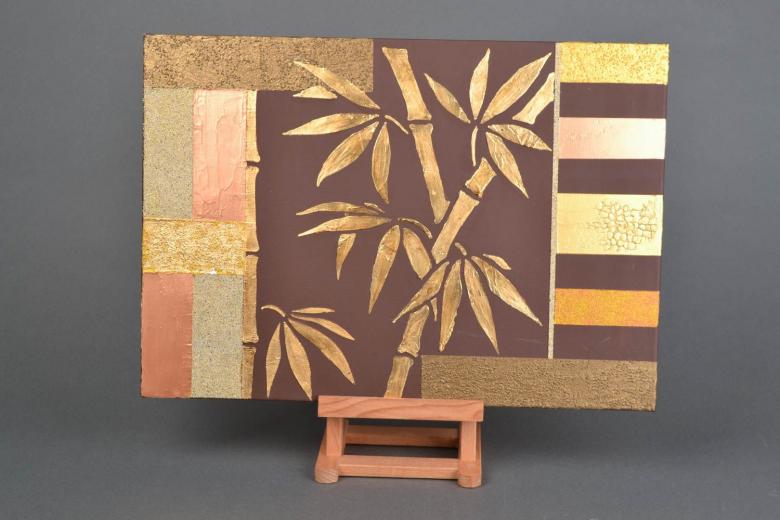
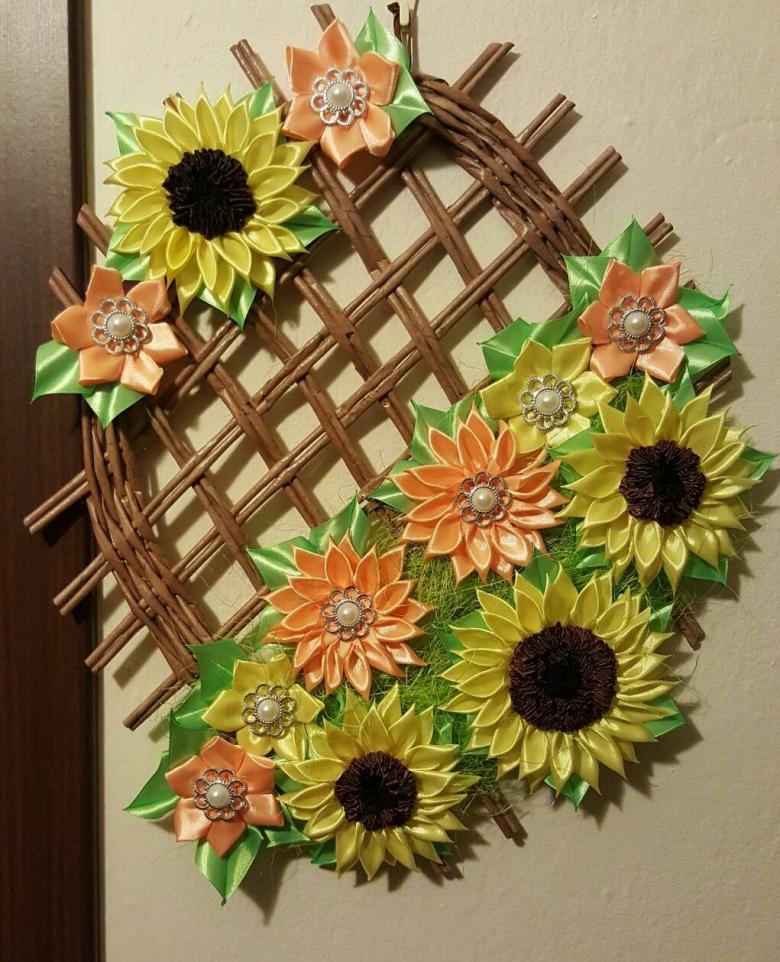
Panels made in the technique of kanzashi
The artworks made in this technique are very beautiful and effective. "Kanzashi" is mainly used in jewelry. Most often they use satin ribbons as the material for flowers. Japan is the birthplace of this type of applied art.
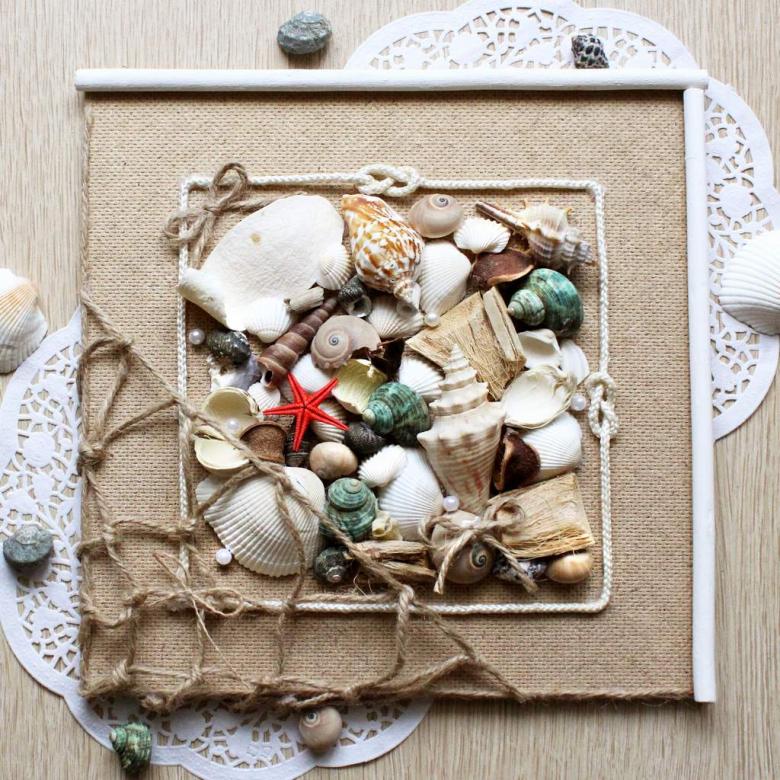
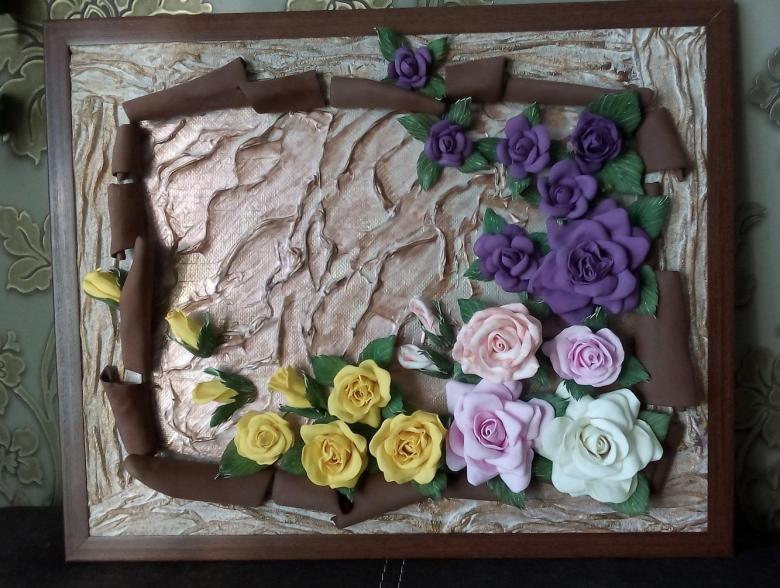
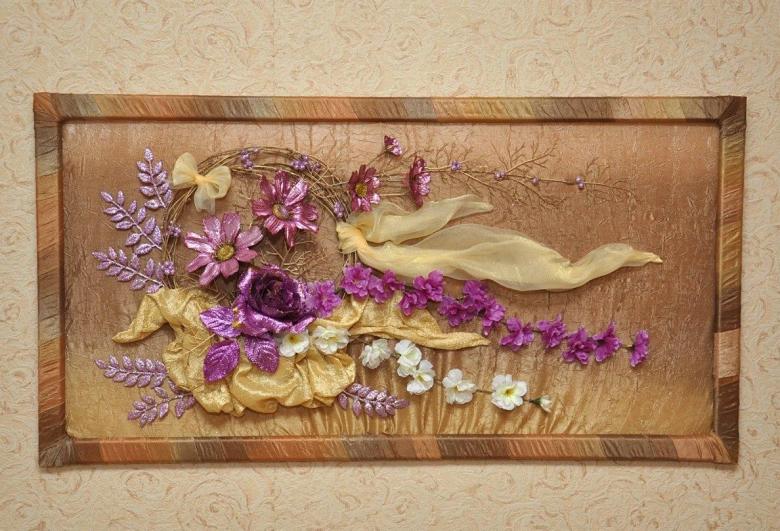
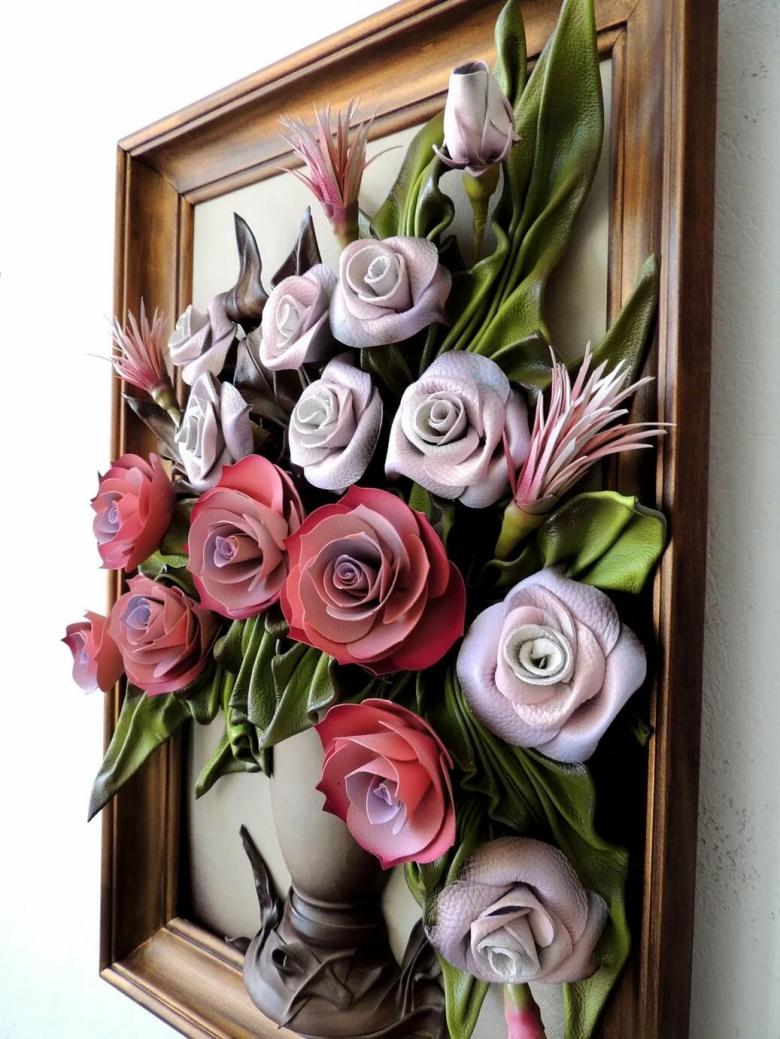
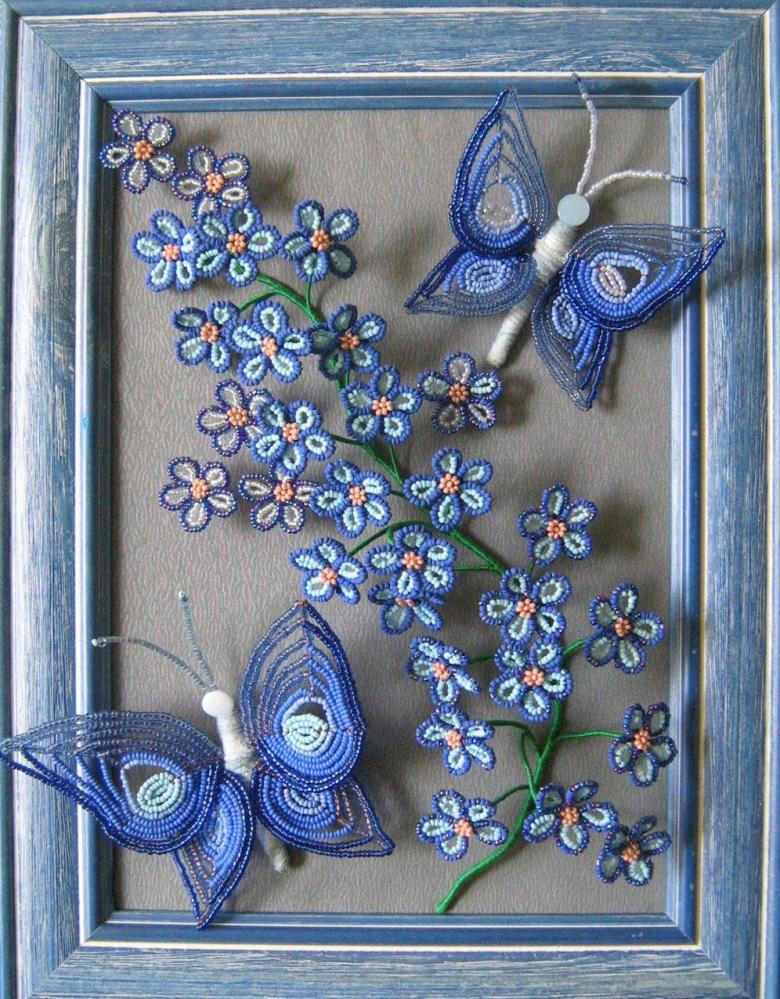
Very bright, original floral panels made in this technique. Monogram with flowers from ribbons, organza, beads and rhinestones will please incomparably longer than a bouquet of real flowers, because unlike the latter, ribbon flowers do not wither
Is the game worth the candle?
The panorama on the wall with your own hands in the technique of kanzashi should be performed for several reasons.
- First, you will get an original, spectacular and bright thing, which will please you and your household for a long time.
- Secondly, if the plot or composition of elements will be thought up by you, and not copied from the Internet, you can be rightfully proud of the work of your hands, as a unique work of applied art will turn out.
- Thirdly, you will save money if you decide to present the panel to someone for some festivity.
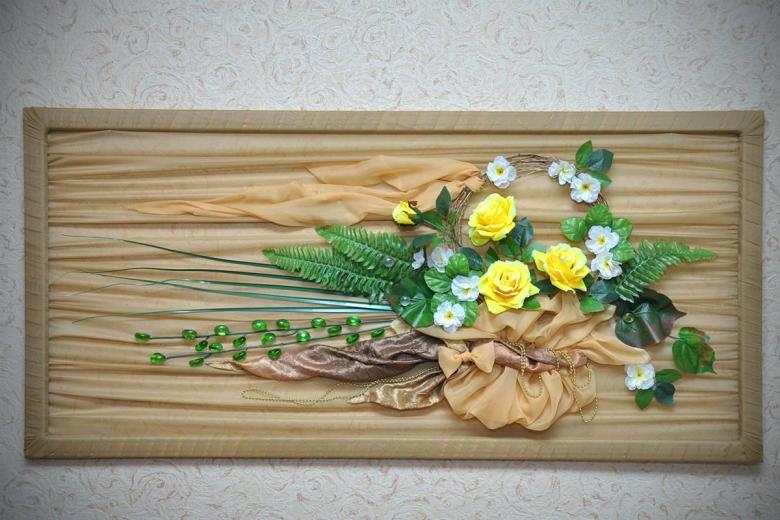
Make a panel "Bouquet of roses" in the technique of kanzashi
Any fabric, but ideally brocade and satin ribbon will allow you to recreate a plaster of any kind and variety of flower. This tutorial will give you a detailed description of making a floral panel based on a computer disk decorated with roses created in the kanzashi technique.
The choice fell precisely on roses, as in the opinion of many members of the fair sex, roses are the most beautiful flowers and they are bought as a gift most often.
To begin with, we need the following materials:
- A computer or CD-ROM;
- White satin ribbon half a centimeter wide and no longer than 7.6 m;
- A gold- or silver-looking ribbon of a length corresponding to the diameter of the disk;
- Gold-plated cord, which will be used to make a loop in case of a desire to make a pendant
- beads or semi-beads in bright colors with a circumference of about a centimeter, they will decorate. We need six pieces.
For the composition, consisting of 3 roses need:
- pieces of satin ribbon 2-3 cm wide in different colors, but it is better to choose delicate shades of pink, scarlet and bright red color of six centimeters in length, counting 17 pieces per rose;
- 3 pieces of green brocade. Their width should be 1-2 cm length 10 cm
- 6 strips of green satin ribbons 2.5 cm wide and 10 cm long
- 3 strips of thinner green ribbon half a centimeter wide. Take a length of not more than 5 cm. These will be the loops.
- 3 stamens;
- A circle of green felt about 4 cm in diameter
Step-by-step development of the panel "Bouquet of roses".
We begin the work with the preparation of the disk, white tape and everything you need for the base. Without leaving a gap to wrap the ribbon on the disk, evenly placing the rings one on another. Each layer should be dabbed with glue to make a tight structure. It is necessary to glue the tip.
An unneeded piece of tire trim should be glued to the outer edge of the disk. Prepare blanks from the ribbons intended for making the petals of the buds. Burn the slices of ribbon with matches or a lighter. The two upper two corners on one side of the ribbon go down, bend them to make it look like a house. Then combine the corners formed as a result of the bend with the original ones. With the help of fire you can fix the workpiece.
Create for each rose petal in the amount of 17 pieces. Next, you need to twist the petal with a tube, then glue another, then the third, so the modeled bud.
Glue should be sequentially in a circle. At one rose takes 17 blanks.
The green brocade width of 2 cm and satin ribbon width of 2.5 cm fold in half. An incandescent knife or with a soldering iron to disconnect the resulting figures askew, so that there are two orthogonal triangles.
Elements of the brocade, like sepals, you need to connect to the stamens. Make loops, using three thin green sections.
Connect the roses in a bouquet. In the center of the flowers glue stamens. Glue the loops on top.
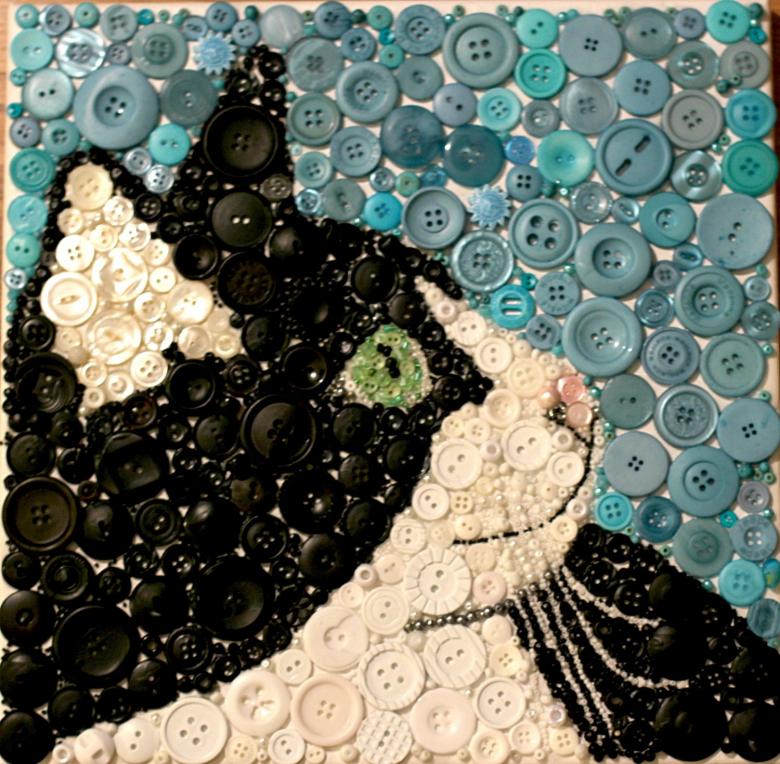
Take a blank green triangles and construct from them a semblance of leaves. Namely, you must first glue the first three under the bouquet, then the second on top of the first.
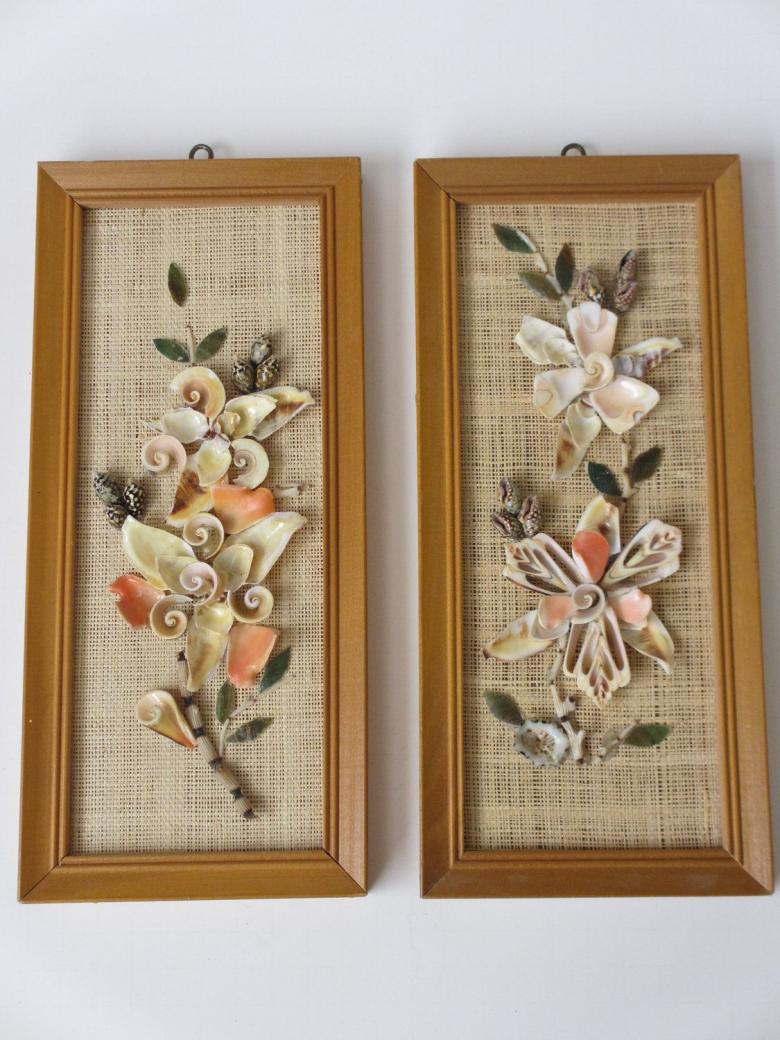
Felt base of green is glued on top of the above. At the final stage of the bouquet is connected to the disk, added decoration in the form of beads or semi-beads.
Do not forget to fix a loop of string to hang the product. Here we have a masterpiece!
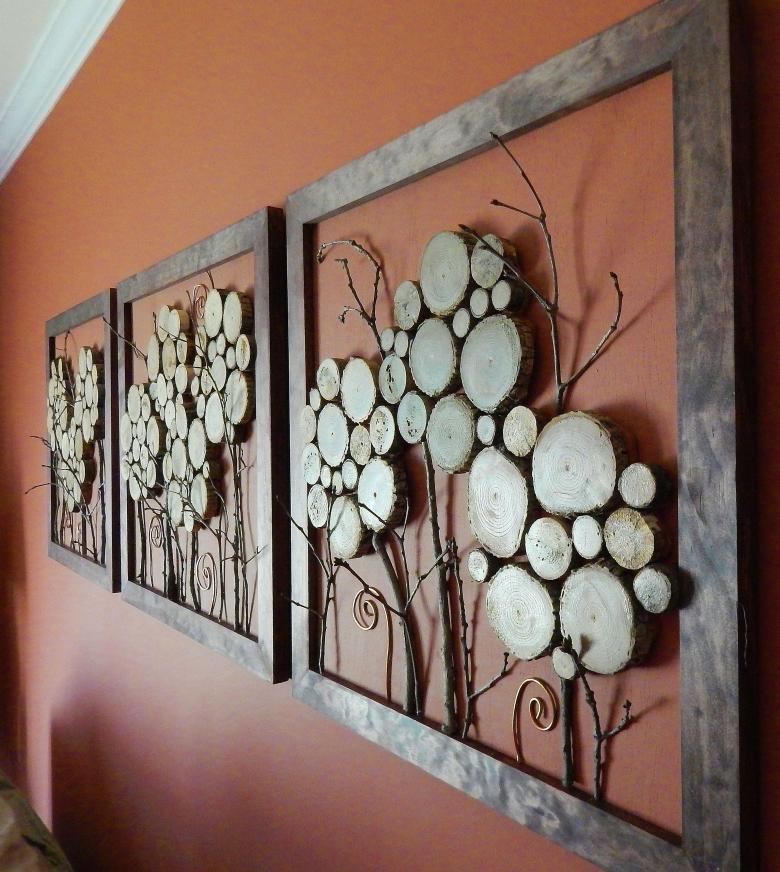
Wall panels of wooden bars with your own hands
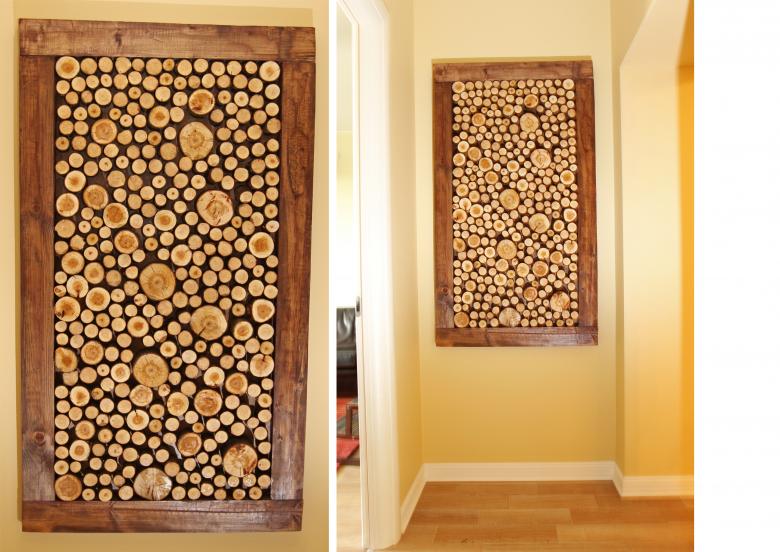
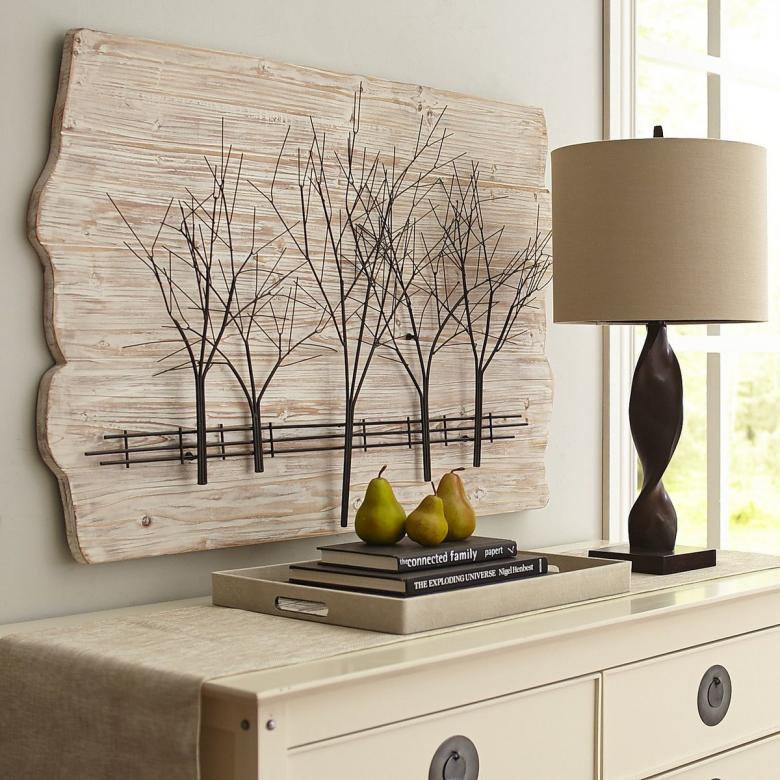
Three-dimensional panels on the wall, or as they are also called 3d-panels are not losing their popularity. They can be made from a variety of materials.
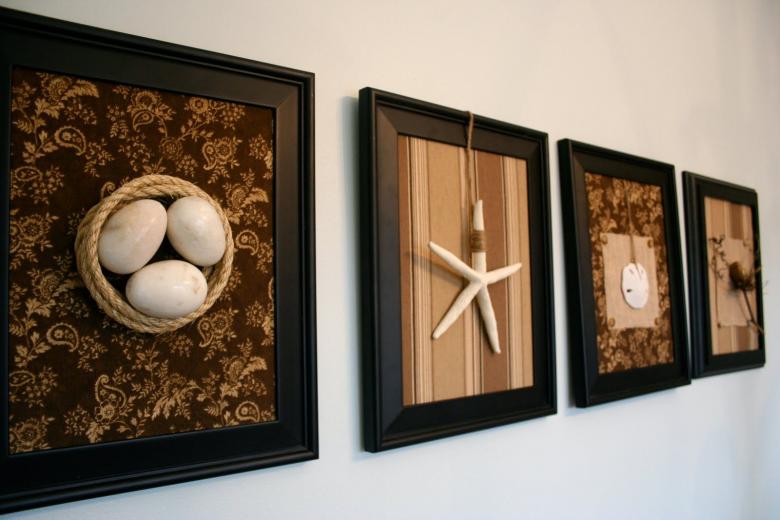
We offer a step-by-step tutorial on creating a panel of wooden bars with their own hands.
So, we will need: a sheet of plywood - the basis for the panel, take even plywood with an even number of layers, otherwise it will be hung. Also need: a wooden bar, grinder, saw, acrylic paint, foam rubber, jigsaw, screwdriver, fasteners, PVA glue, wax, tape measure, screws, brushes.
- First we draw a sketch of the panel.
- Saw a bar in a set of pieces (in our case would be about 570), premet the tape measure height of 1 to 2 cm.
- Grinder process all the pieces.
- We lay the blocks on plywood, so that the height difference of the blocks looked volumetric, harmoniously.
- Now you can paint the cubes of the panel according to our sketch.
- Wait 12 hours until it dries completely.
- We glue the blocks with PVA. Remember that wood with changes in humidity tends to narrow and expand, given that leave a gap of about 1 mm between the timbers. It is also important to paint the plywood in places where it will stand out with its color in relation to the color of the glued bar.
- Paint the ends and the back of the plywood
- At the back of the panel, use a screwdriver and self-tapping screws to fix the fasteners on which you will hang the panel.
- To give the panel a finished look, we wax it with a sponge
- The panel is ready.

