Shrovetide crafts - making a scarecrow, preparing gifts and cooking traditional dishes with our own hands
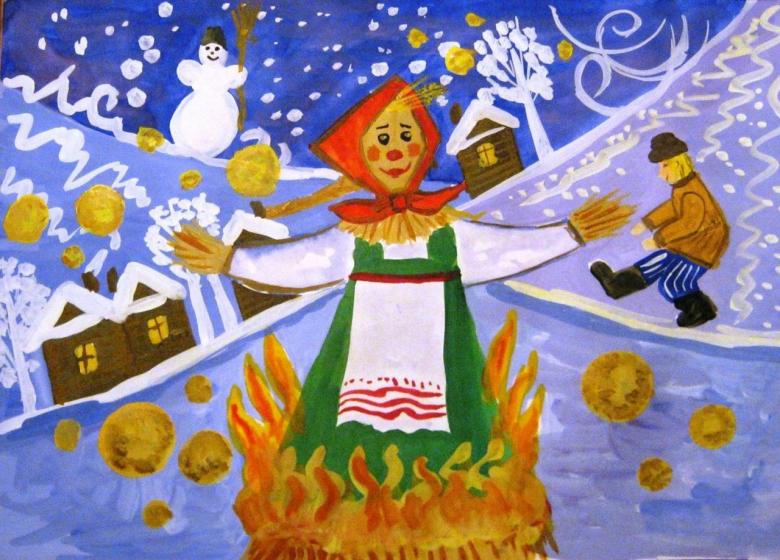
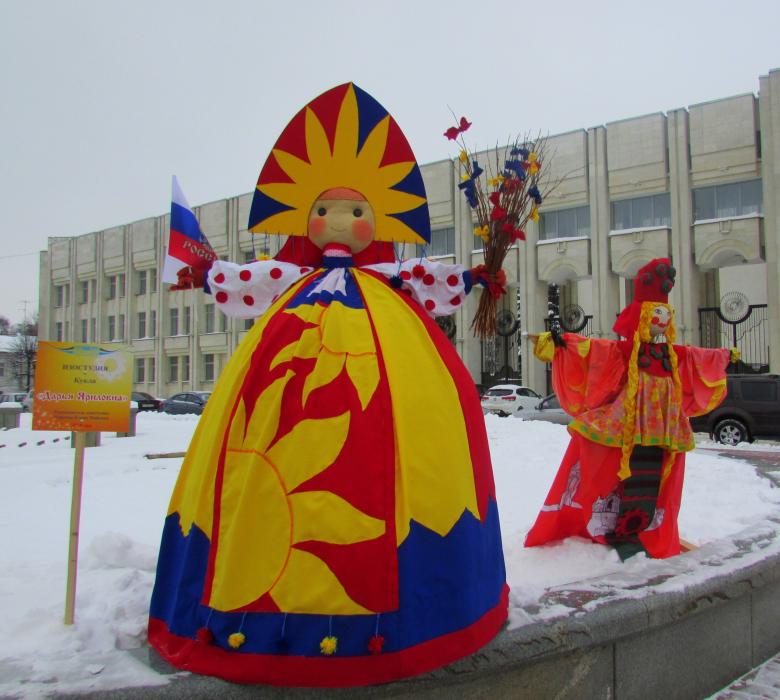
Wide Maslenitsa holiday has pagan roots, which is not difficult to trace in its accompanying traditional attributes. The theme of farewell to winter is reflected in the burning of its symbol, which is the Maslenitsa doll.
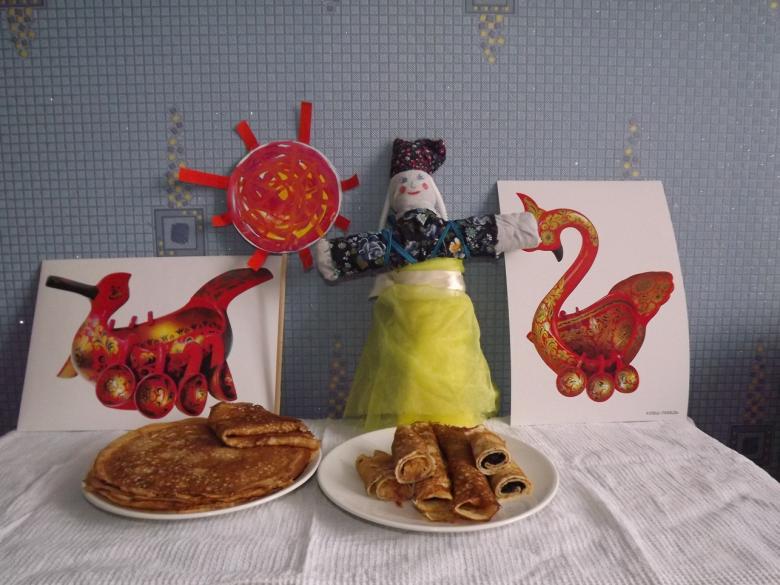
Shrovetide pancakes symbolize the expectations of spring.
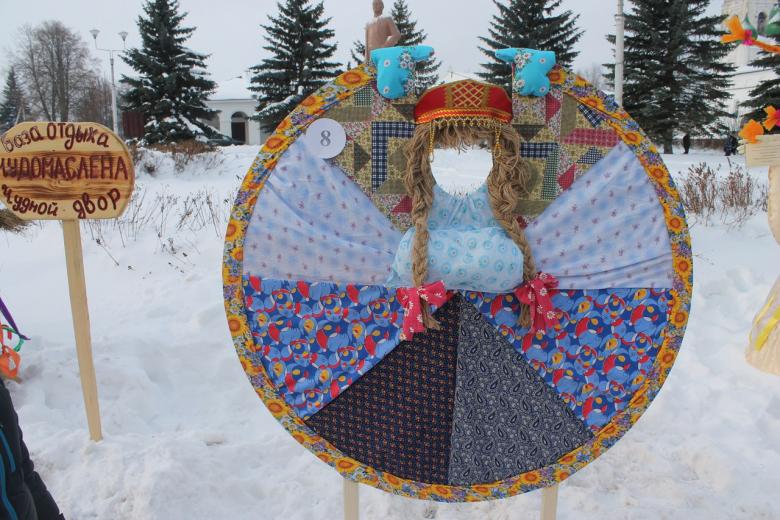
The themes of the folk festival is easy to take as a basis for a variety of children's crafts. For their creation will be useful common improvised materials. The degree of difficulty depends on the age of children involved in their creation.
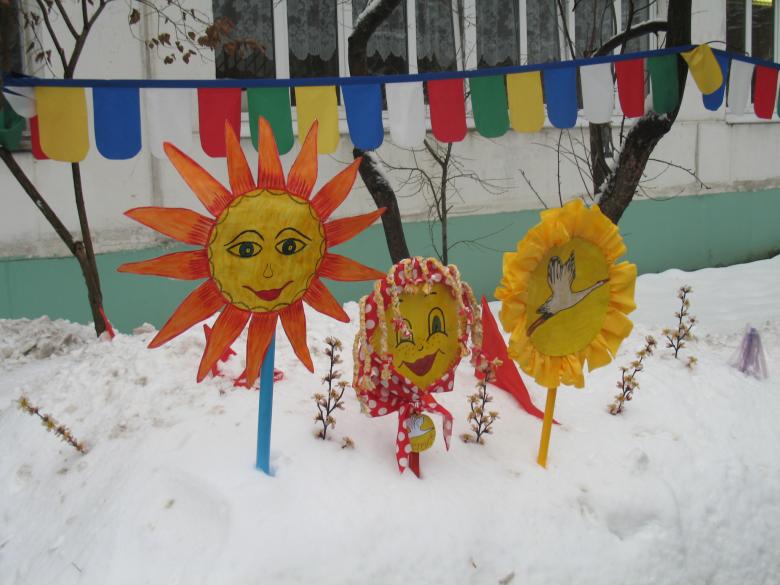
Themed crafts for the Shrovetide holiday are directly related to the sun, pancakes, simple moth puppets and paper dolls.
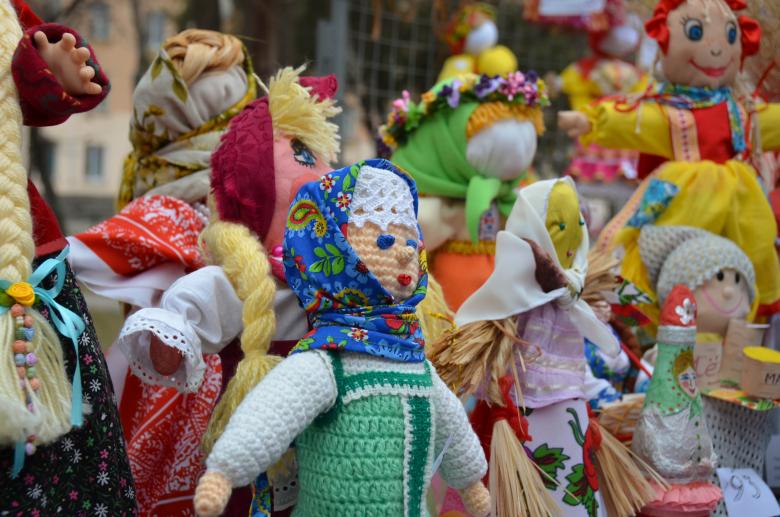
Shrovetide has always been accompanied by folk festivals, songs and abundant food. Accordingly, and handicrafts in honor of the arrival of spring should be bright and positive, regardless of the complexity of execution.
Sunshine
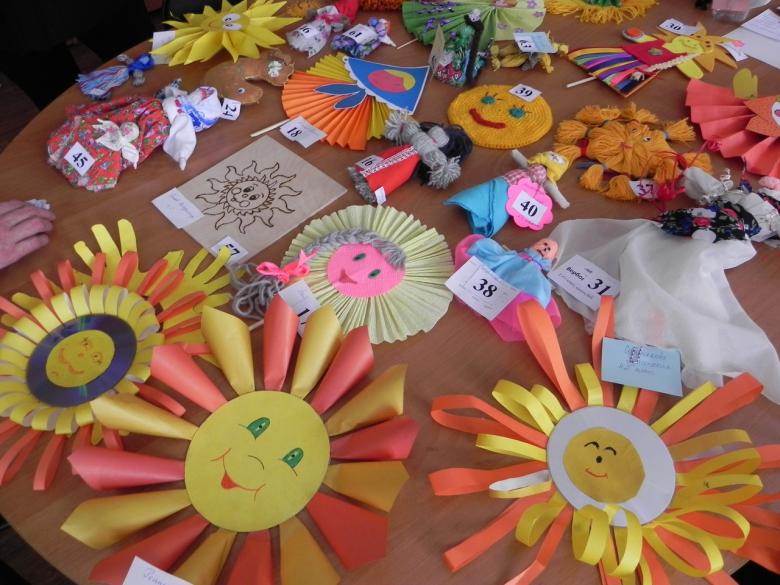
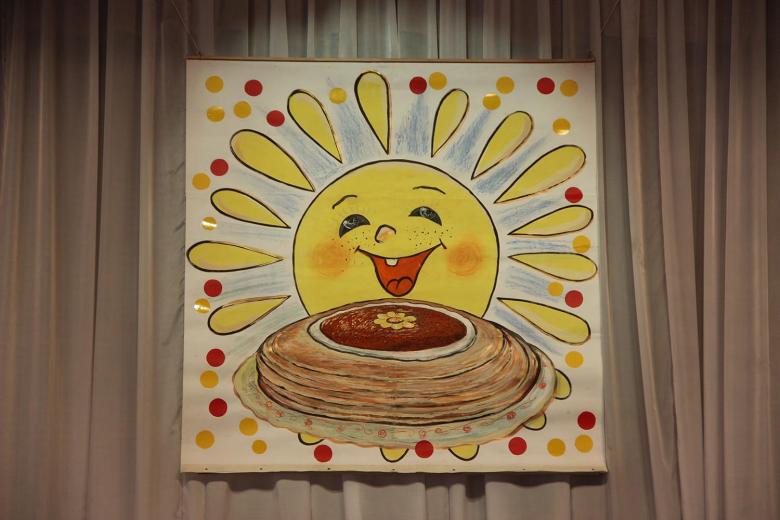
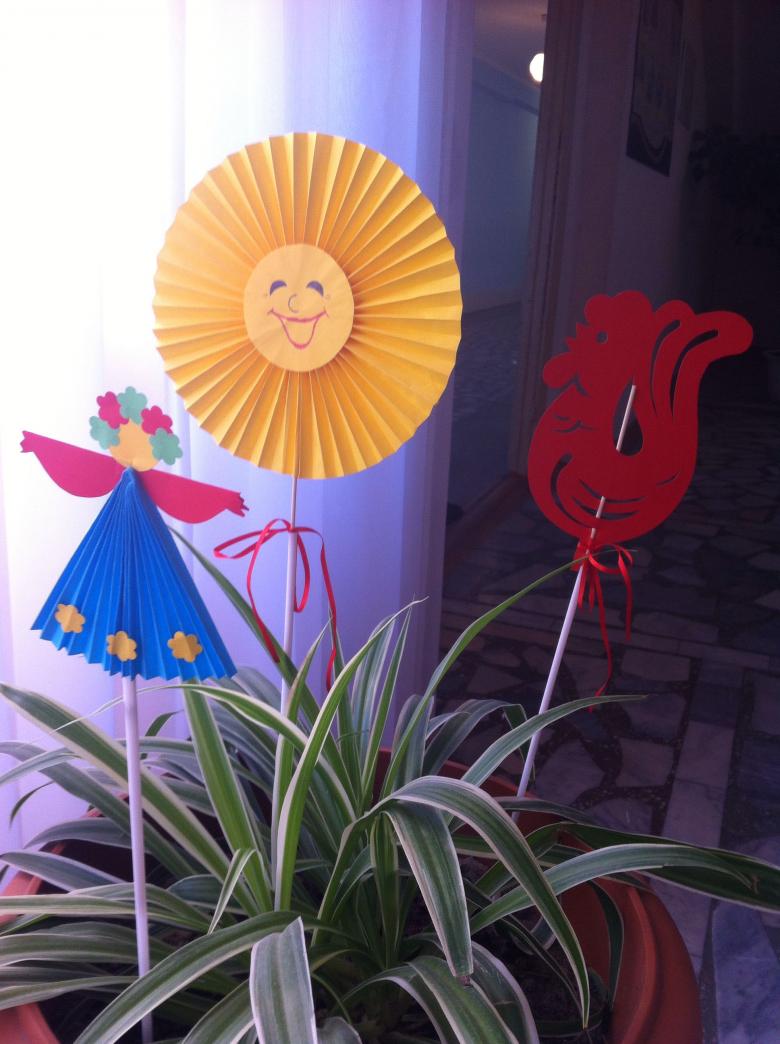
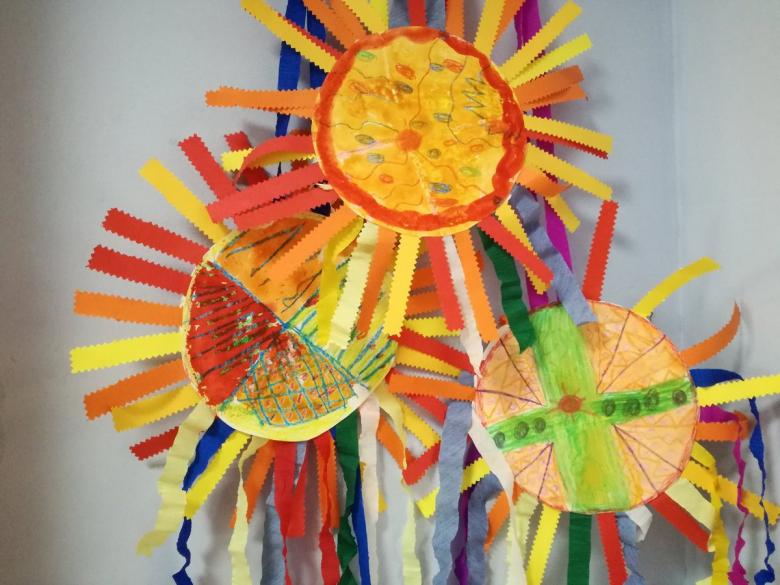
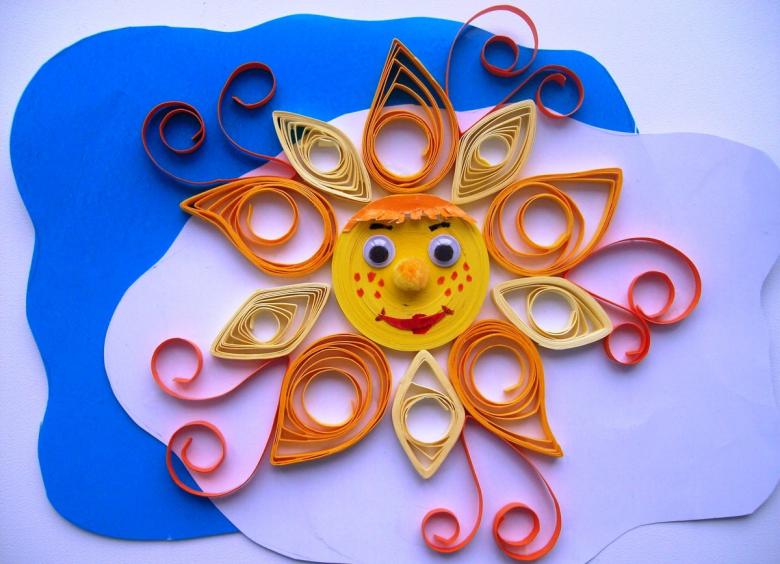
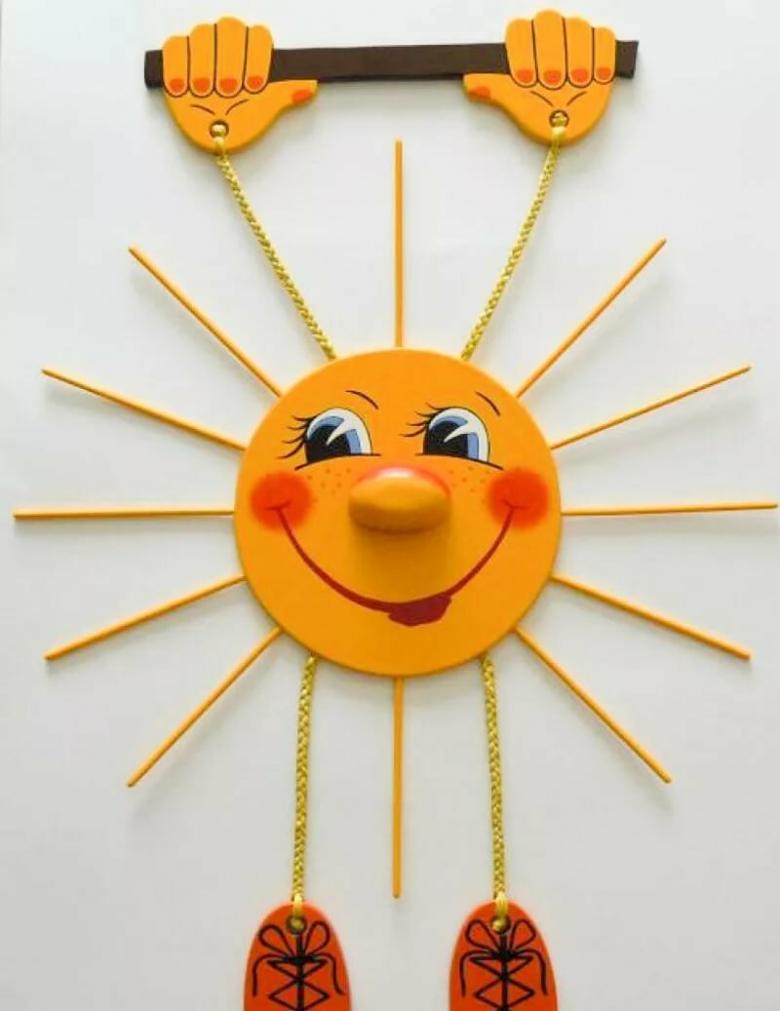
A cheerful sun will serve as a simple and interesting symbol of the celebration of the farewell to Russian winter. Make such a handcraft under force and kids.
There are many options for making the sun.
Paper sun
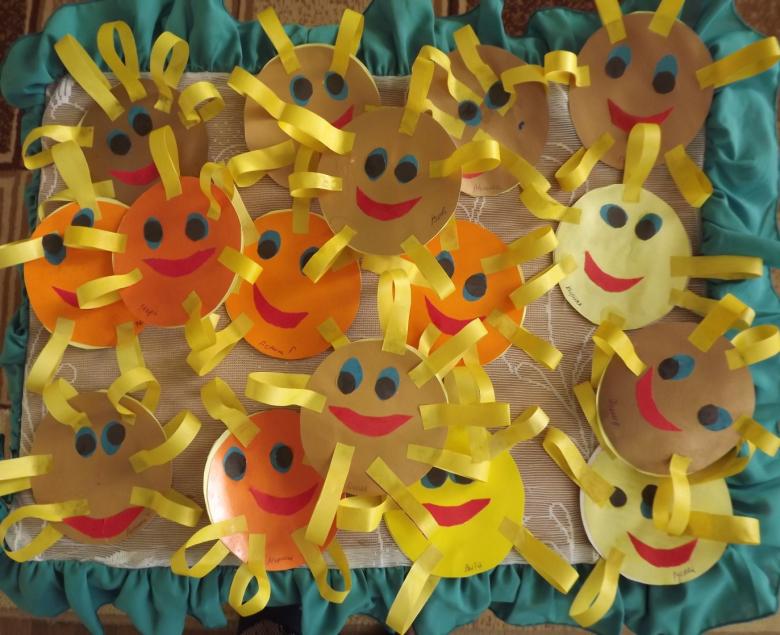
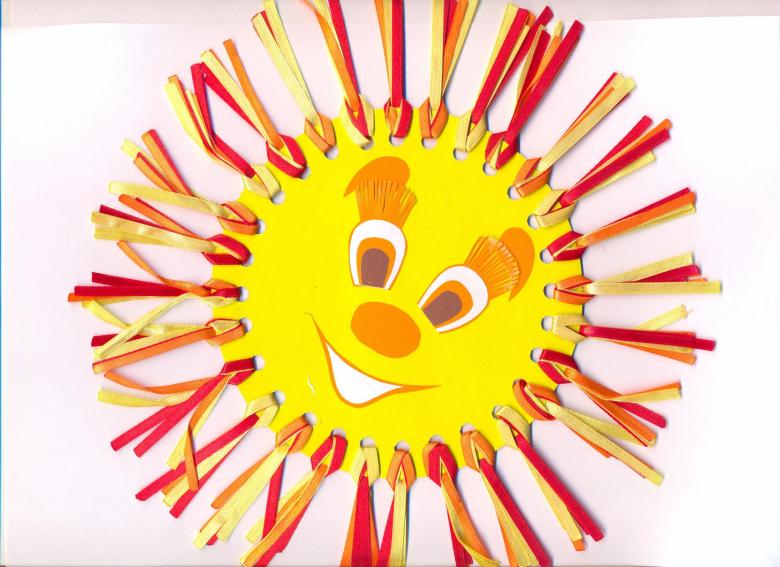
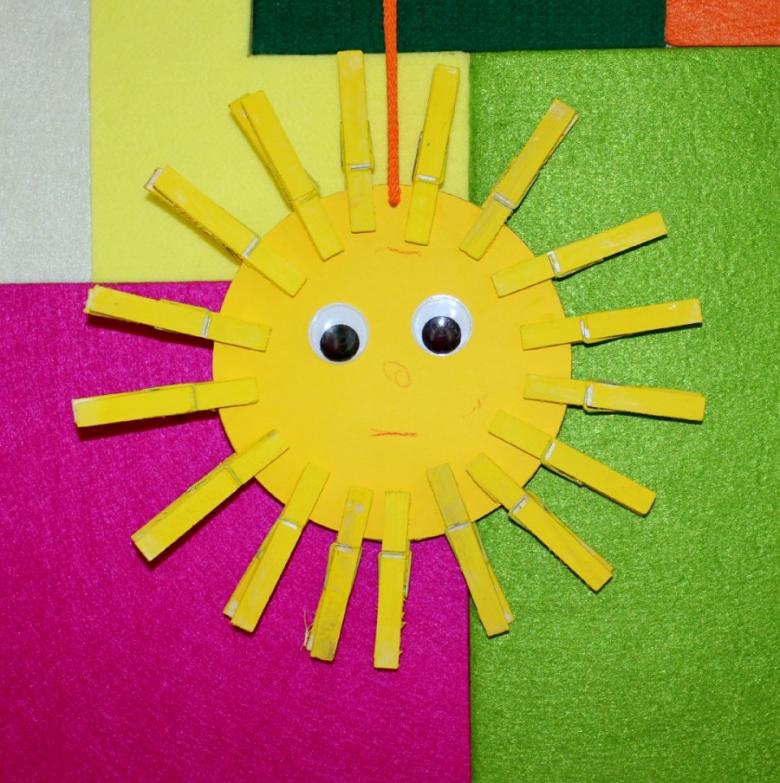
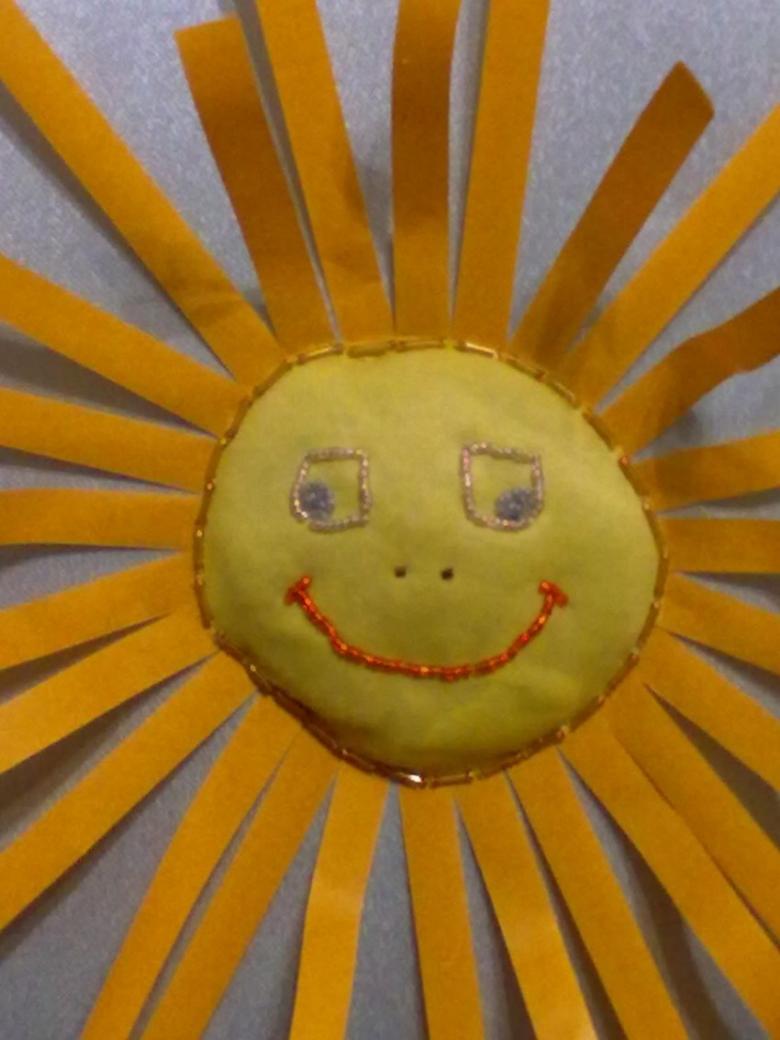
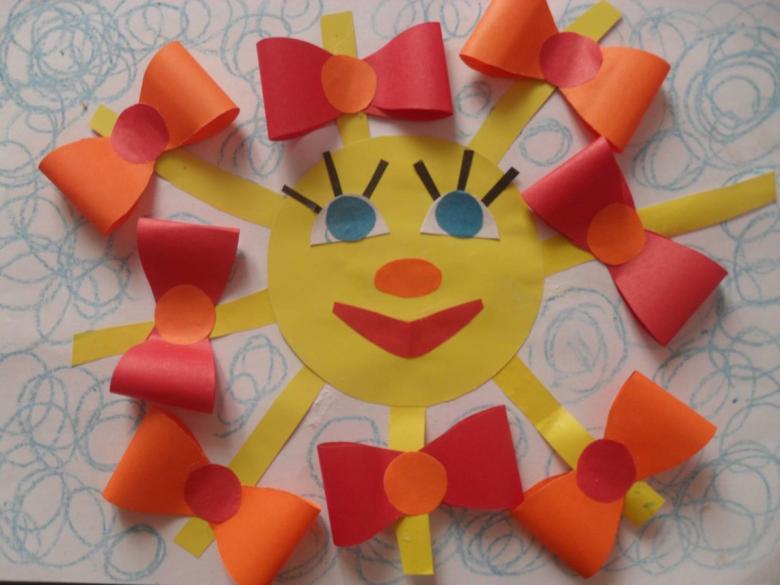
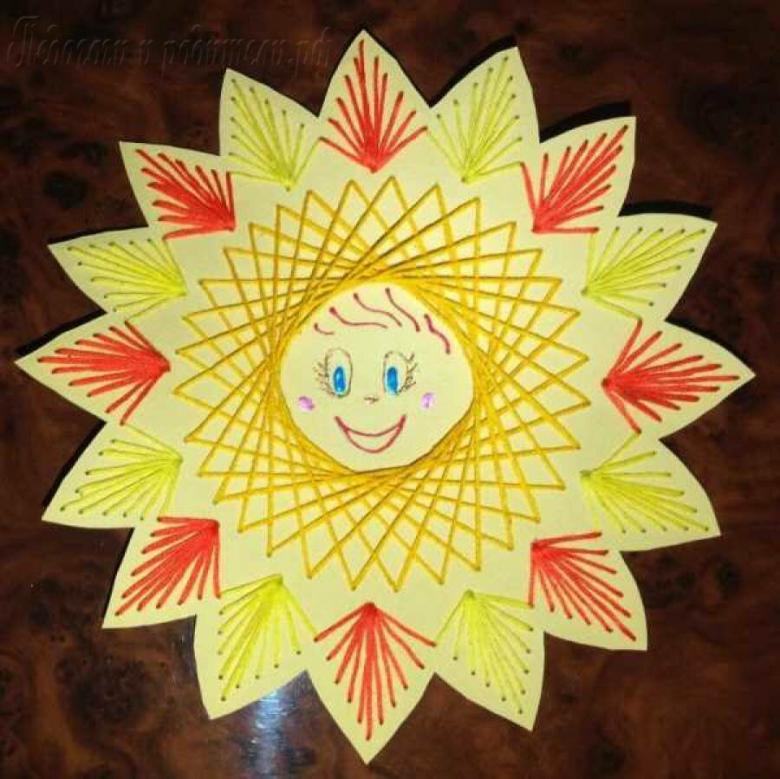
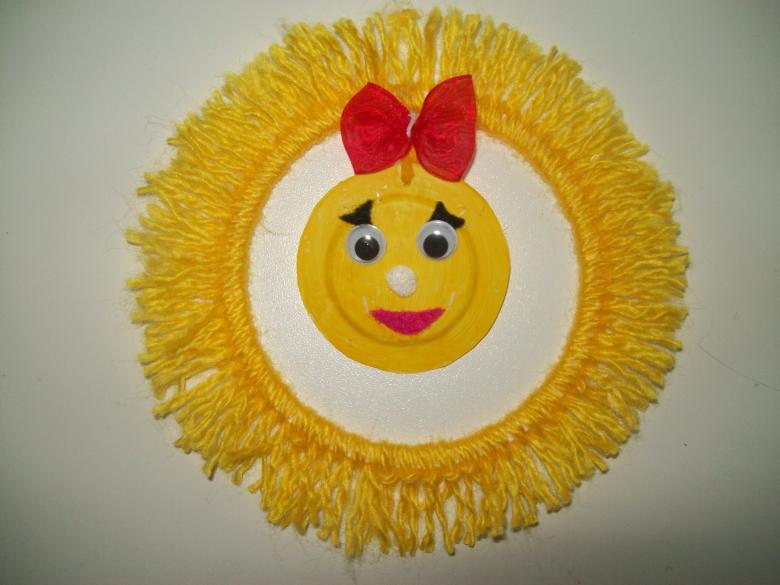
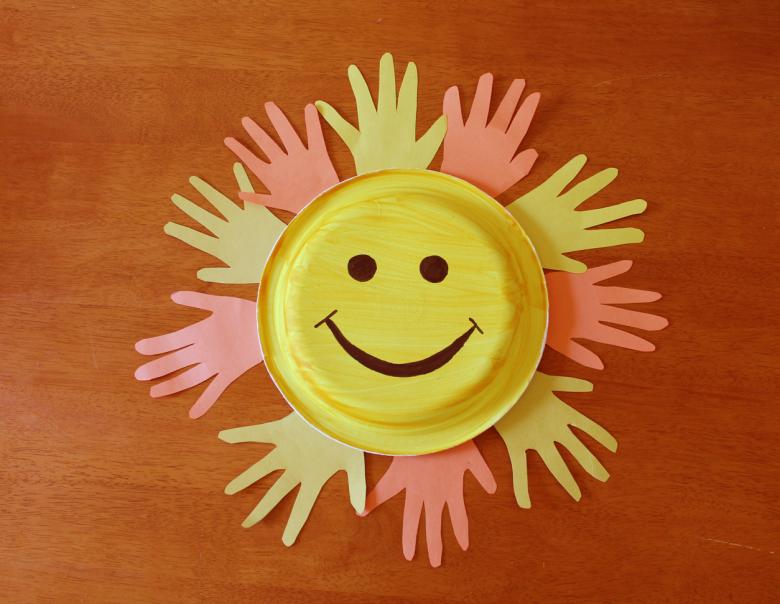
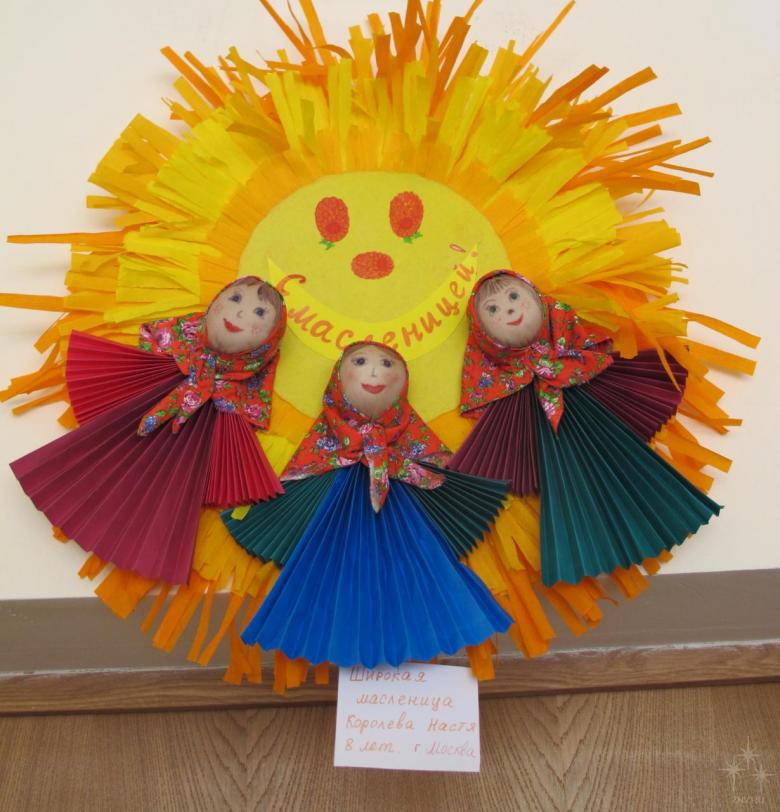
Kids will love making a simple paper sun. To create it will need to cut out of yellow cardboard circle and add its rays. The rays are easy to cut out of paper or bright fabric. You can use remnants of yarn, ribbons, plasticine or bright clothespins.
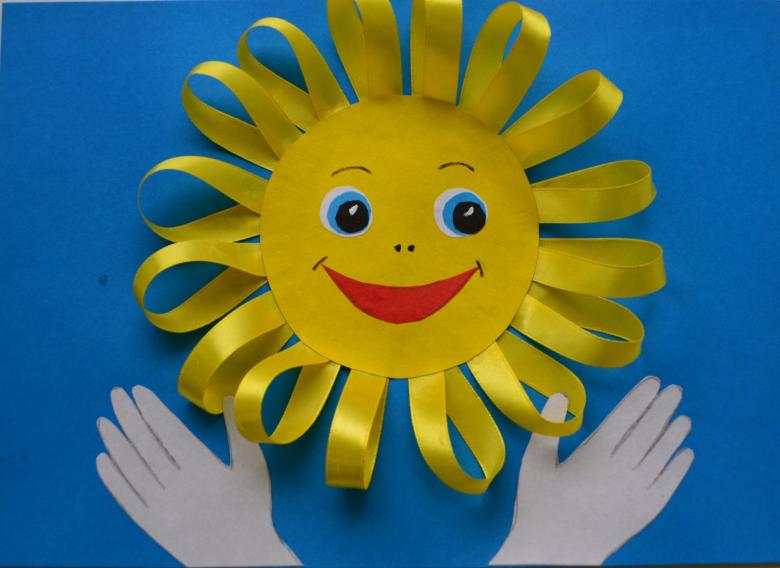
Create a festive mood will help complement the sun disk with eyes, ruddy cheeks and a kind smile.
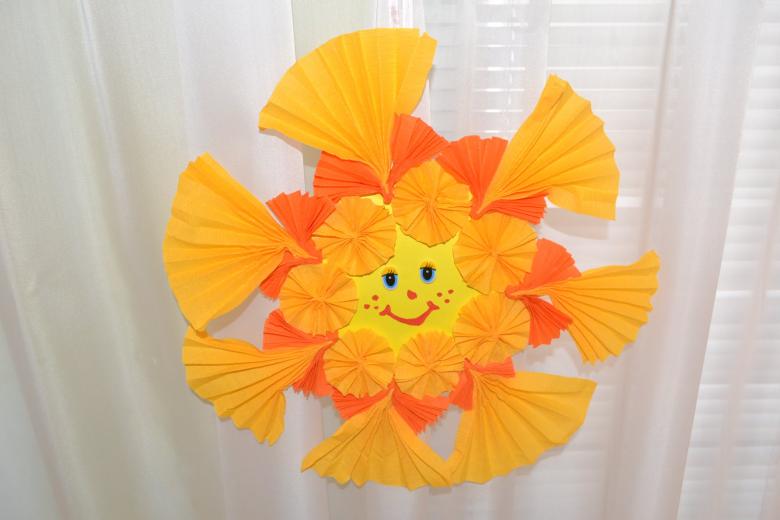
For home lessons with children of middle school age makes sense a little harder, and make the sun in the origami technique.
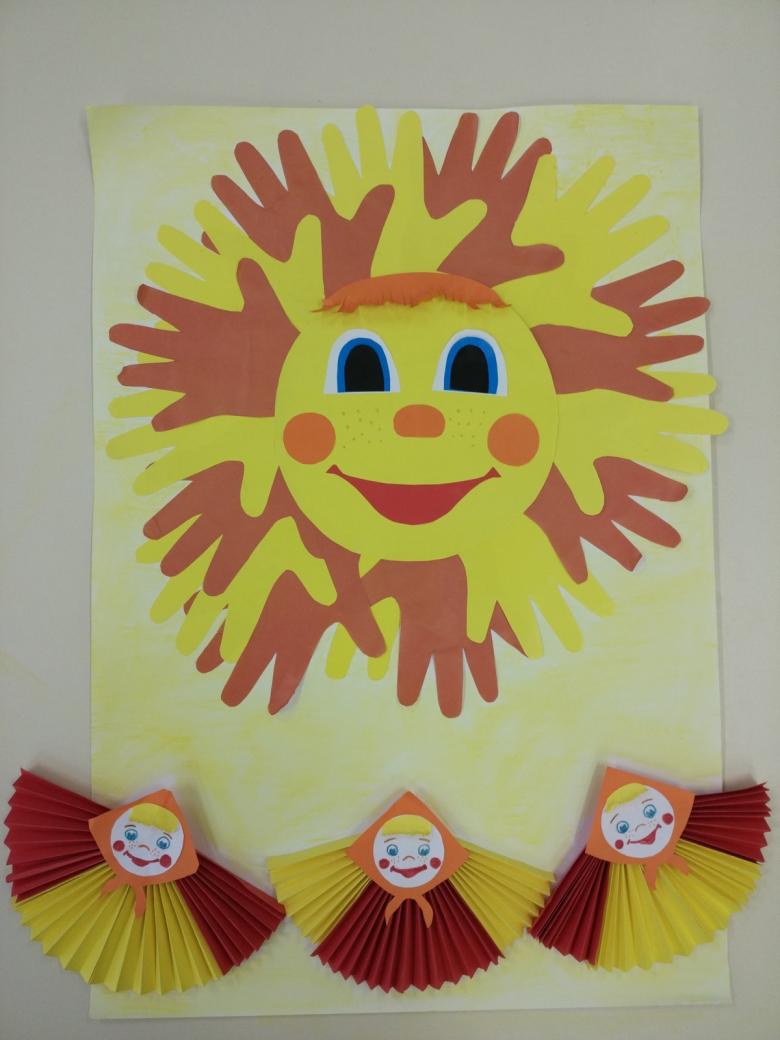
To work we need to prepare:
- Sheets of colored paper;
- safety scissors;
- ruler;
- pencil;
- PVA glue or in the form of a pencil.
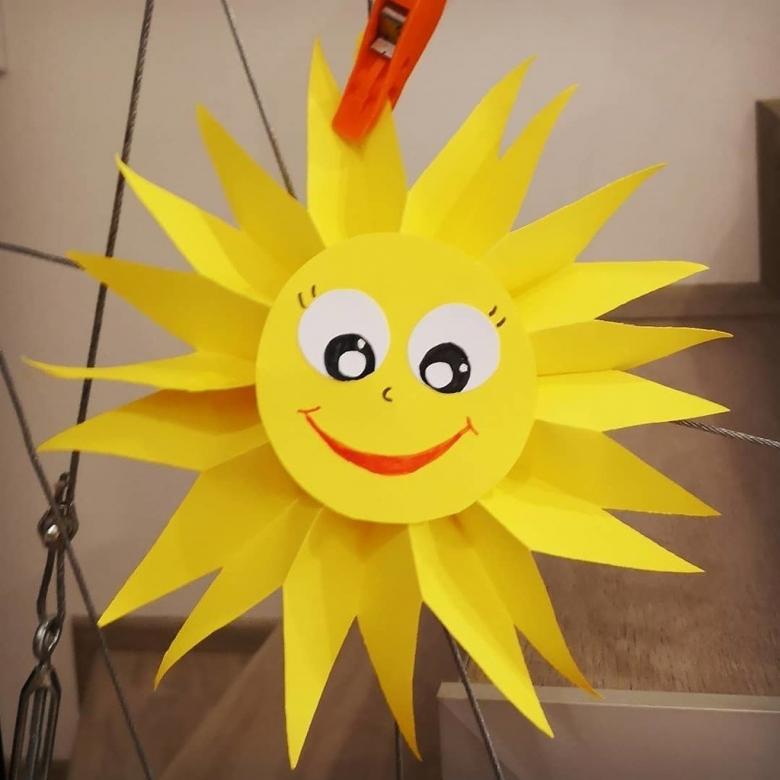
Order of Work.
- For the formation of blanks-beams to prepare 8 pieces of colored paper 9 to 9 cm.
- The square is bent on the diagonal, placed at an angle to themselves.
- The side corners are added to the fold line. Carefully progle the edges.
- The operation was repeated with the lower part of the workpiece. Corners of the bend to a diagonal fold line.
- After which the bottom triangle on the left unbent.
- Ray of light is ready, similarly forming the other 7 billets.
- Lower corners of the blanks combined and neatly glued together one by one.
- Cut out a circle with a diameter of 8 cm, glued to the center of the glued rays.
- Another circle should be cut out of a white sheet of paper. On it draw a face.
- Harvested glue on the back side of the handicraft.
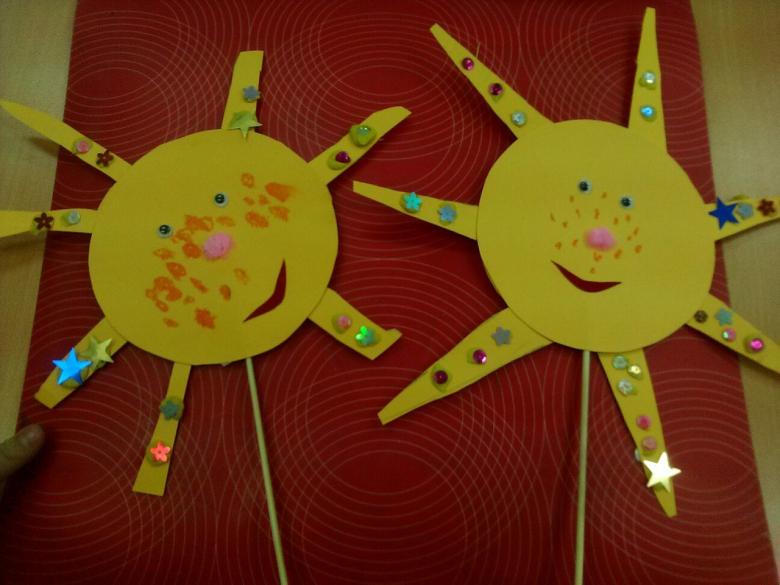
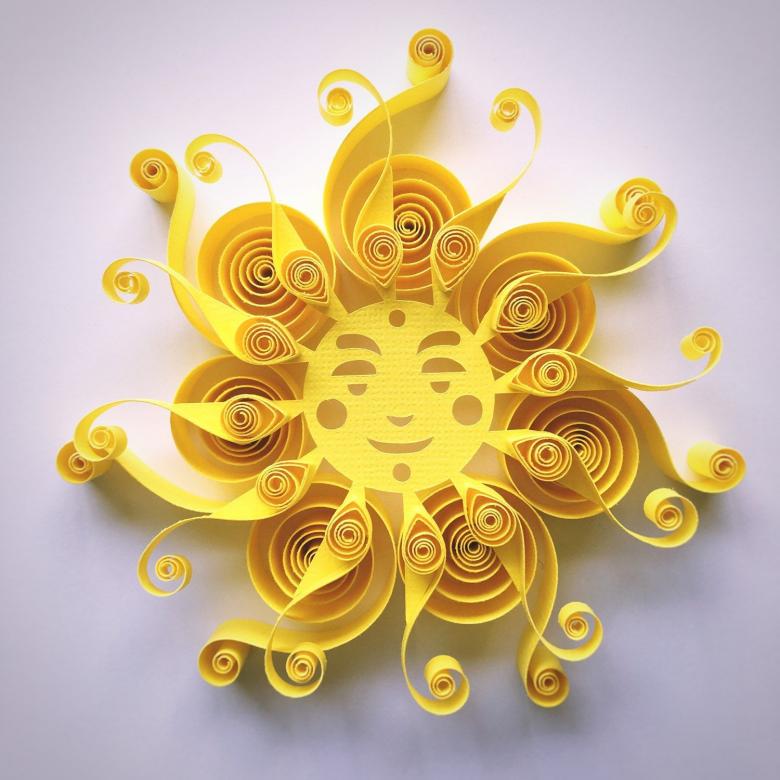
Options for creating a spring sun of paper or cardboard can think of many, creating a spring application or complementing the handicraft plasticine elements.
Cereal sun
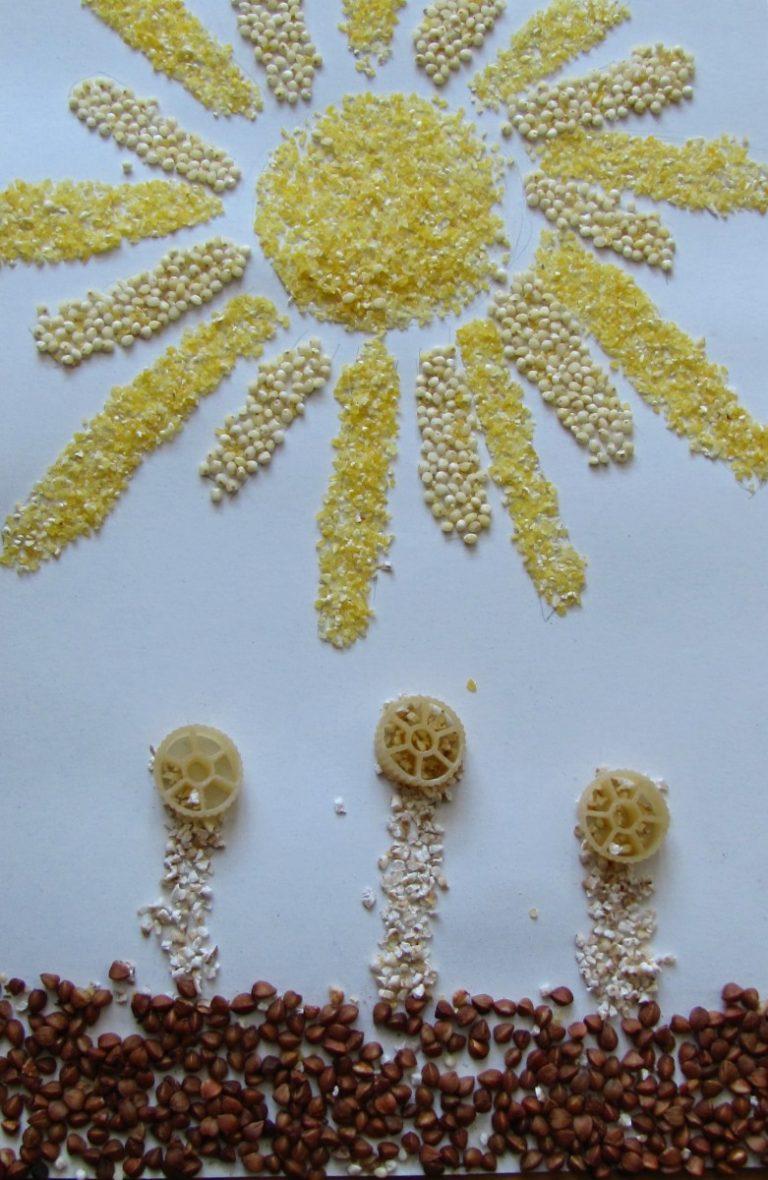
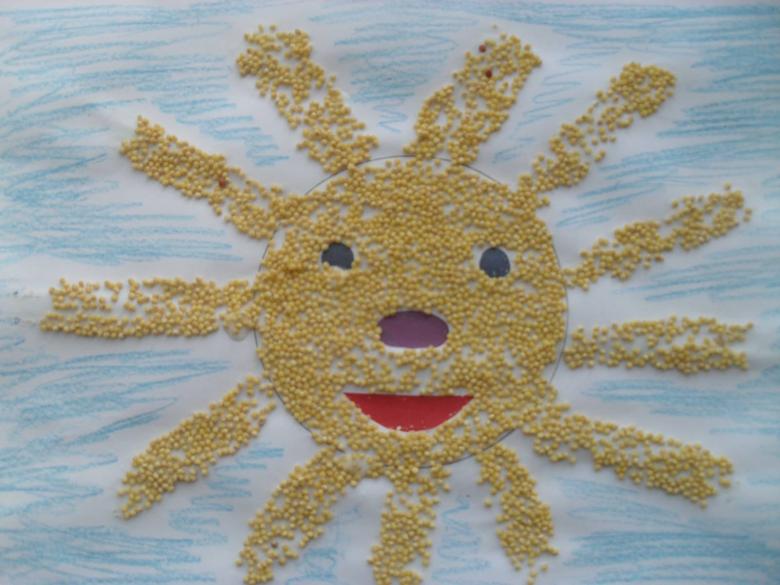
Working with cereals not only develops the fine muscles of the hands, but also produces a light massage of the fingertips. This has a positive effect on the development of children. For this reason, crafts using different cereals is worth paying special attention.
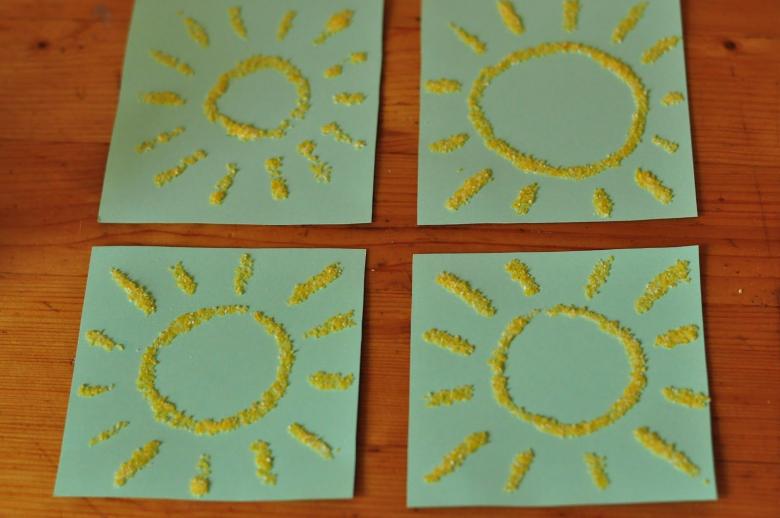
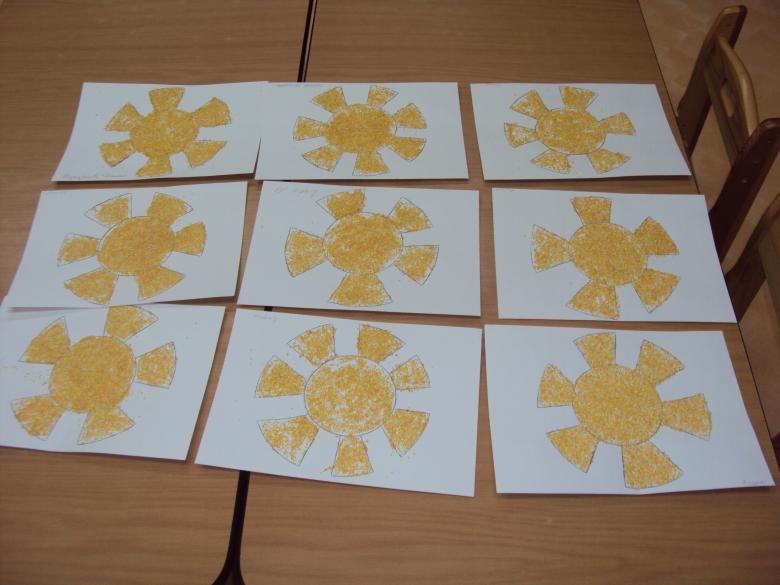
Kids will be interested in making a panel using different colors of cereals or cover a cardboard blank in the shape of a sun.
- To create a themed panel, you will need to draw the outlines of the sun on a cardboard base.
- The parts of the picture selected for decoration are smeared with a layer of glue, then sprinkled with grits.
- After the glue dries, carefully remove the excess groats.
Any grits or peas can be used. If desired, the resulting picture is easy to paint with gouache or add plasticine elements.
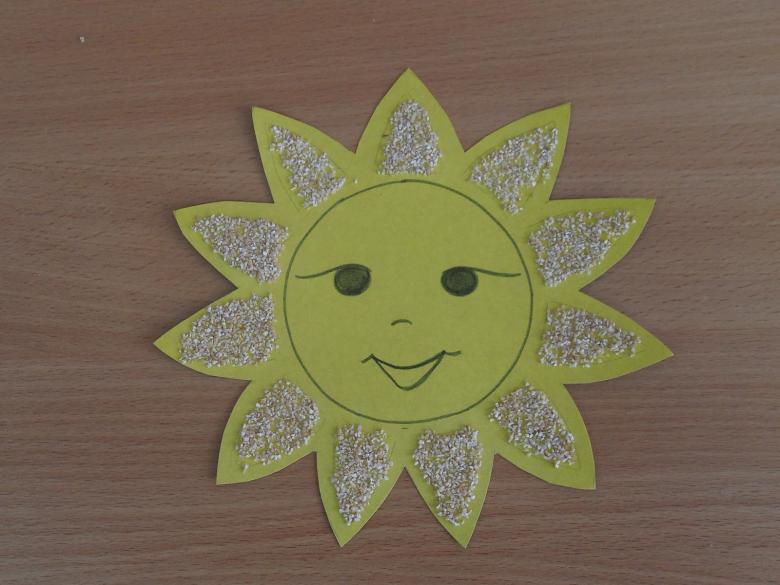
As an option, you can consider the creation of a sun from a disposable plate. As the rays, it is easy to use clothespins, plastic forks or spoons, ribbons or plasticine. For coloring, it is recommended to use gouache or acrylic paints.
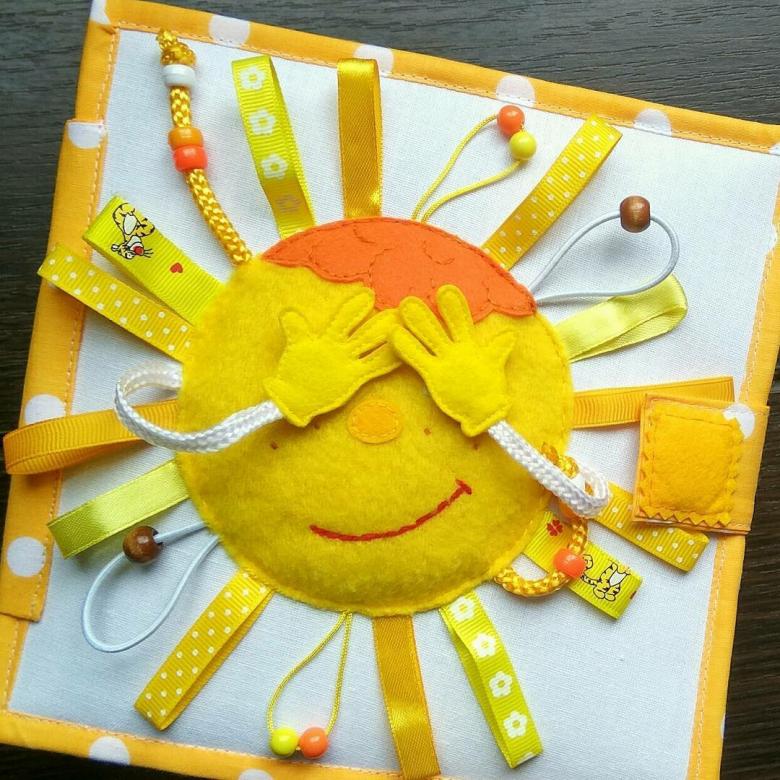
The sun, sewn from felt, looks spectacular. It can be made in the form of a fabric applique or be an independent product in the form of, for example, a trinket.
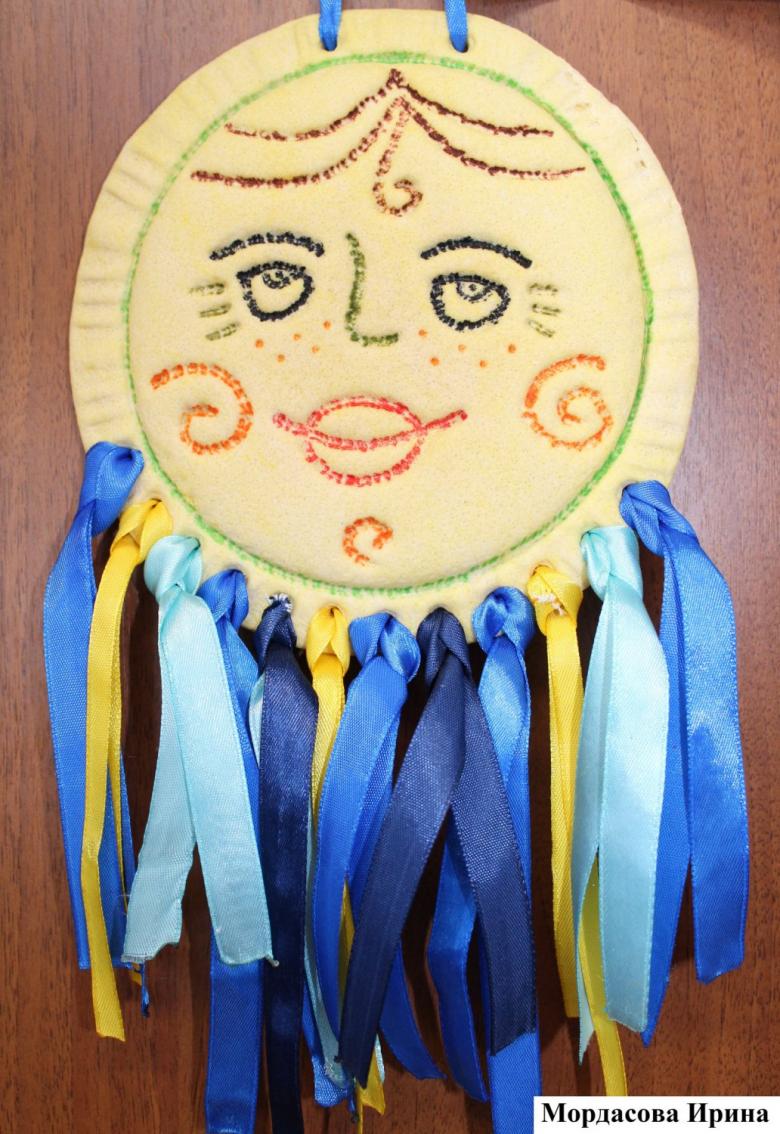
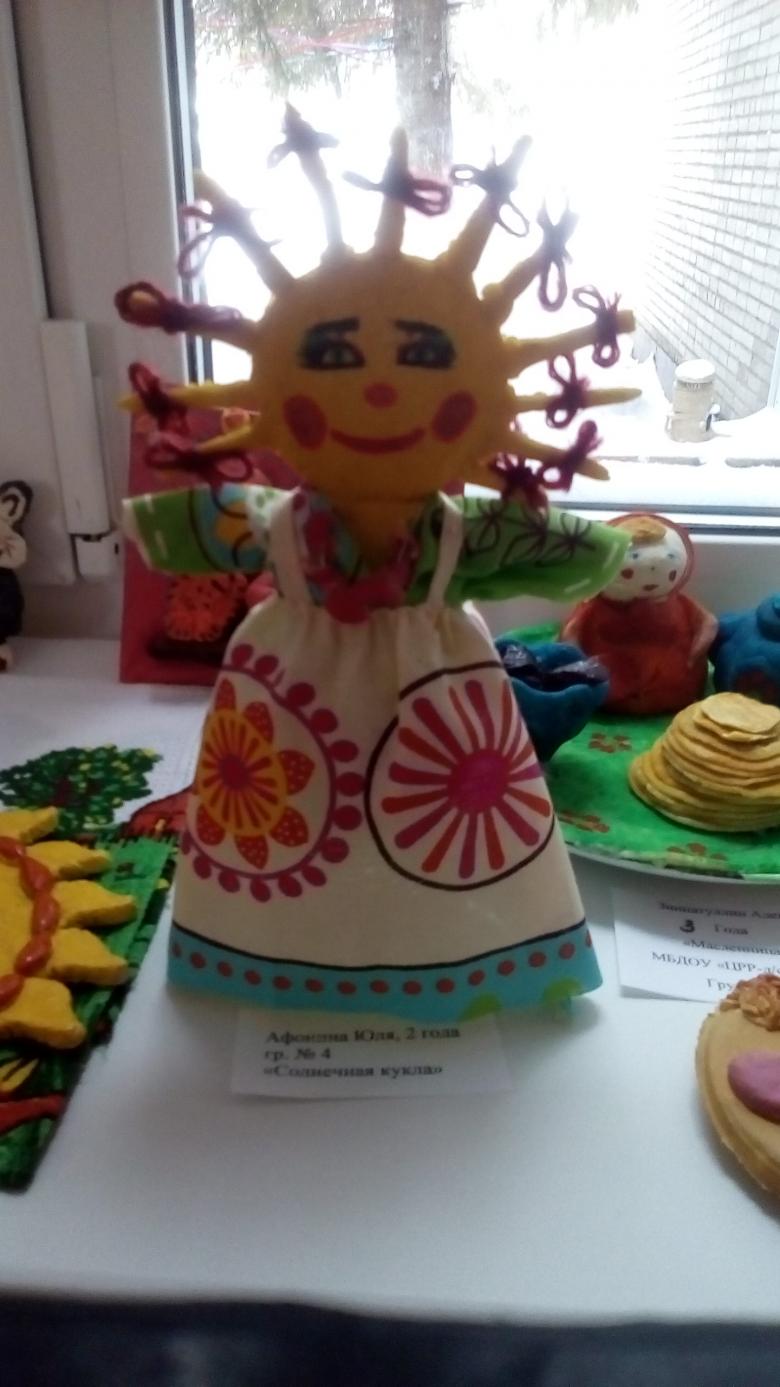
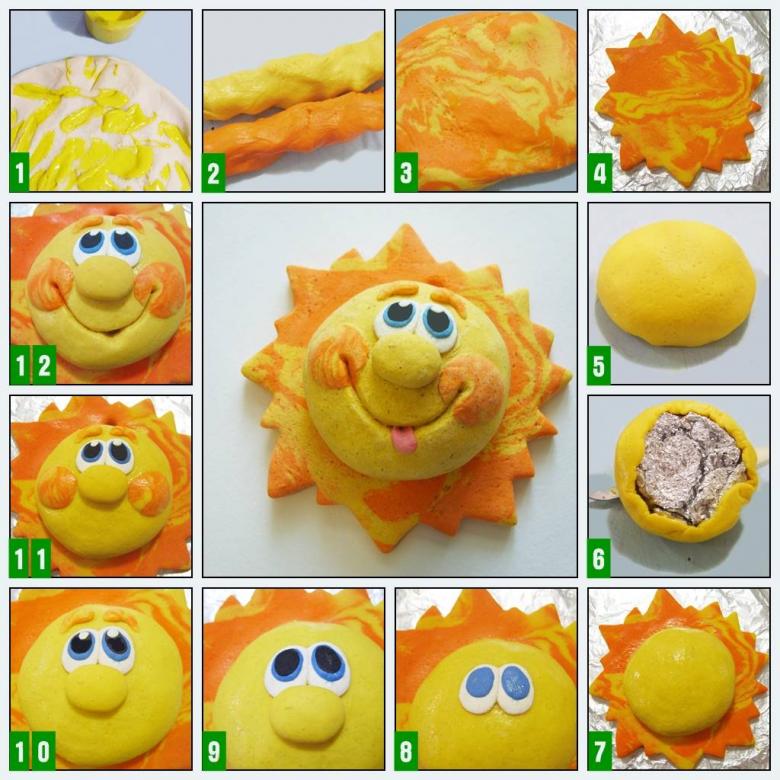
The sun is easy to mould from plasticine or salt dough. After drying, it makes sense to paint the dough and cover it with clear varnish. Such a handicraft will be bright and happy for a long time.
Shrovetide dolls
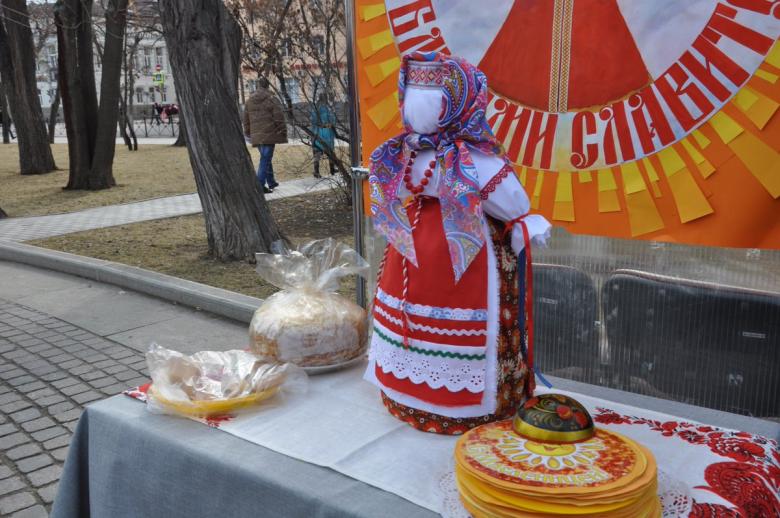
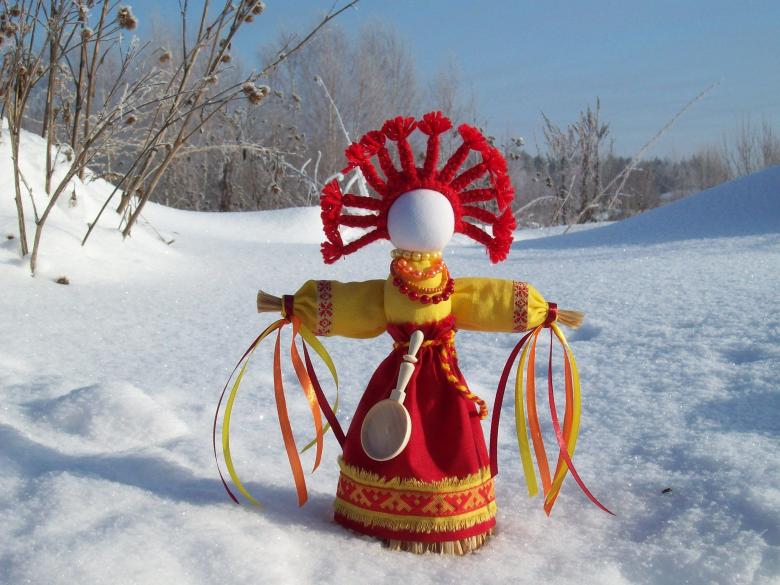
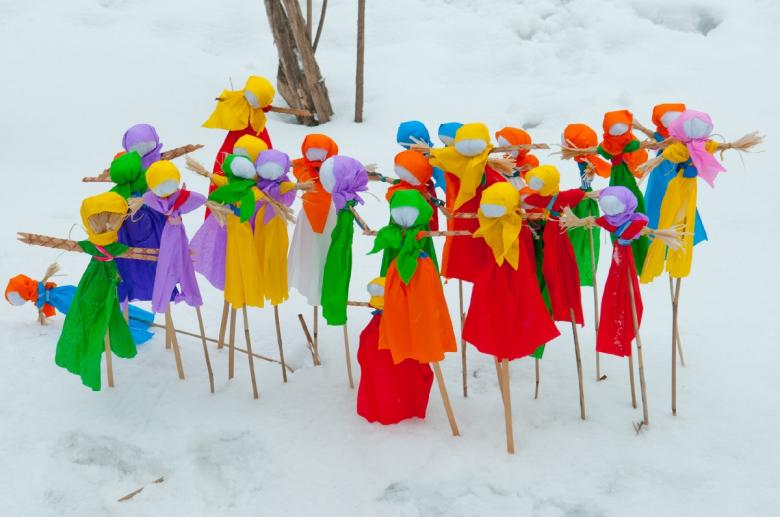
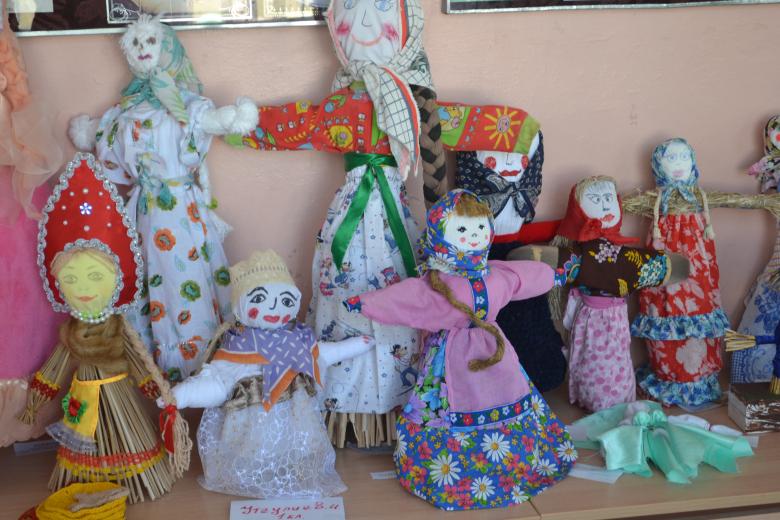
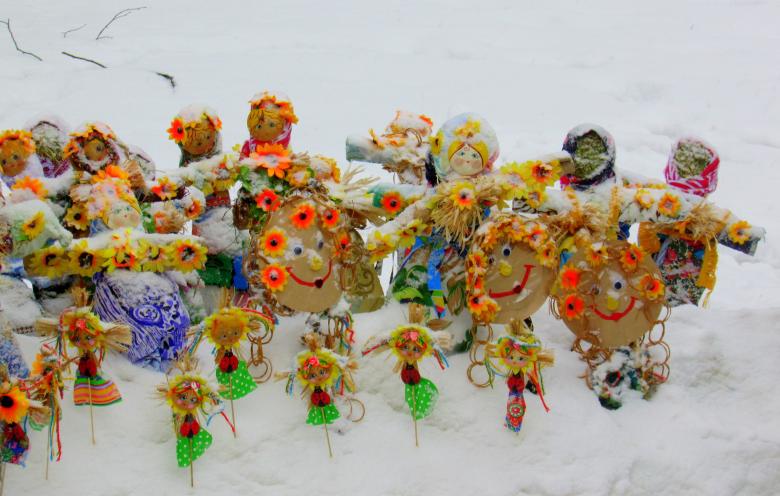
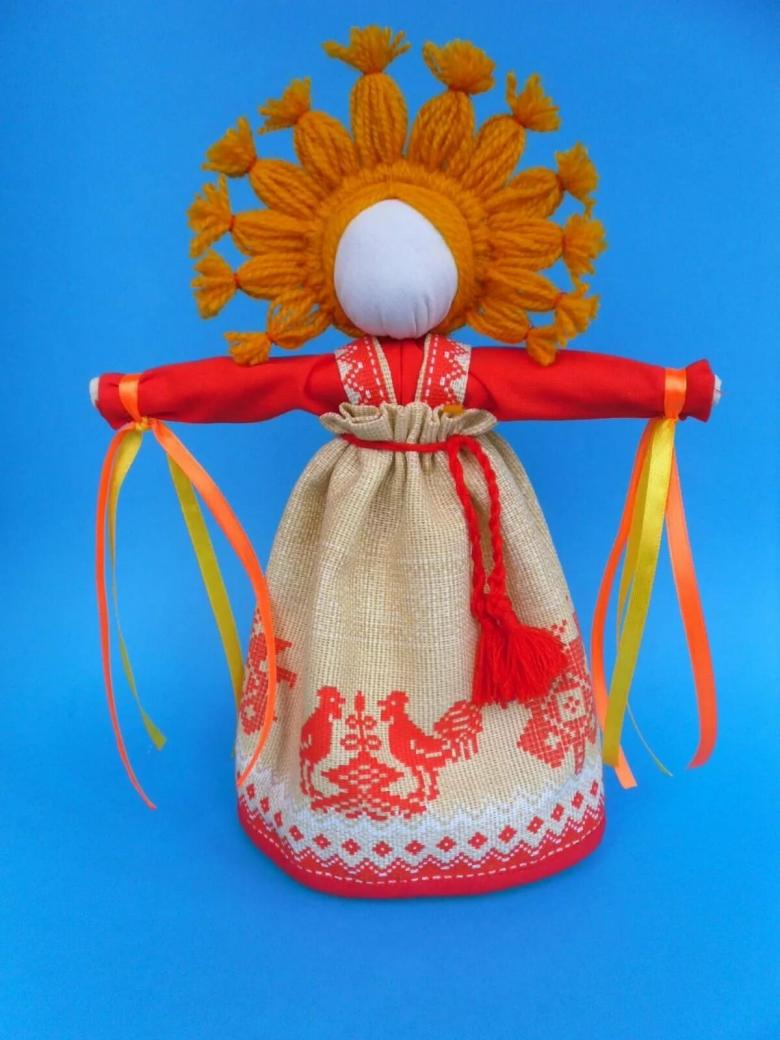
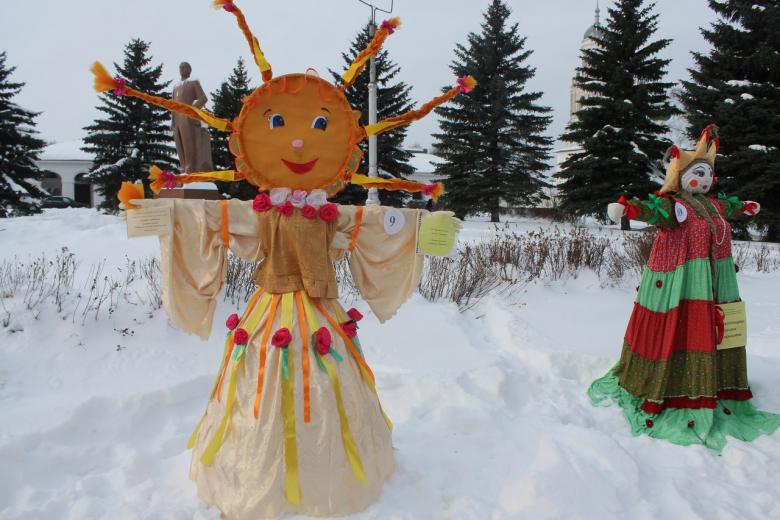
Homemade dolls serve as a basic symbol of Shrovetide. Make them easily from a variety of materials.
Paper dolls for Shrovetide
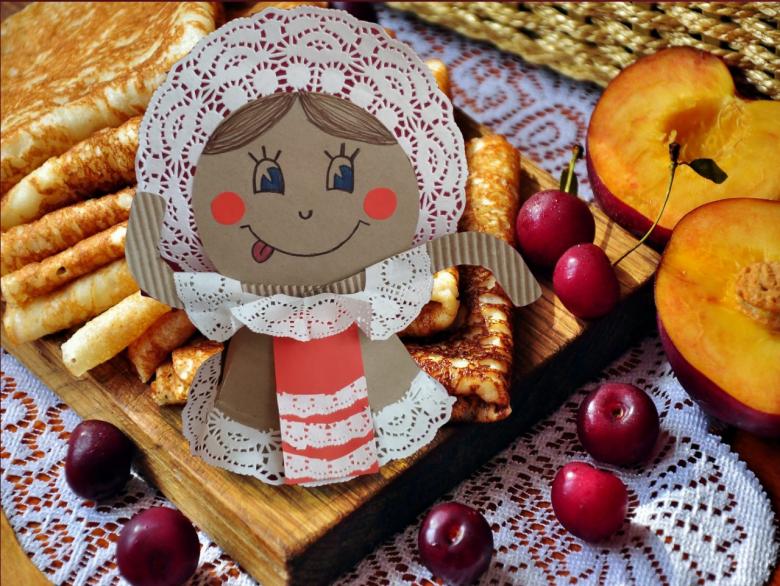
Kids happy to make their own hands funny puppets from disposable cardboard plates.
For the work you need to prepare:
- sheets of paper of different colors;
- a disposable cardboard plate;
- paints;
- glue;
- a simple pencil;
- Children's safety scissors;
- felt-tip pens.
Order of work.
- It is necessary to bend the plate in half. Then it should be painted in colors to your liking. It is logical to give preference to warm and sunny shades. It is not difficult to depict an apron on the front half of the plate.
- It is necessary to cut out a circle with a diameter of 5-6 cm from white cardboard. On it, using felt-tip pens to draw a doll's face and hair. If desired, the hair and bows can easily be cut out of colored paper and glued.
- The head is glued to the plate bent in half.
- Around the edges of the blank plate supplemented palms.
- The edges of the plate inside is recommended to glue.
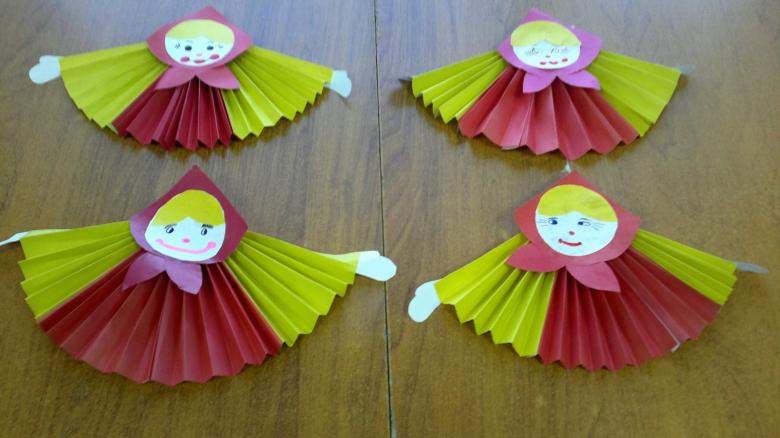
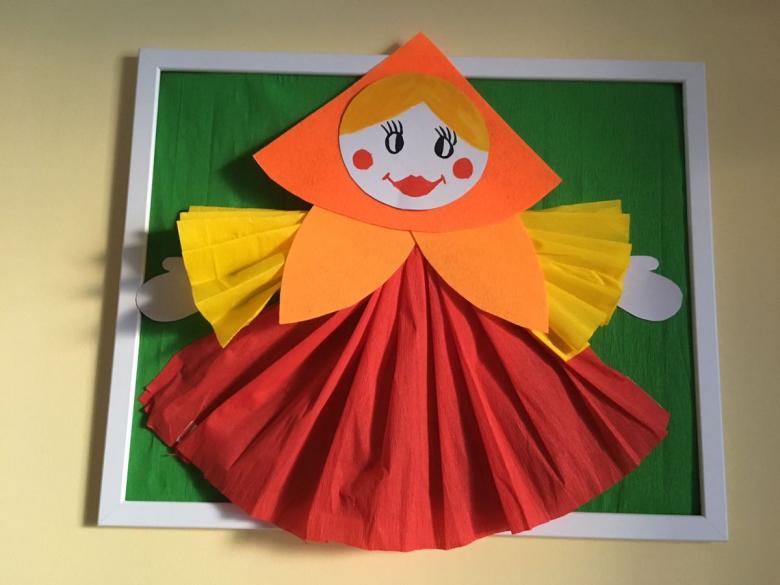
Children of older preschoolers and first graders will be able to make a harmonica doll out of paper.
The principle of working on a harmonica doll is similar to the scheme of creating a doll on the basis of a disposable plate. But as the basis of the toy used fan of colored paper.
Order of work.
- From a sheet of colored paper accurately folded accordion. Folding it in half, form a fan.
- The inner edges of the fan glued.
- From a sheet of white paper also make a fan. It is glued on top of the first. These are the hands in the wide sleeves.
- Using a template or independently cut out the head and hands, painted and glued to the workpiece-body.
Shrovetide dolls
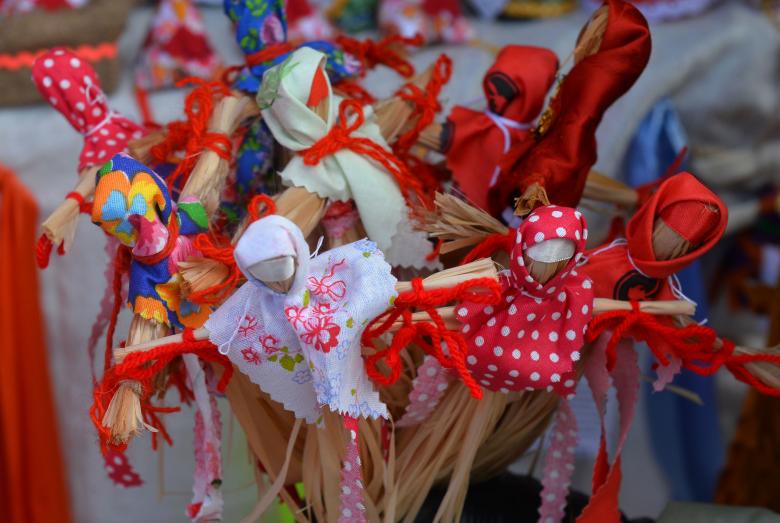
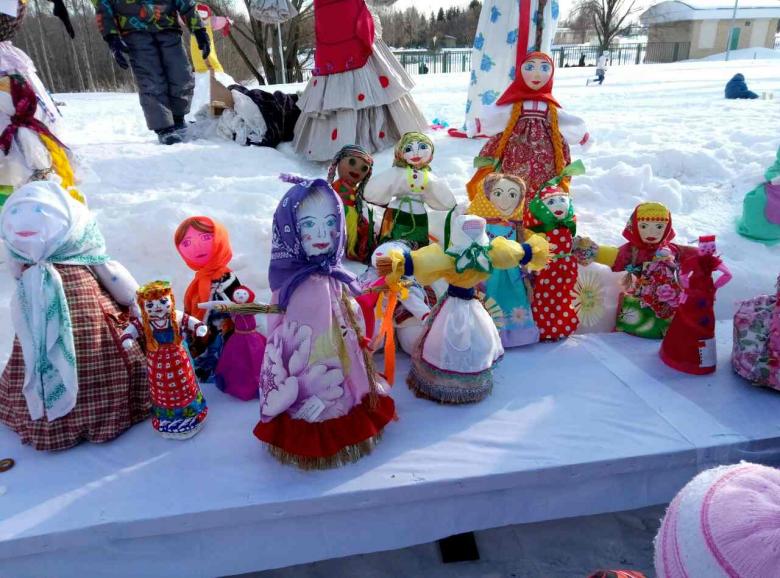
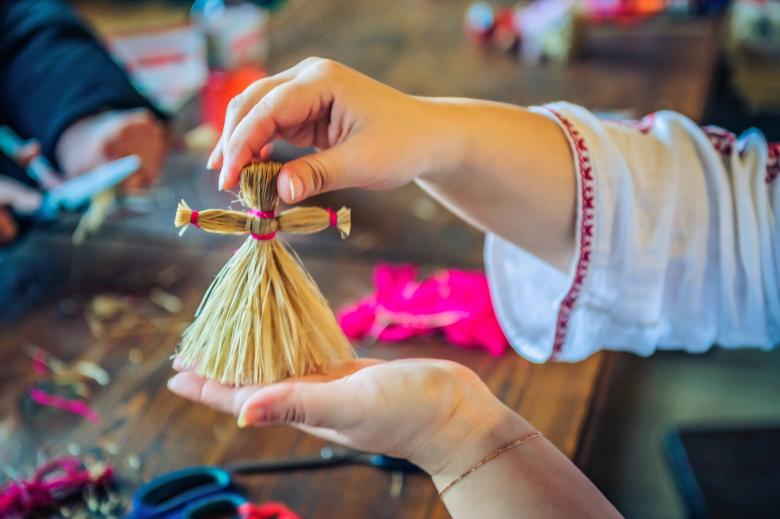
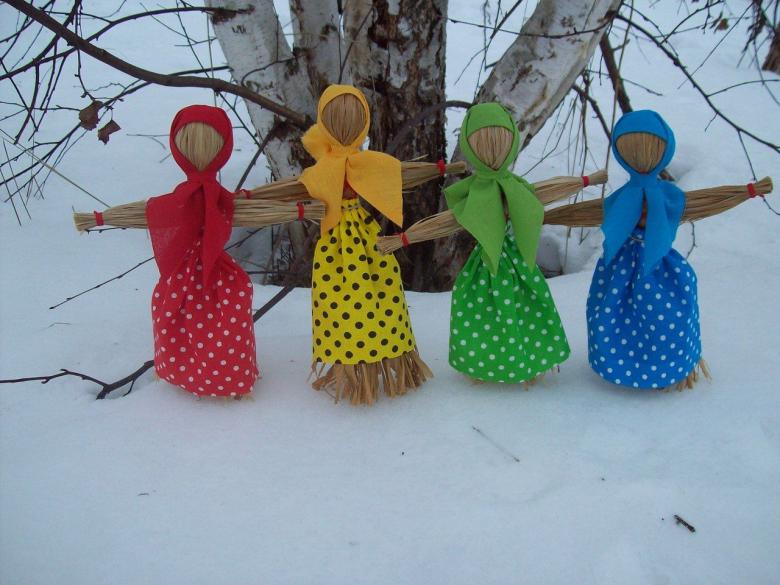
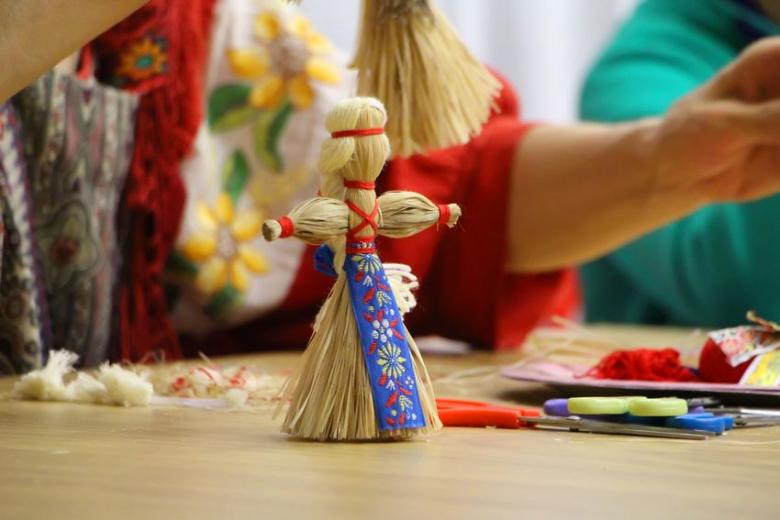
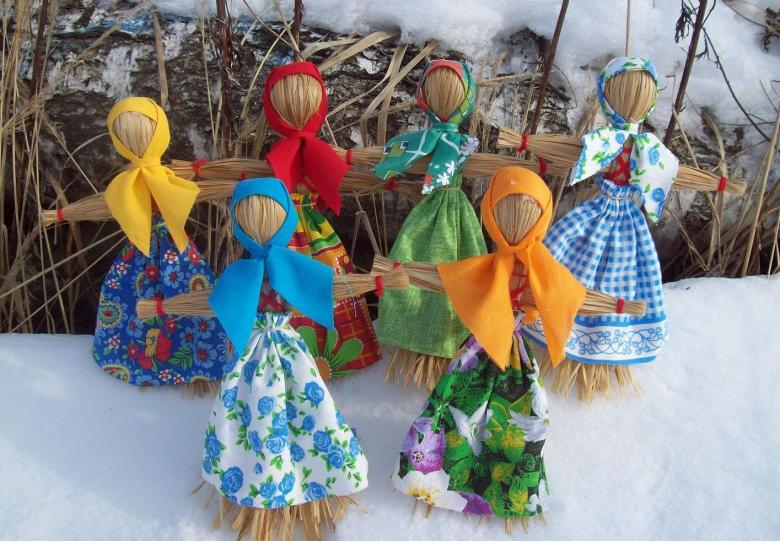
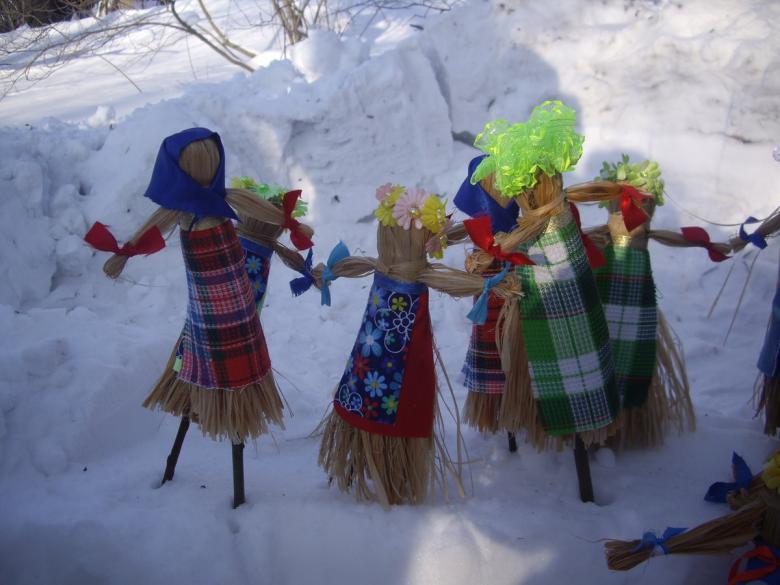
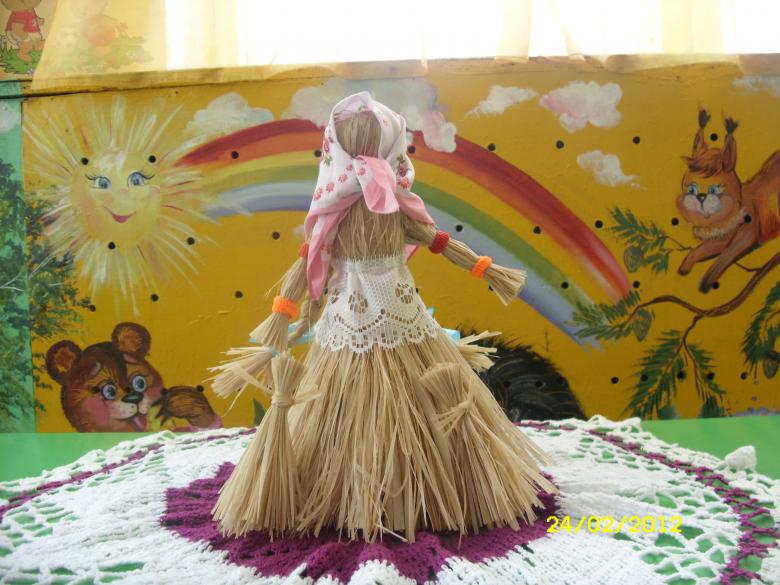
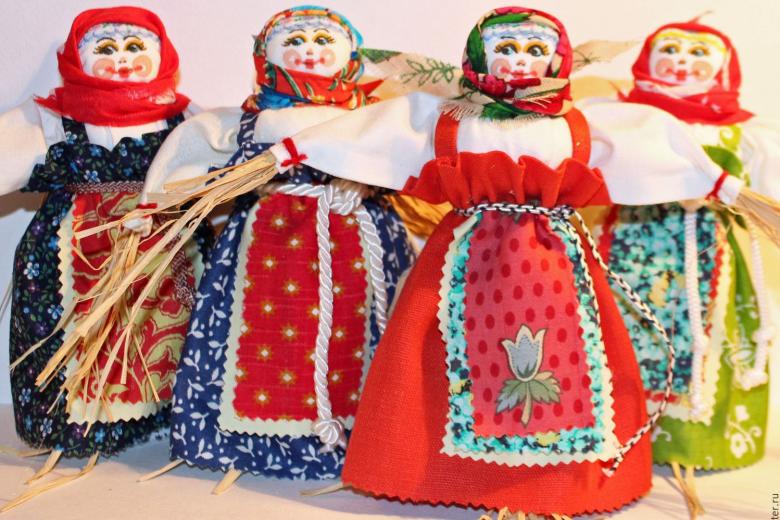
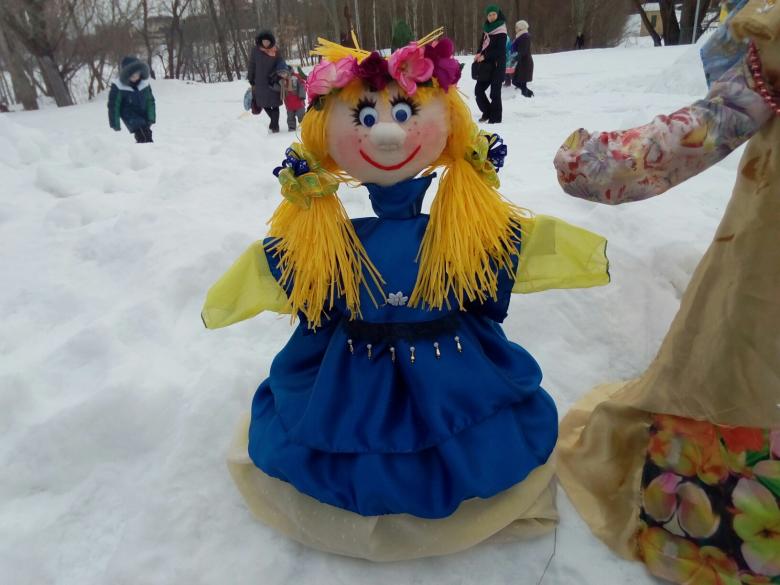
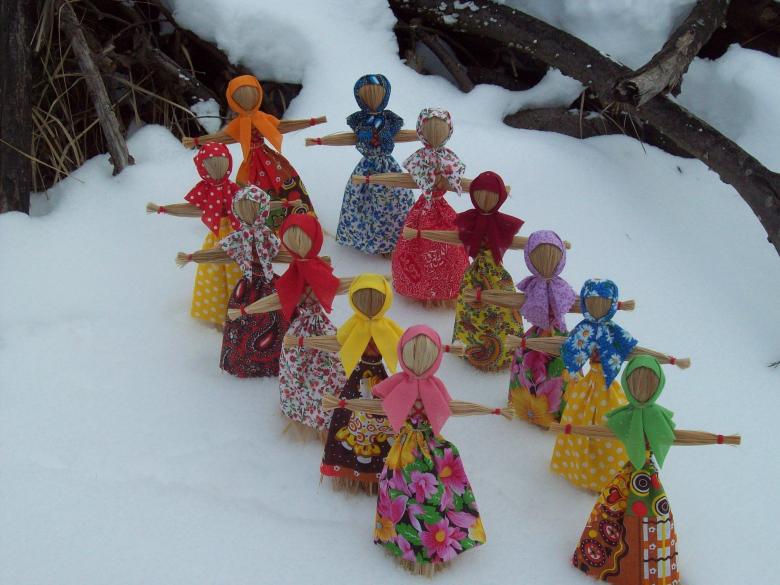
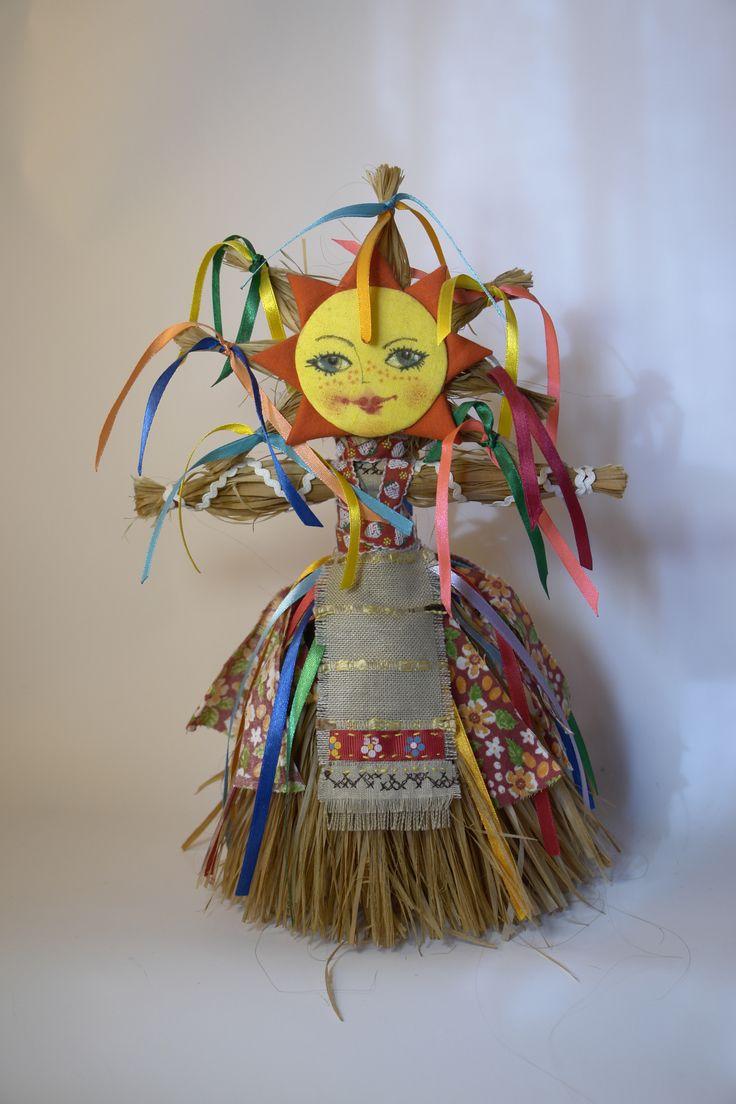
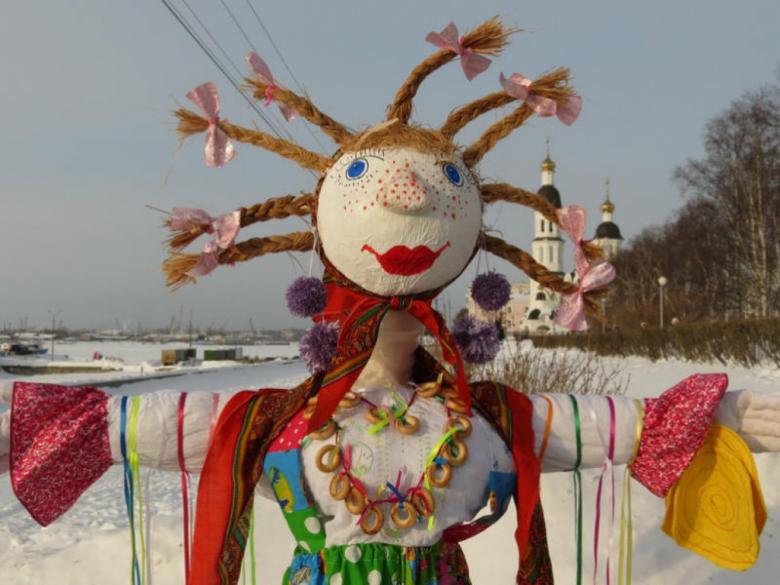
A classic version is the stuffed dolls made of straw, which are burned during the rite of seeing off Russian winter. Traditional ritual dolls-motankas are also often made just for Shrovetide.
To create a simple ritual doll, you will need thread, a small scrap of fabric and a lump of synthetic fibers.
Order of work.
- Cut out from the prepared fabric a square of any size, depending on the height of the desired doll.
- In the middle put a lump of synthetic material, fold the fabric on the diagonal.
- Middle of the filler wrap an even number of turns of thread.
- Secure the thread with a knot.
- Combine the bottom corners, gently straighten the handles, wings.
- Find a place conditional waist and wrap it with thread.
- Crosswise wind the body from neck to waist.
- String a contrasting color to wrap the head and make a sash.
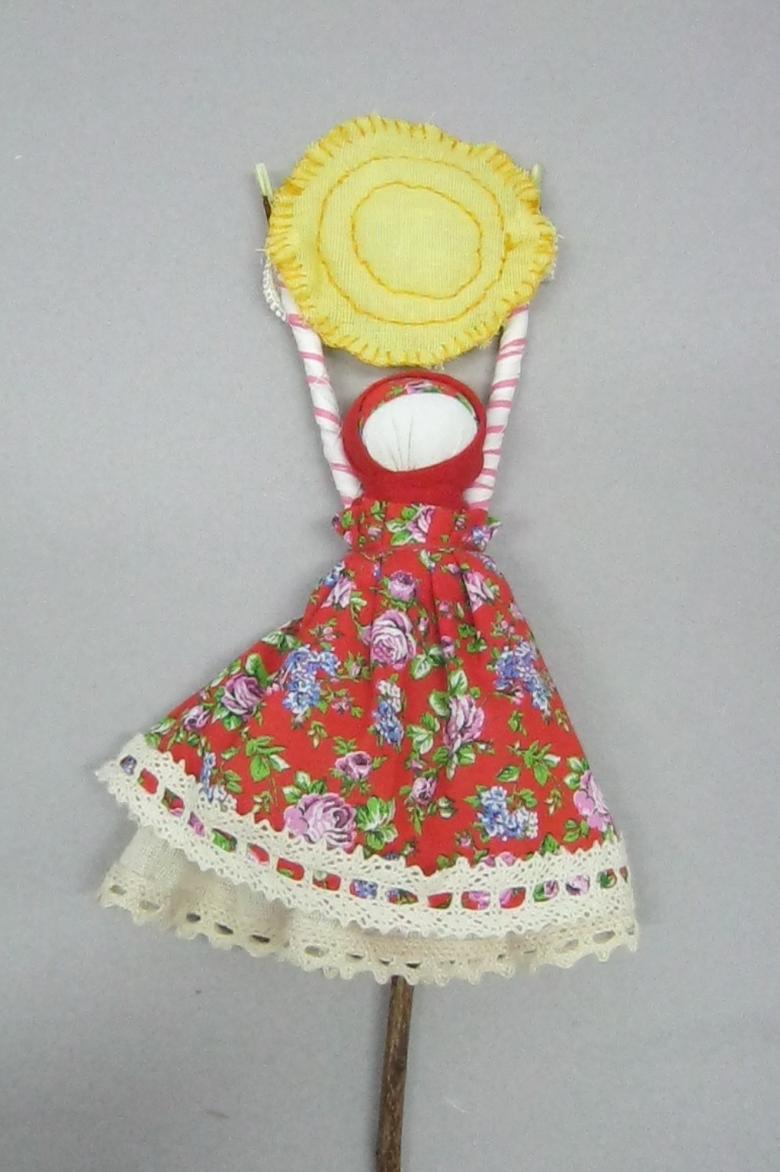
Face ceremonial dolls motanok do not decorate.
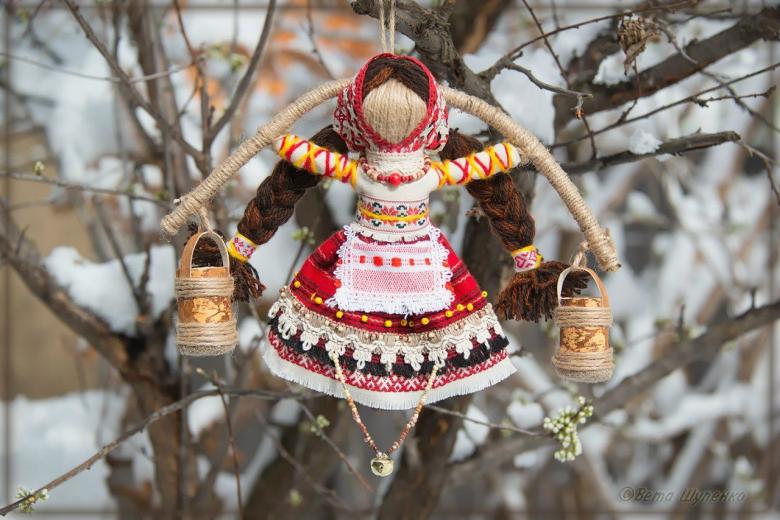
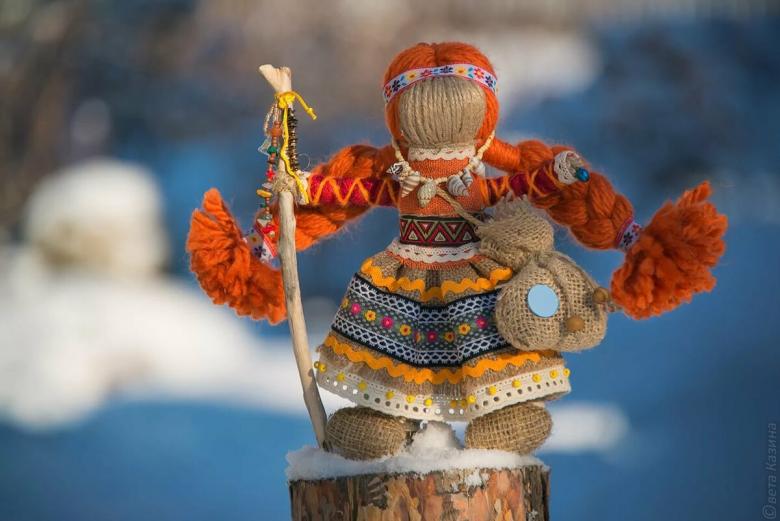
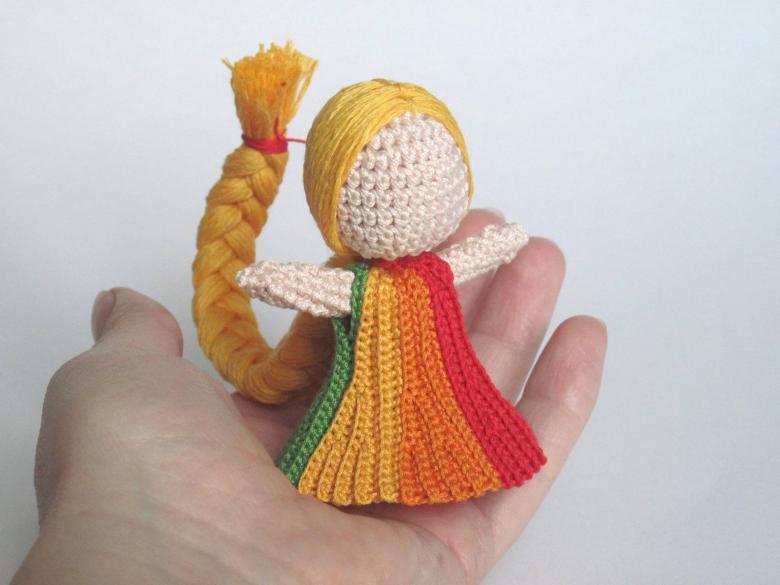
Such dolls can be easily made of textile flaps, yarn remnants or linen twine. The basic principle lurks in the name of the puppet. It is mastered by winding thread, without seams.
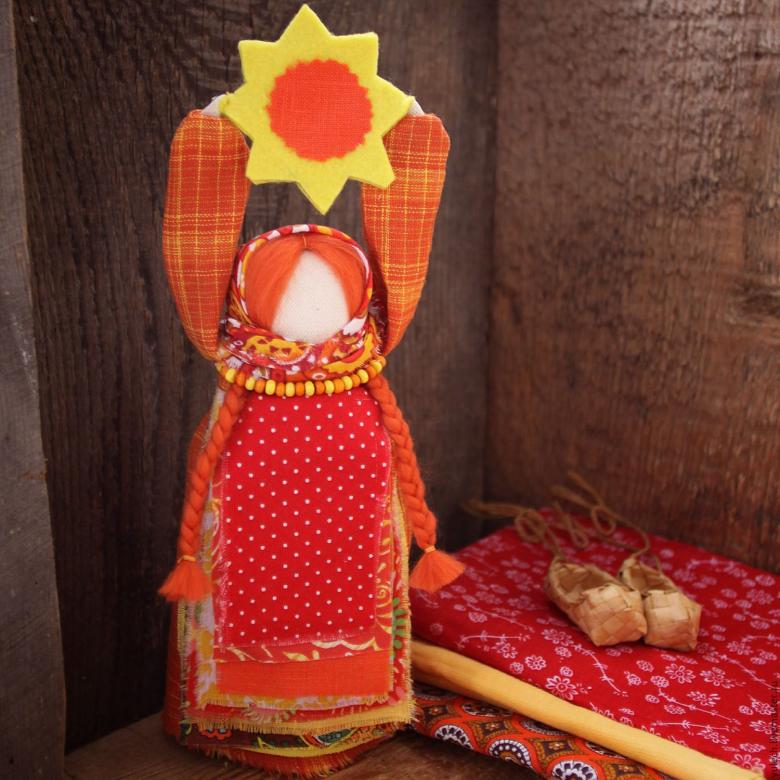
The simplest motanka can be made by a preschooler. A pair of square scraps are folded diagonally, overlapping triangles. They must then be folded with the side corners to the middle. Neck formed by winding thread.
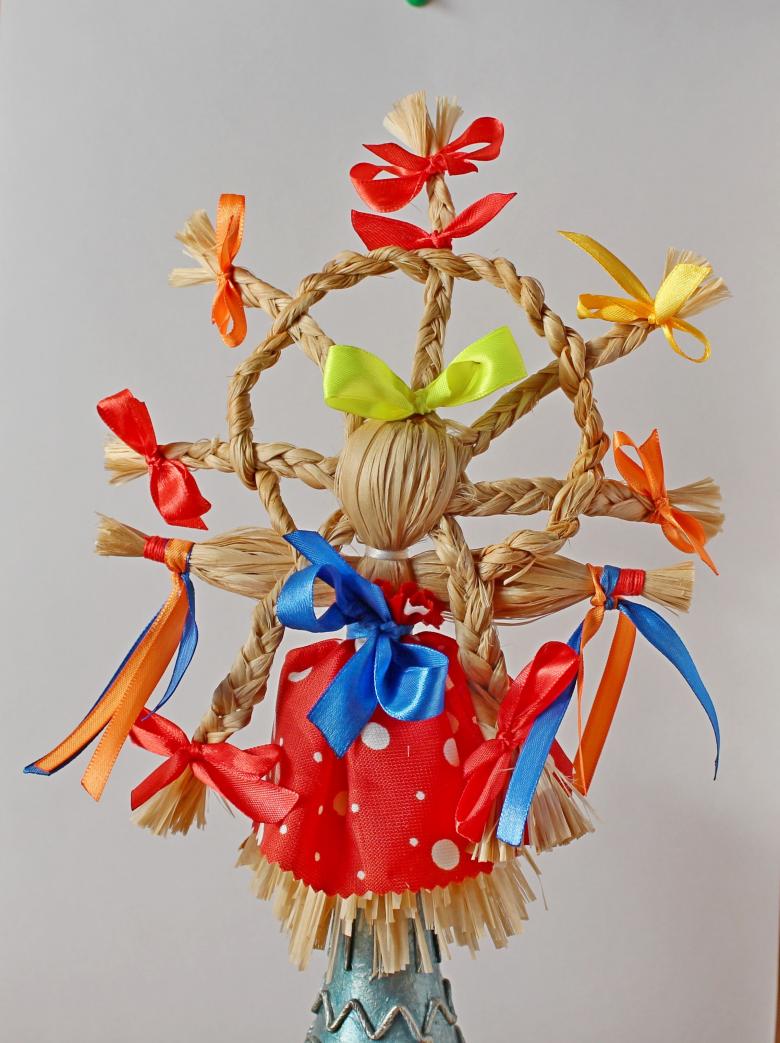
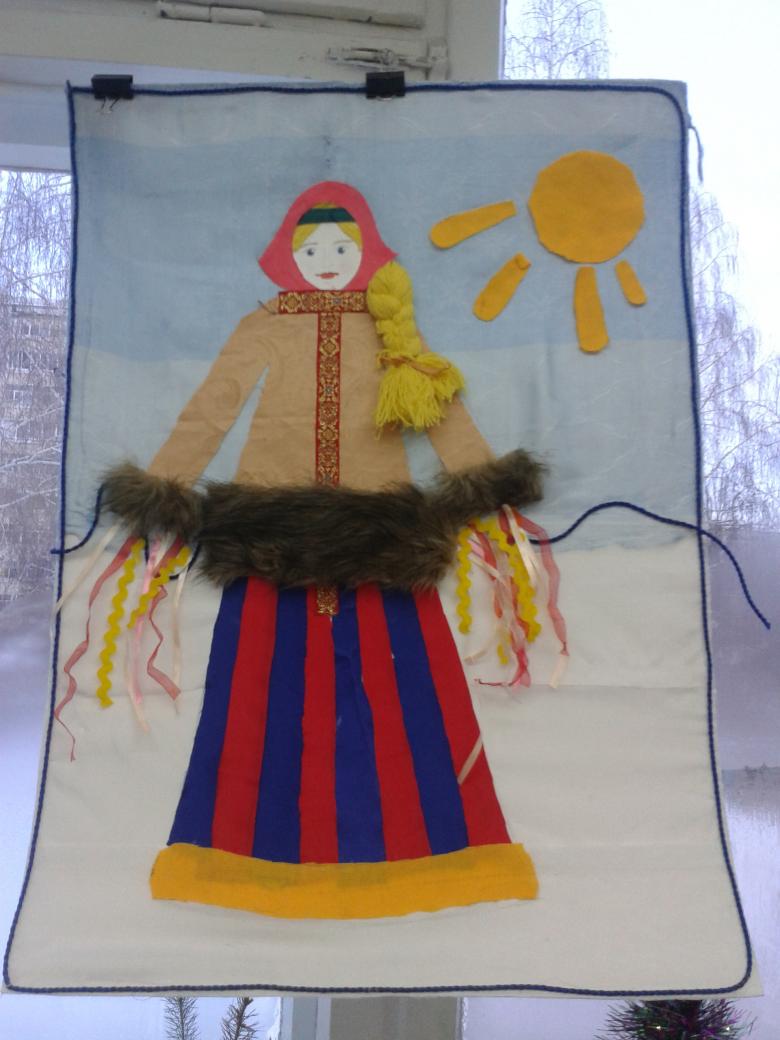
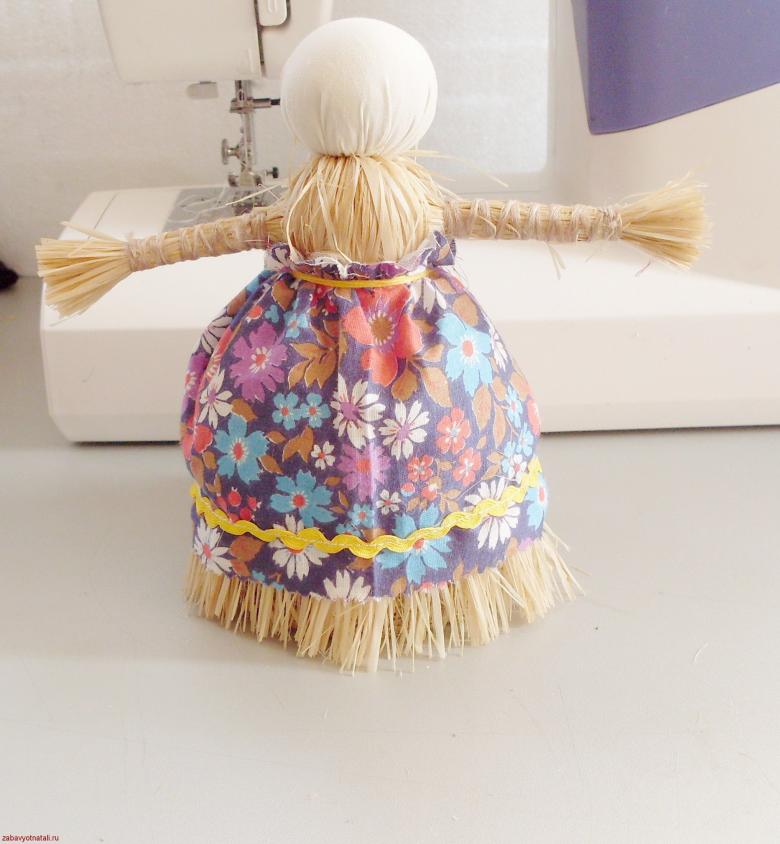
Showing creativity, it is easy to create a stuffed doll for Shrovetide. The basis for it are two sticks, which are connected in the form of a cross. Then sew a head and a dress made of fabric. The head is traditionally stuffed with hay. Attach it to the base. Then the doll is dressed up. Complement such a handicraft is not difficult to wear a scarf, apron and bright beads.
Pancakes
Homemade pancakes are just as much a symbol of Shrovetide as the dolls.
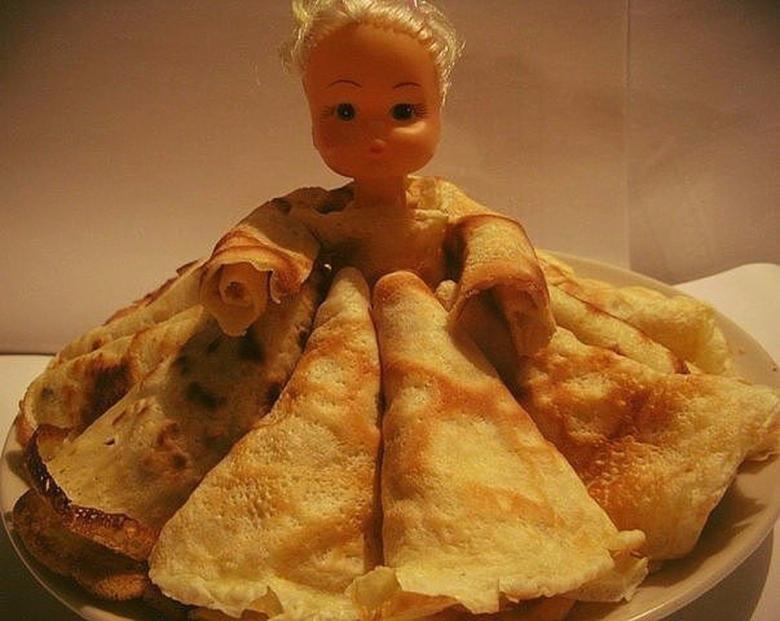
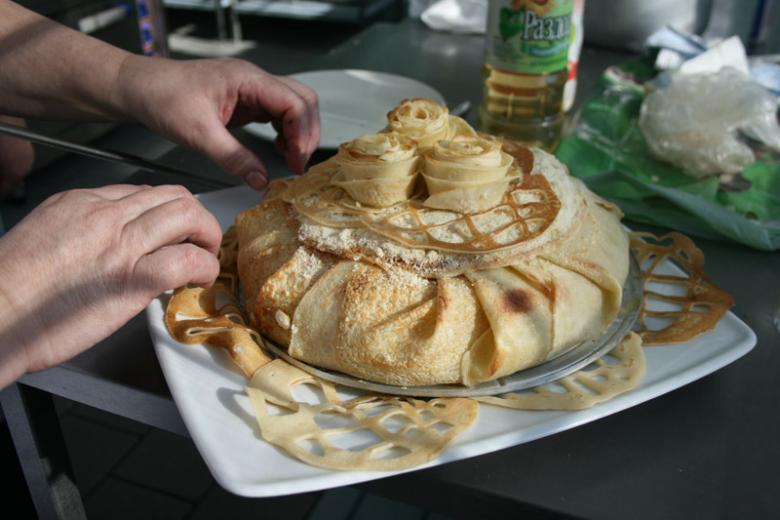
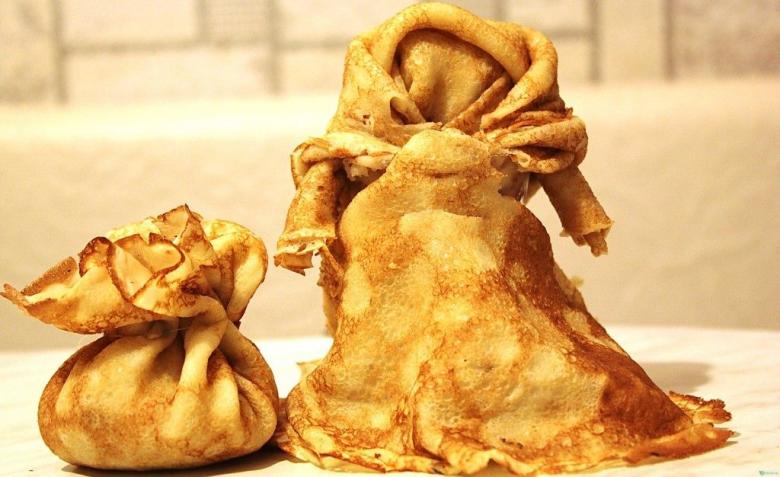
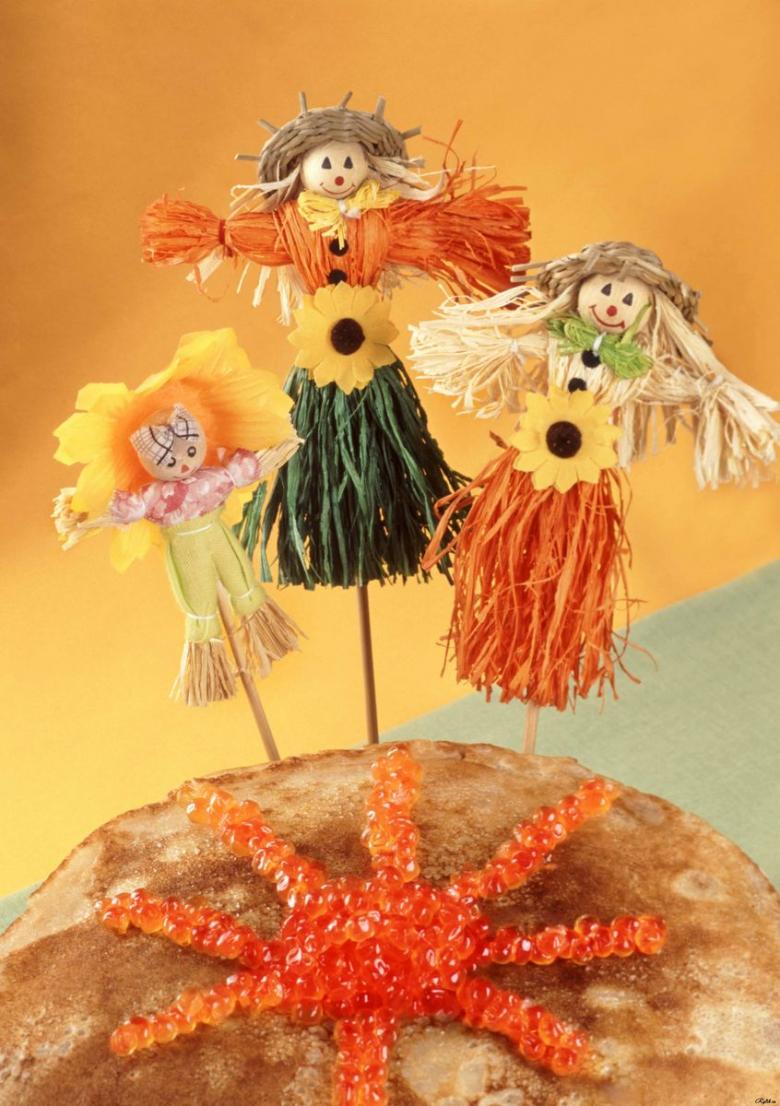
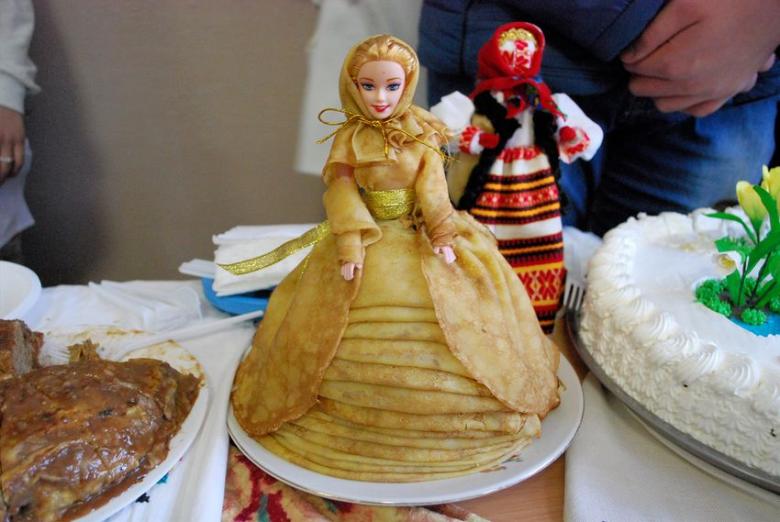
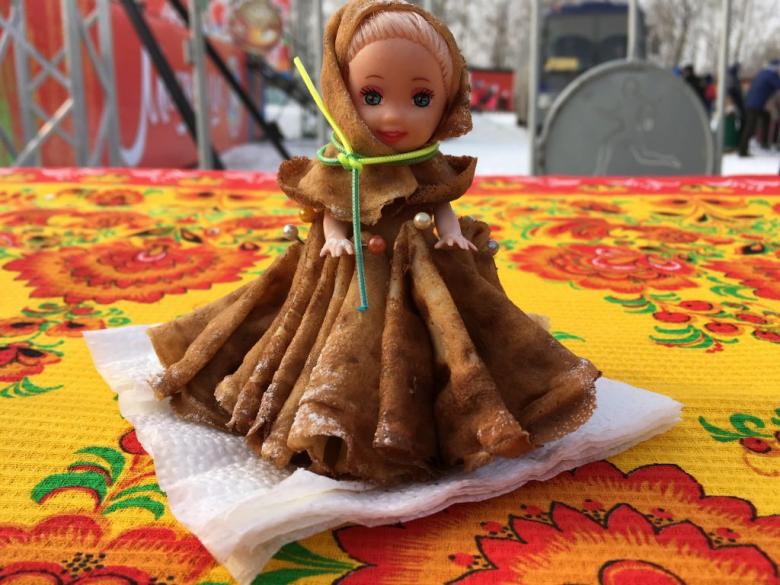
In preparation for the holiday, it is not difficult to make dolls or houses out of these pancakes. This will amuse guests and create a special mood.
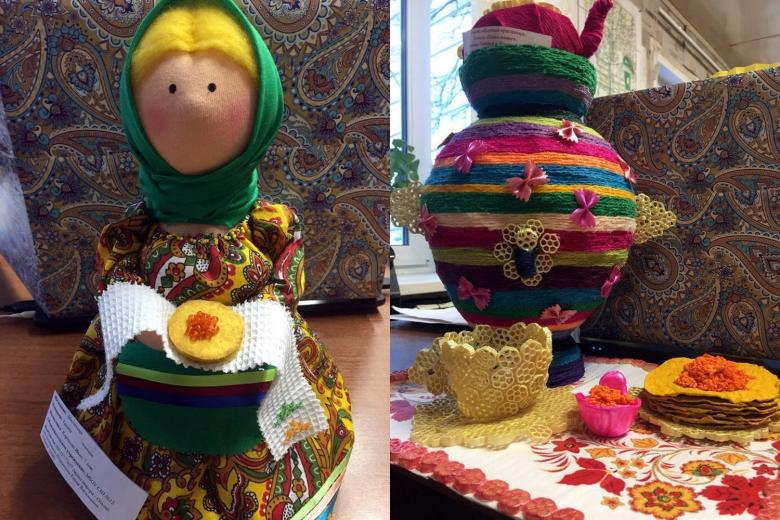
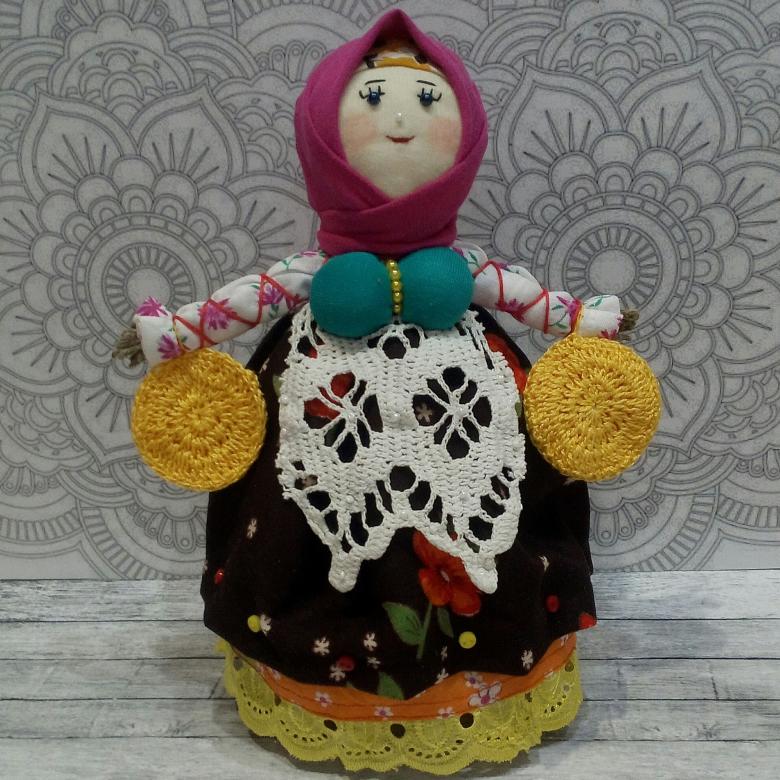
If desired, the pancakes can be molded from plasticine, sewn from fabric or crocheted from acrylic yarn.
Creating Shrovetide crafts with children, it is useful to tell them about the history of the holiday and national traditions.

