Sacking crafts with your own hands: step by step master classes and beautiful photo examples of products
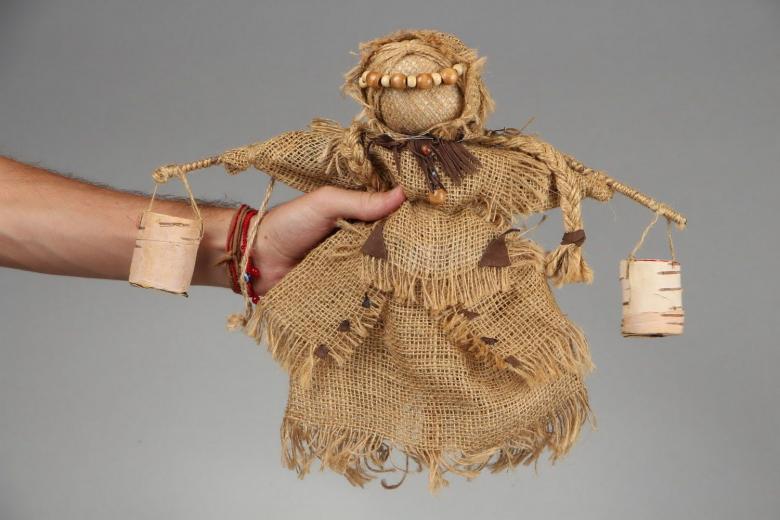
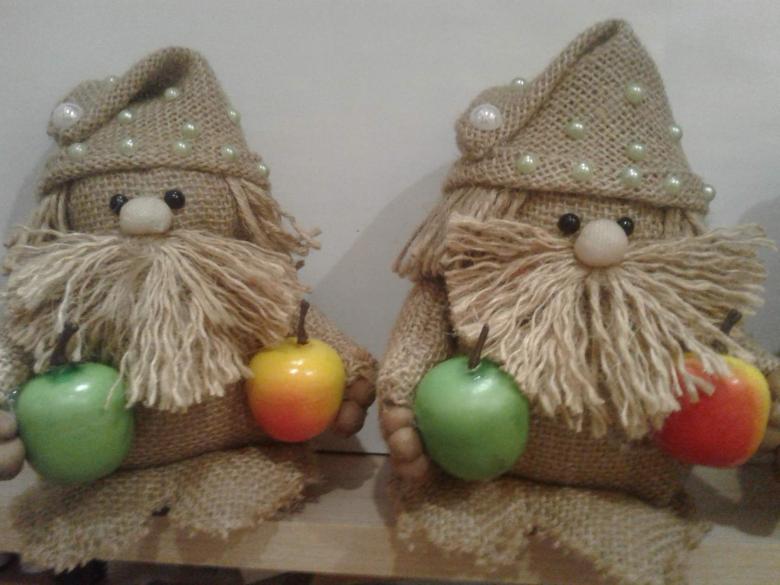
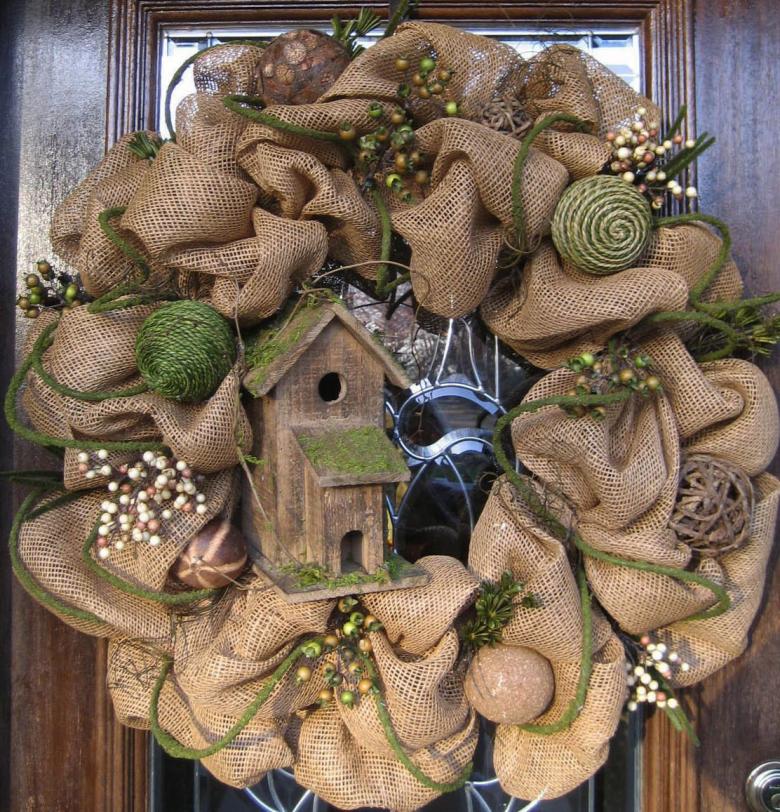
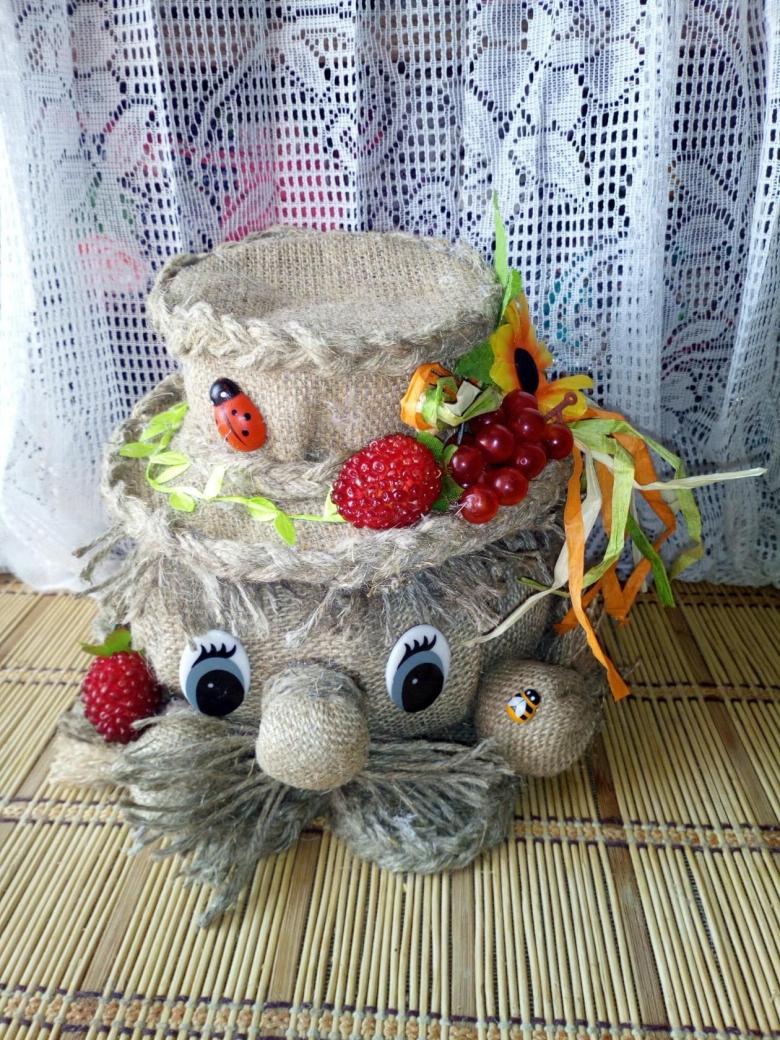
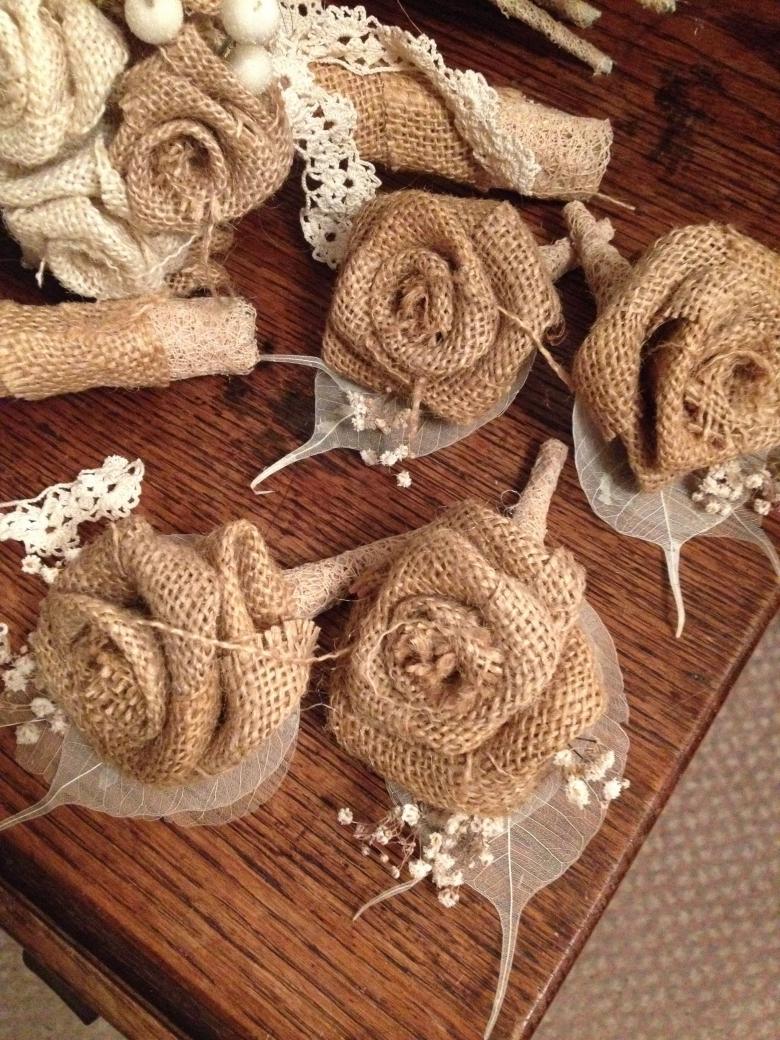
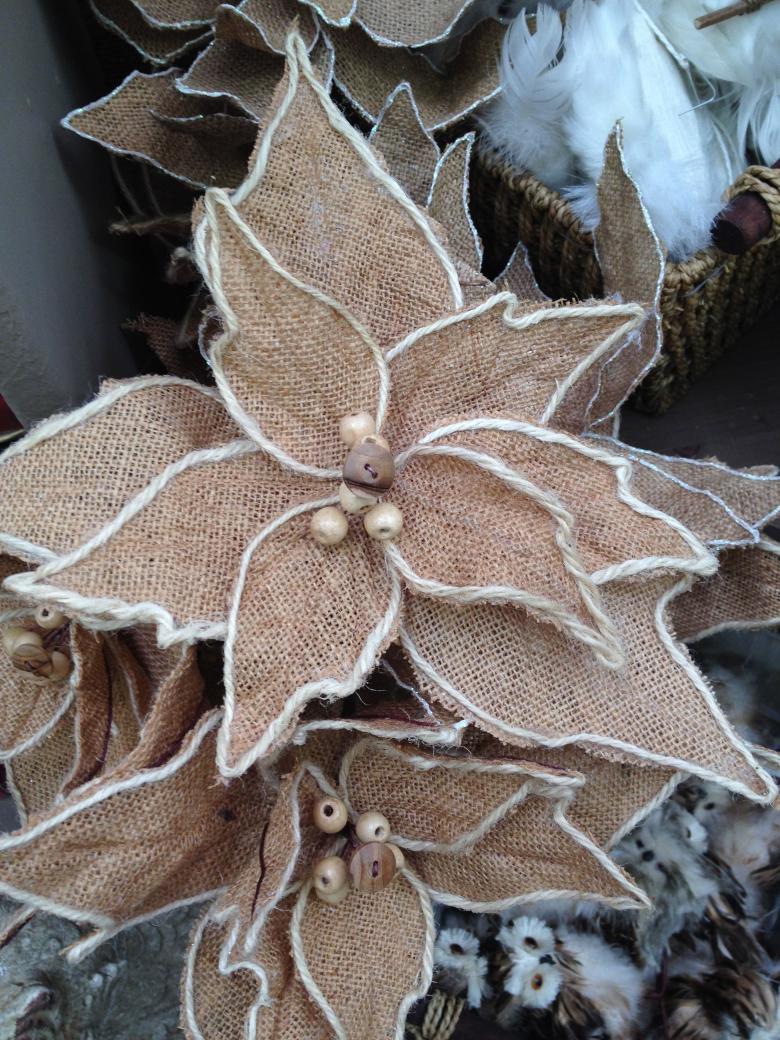
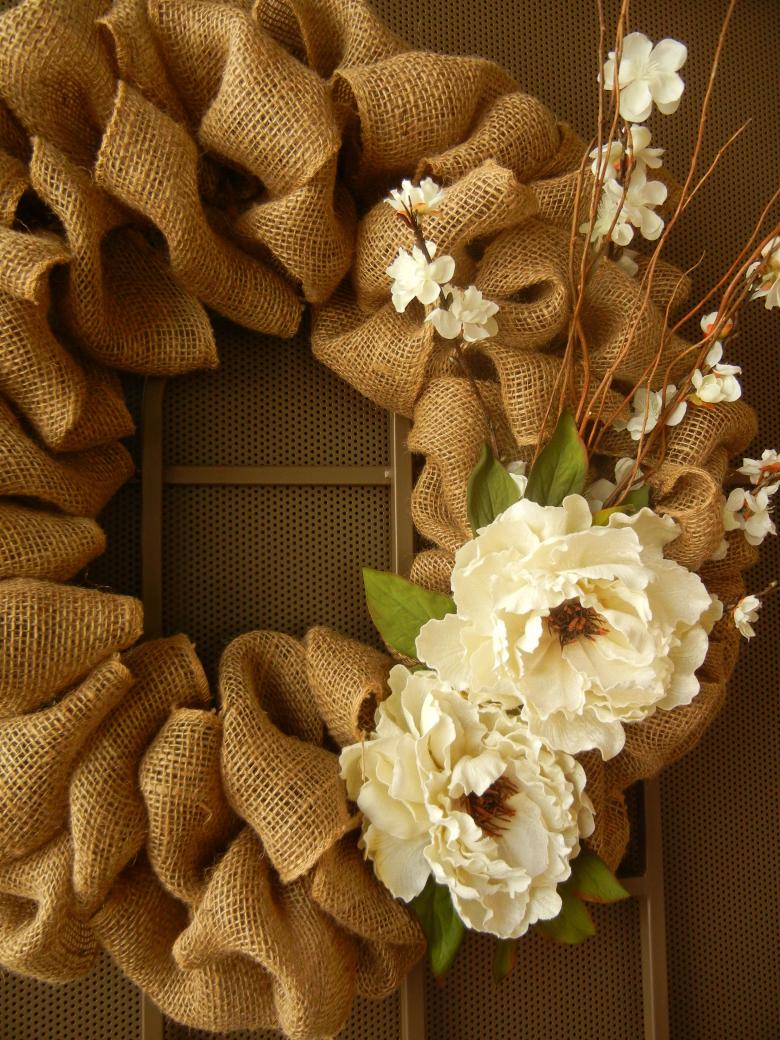
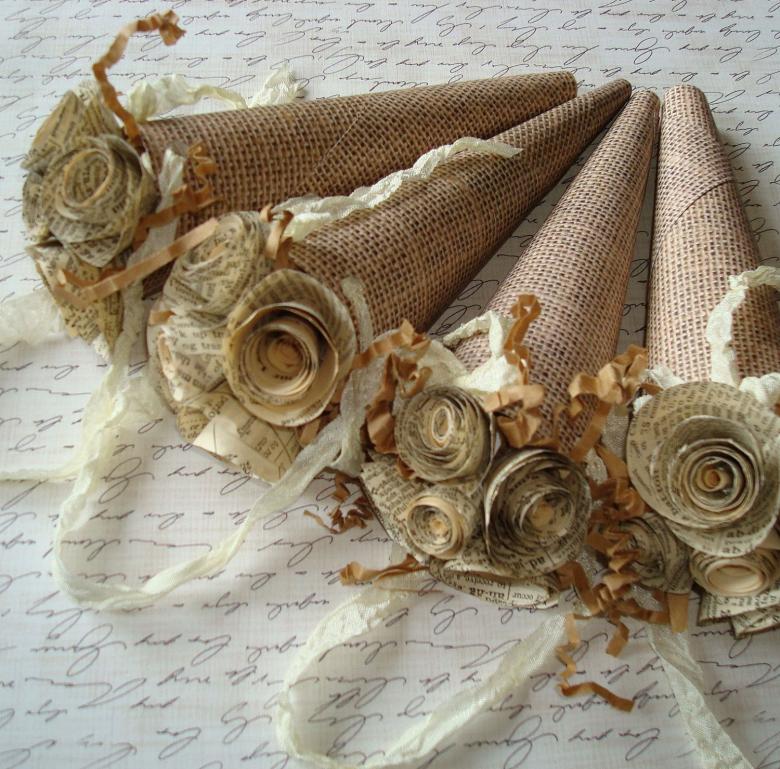
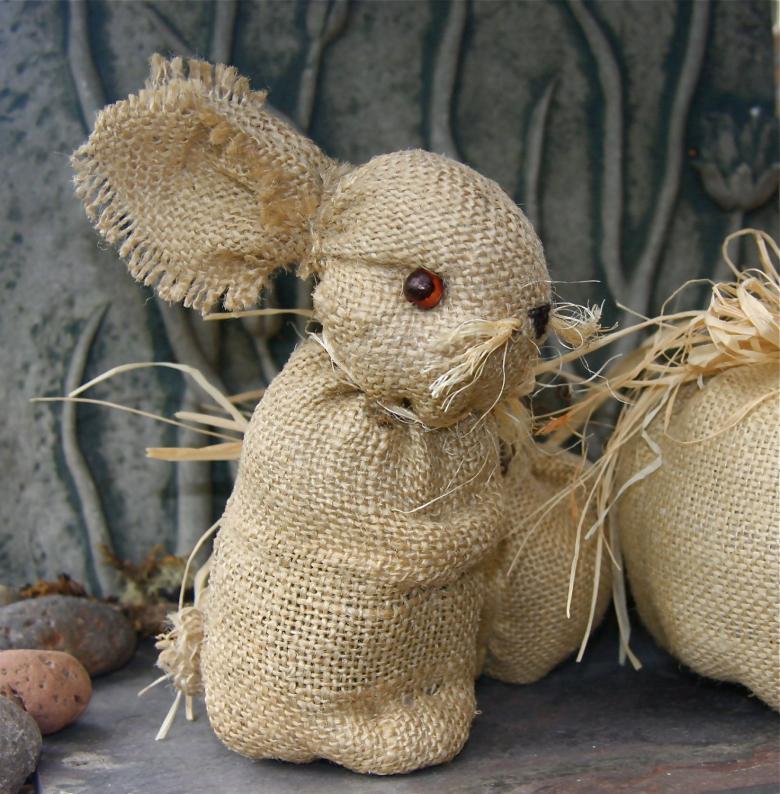
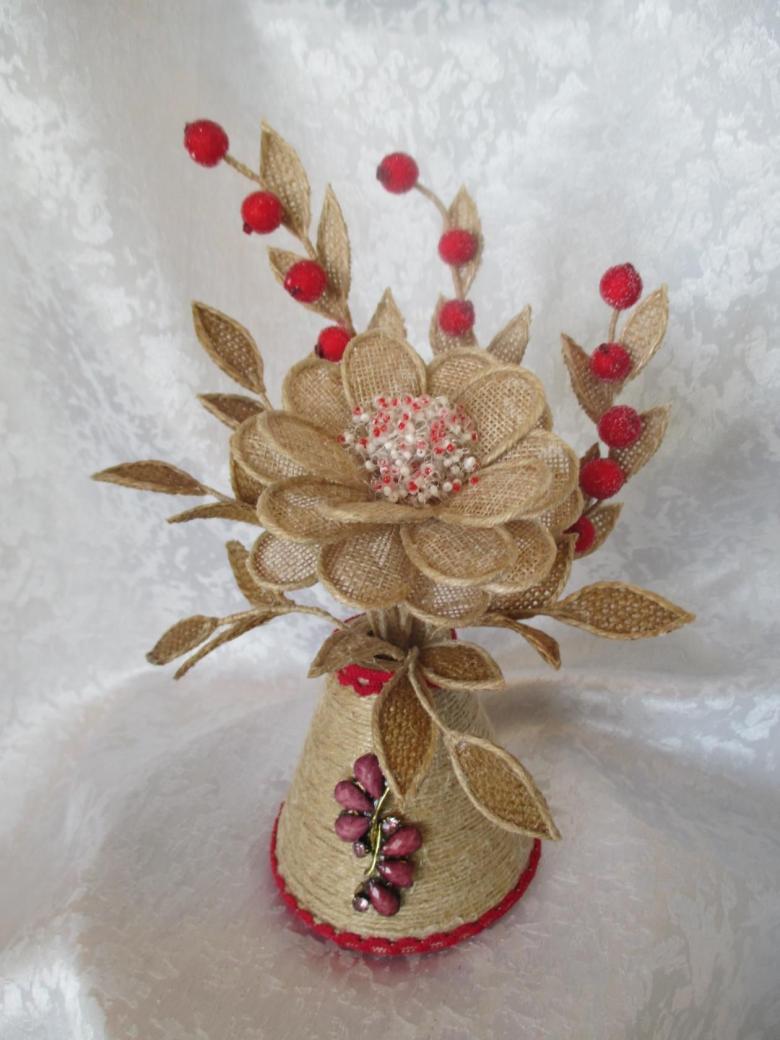
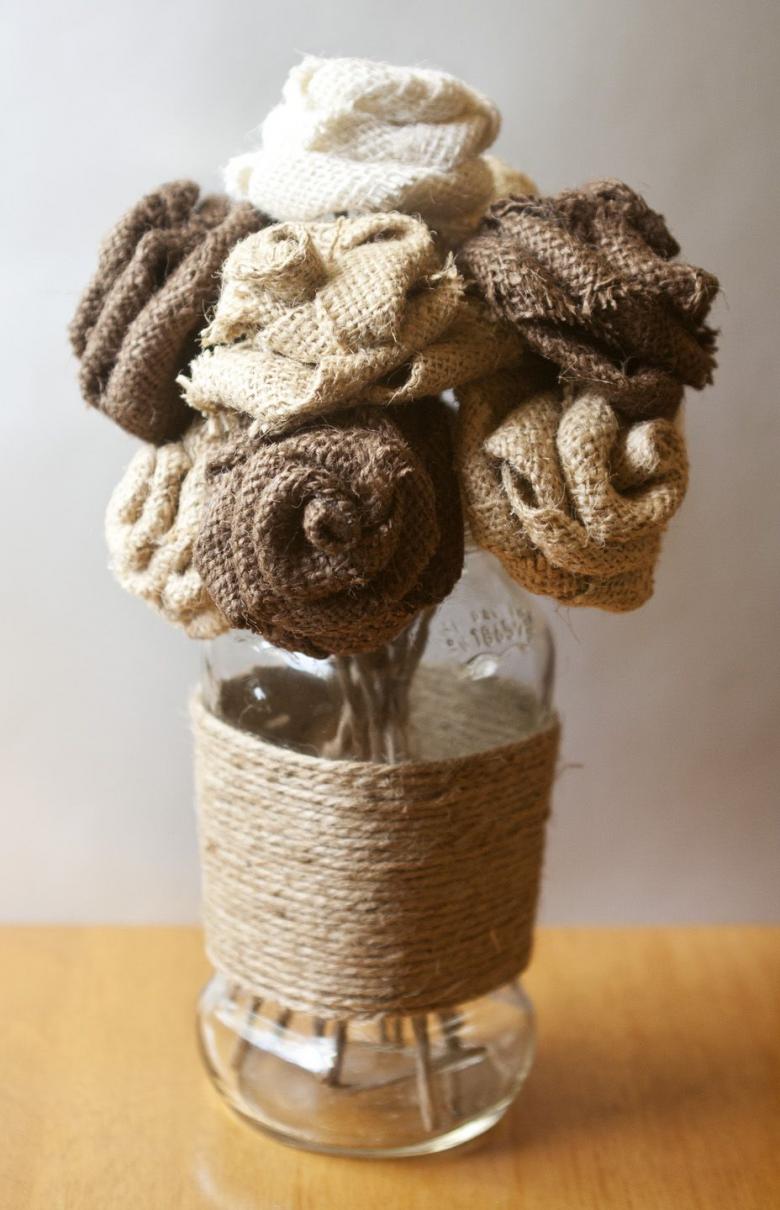
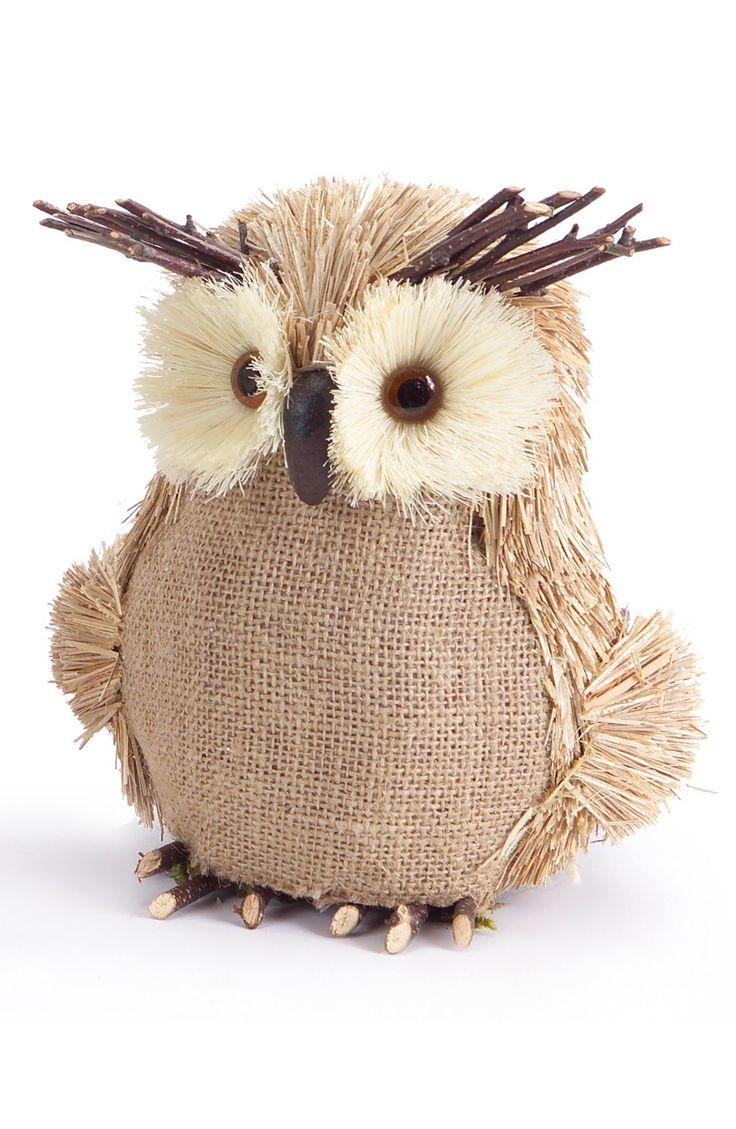
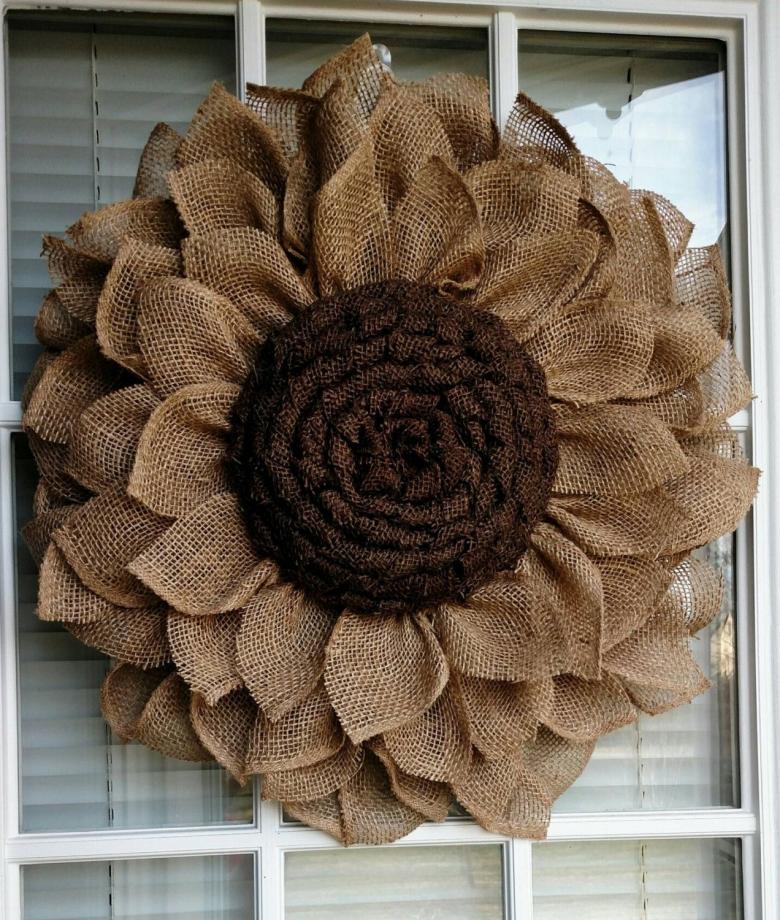
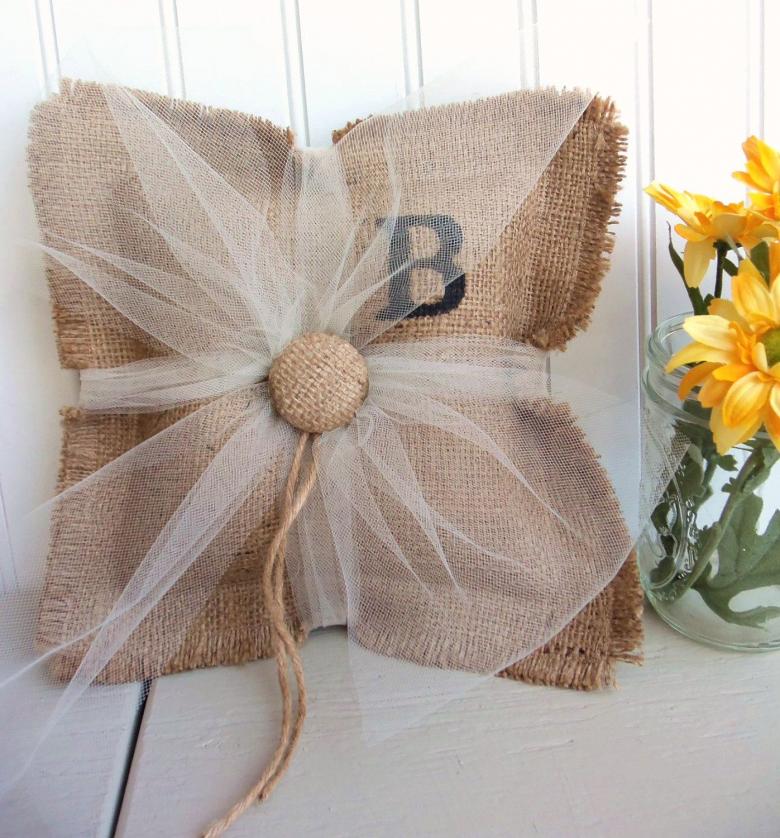
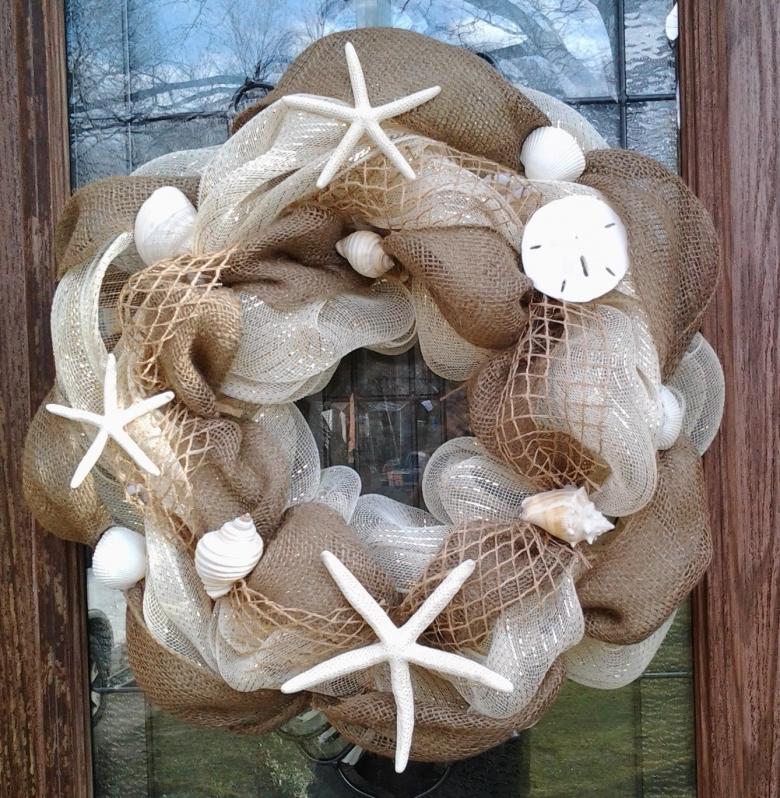
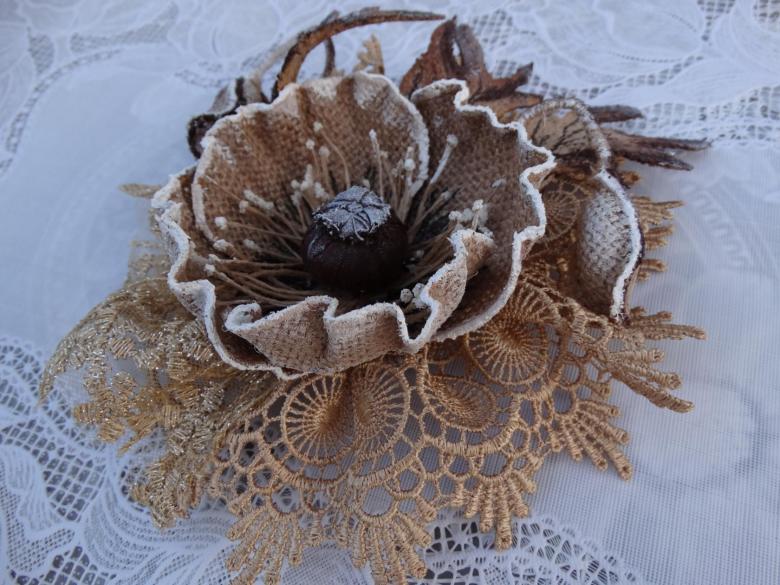
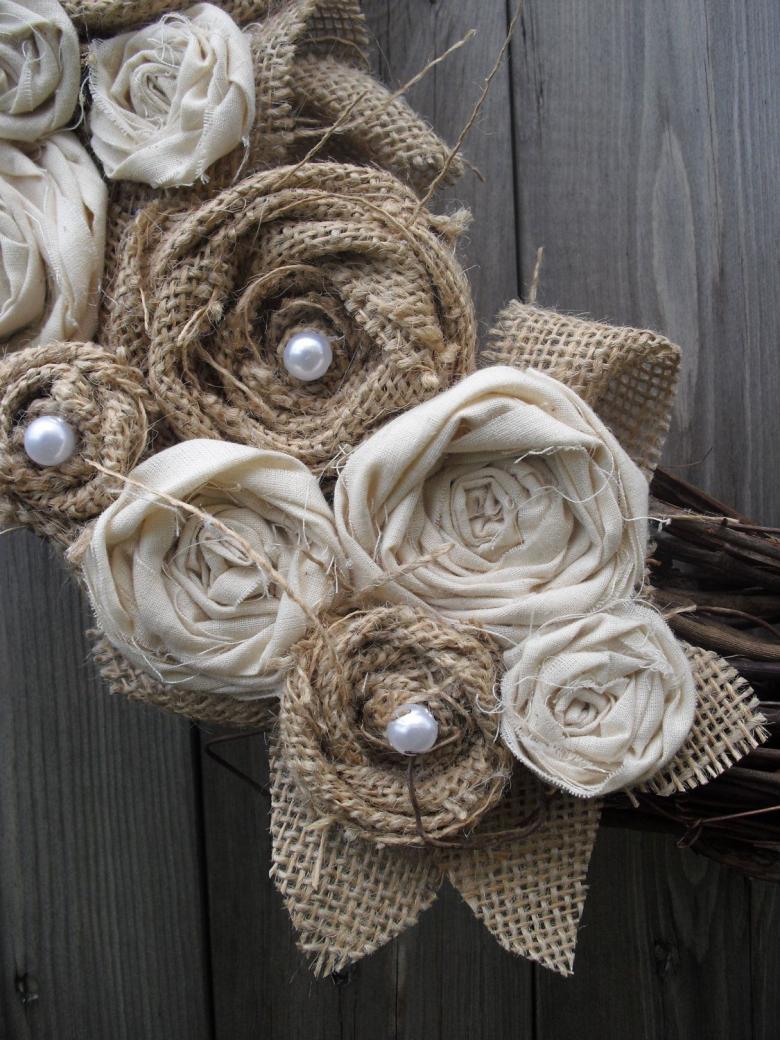
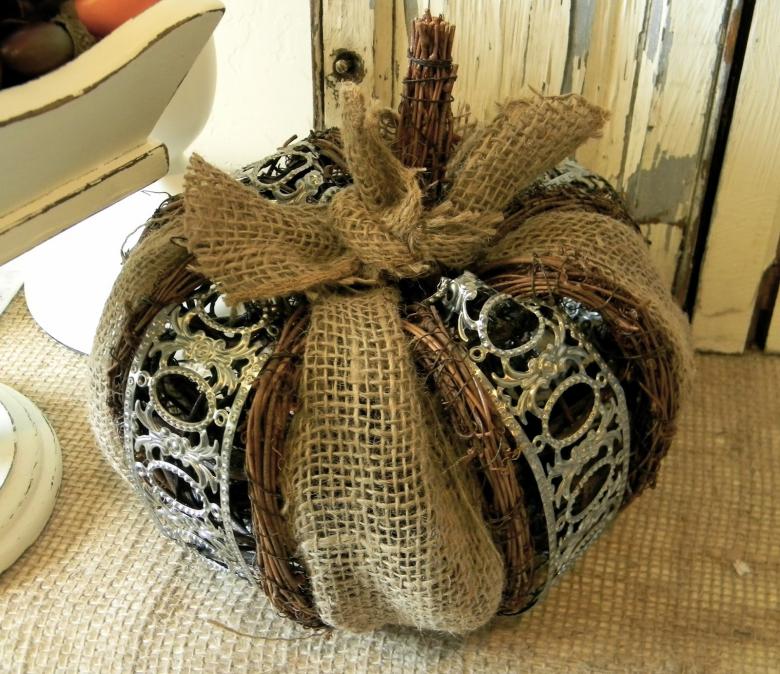
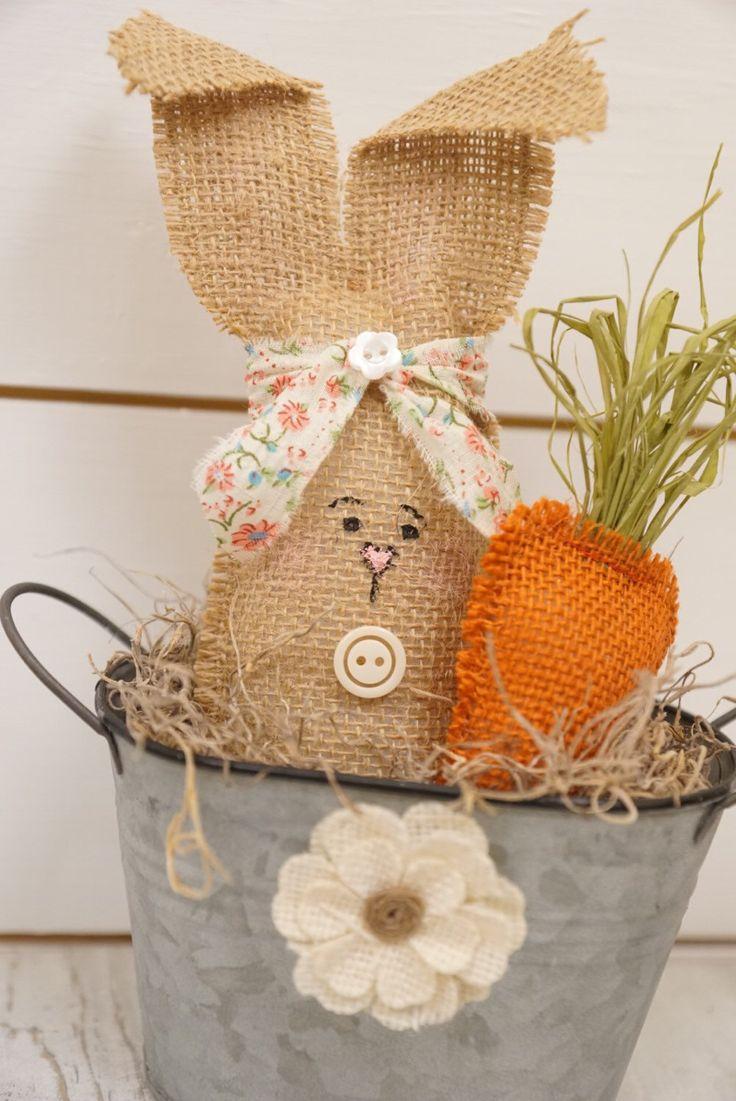
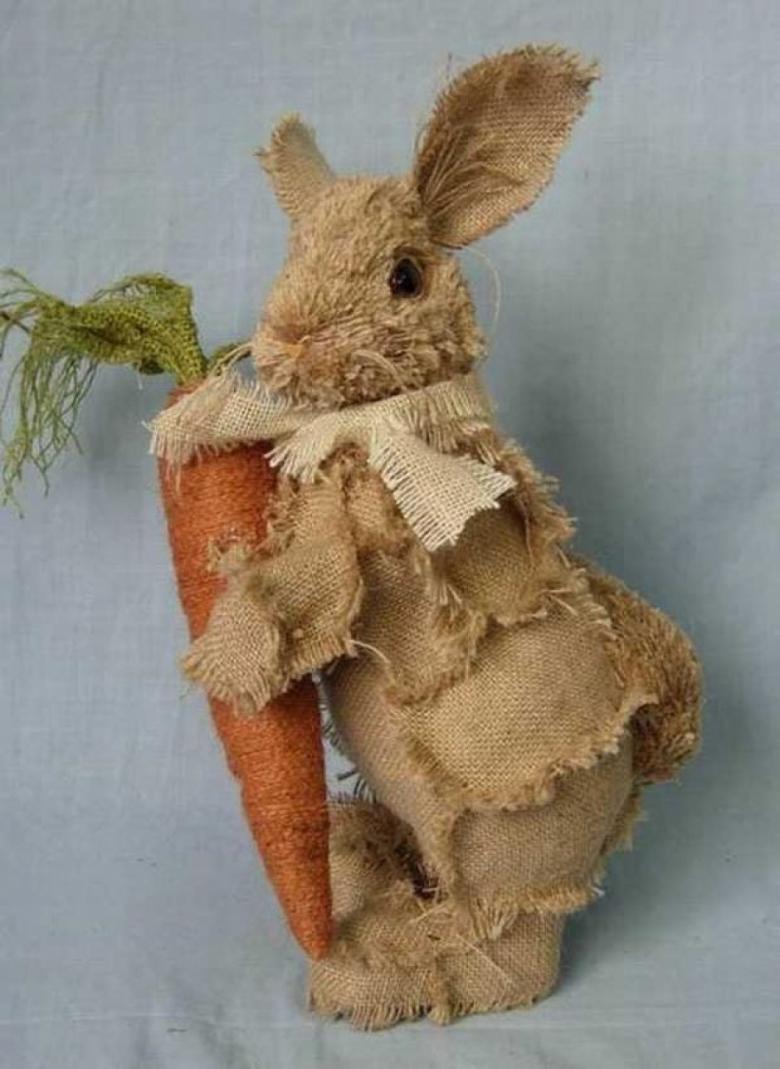
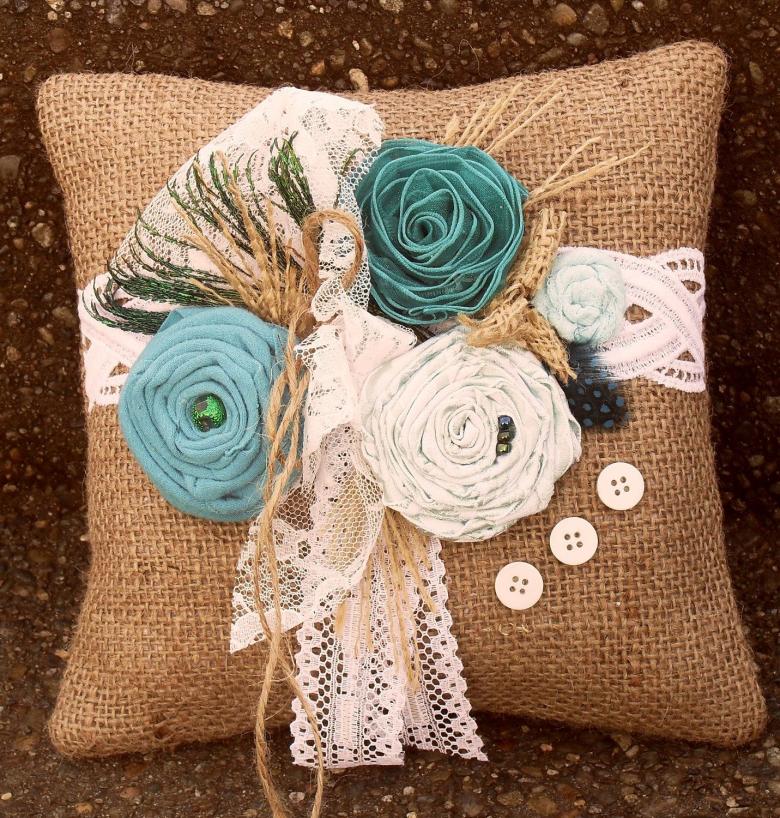
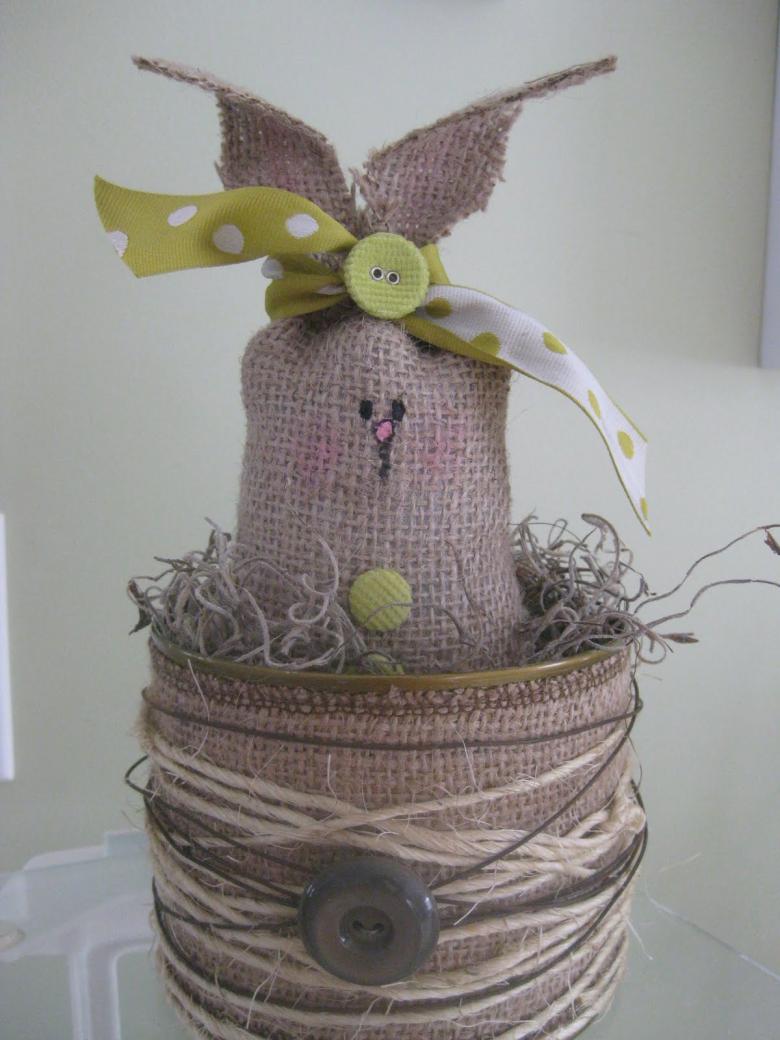
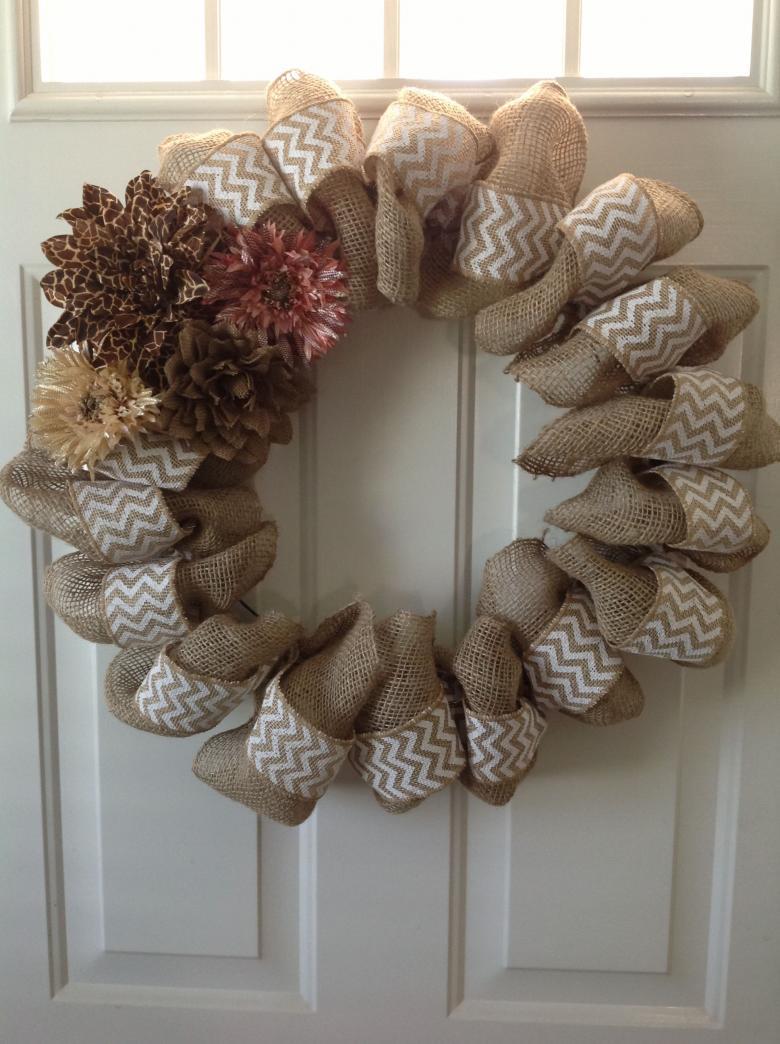
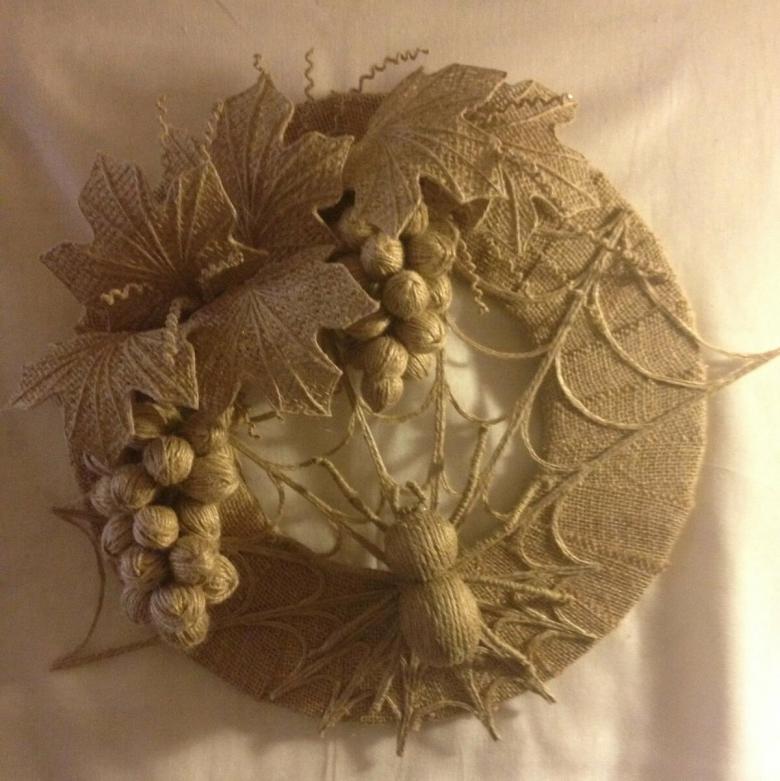
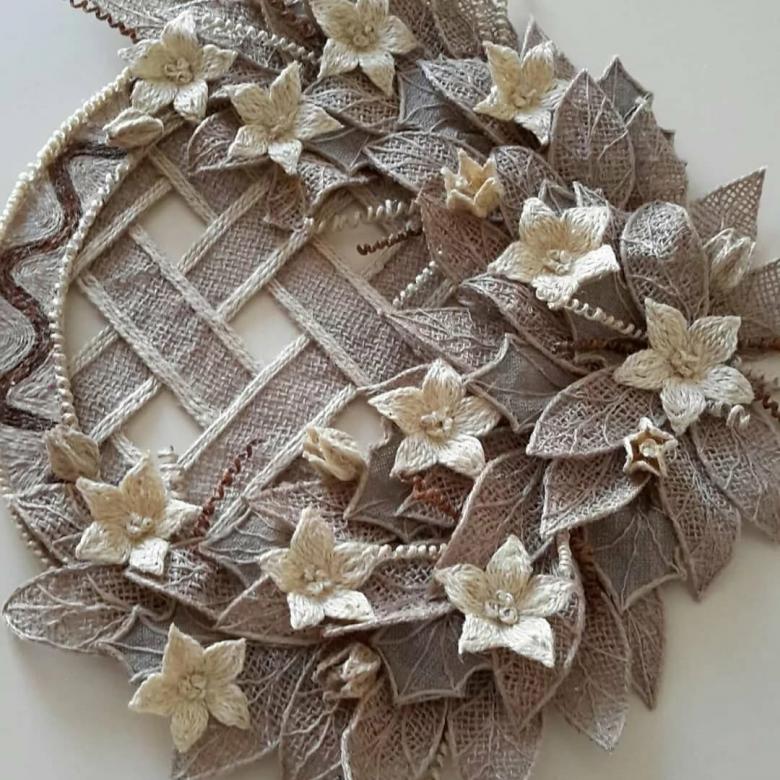
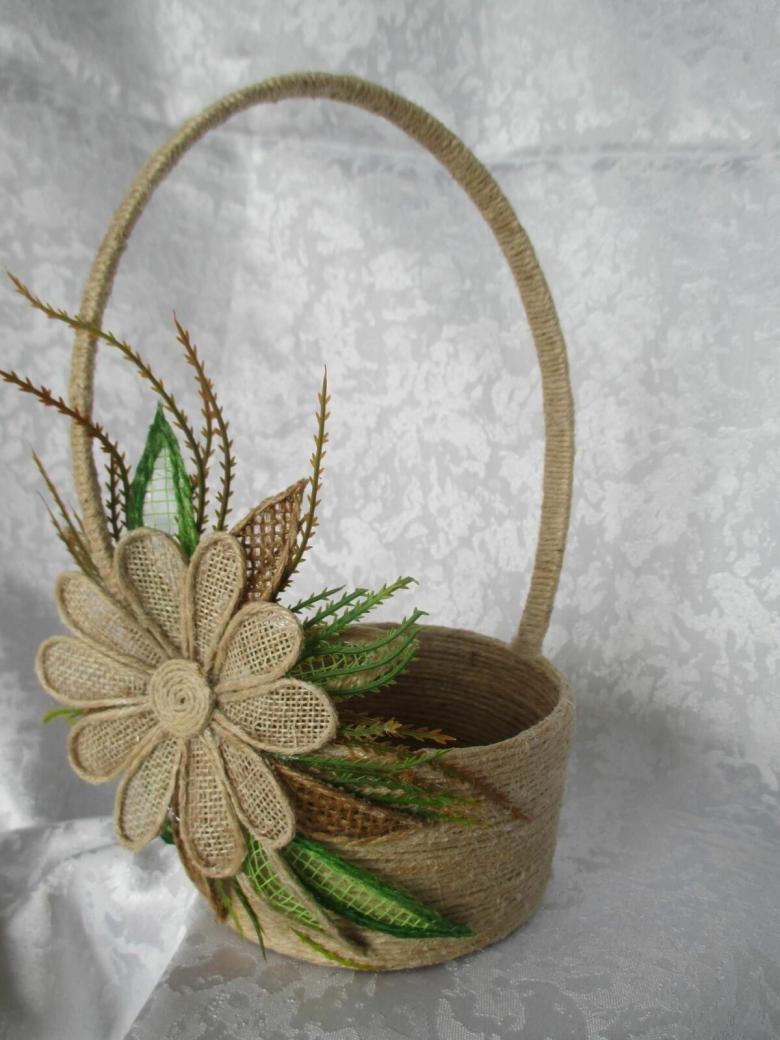
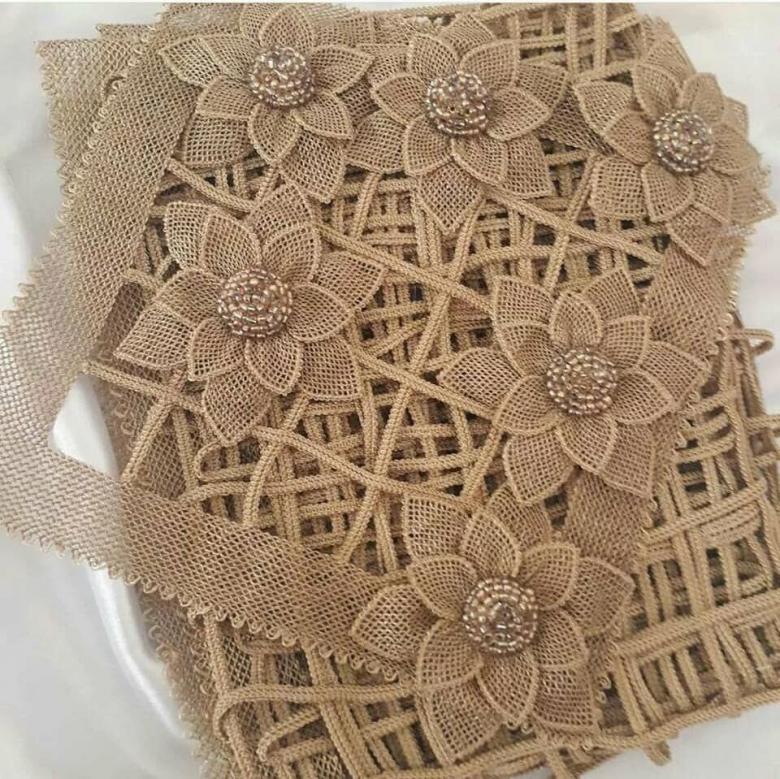
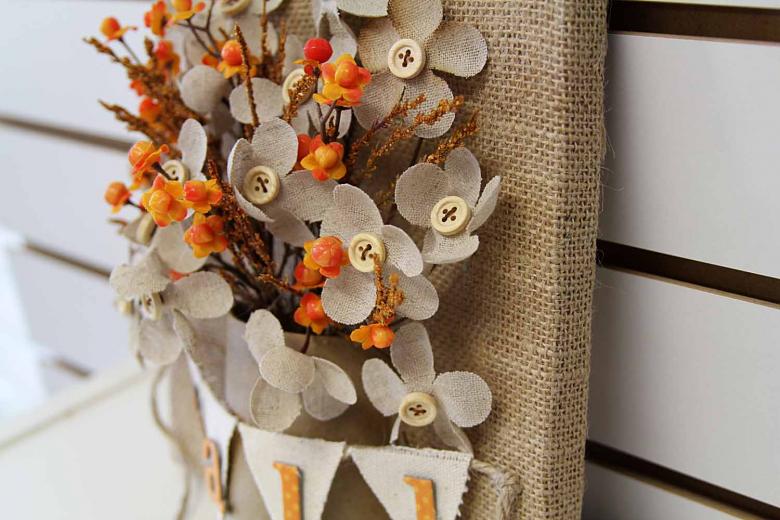
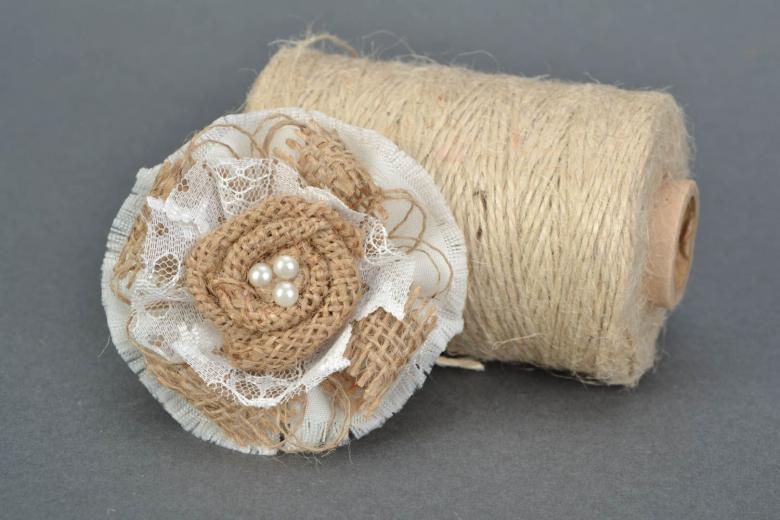
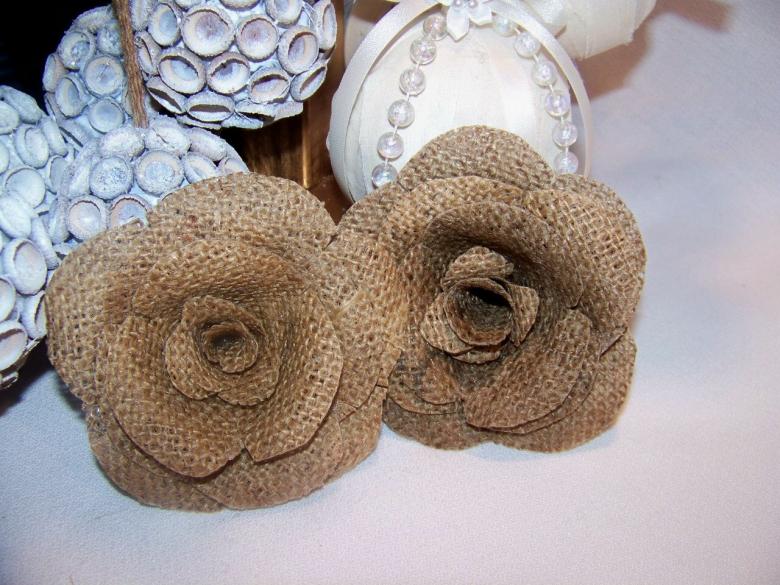
From such a wonderful material as burlap can be made a lot of interesting things. This and children's toys, and souvenirs, and eco-decor.
The choice of ideas
Before you take up thread and scissors, you need to decide on the idea for the craft. Do it by browsing relevant literature and online publications. In this case, it is desirable to use someone else's work, not as a sample, but as a source for inspiration.
It is recommended to choose the technology of manufacture to which there is a tendency. If you feel that sewing and fiddling with paints isn't for you, don't settle for an option that involves these kinds of creativity.
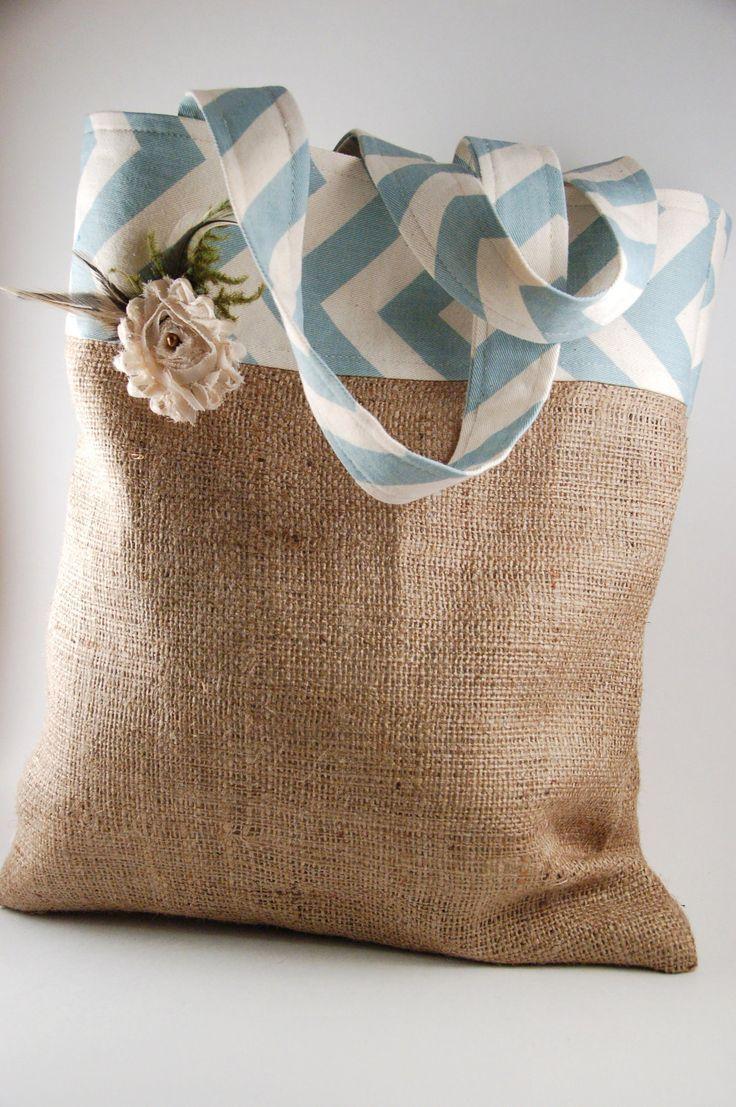
For beginners, it's best to start with something simple. Only after gaining experience, you can move on to something more complicated.
The nuances of preparing the material
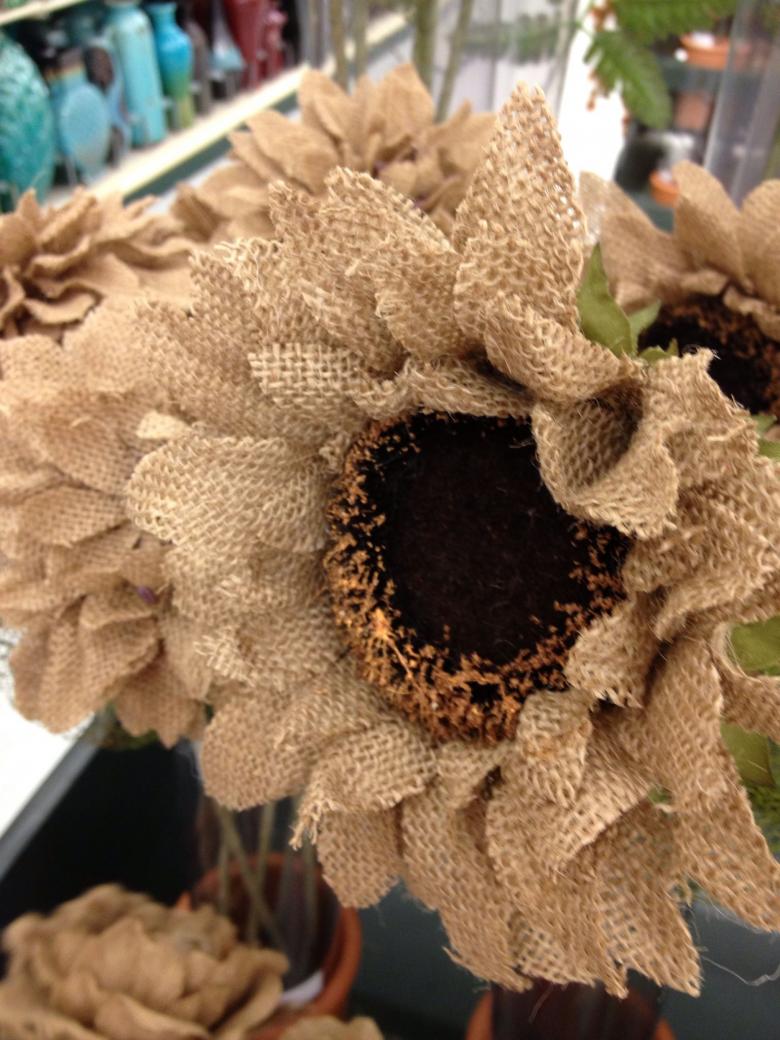
The first step is to buy a sufficient amount of burlap. You can buy it at any outlet that specializes in the sale of creative kits. This type of textile is sold ready to work.
The process of the sacking's own preparation includes the following steps:
- washing;
- drying;
- soaking in a solution of onion husk or tea brew (recommended time - 1 hour).
The necessary equipment
Before you begin to get acquainted with the master classes on the theme of crafts from burlap with your own hands, you need to stock up on the following things:
- burlap;
- mouliné thread;
- acrylic paints;
- a roll of twine;
- stuffing on the type of sintepon;
- Decorative elements (lace pieces, beads, sequins, etc.).
You will also need needles of different sizes, tailor scissors, PVA glue.
Original ideas
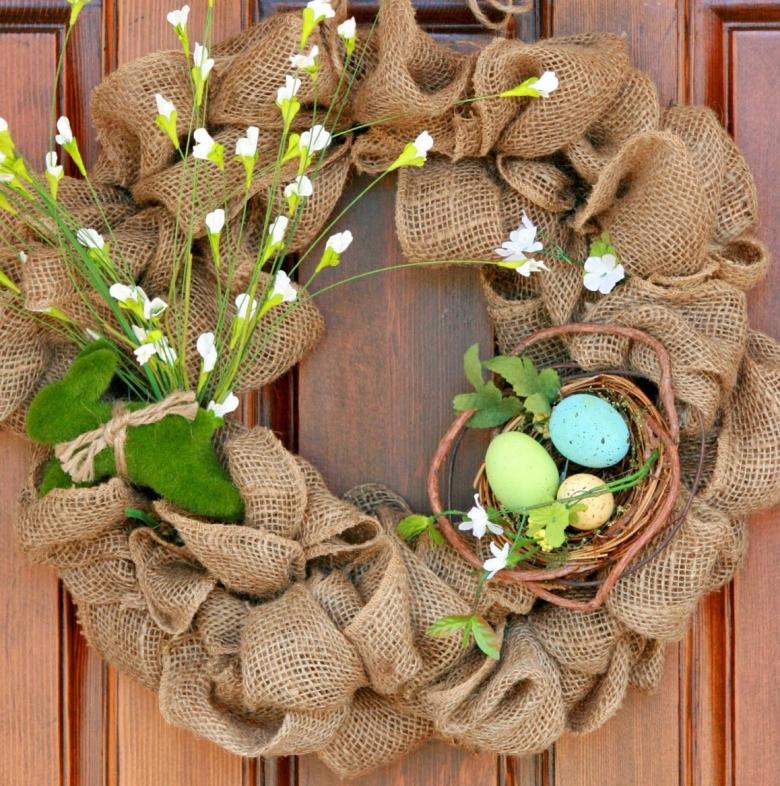
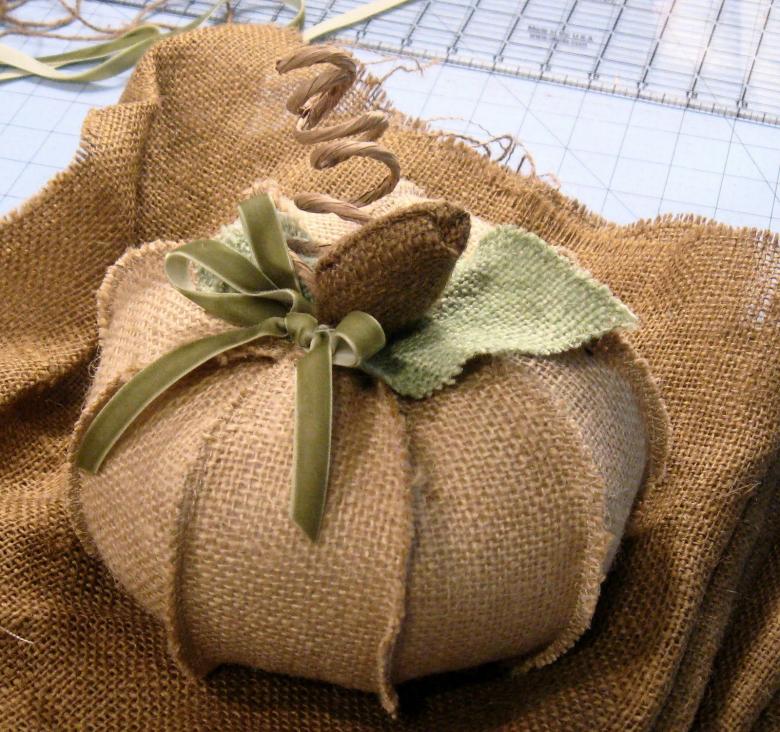
On the Internet today you can find a lot of unusual options for items made of burlap. Below we will consider the most popular works of the authors of master.bigbadmole.com/en/.
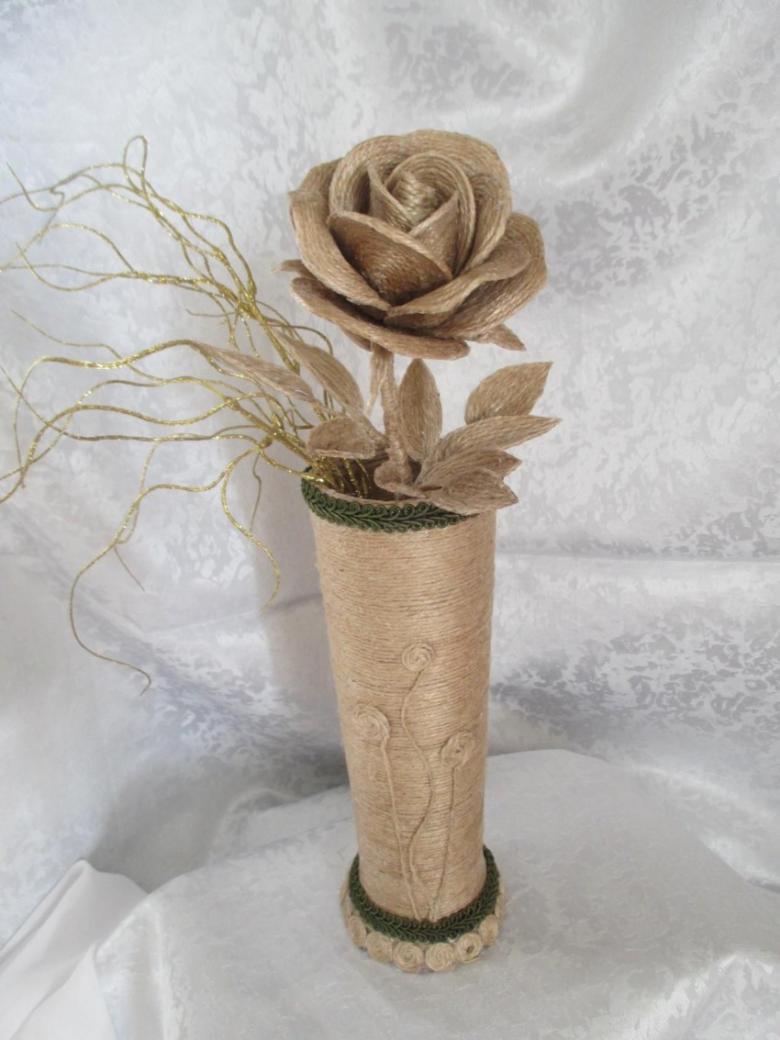
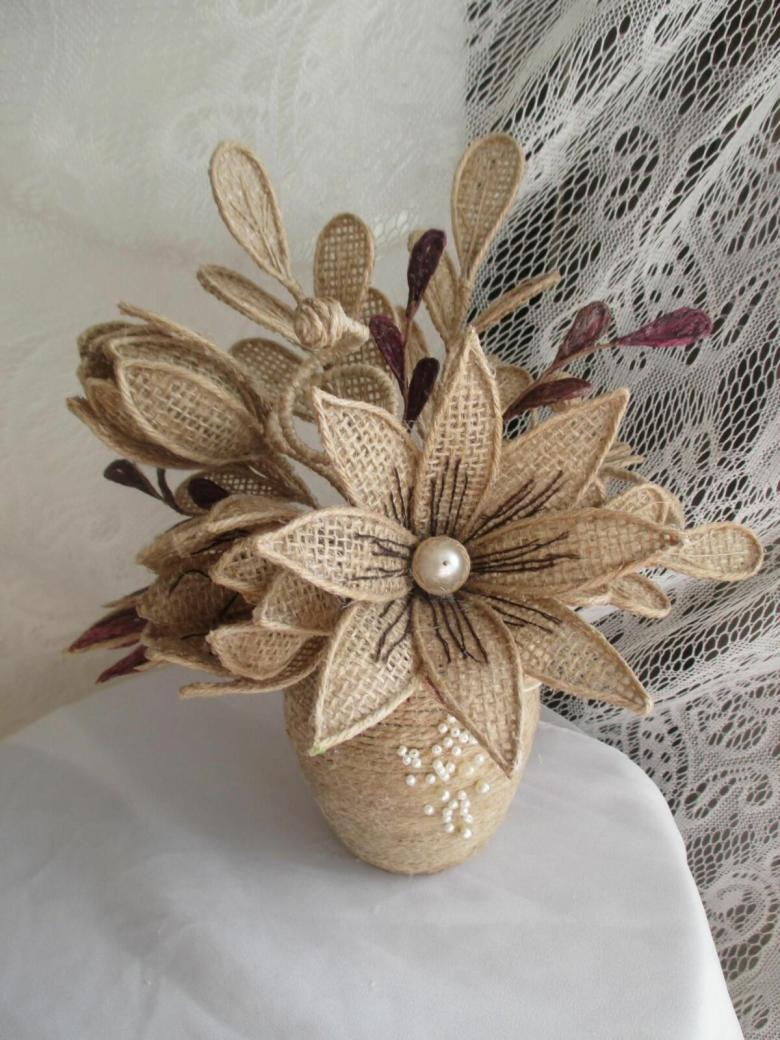
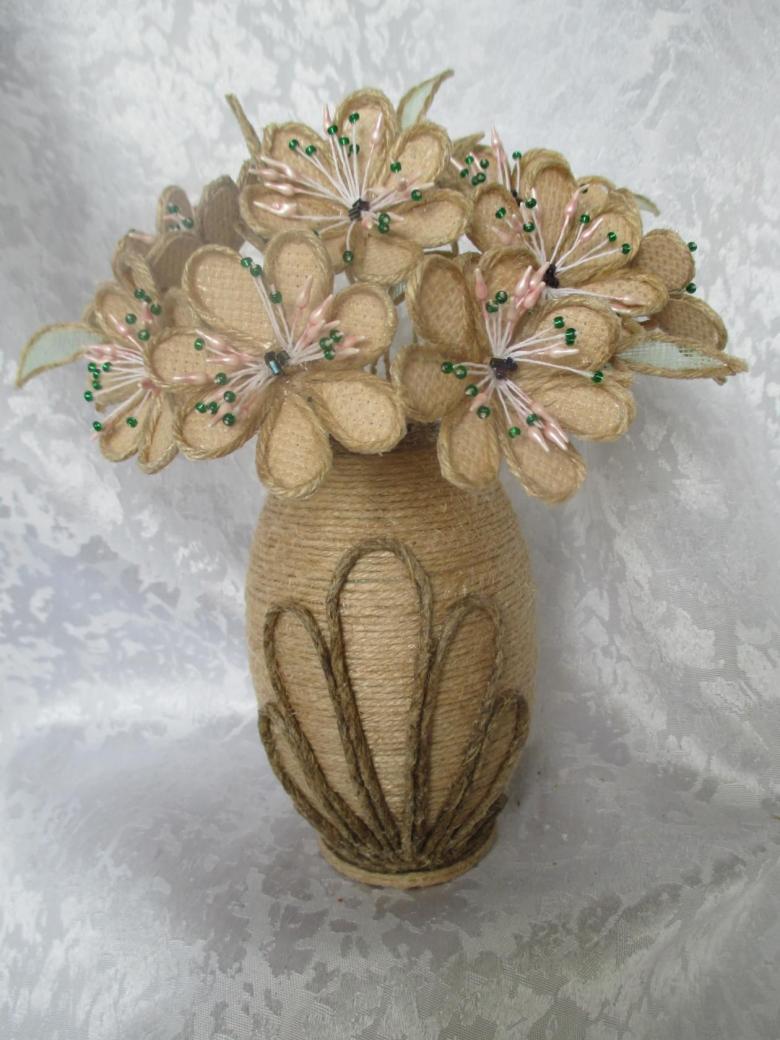
Stylish vase
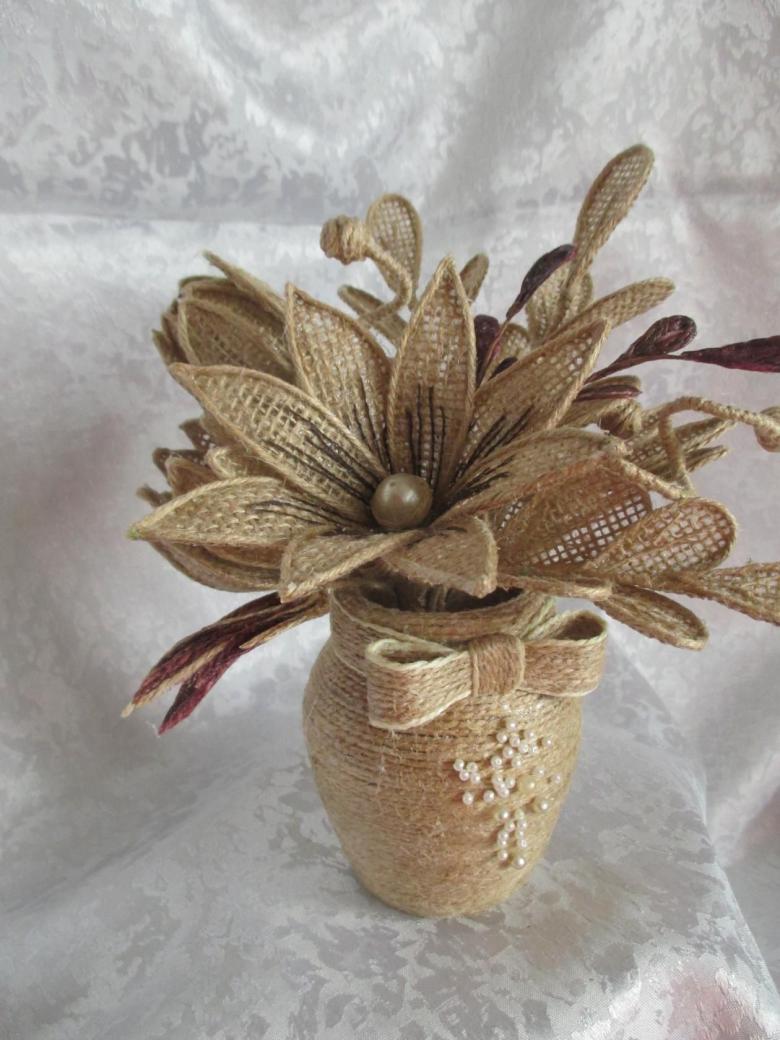
This craft from jute and burlap with their own hands is especially popular with modern designers. To create it, you need a bottle of non-trivial shape. The order of steps is as follows:
- Wrap the bottle with burlap soaked in a glue solution, draping it beautifully.
- Wrap jute on top of the cloth. This is required not only to fix the textile, but also for decoration.
- After the glue dries, apply acrylic varnish to the surface of the vase and decorate it, guided by your own preferences.
Such author's vases perfectly fit into most interiors.
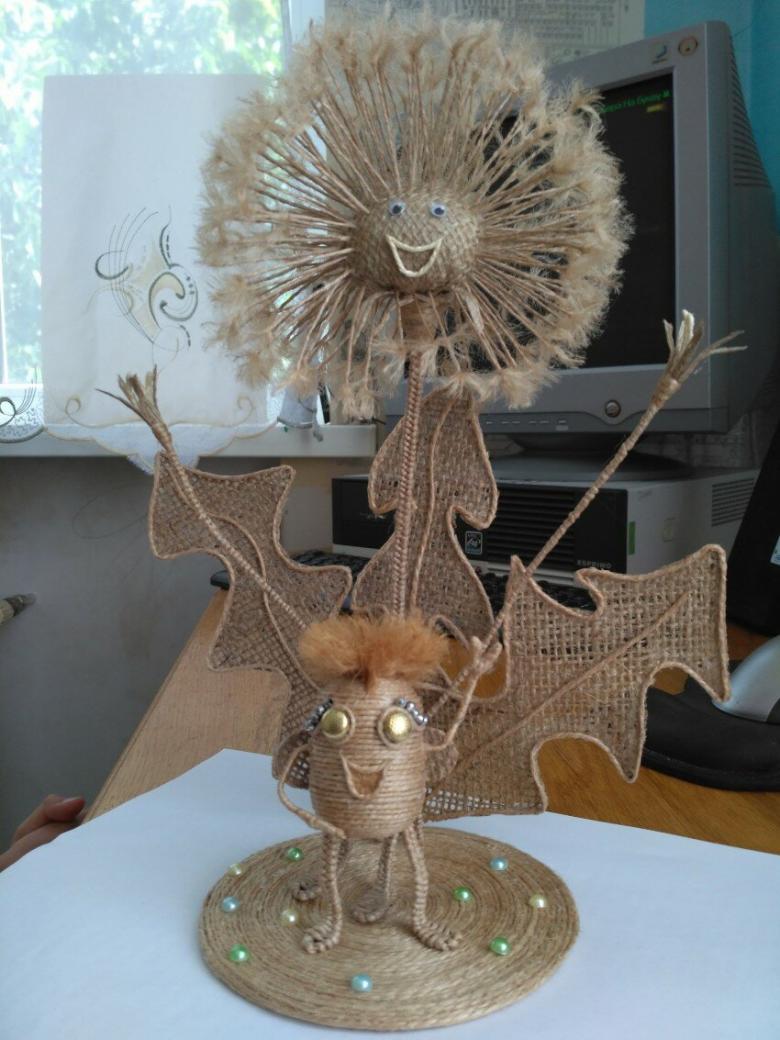
Little Householder
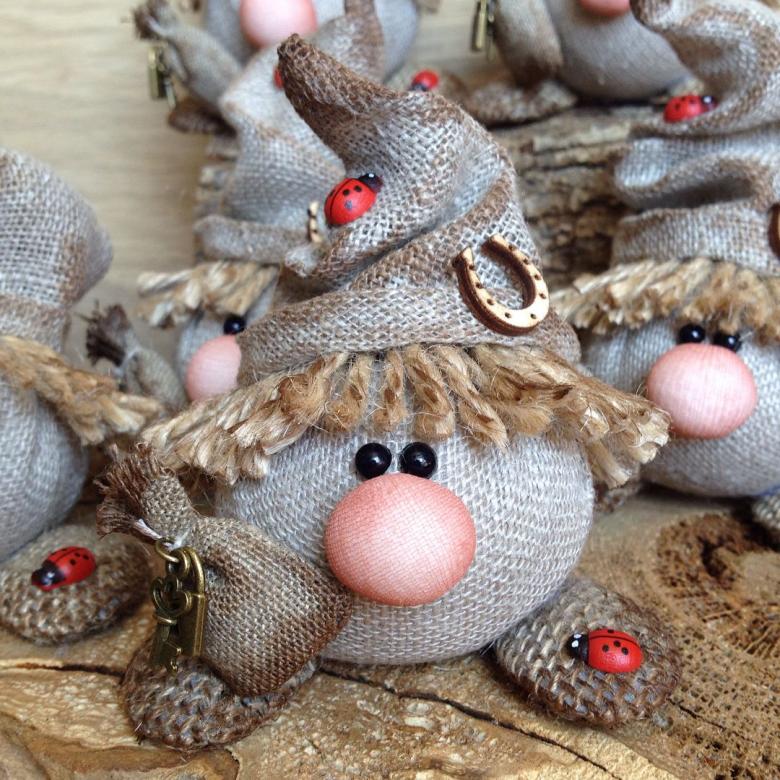
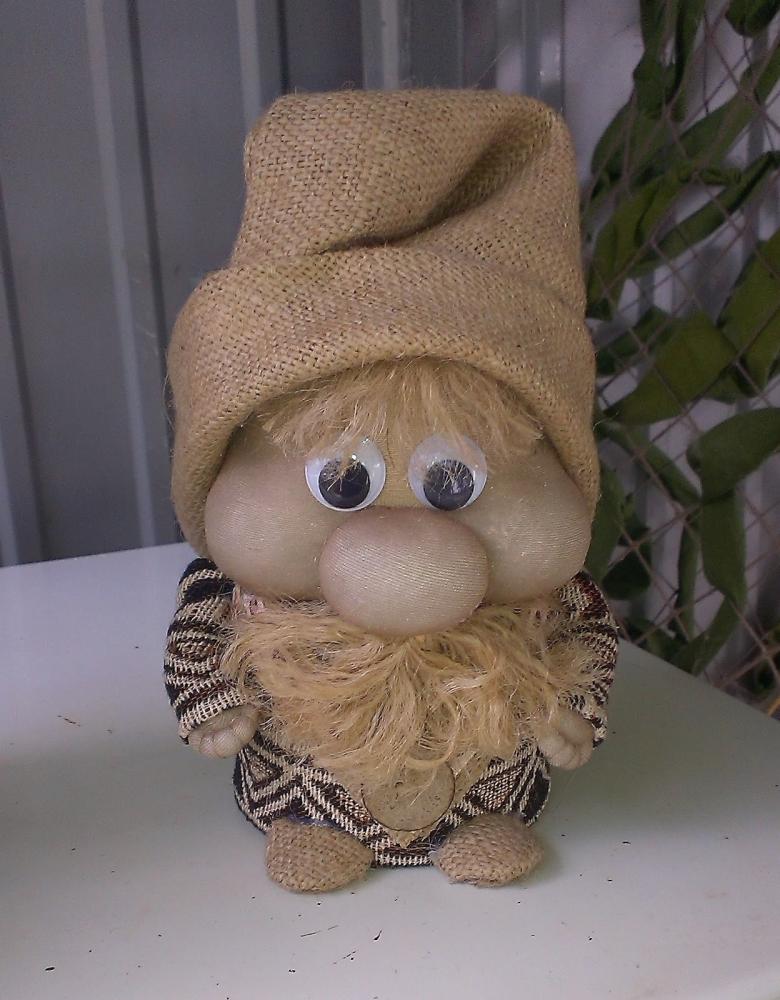
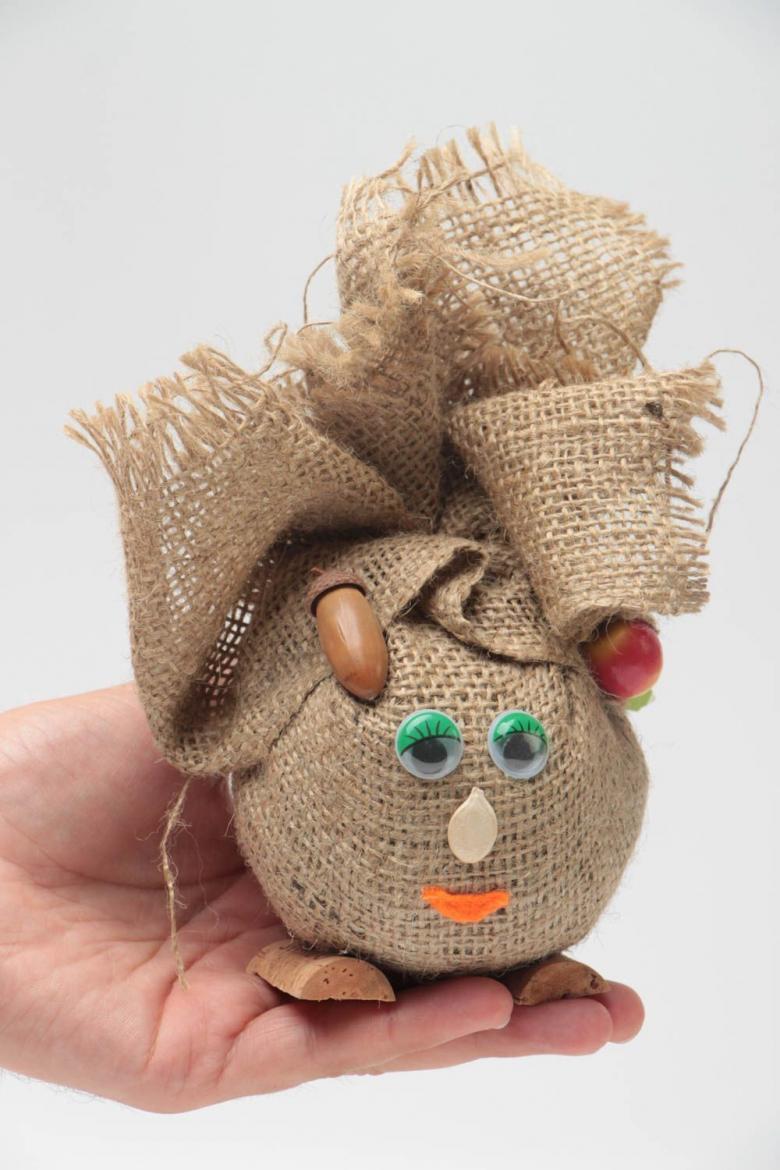
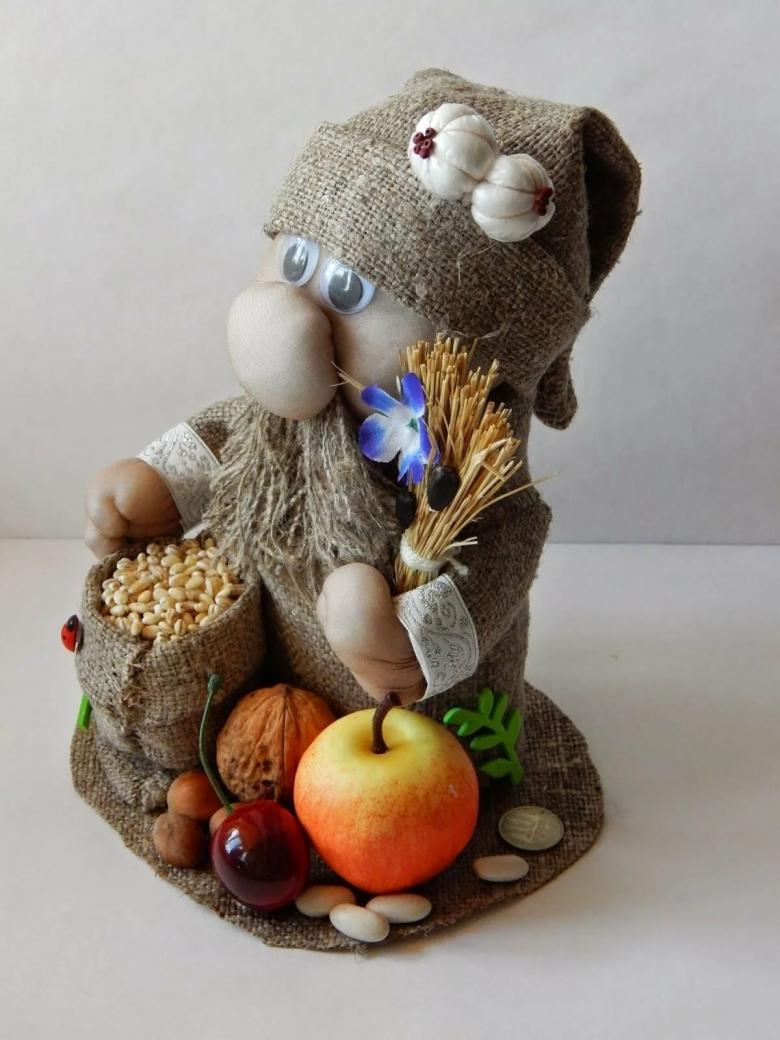
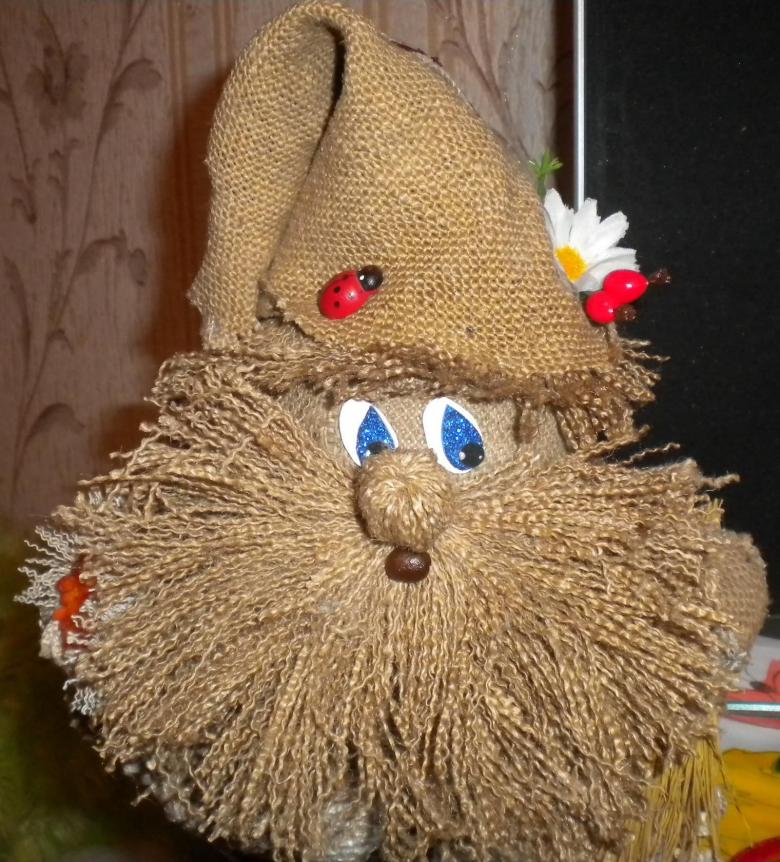
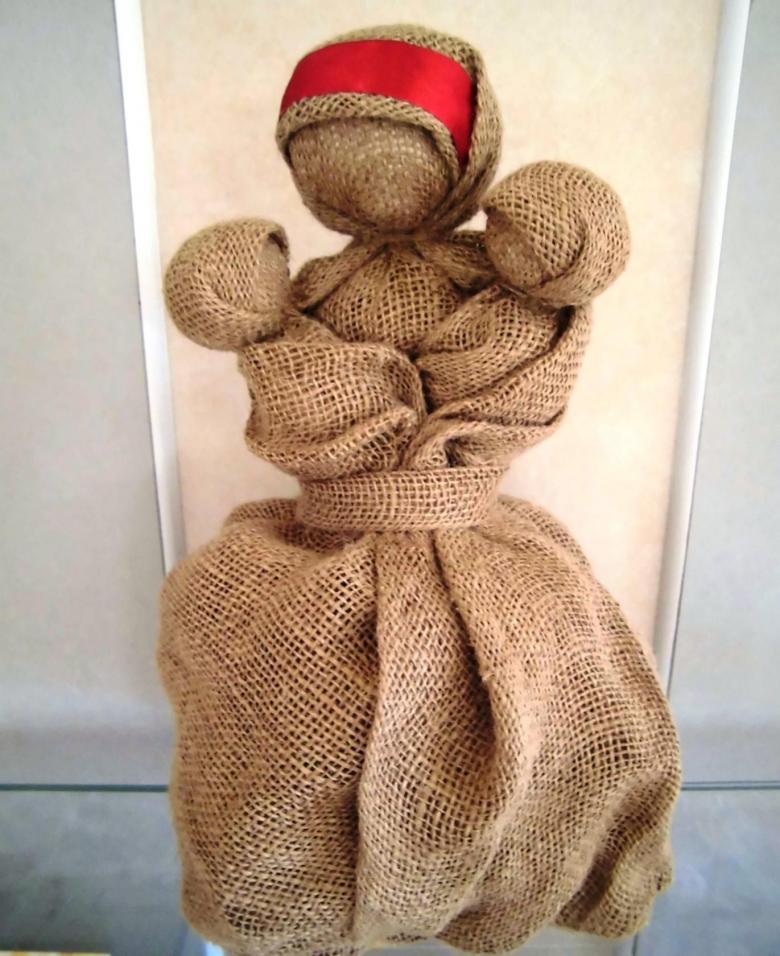
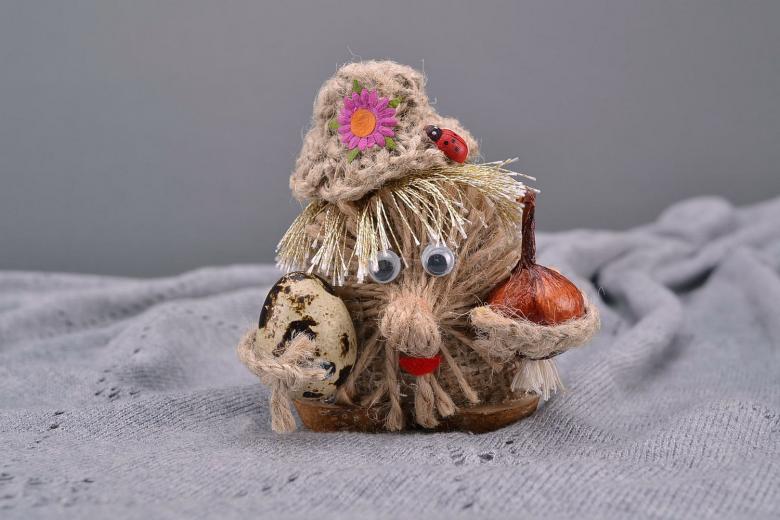
A little housekeeper is the best option for a novice craftsman. He can serve as a talisman, protecting against the evil eye and bringing wealth into the house. Such a souvenir is made quite simply. You need:
- Arrange the burlap on the working table.
- Using a compass, draw a circle with a radius of 10 cm.
- Carefully cut out the workpiece.
- Sew around the perimeter with big stitches.
- In the center place the filler and tighten everything with thread. You should have a sack.
- Tie the edges of the bag with jute. This will be the scalp of the housekeeper.
- Put a piece of twine through the needle, pass it through the center of the product and form the hands.
- Similarly, make a man of the lower limbs.
- Use paints to make a face. The little housekeeper is ready!
Decorative painting
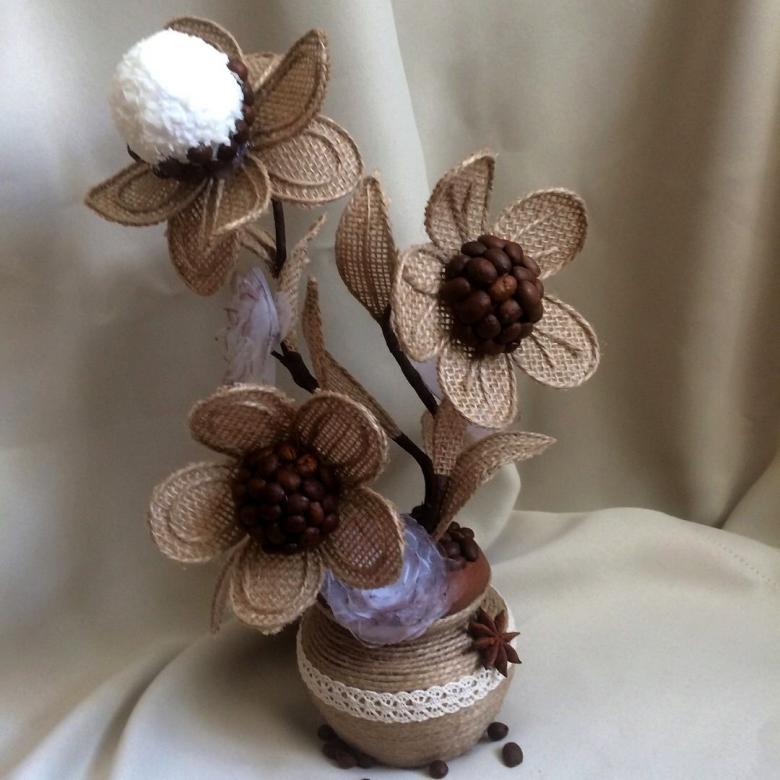
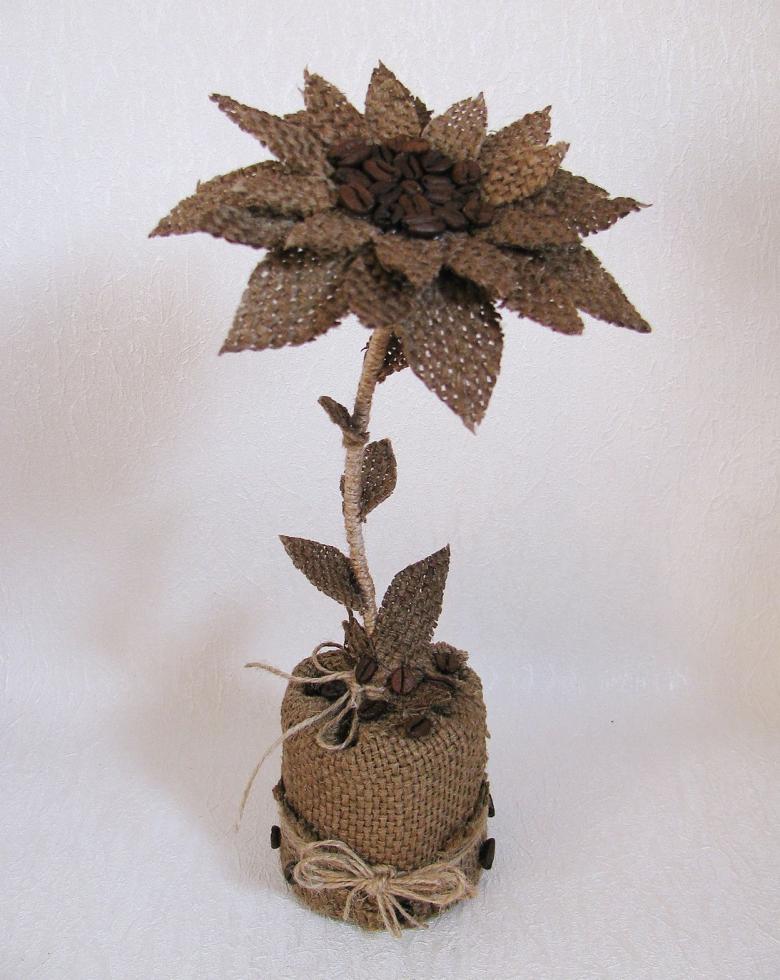
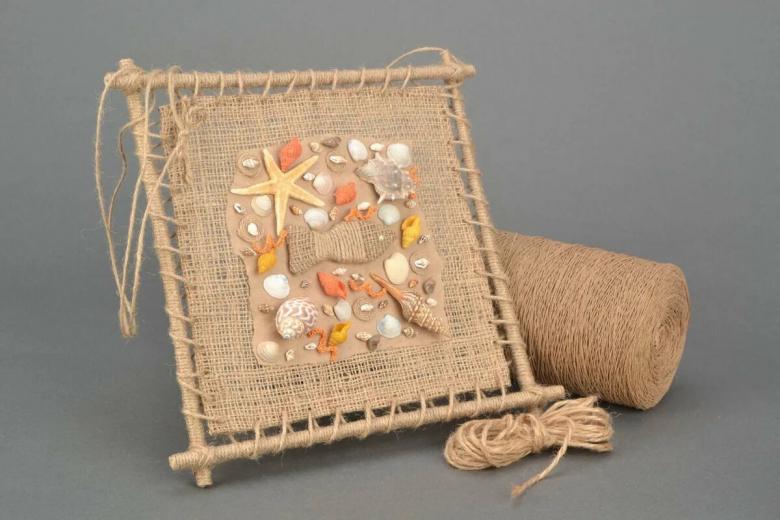
One of the most unconventional ideas are crafts from burlap and coffee beans in the form of decorative paintings and panels. It is customary to decorate kitchen rooms with such accessories.
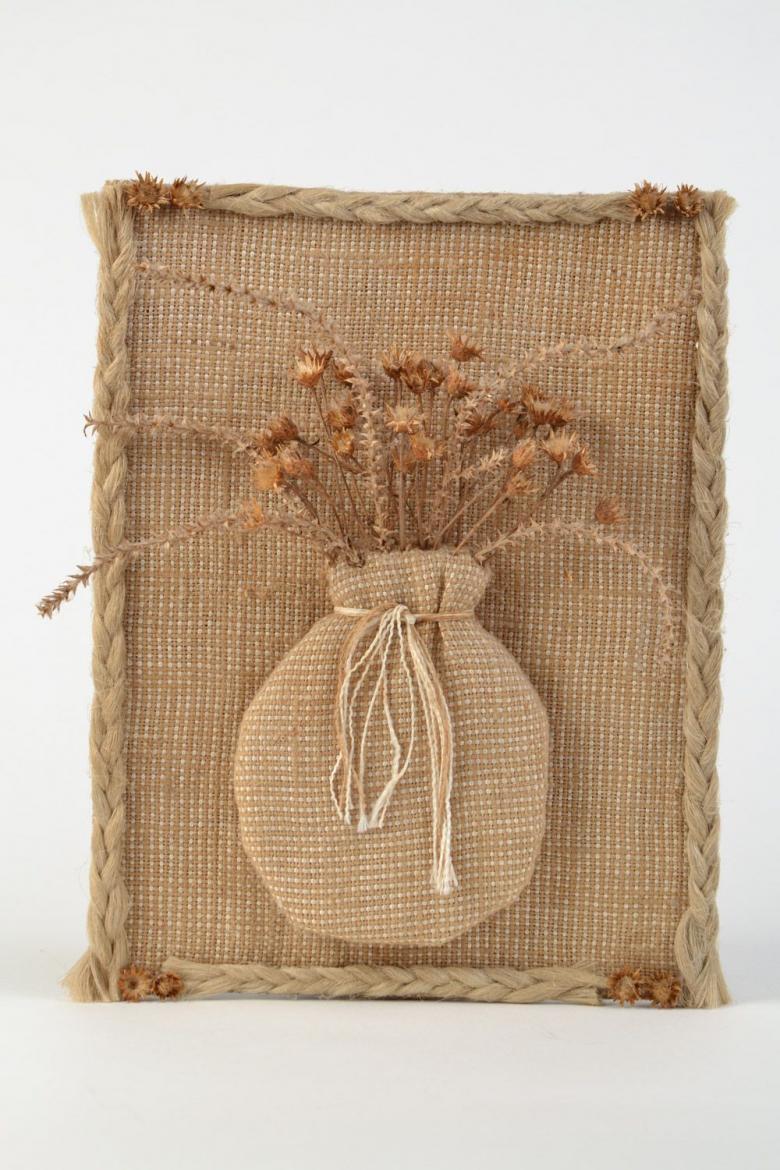
To make such a panel, you need an empty chocolate candy wrapper. It should be covered with a layer of PVA glue and wrapped with burlap. And draping the material is only welcome.
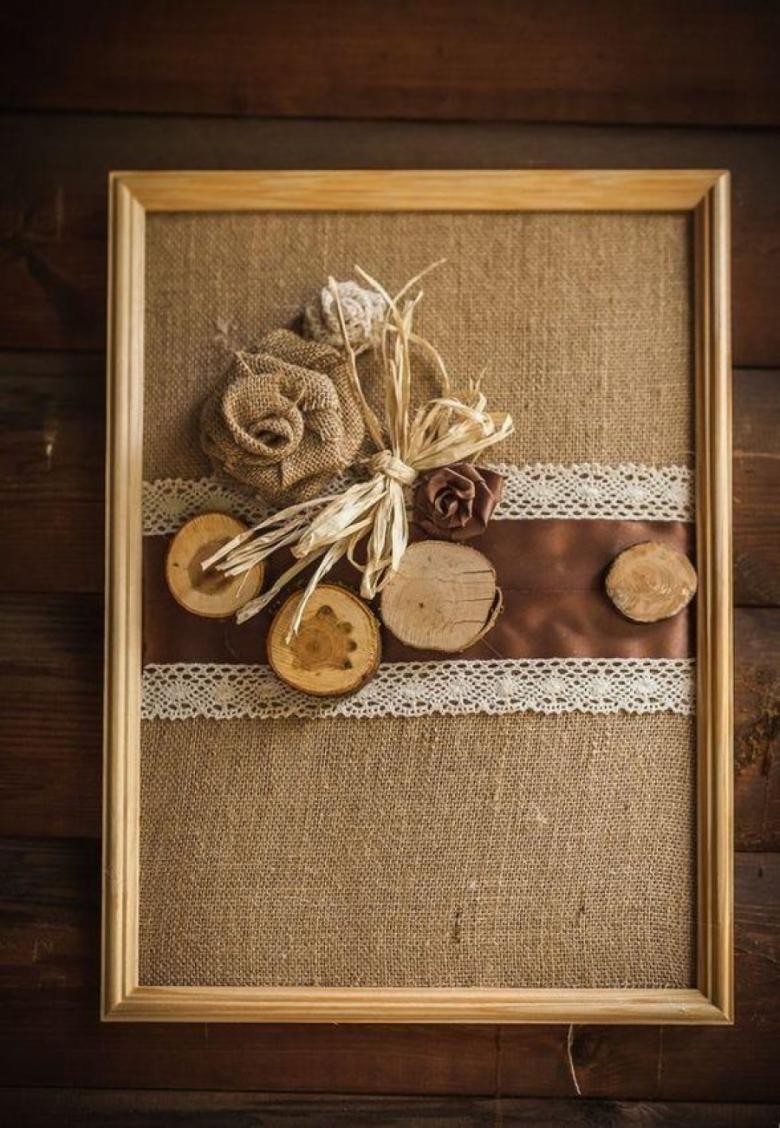
After the base dries, it is necessary to place coffee grains on the burlap, following the previously chosen scheme. If desired, the panel can be supplemented with dried pieces of citrus fruit, anise stars, cinnamon sticks.
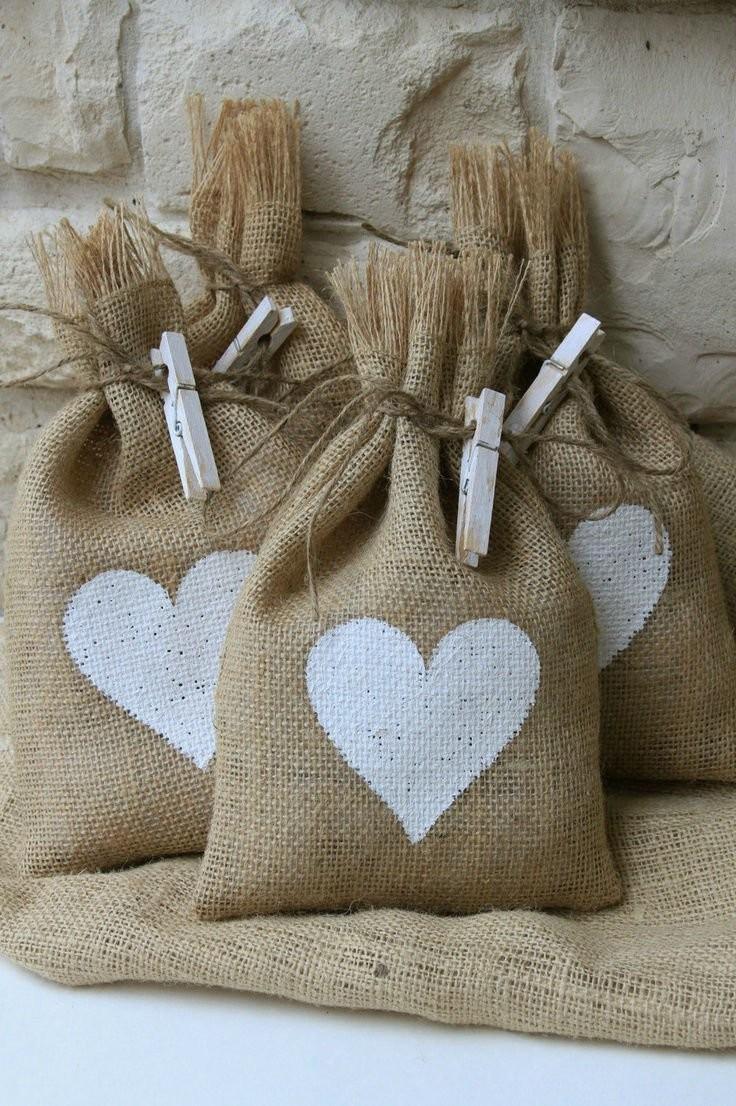
A baggie for presents
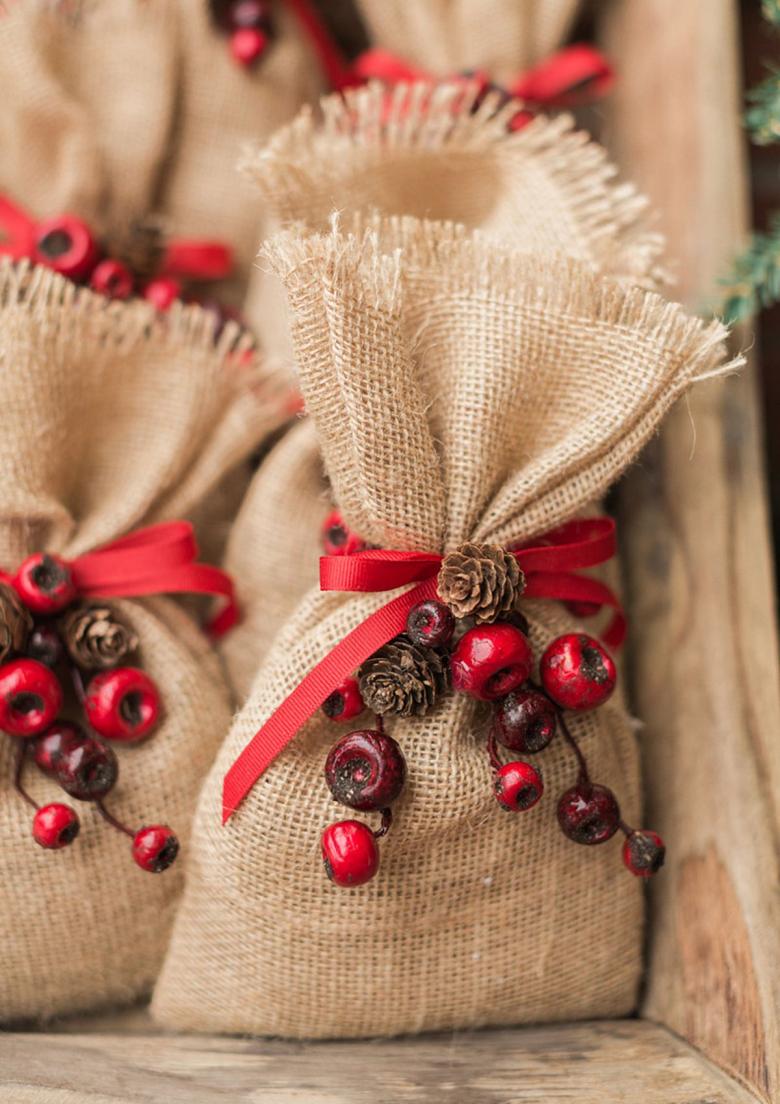
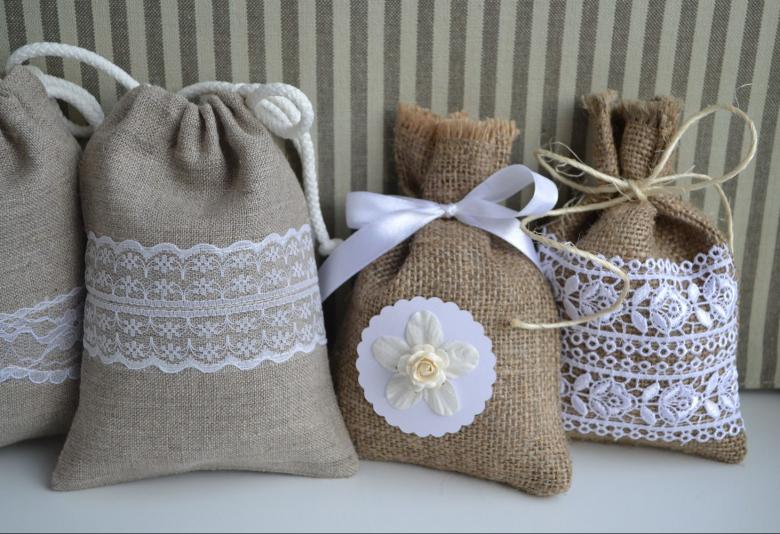
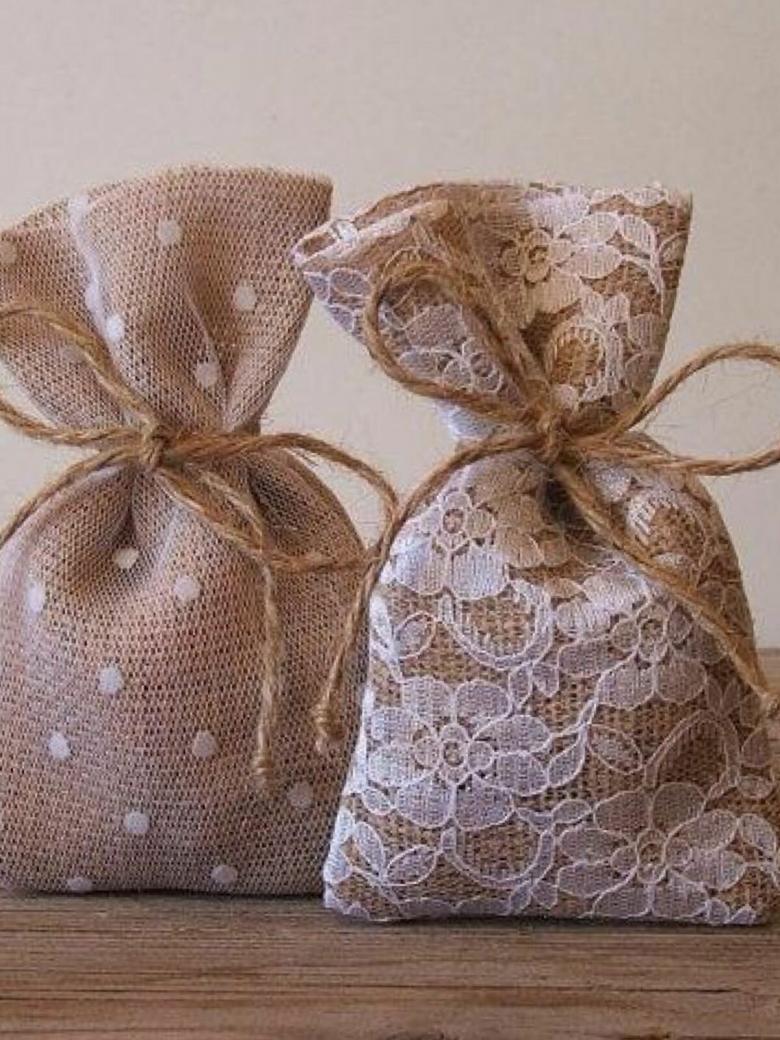
Such a bag is suitable for gift wrapping the main present or a modest surprise. It is made so:
- A rectangular piece of burlap of suitable size is folded in half across.
- Stitch the sides with a strong thread.
- Turn out the workpiece on the face.
- In the needle with a large eye to slip the jute.
- Measure from the top of the pouch 4 - 7 cm and go through the stitches. You should have a cord tie with knots at the ends.
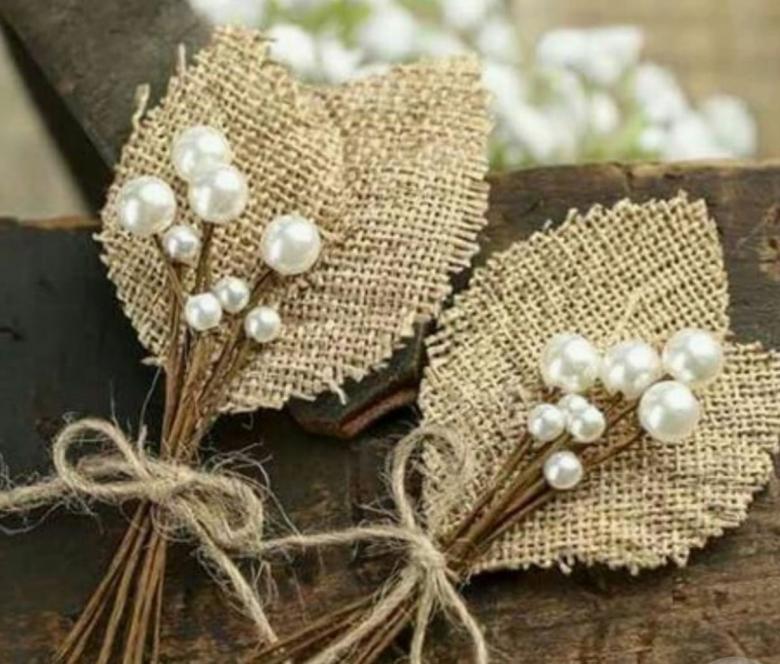
- Decorate to your liking. You can use lace, wooden buttons, beads, and ribbons as decorations.
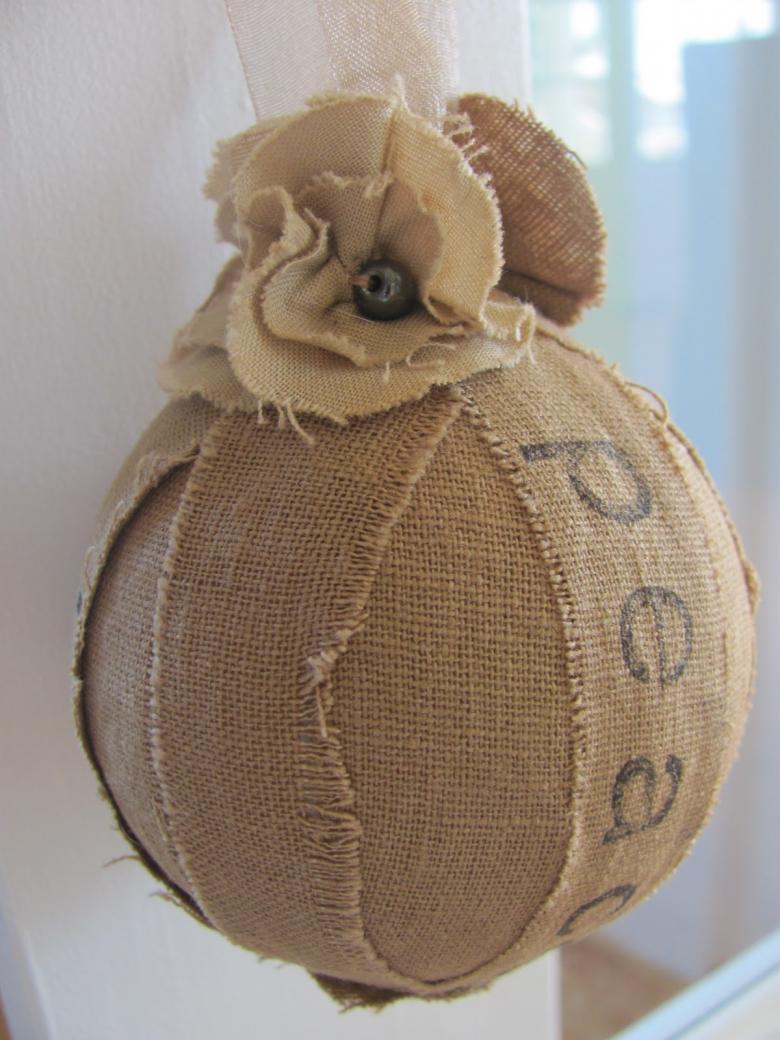
Christmas tree toys
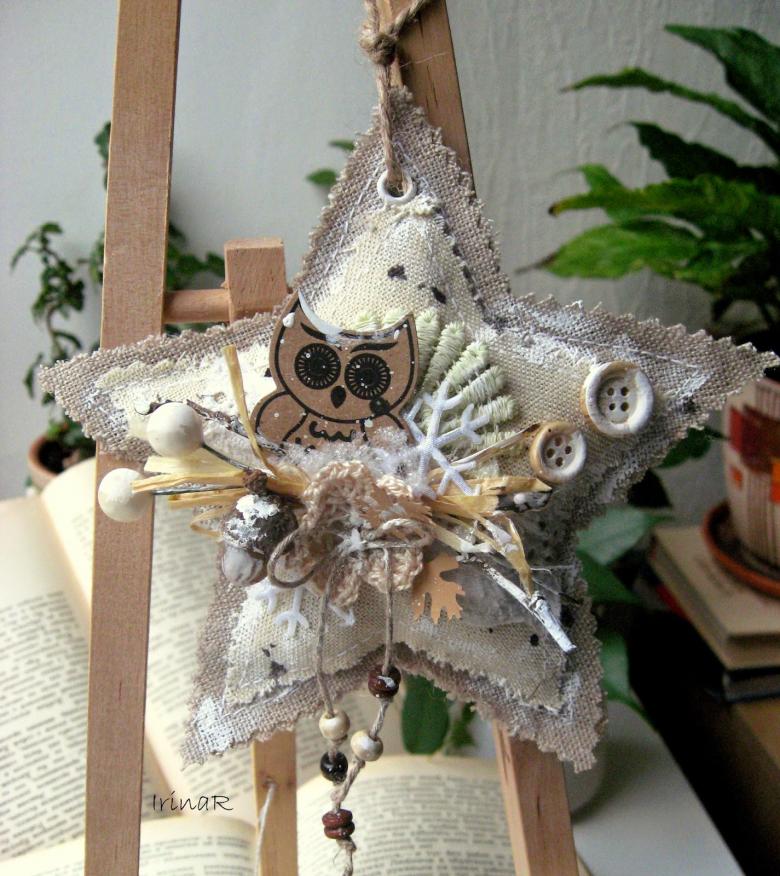
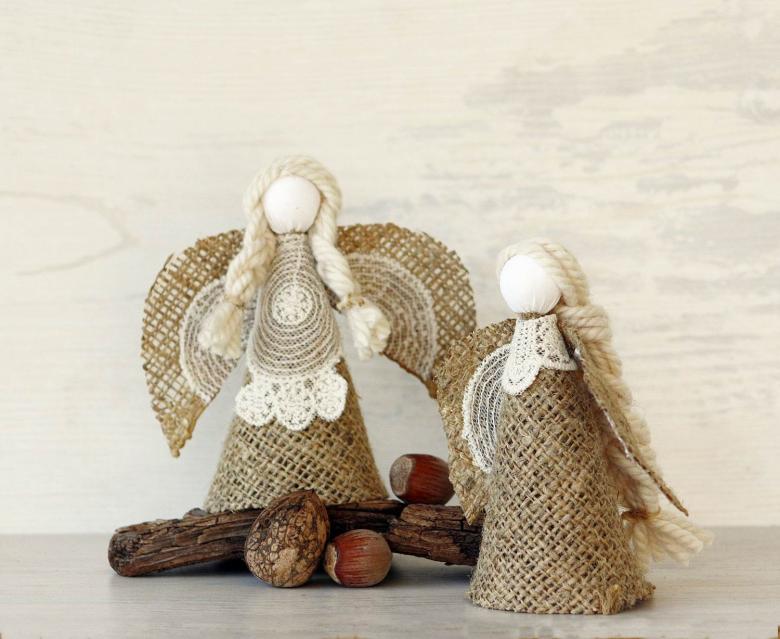
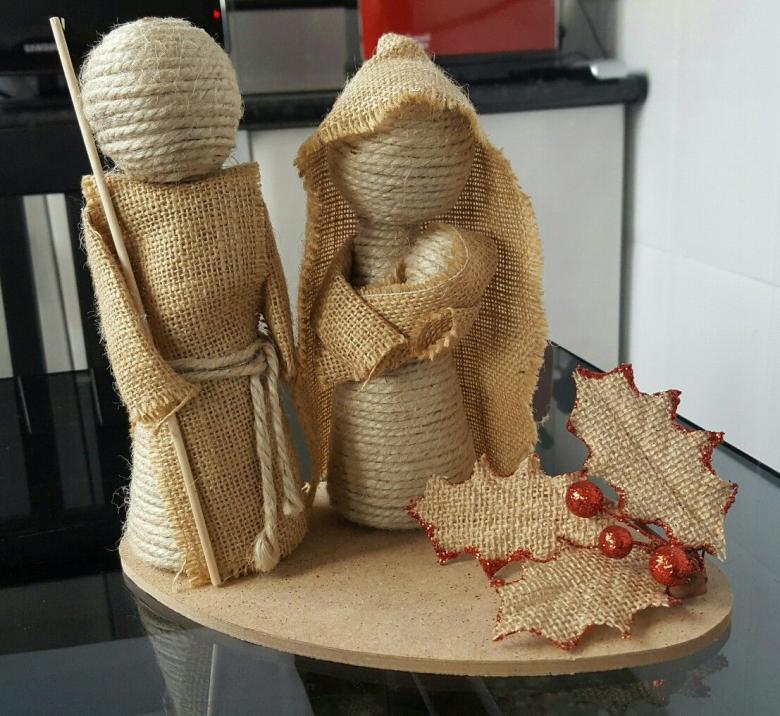
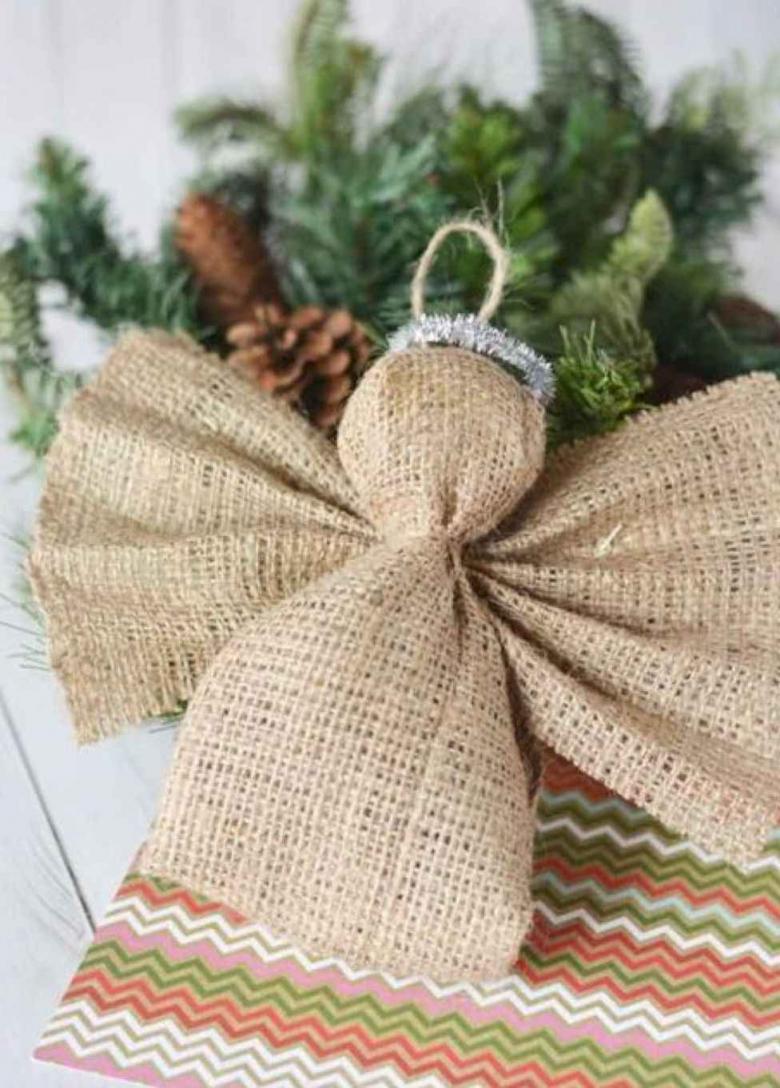
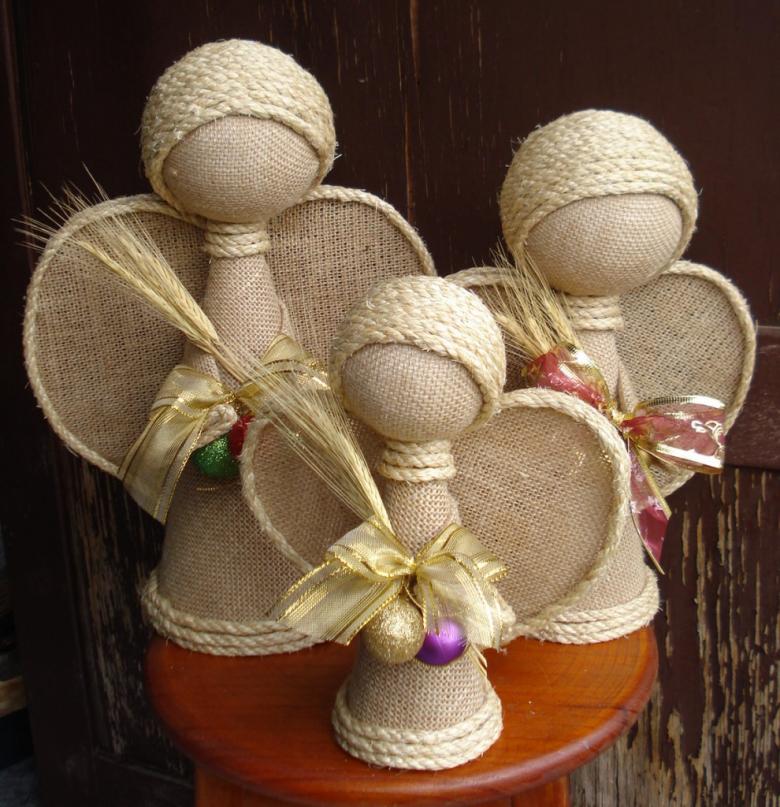
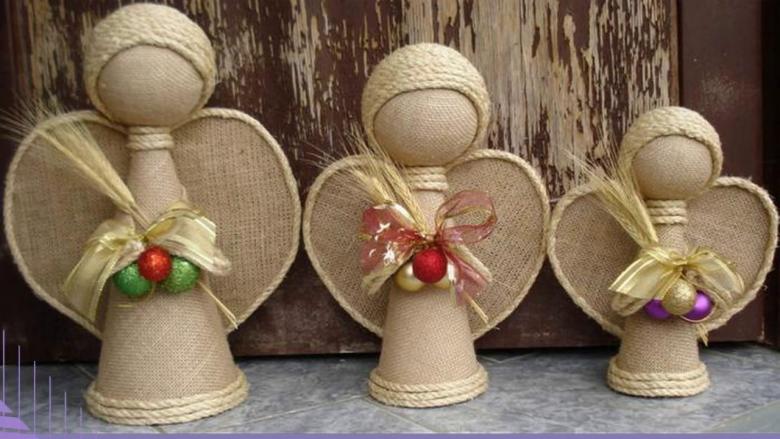
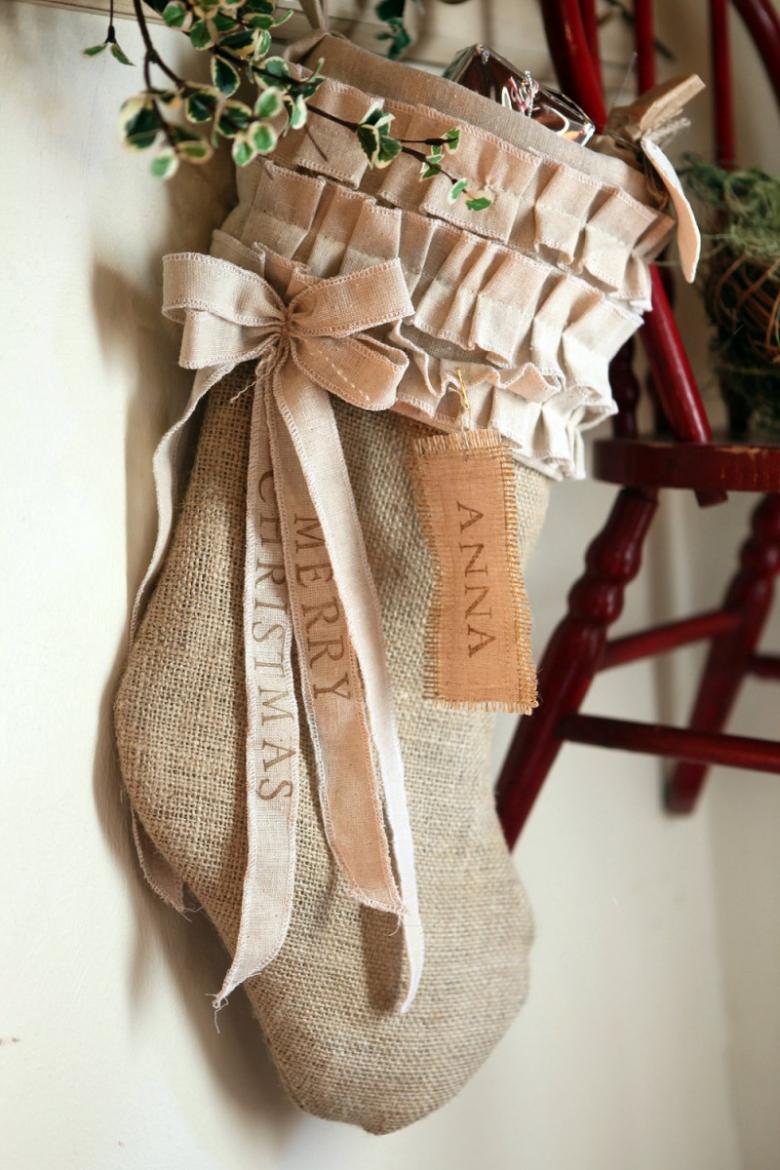
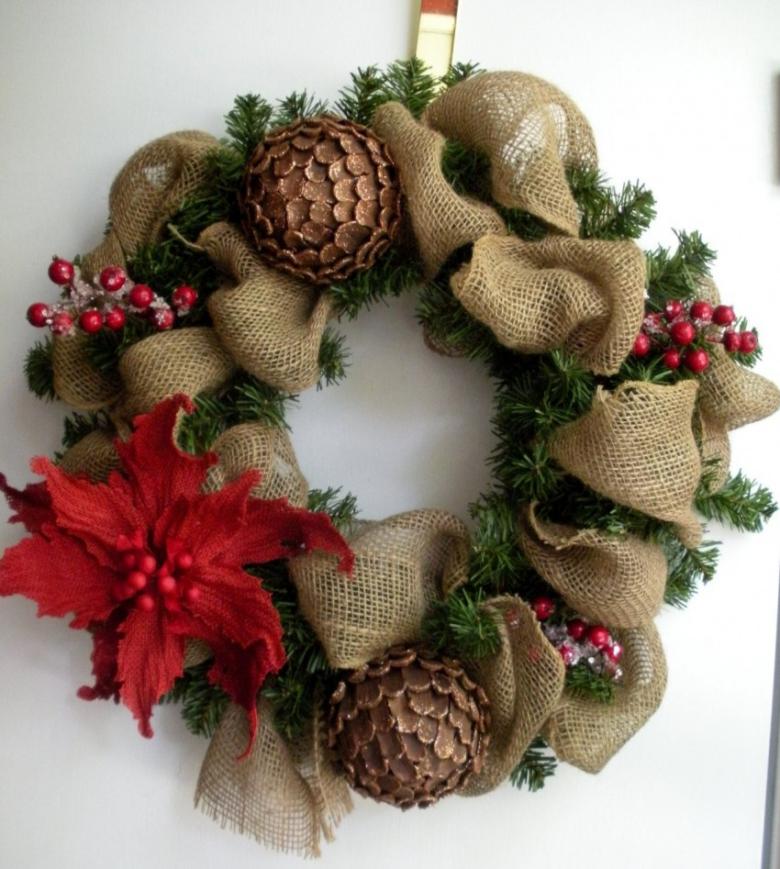
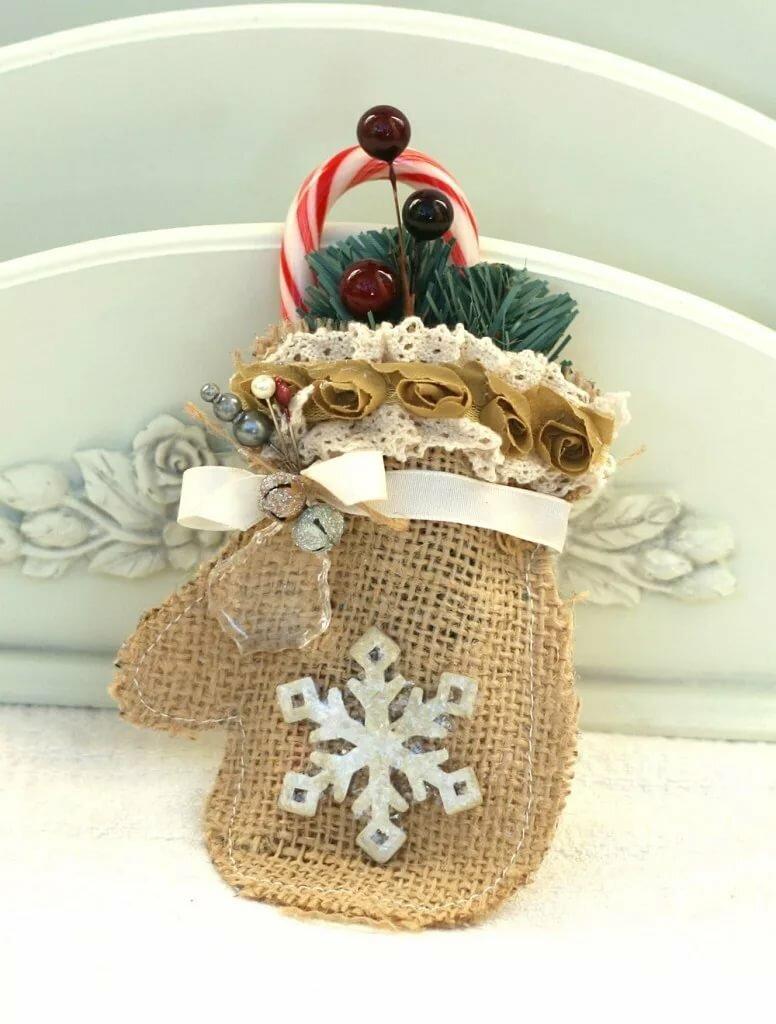
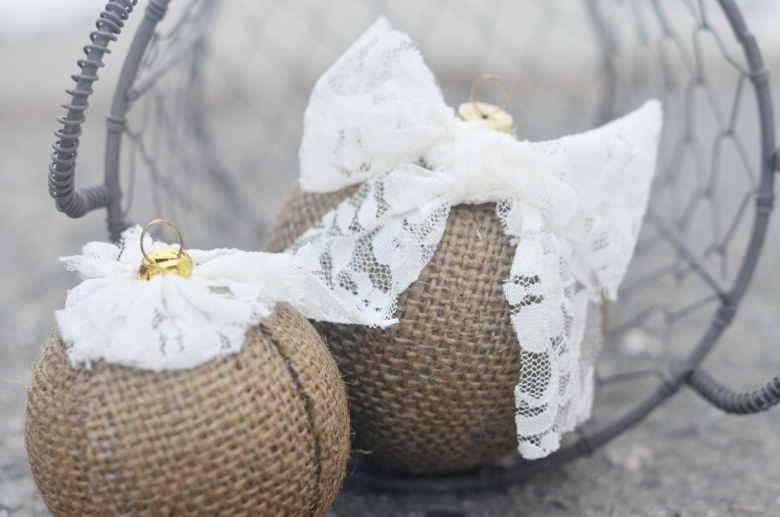
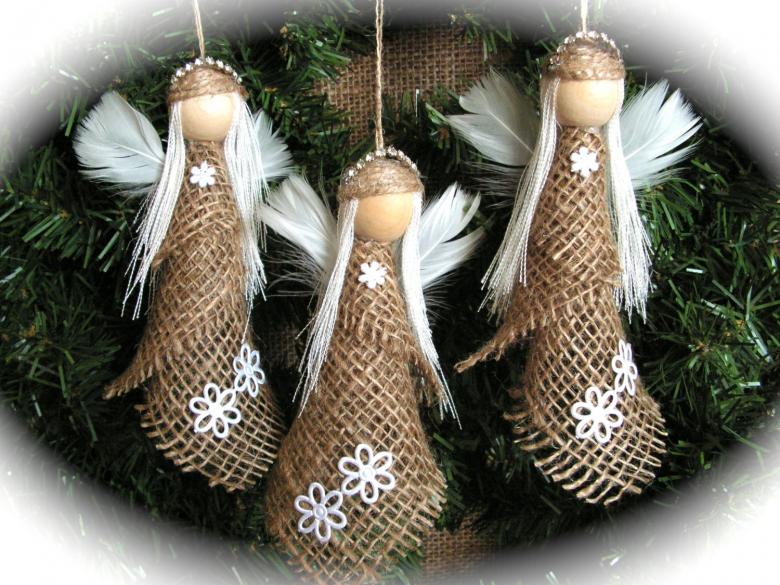
Sacking is quite suitable for creating Christmas attributes. The easiest to make a Christmas tree toy is an angel. To make such an accessory, you need to follow the instructions below:
- A piece of burlap 14 cm wide fold in half and cut out a square workpiece.
- In its center put made of absorbent cotton.
- Tie the ends of the square with string to form a head.
- Attach wings made of bird feathers.
- Decorate the angel of your choice.
- Attach a ribbon to fix it on the tree.
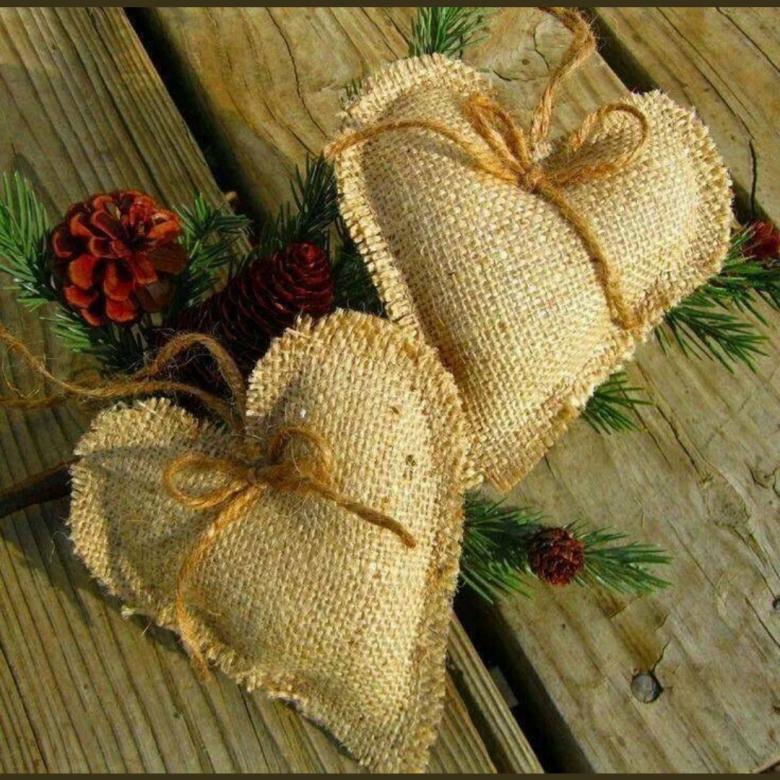
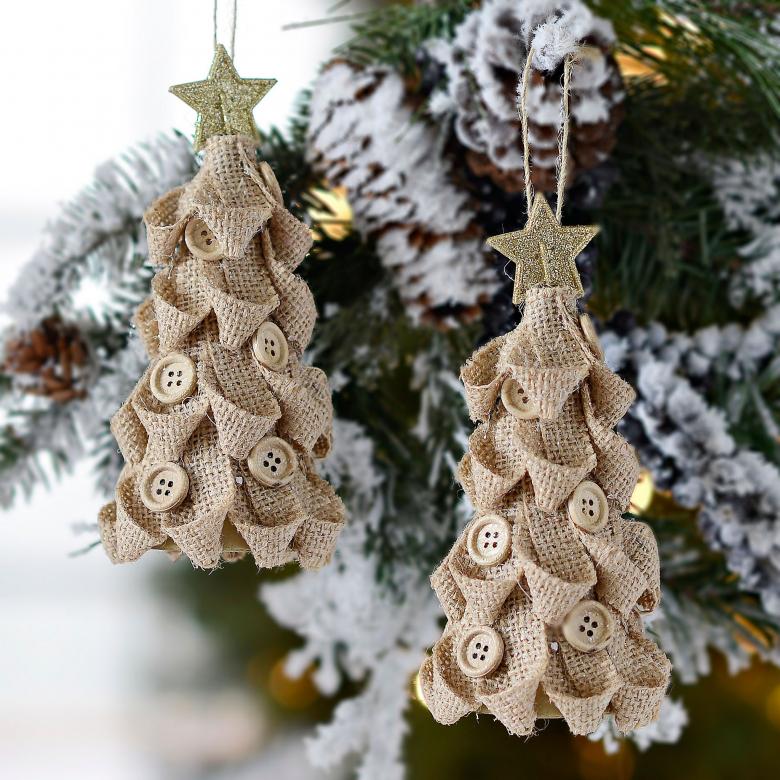
In addition to angels, you can create decorative Christmas trees and hearts from such rough textiles.
Sacking provides a wide scope for creativity. Work with it is easy. No special knowledge and skills are not required. It is only important to be careful and, using ready-made ideas, do not forget to add something of yourself.

