Russian folk crafts: master-classes on matreshkas, clay products, applique (77 photos)
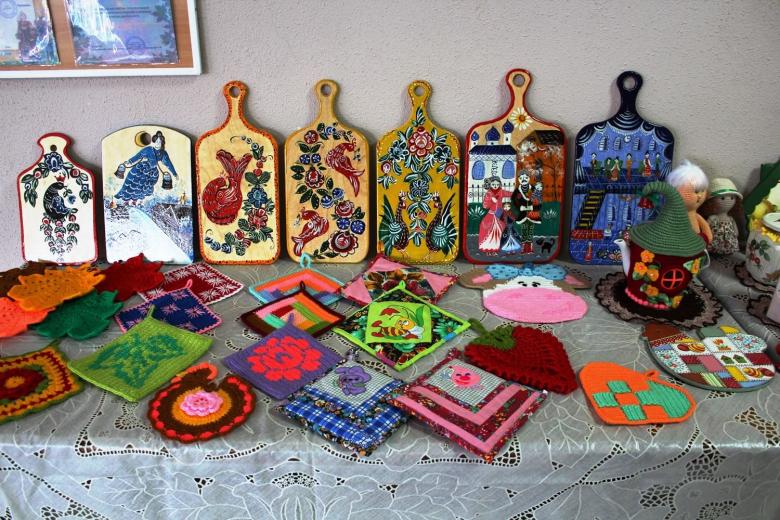
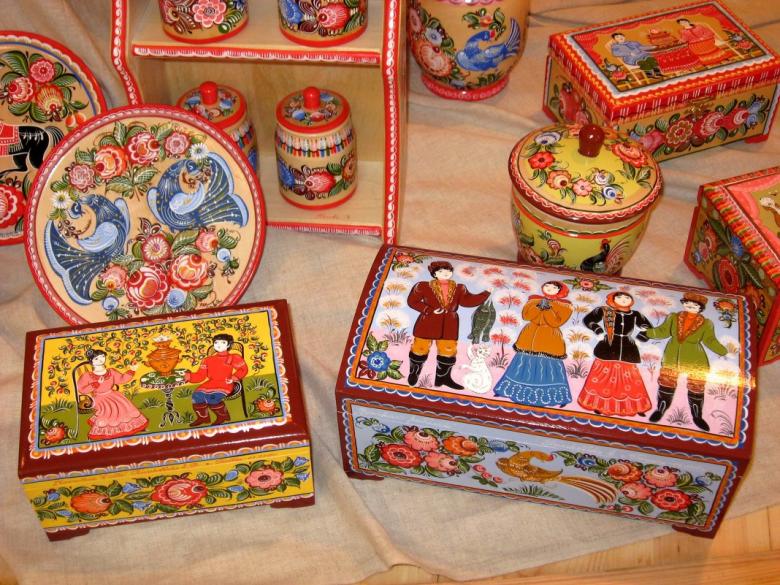
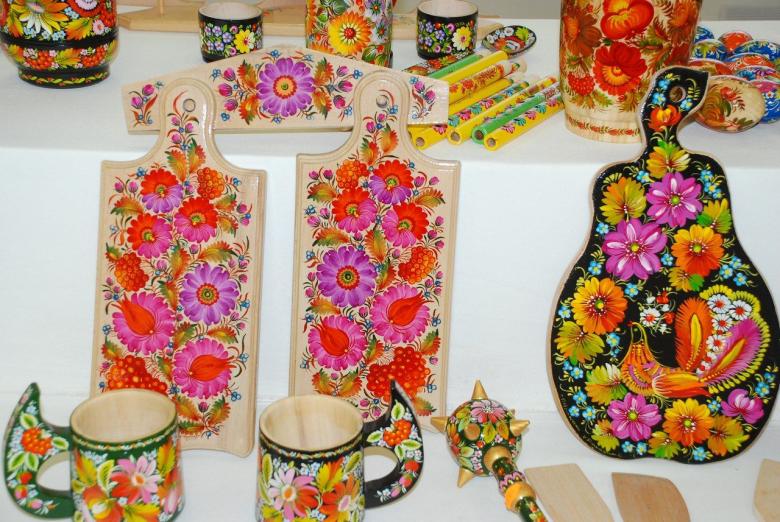
Russian land was famous for folk crafts. In every town you could find masters of their craft: blacksmiths, potters, tailors. The secrets of the craft were handed down from generation to generation. Children from early childhood were taught handicraft skills. Girls mastered embroidery, knitting, tailoring. Boys mastered woodcarving, weaving.
Clay crafts
Pottery was a useful and profitable craft. The main utensils were made of clay. Along with dishes potters made all kinds of clay toys. Then the production of clay toys became a separate craft. Whole families were engaged in it. In the 19th century, there were about 40 toy-making families in the Dymkovo settlement.
Toy craft
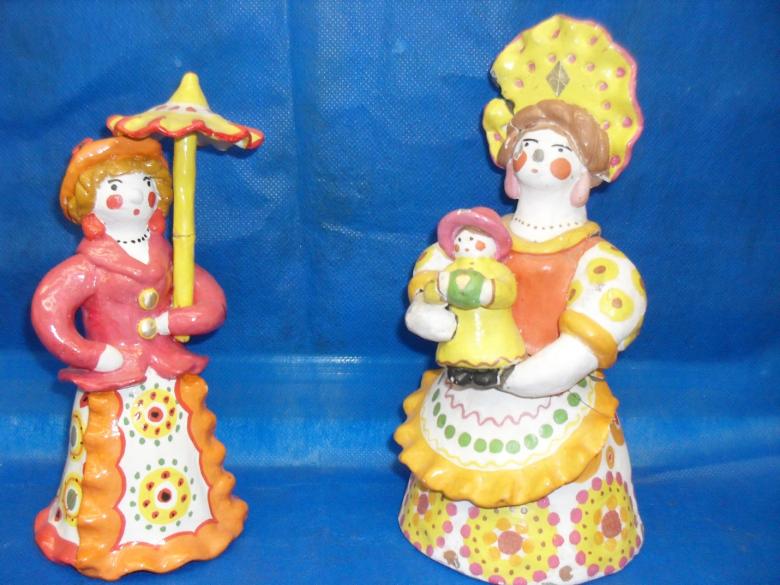
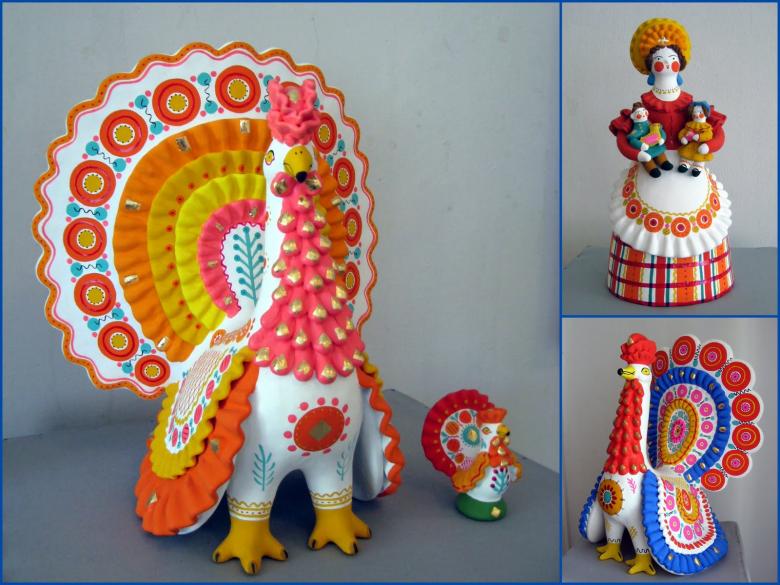
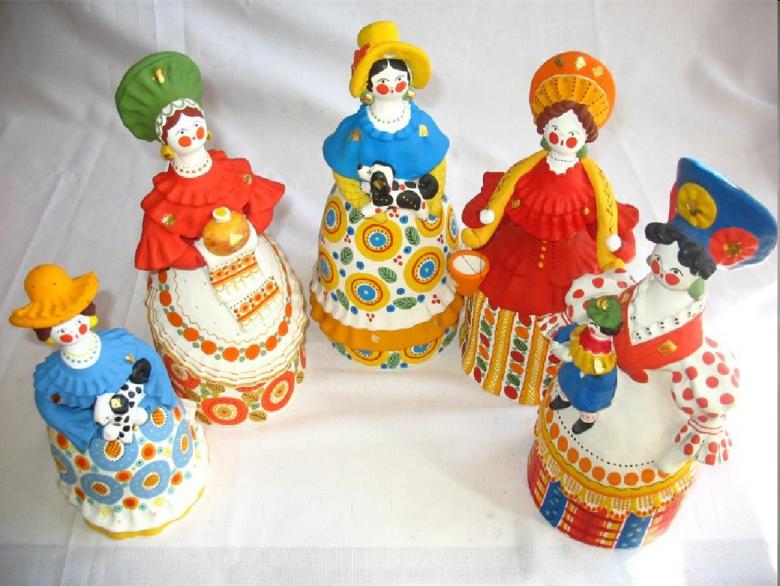
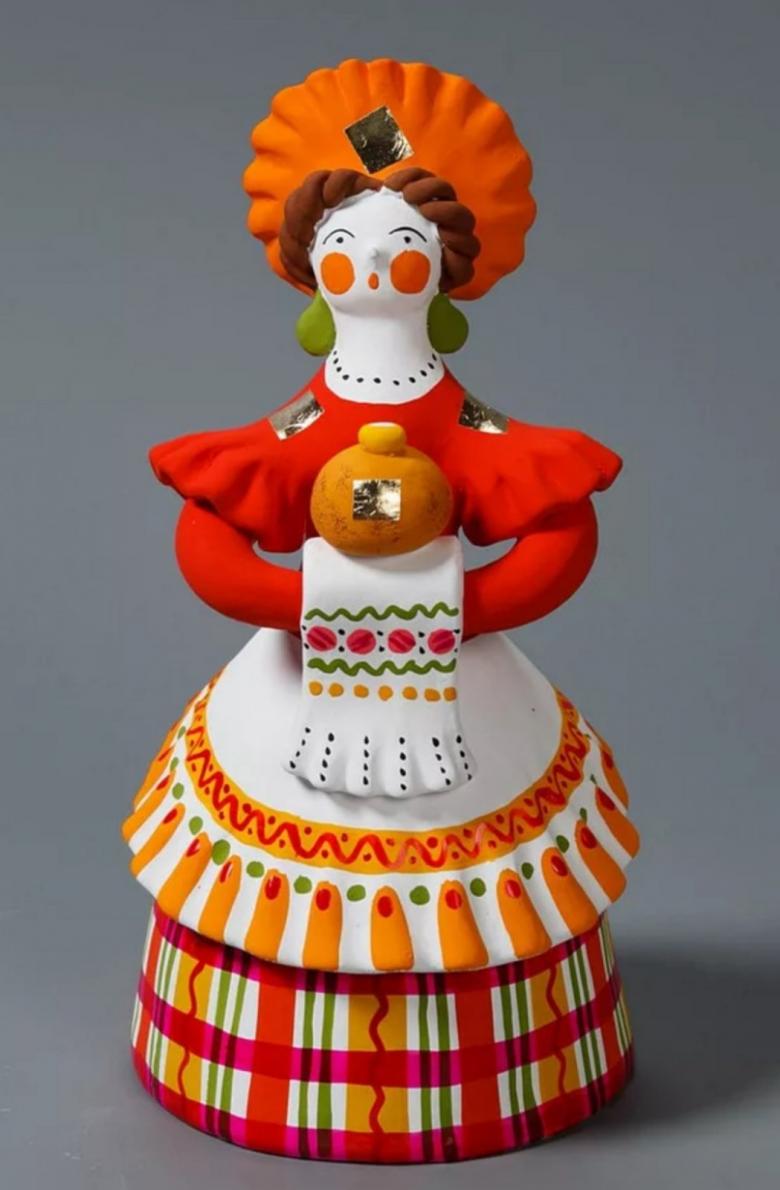
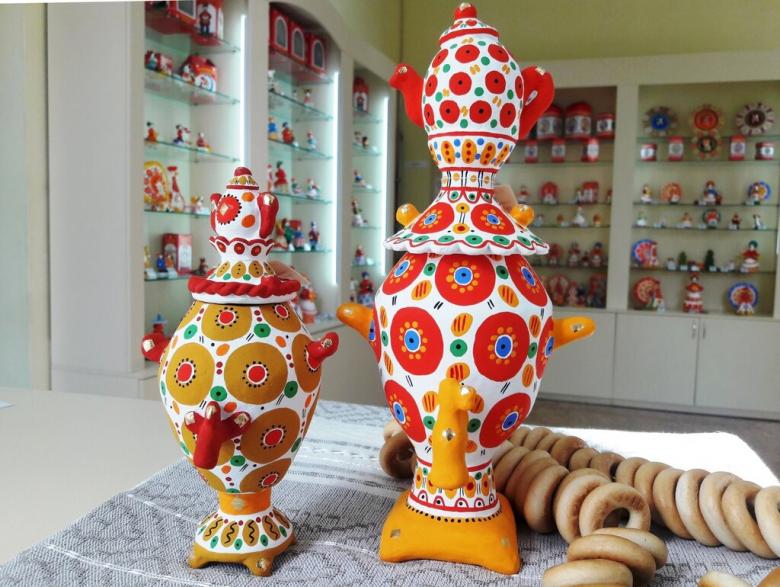
Until now, there are several traditions of clay toys: Dymkovo, Abashev, Kargopol, Filimonov. Each tradition has its own distinctive features in shape, color and ornamentation.
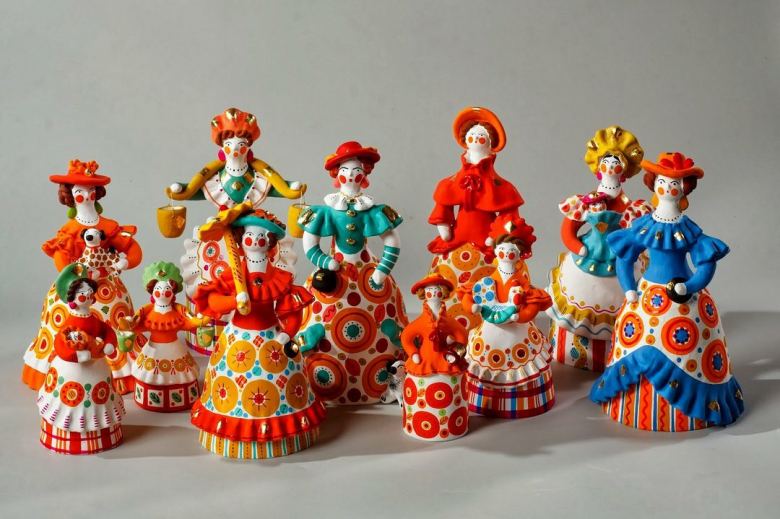
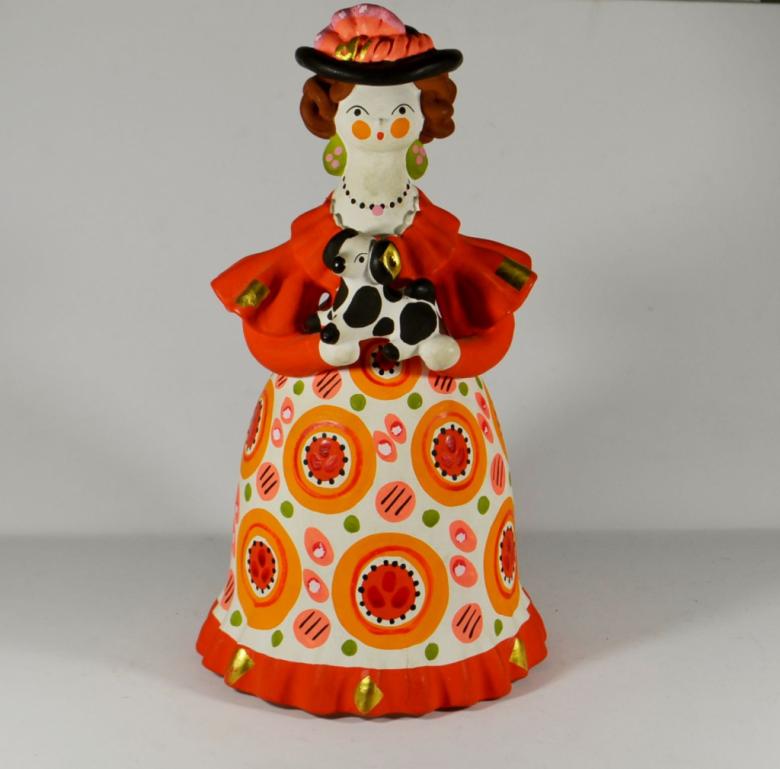
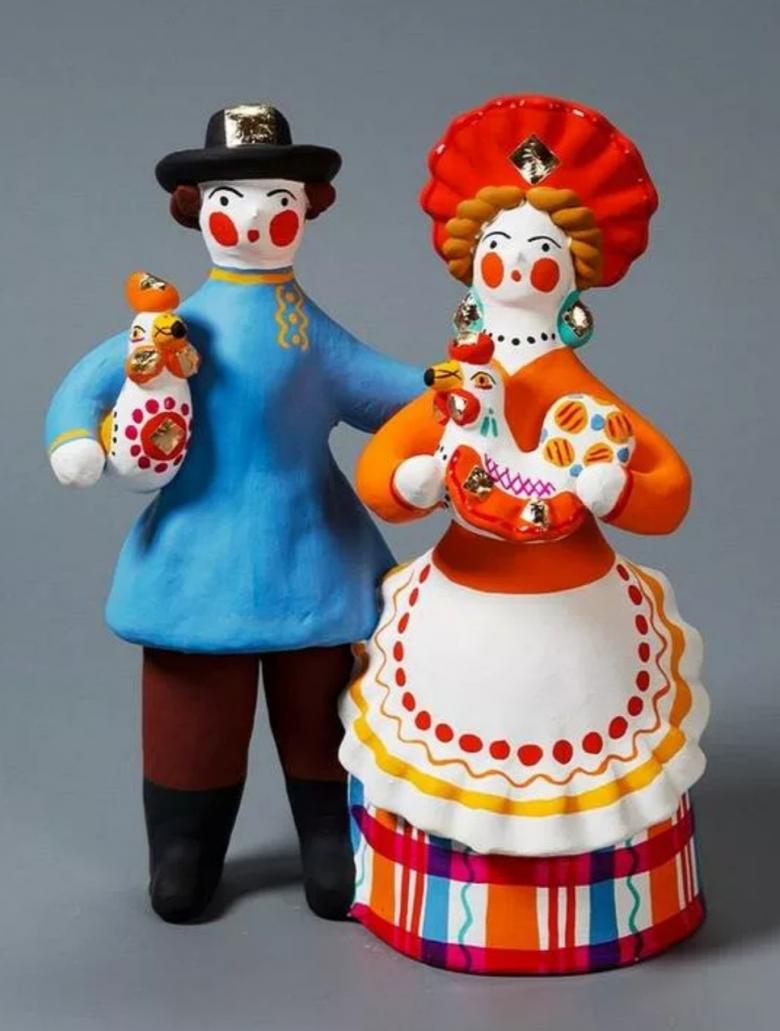
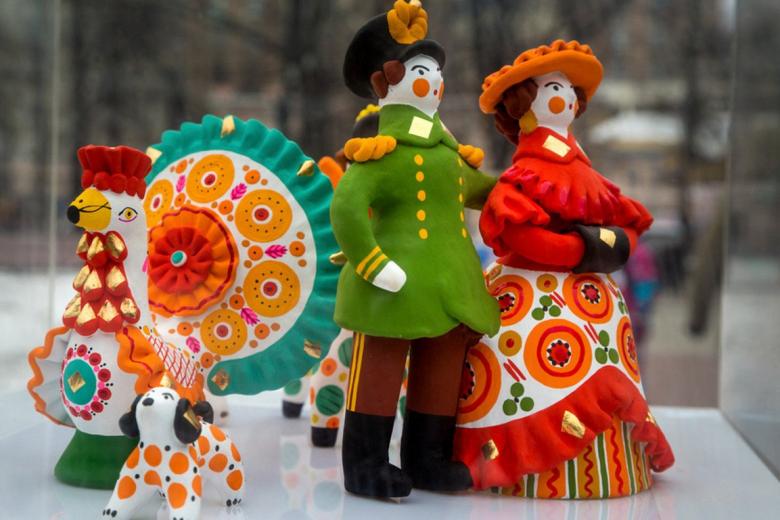
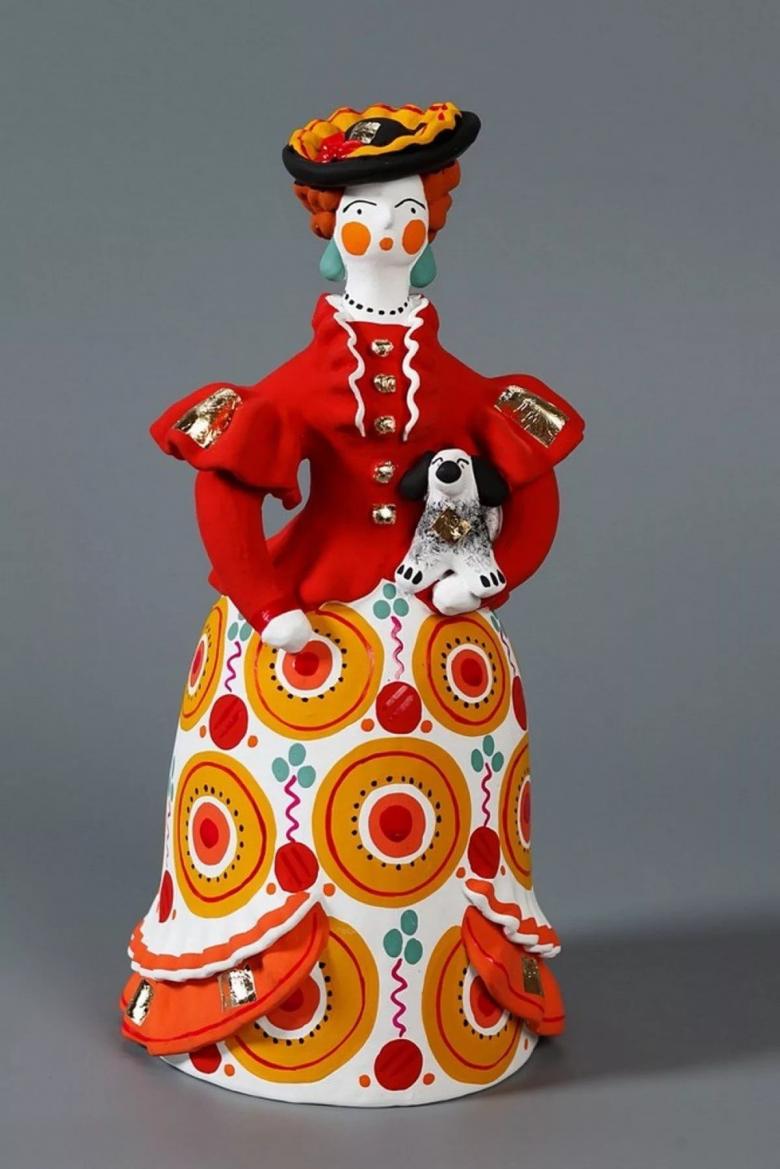
Dymkovo toys are characterized by lush ruffles on skirts of young ladies or on the tails of birds. The ornaments are dominated by geometric patterns. Red, yellow, blue, blue and green are the main colors of painted toys.
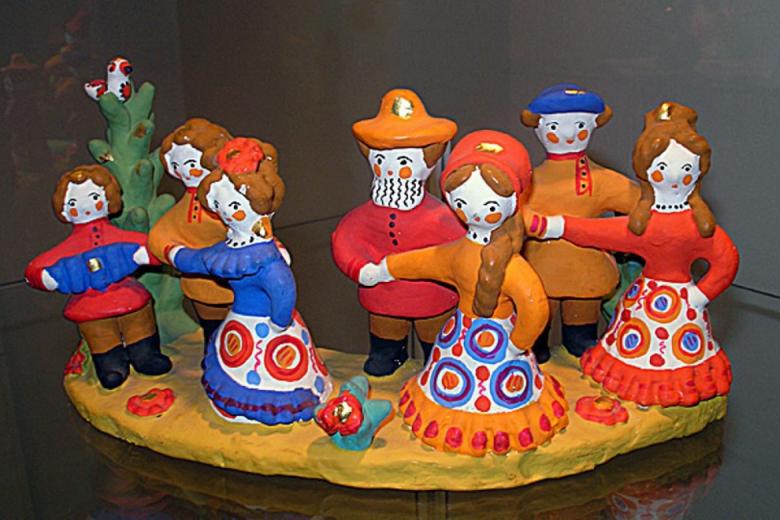
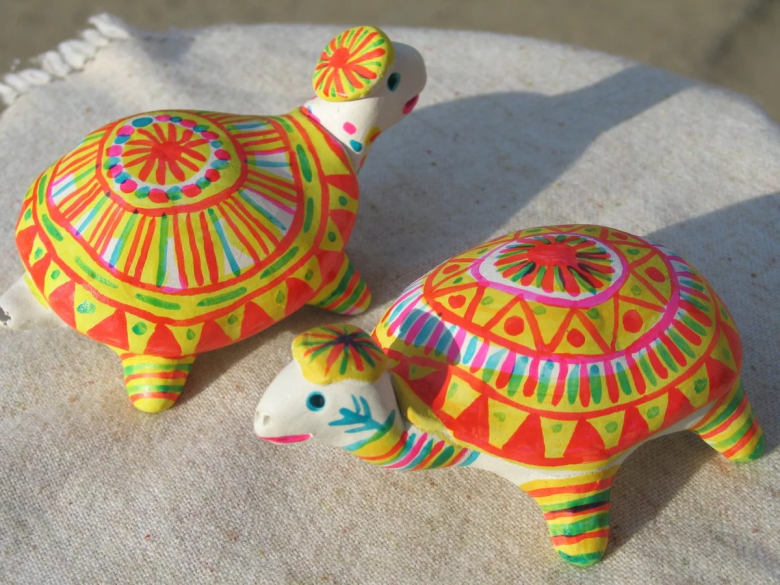
Filimonov toys are mostly whistles. Among the figures there are many riders on horses with long necks, all kinds of variations of birds. A distinctive feature is the geometric ornamentation, mainly in crimson, also yellow, blue and green. A characteristic element of the pattern is a stripe.
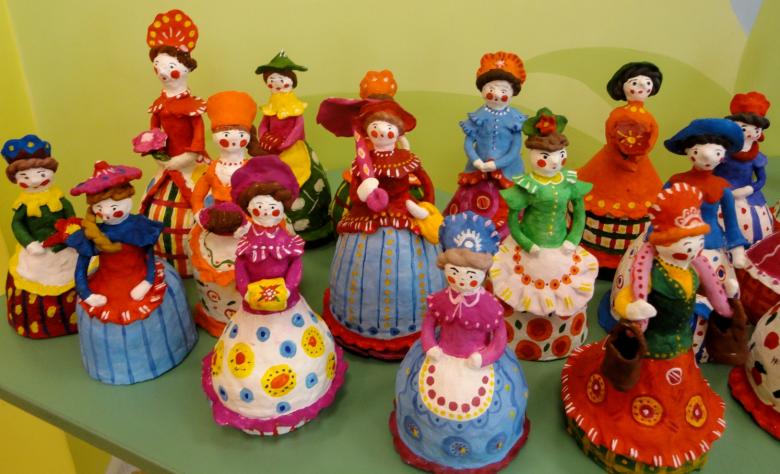
Clay handicrafts became popular in Russia. They were used more often for interior decoration than for children's games. Figurines were given the meaning of a talisman. The bird was thought to bring happiness, the horse was thought to bring a rich harvest, and the cubs with a barrel full of honey symbolized goodness.
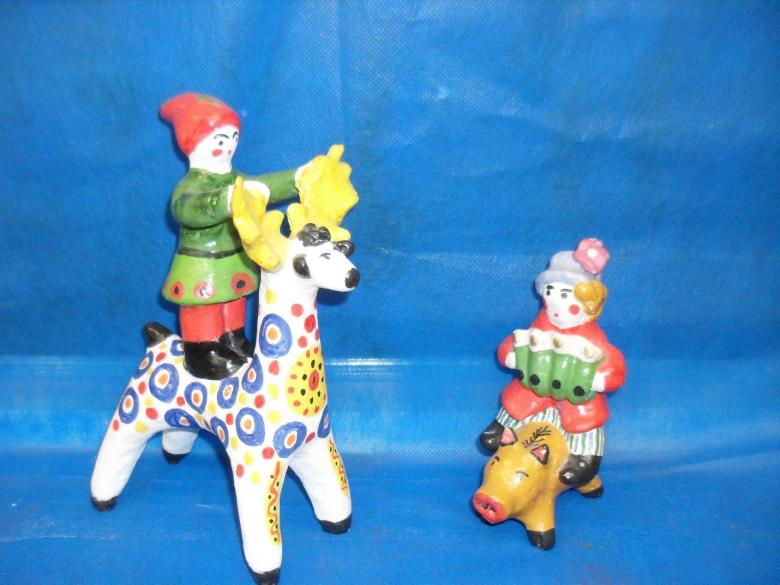
Master class: A Dymkovo toy
The best way to get acquainted with a Dymkovo toy is to start with a simple figurine of a pet goat, horse, or lamb. A master class on making a Russian folk craft with step-by-step instructions will help beginners to make a cute little lamb.
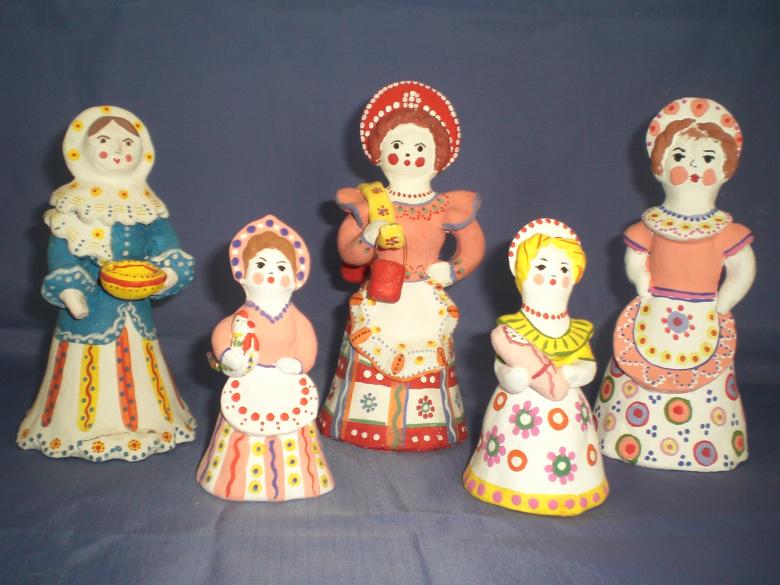
For creative activities with children, you can use plasticine instead of clay. Replacing clay with clay will simplify and speed up the process.
The lamb figurine is made up of several parts:
- torso;
- neck;
- head;
- legs;
- ears;
- horns.
The body is molded from a single piece of plasticine slightly smaller than the size of the fist. First roll the ball between the palms of their hands. Then it is rolled into a short roll.
The head and neck are molded from one piece, which is thinner at one end. Detail is bent, so that the narrow end forms the head of the figure.
Legs are made from thinner rollers. Roll out two long pieces. In the middle of them cut with a stack at an angle. This is done for ease of connection blanks legs with the torso.
In conclusion, it remains to mold small parts: ears, bangs, tail and horns of the ram. Ears crafts molded from two small balls of plasticine. Fingers flatten them and you get two cakes. Each tortilla is wrapped in a funnel.
Bangs are made from two thin "sausages" that are connected in a short braid. The tail is short. It just roll out of a small roll and sharpen the end. Horns long. Need to roll out two long rolls of medium thickness.
The final stage - the connection of parts. First connect the legs and torso. Then all the details of the head: ears, bangs, horns. Stitch the neck with the head to the torso. Do not forget the tail.
After the figures are molded, they are painted. The first stage is priming with water-based white paint. Several layers are applied. Paint the figure in the Dymkovo tradition with gouache or acrylic paints.
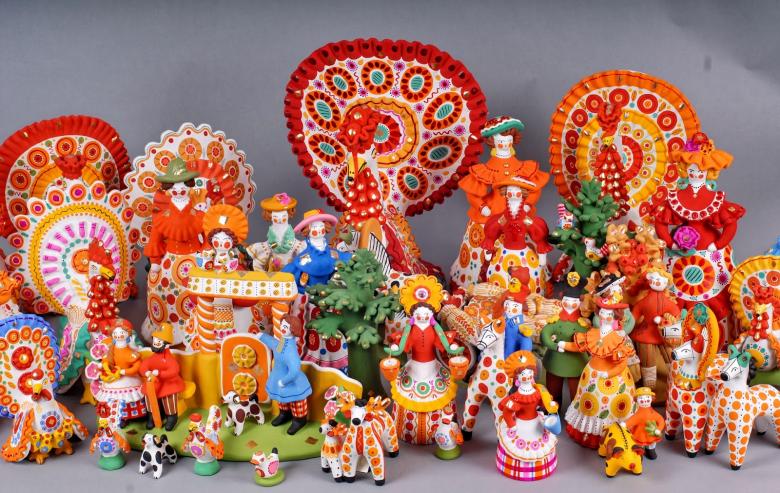
The main element of the ornament is symmetrical circles of different diameters. Yellow, red, blue are a great choice of colors for painting a lamb. Ears, bangs and tail are painted in black. The same color is used to paint eyes, nose and hooves. Horns are covered with yellow paint.
Rag dolls, amulets
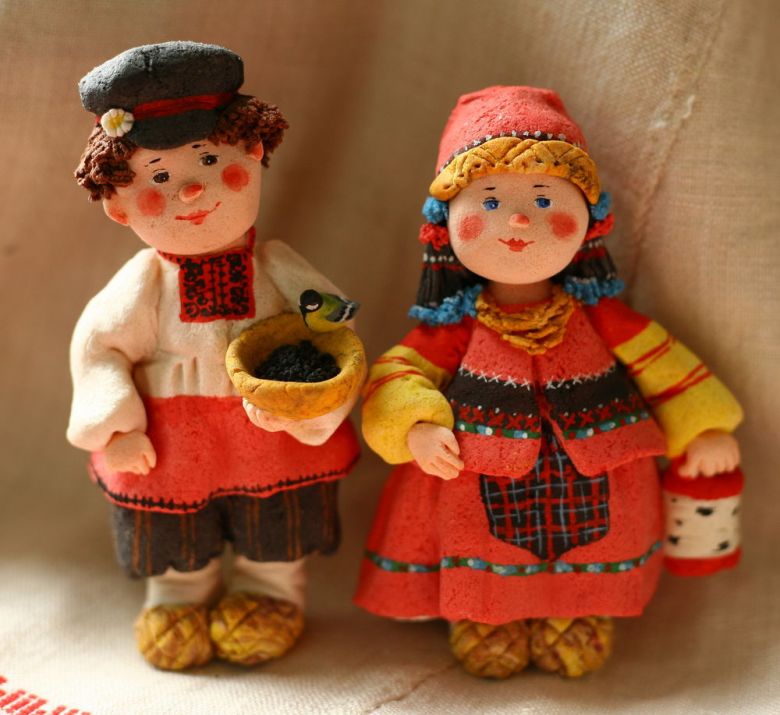
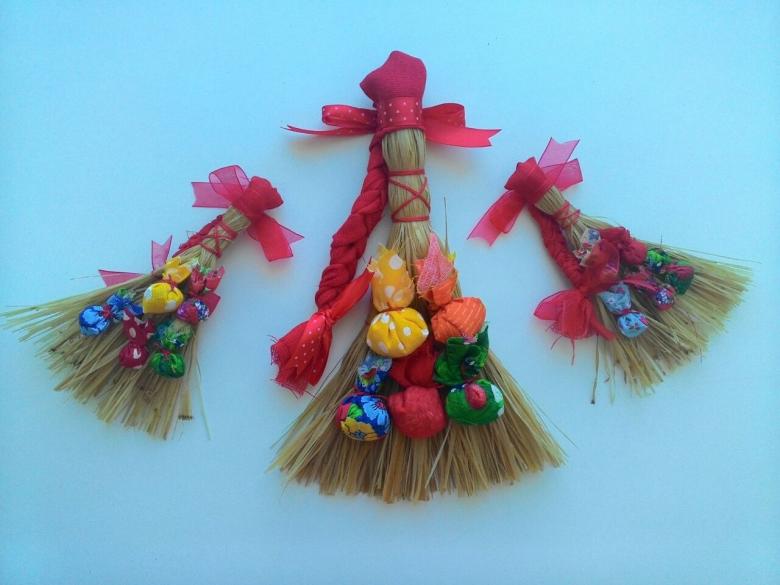
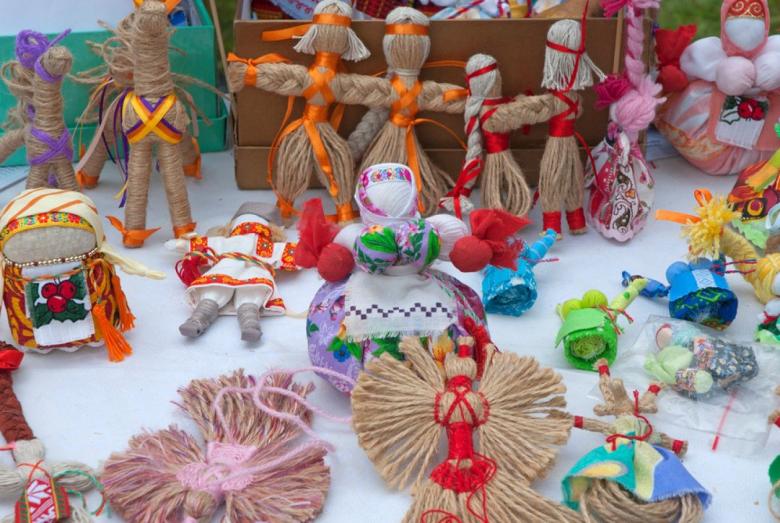
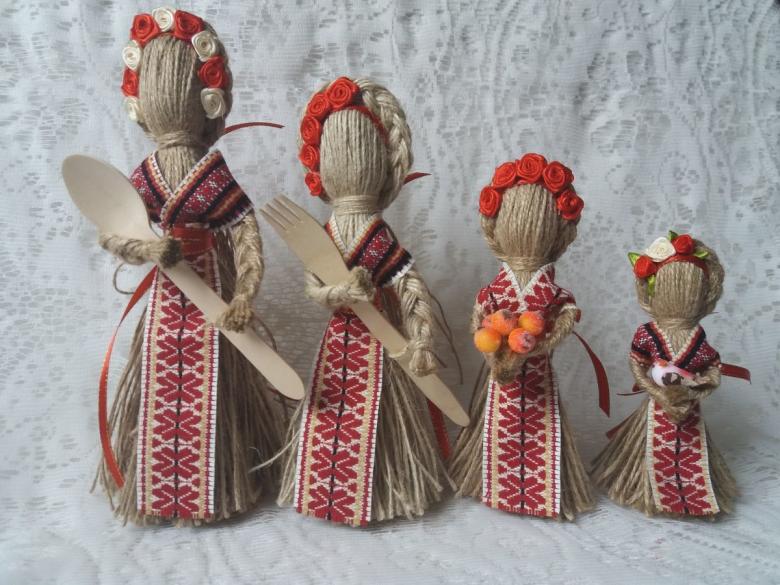
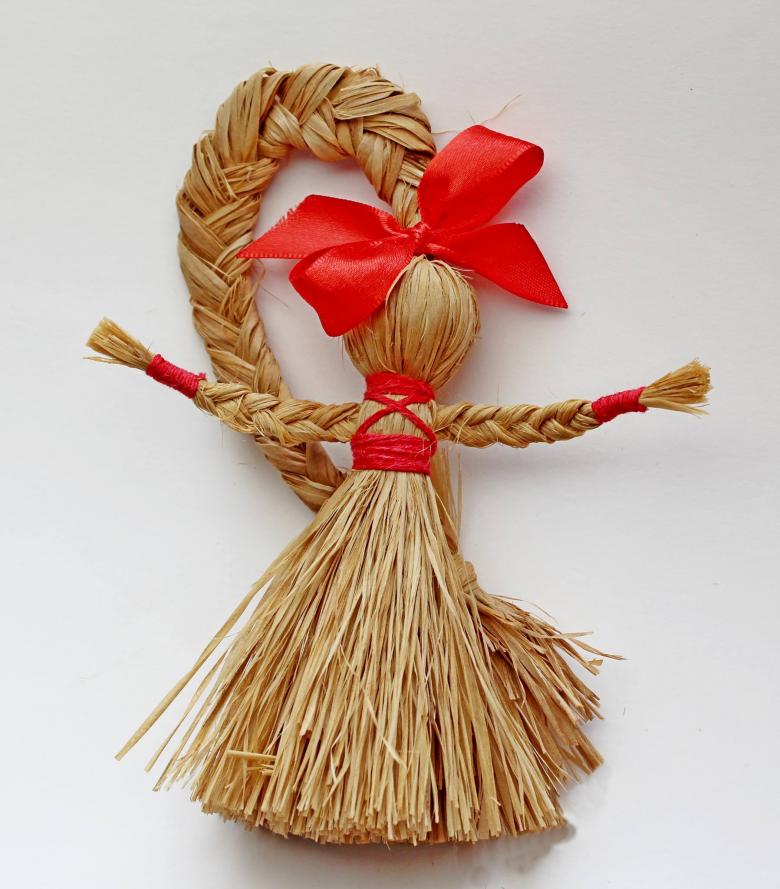
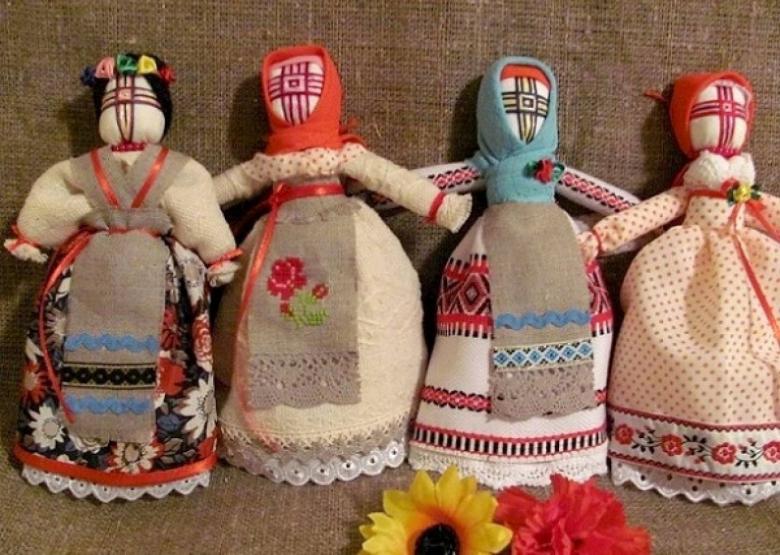
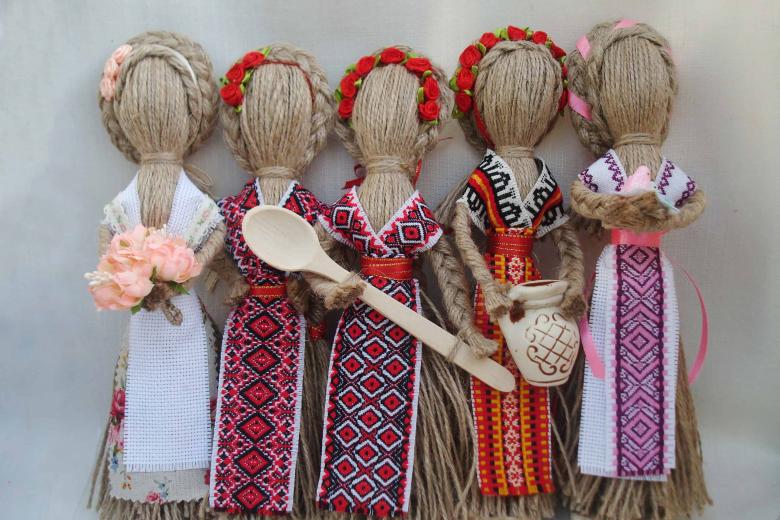
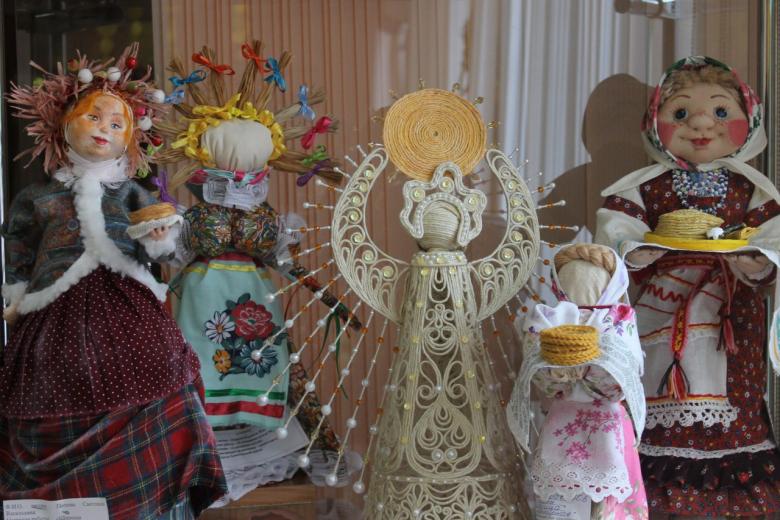
The most common Slavic handicrafts are amulets. They express the pagan beliefs of the ancient Slavs in the power of amulets and amulets against evil spirits. Each type of doll was endowed with a specific specialization. Some dolls were "responsible" for happiness, others guarded well-being in the family, others helped to make wishes come true.
Features of making amulets
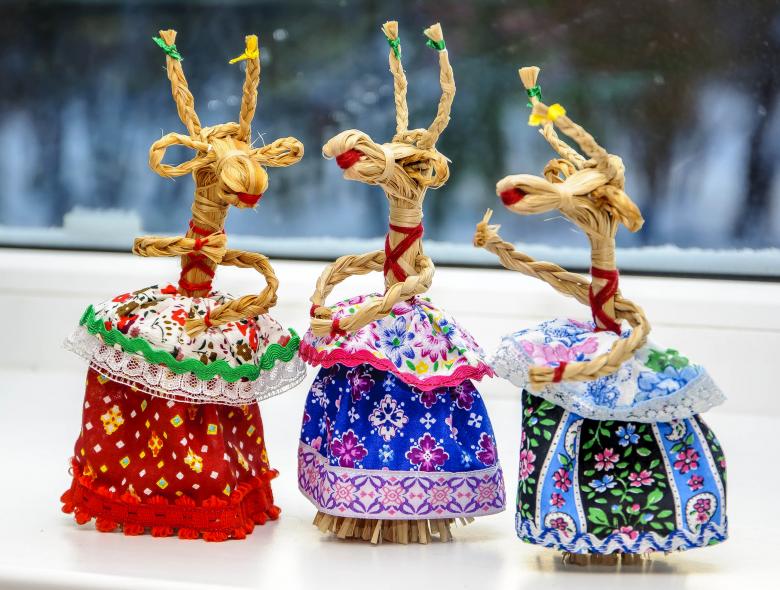
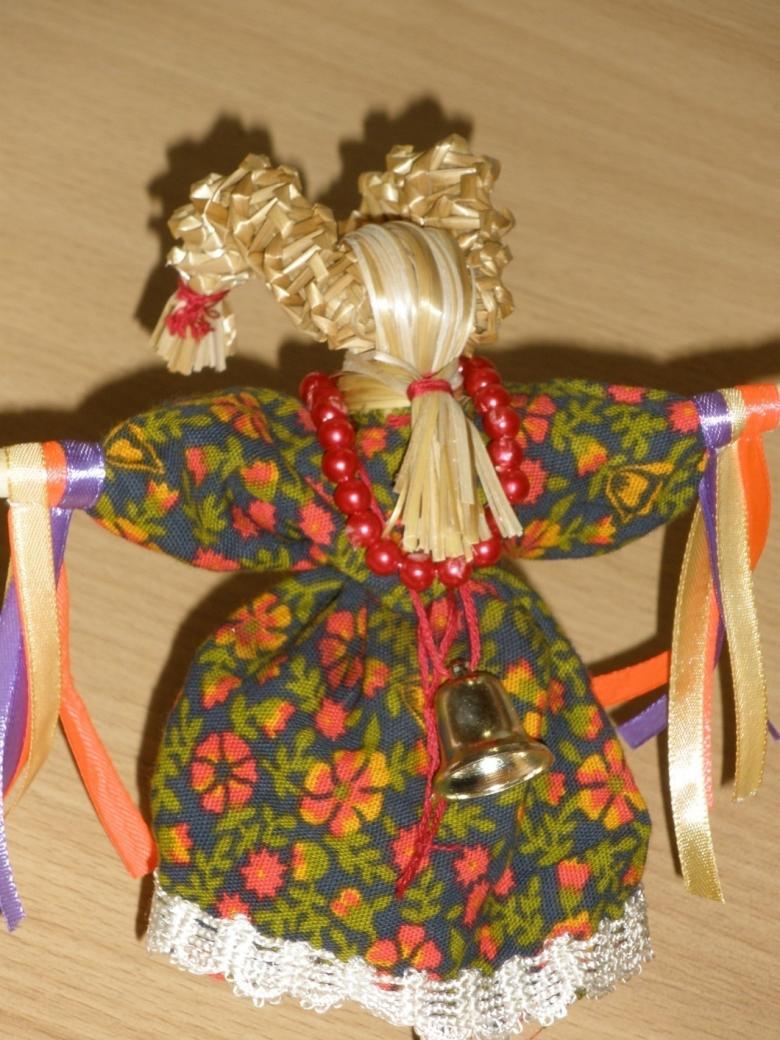
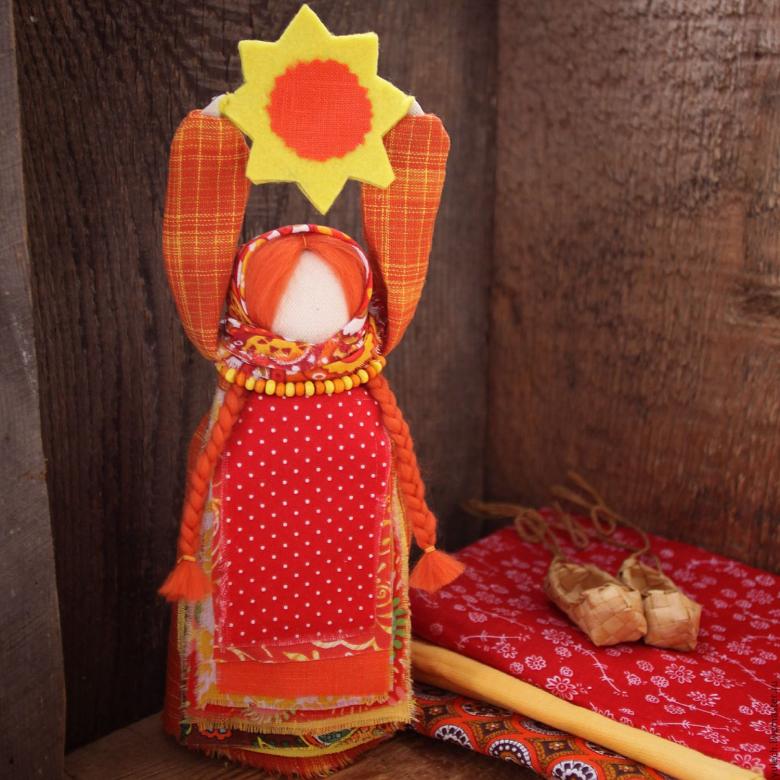
Bereginya was made of used cloth. It was believed that this material increases the power of the amulet. A characteristic feature of a protector doll is that it is faceless. The lack of a face makes the doll an inanimate object, possessing no spirit, and therefore harmless to its owner.
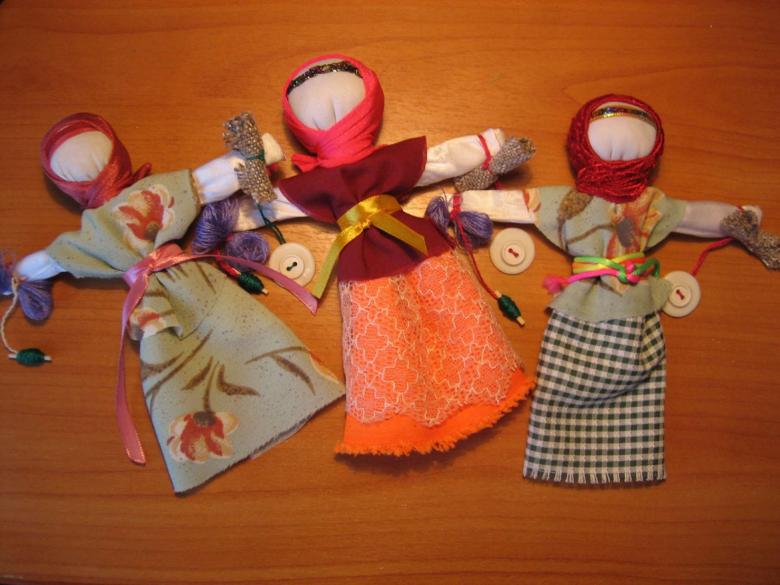
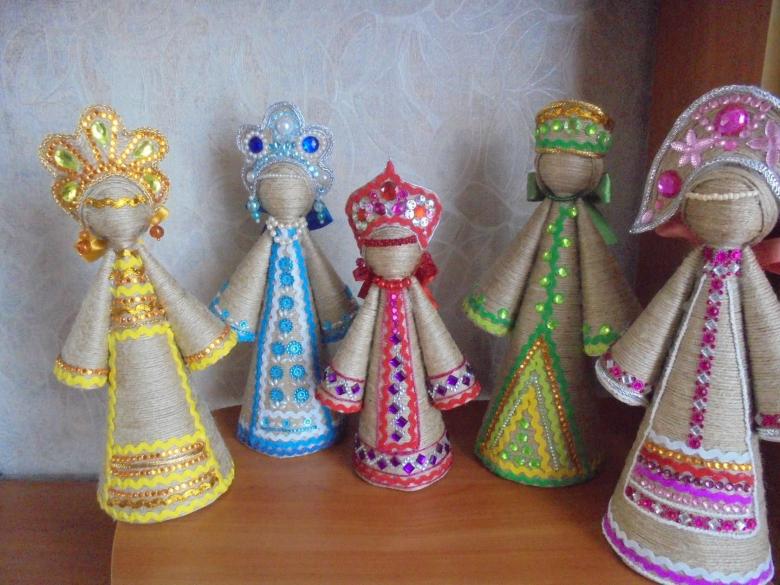
Rag doll had a simple structure. Most often, she was given female form, dressed in long dresses, braided braids.
Master class: a folk doll with your own hands
It is not difficult to make a folk rag doll-twist together with elementary school children. Beforehand it is necessary to prepare materials:
- absorbent cotton or synthetic cotton;
- white and colored fabric;
- thread;
- scissors.
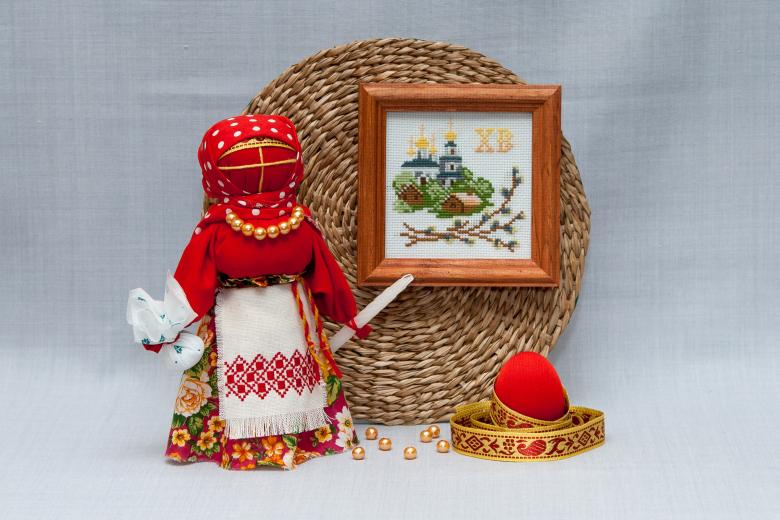
First cut out blanks. From each type of fabric cut one piece measuring 20x20 cm and another square of colored fabric 15x15 cm for the shawl.
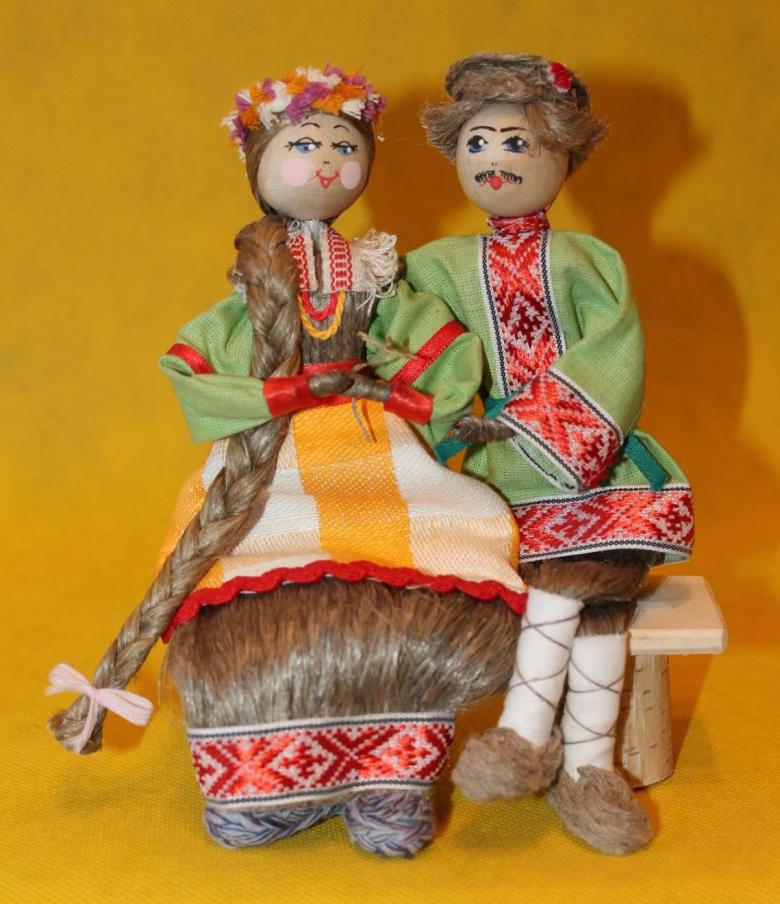
Then make the head of the doll. In the center of a square of white fabric placed absorbent cotton. Tie a thread so that you get a small ball.From the two opposite corners of the fabric to create the hands. It is necessary to twist the corners and tie with threads.
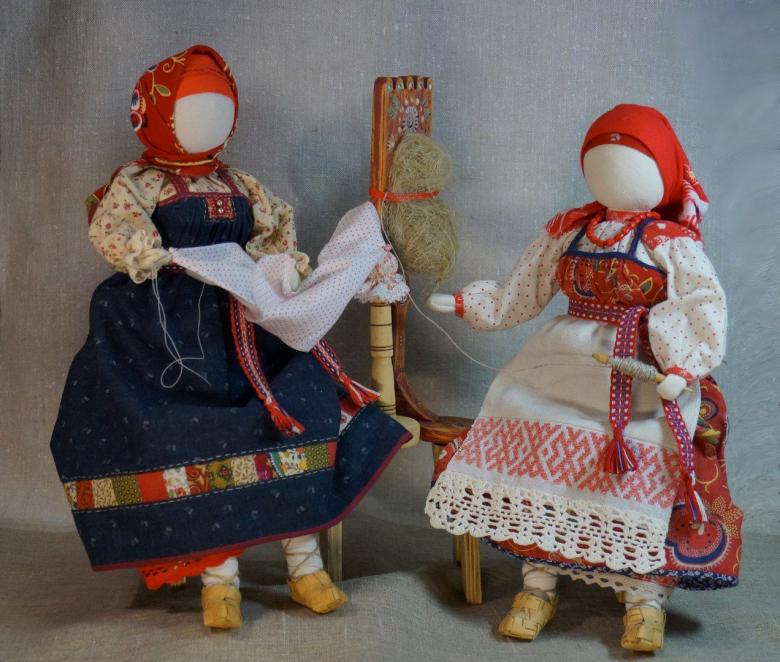
Dress the doll in a sundress. Colored large billet rolled in half and wrap it around the doll under the arms. Tie it tightly with string. From the braid can be tied a colorful belt.
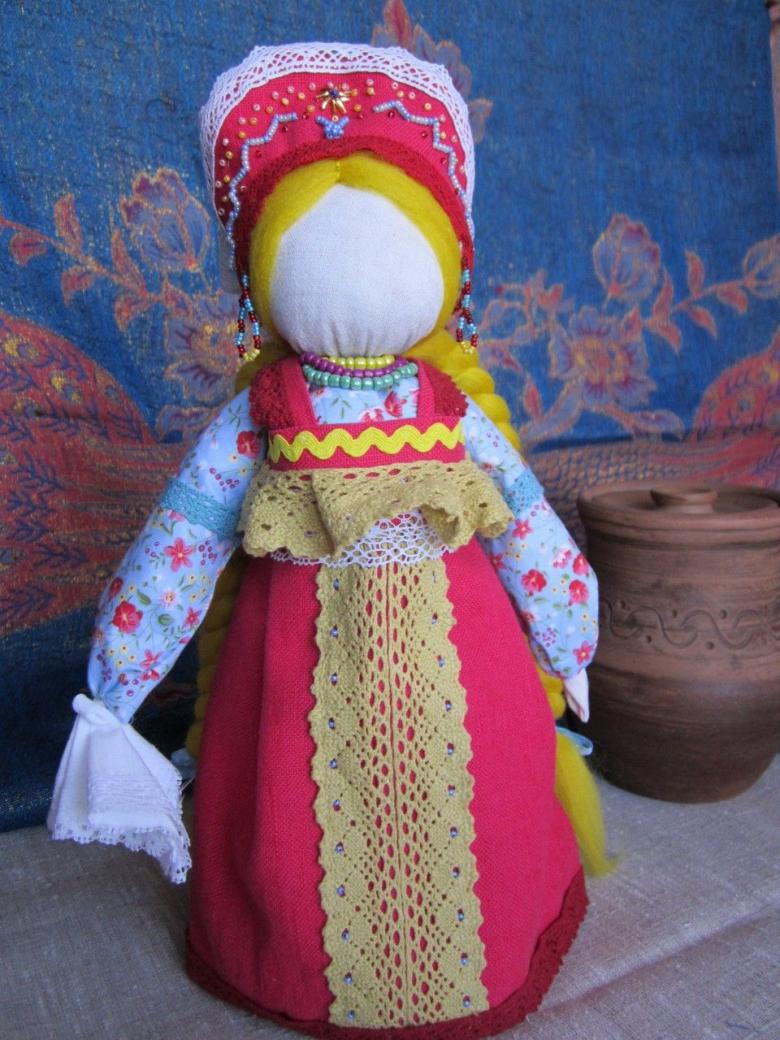
On his head tied shawl of colored square of smaller size. Secure it with a thread at the level of the neck of the doll.
You can make a play doll and draw a face. But without it, the handicraft will look more like a goddess.
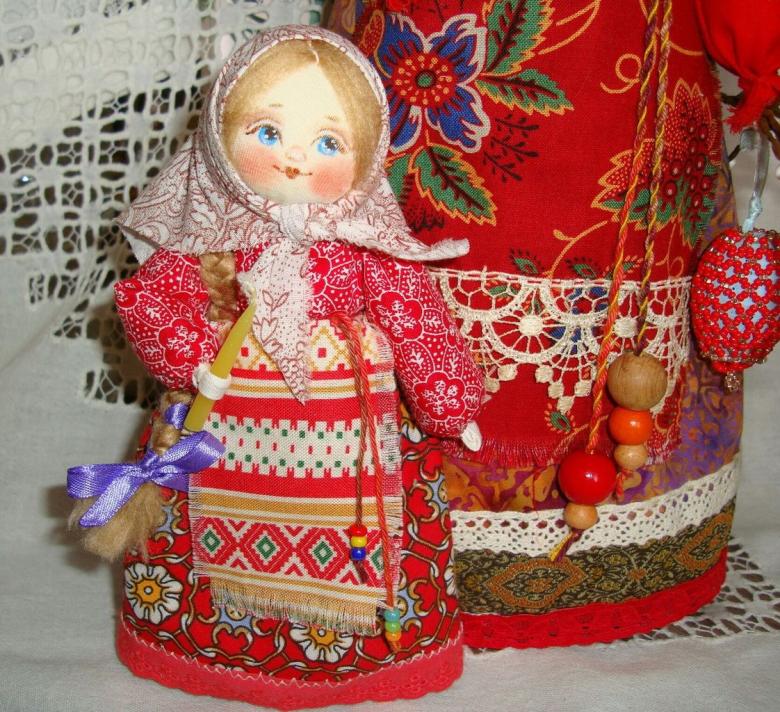
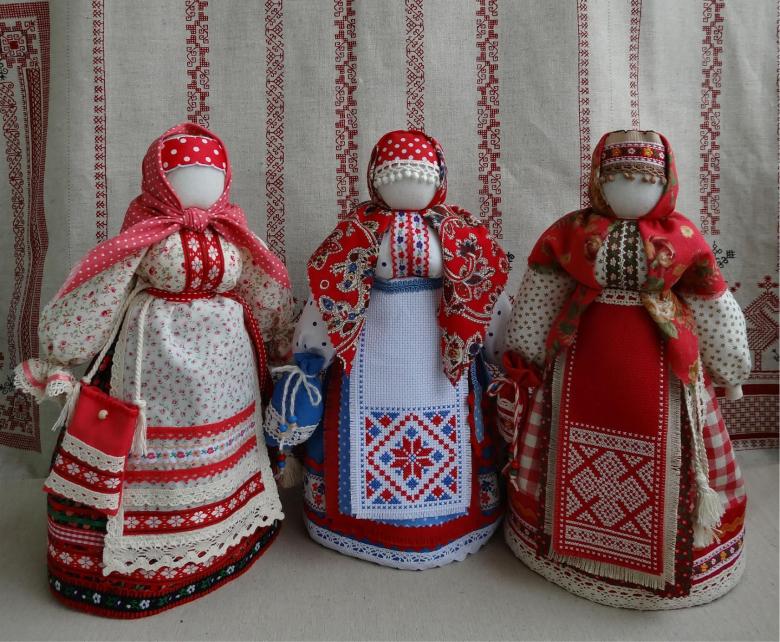
The doll will be more elegant, if the sarafan and shawl made of fabrics with different prints or contrasting colors.
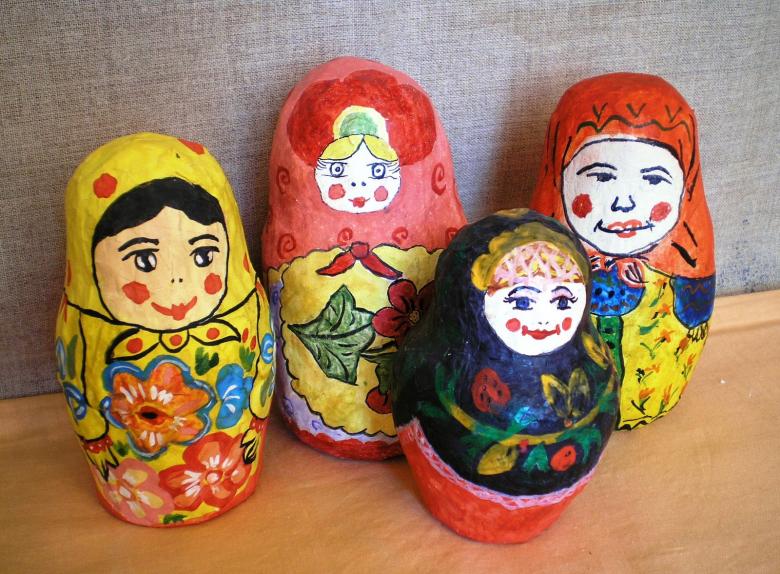
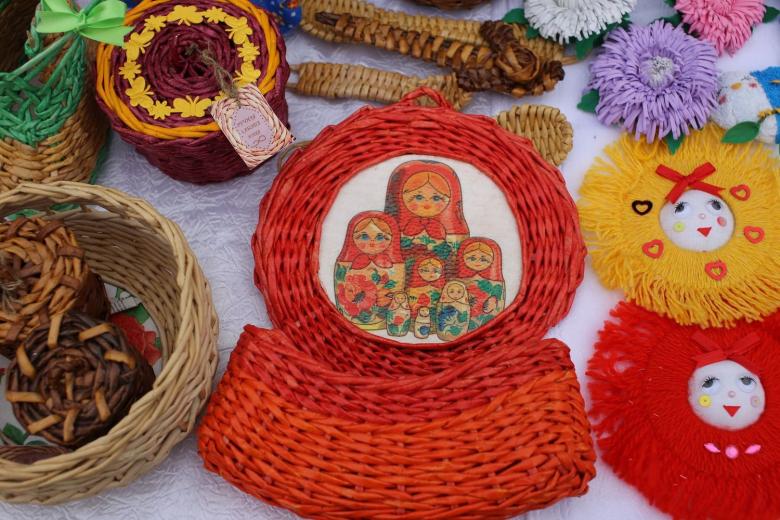
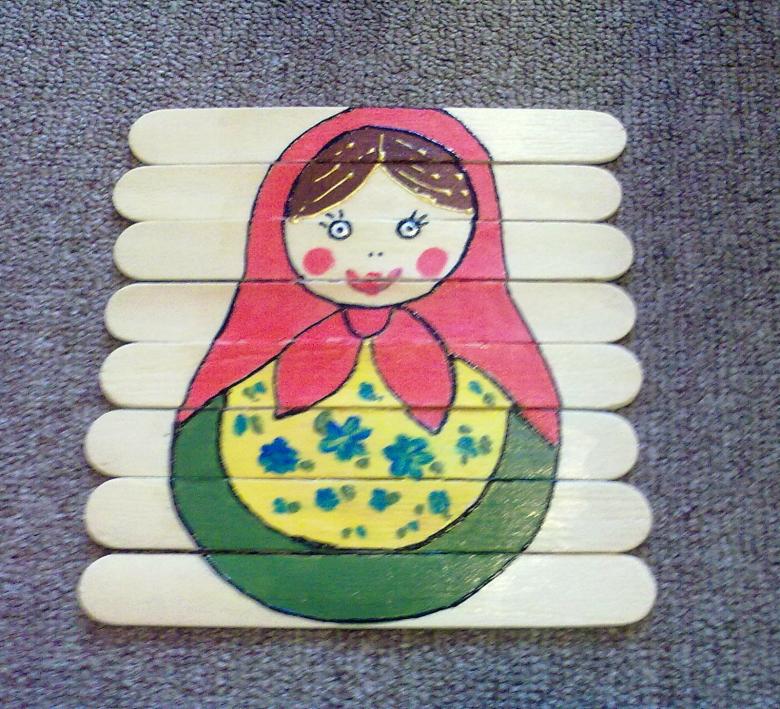
Applique Matryoshka
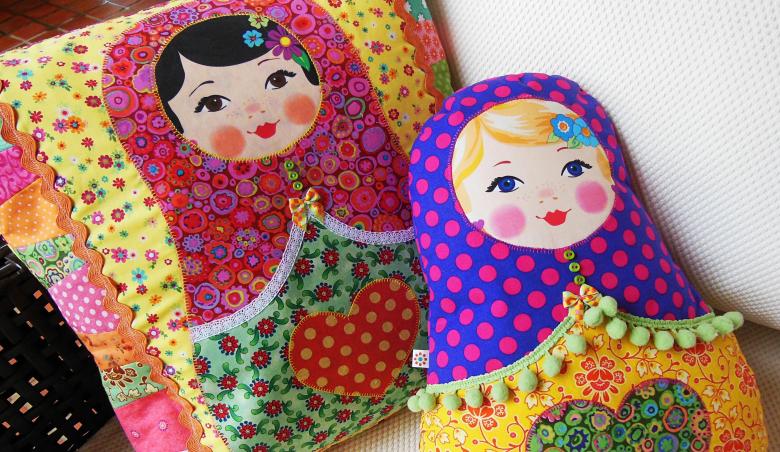
Make matryoshkas in the technique of applique from the prepared parts under force to younger preschool children. Older children can make their own blanks from ready-made templates.
Simple tools will be needed:
- glue;
- scissors;
- pencil;
- felt-tip pens.
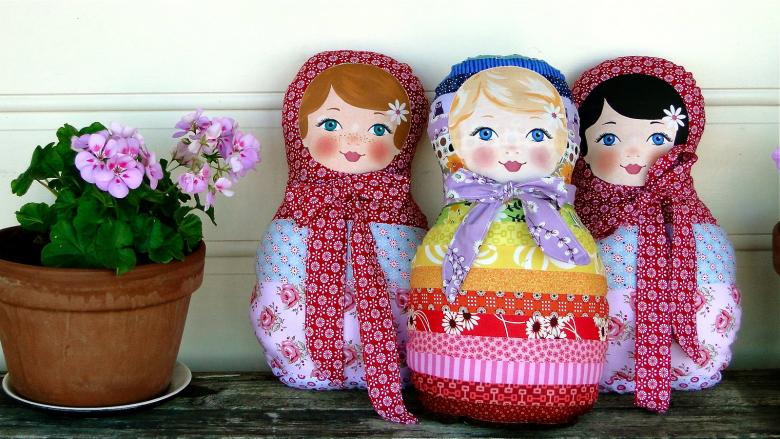
Materials for applique can be patterned fabric, felt, colored paper or candy wrappers. For the base use cardboard or felt (if that is the main material of the applique). Templates draw their own or take from the Internet.
The main parts of matryoshka: the basis, shawl, apron, face.
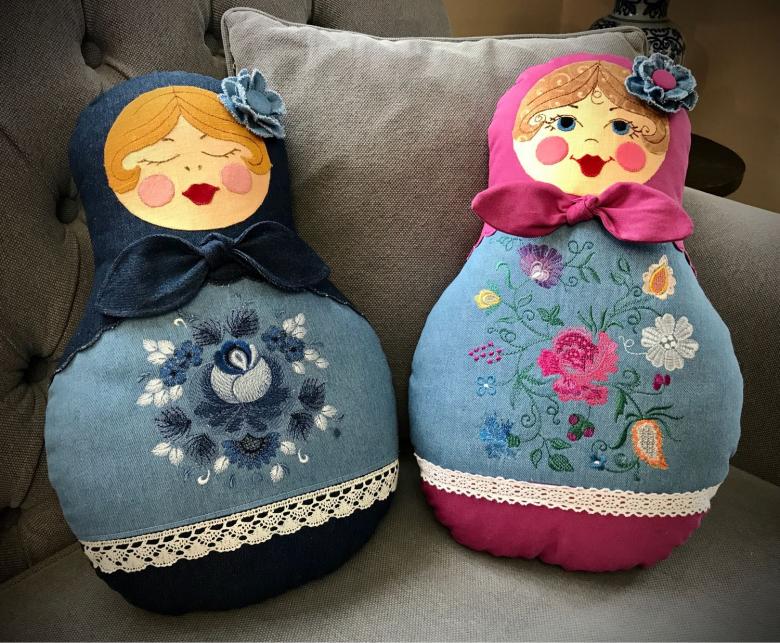
Base cut out on a template. On it glue a colored handkerchief. On top of glue a circle of white paper. On it draw a face. Below glued detail apron. It can be decorated with cut out circles of colored paper or candy wrappers.
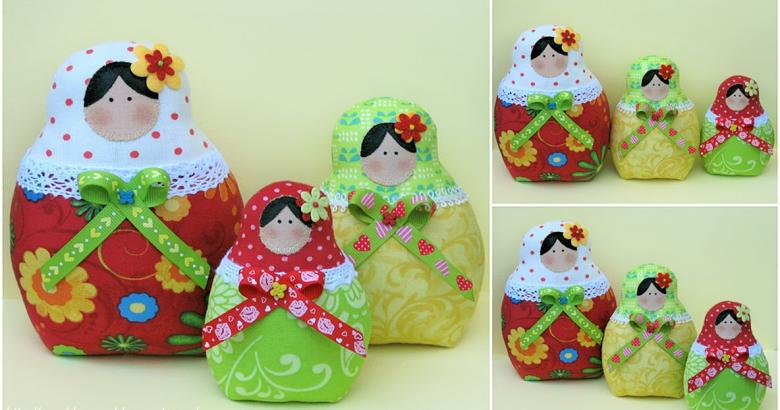
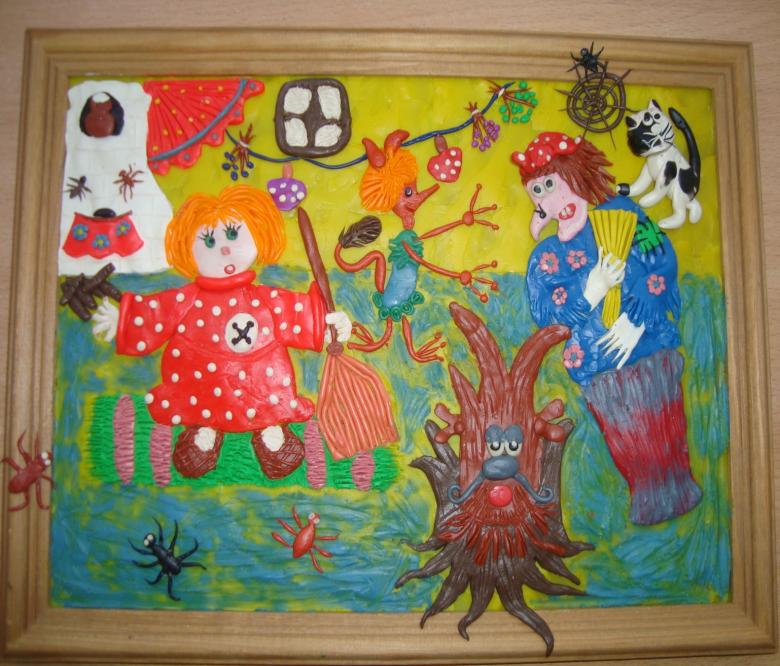
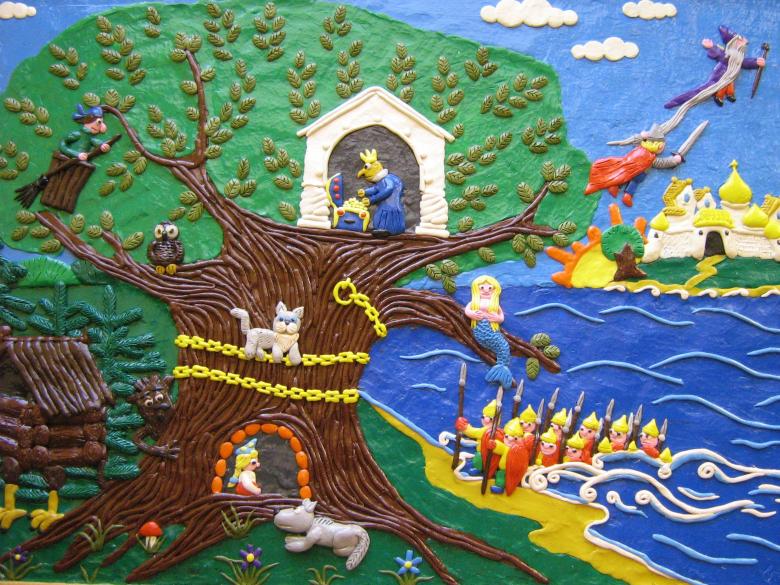
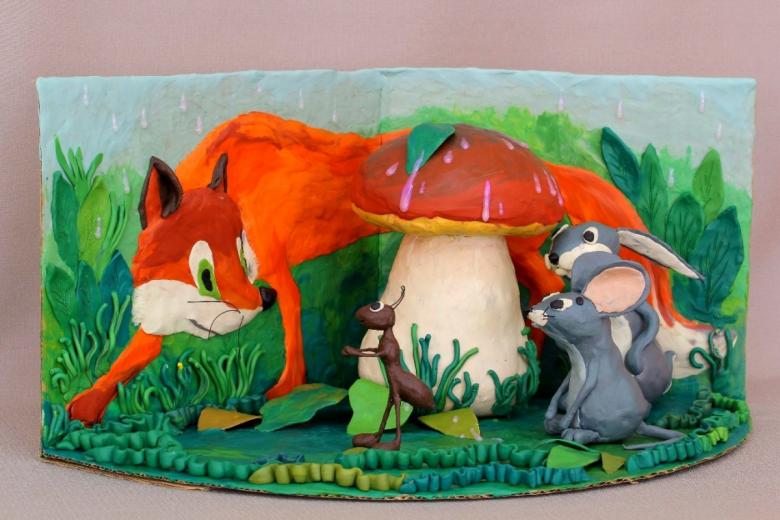
Handicraft on the theme of Russian folk tales.
Plots of Russian folk tales give a real scope for creativity. With preschoolers can make their own hands an interesting handcraft on the theme of Russian fairy tale Princess-Frog from a simple paper cup and colored paper. Need also glue, gouache, brush, scissors, felt-tip pens.
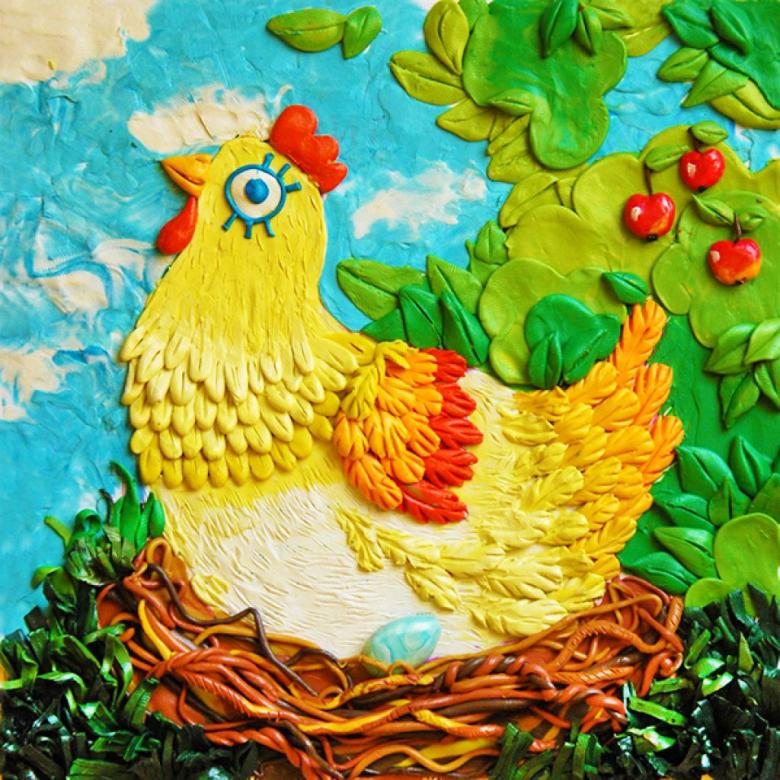
First, paint the paper cup in green.
Eyes of the frog. Pair circles of different diameters cut out of colored paper. The biggest green ones are about 2.5-3 cm, white ones are smaller and black ones are even smaller. Connect with glue. If desired, draw eyelashes.
Paw blanks cut out of green paper. Paint markers symbolically traced fingers. Crown and arrow cut out of yellow and mouth out of red colored paper.
All elements are glued to the green cup.
More complete the composition will look like, if the frog sat on a sheet of water lily. It is cut from a green paper of different shades.
Making folk crafts introduces children to the traditions of folk crafts and the heritage of Russian culture, helps develop aesthetic taste and creative skills.
